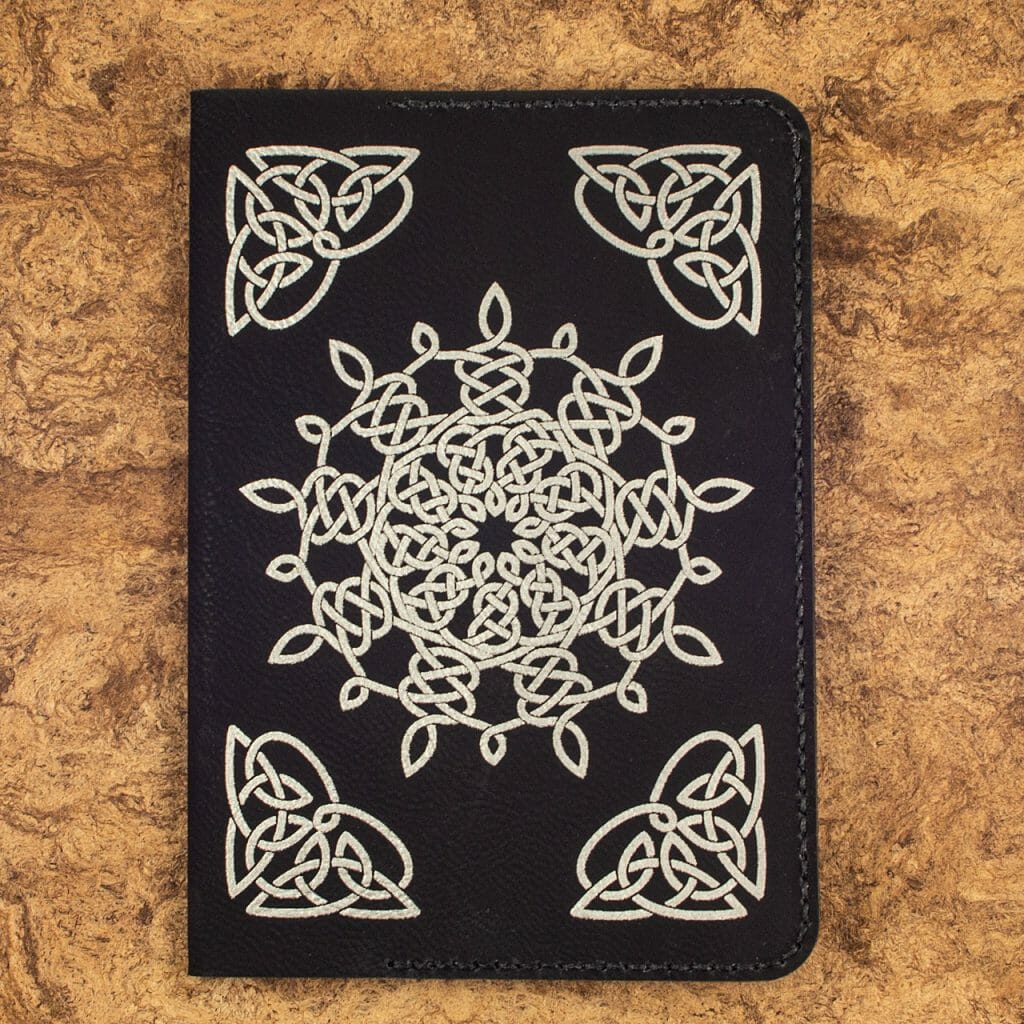
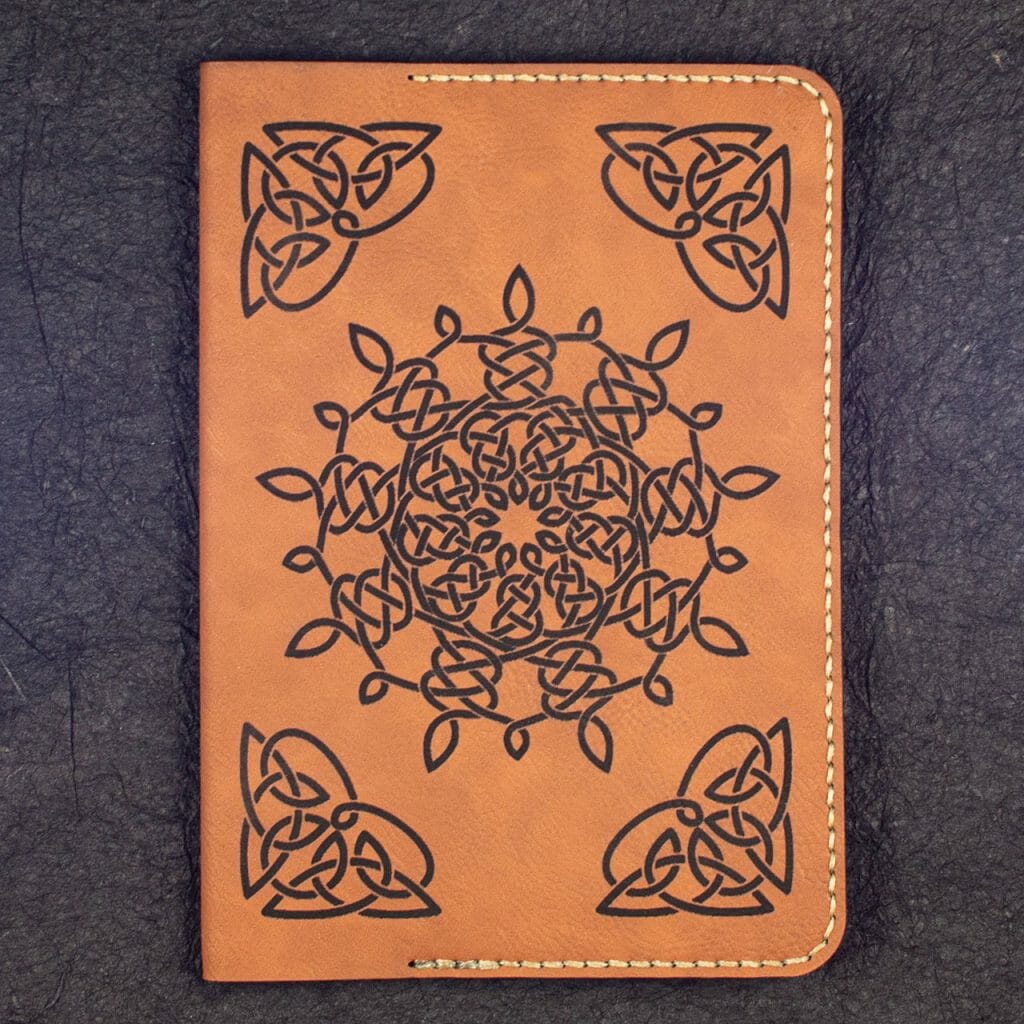
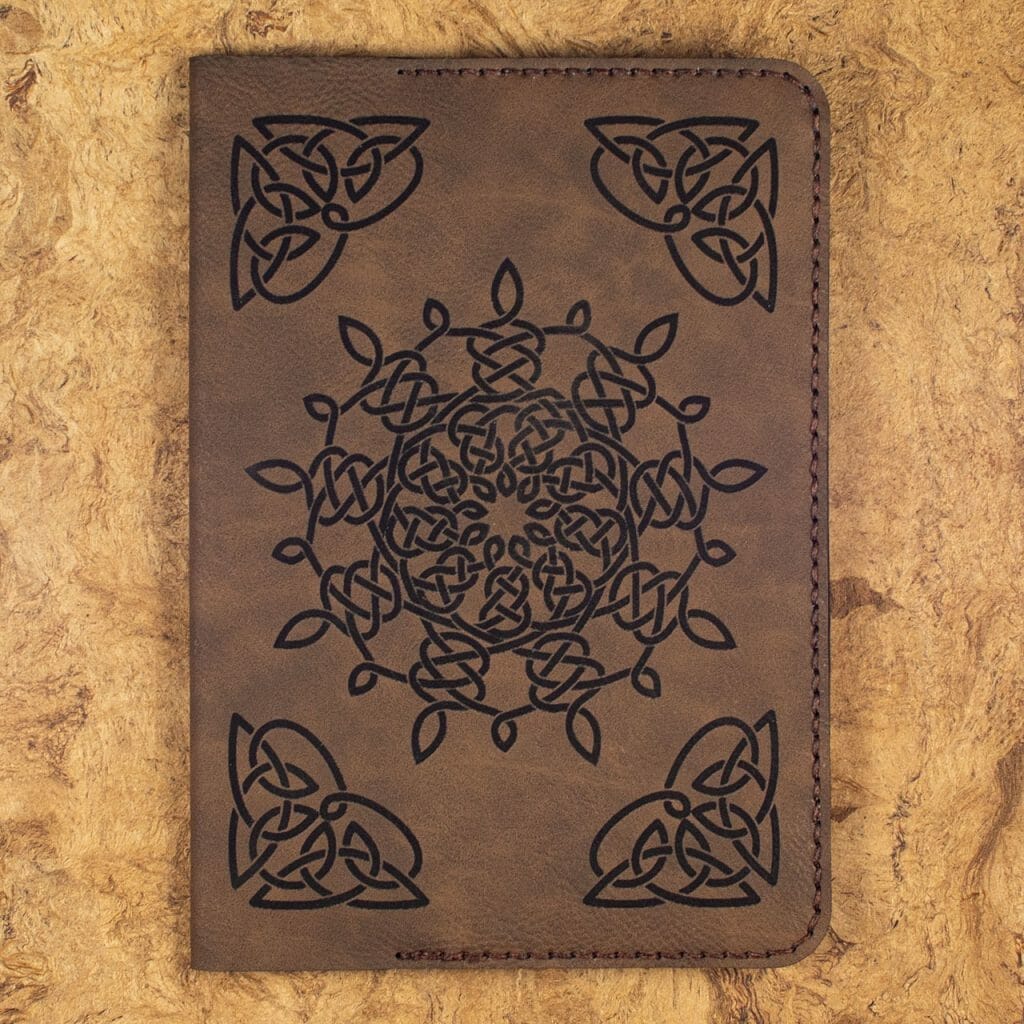
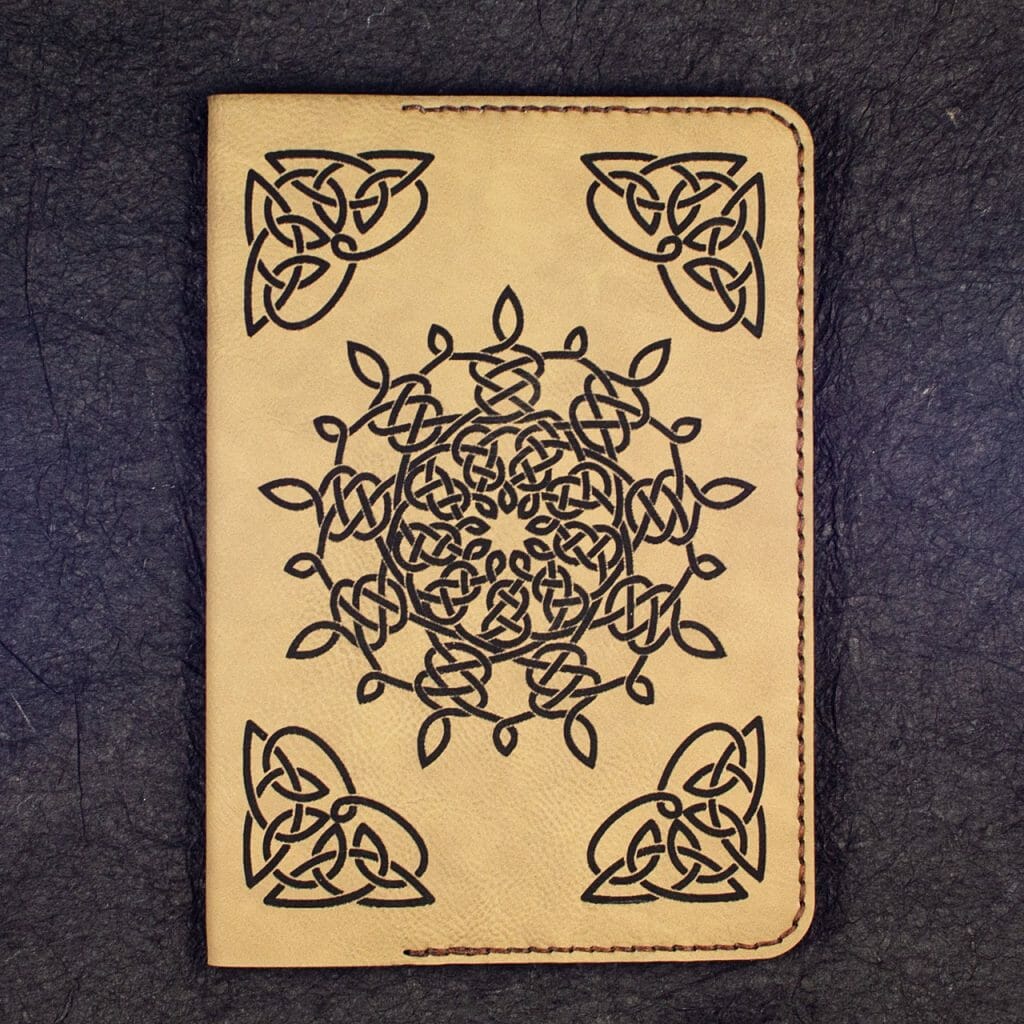
Celtic Knotwork Journal
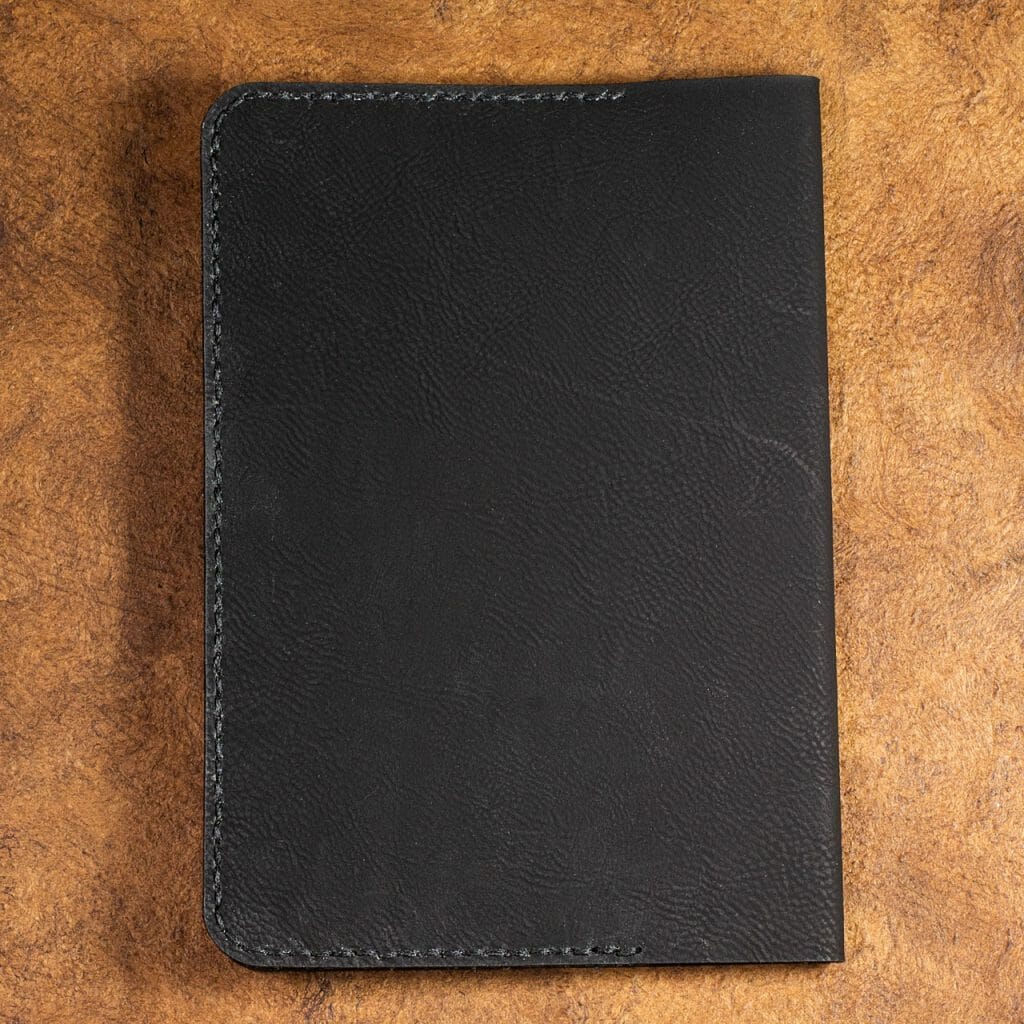
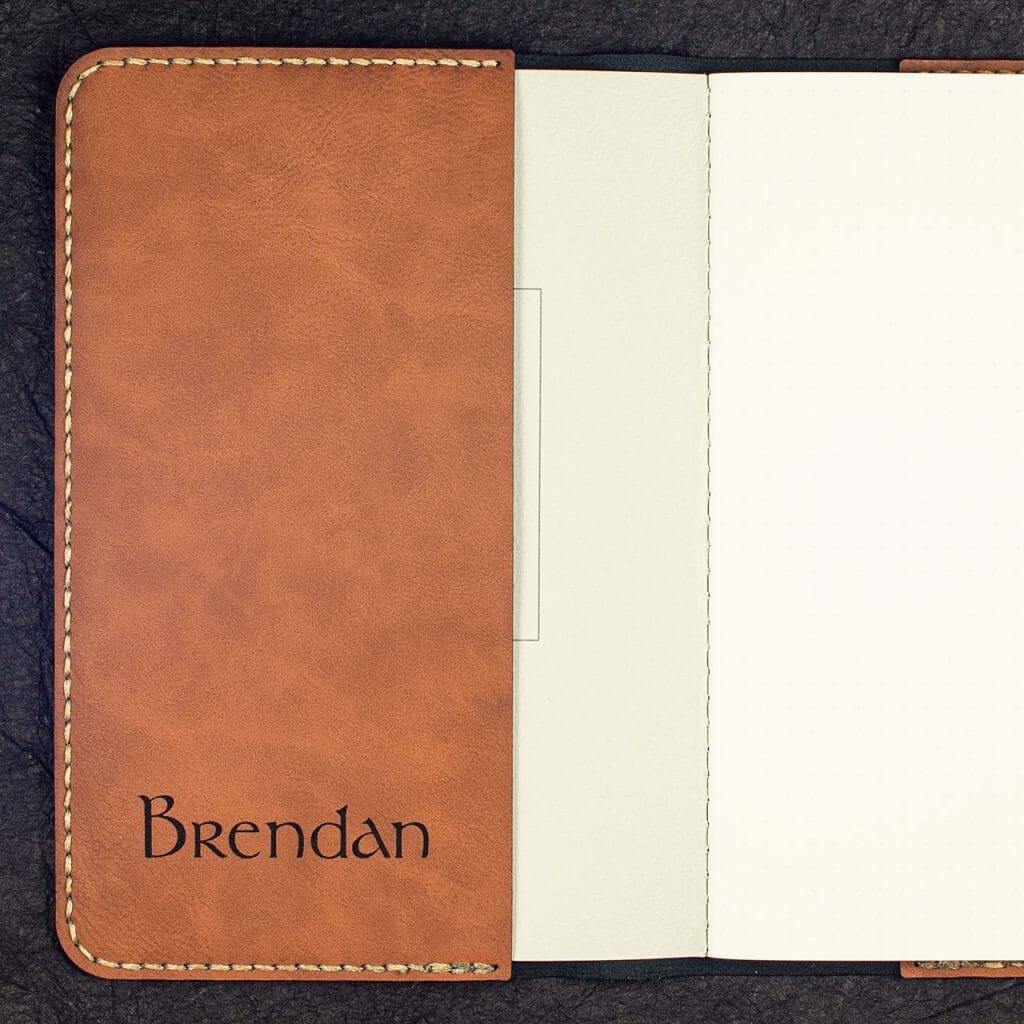
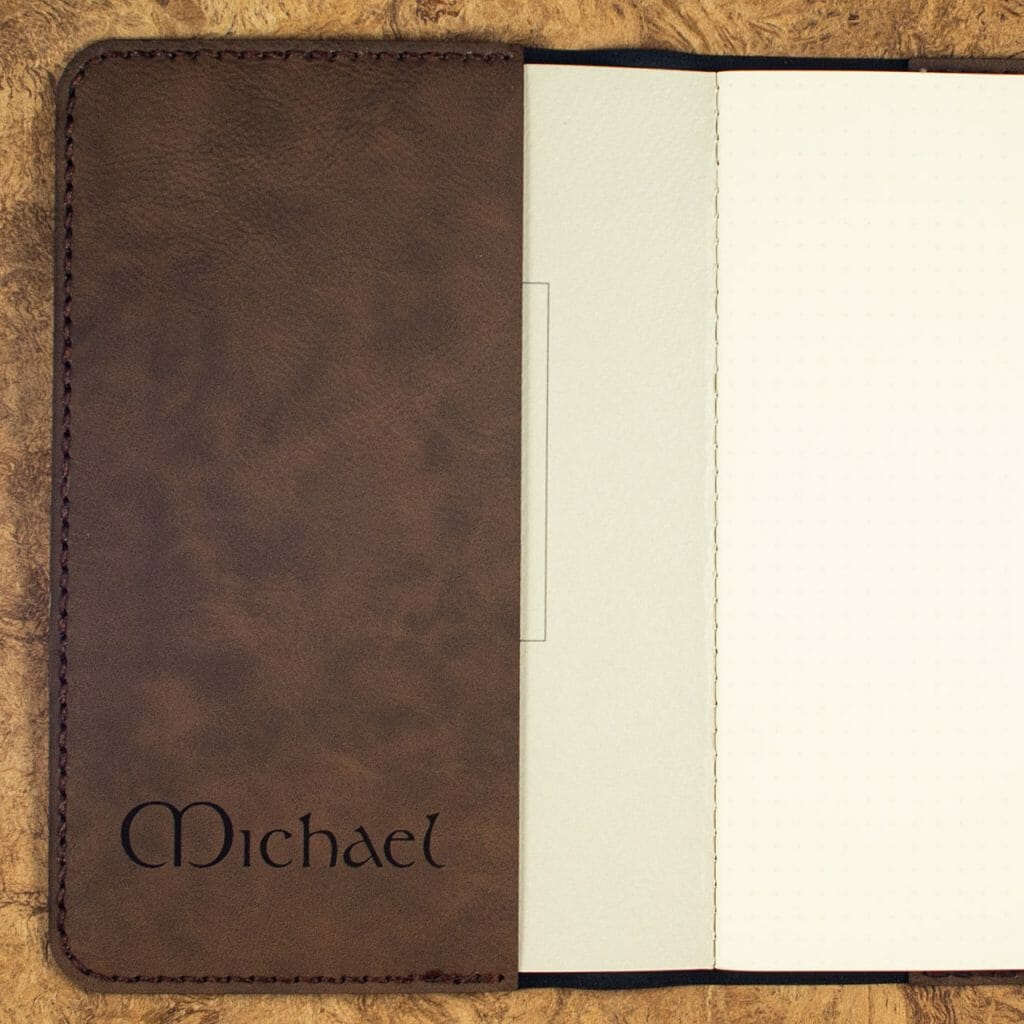
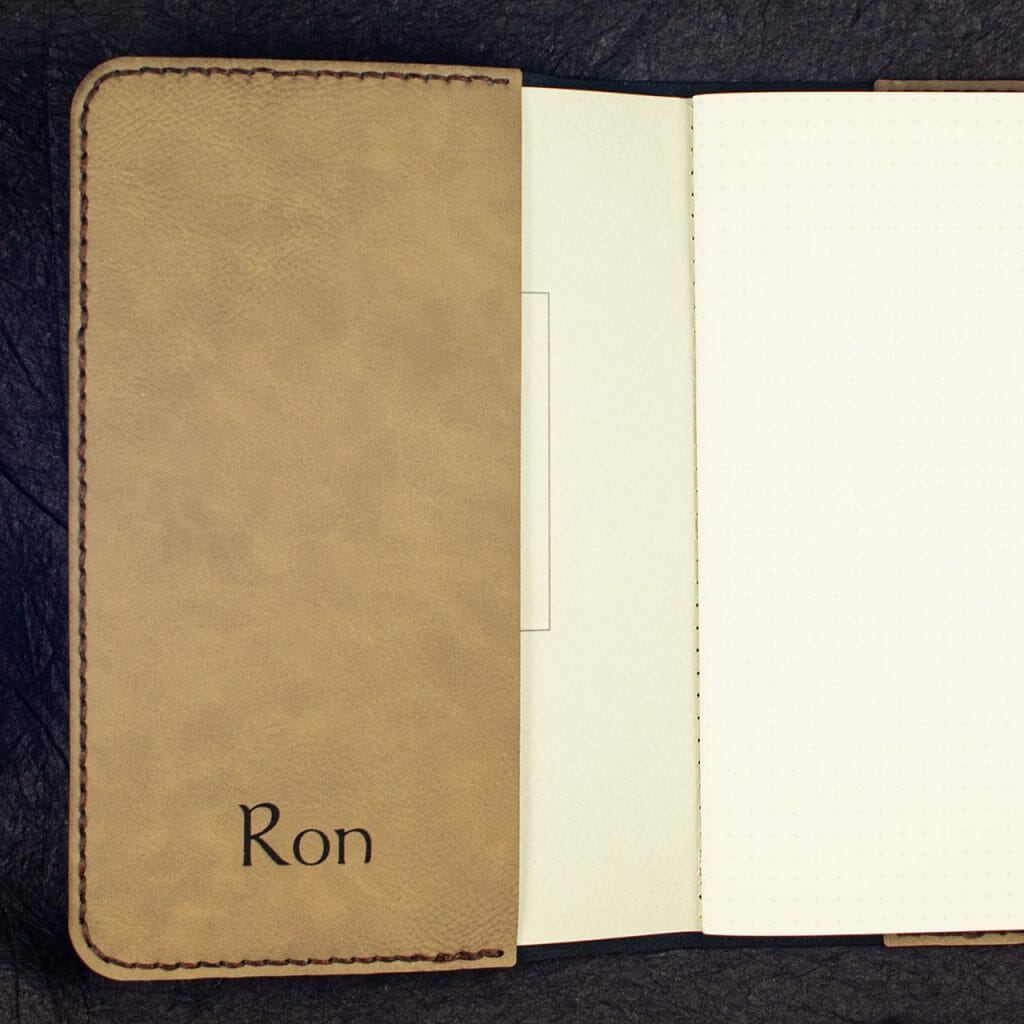
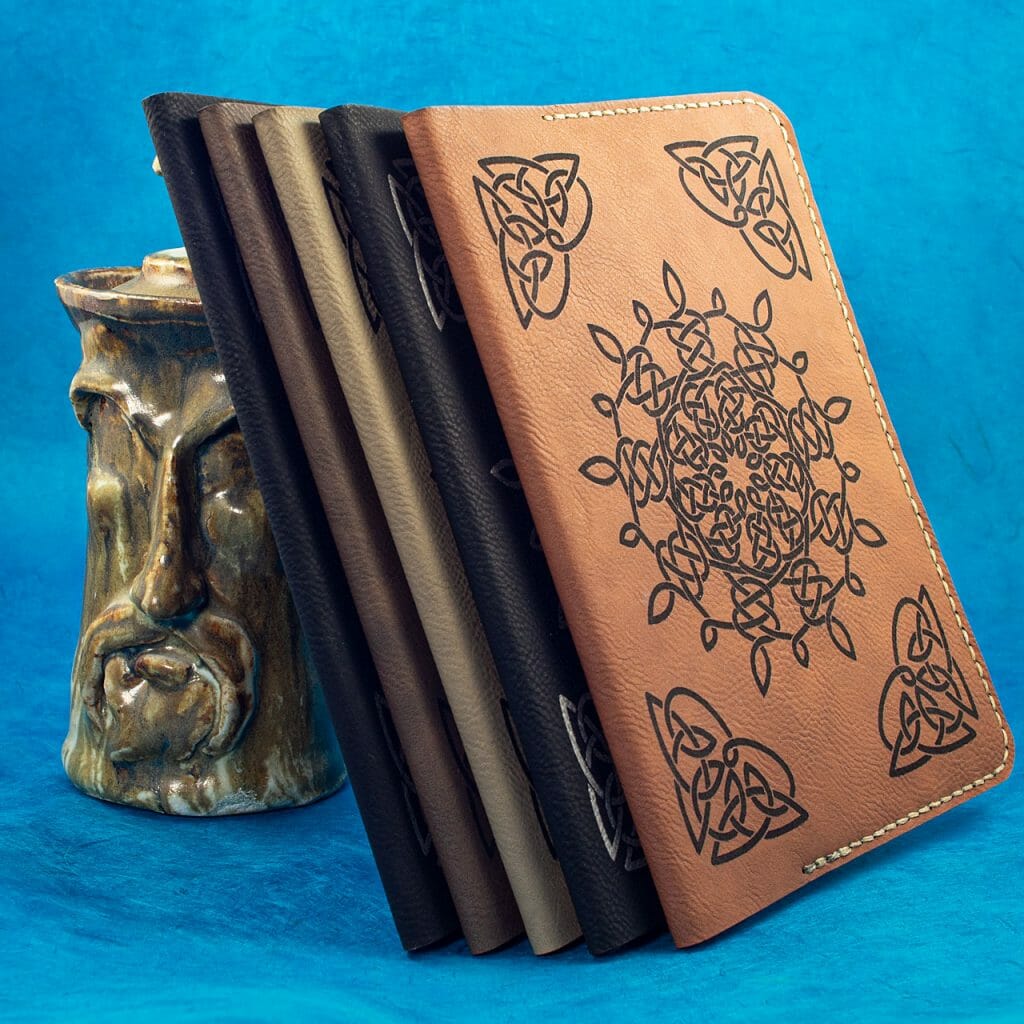
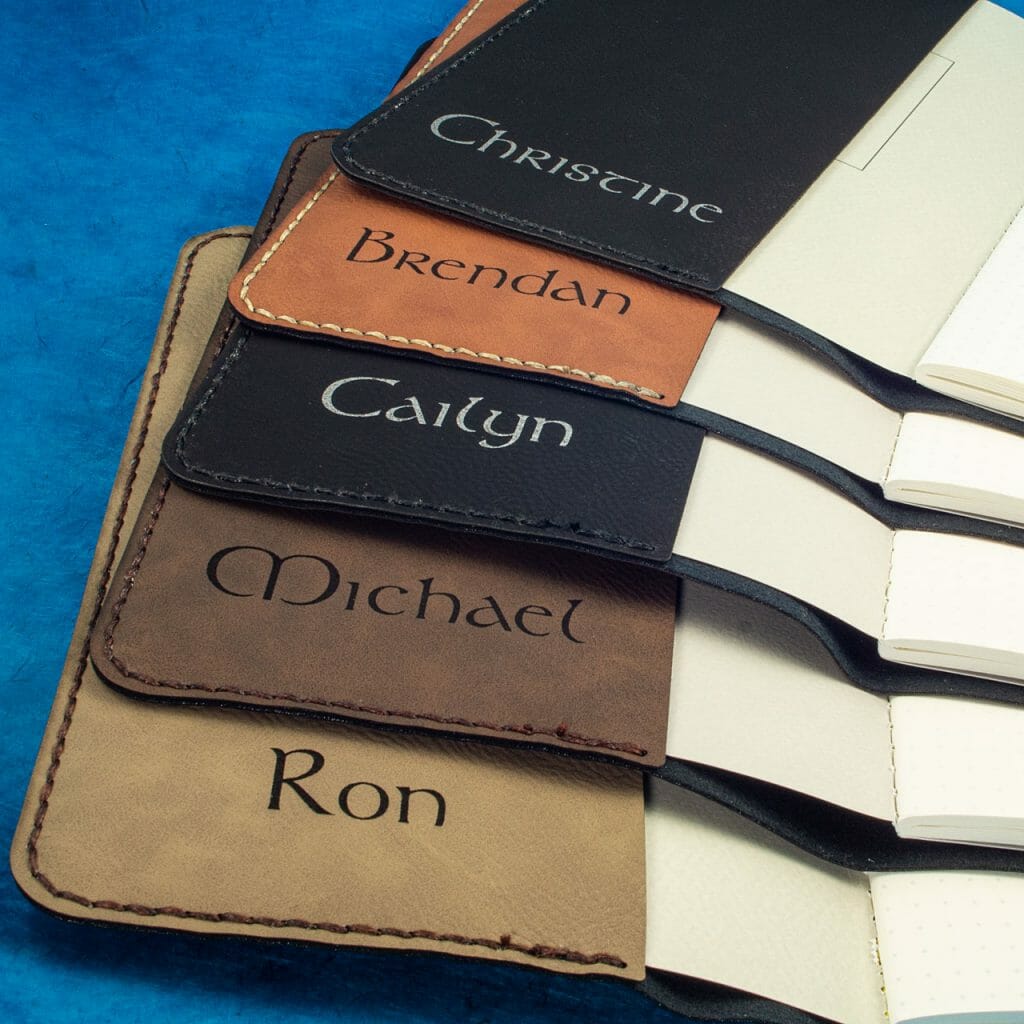
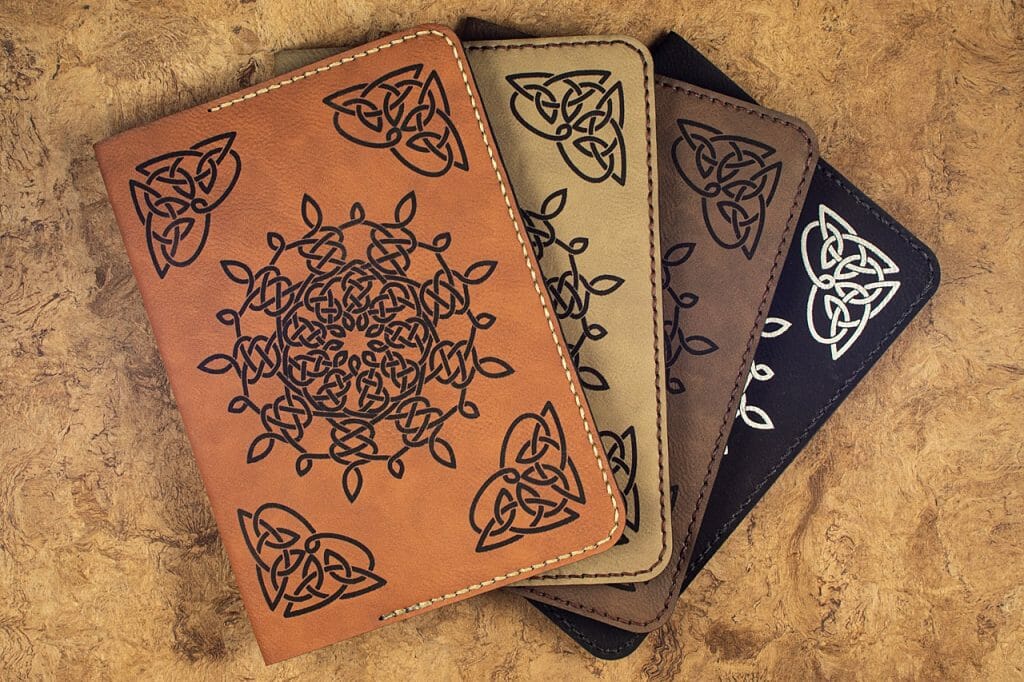
These journal covers are engraved with my Snowflake Celtic knotwork design (and a new corner piece I designed specifically for these). These are laser-cut and engraved, then saddle stitched by hand (using the stitching pony I made recently). These are made from a synthetic/vegan leather that looks and feel impressively like real leather. I personalized a few of them. These slip onto the Baron Fig Vanguard notebooks, which can be easily swapped as notebooks are filled.
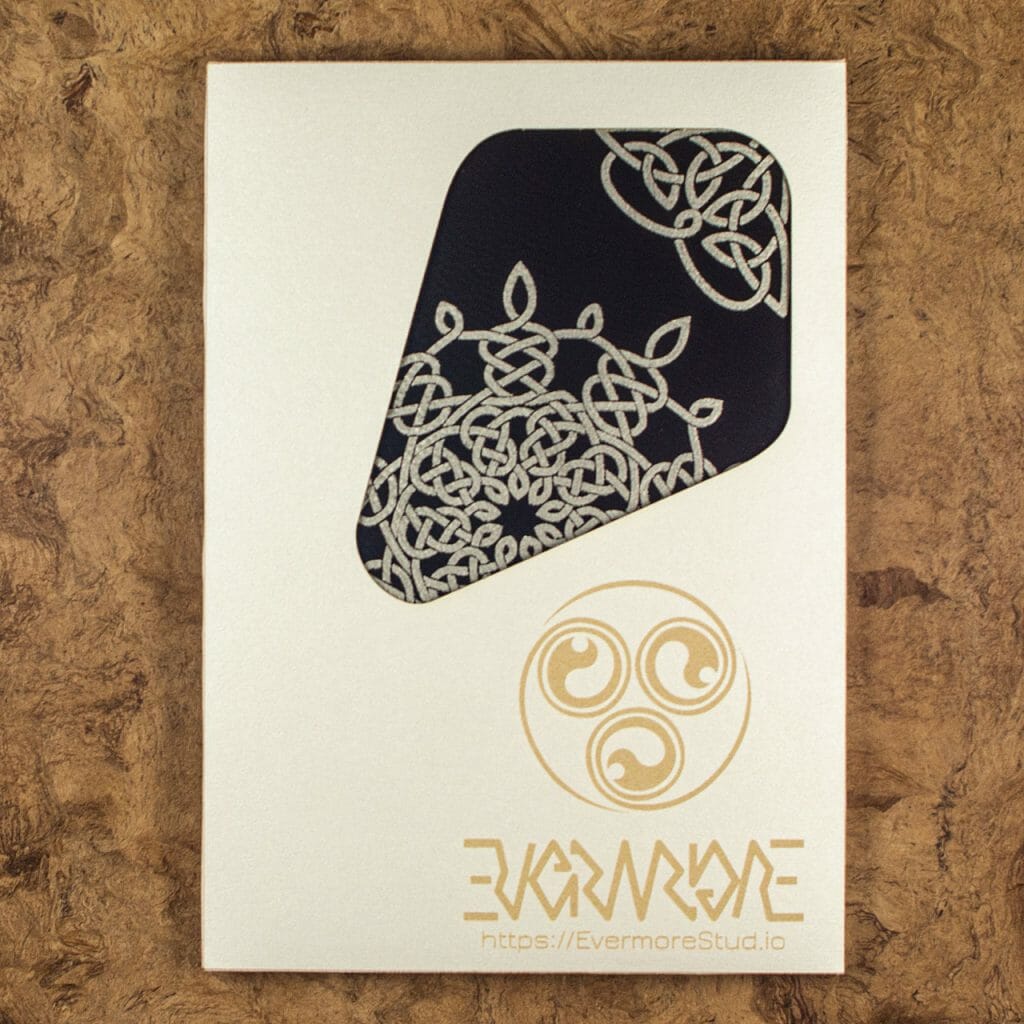
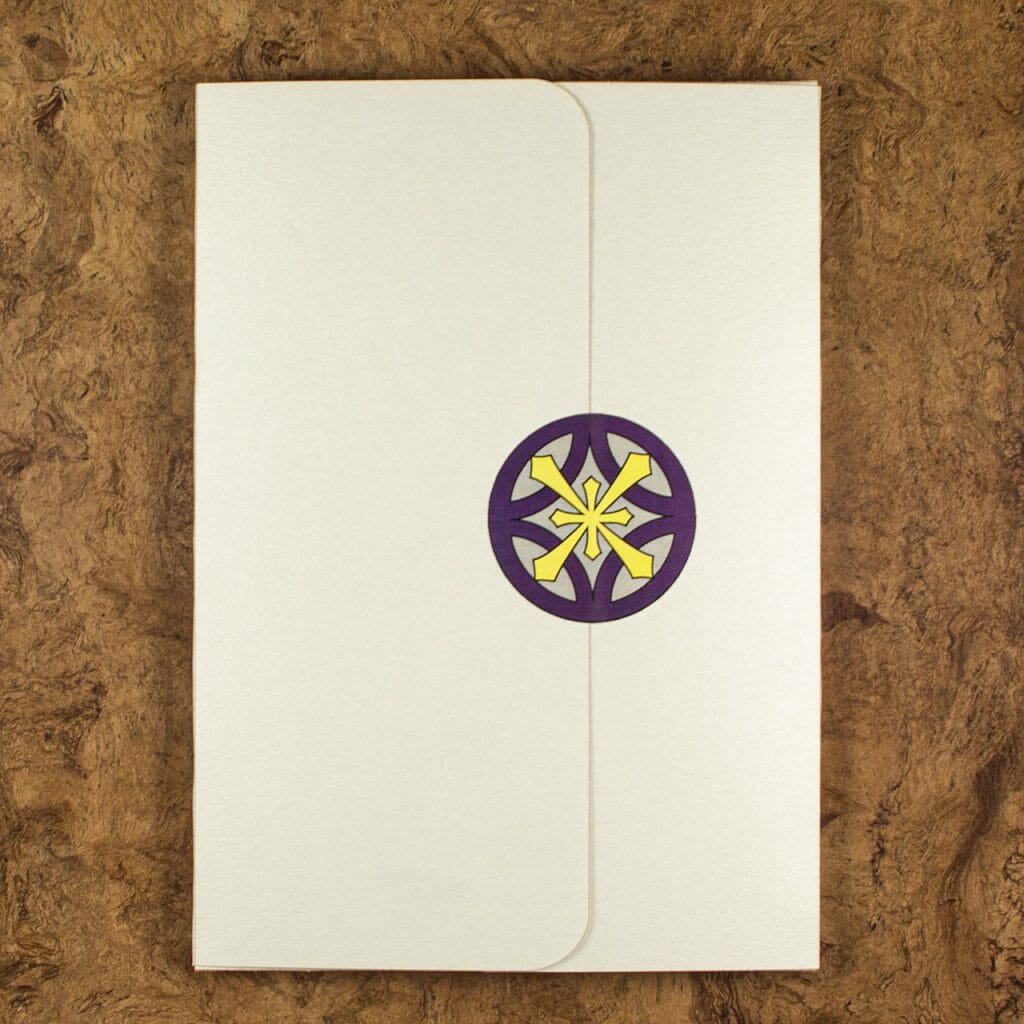
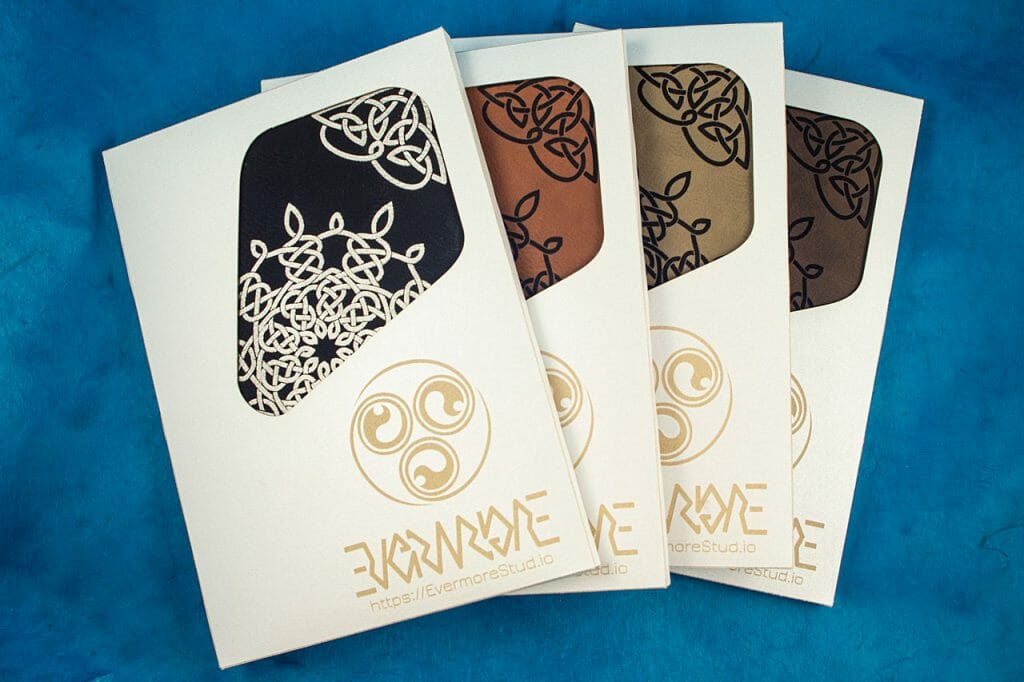
I also made some packaging for them. The Ice Gold cover stock laser engraves in a nice metallic gold for the design and ambigram logo.
Update: These are now available in the shop!
Skull Beads
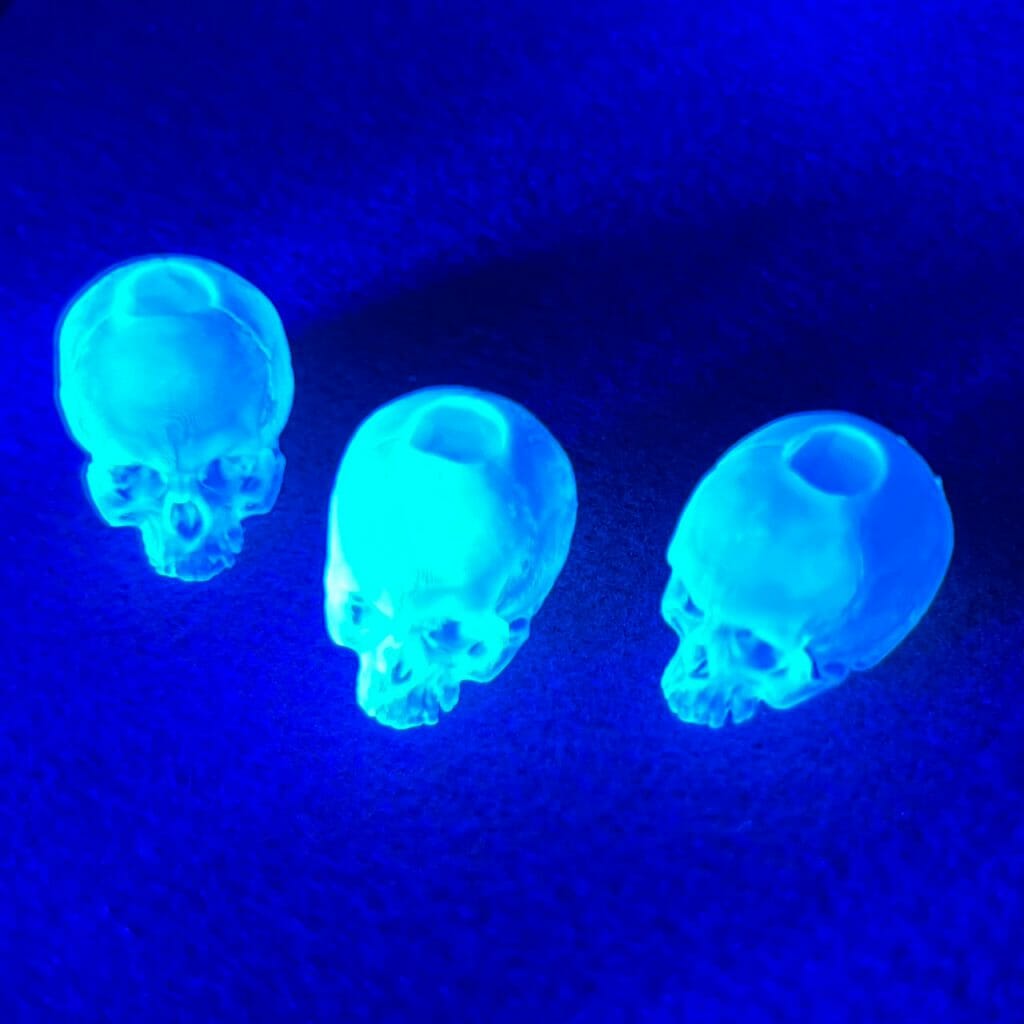
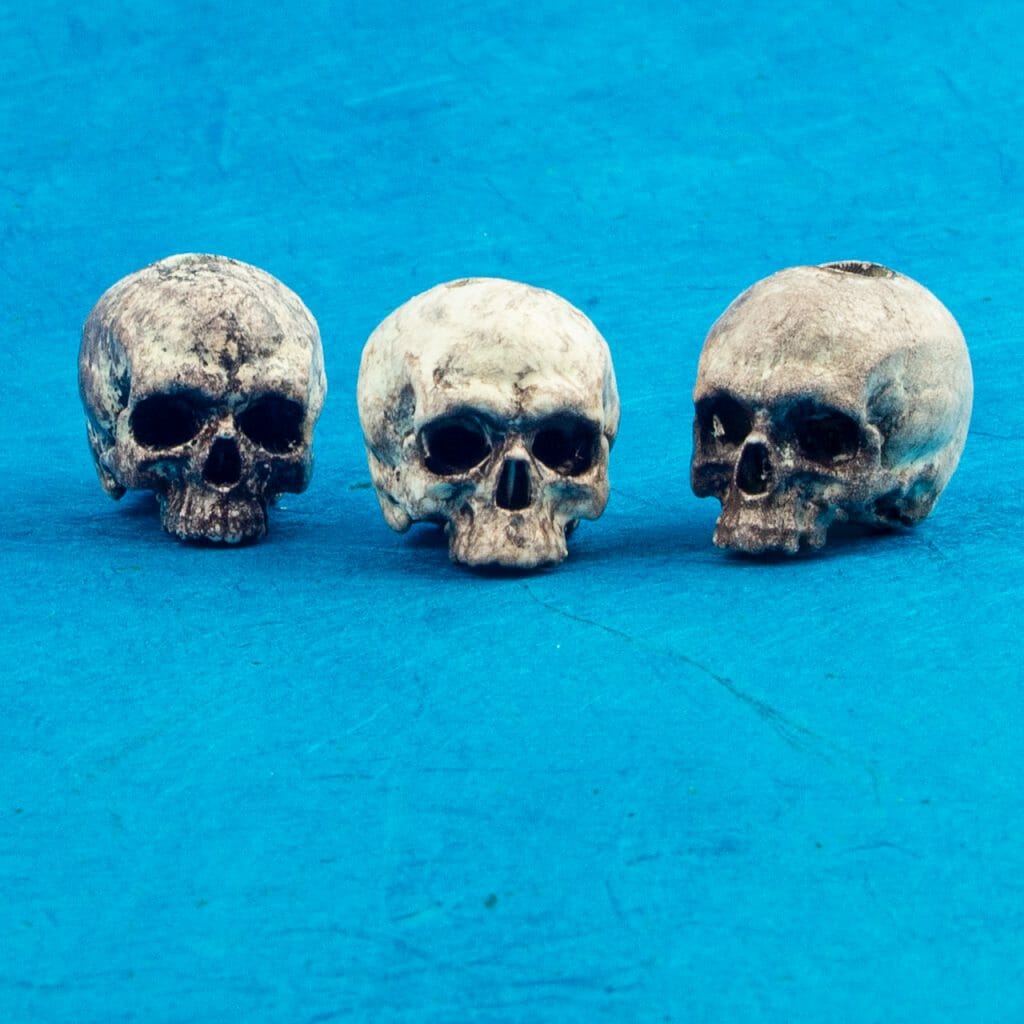
I used some hand-carved cow bone skull beads in a recent (forthcoming) project. I like the look there but, they are pretty rough. Someone was showing me some tiny hand-carved wooden skull beads and, I wondered if I could come up with some relatively easy way to produce some more detailed skull beads. My under-used SLA resin printer seemed like a good option.
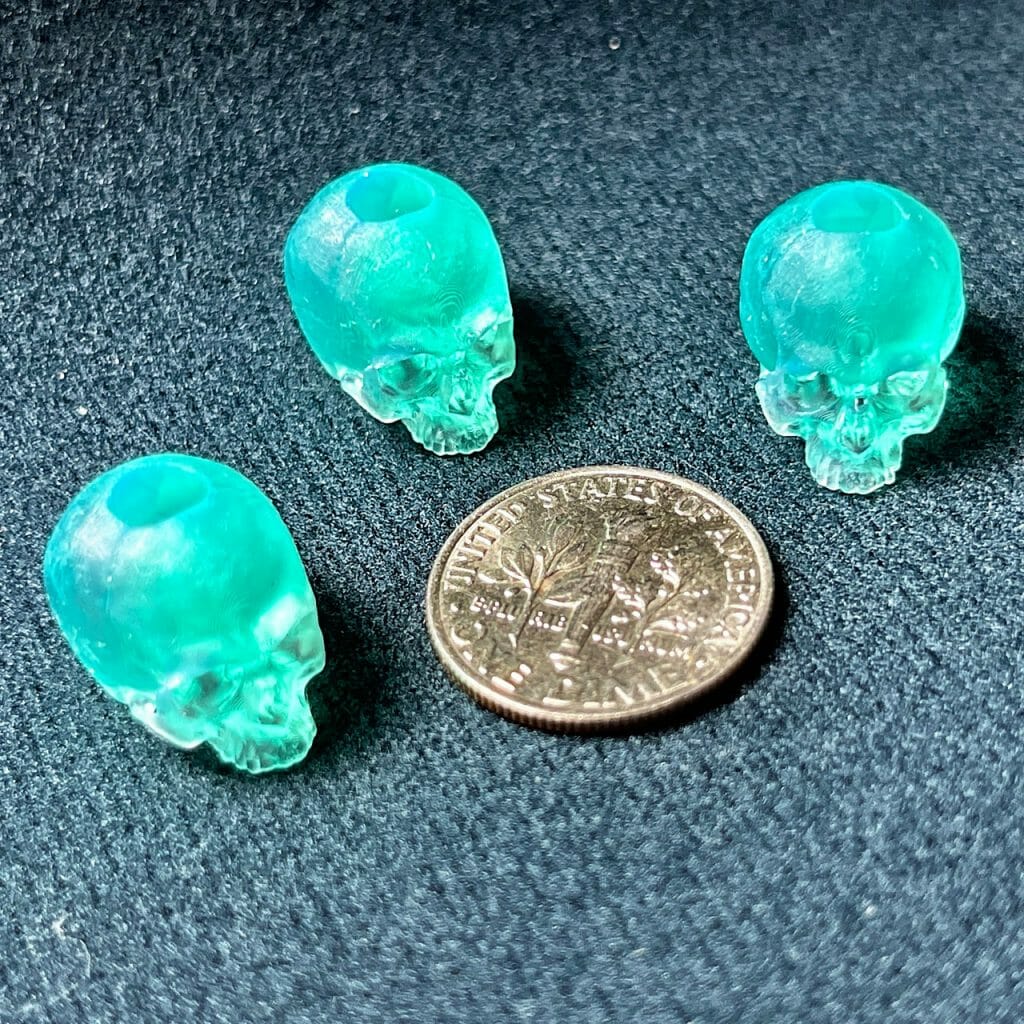
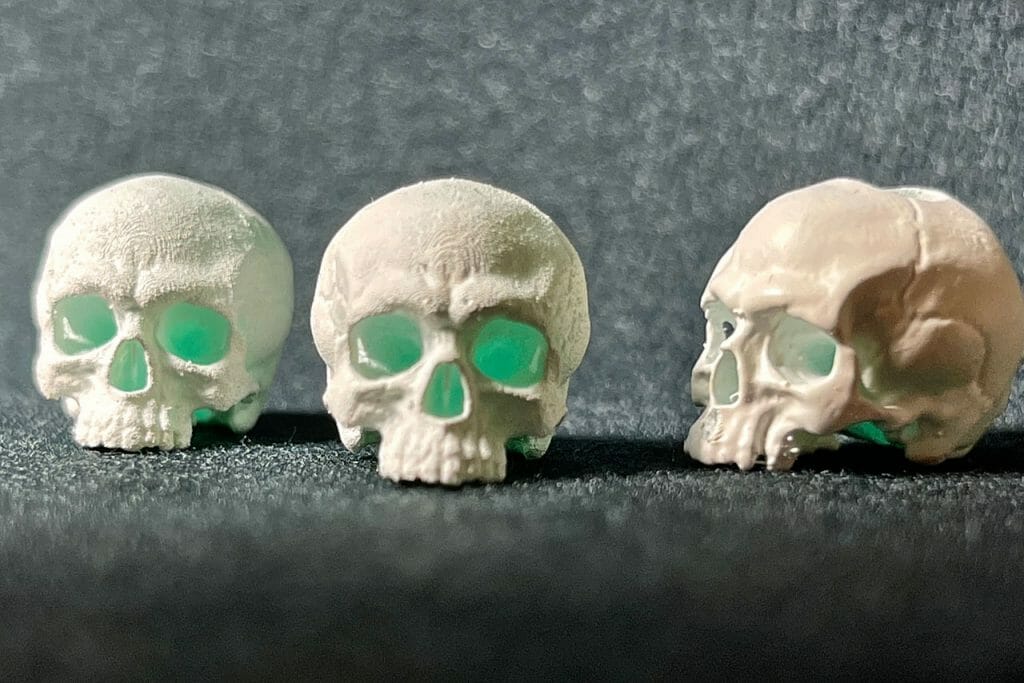
I created a remix of a full skull model by Arminas Didziokas. I used MeshMixer to remove the lower jaw, make it solid and, put a hole through it. I printed a few at different sizes to get a feel for what would be best.
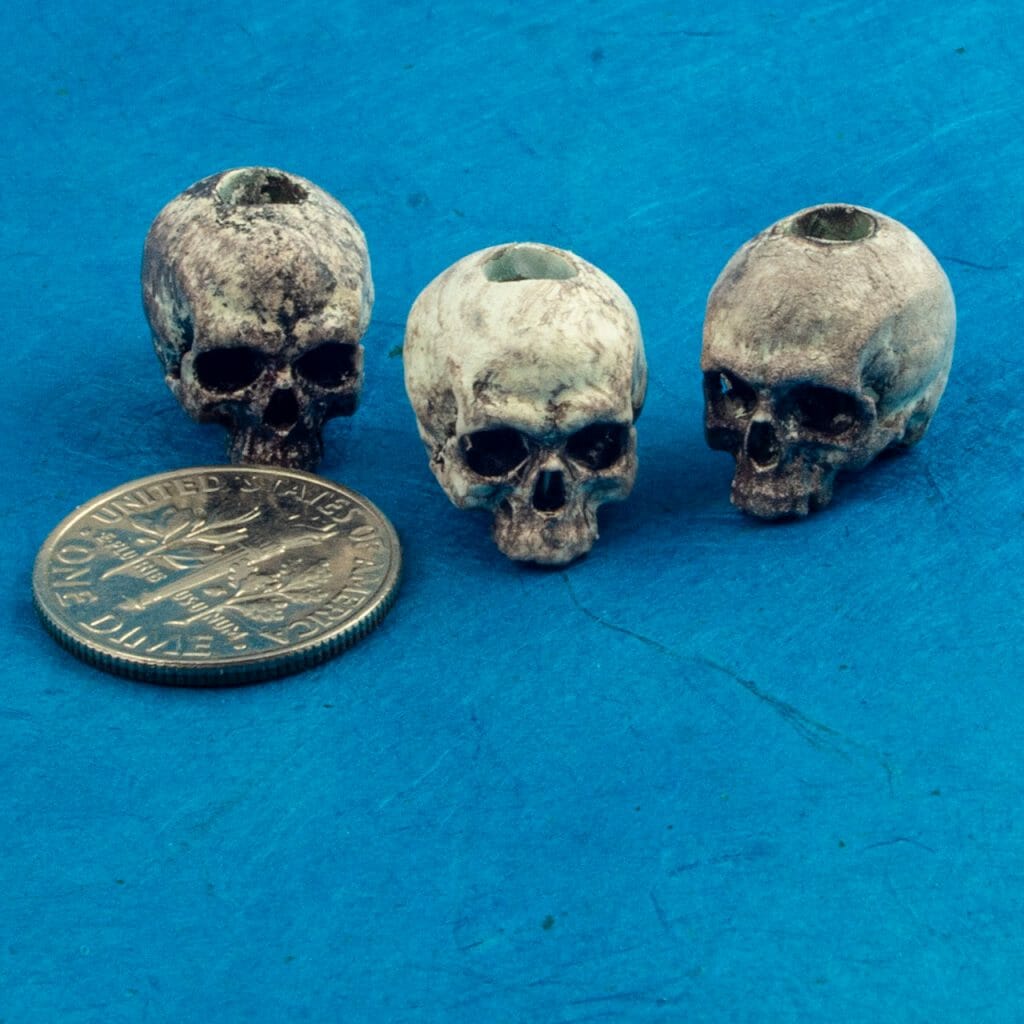
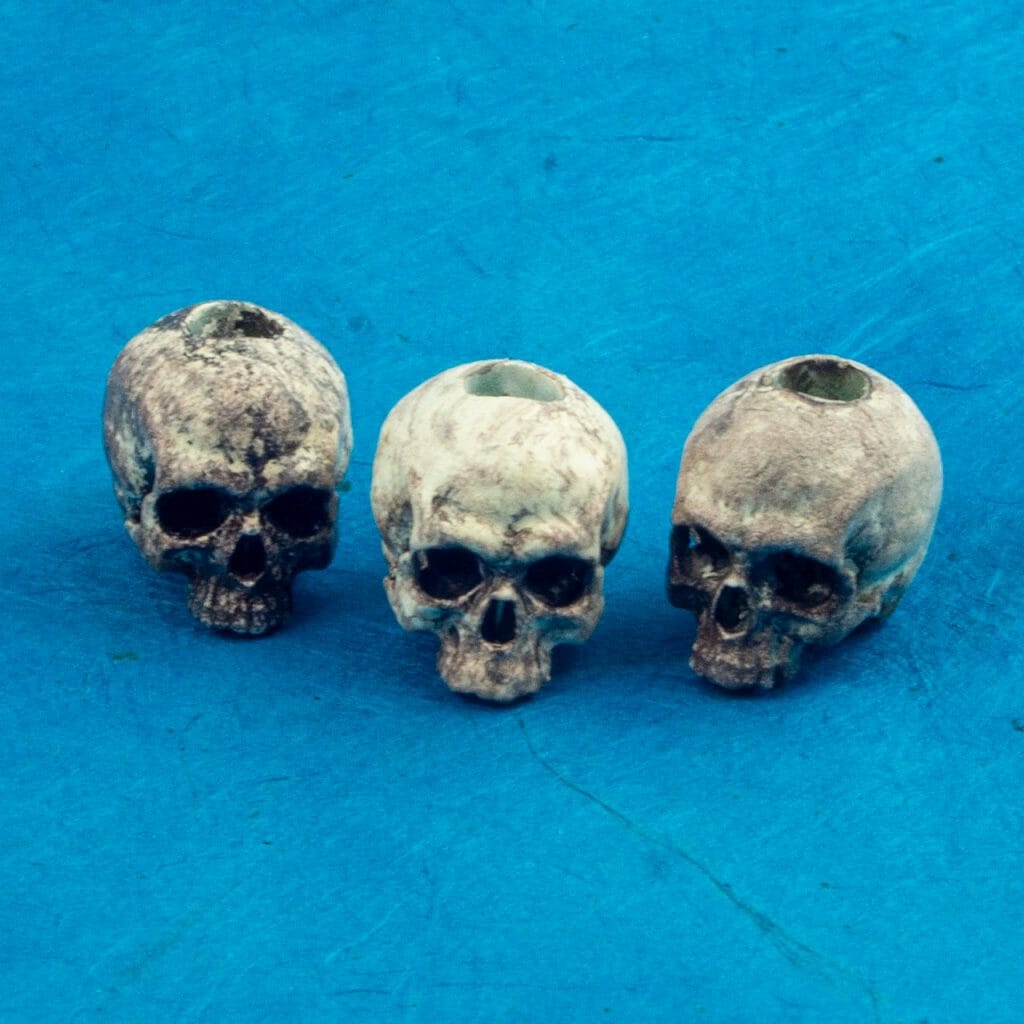
After curing, I primed them with Montana Cans white primer. When that was dry, I dug out my old Aztek 3000S airbrush and gave them a coat of something more of an aged bone color. Next, I did a simple dark brown wash on two of them them and, a black wash on the other. They then got a light coat of matte polyurethane to protect the paint.
The holes probably need to be somewhere around .5-1mm smaller and, my painting technique needs some work. It was challenging getting the wash to stay everywhere I wanted it and, the highlights got muddier than I would prefer. Overall, though, I think they look pretty good.
Another possibility for future attempts would be to use the 3D prints to cast these in something else.
Note the dime in the scale pic. These are a little under 1cm wide.
Make a Stitching Pony
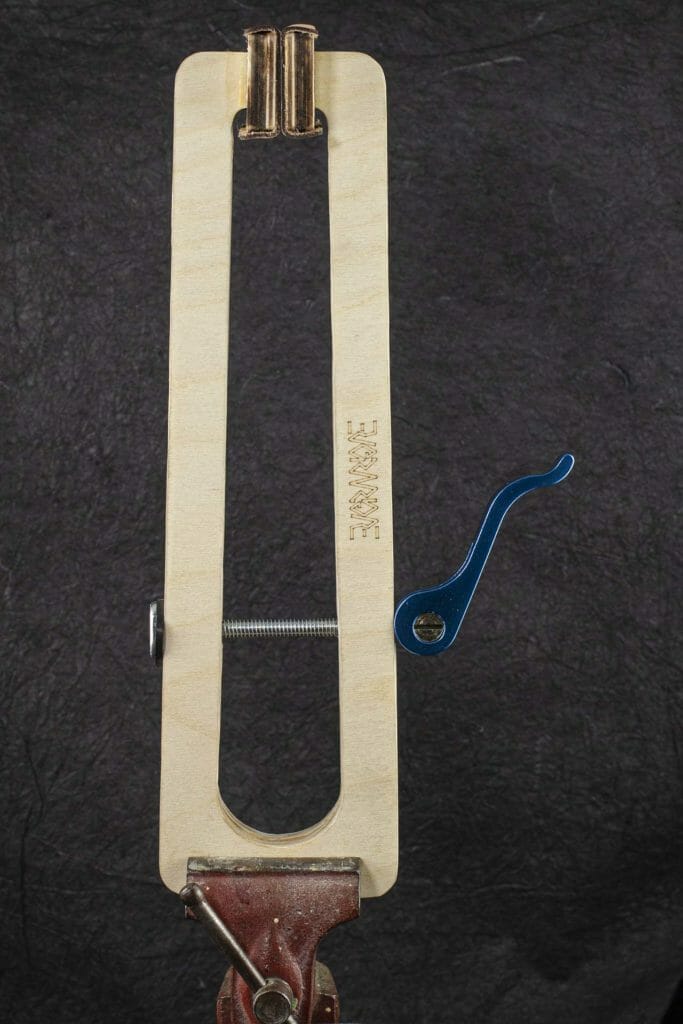
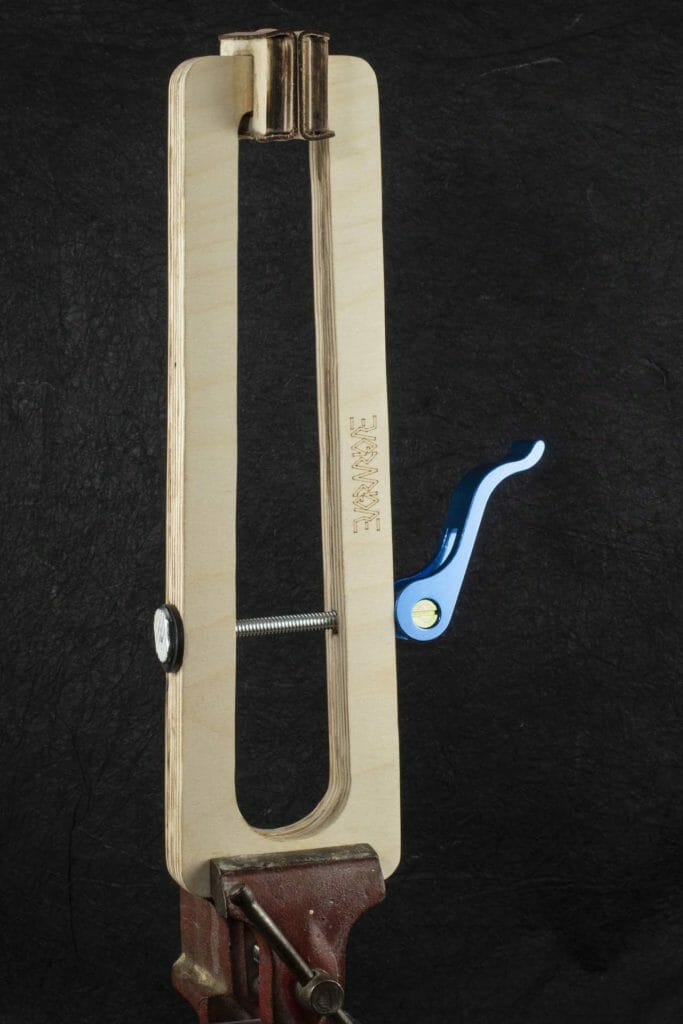
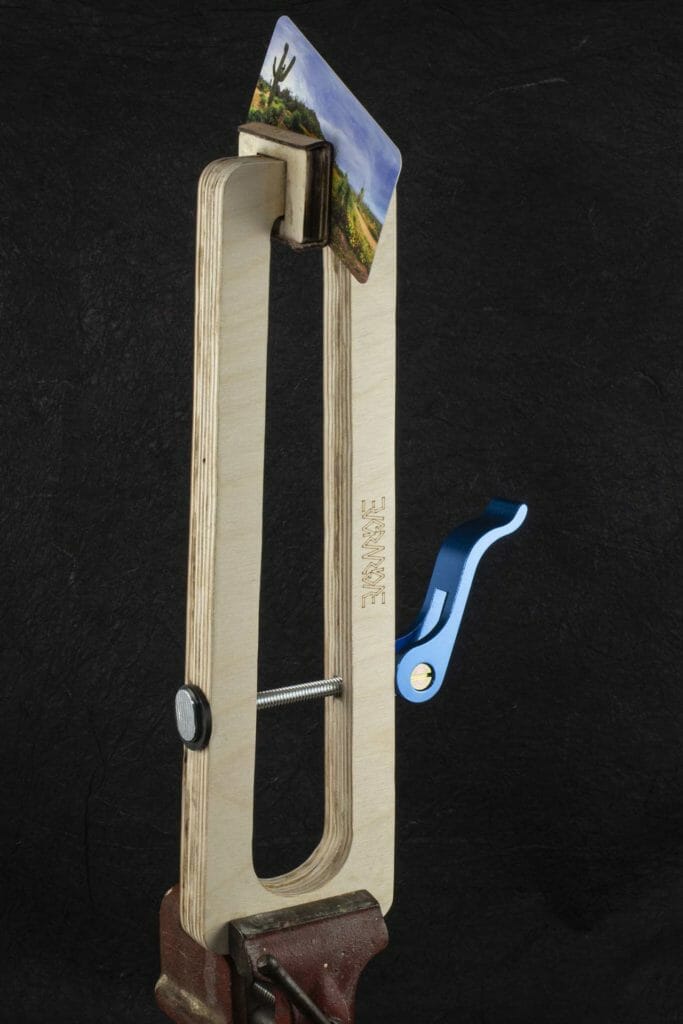
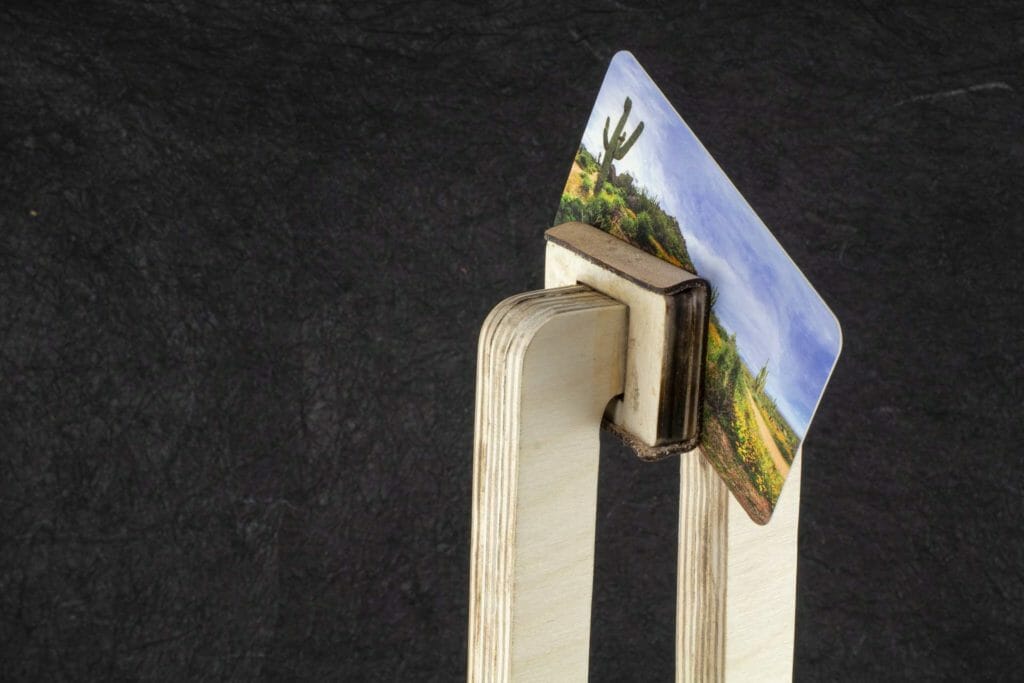
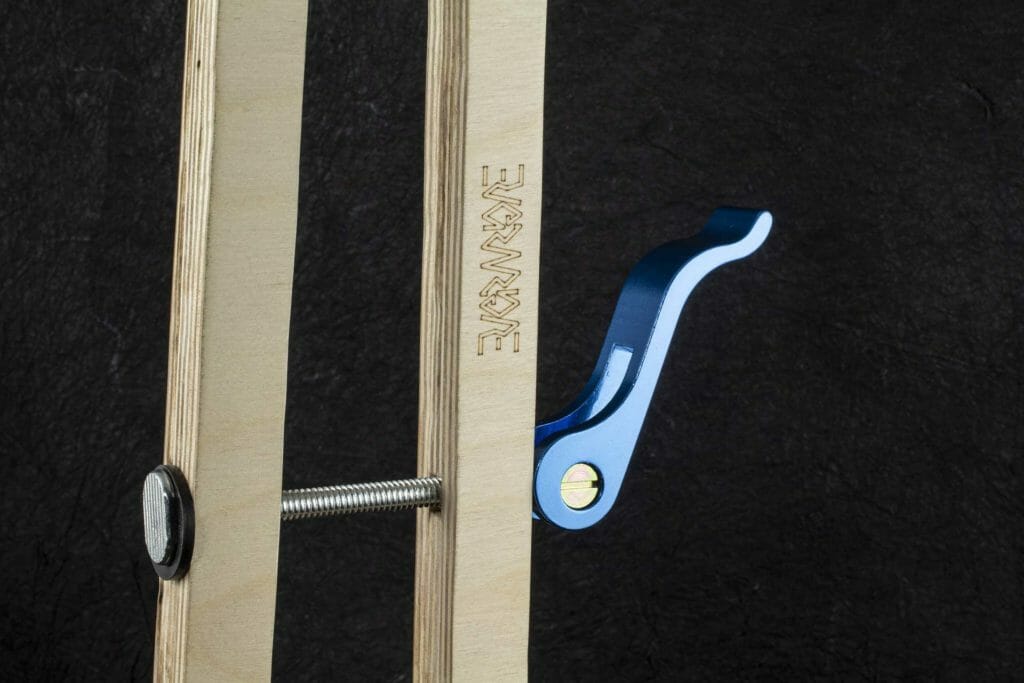
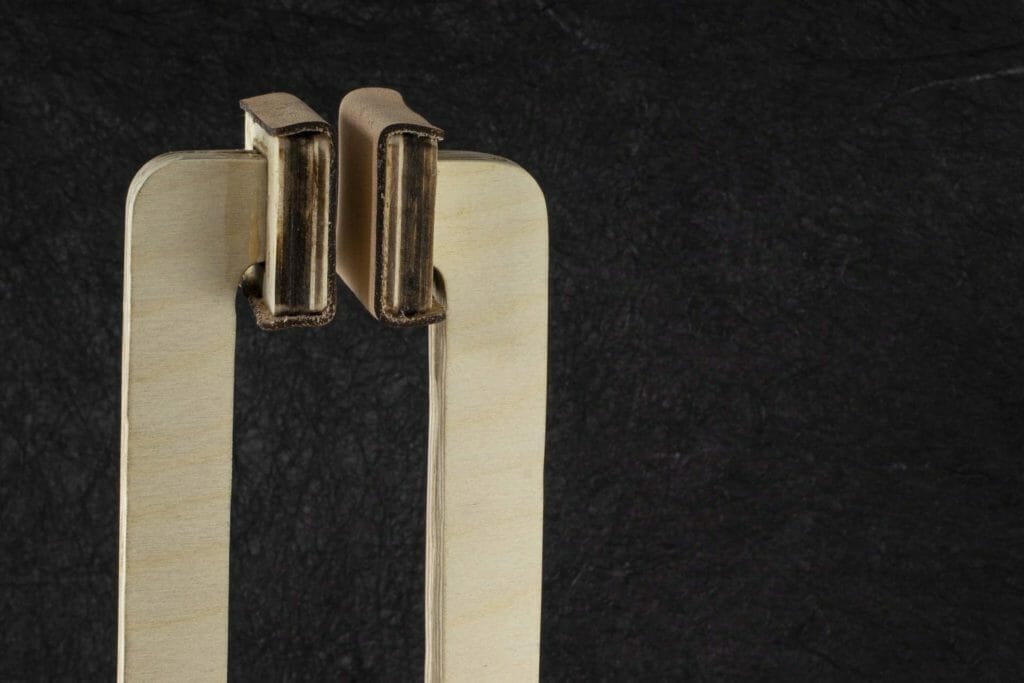
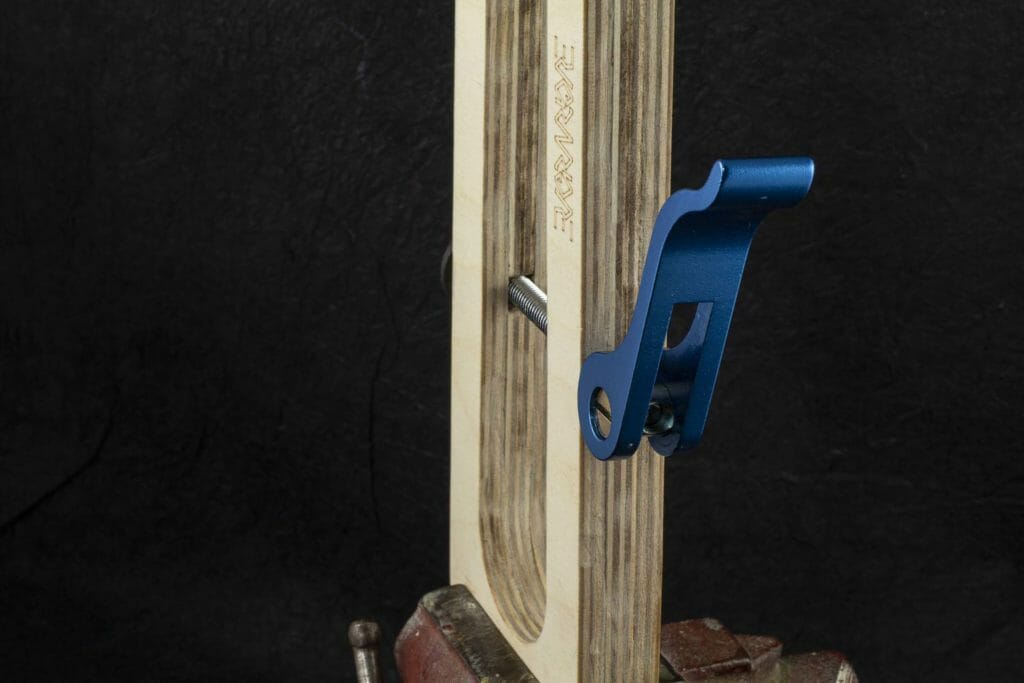
My first attempt at saddle stitching on a project made the value of a stitching pony immediately clear to me for that. They also seem to be pretty useful for softly clamping other small things on which one is working. Commercially-made stitching ponies are not particularly expensive or hard to find. I was thinking about the springiness of plywood and, how easy it might be to make something with a simple cam clamp. I gave it a try and, this worked out even better than I expected. I was actually a bit sloppy building this because I assumed it was going to be a prototype I threw away. It works great and, seems to be everything I need for now, though.
Design Files
These files are for personal, non-commercial use only. If you want to produce these to sell or for other business use, please contact me to arrange for licensing terms. Also note that, by referencing these, you are agreeing to release any variations you create under identical terms.
Resources
You could cut this with a scroll saw, jig saw or hack saw pretty easily. Of course, if you don’t have one and, really want your own laser, feel free to use my Glowforge referral code to purchase your own. Glowforge will give you a discount off their posted price and, I will get a credit kickback to help defray the cost of materials for future projects. Your support is always appreciated.
You are almost certainly better off buying your Baltic birch plywood from a local supplier. You can get little boxes of it online but, it is generally twice the price.
1/4″ Baltic Birch Plywood (Amazon)
1/8″ Baltic Birch Plywood (Amazon)
1/4″ Baltic Birch Plywood (Woodworkers Source)
Here is the cam clamp I used. Anything similar should work. This uses a standard quarter-twenty bolt. So, it should be possible to replace with a longer one, if desired.
I used this leather because it was handy but, any soft vegetable-tanned medium-weight leather should work.
Medium Natural Leather (Glowforge)
Table Vise (Amazon) if you don’t already have one.
Of course, you can also just buy a stitching pony for a similar amount:
Note that I am not recommending that particular stitching pony. I haven’t tried it. I am just pointing out that you can buy one ready-made.
Amazon referral links for some parts and incidentals defray IT and hosting costs for a local arts organization (Arizona Aikido).
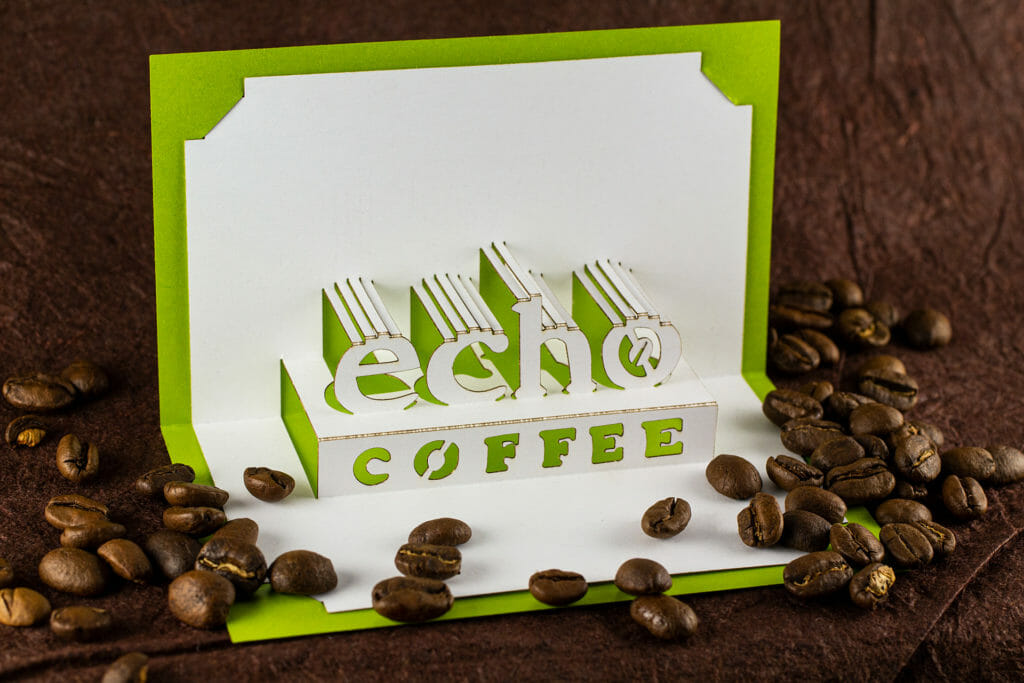
Echo Coffee OA / Kirigami Pop Up Card
This is a a quick thank you card I made for a local coffee shop I like.
Small Inlaid Celtic Key Pattern Box
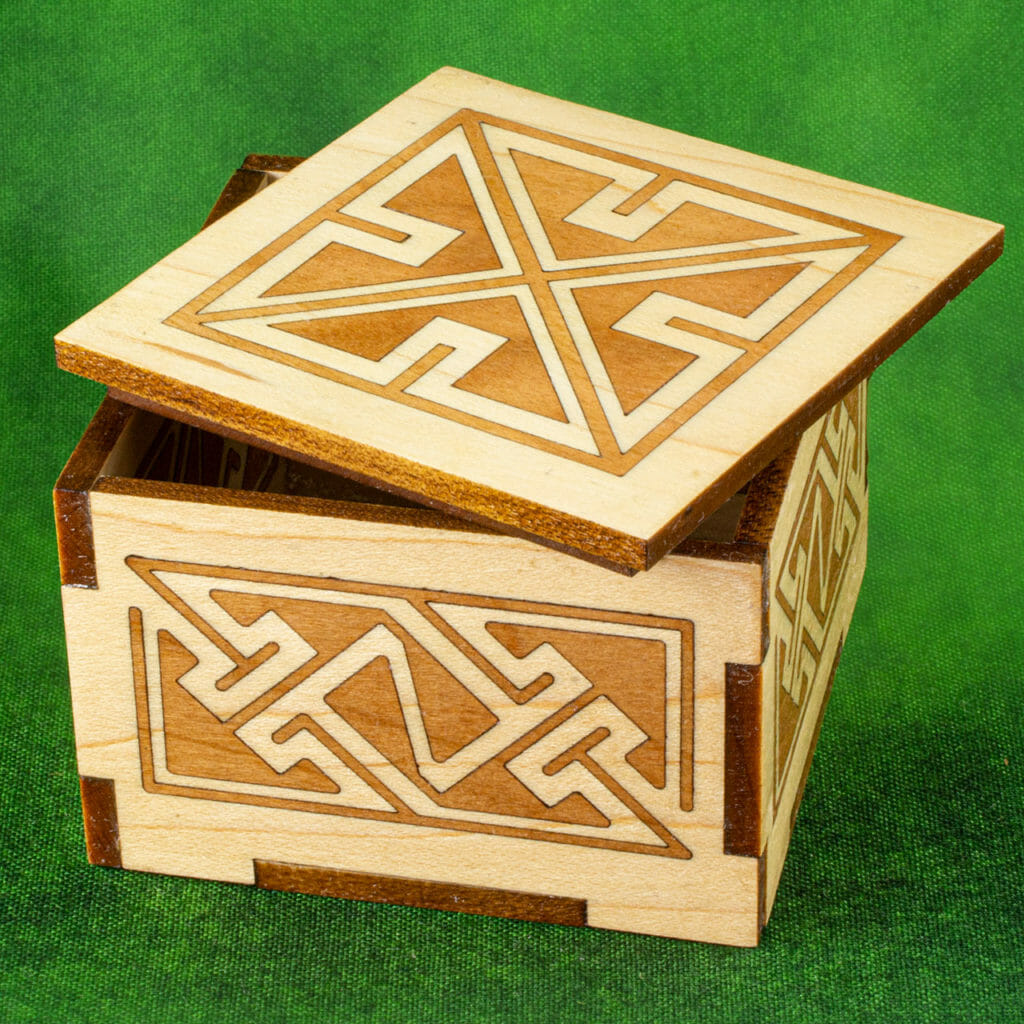
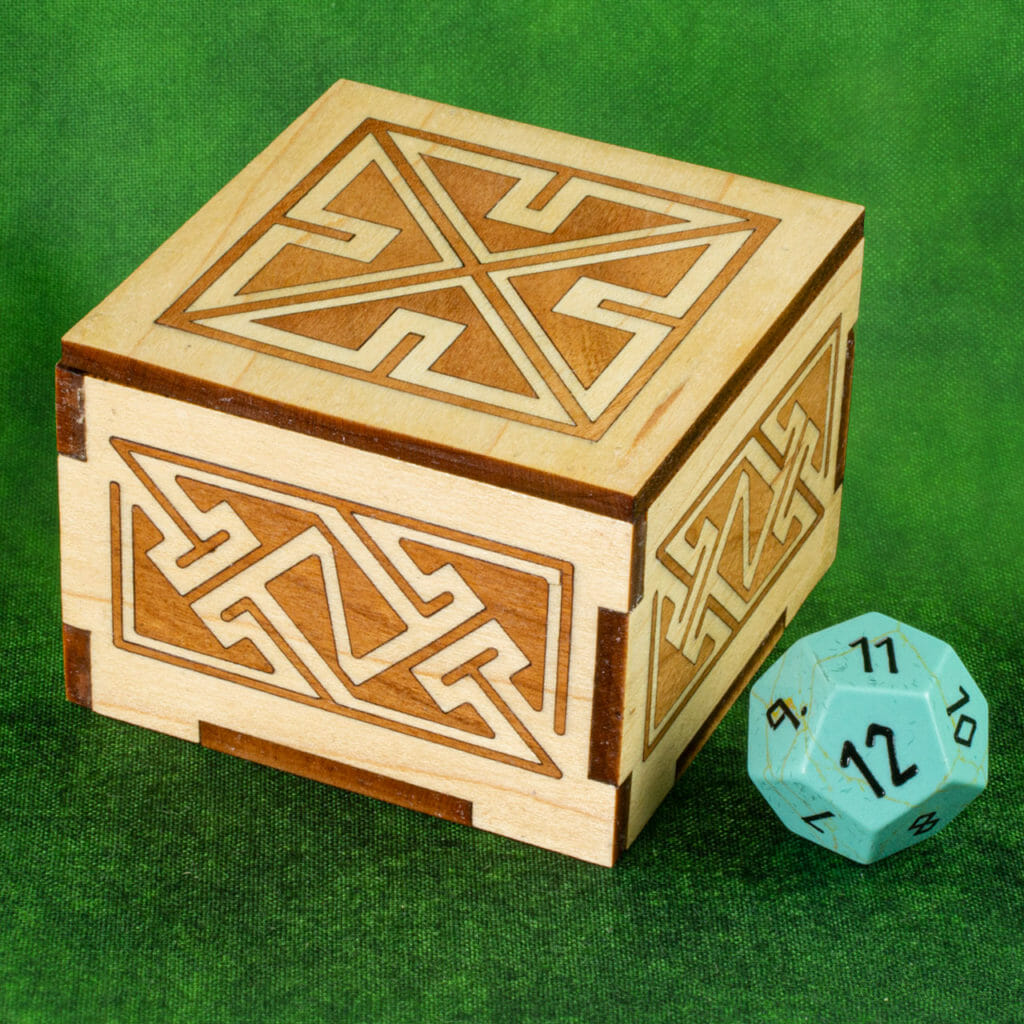
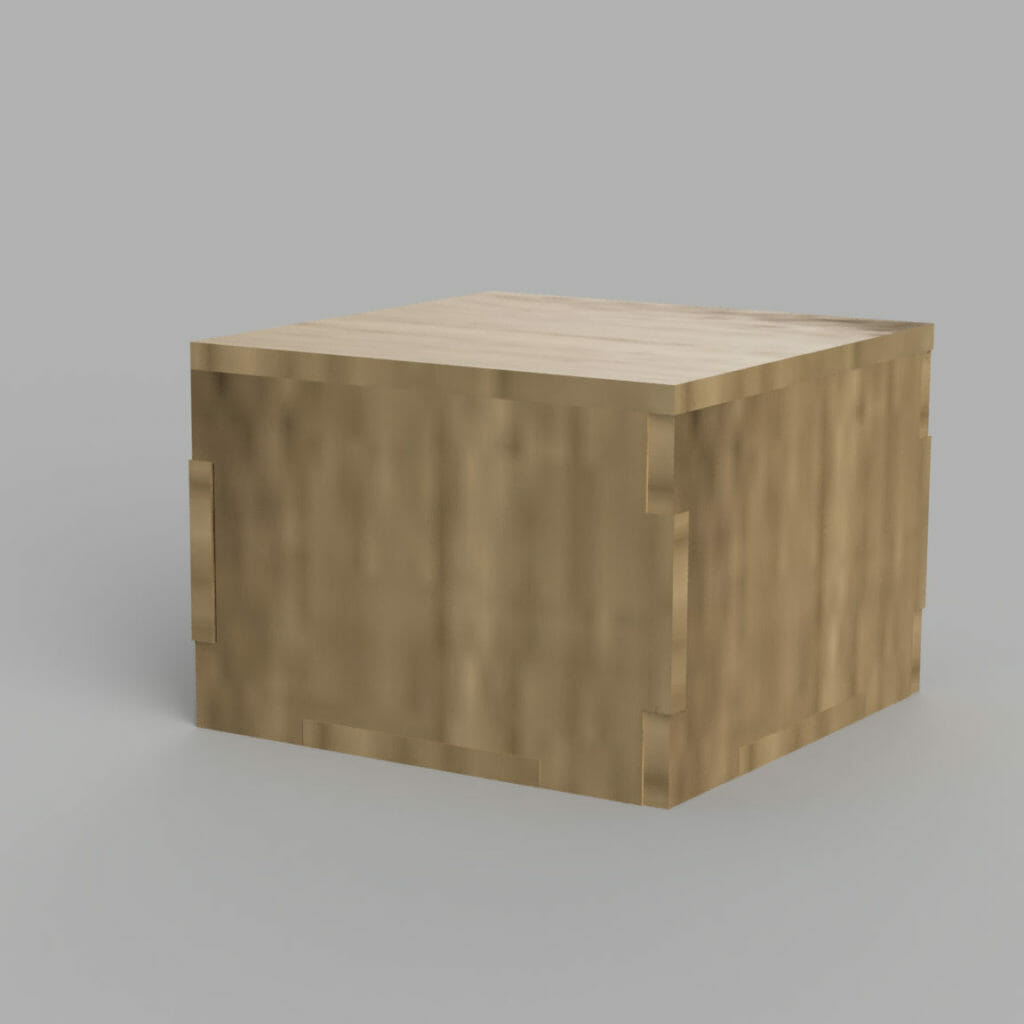
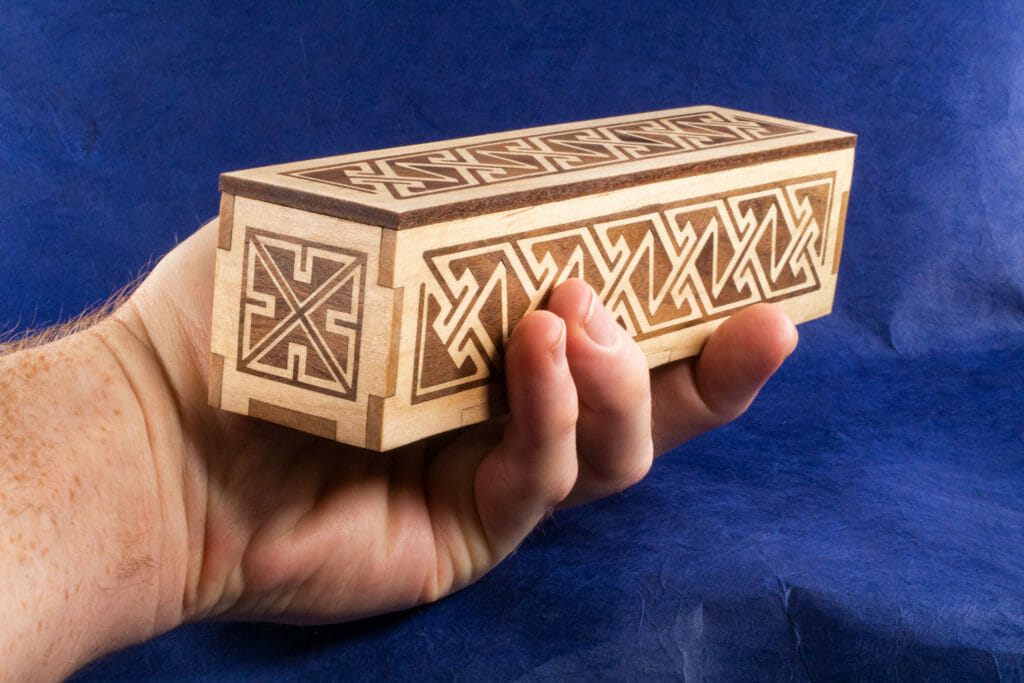
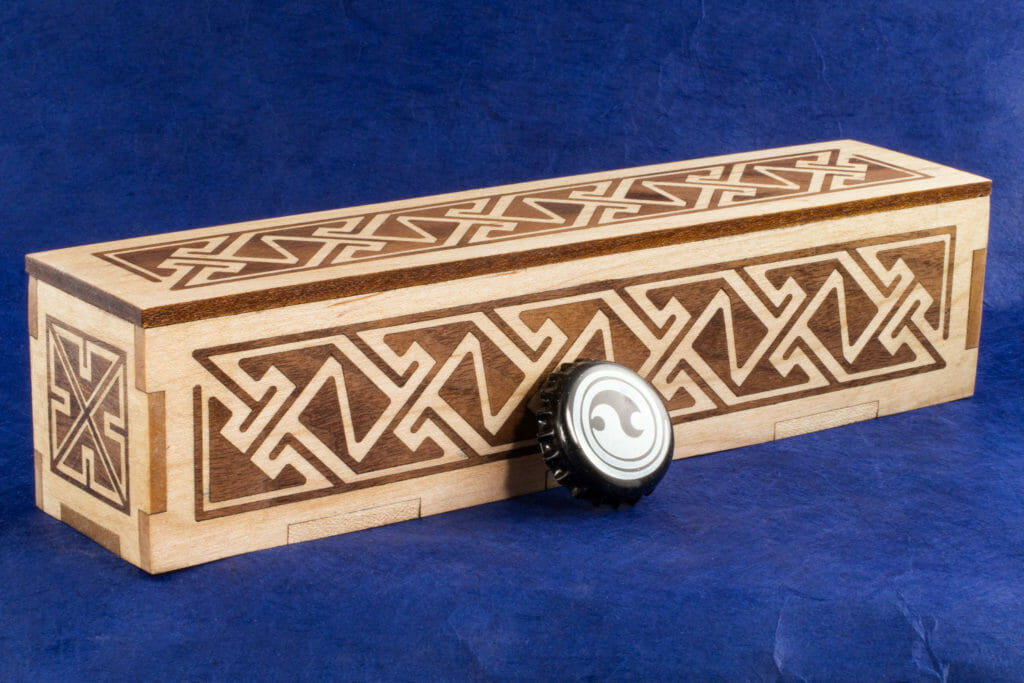
I did another small maple and cherry box inlaid with the same Celtic key pattern as the long box I posted recently. For this one, I designed the box body parametrically, entirely in Fusion 360. I can put in the material thickness or, even, alter the dimensions of the box and, everything will adjust automatically. The lid on this one is just friction-fit (no magnets) and, I did not flock the interior. 12-sided die (D12) for scale.
Celtic Key Pattern Inlaid Long Box
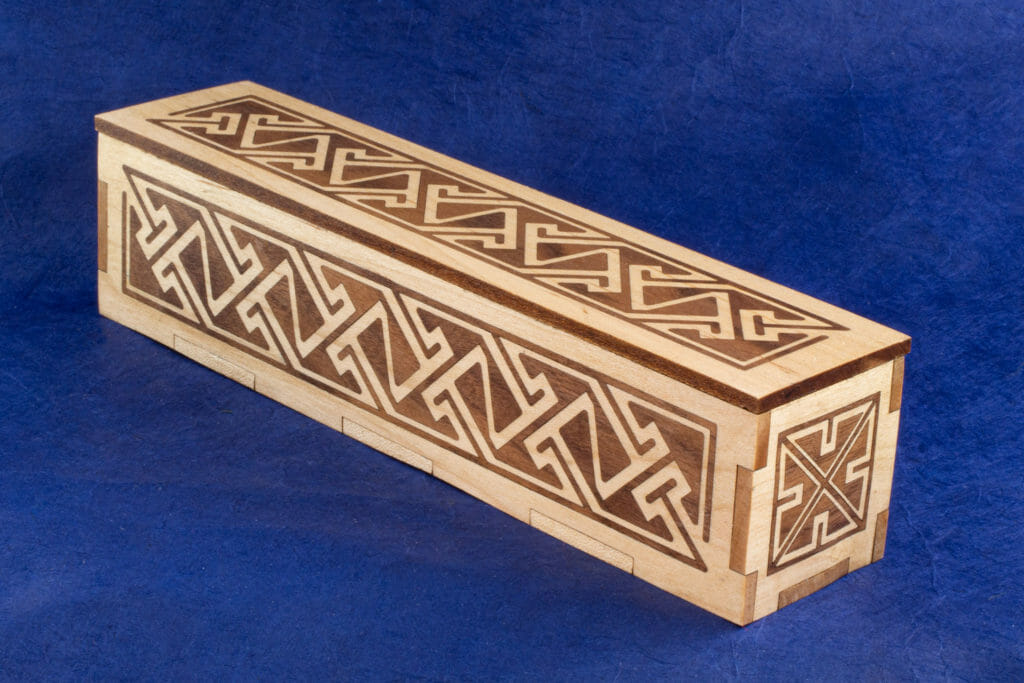
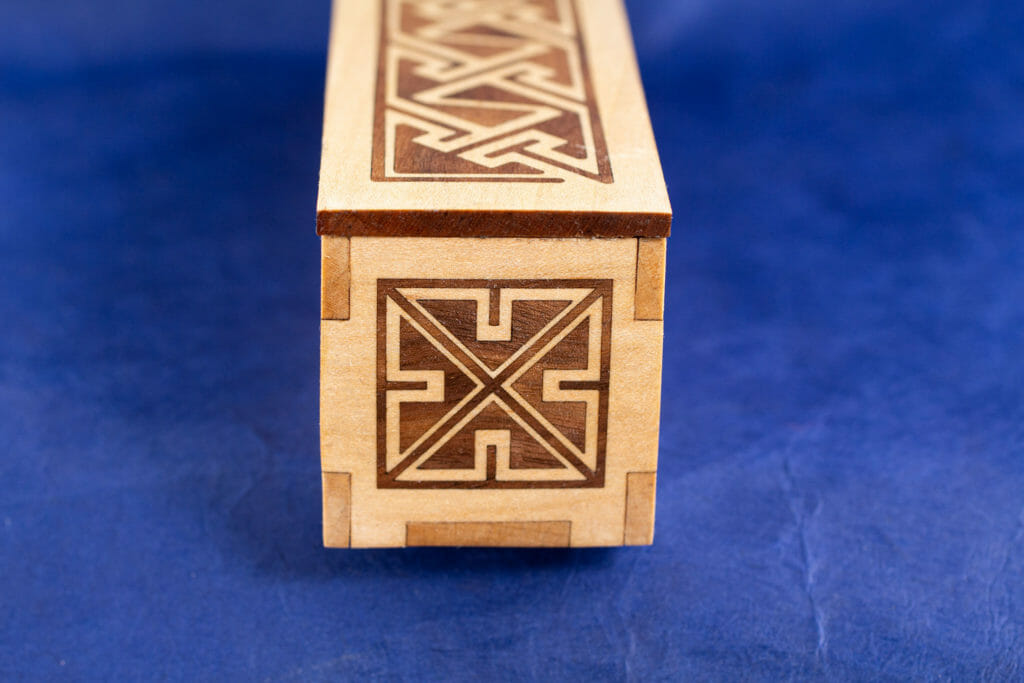
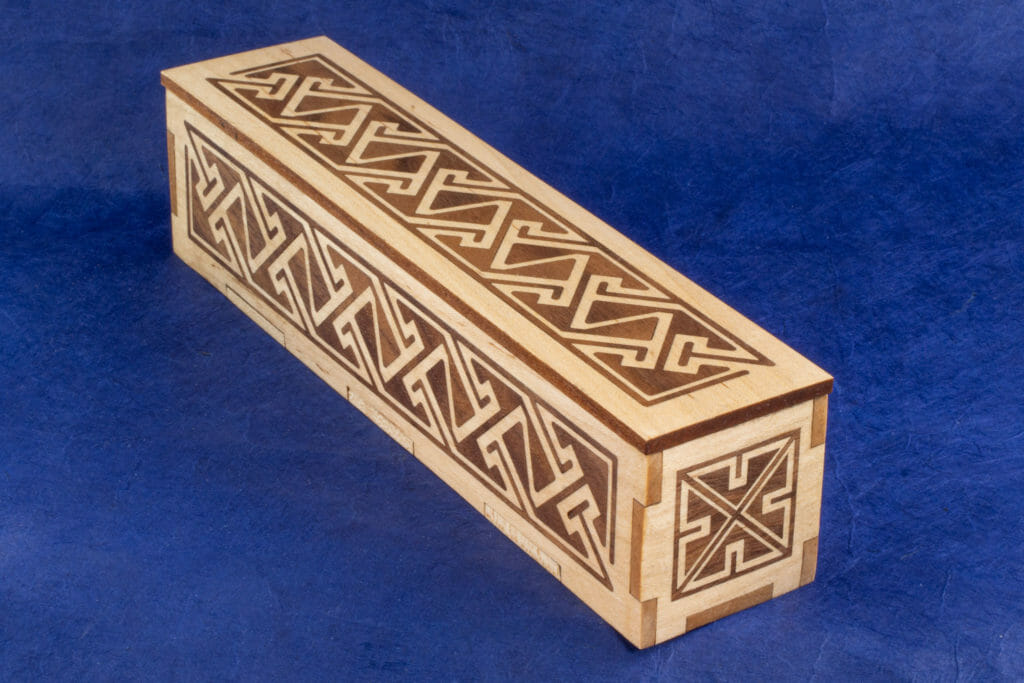
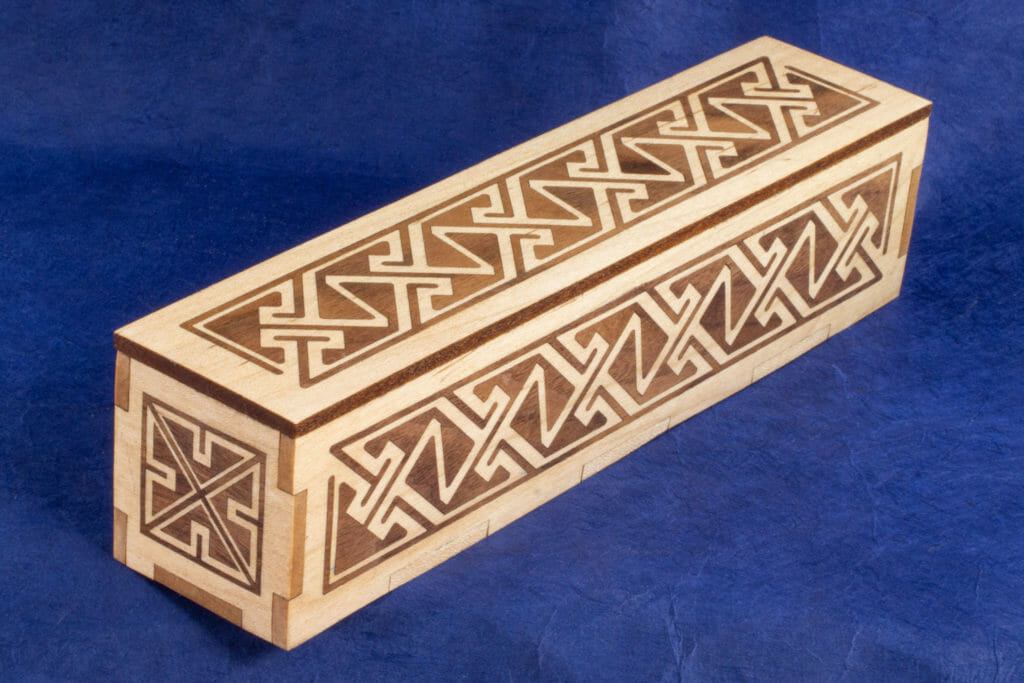
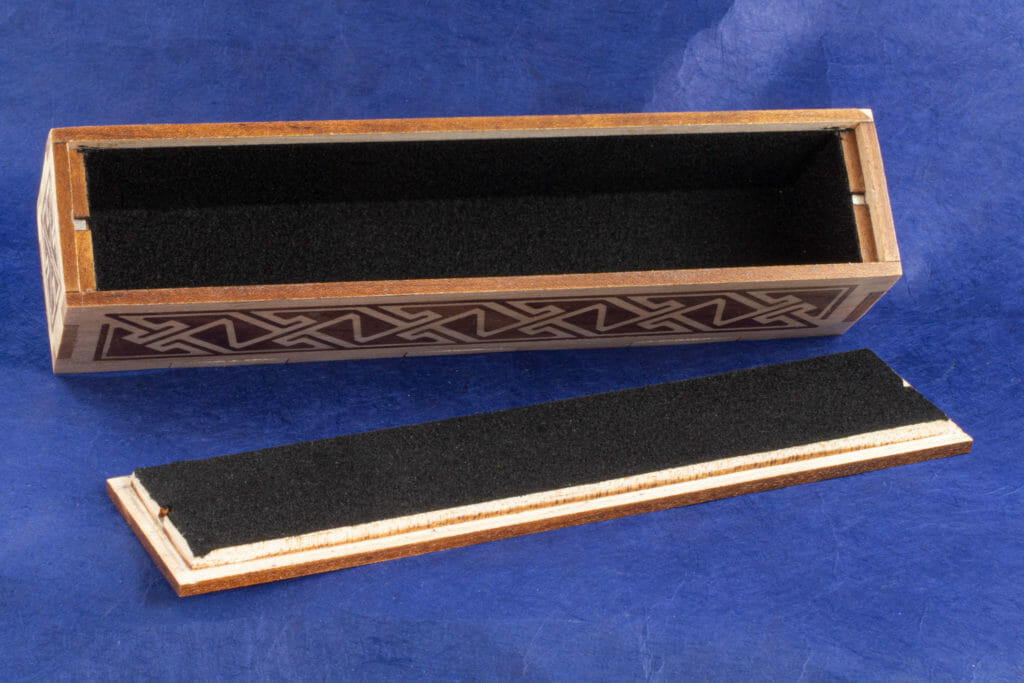
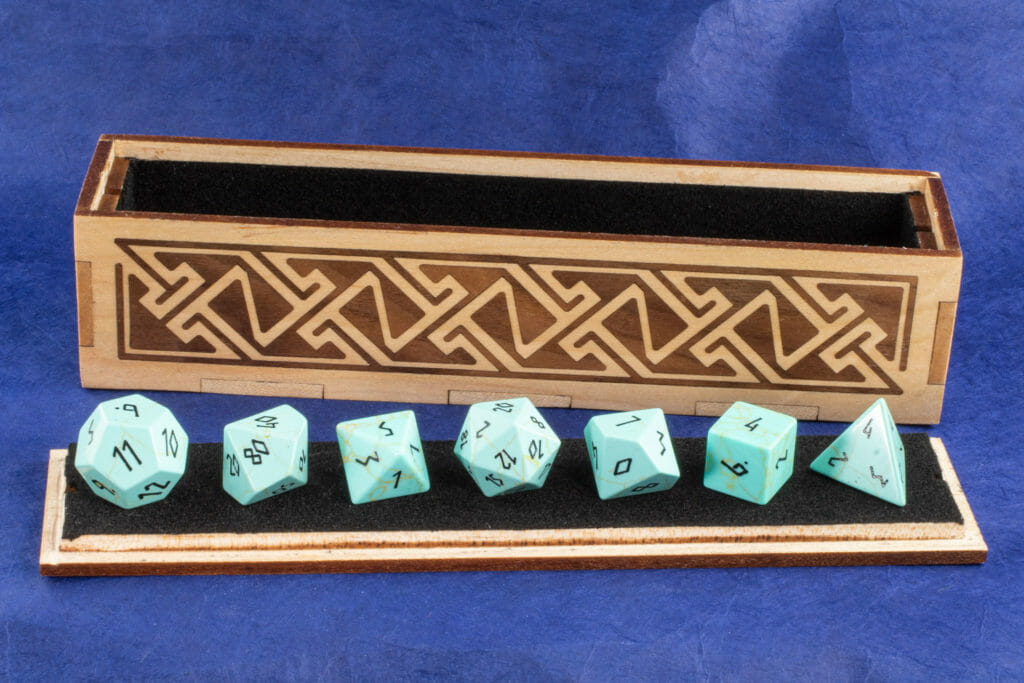
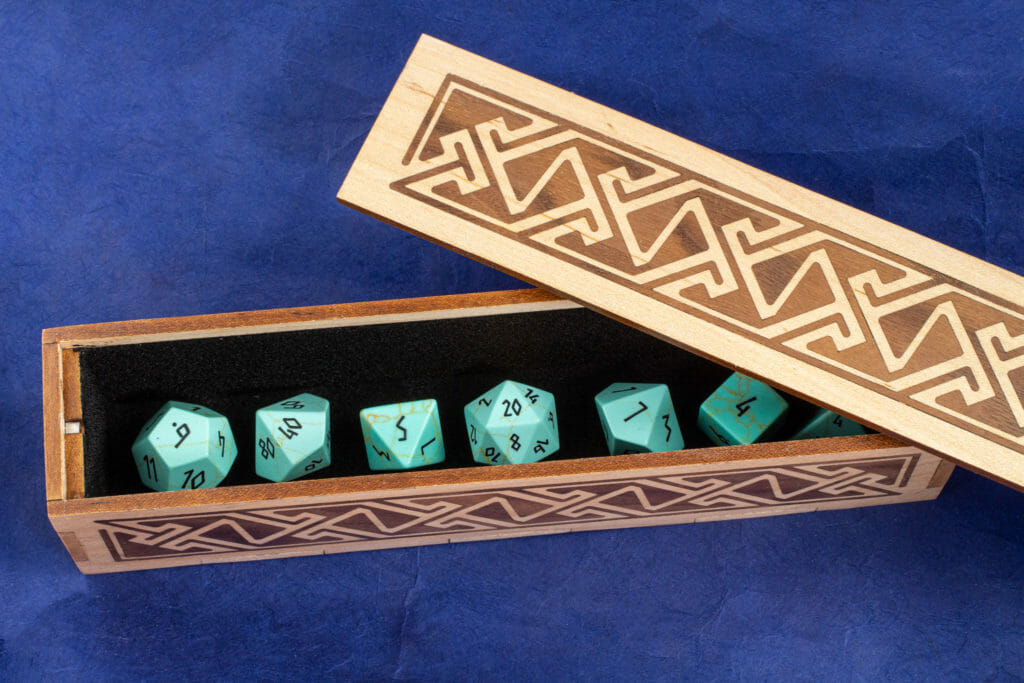
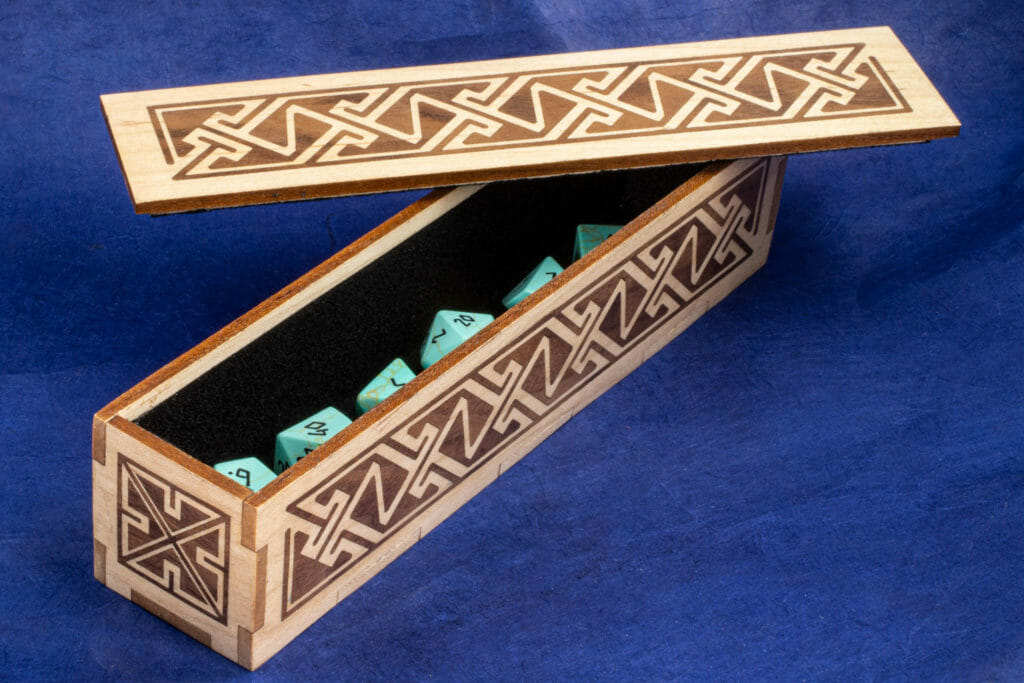
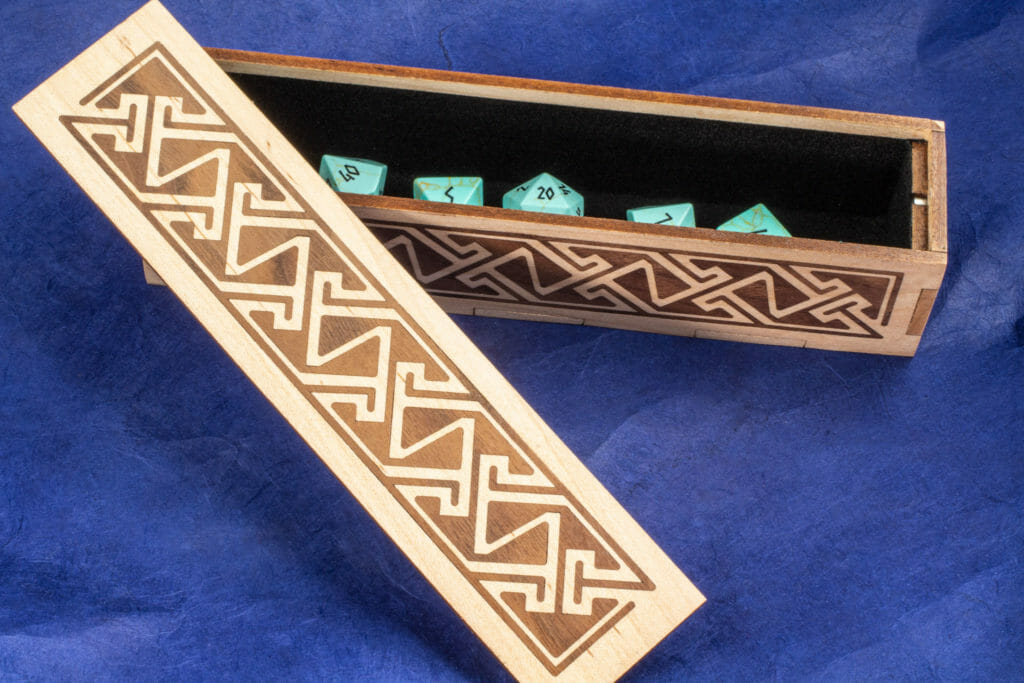
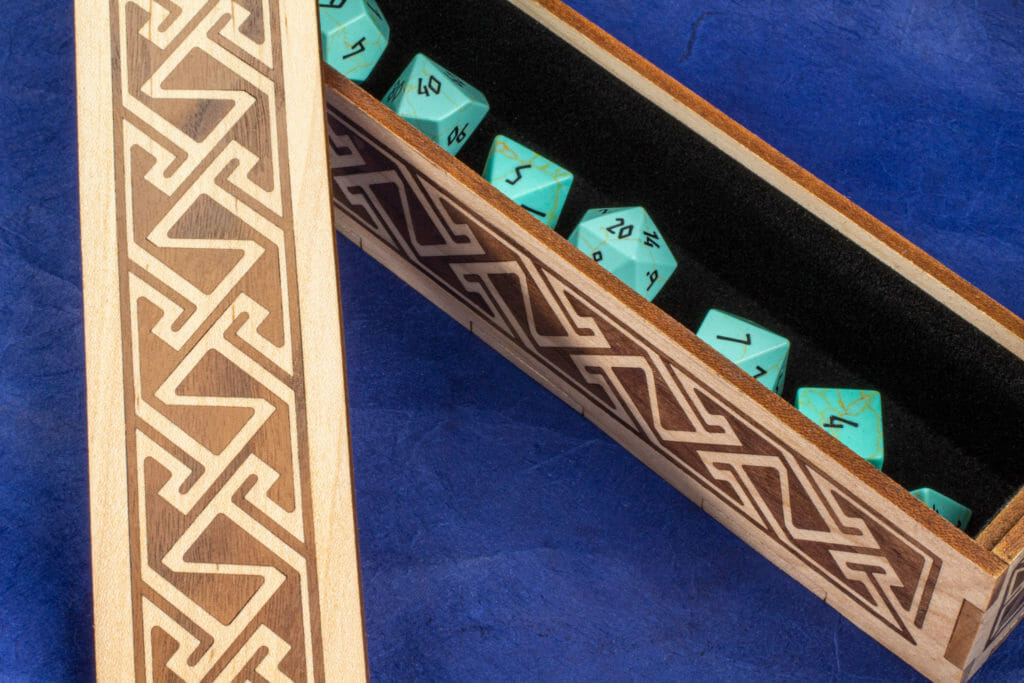
Celtic key pattern long box of hard maple inlaid with walnut and flocked interior. I think my second foray into laser-cut wood inlay went pretty well. This is probably not an optimal dice vault but, it looks good with these turquoise gemstone dice. I’ll likely do a proper dice vault in the future. the build video is more of a “what I did” than a “how to.” The beauty shots were a great opportunity to play with the new motion control robot.

