Get the Raspberry Pi Imager.
Run it and, follow the directions to install to your micro SD card. It will save a lot of effort later to get things like the wifi, username and password and, hostname set up in the installer. So, take your time and do that.
Remove and re-connect the micro SD card. A new drive named “boot” should appear.
Make an empty file named “ssh” in the root of the boot drive/partition.
Edit config.txt with a text editor and, add this line to the bottom of the file:
dtoverlay=dwc2
Edit cmdline.txt. Add this to the very end of the first line (being careful not a create an additional line):
modules-load=dwc2
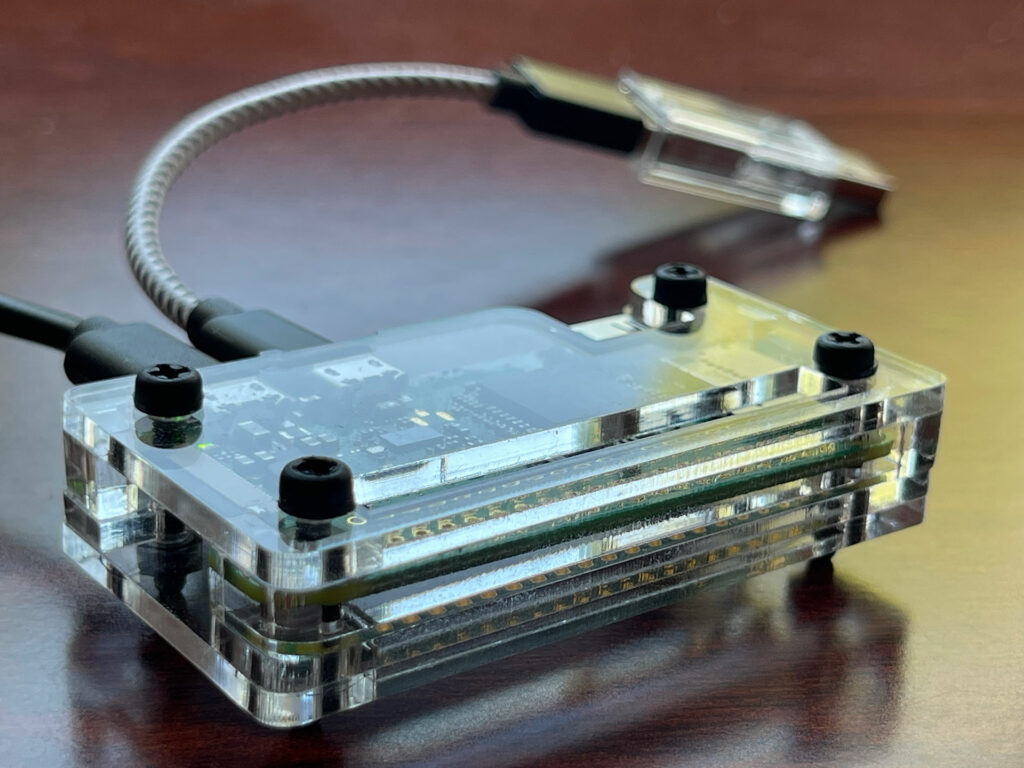
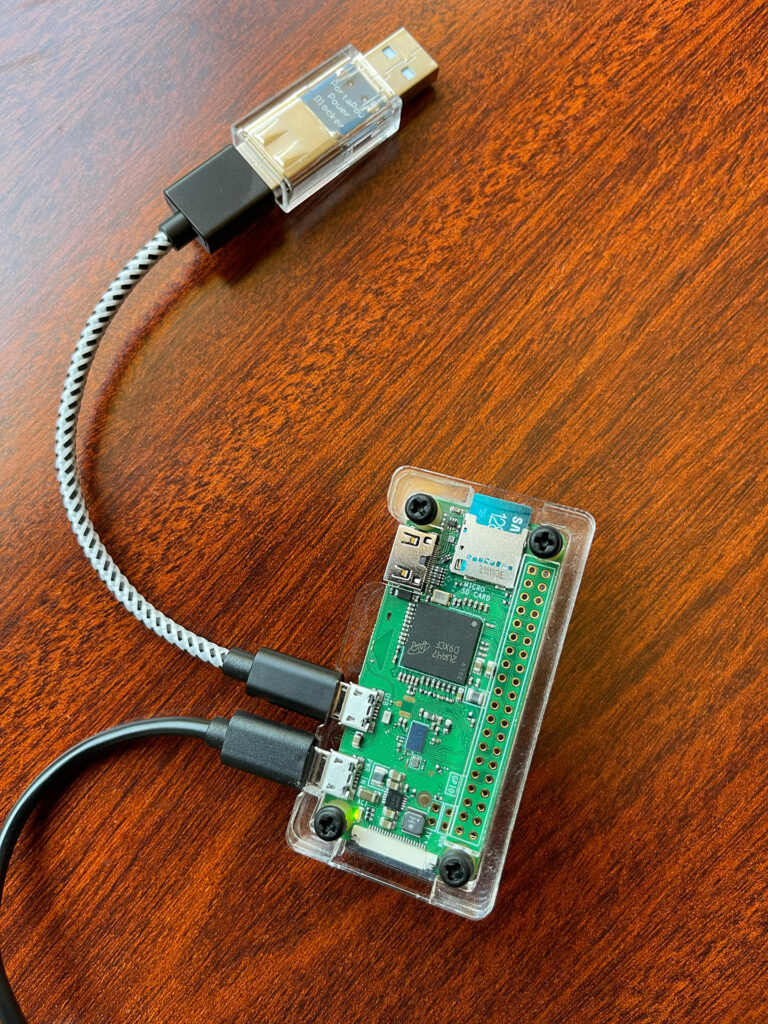
Eject the micro SD card, remove it and, put it into the Pi Zero W. Plug inner-most USB port on the Pi Zero W into your computer (the outer port is power-only). It will take a few moments to start up.
You should be able to SSH in to the Pi Zero W now. You can likely use the web console of your network router to find the local IP address assigned by DHCP.
I prefer vim to nano. So, I install that:
sudo apt-get install vim
Remove stuff you won’t need:
sudo apt-get remove --purge libreoffice* -y
sudo apt-get purge wolfram-engine -y
sudo apt-get clean
sudo apt-get autoremove -y
Double-check that /boot/firmware/config.txt contains the line:
dtoverlay=dwc2
Edit /etc/modules and add a line to the bottom of the file with:
dwc2
Create a container for the data storage portion:
sudo dd bs=1M if=/dev/zero of=/piusb.bin count=2048
Adjust the “count” number to reflect the size of the drive you want. Do not fill the entire micro SD card but, you can use most of the unused space. Maybe leave a GB or so. This may take awhile to finish. I used a 118G micro SD card and made a 100G pre-allocated storage file. That took a few hours to format.
Format the container with a FAT32 file system:
sudo mkdosfs /piusb.bin -F 32 -I
Make a mount point:
sudo mkdir /mnt/usb_share
Edit /etc/fstab and, add the mount command:
/piusb.bin /mnt/usb_share vfat users,umask=000 0 2
Mount the container:
sudo mount -a
Edit /etc/rc.ocal and add these lines before the line that says “exit 0”:
/bin/sleep 5
/sbin/modprobe g_multi file=/piusb.bin stall=0 removable=1
sudo mount -o ro /piusb.bin /mnt/usb_share
Reboot.
Install Samba:
sudo apt-get update
sudo apt-get install samba winbind -y
Edit /etc/samba/smb.conf and add this to the bottom:
[usb]
comment = Whatever You Like Here
browseable = yes
path = /mnt/usb_share
read only = no
create mask = 777
Set a Samba password for your account:
sudo smbpasswd -a YourUserName
Restart Samba:
sudo systemctl restart smbd.service
Automate USB device reconnect in order to have it update when you transfer new files via the network:
sudo apt-get install python3-watchdog
Install this python script from a random stranger on the Internet:
cd /usr/local/share
sudo wget http://rpf.io/usbzw -O usb_share.py
sudo chmod +x usb_share.py
Turn this into a background service. Edit (create) /etc/systemd/system/usbshare.service and, put this in it:
[Unit]
Description=USB Share Watchdog
[Service]
Type=simple
ExecStart=/usr/local/share/usb_share.py
Restart=always
[Install]
WantedBy=multi-user.target
Then make it go:
sudo systemctl daemon-reload
sudo systemctl enable usbshare.service
sudo systemctl start usbshare.service
lf you run this by applying power (e.g., with an adapter) to the outer USB connection on the PI Zero W, it won’t shut off if the device it is plugged into as a USB drive is shut off or, if the Pi Zero W is unplugged. You probably need to make sure it doesn’t get power through both USB ports, though. There are a number of ways to accomplish this:
- You can put a little piece of electrical tape over the positive (+) power pin of the USB A connector for the cable you are using.
- You can modify a cable by stripping the insulation and cutting the red wire, then repairing the insulation.
- You can use a filter device like this thing (Amazon link).
This is a tiny little computer. It doesn’t like unceremoniously losing power. So, if you are going to disconnect it so that it doesn’t have power anymore, you should ssh into it and issue a “sudo halt” first. Then, give it a few moments to gracefully shut down.
To make it easy to get to this on my network, I used my router’s DHCP info to find the MAC address of the Pi Zero W, then configured DHCP to consistently assign the same IP address to it. I also set up an alias in my router’s DNS forwarder for the hostname. So, I can now use the hostname for ssh or mounting the share over the network.


