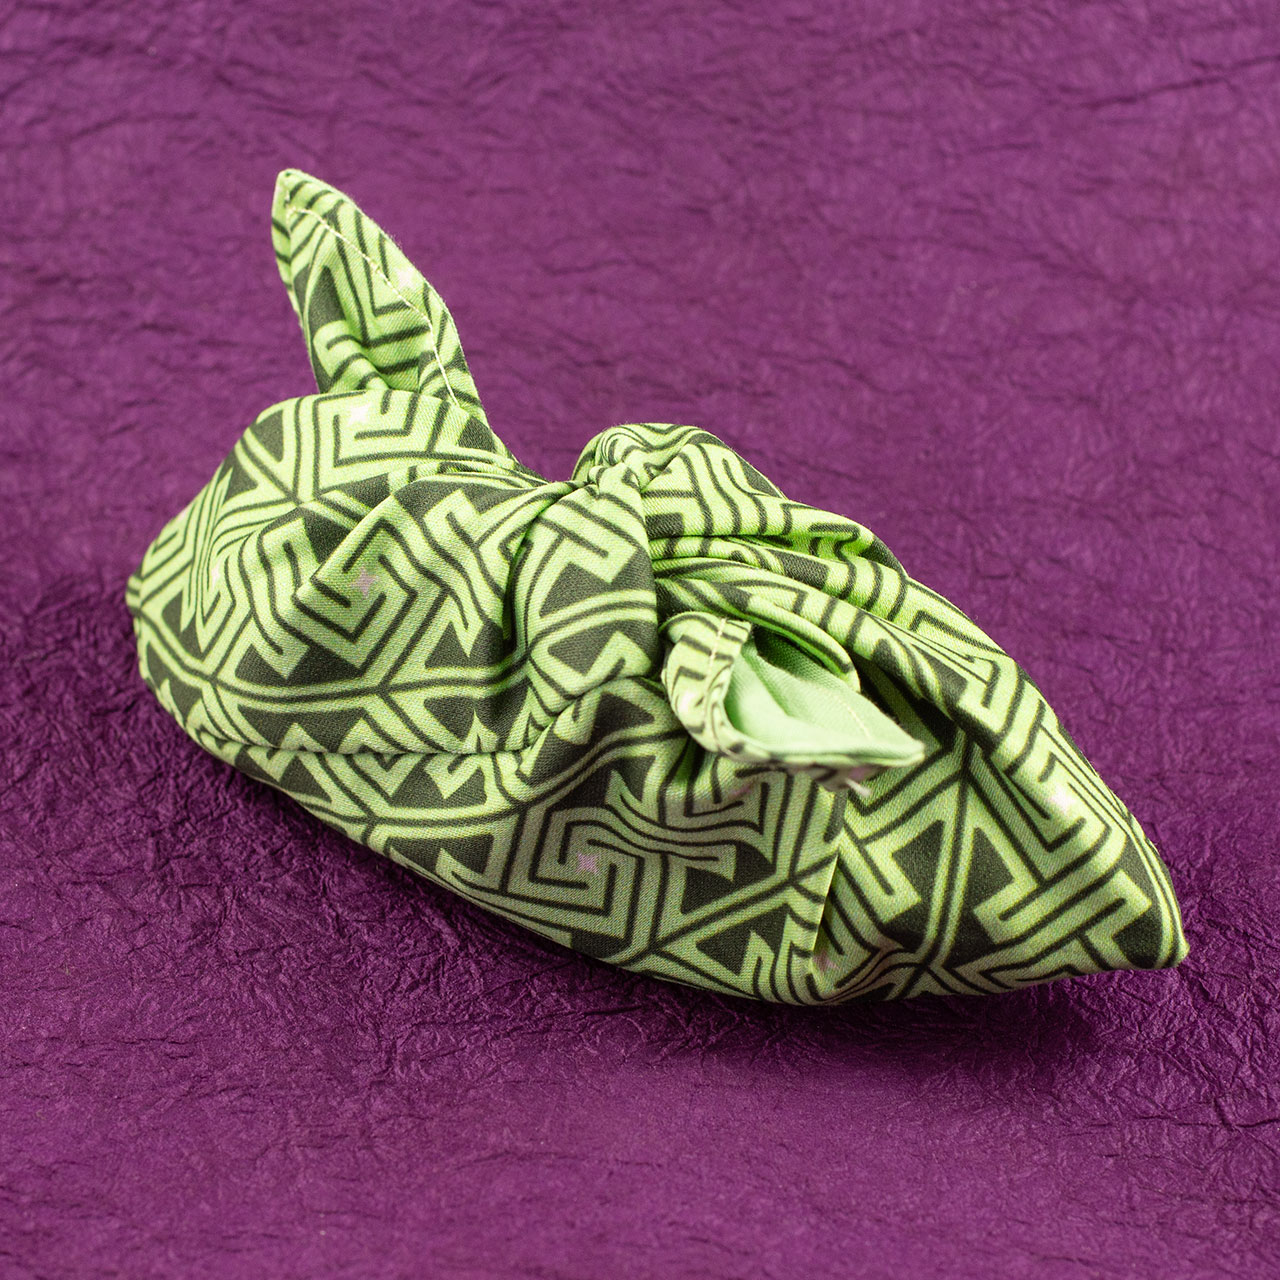
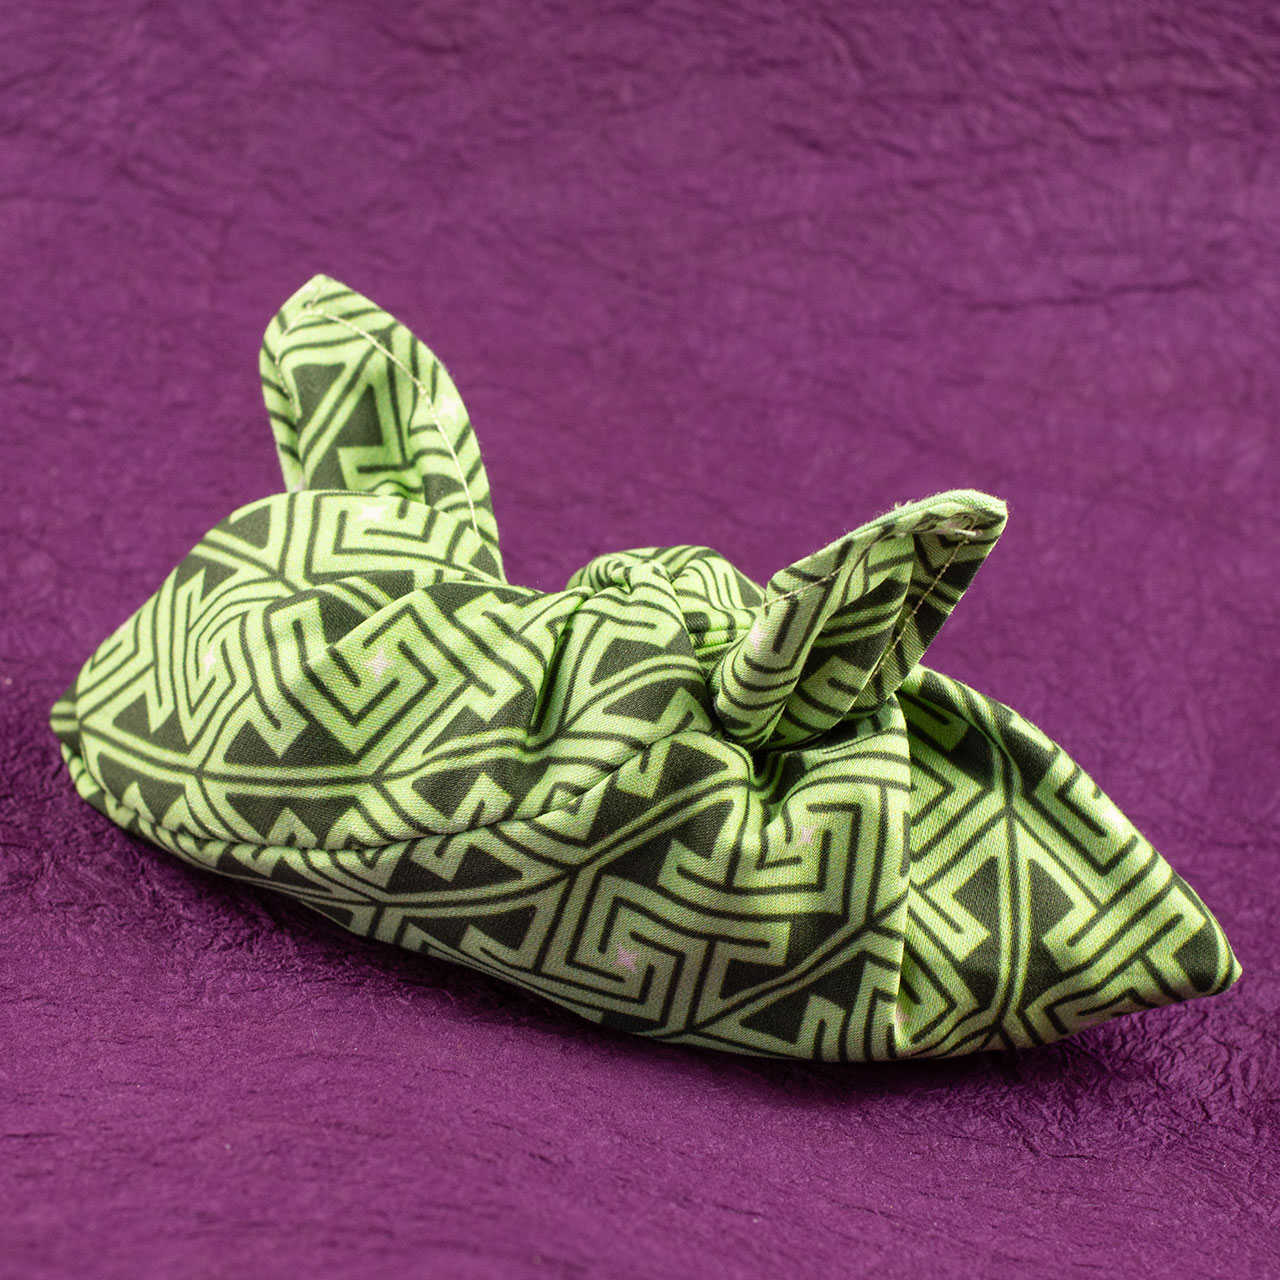
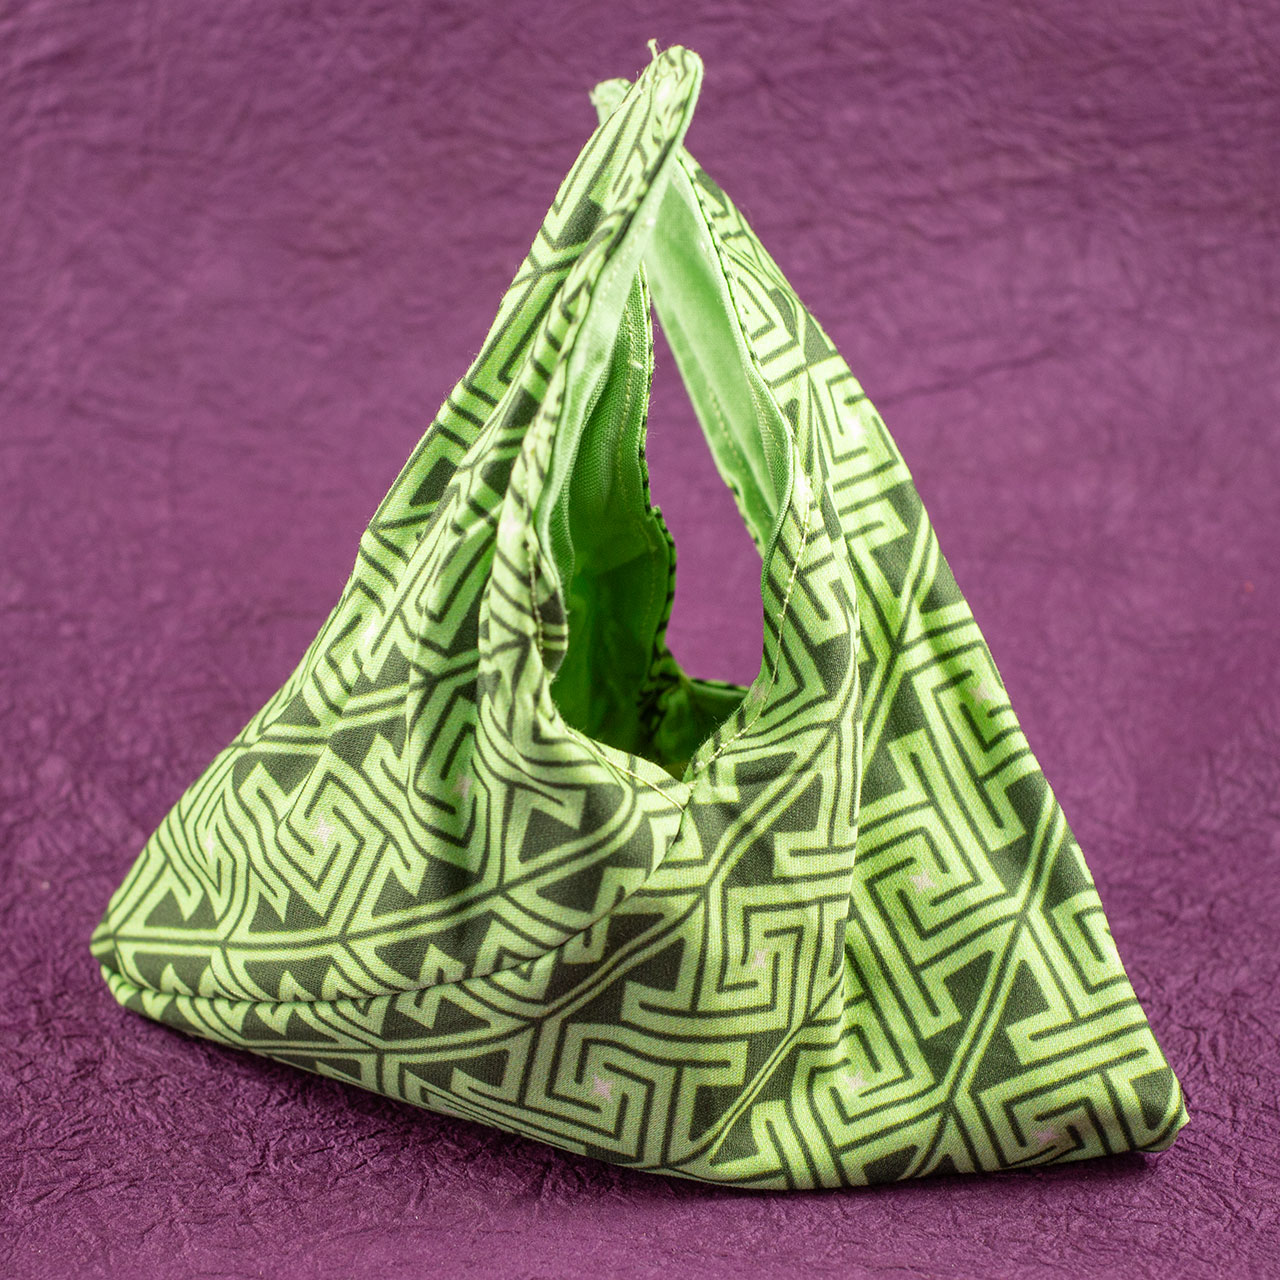
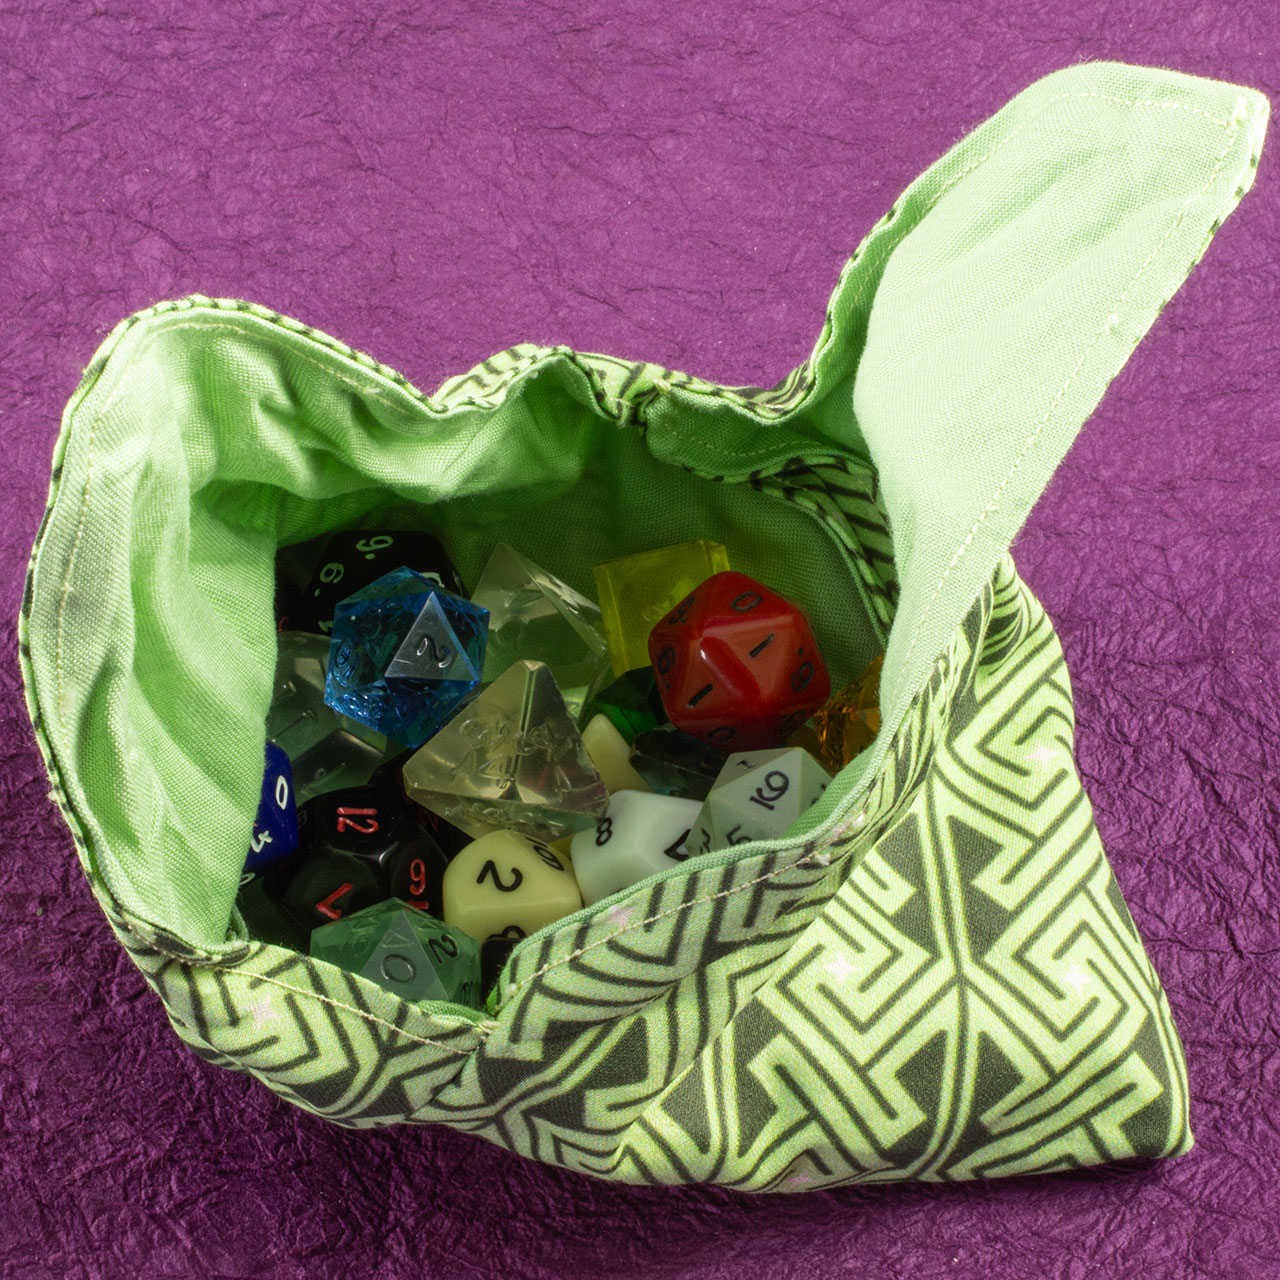
I thought a simple dice bag styled after a Japanese azuma bukuro bento/market bag would be fun. The fabric is 100% cotton sateen, custom-printed with one of my Celtic key pattern designs. I cut the fabric on the laser using the new vacuum tray, which was great for the precision.
Some time ago, I took a photo of a skull set into a wall in the catacombs under Paris. In this underground ossuary are interred many forgotten French soldiers and plague victims, their identities lost to time.
With some adjustments, I was able to get it suitable for laser engraving.
Washing the paste out took some work. I used synthrapol, a specialized detergent that keeps dye from re-depositing on textiles. It took about a dozen rinse cycles to get it clean.
The lighter-colored stripe is likely an artifact from the Glowforge UI resizing the image when I exported at 72 instead of 96 DPI.
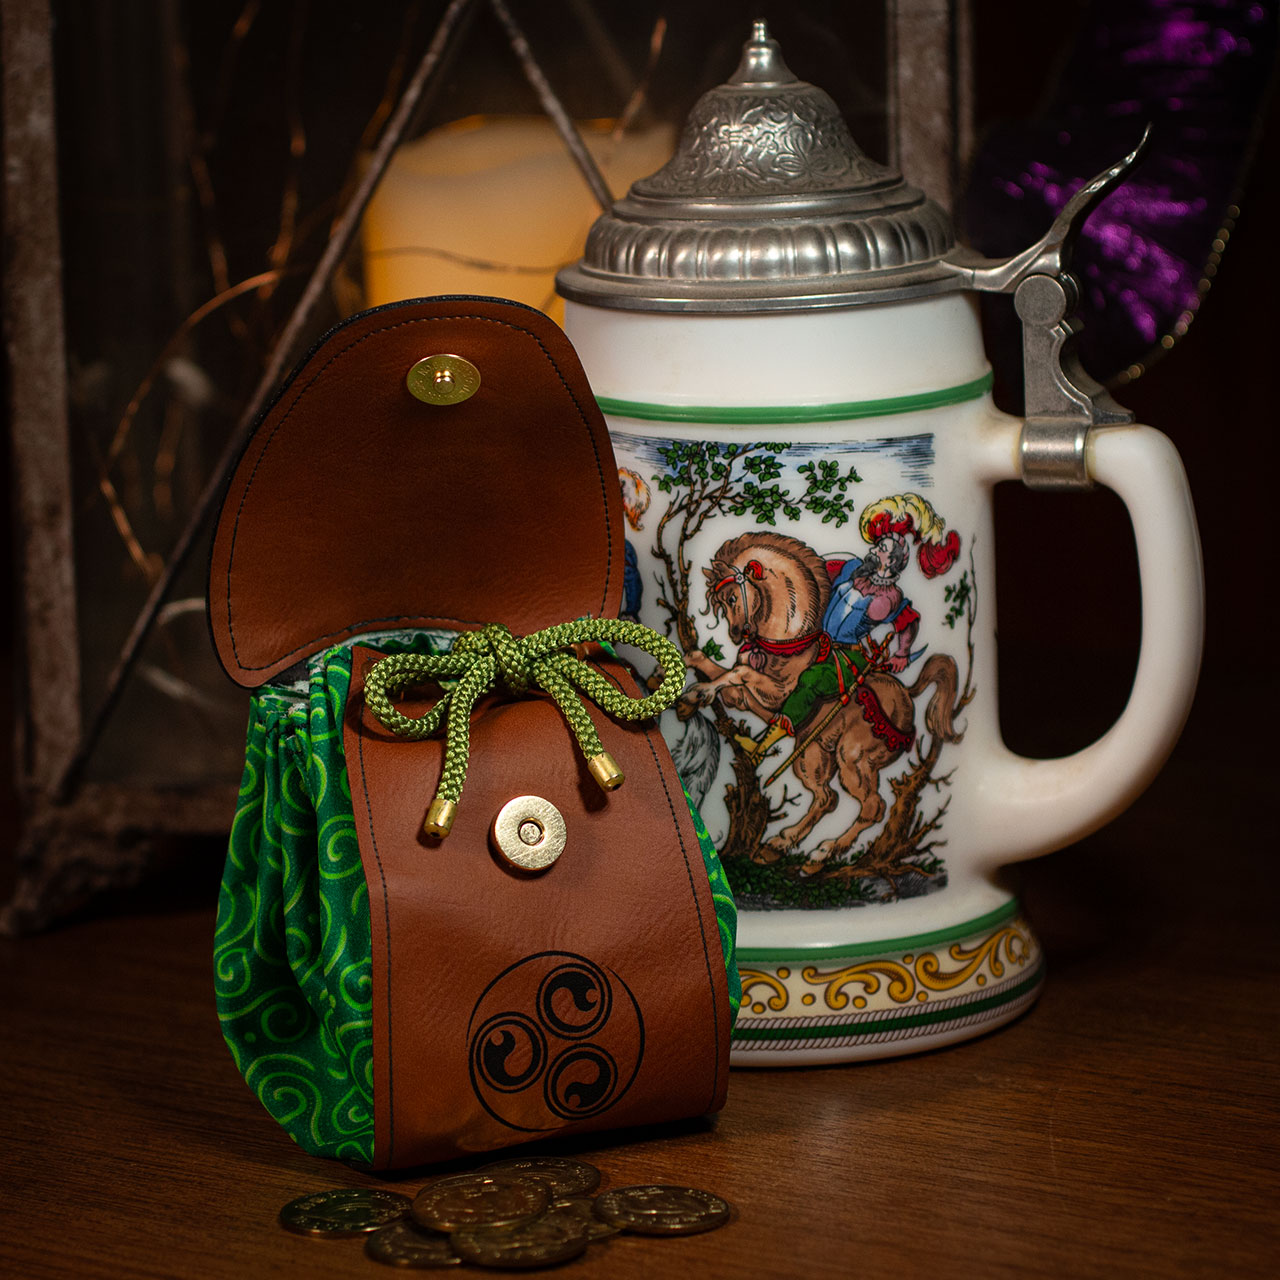
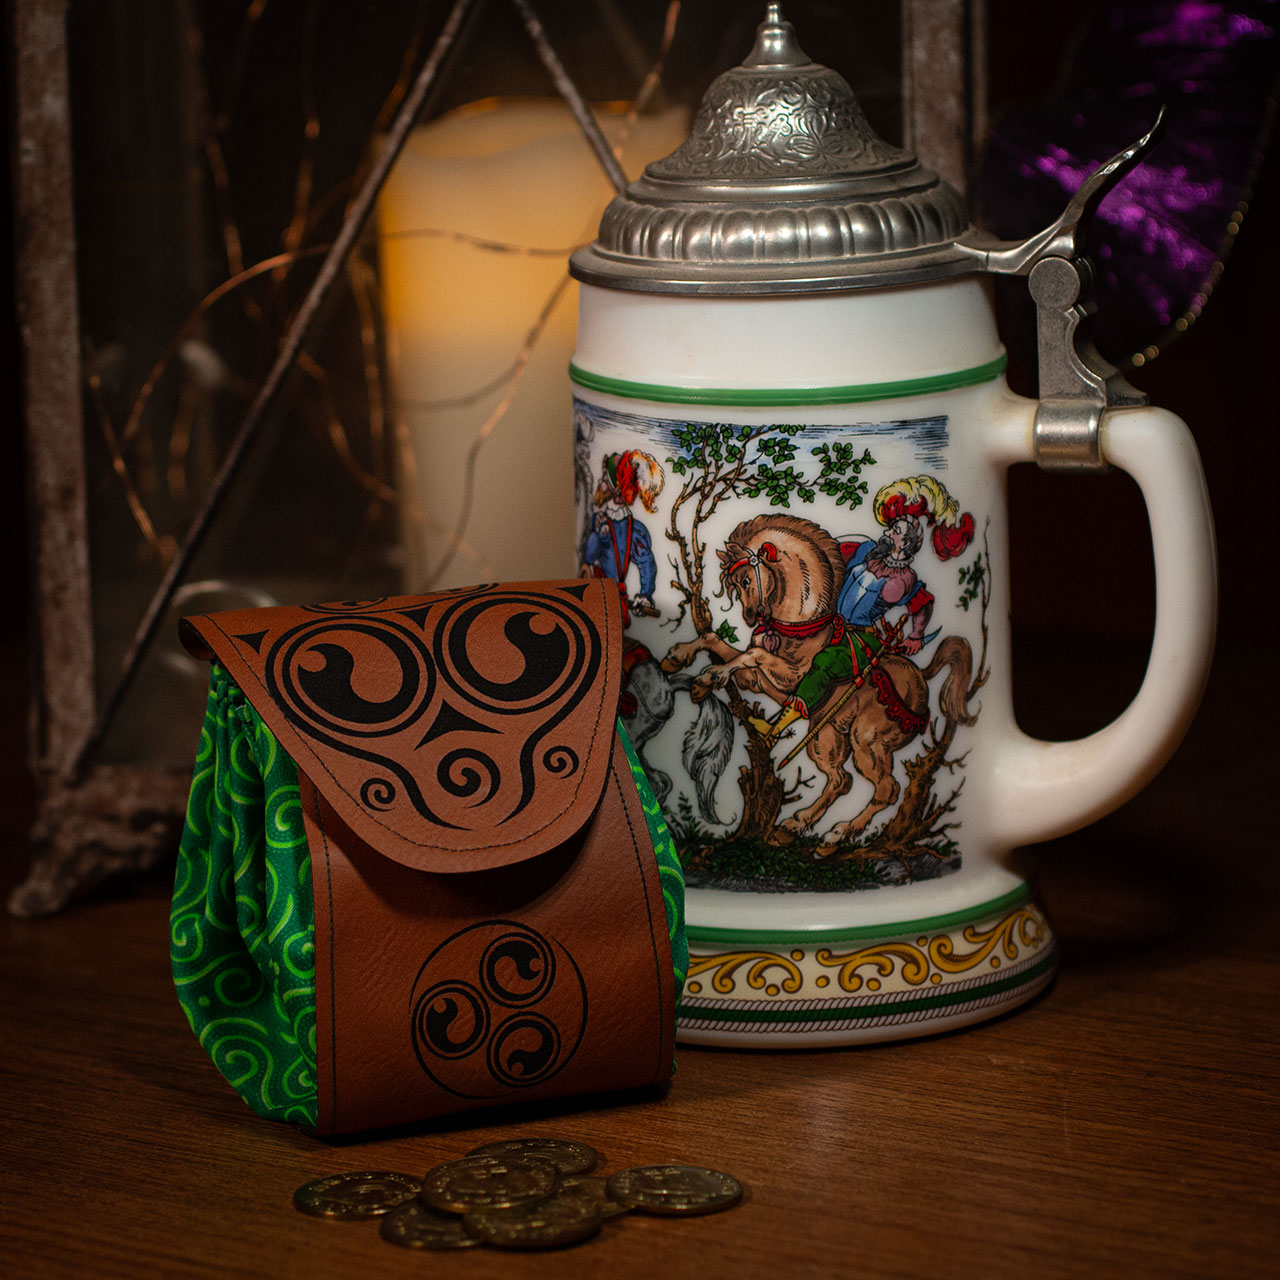
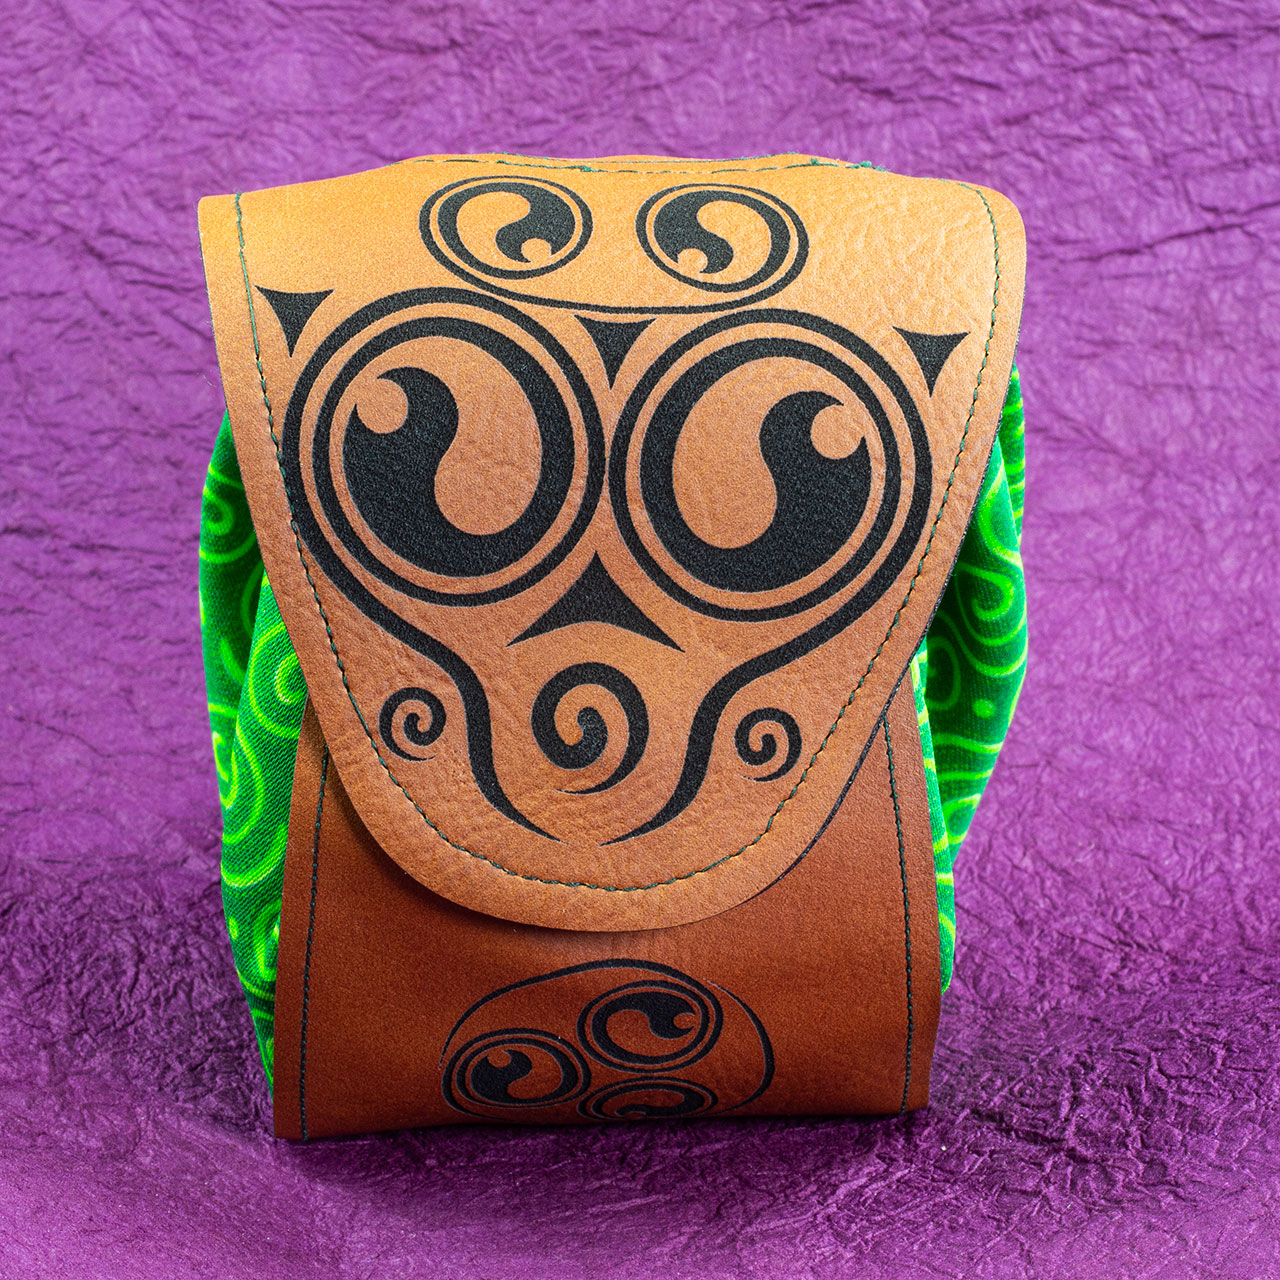
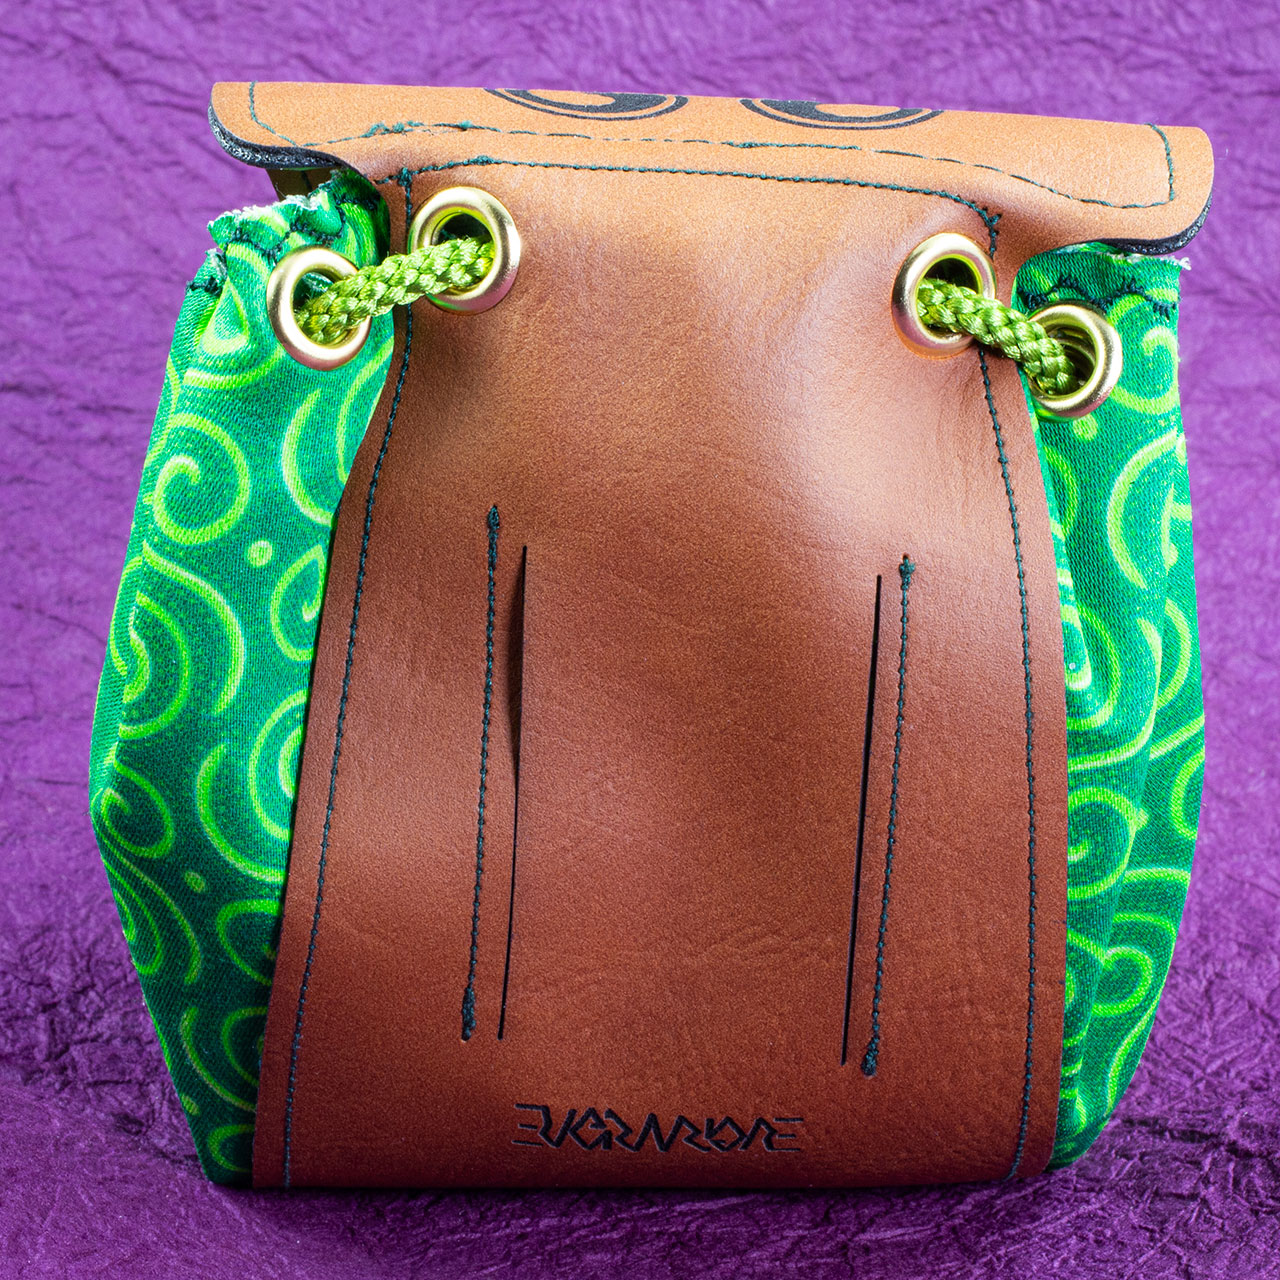
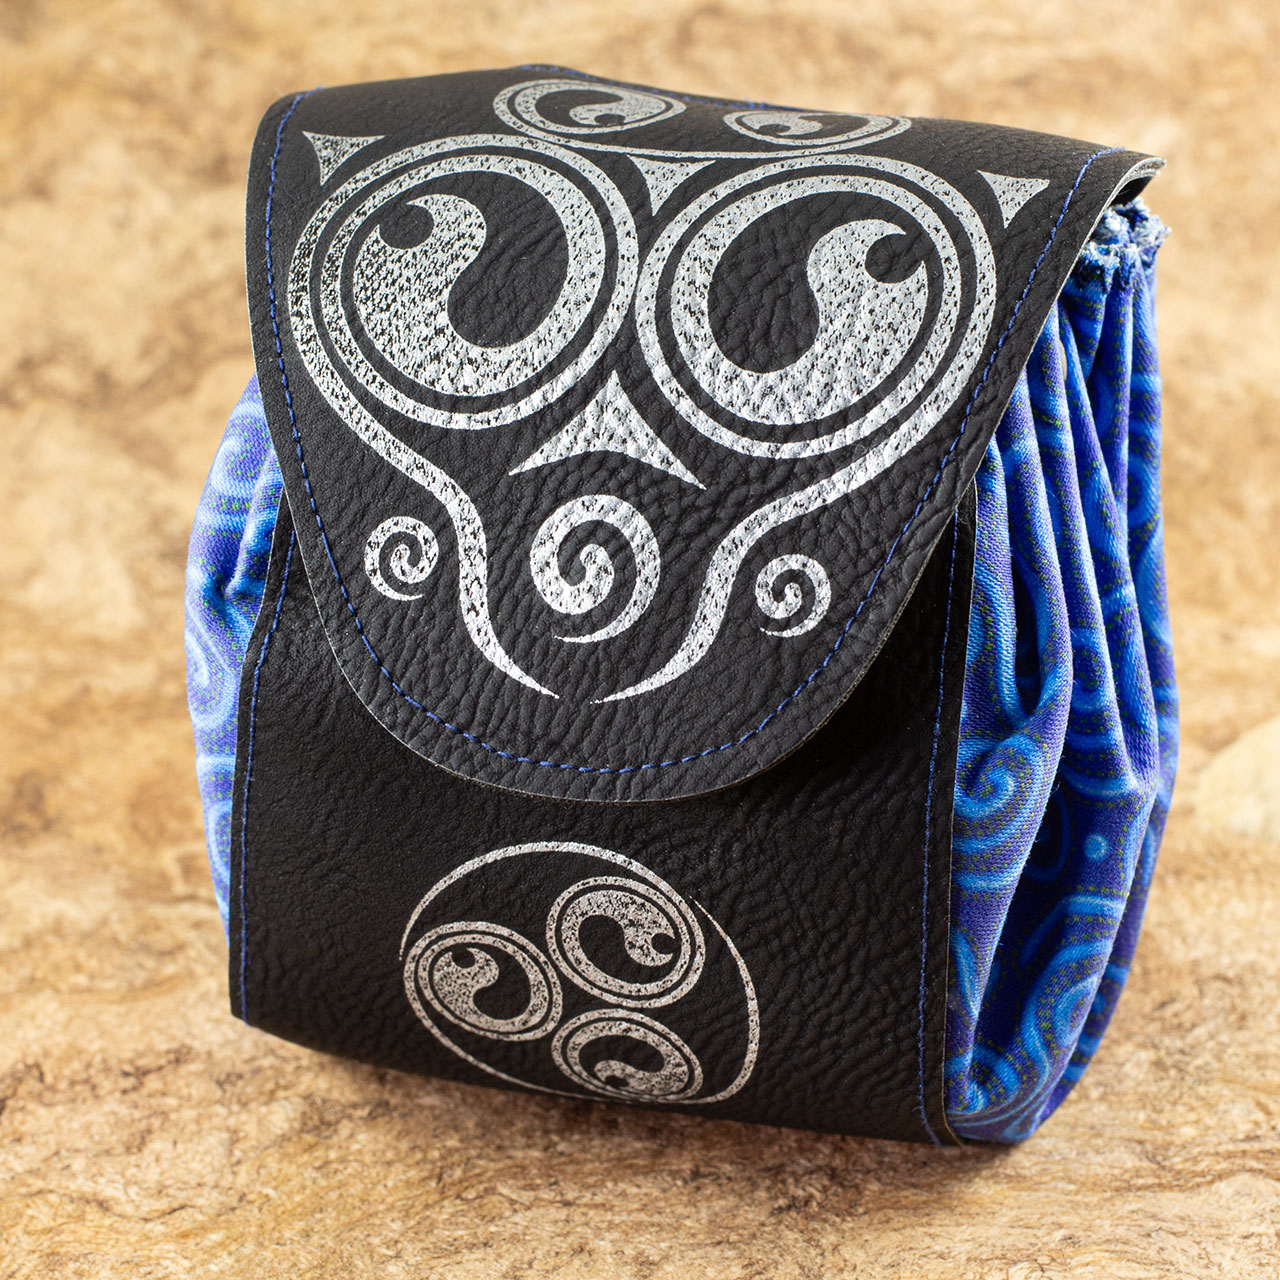
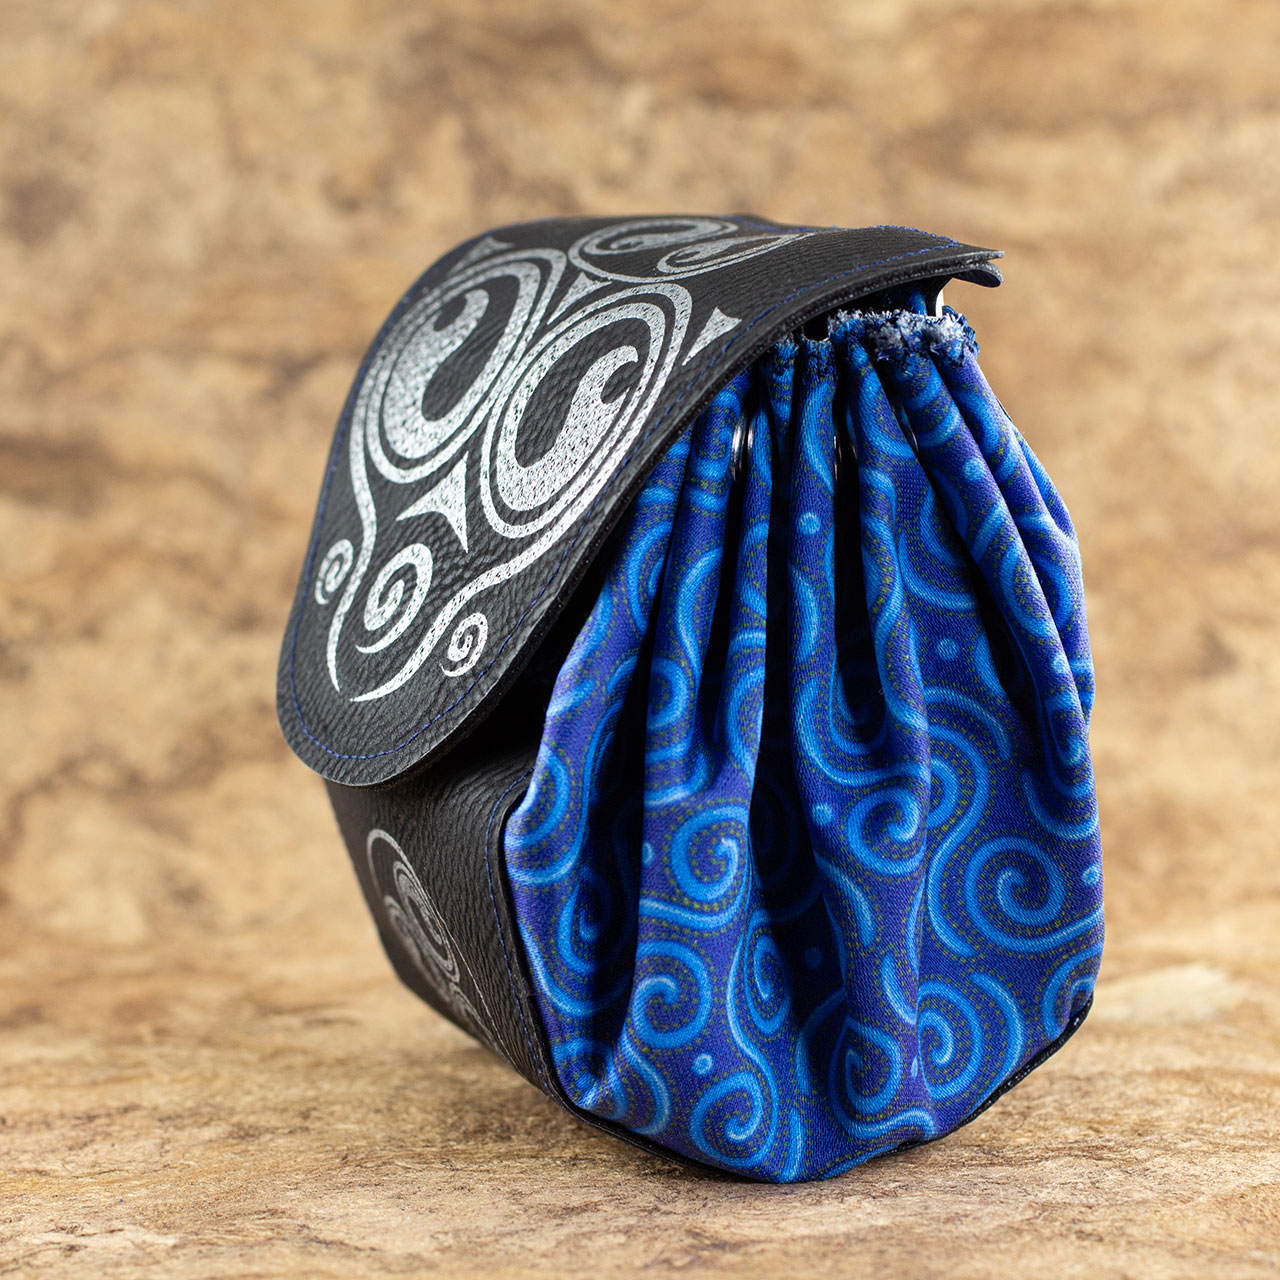
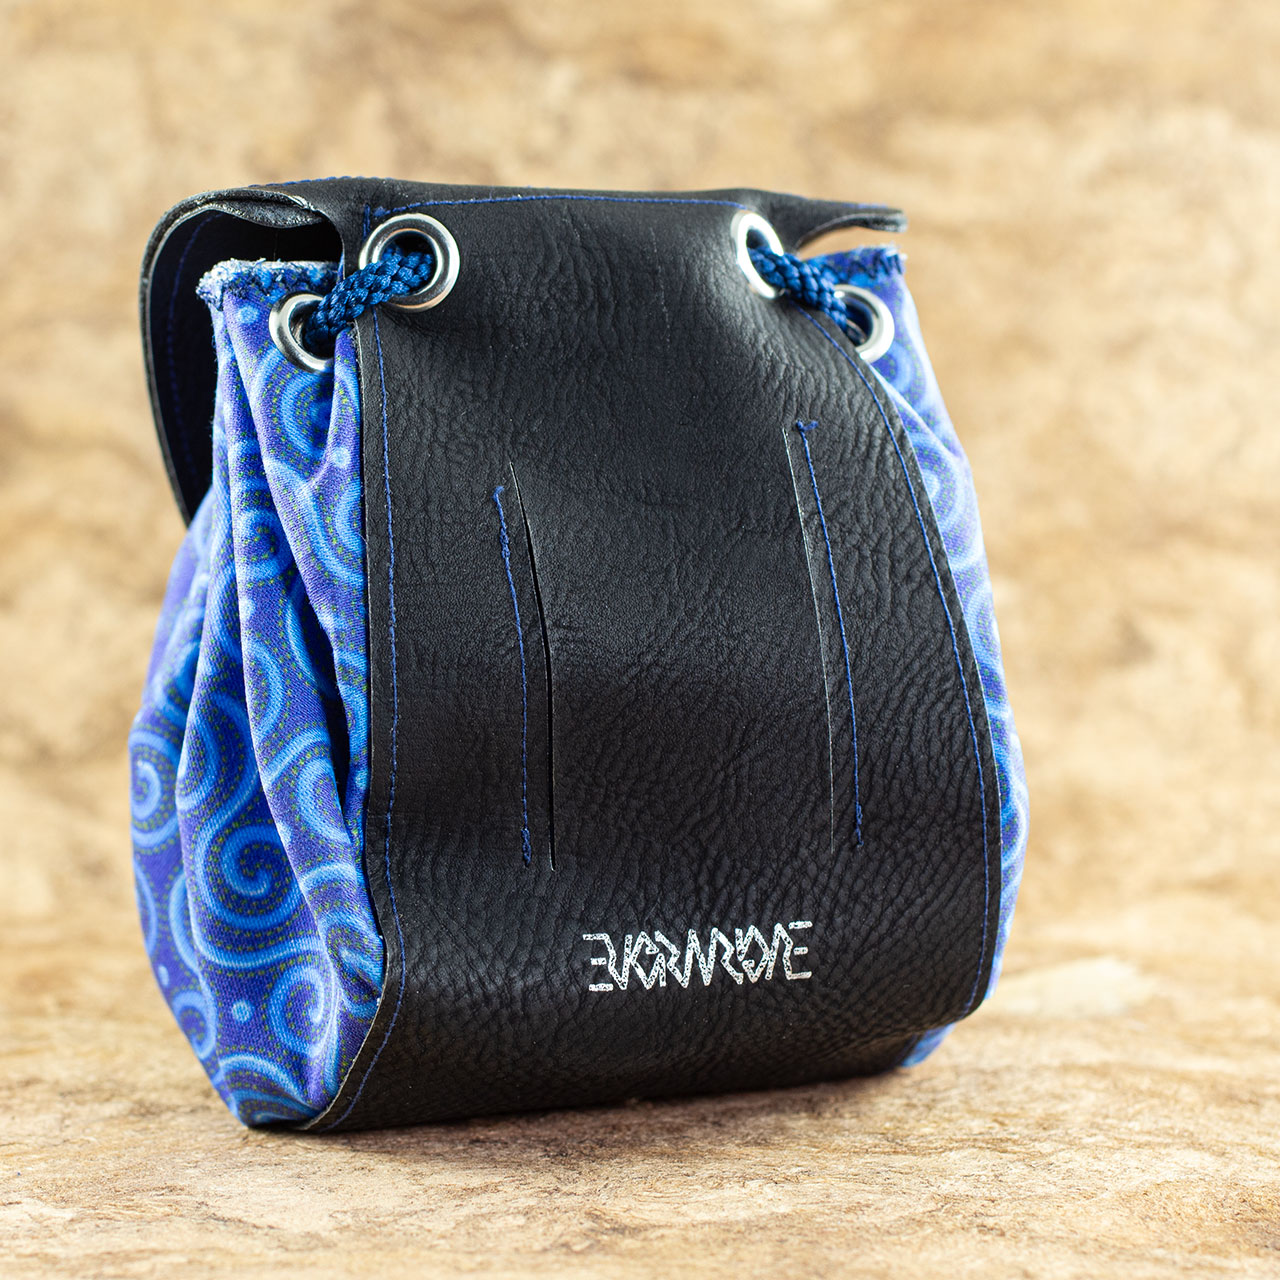
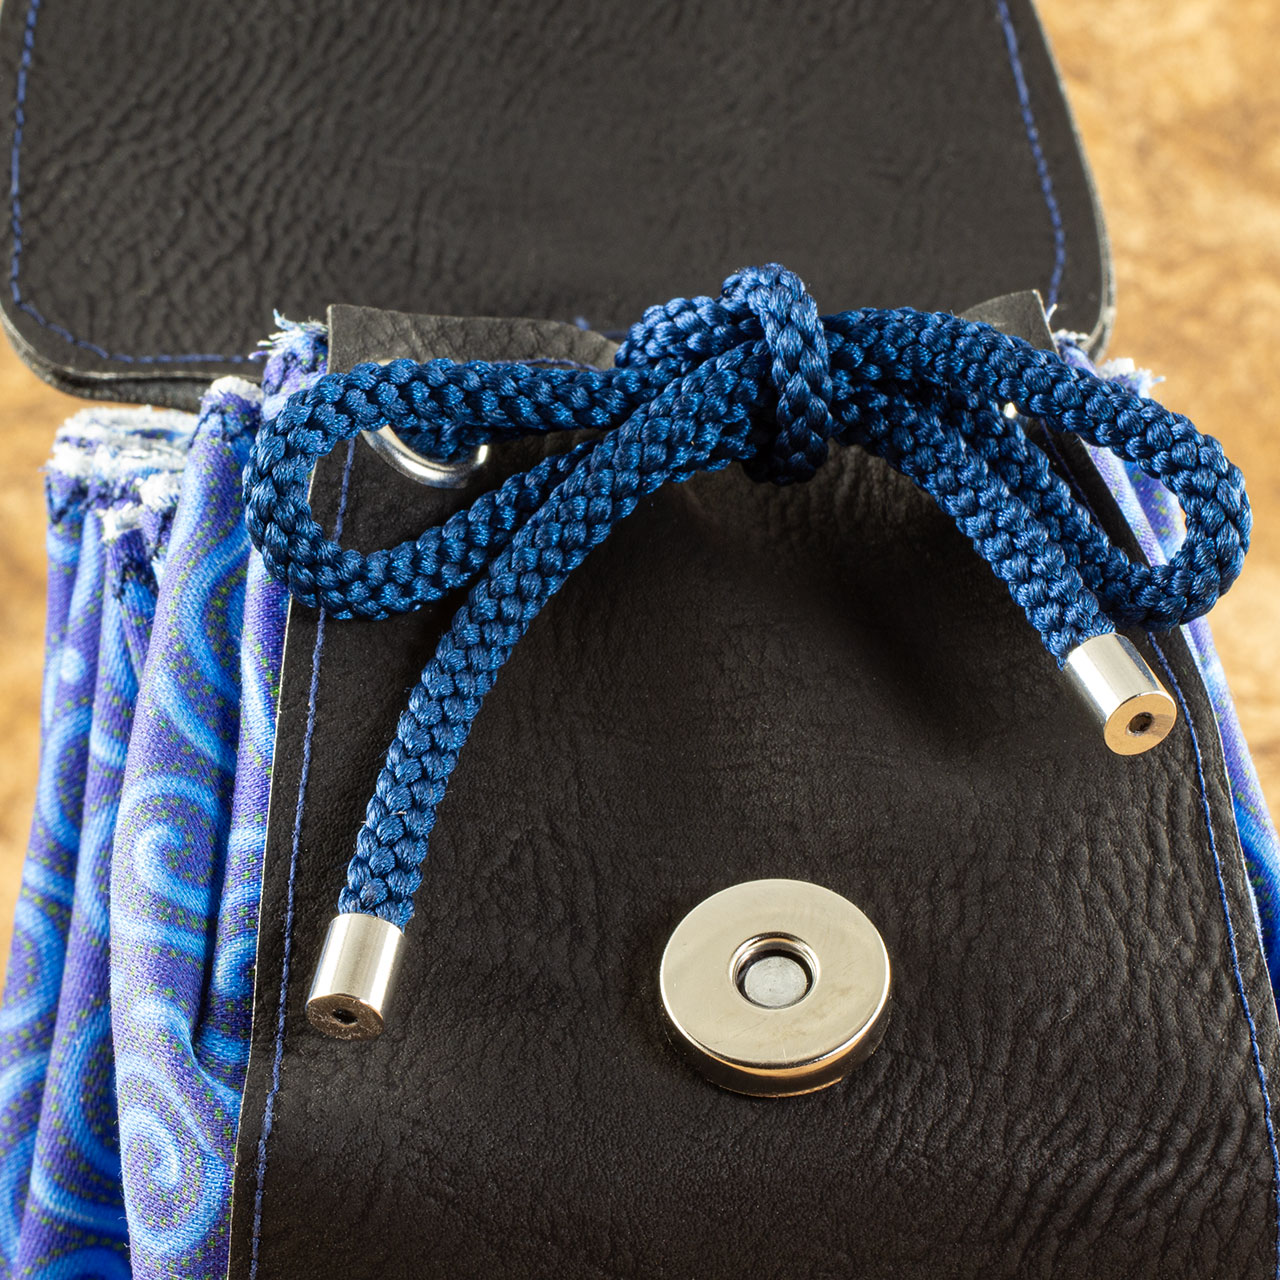
I made this small dice pouch prototype using fabric I had printed with a variant of one of my Celtic spirals designs. The rest of the body is made from a faux/vegan leather. I used my Celtic spirals triskelion and some new derivatives for the front and flap. The drawstring is a commercial braided kumihimo cord and, the front flap has a magnetic clasp.
This took several passes to get the design right but, after that, the final prototype came together very quickly.