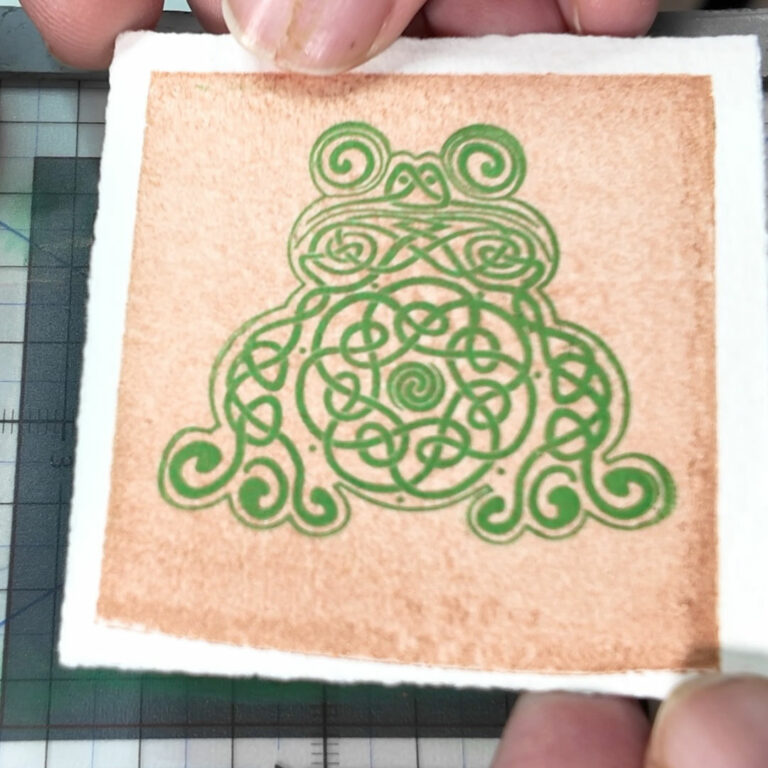
I finally got a chance to play with my new Open Press ProjectPostcard Printing Press! I cut a plate with this new knotwork frog I designed, and got some pretty good results after a little fiddling. After starting on this, I noticed that frogs seem to be bubbling up out of the collective unconscious a lot right now. I wanted to join the Open Press print exchange, but ran out of time to get prints to them. Maybe next year!
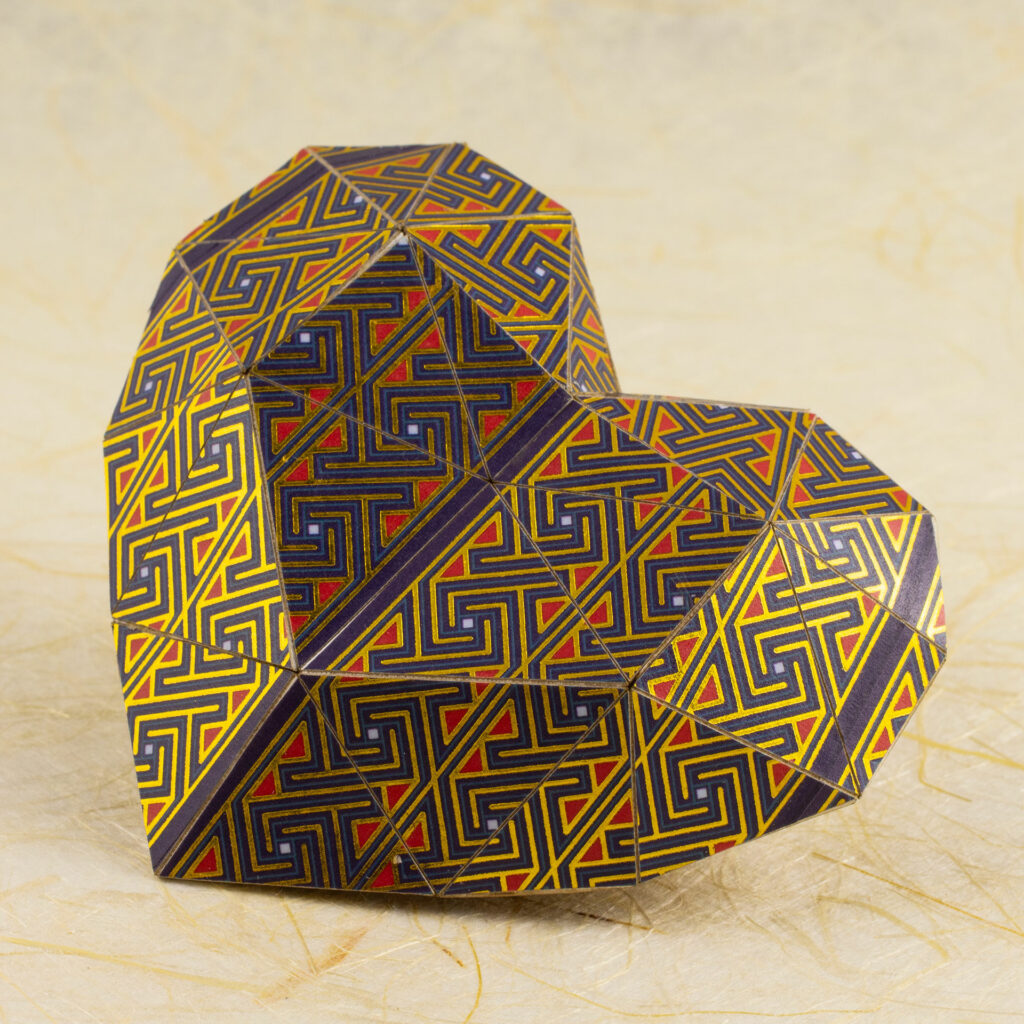
Following up on last year’s Valentine’s day heart card, I wanted to do some paper craft with the new washi tape. I thought the wider key pattern would look good on a low-poly-style pepakura paper heart.
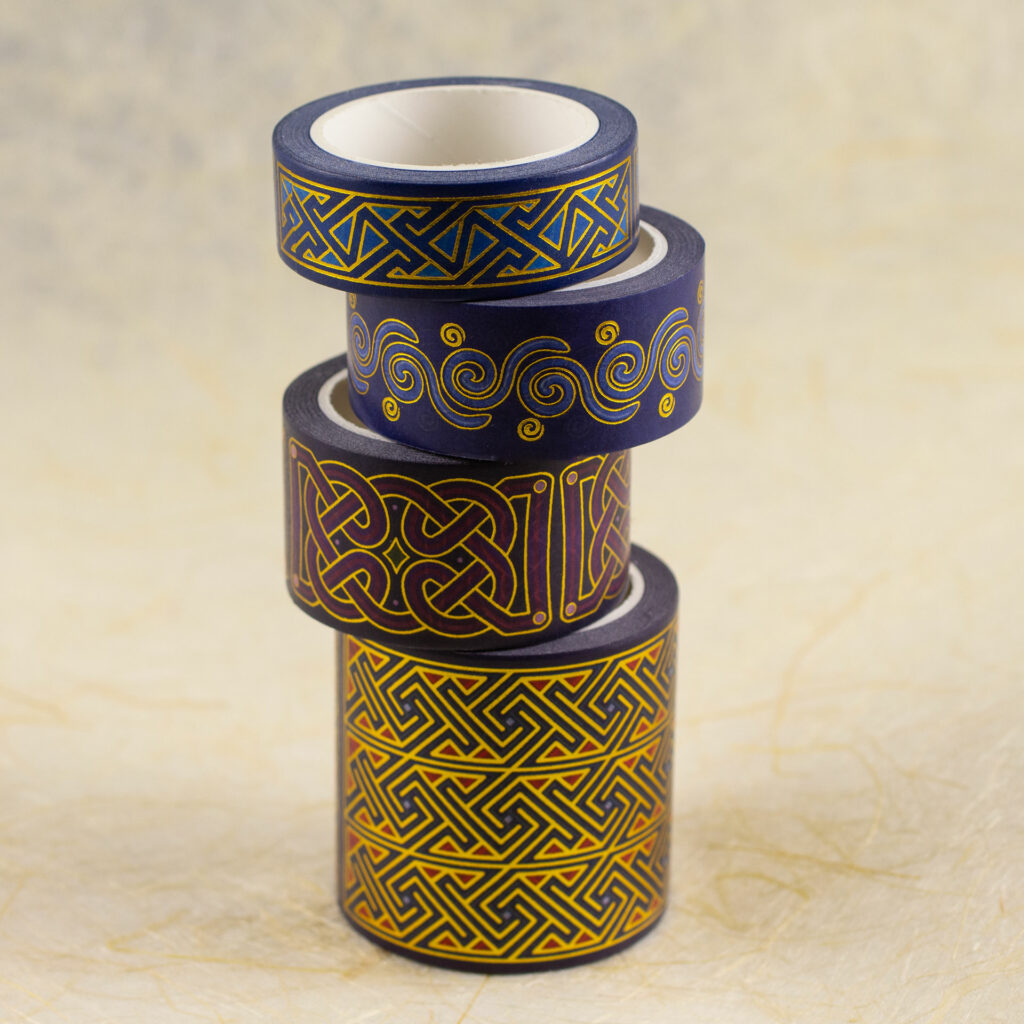
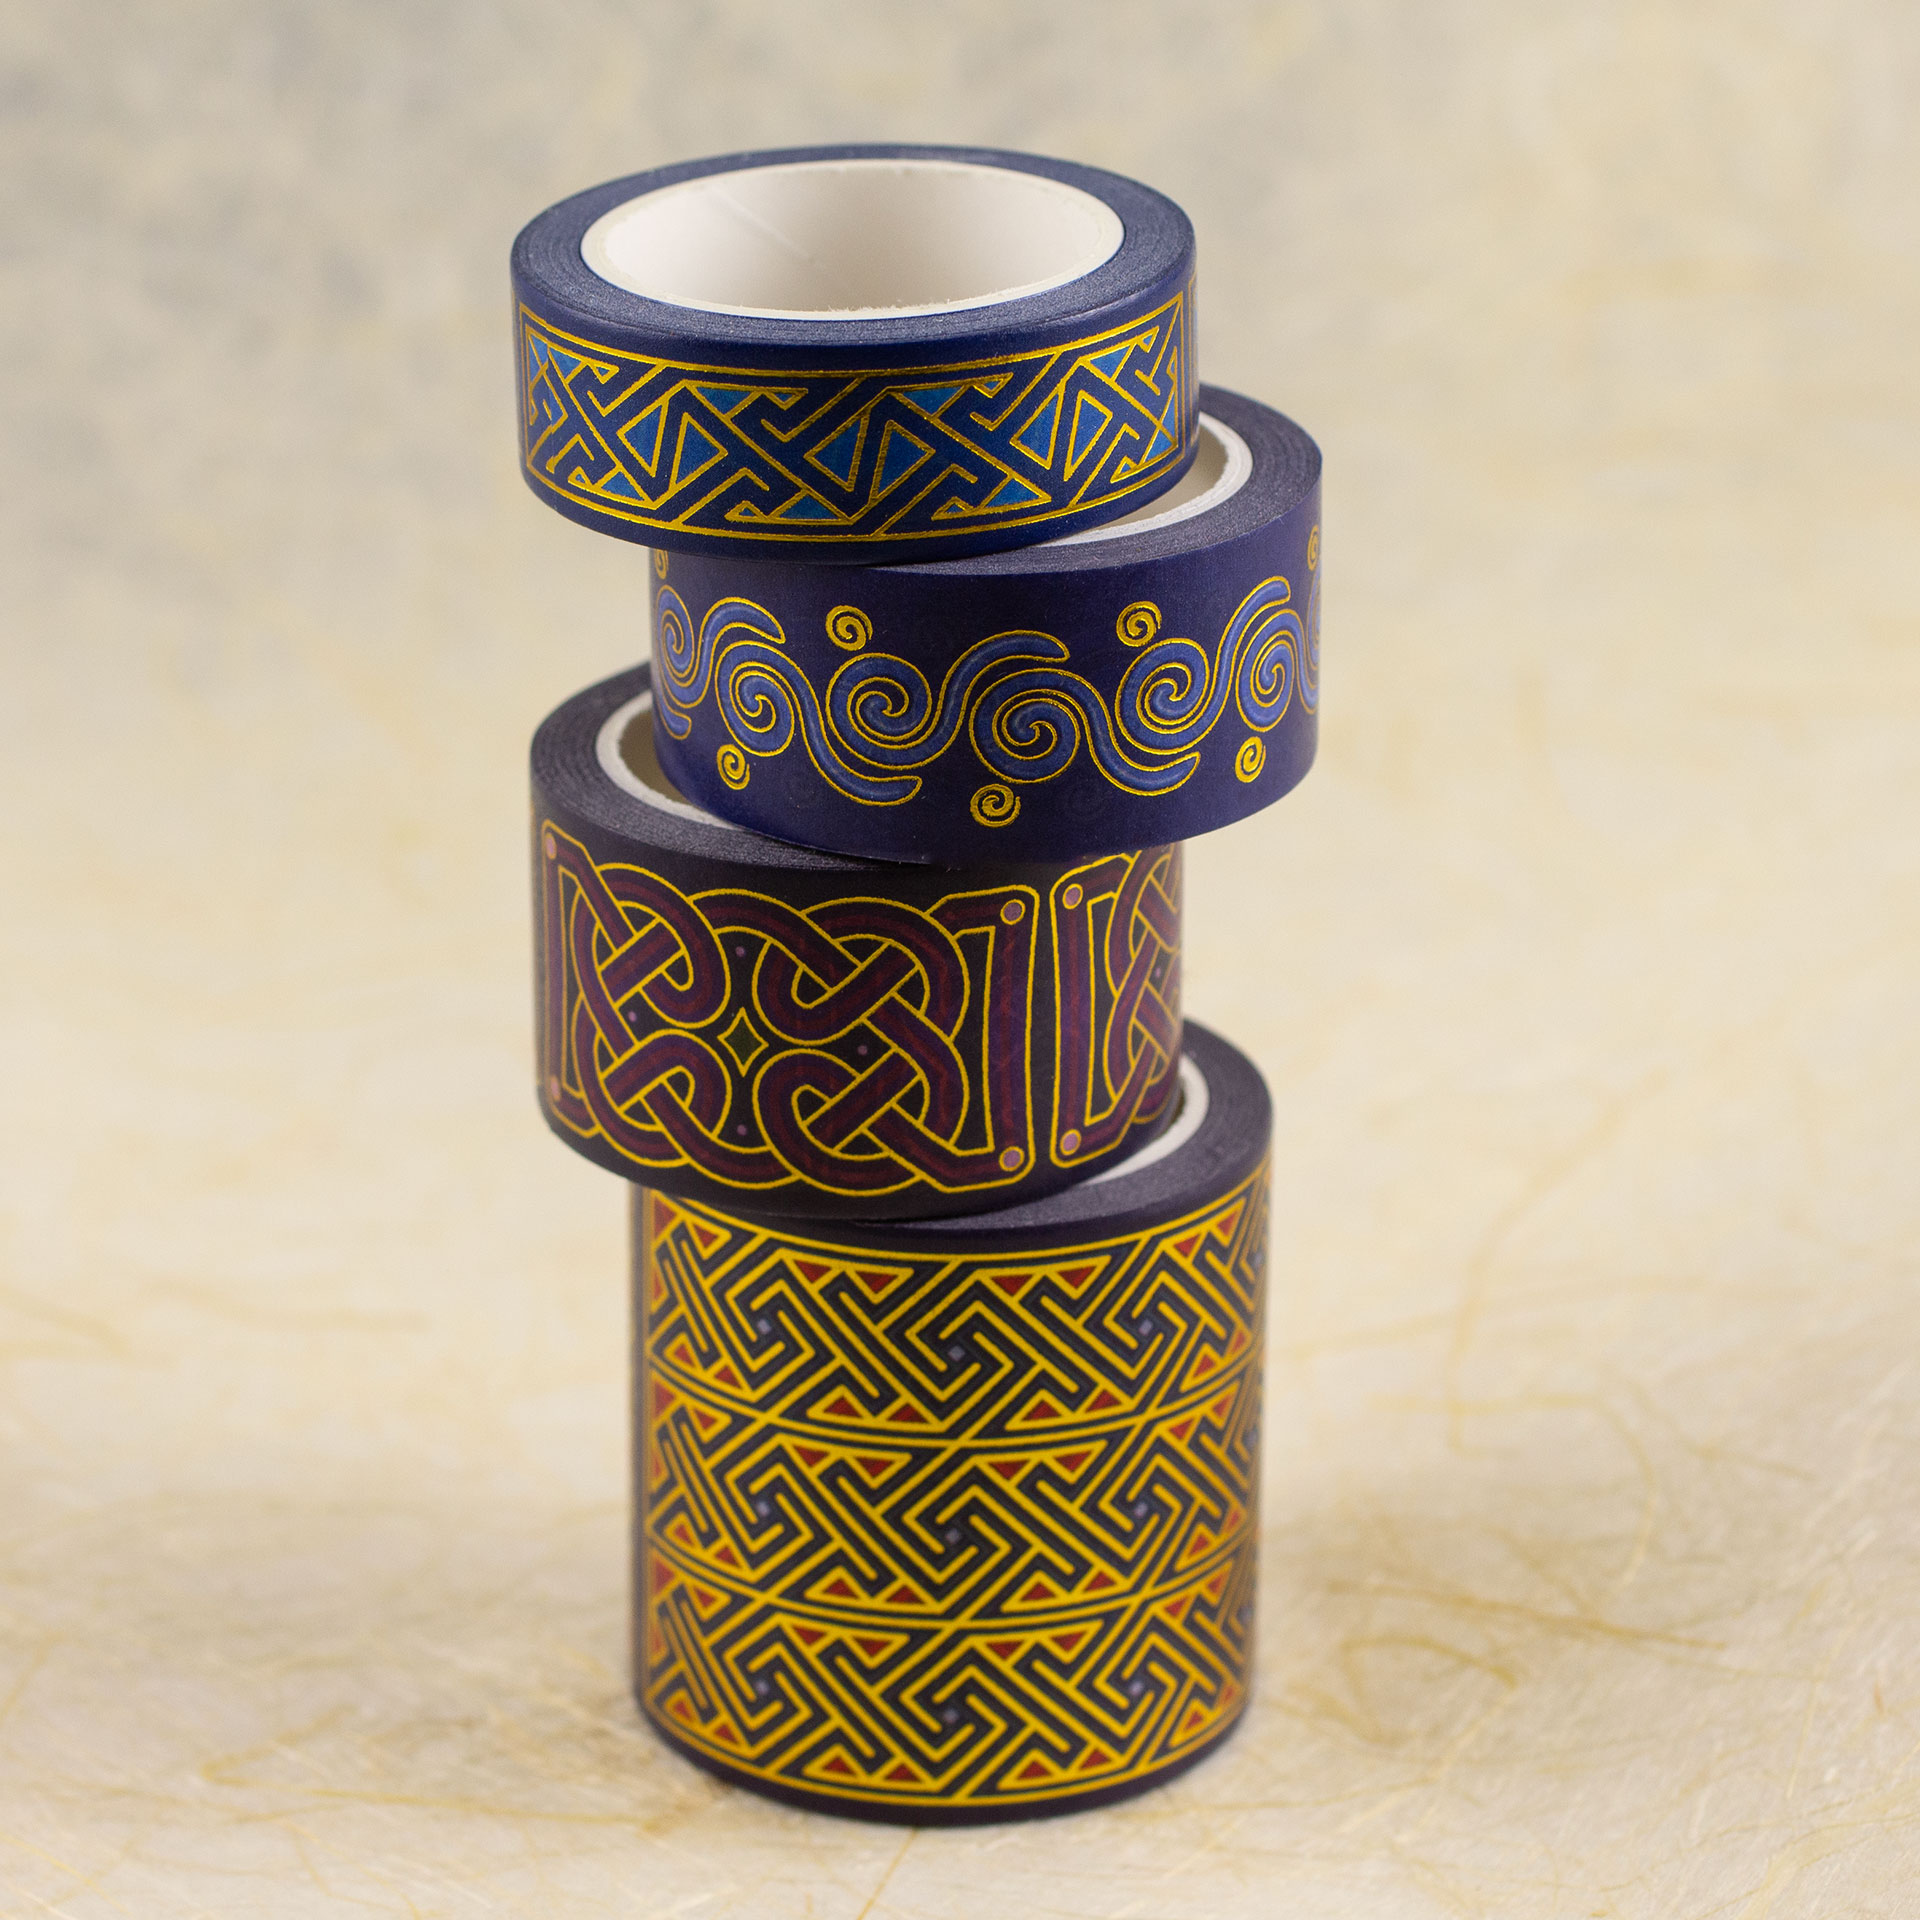
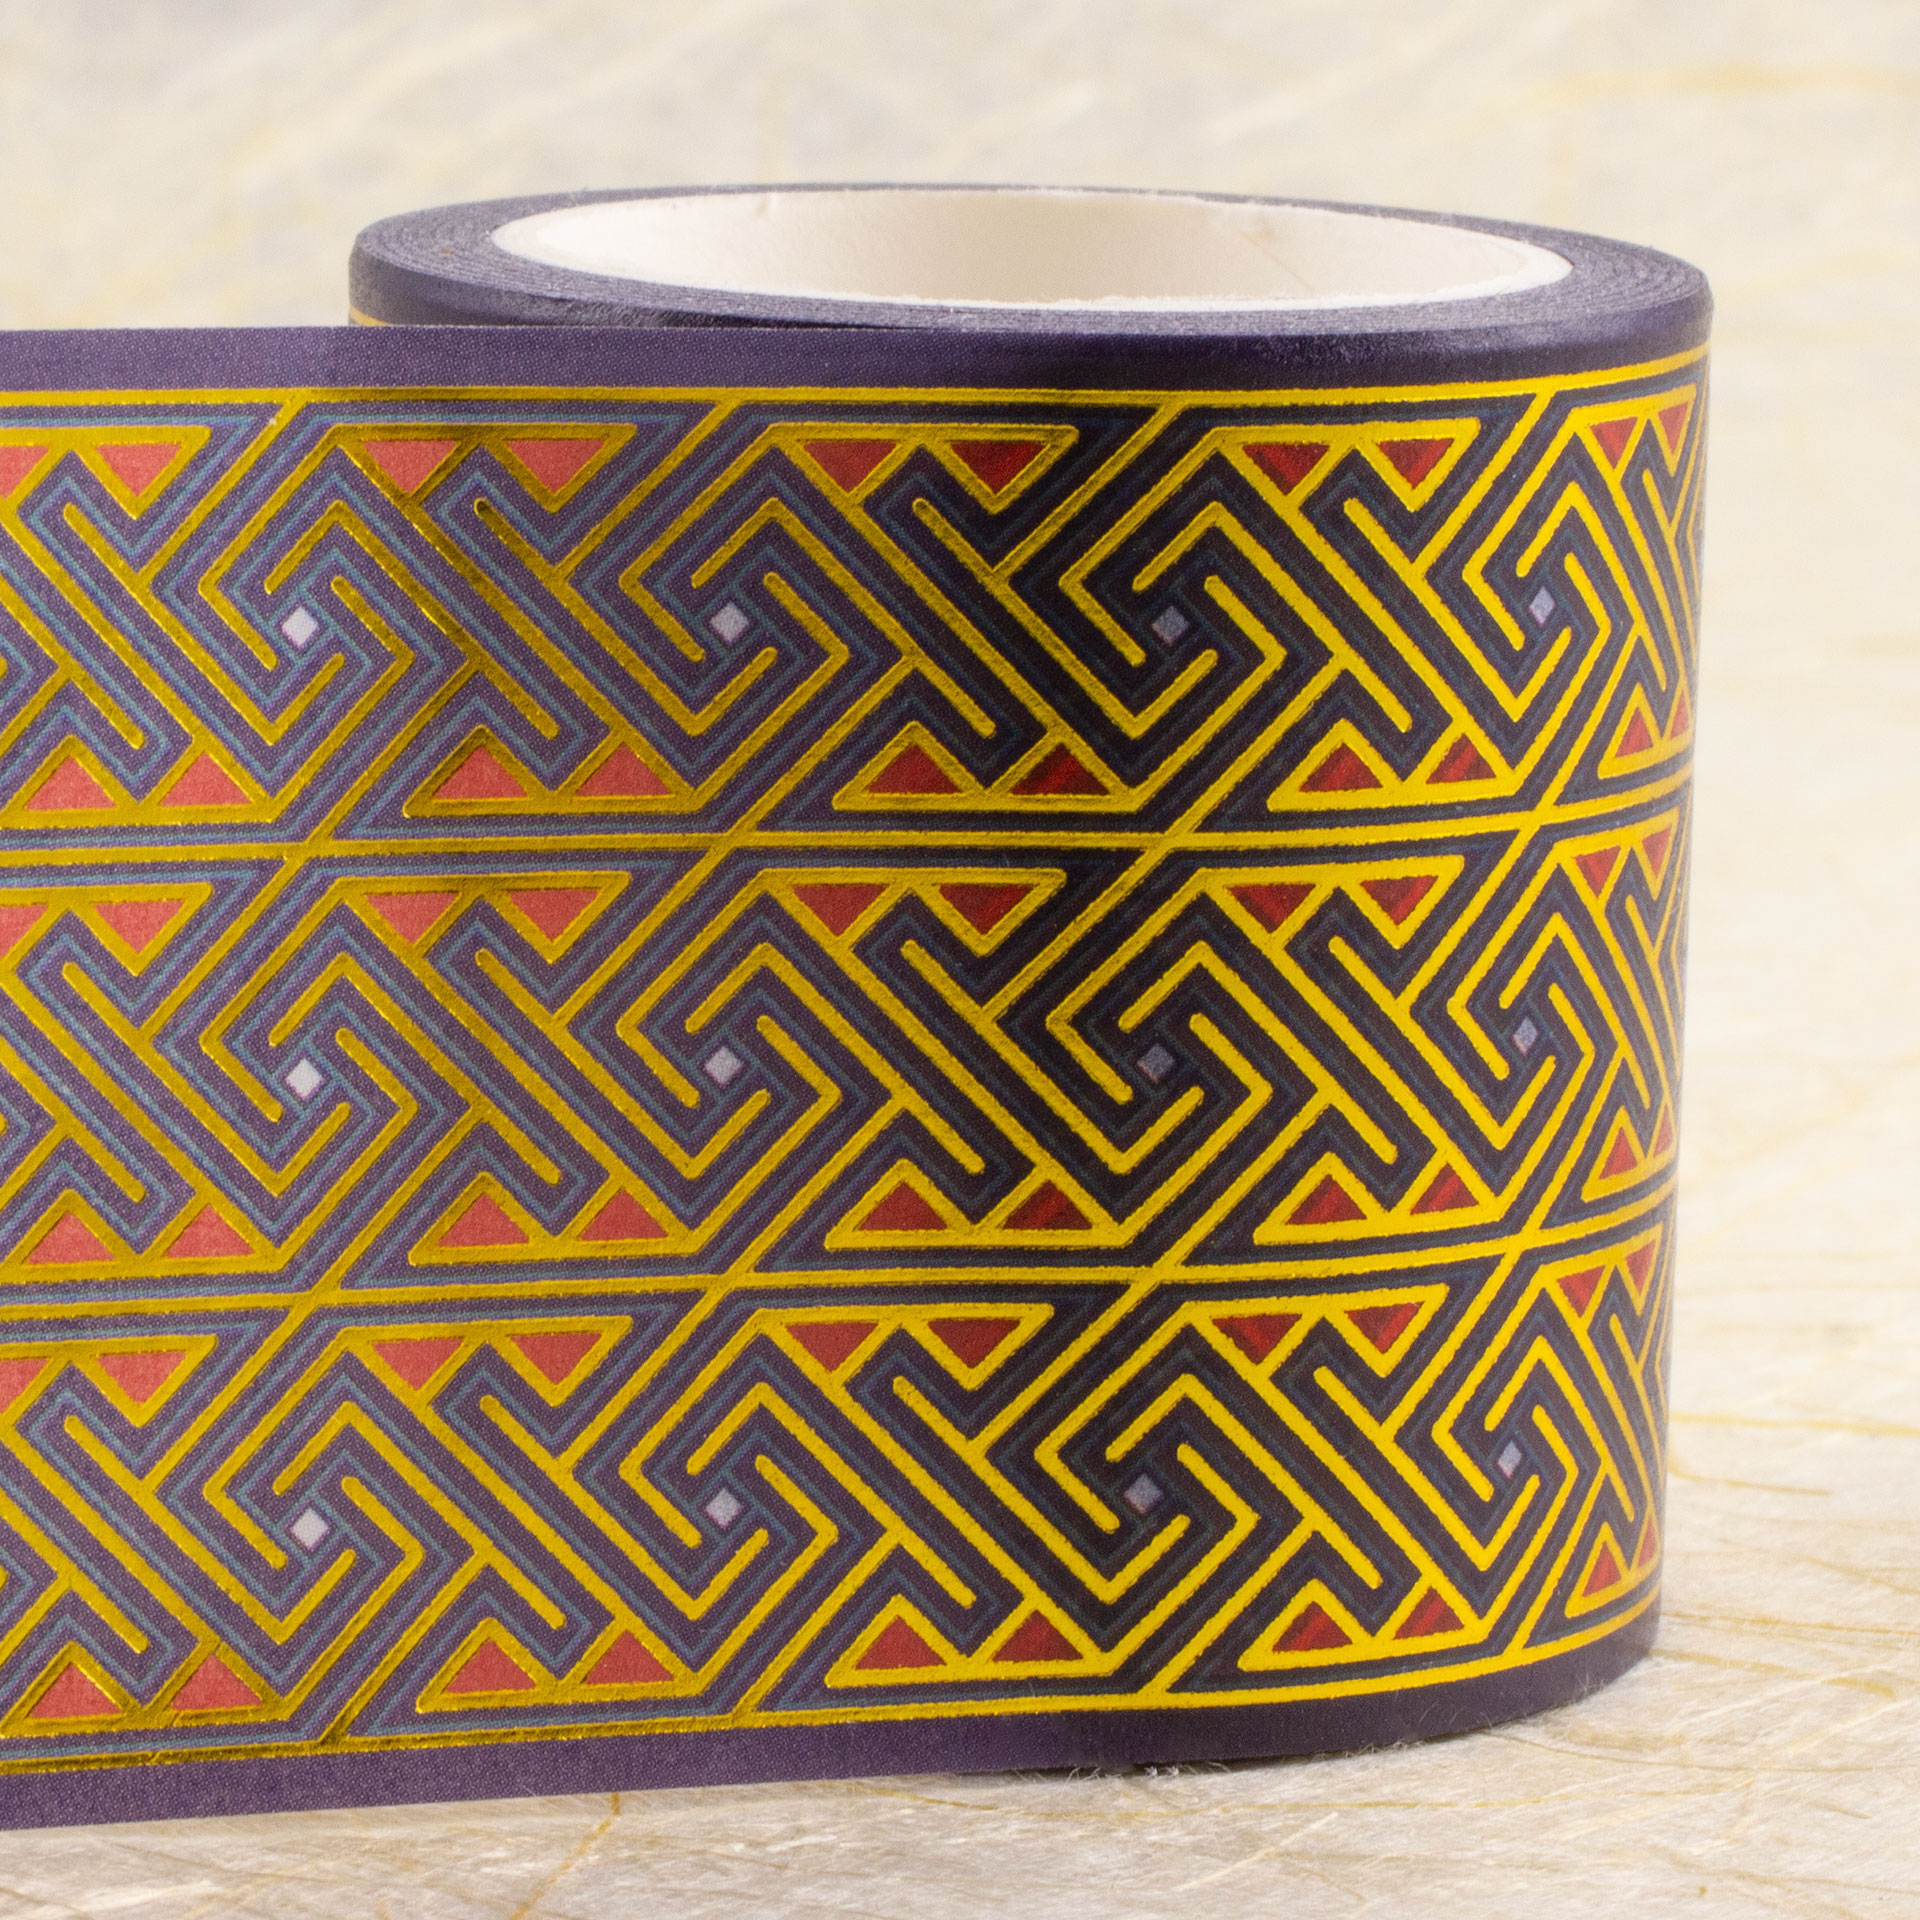
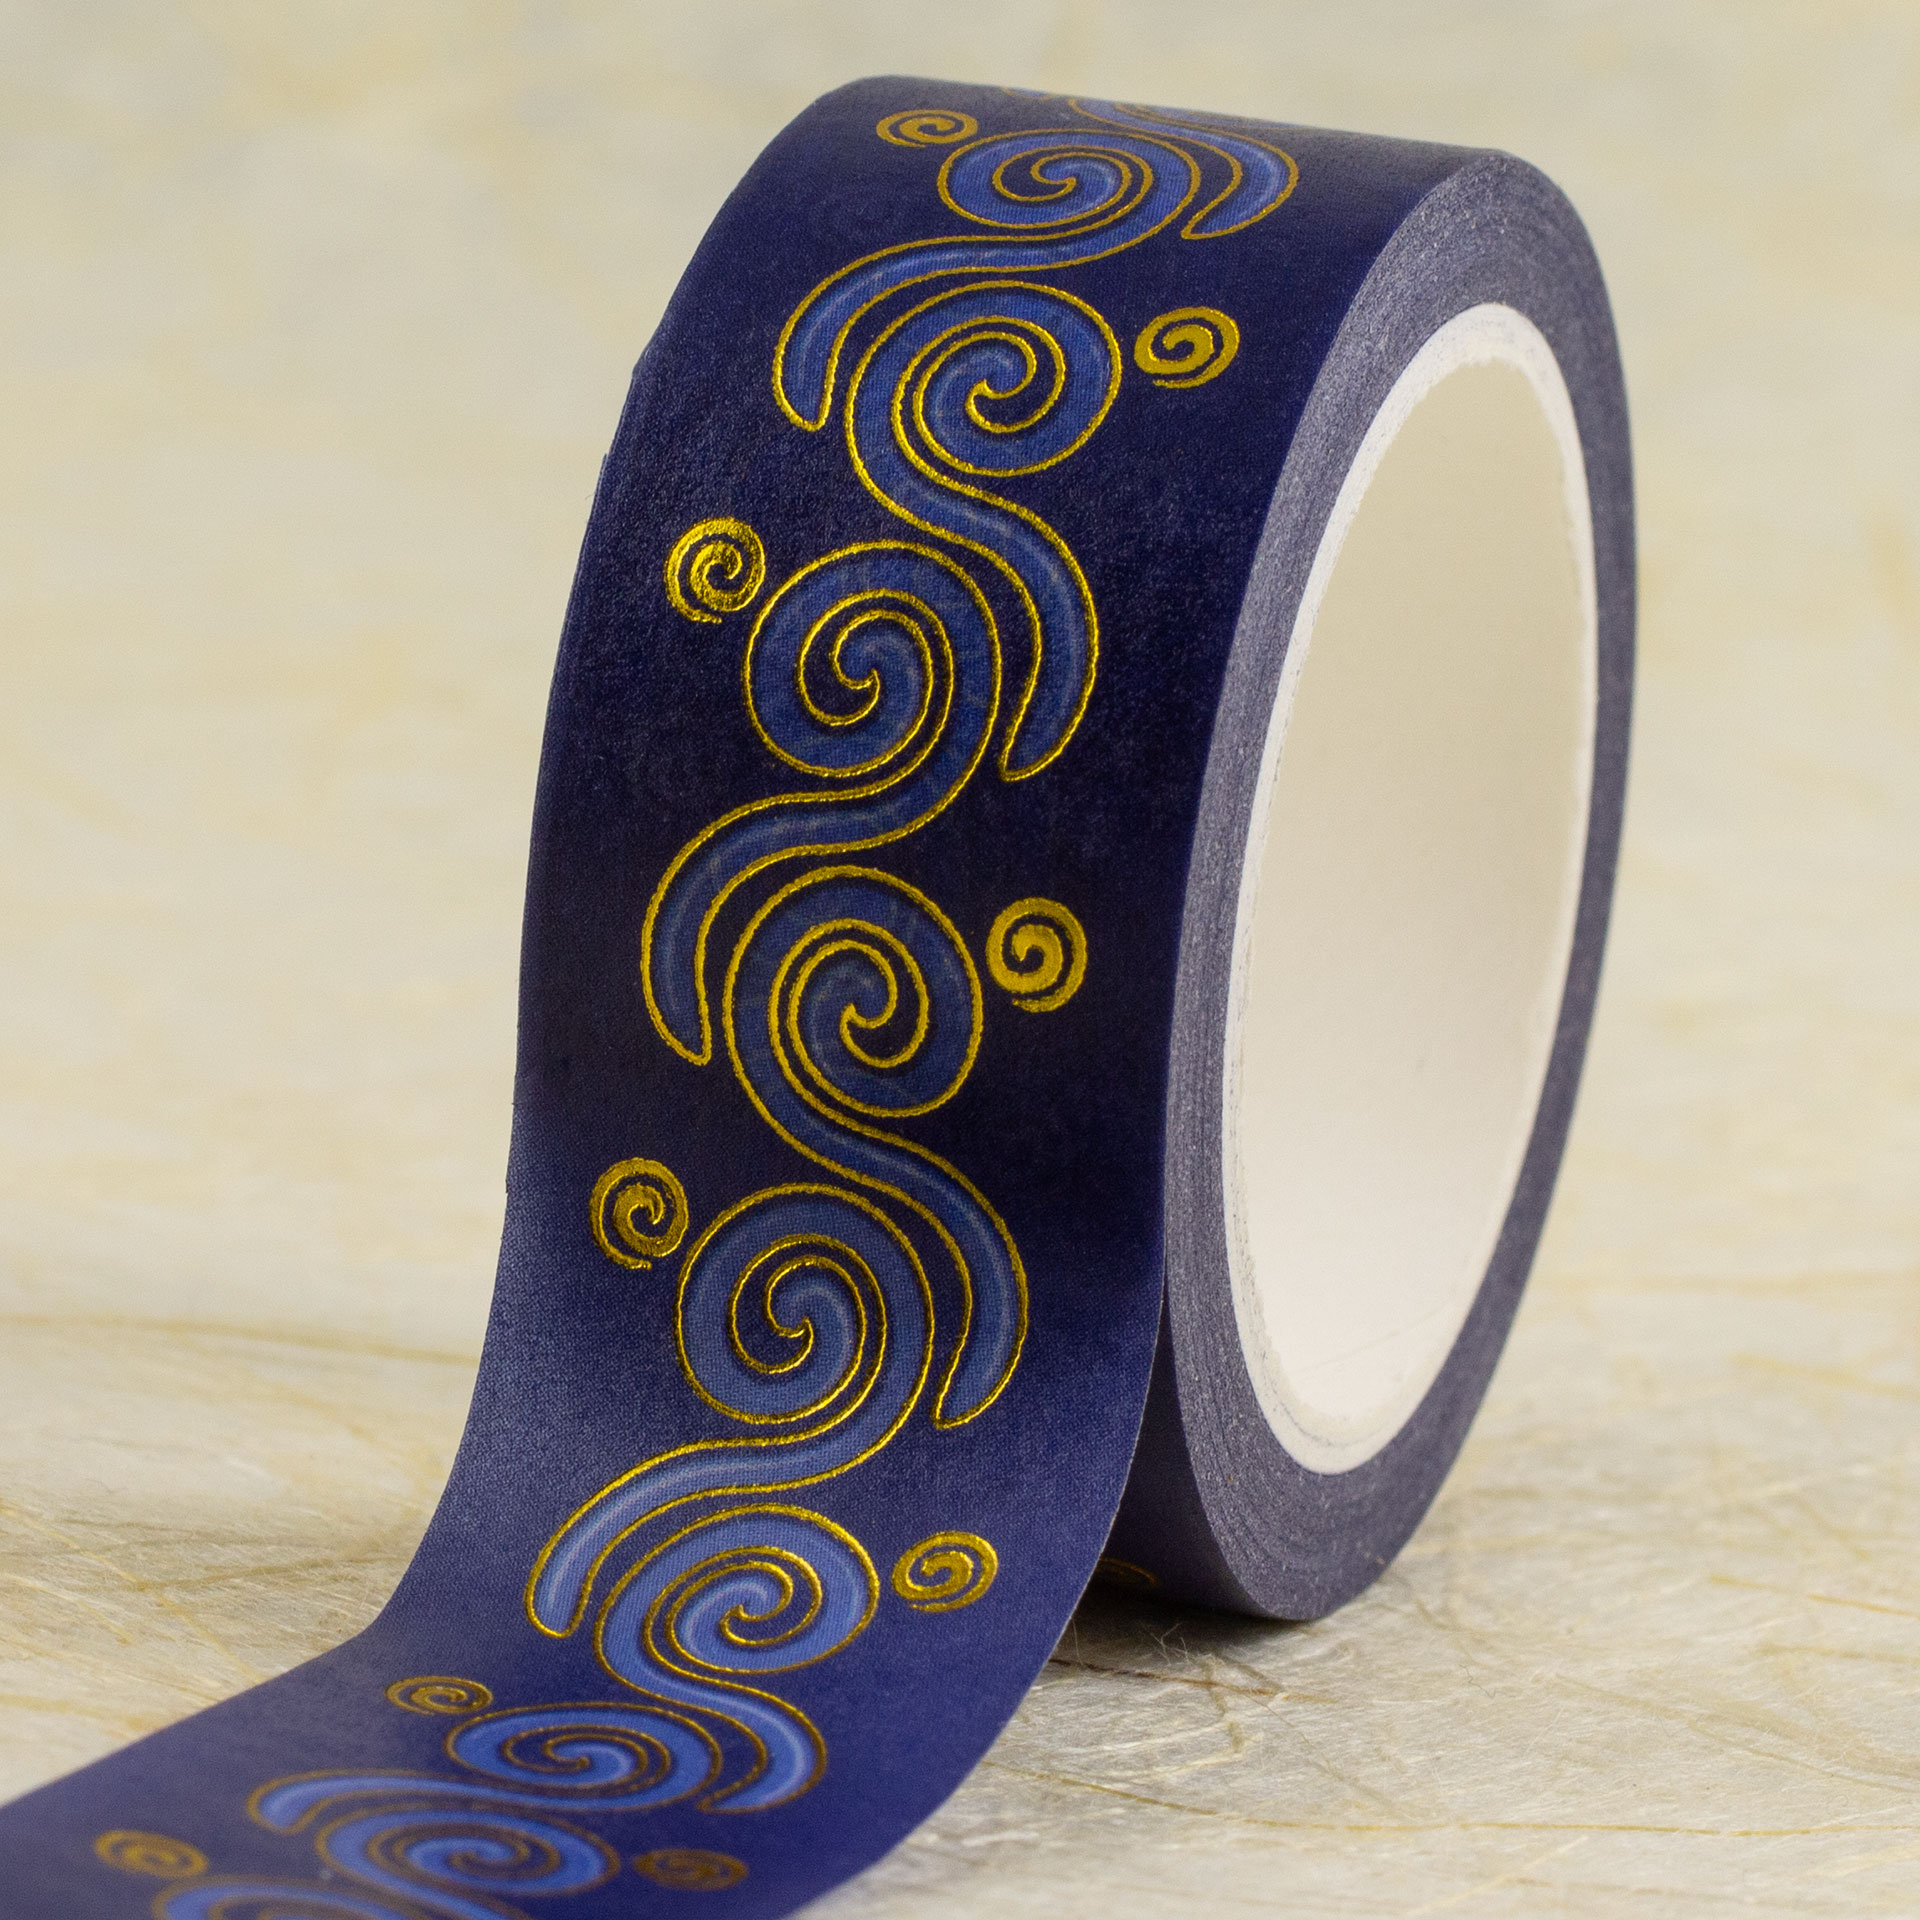
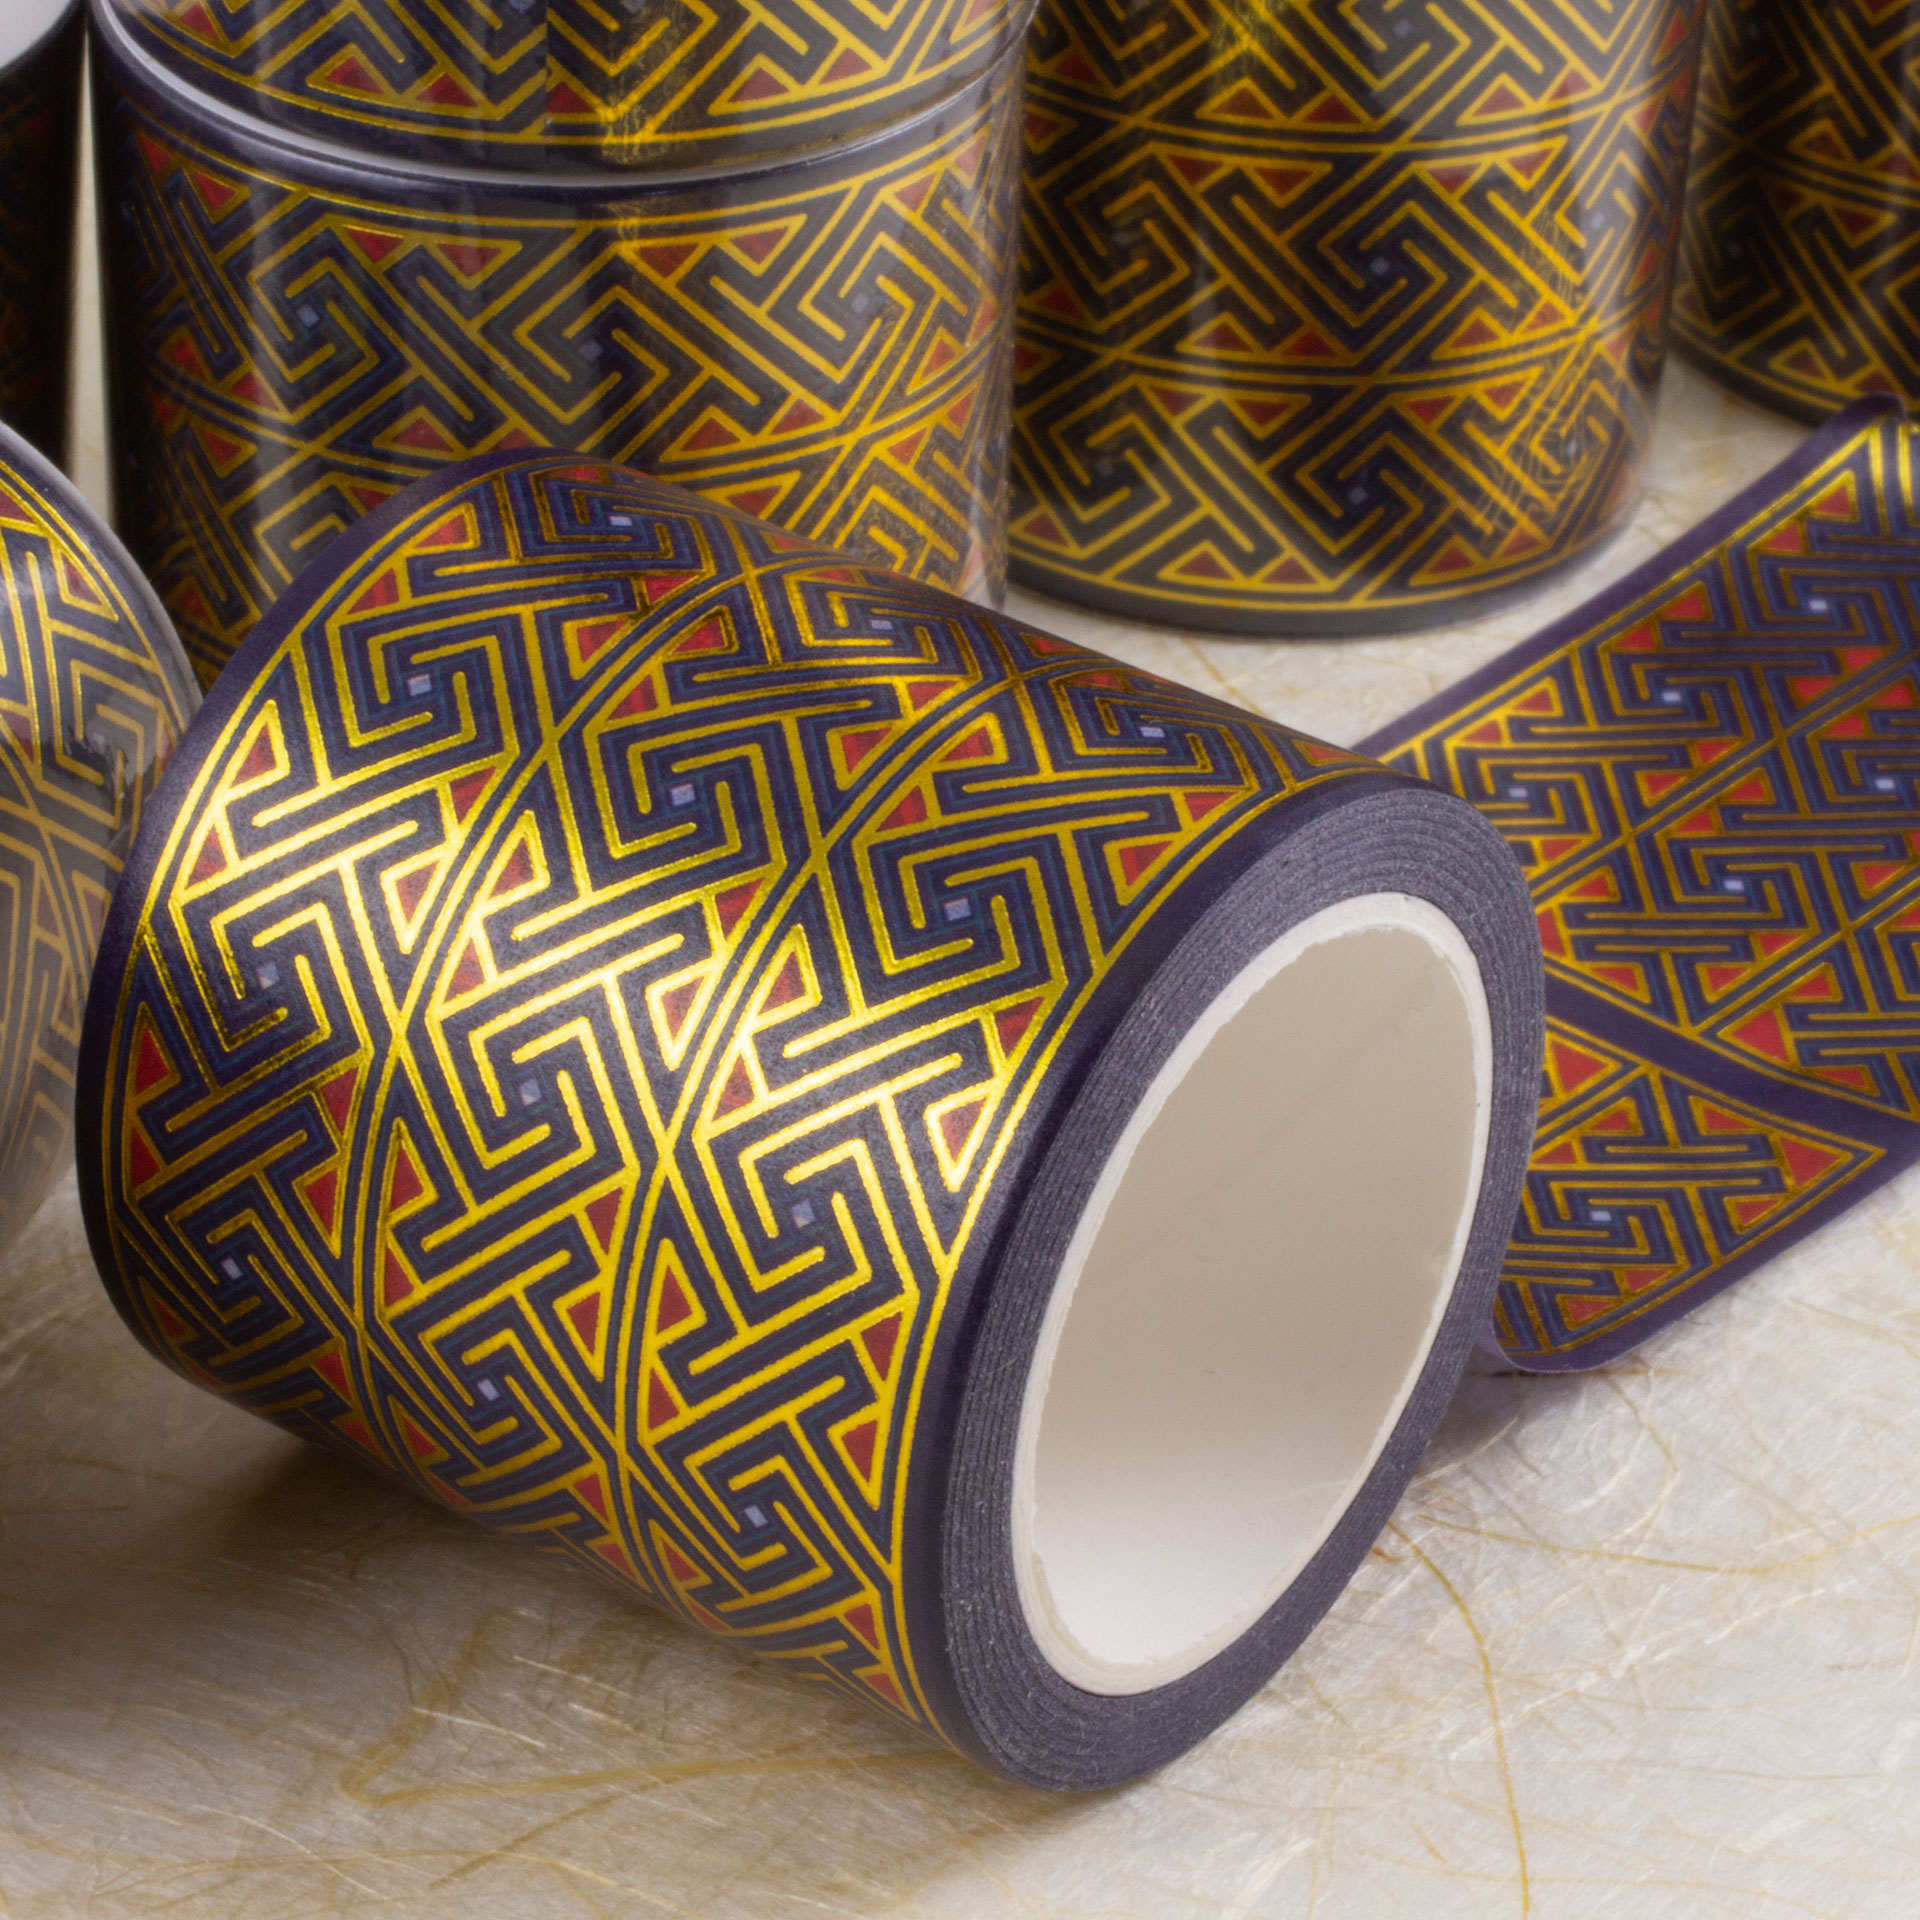
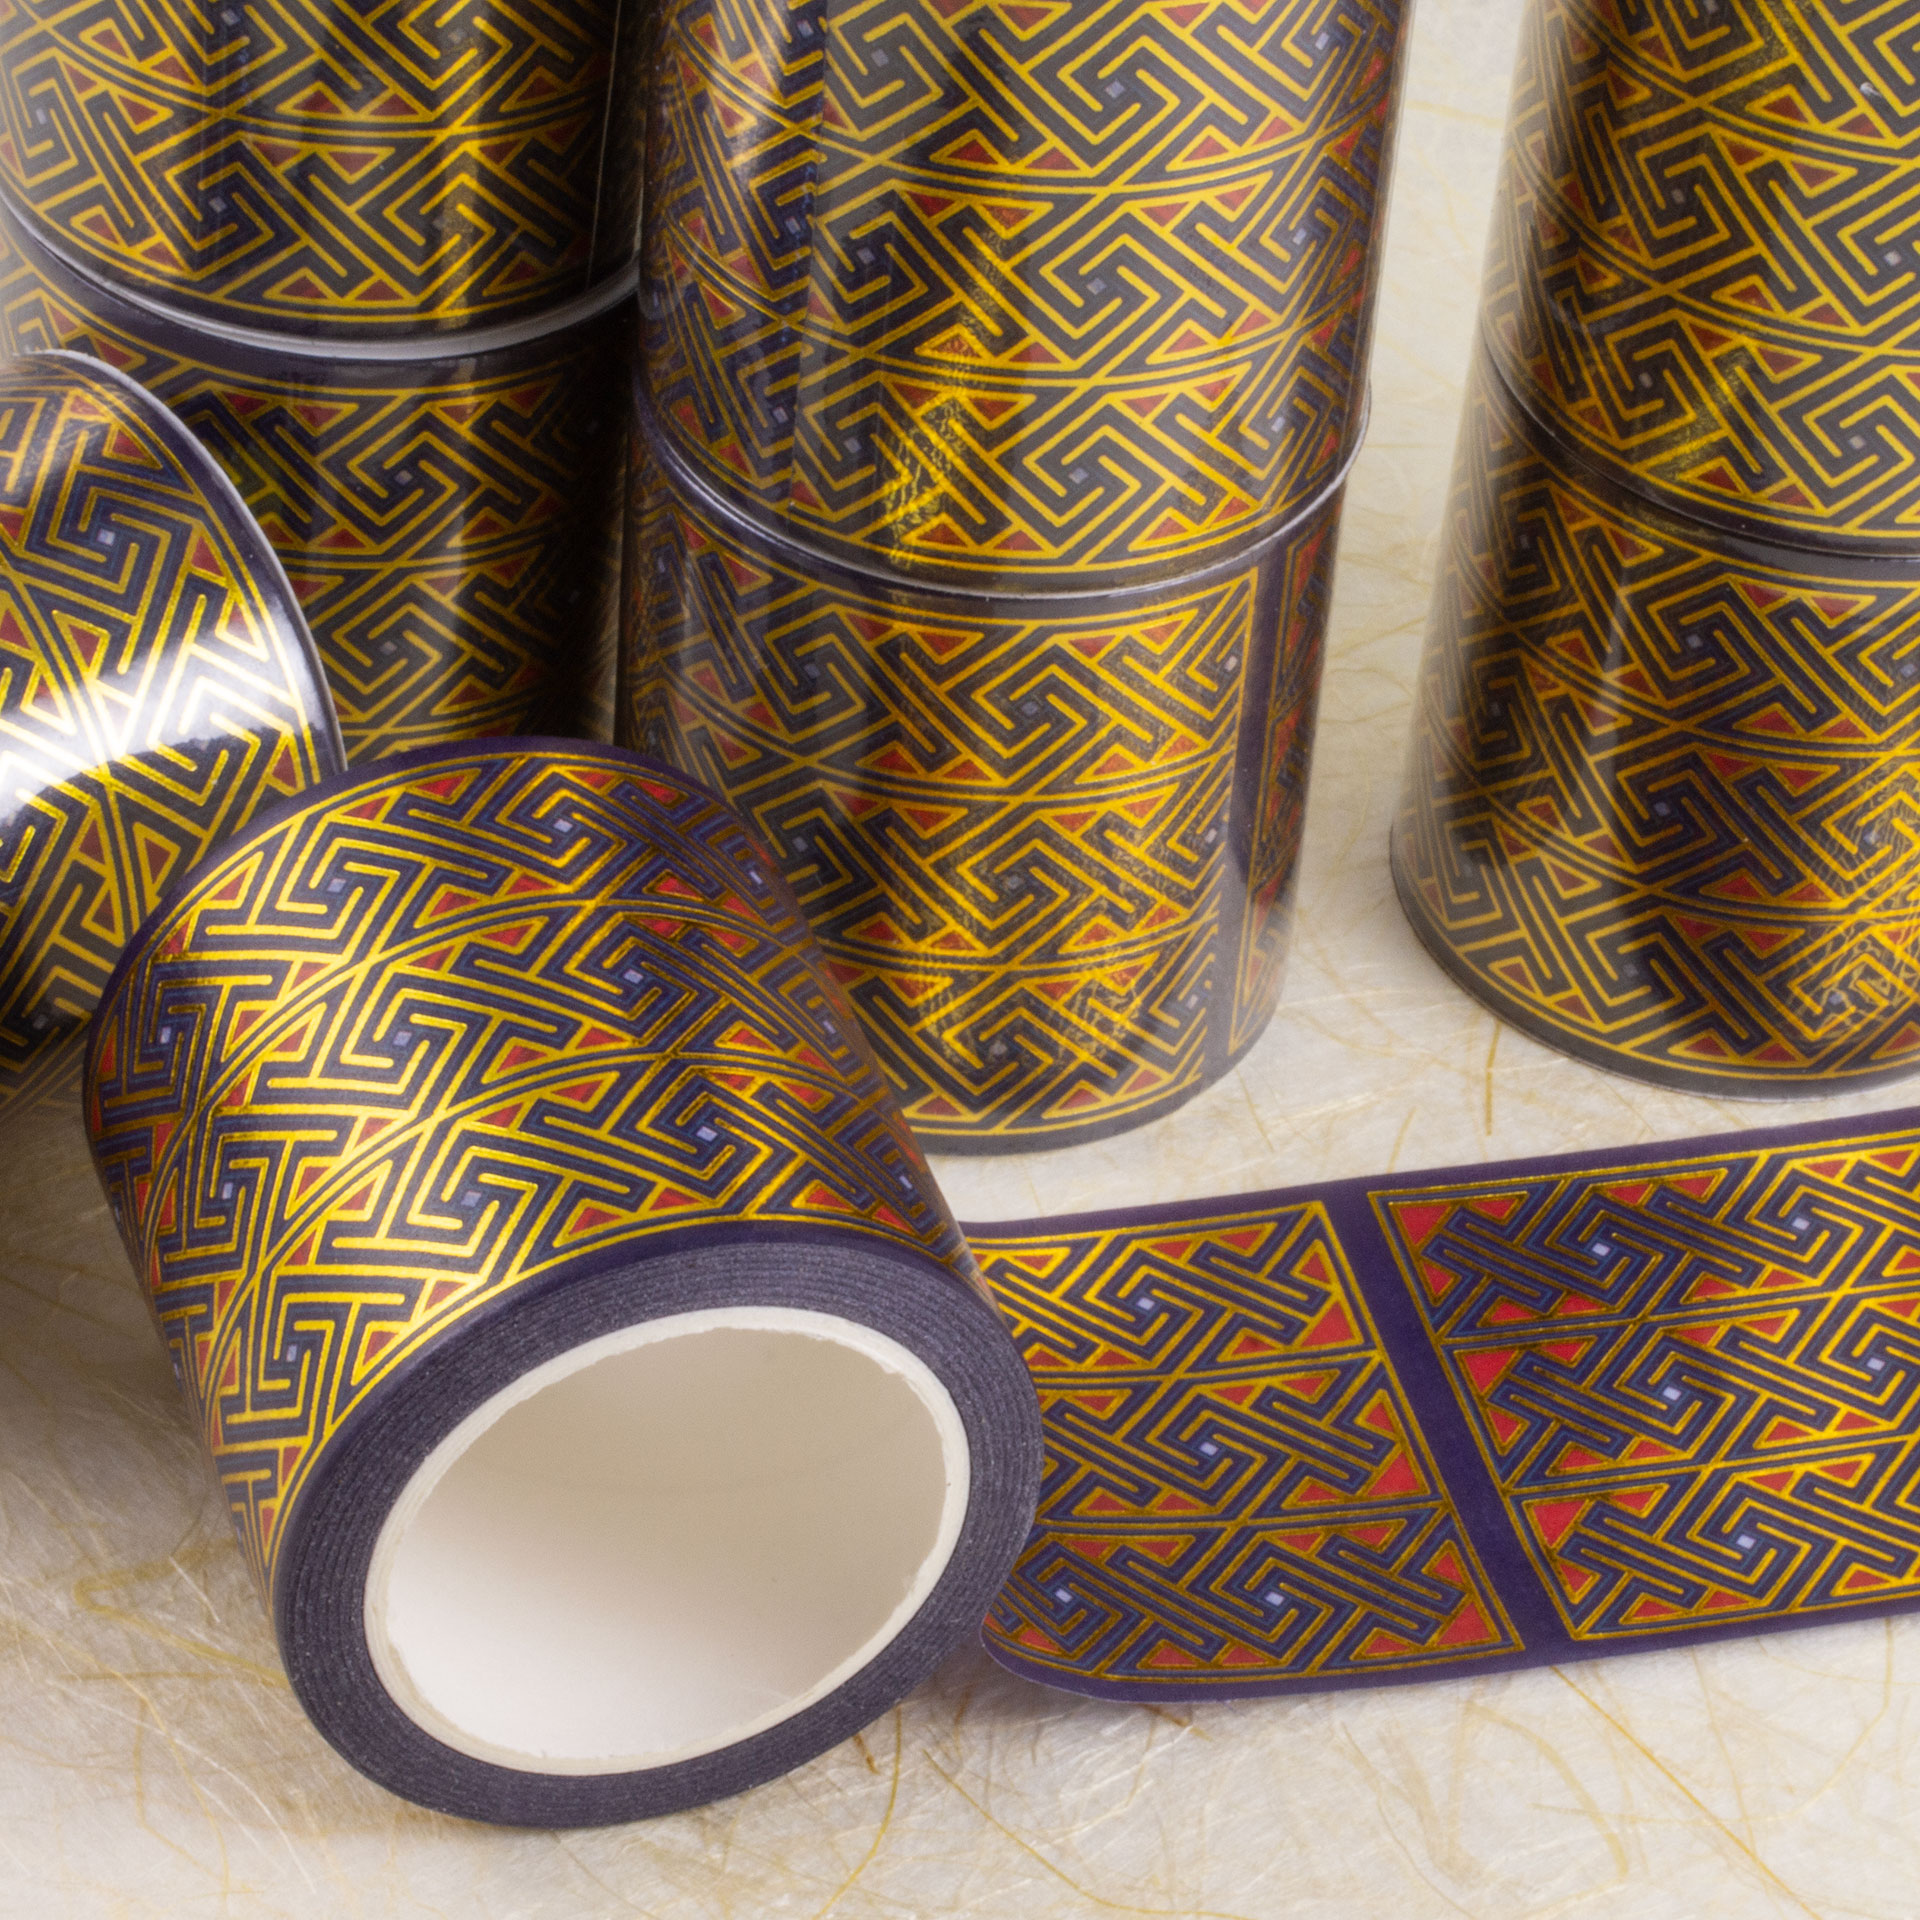
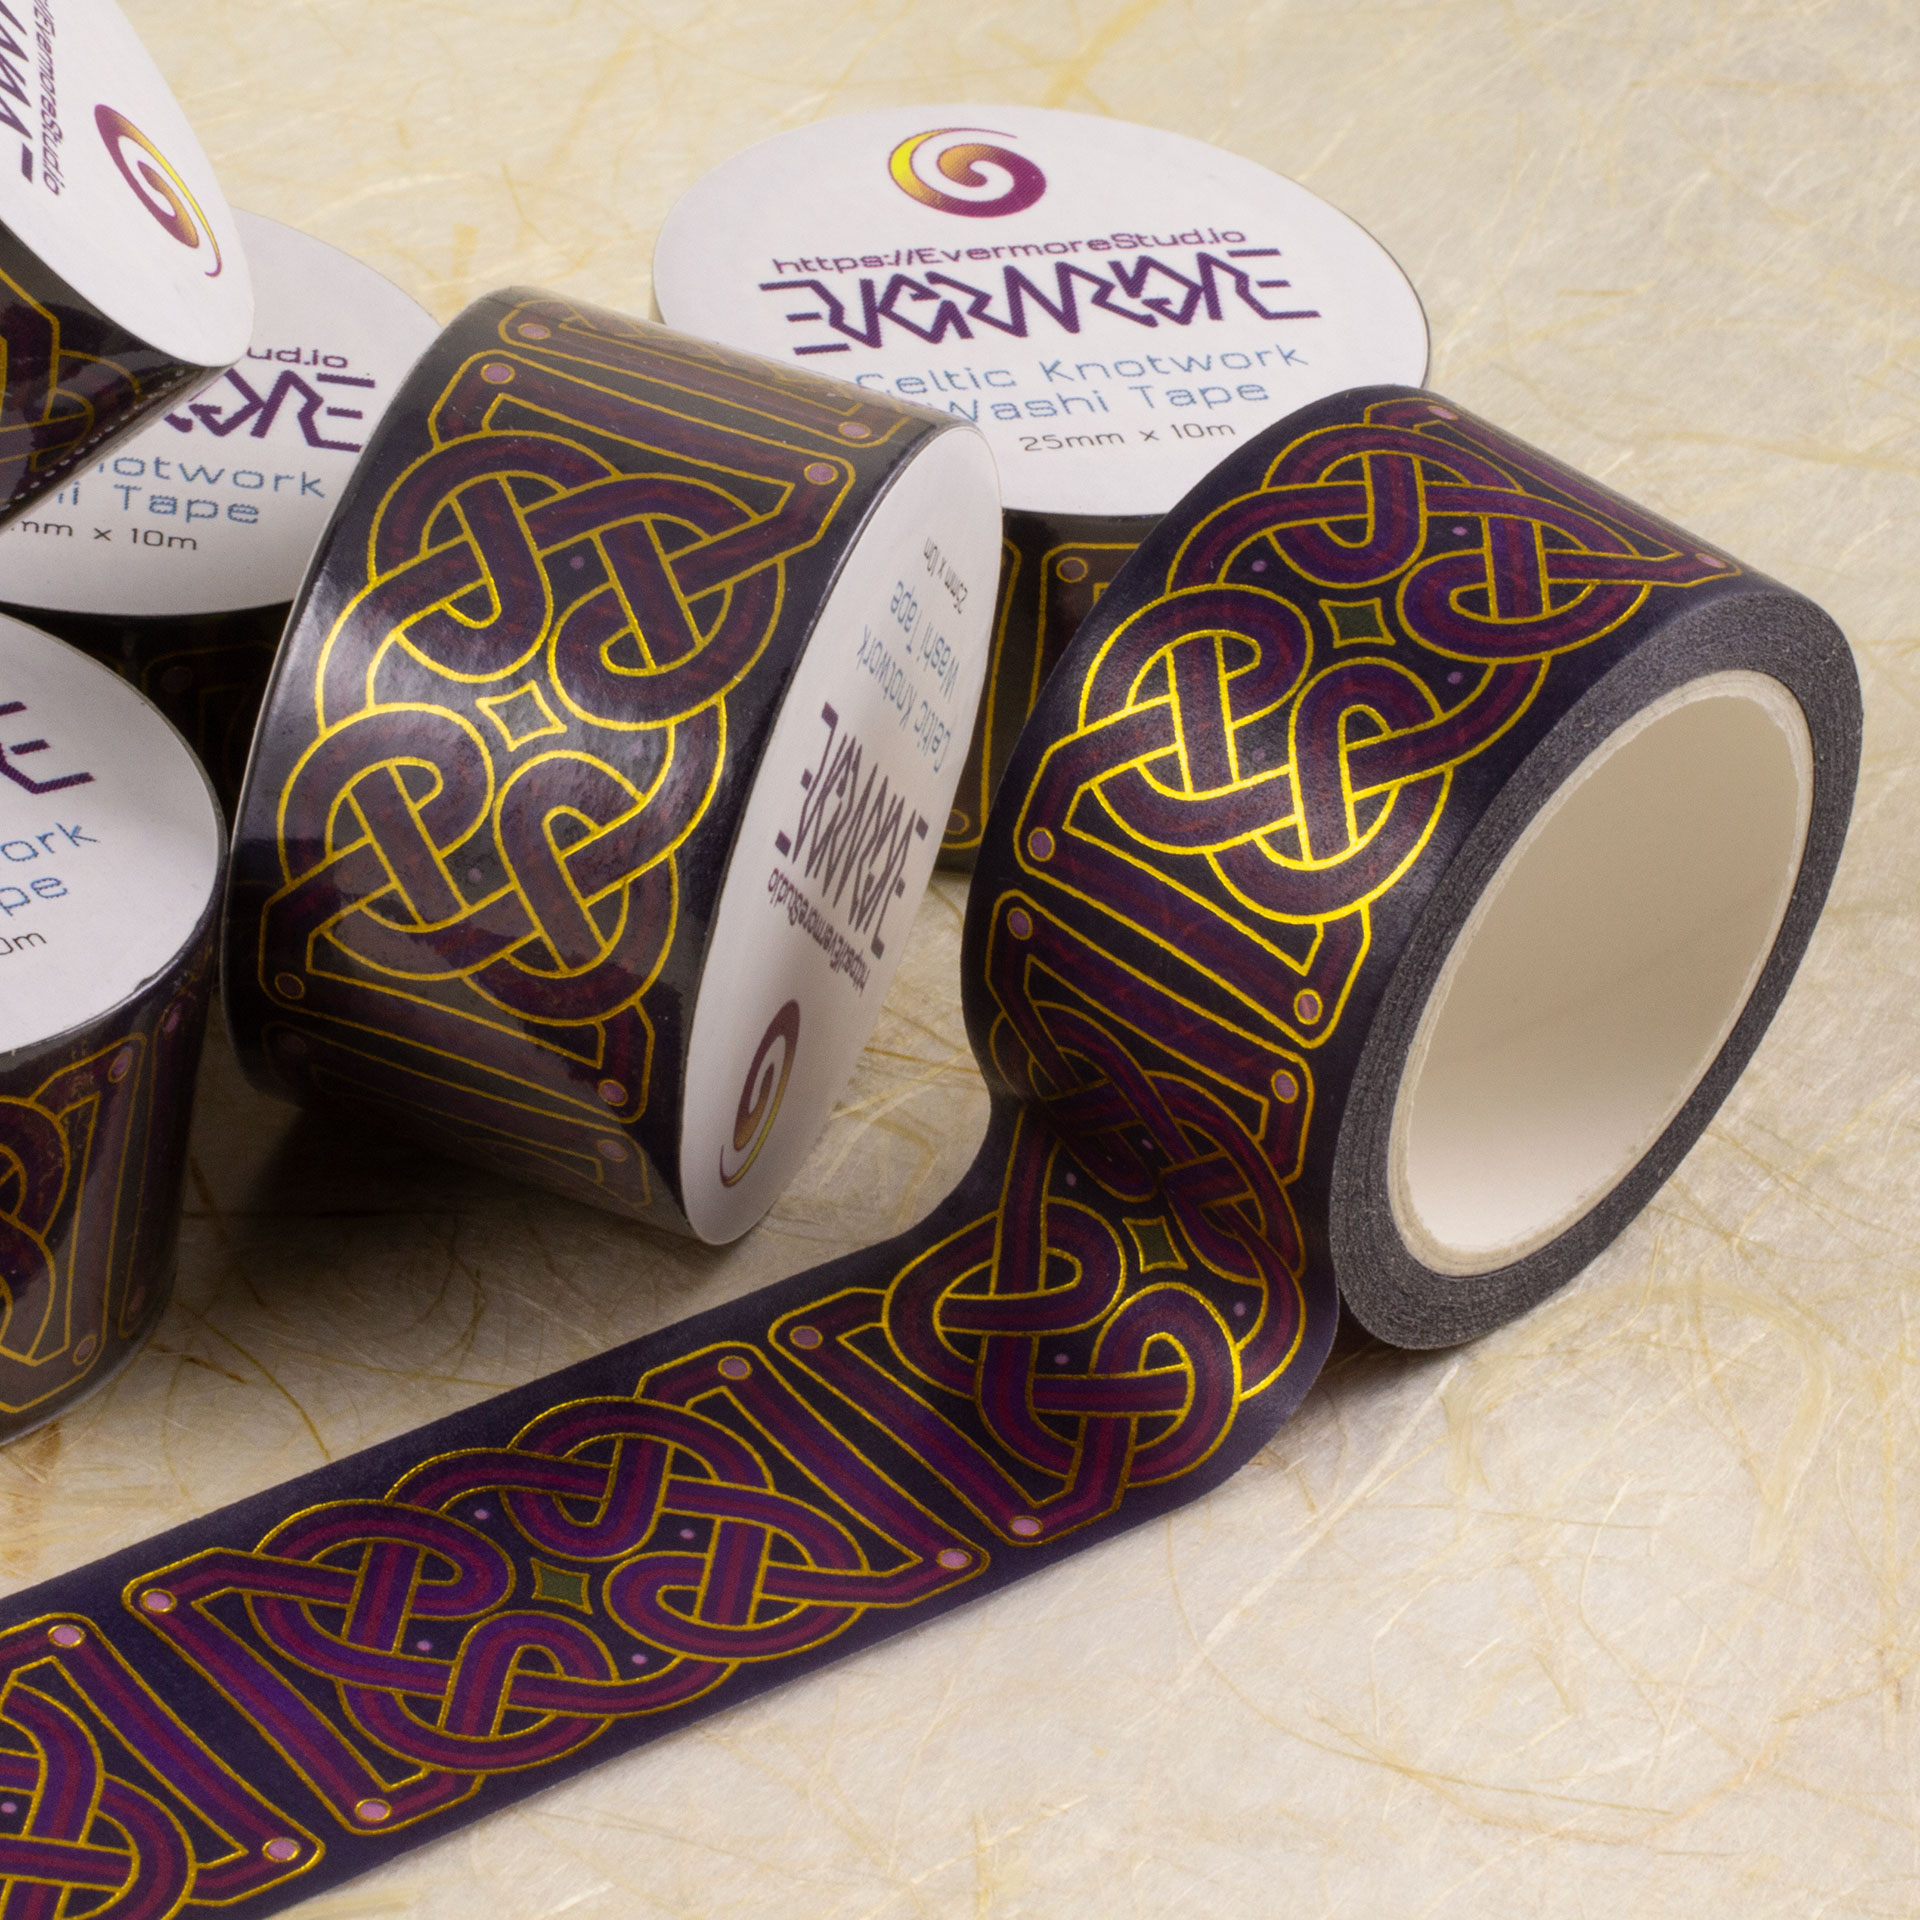
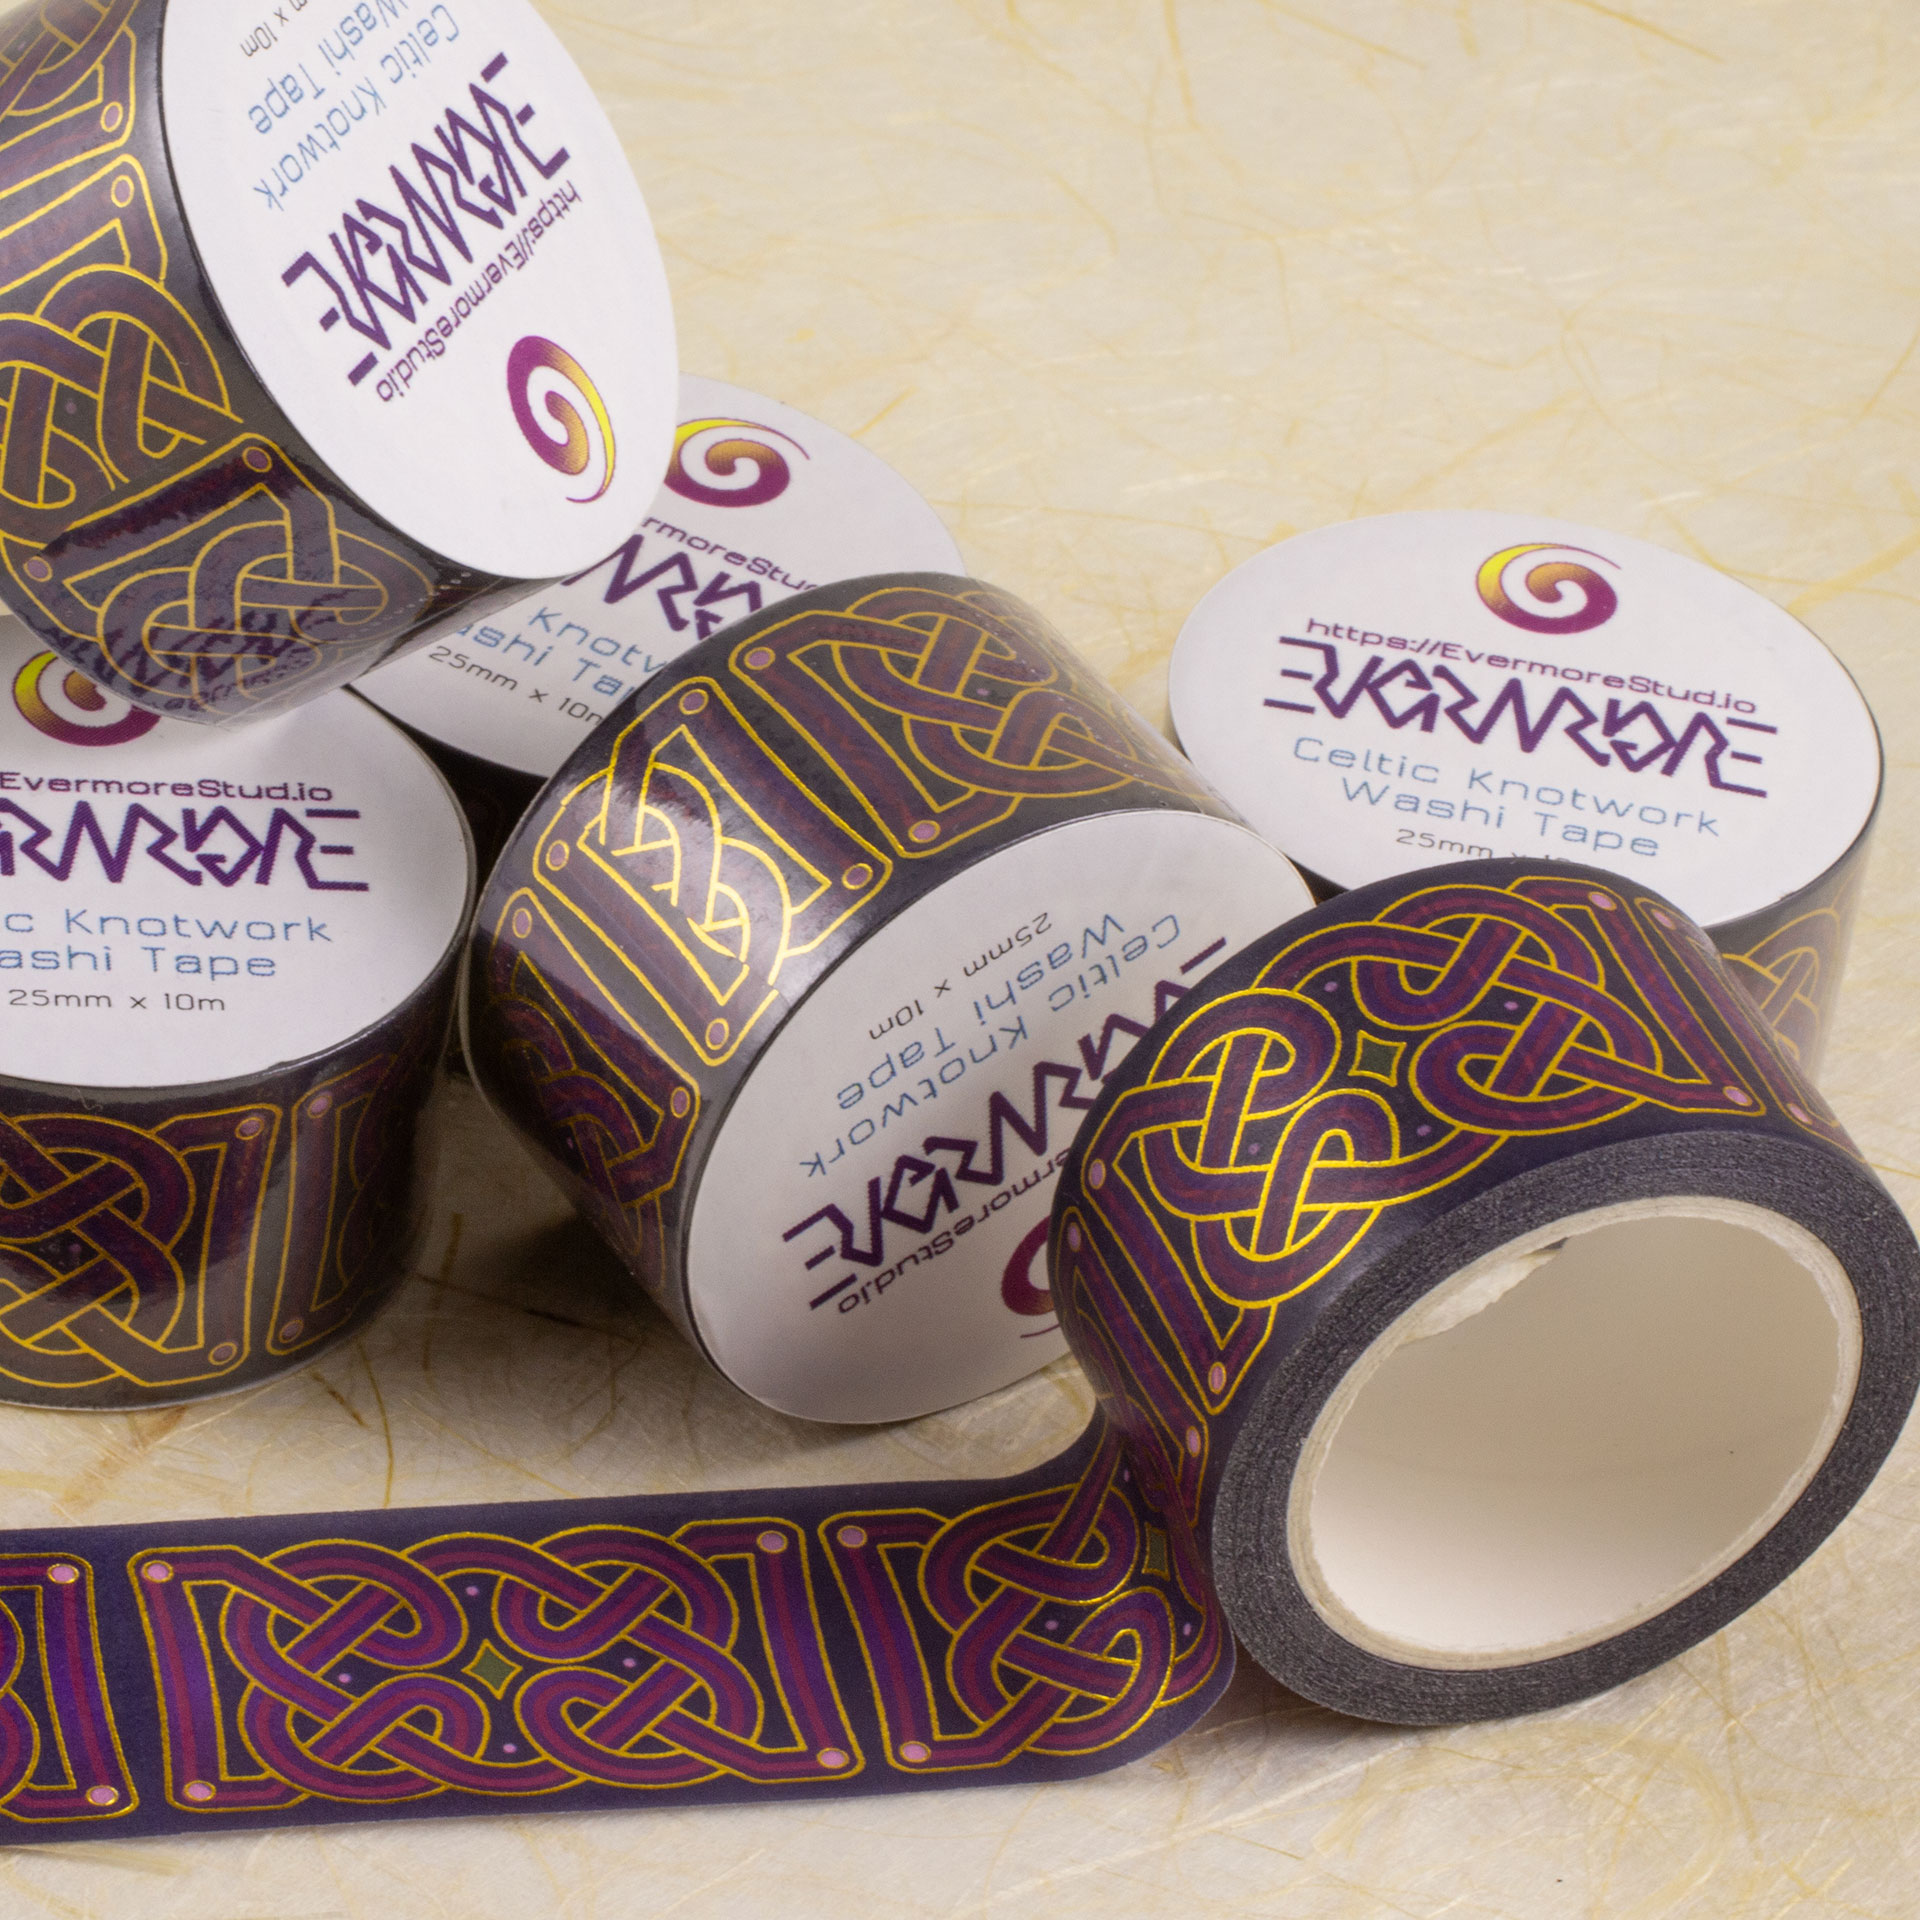
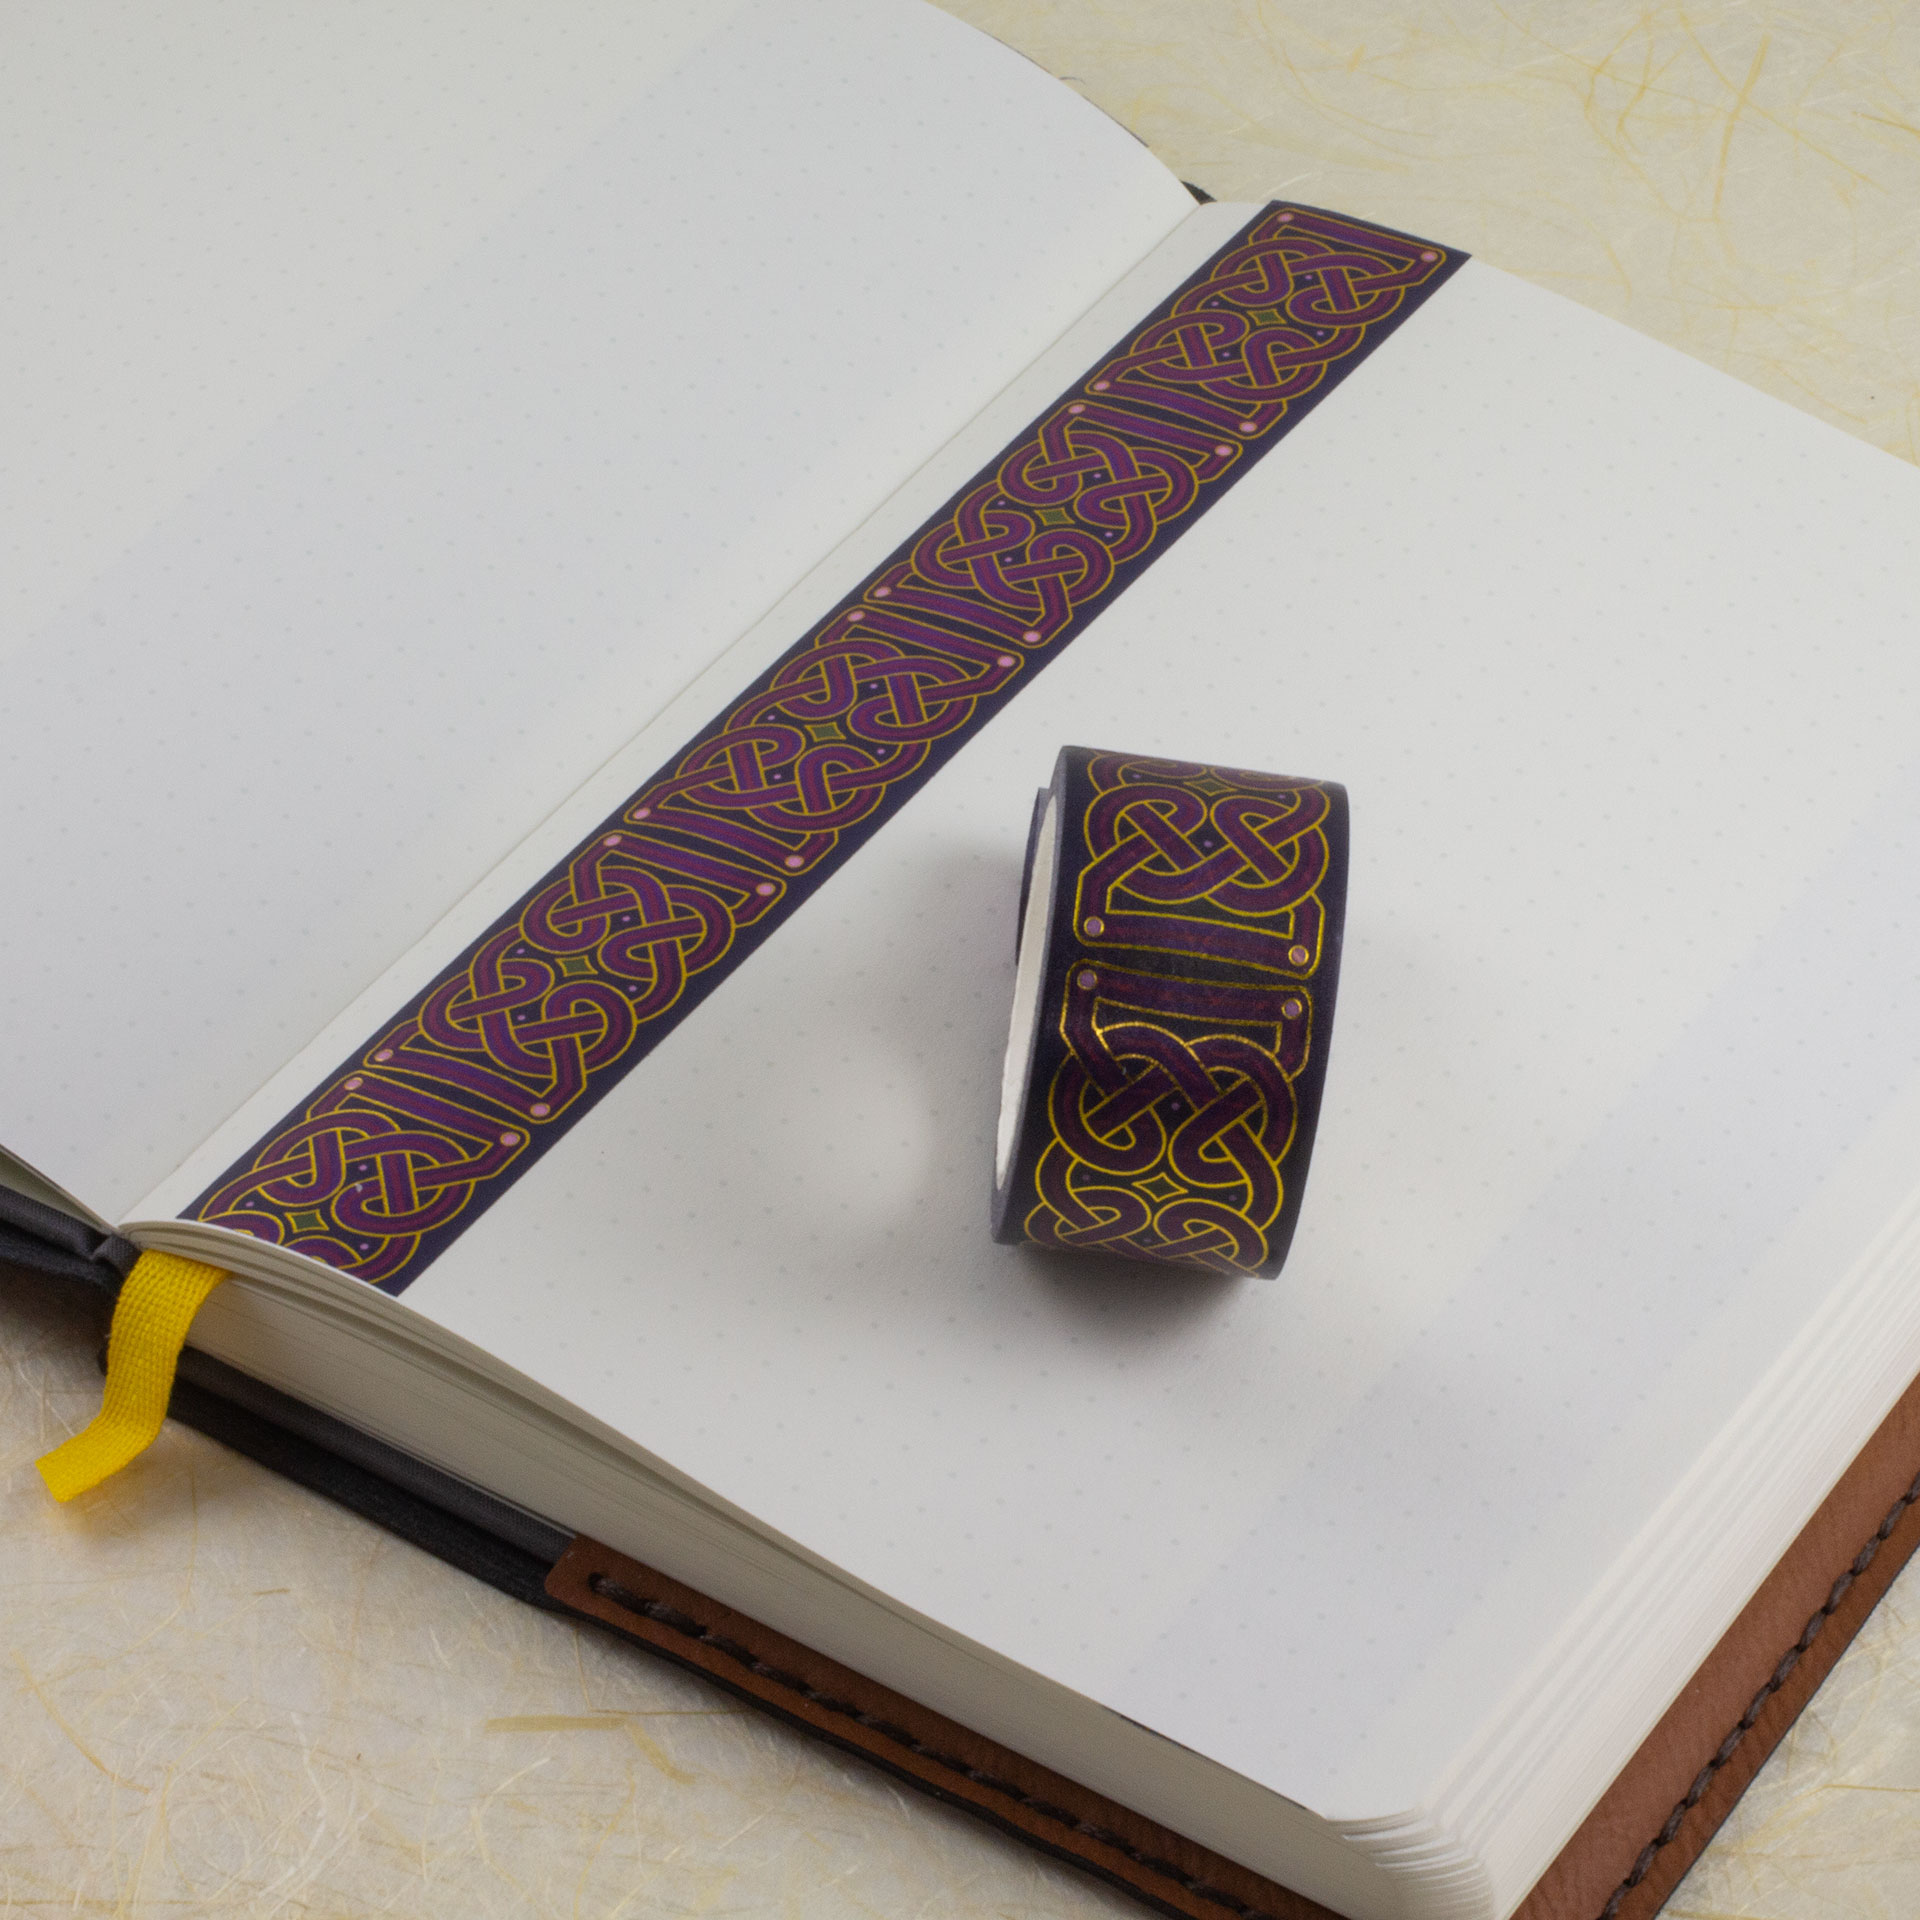
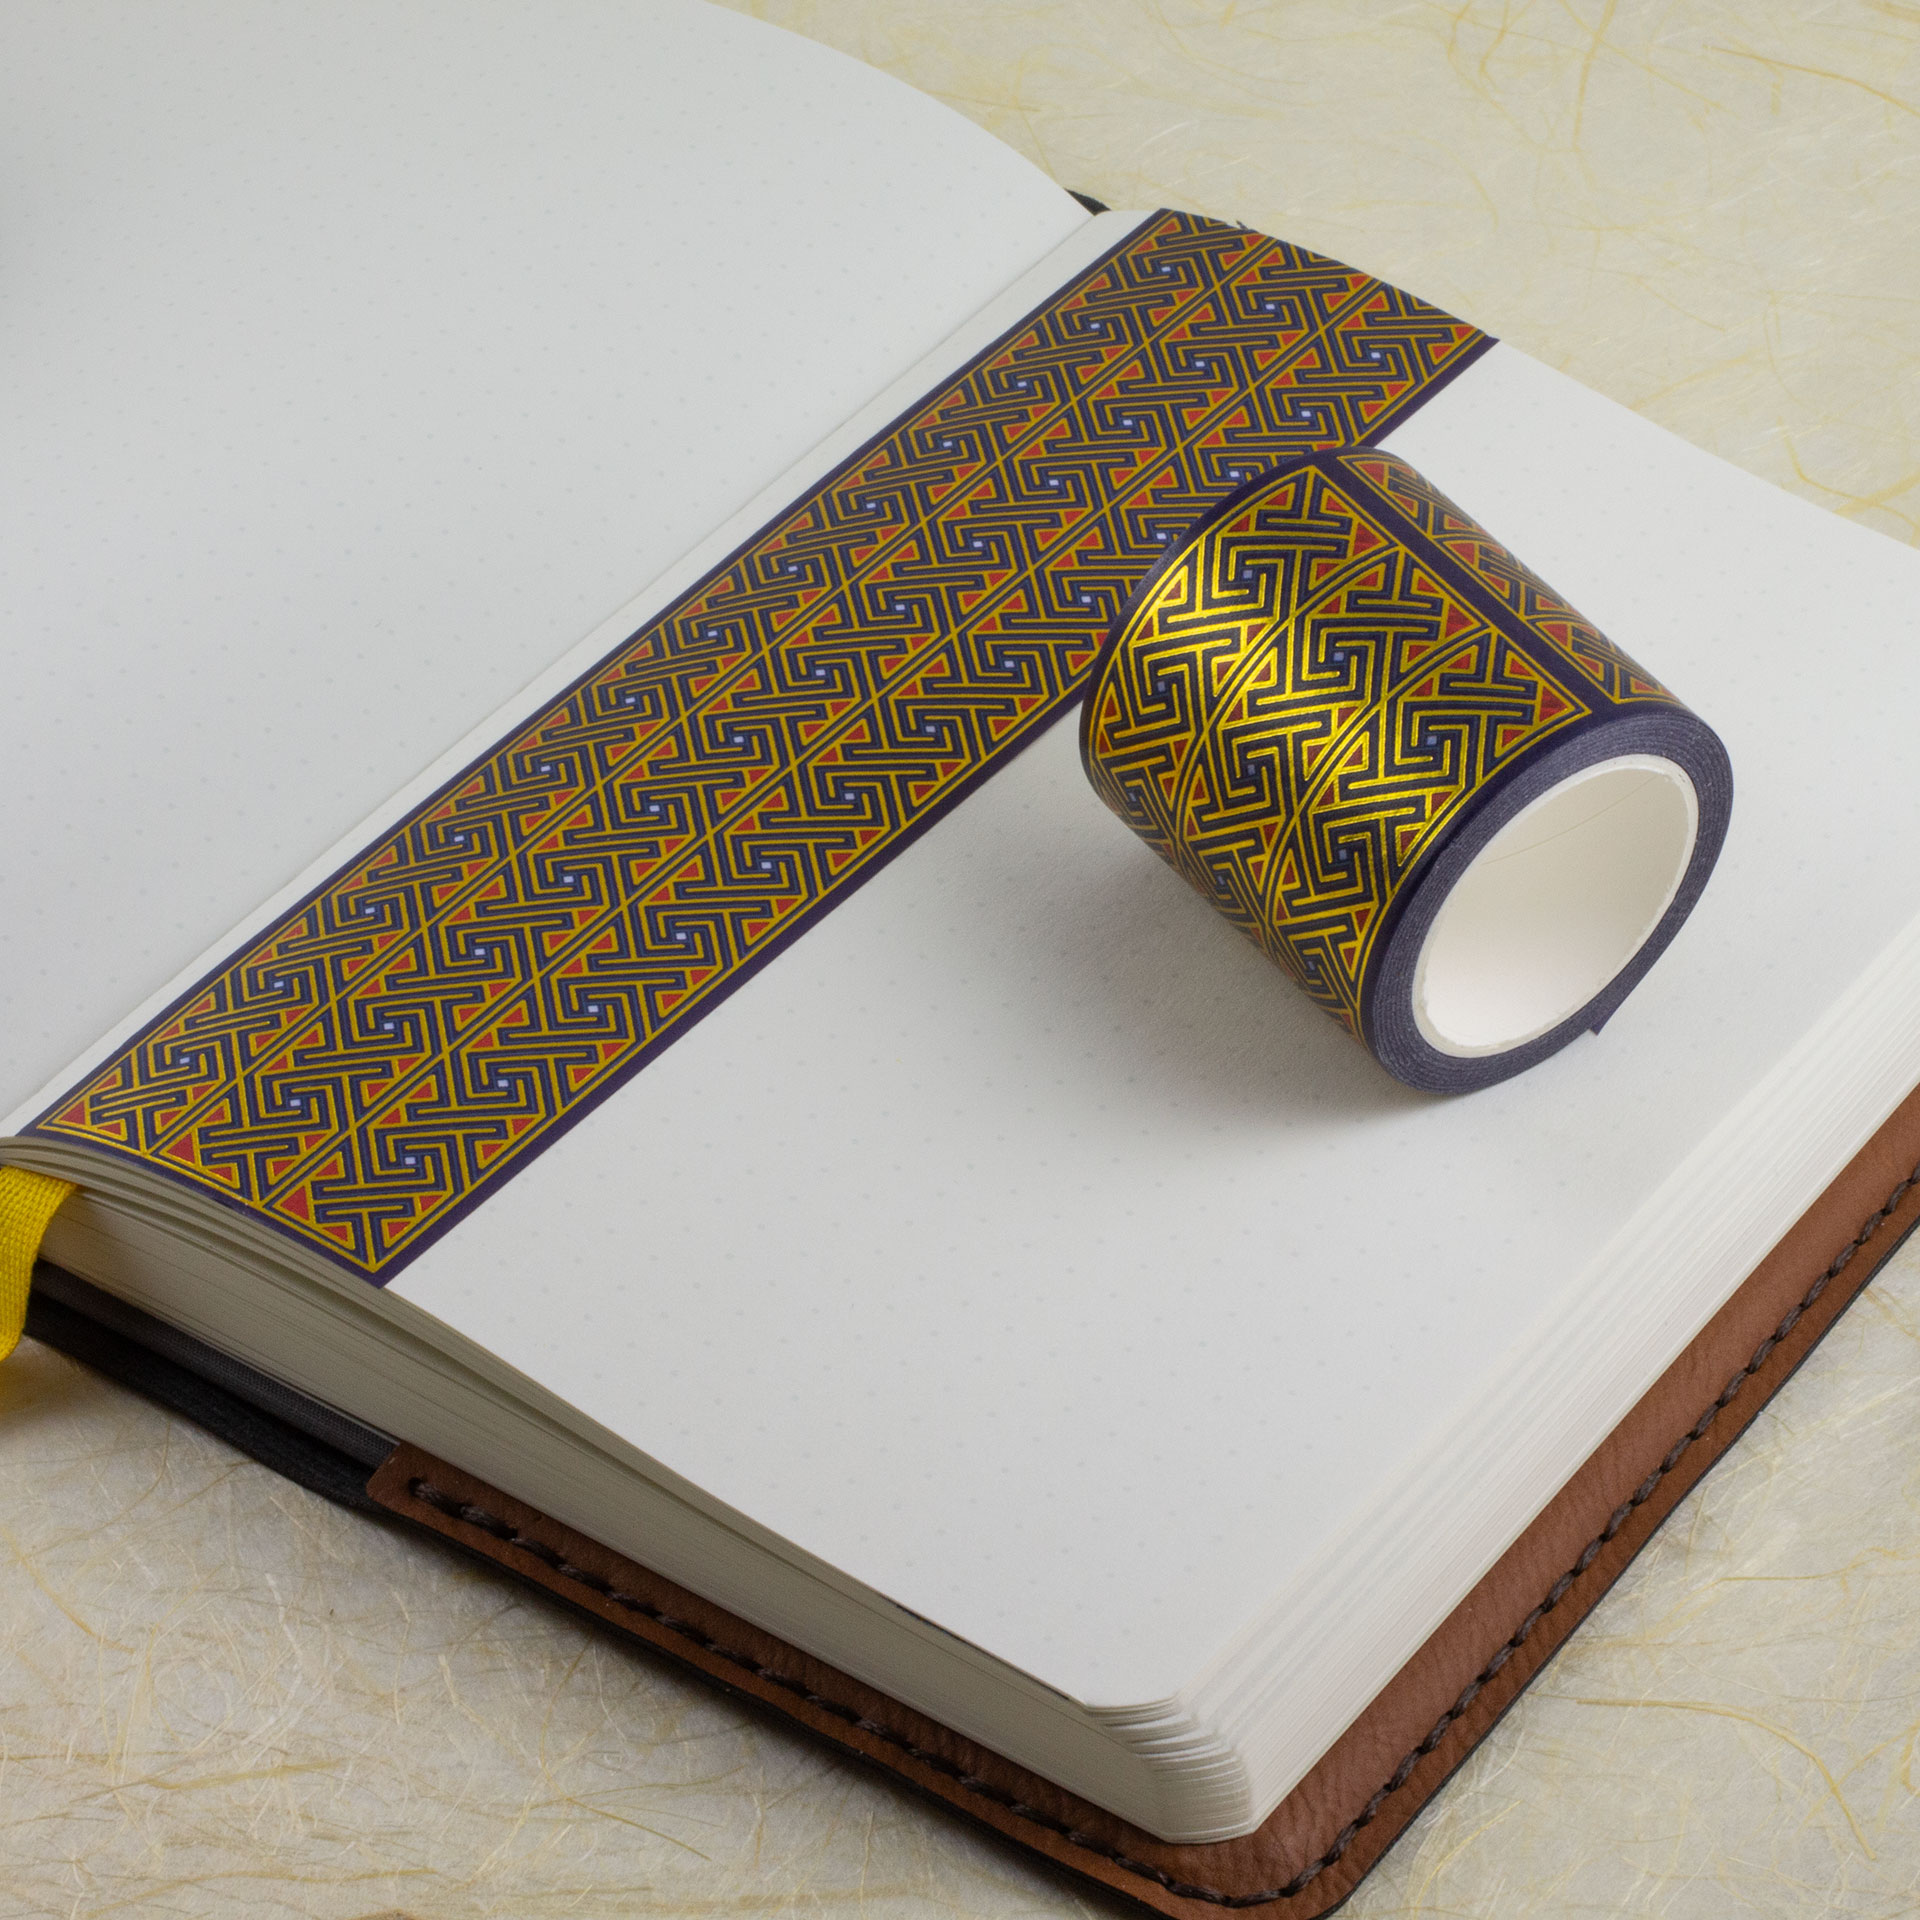
I couldn’t resist designing some more Celtic art washi tape. I did another key pattern, much wider this time (45mm), in purple and red (with some pale blue accents). I made a variant of my Spirals design (similar to the Spiral Flow fabric I did) in shades of blue. I also did a riff on a classic Celtic knotwork/interlacing design in shades of purple (with a green accent). All have gold foil outlines and accents.
Chibitronics interviewed me for a Meet the Maker feature on their blog! If you want to know more about me, my background, my process, and what I do, check it out.
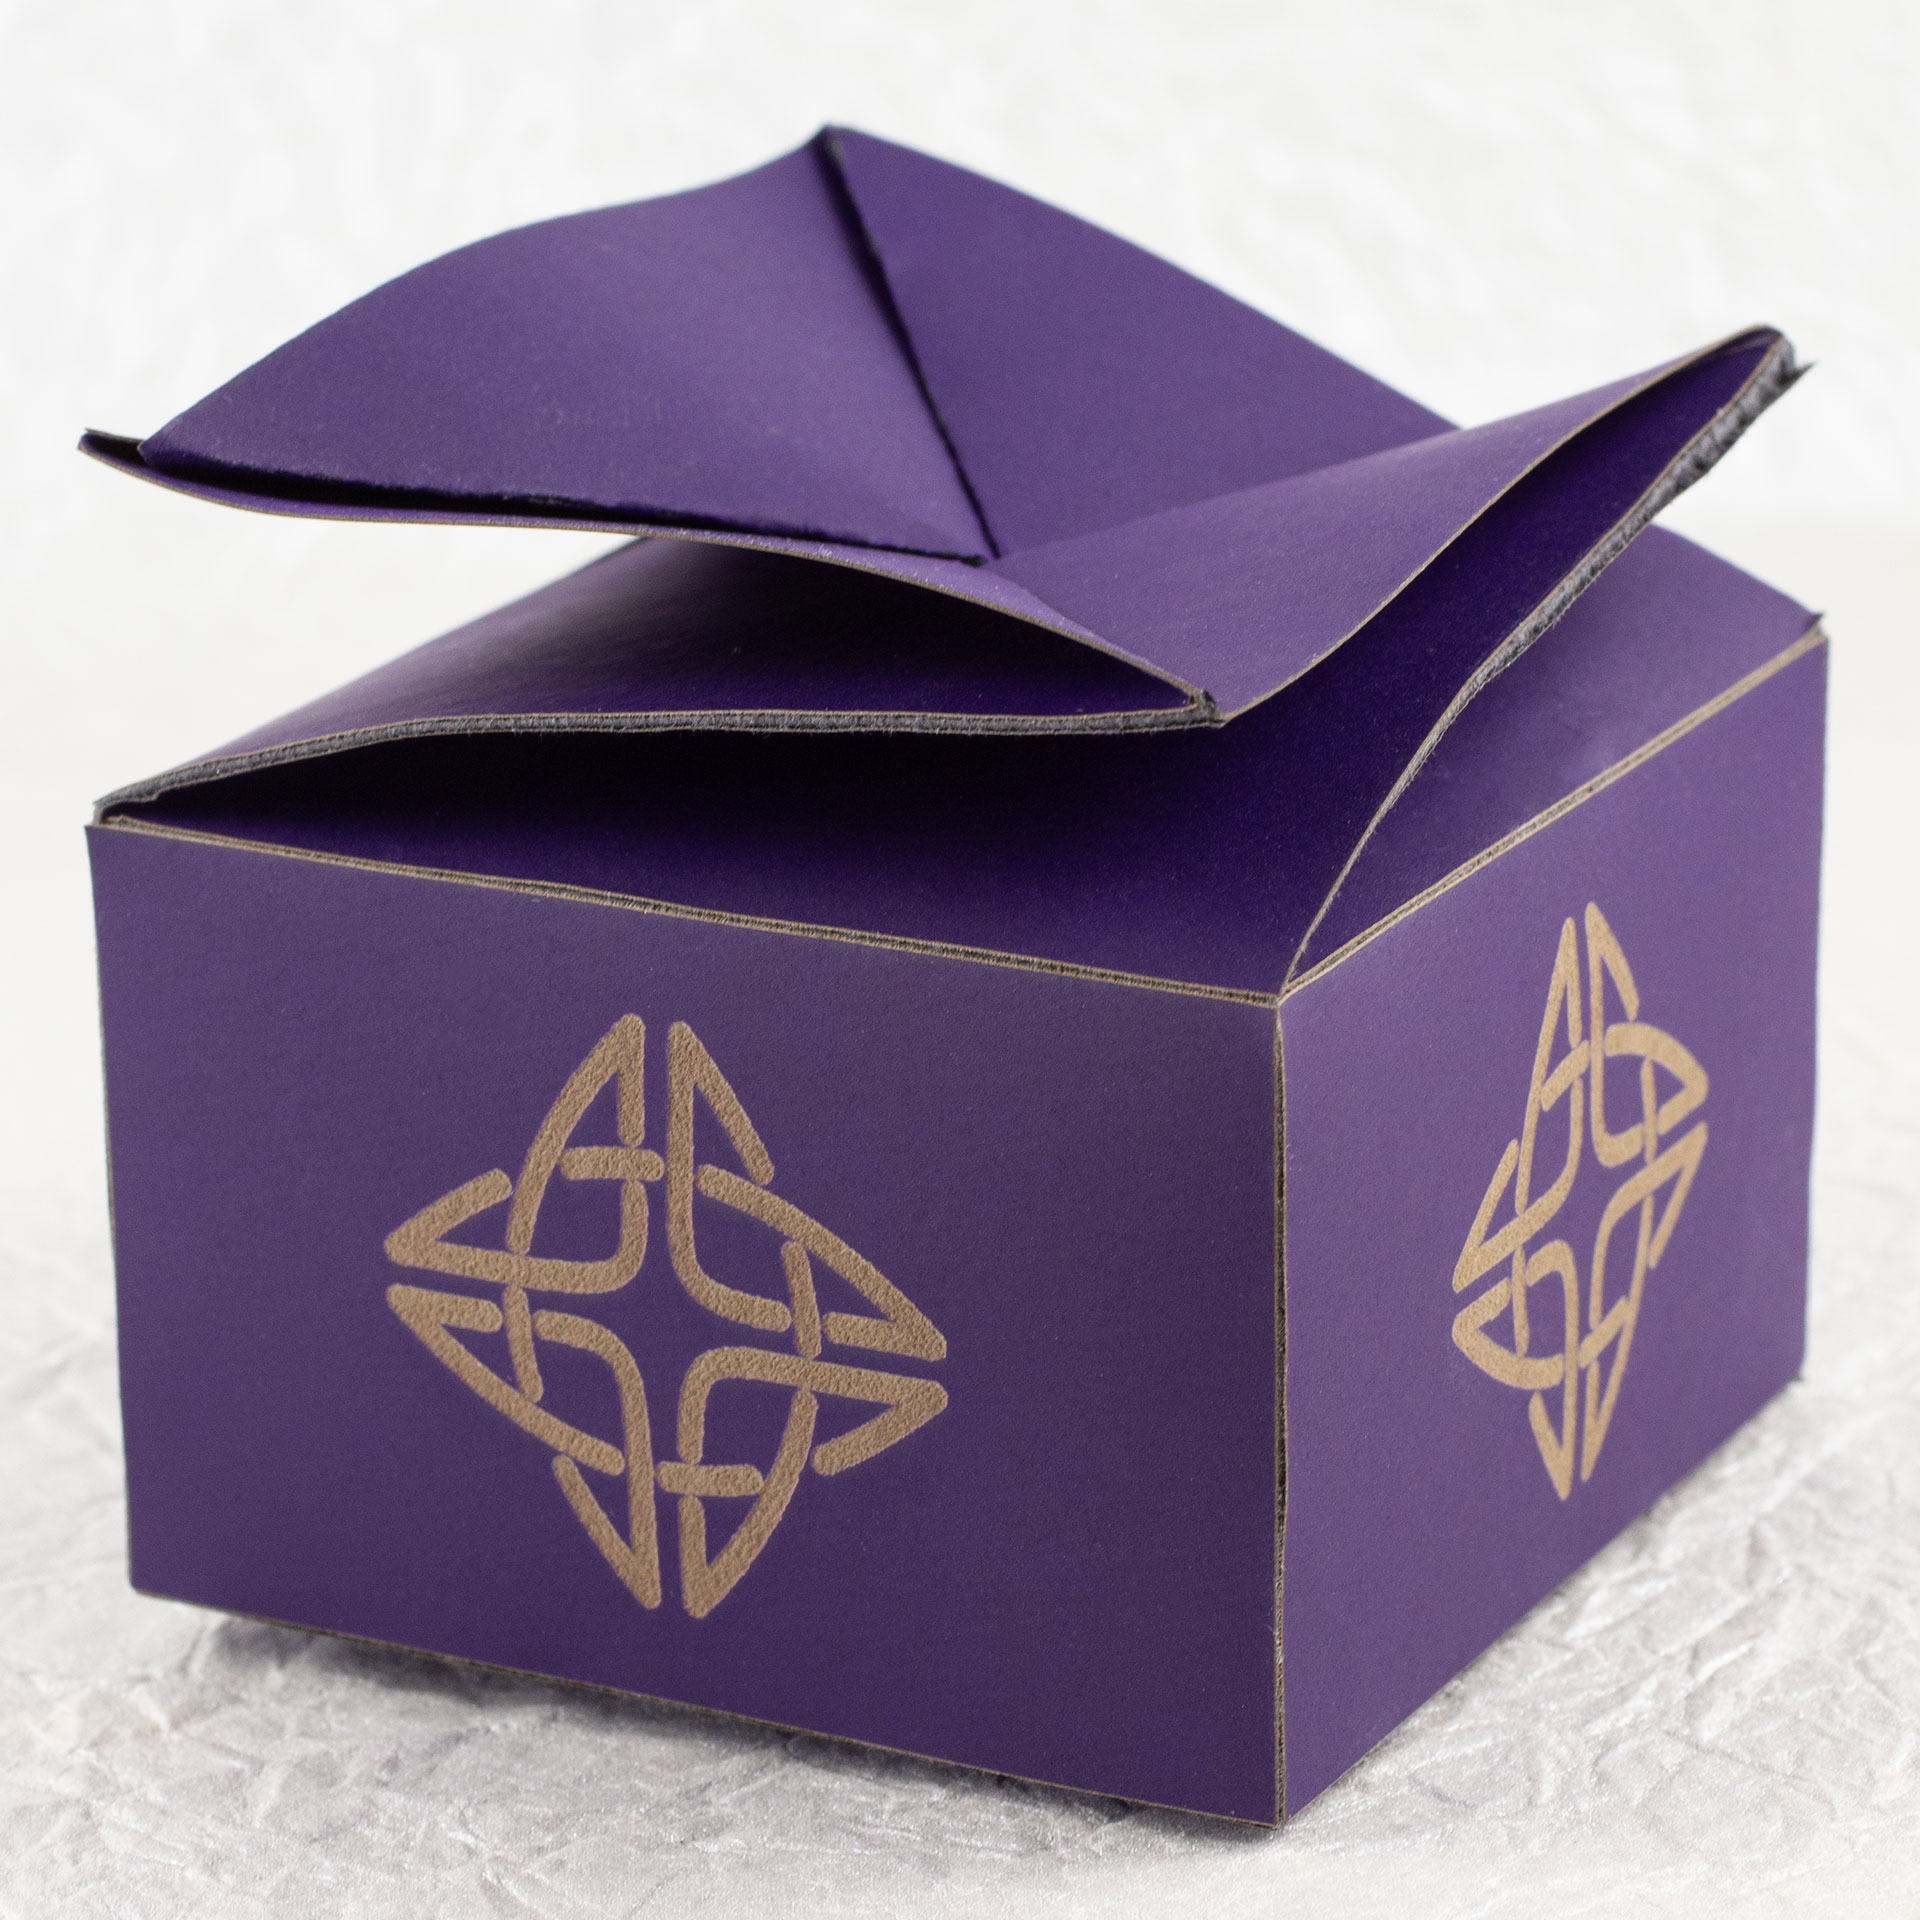
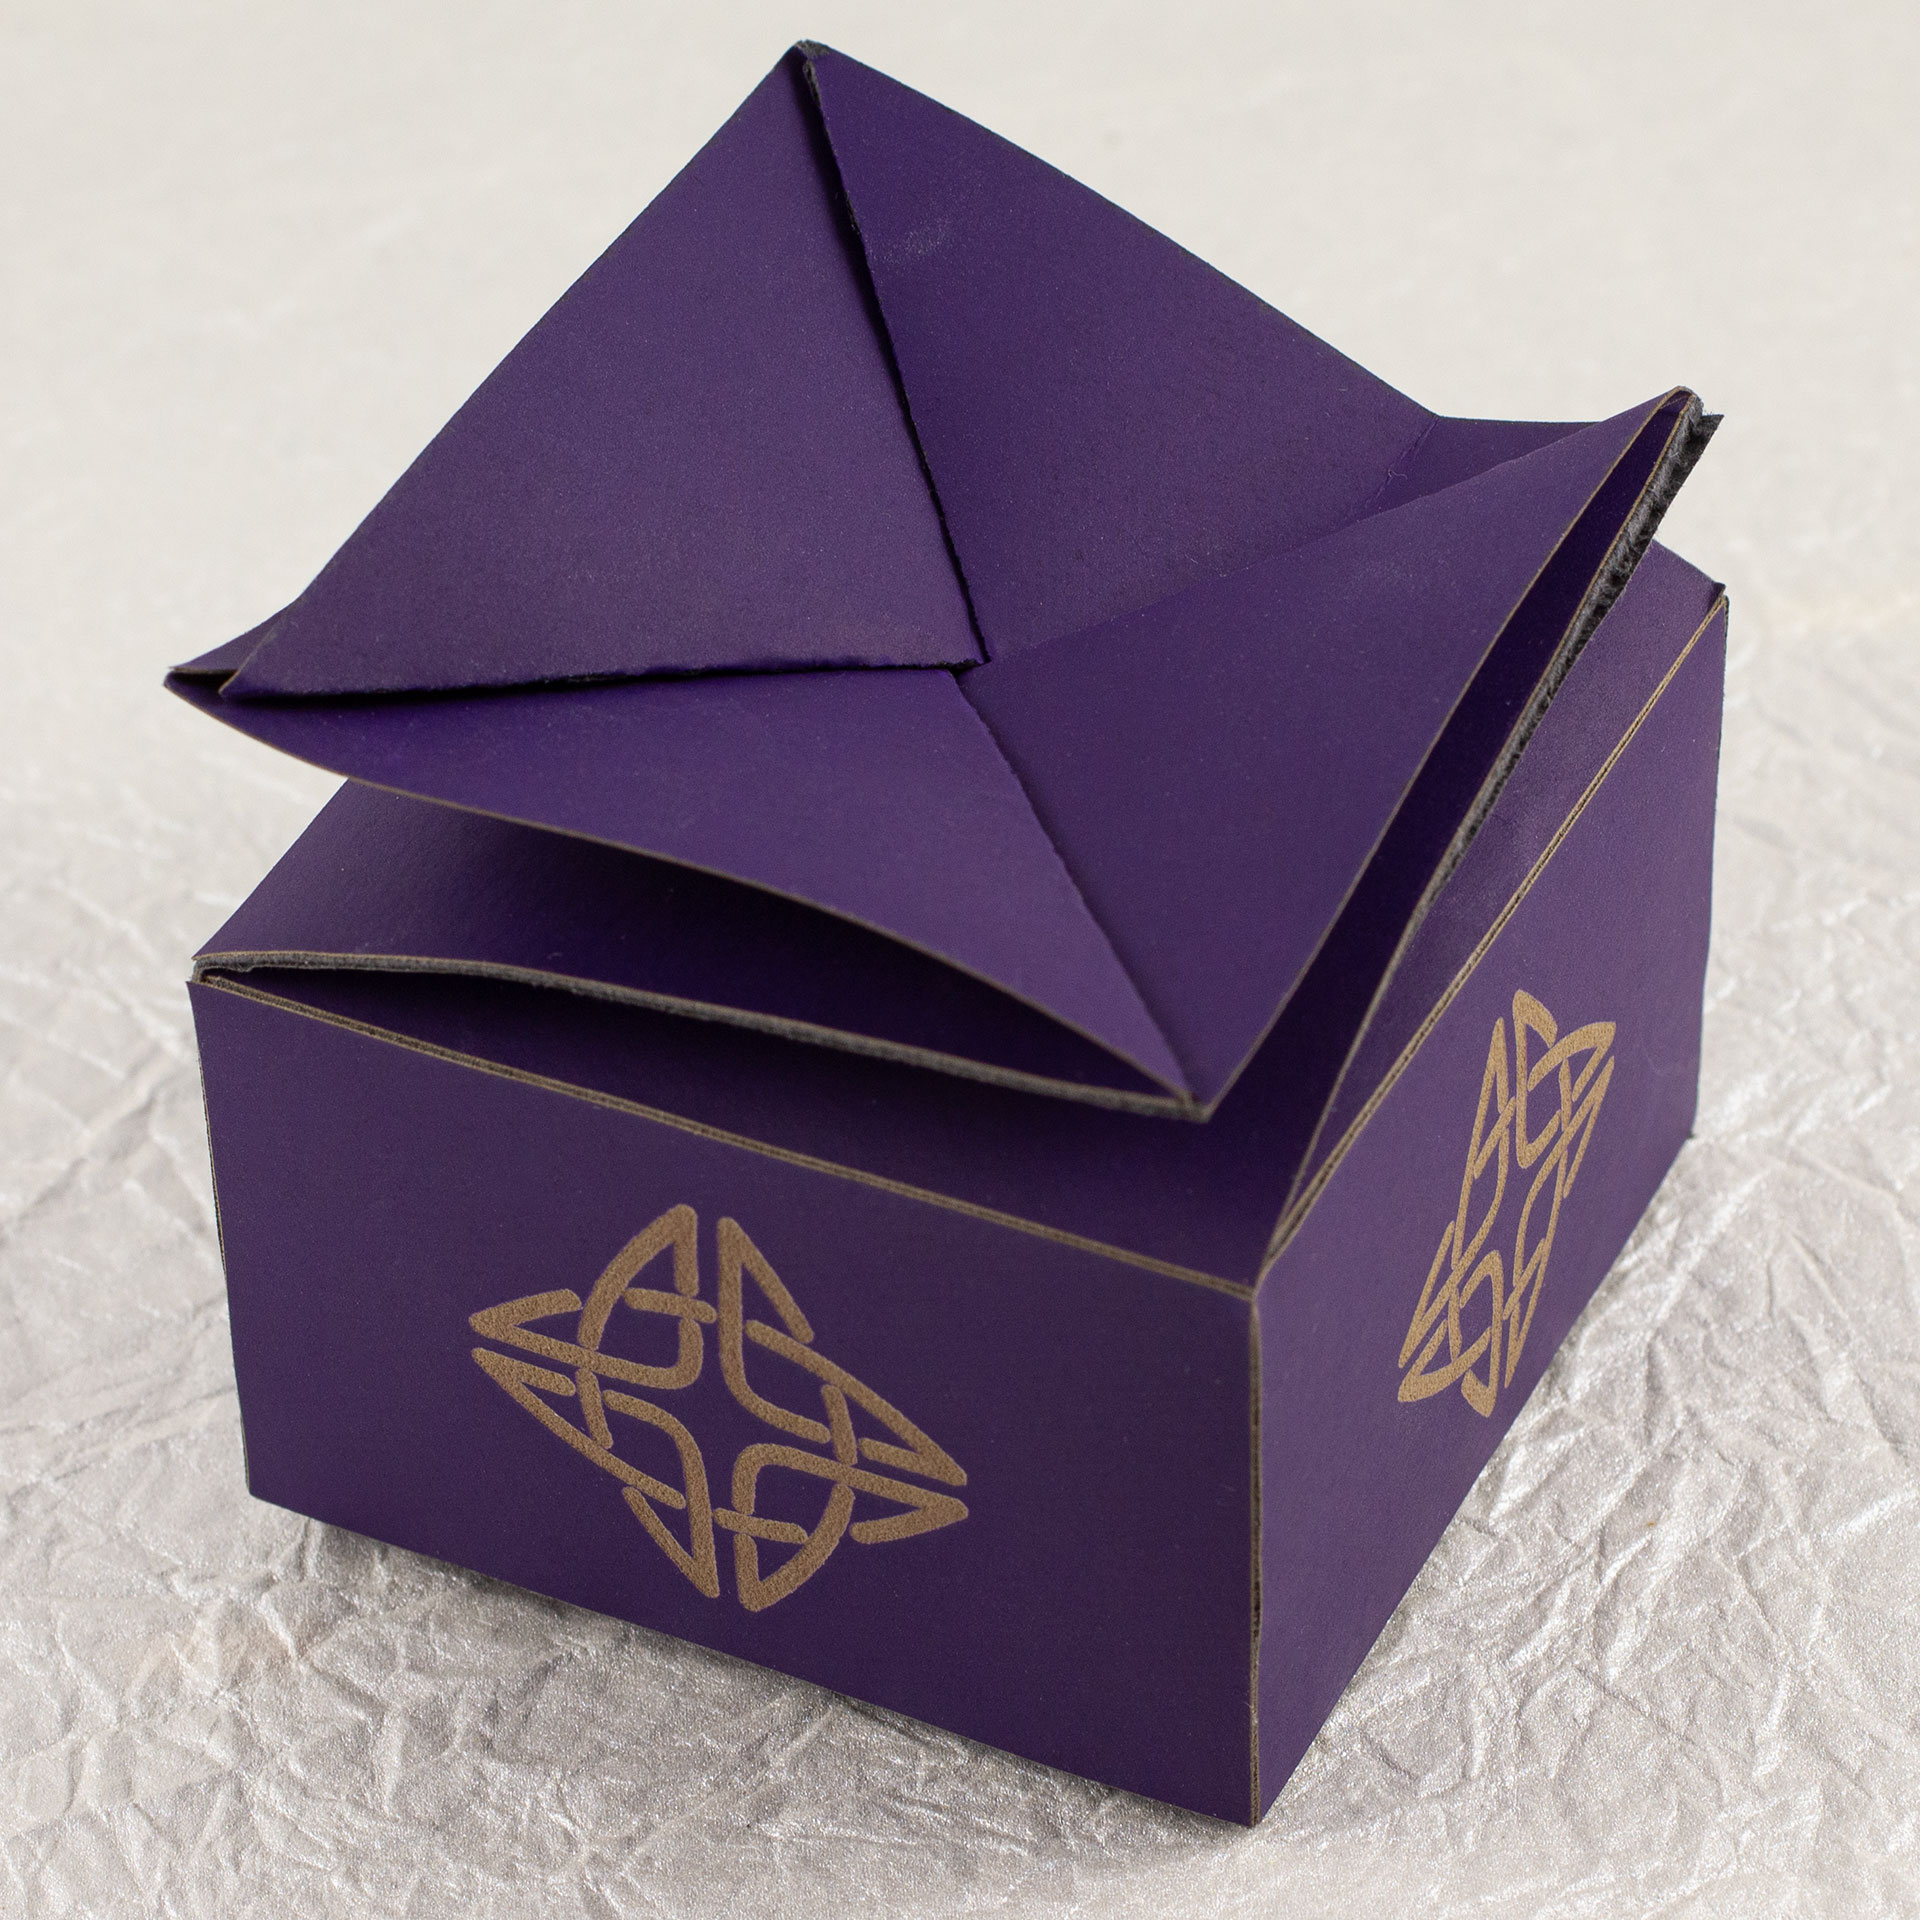
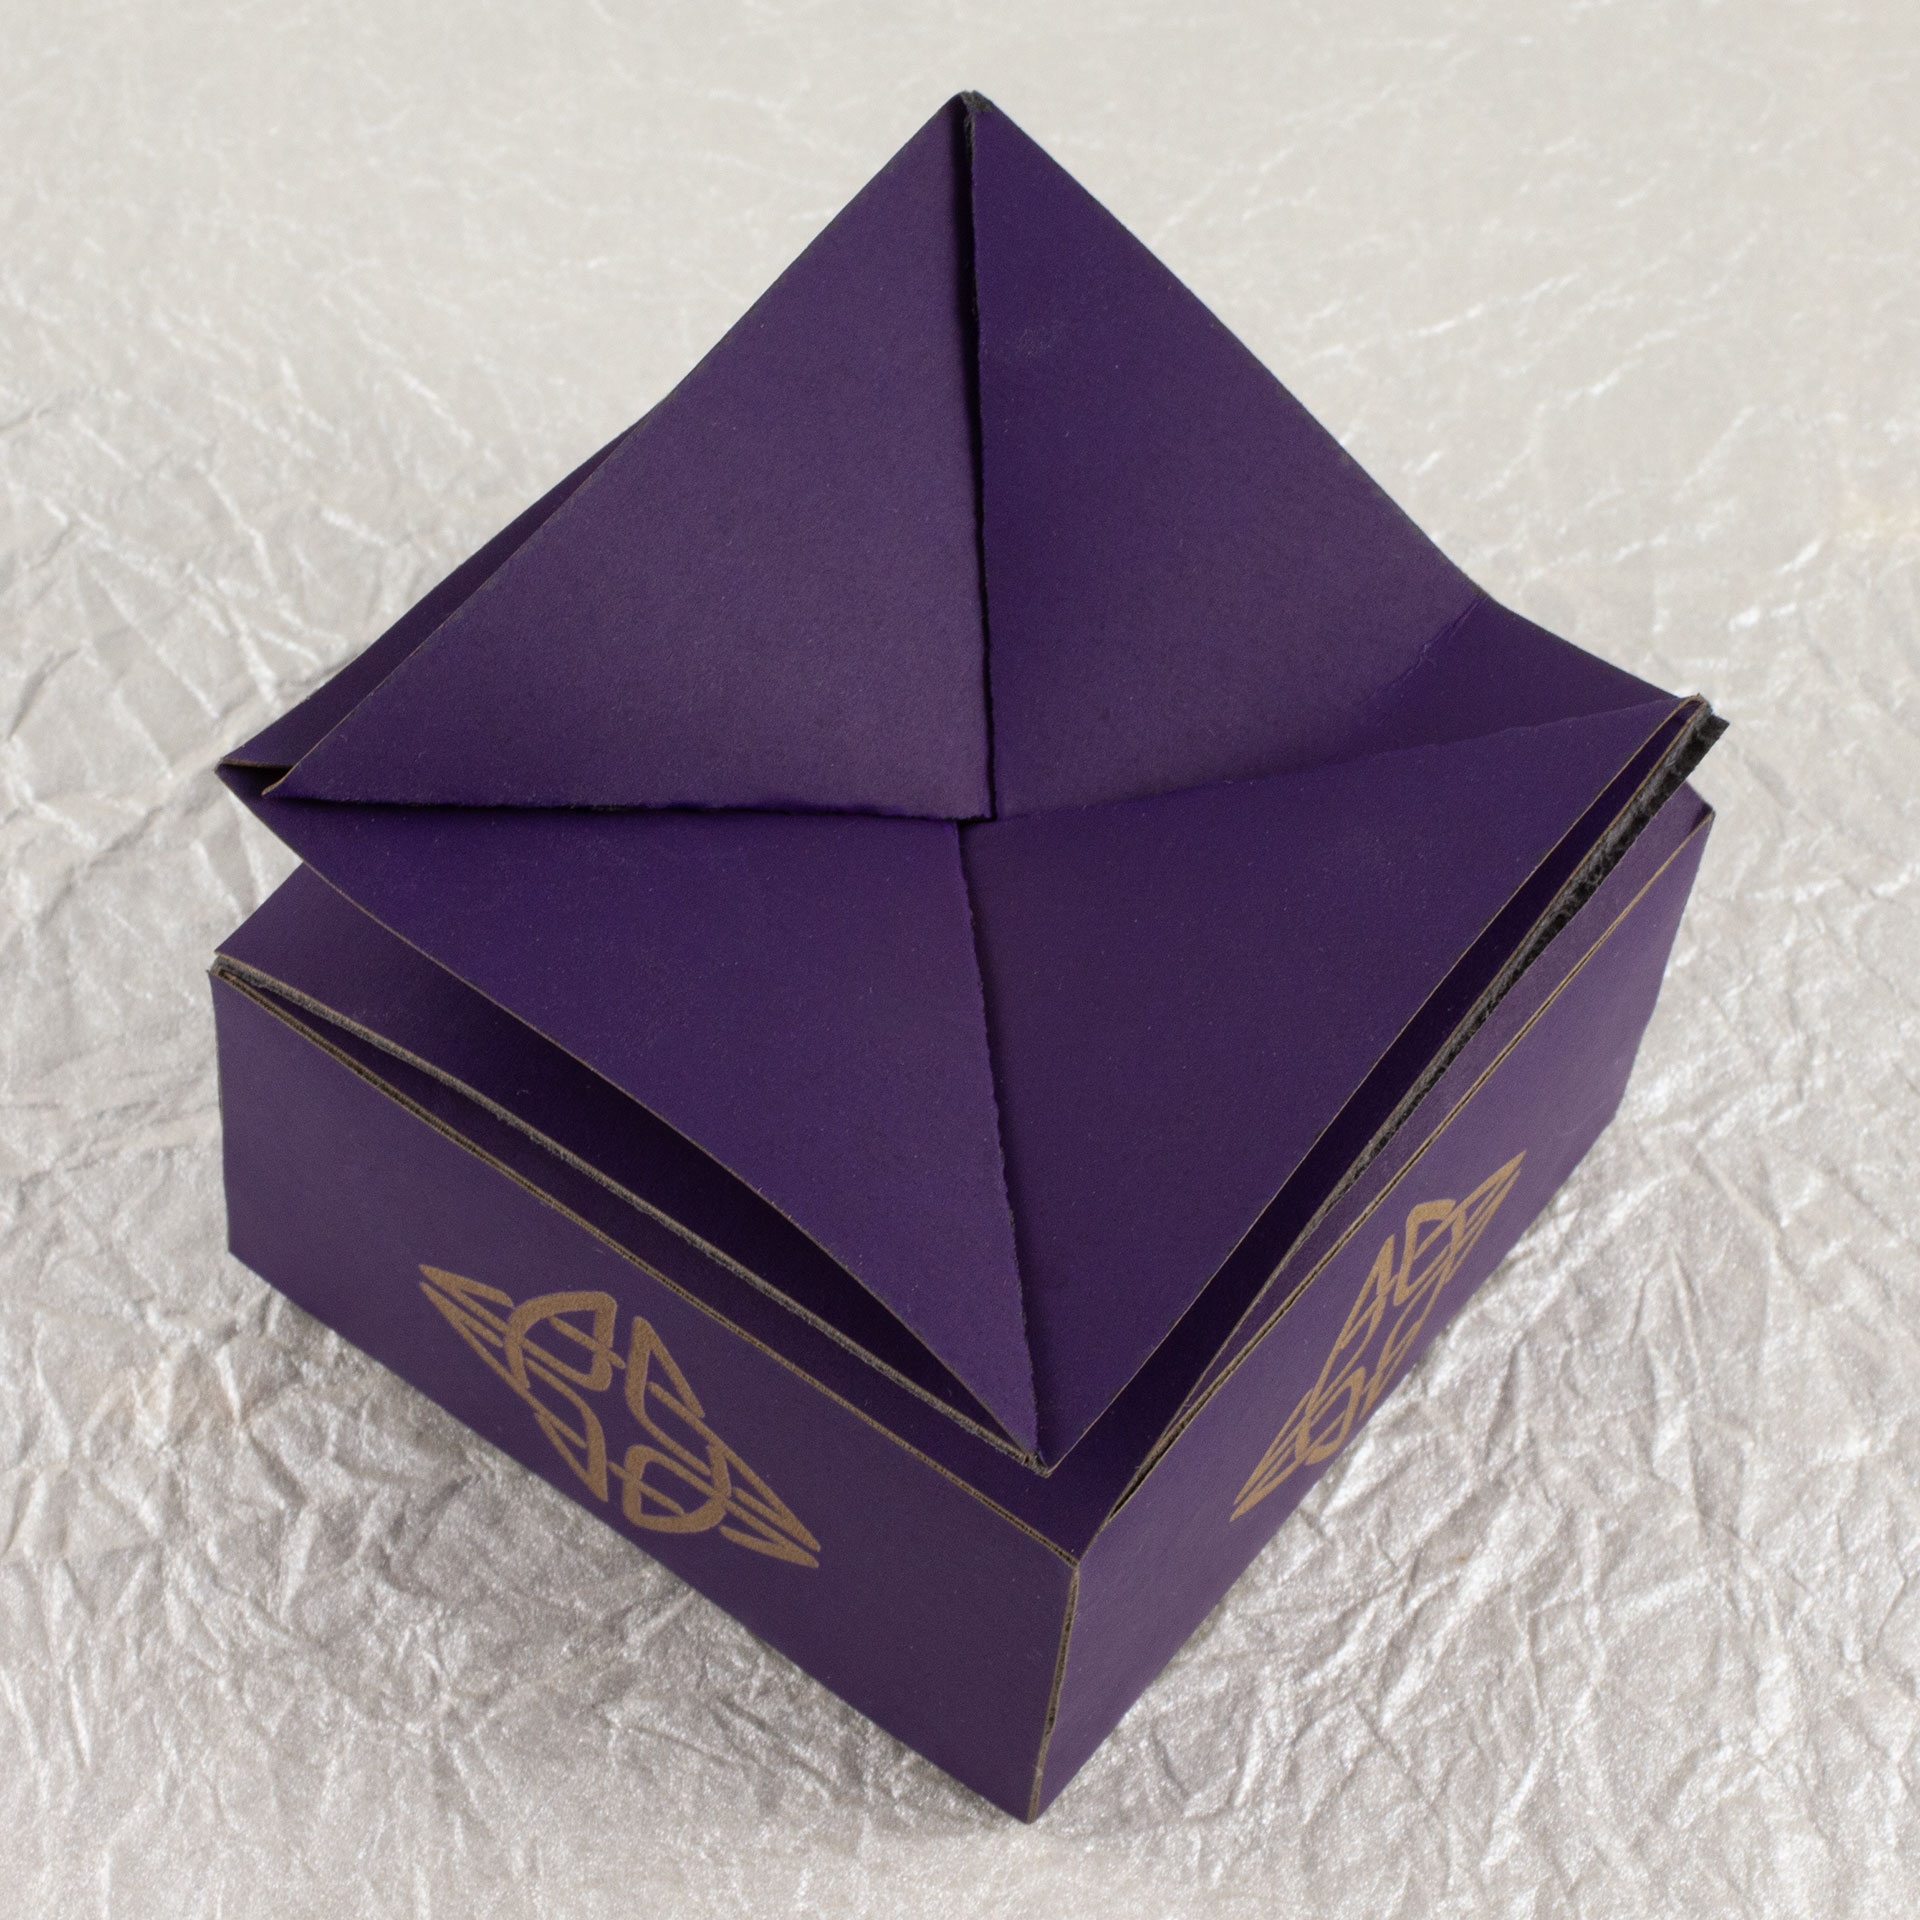
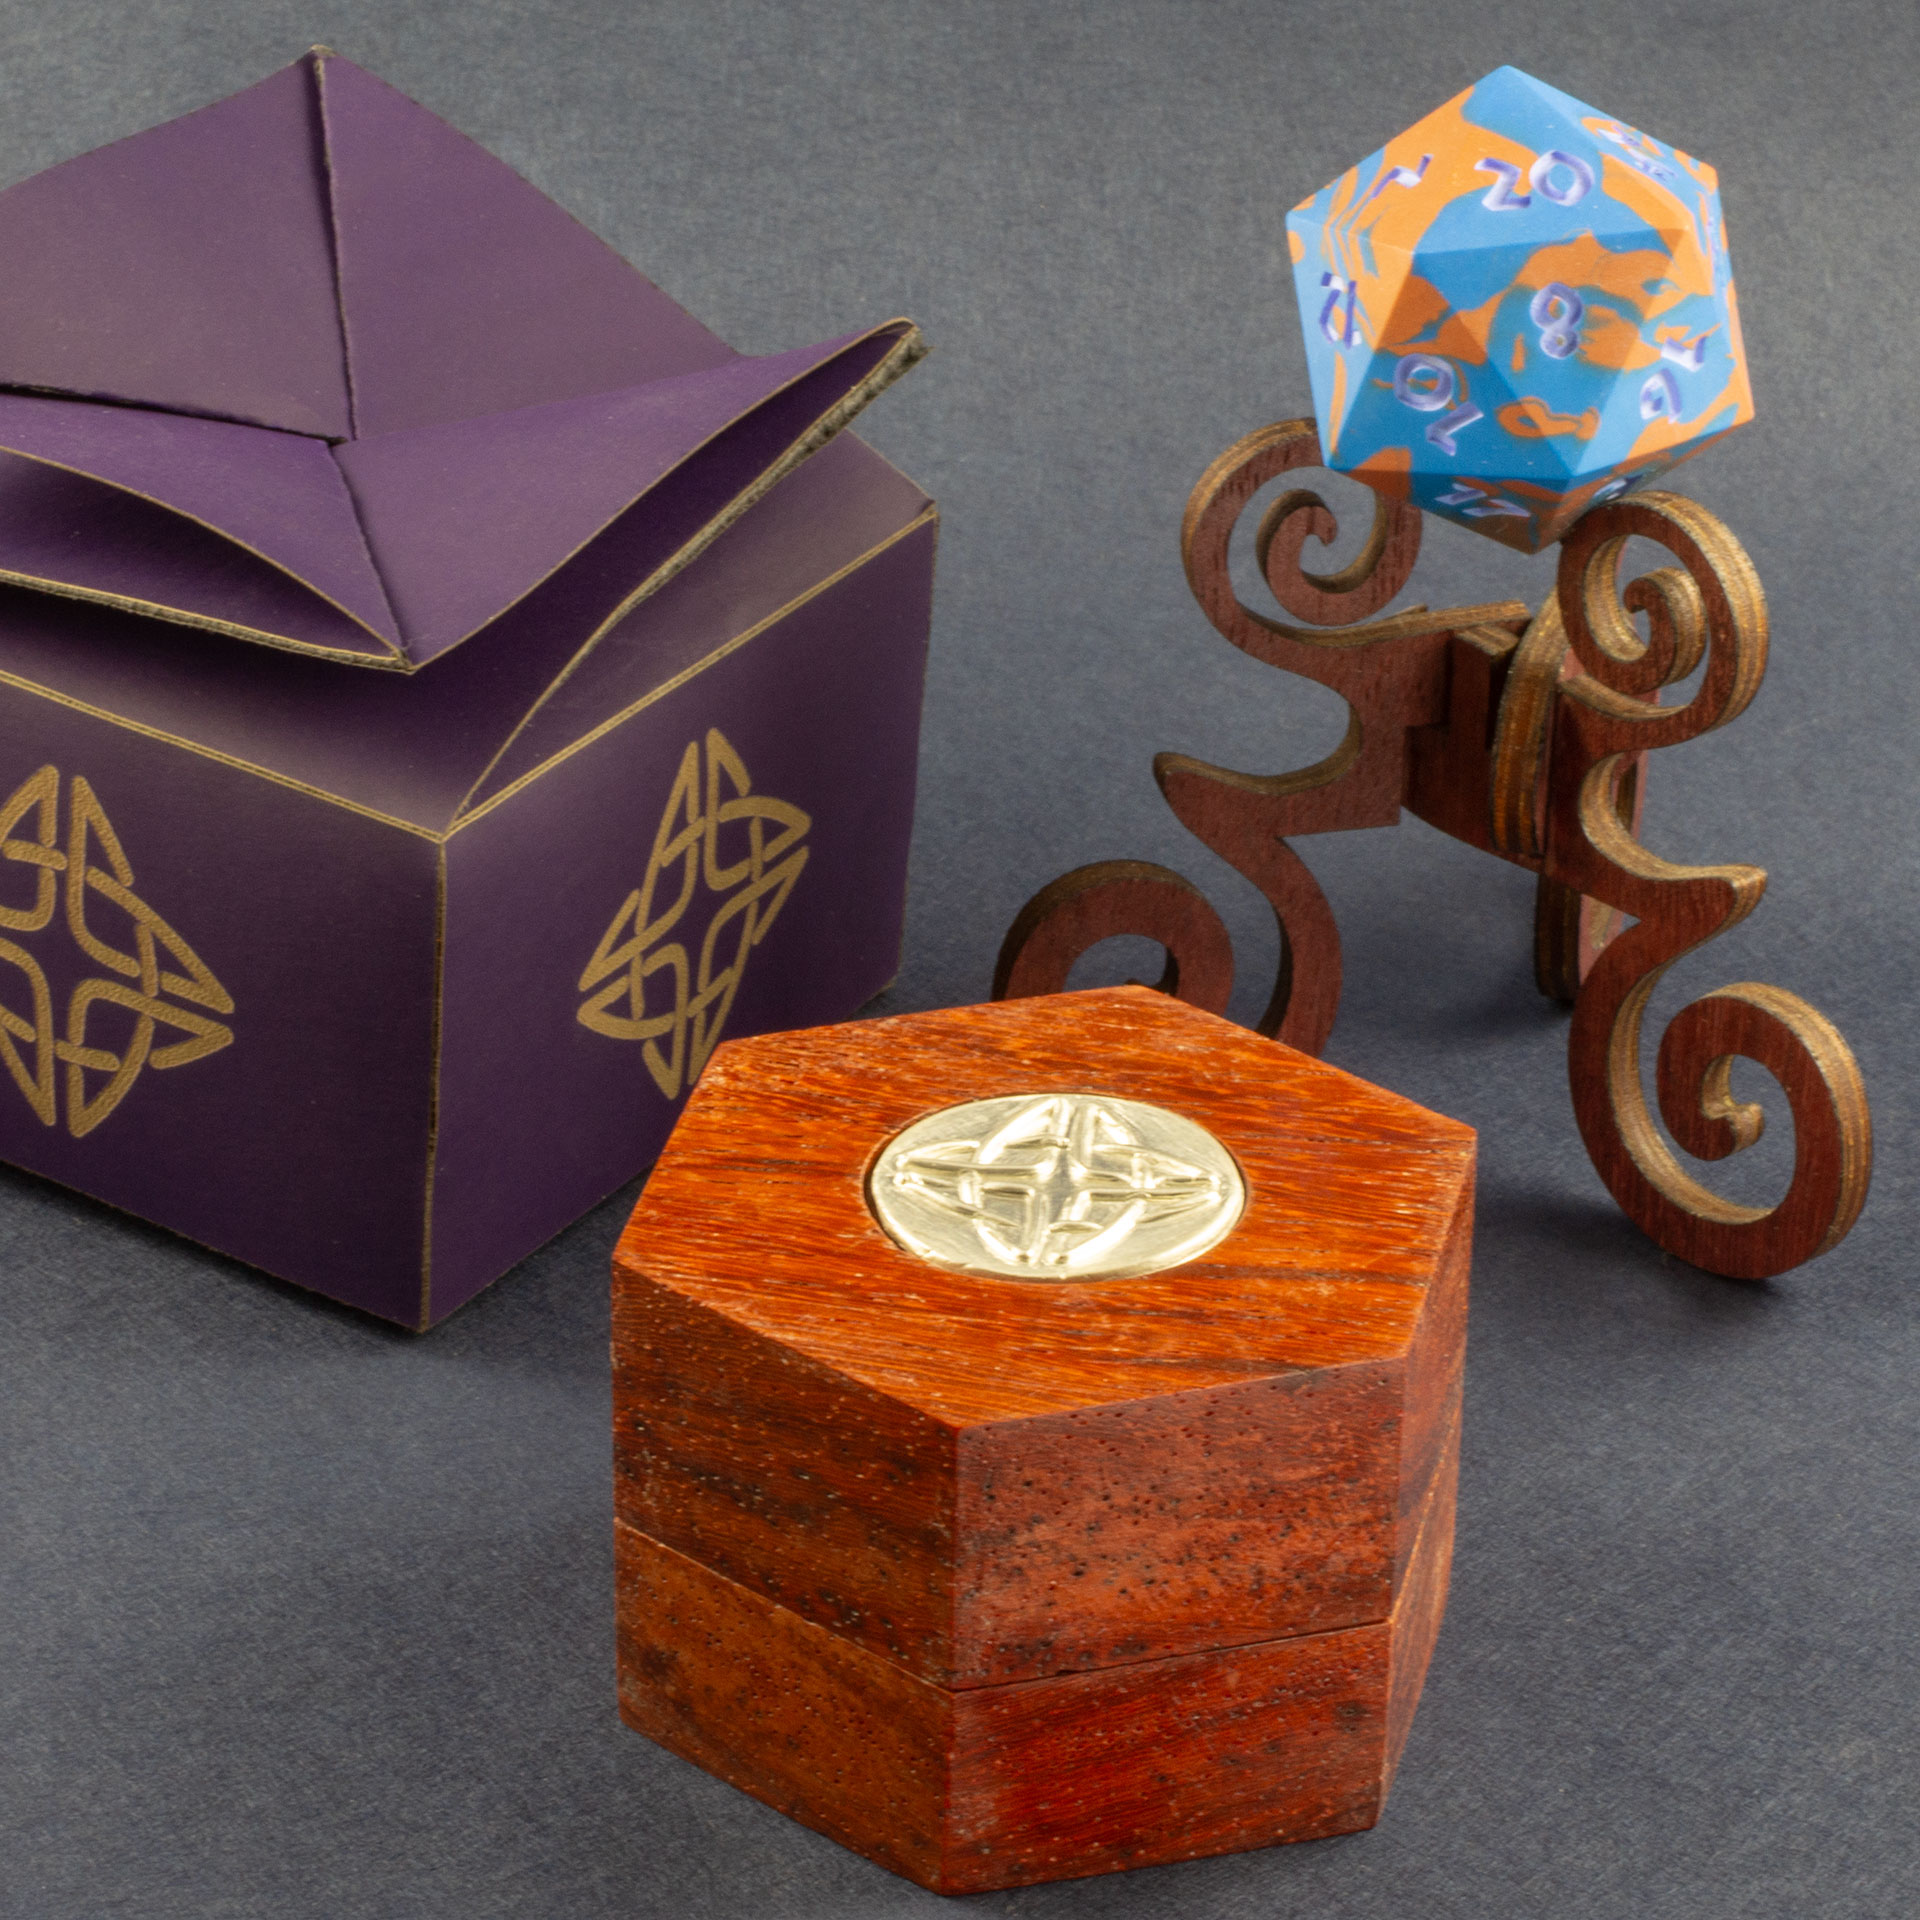
After making hardwood gift boxes for the 20-sided dice I made to give as holiday gifts, I decided they needed an additional wrapping to protect them, and to create a reveal for the wooden boxes. I cribbed the closure for this box from a classic Japanese product packaging design. The Celtic knot on the sides is the same one I used for the silver medallions on the wooden boxes. These were cut on the laser from the dwindling supply of large sheets of the “Curious Skin” stock.
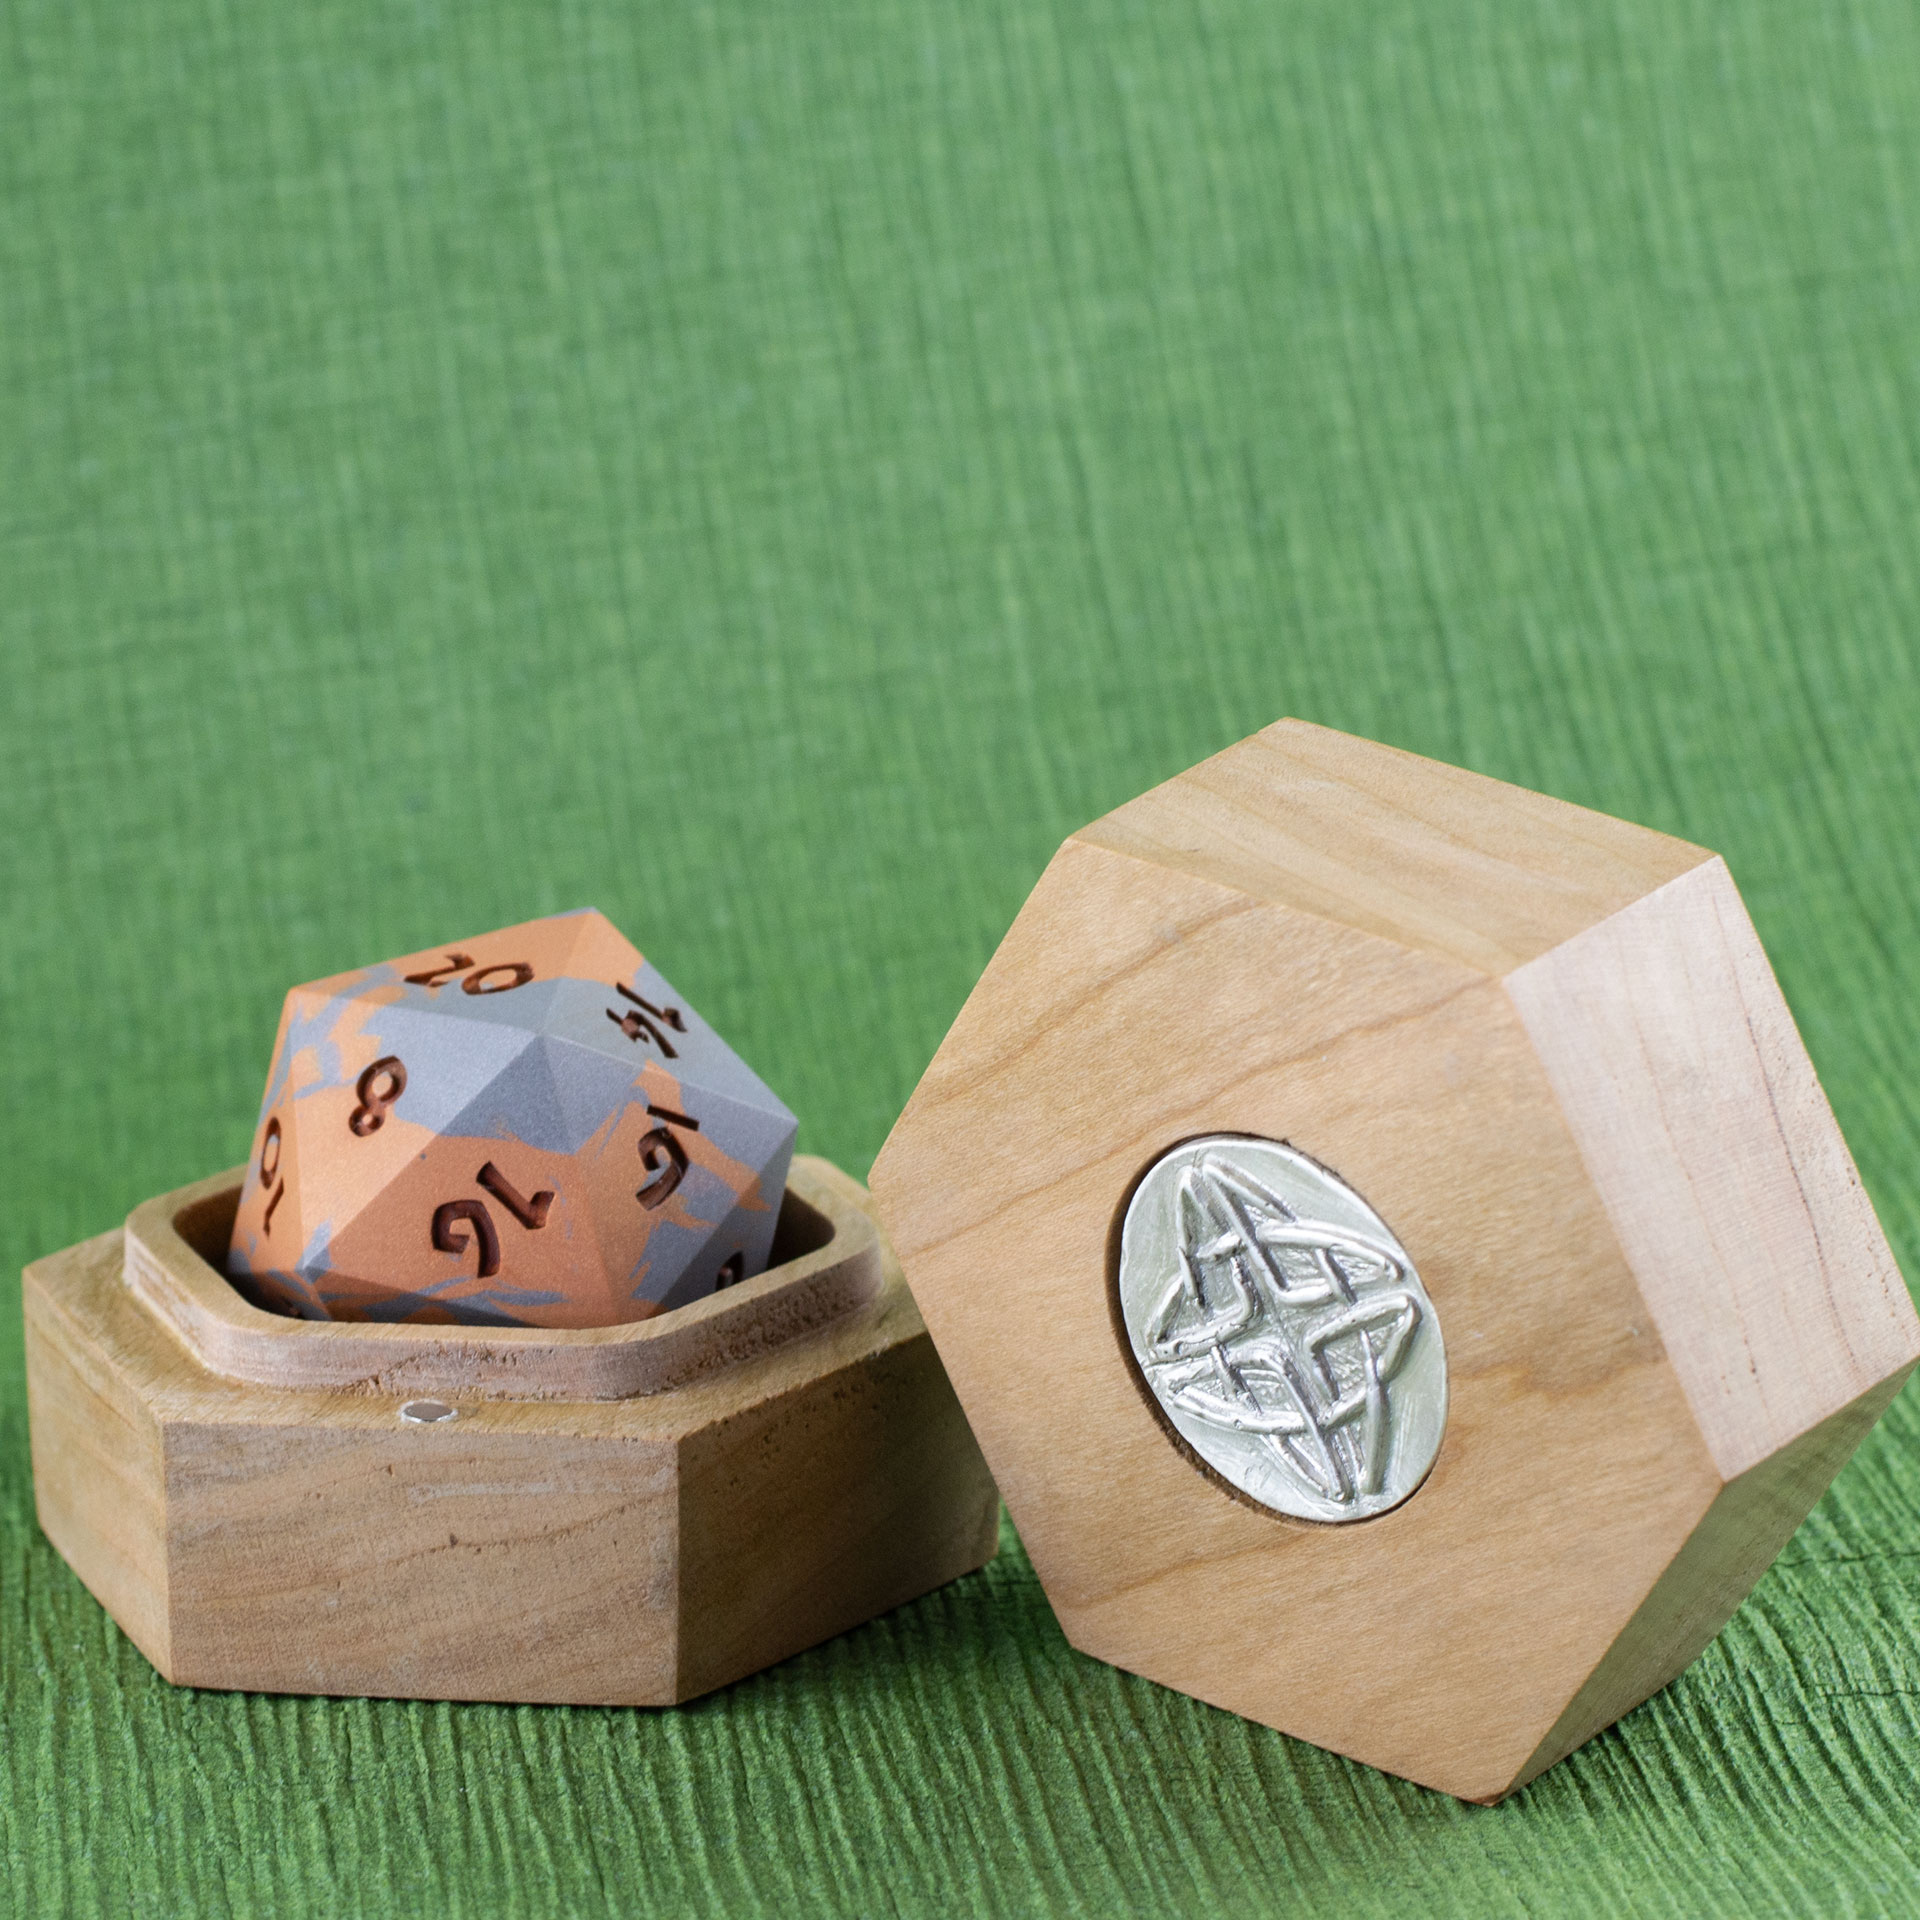
Cherry Hex Chonk Box with a silver Celtic knotwork medallion in the lid, open with a silver and copper 20-sided Jesmonite die inside.
Cherry Hex Chonk Box with a silver Celtic knotwork medallion in the lid, open with a silver and copper 20-sided Jesmonite die inside.
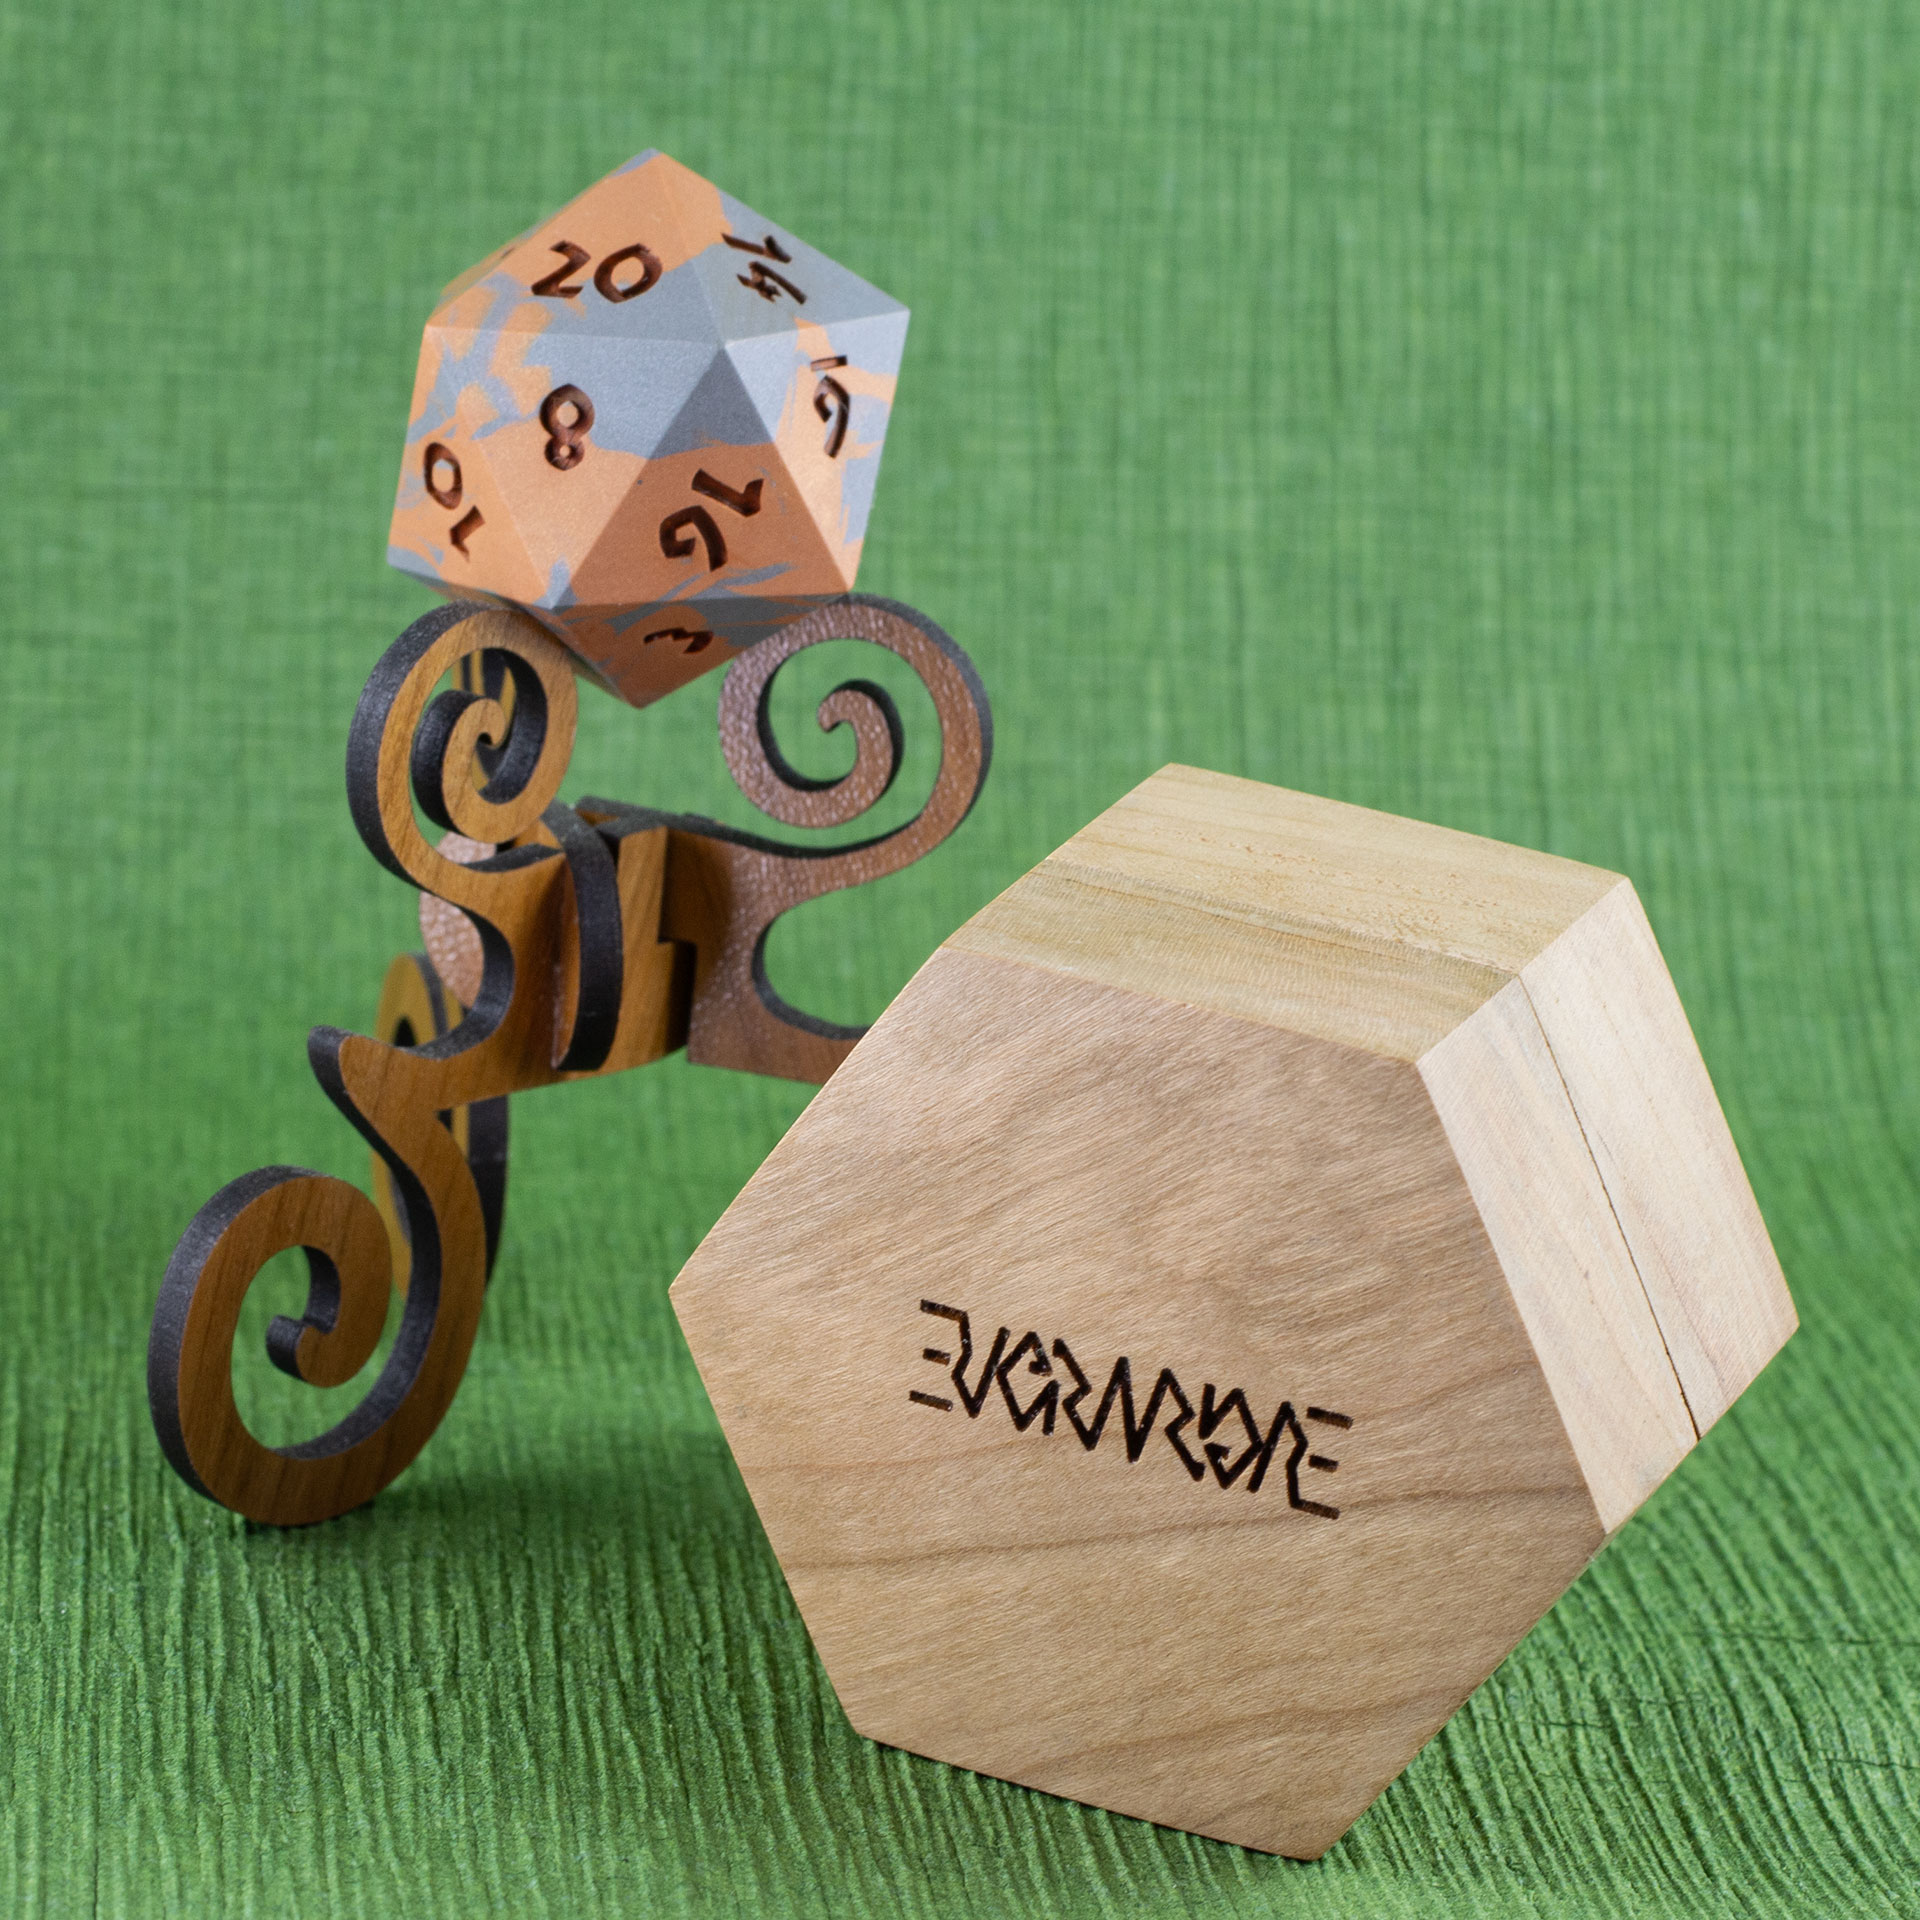
Cherry Hex Chonk Box with the Evermore ambigram engraved on the bottom, in front of a walnut stand with a silver and copper 20-sided Jesmonite die.
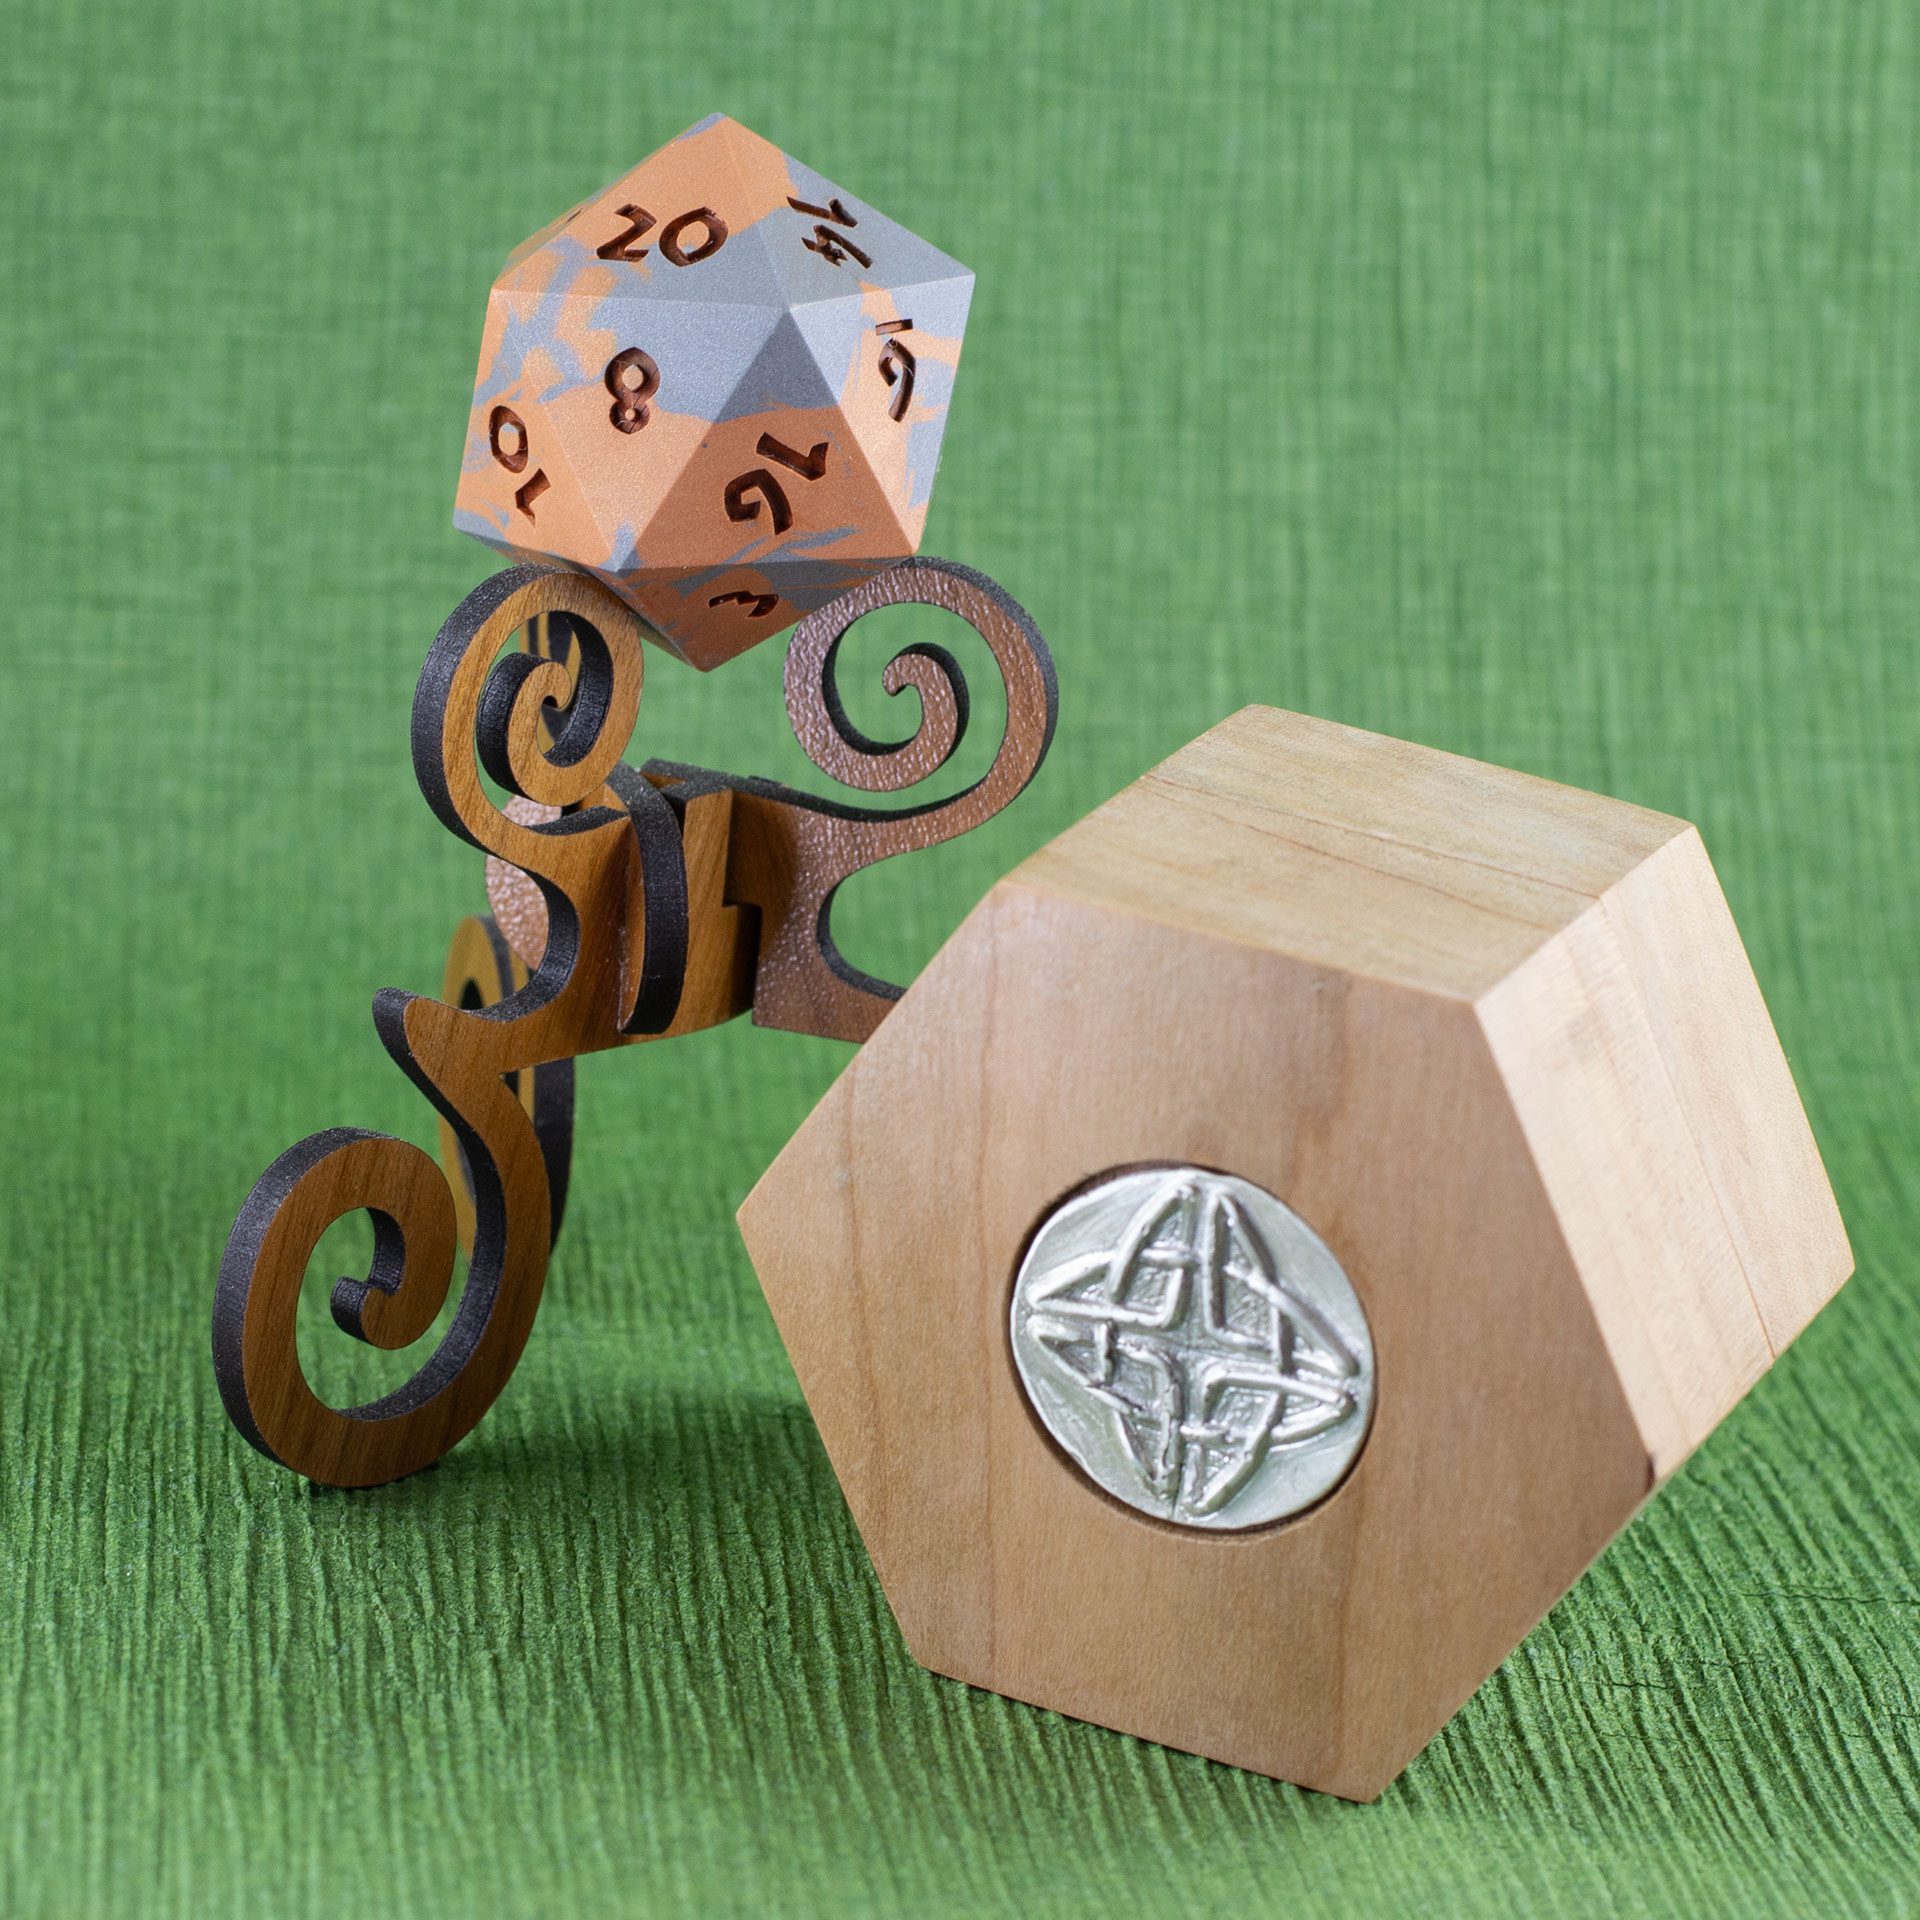
Cherry Hex Chonk Box with a silver Celtic knotwork medallion in the lid, in front of a walnut stand with a silver and copper 20-sided Jesmonite die.
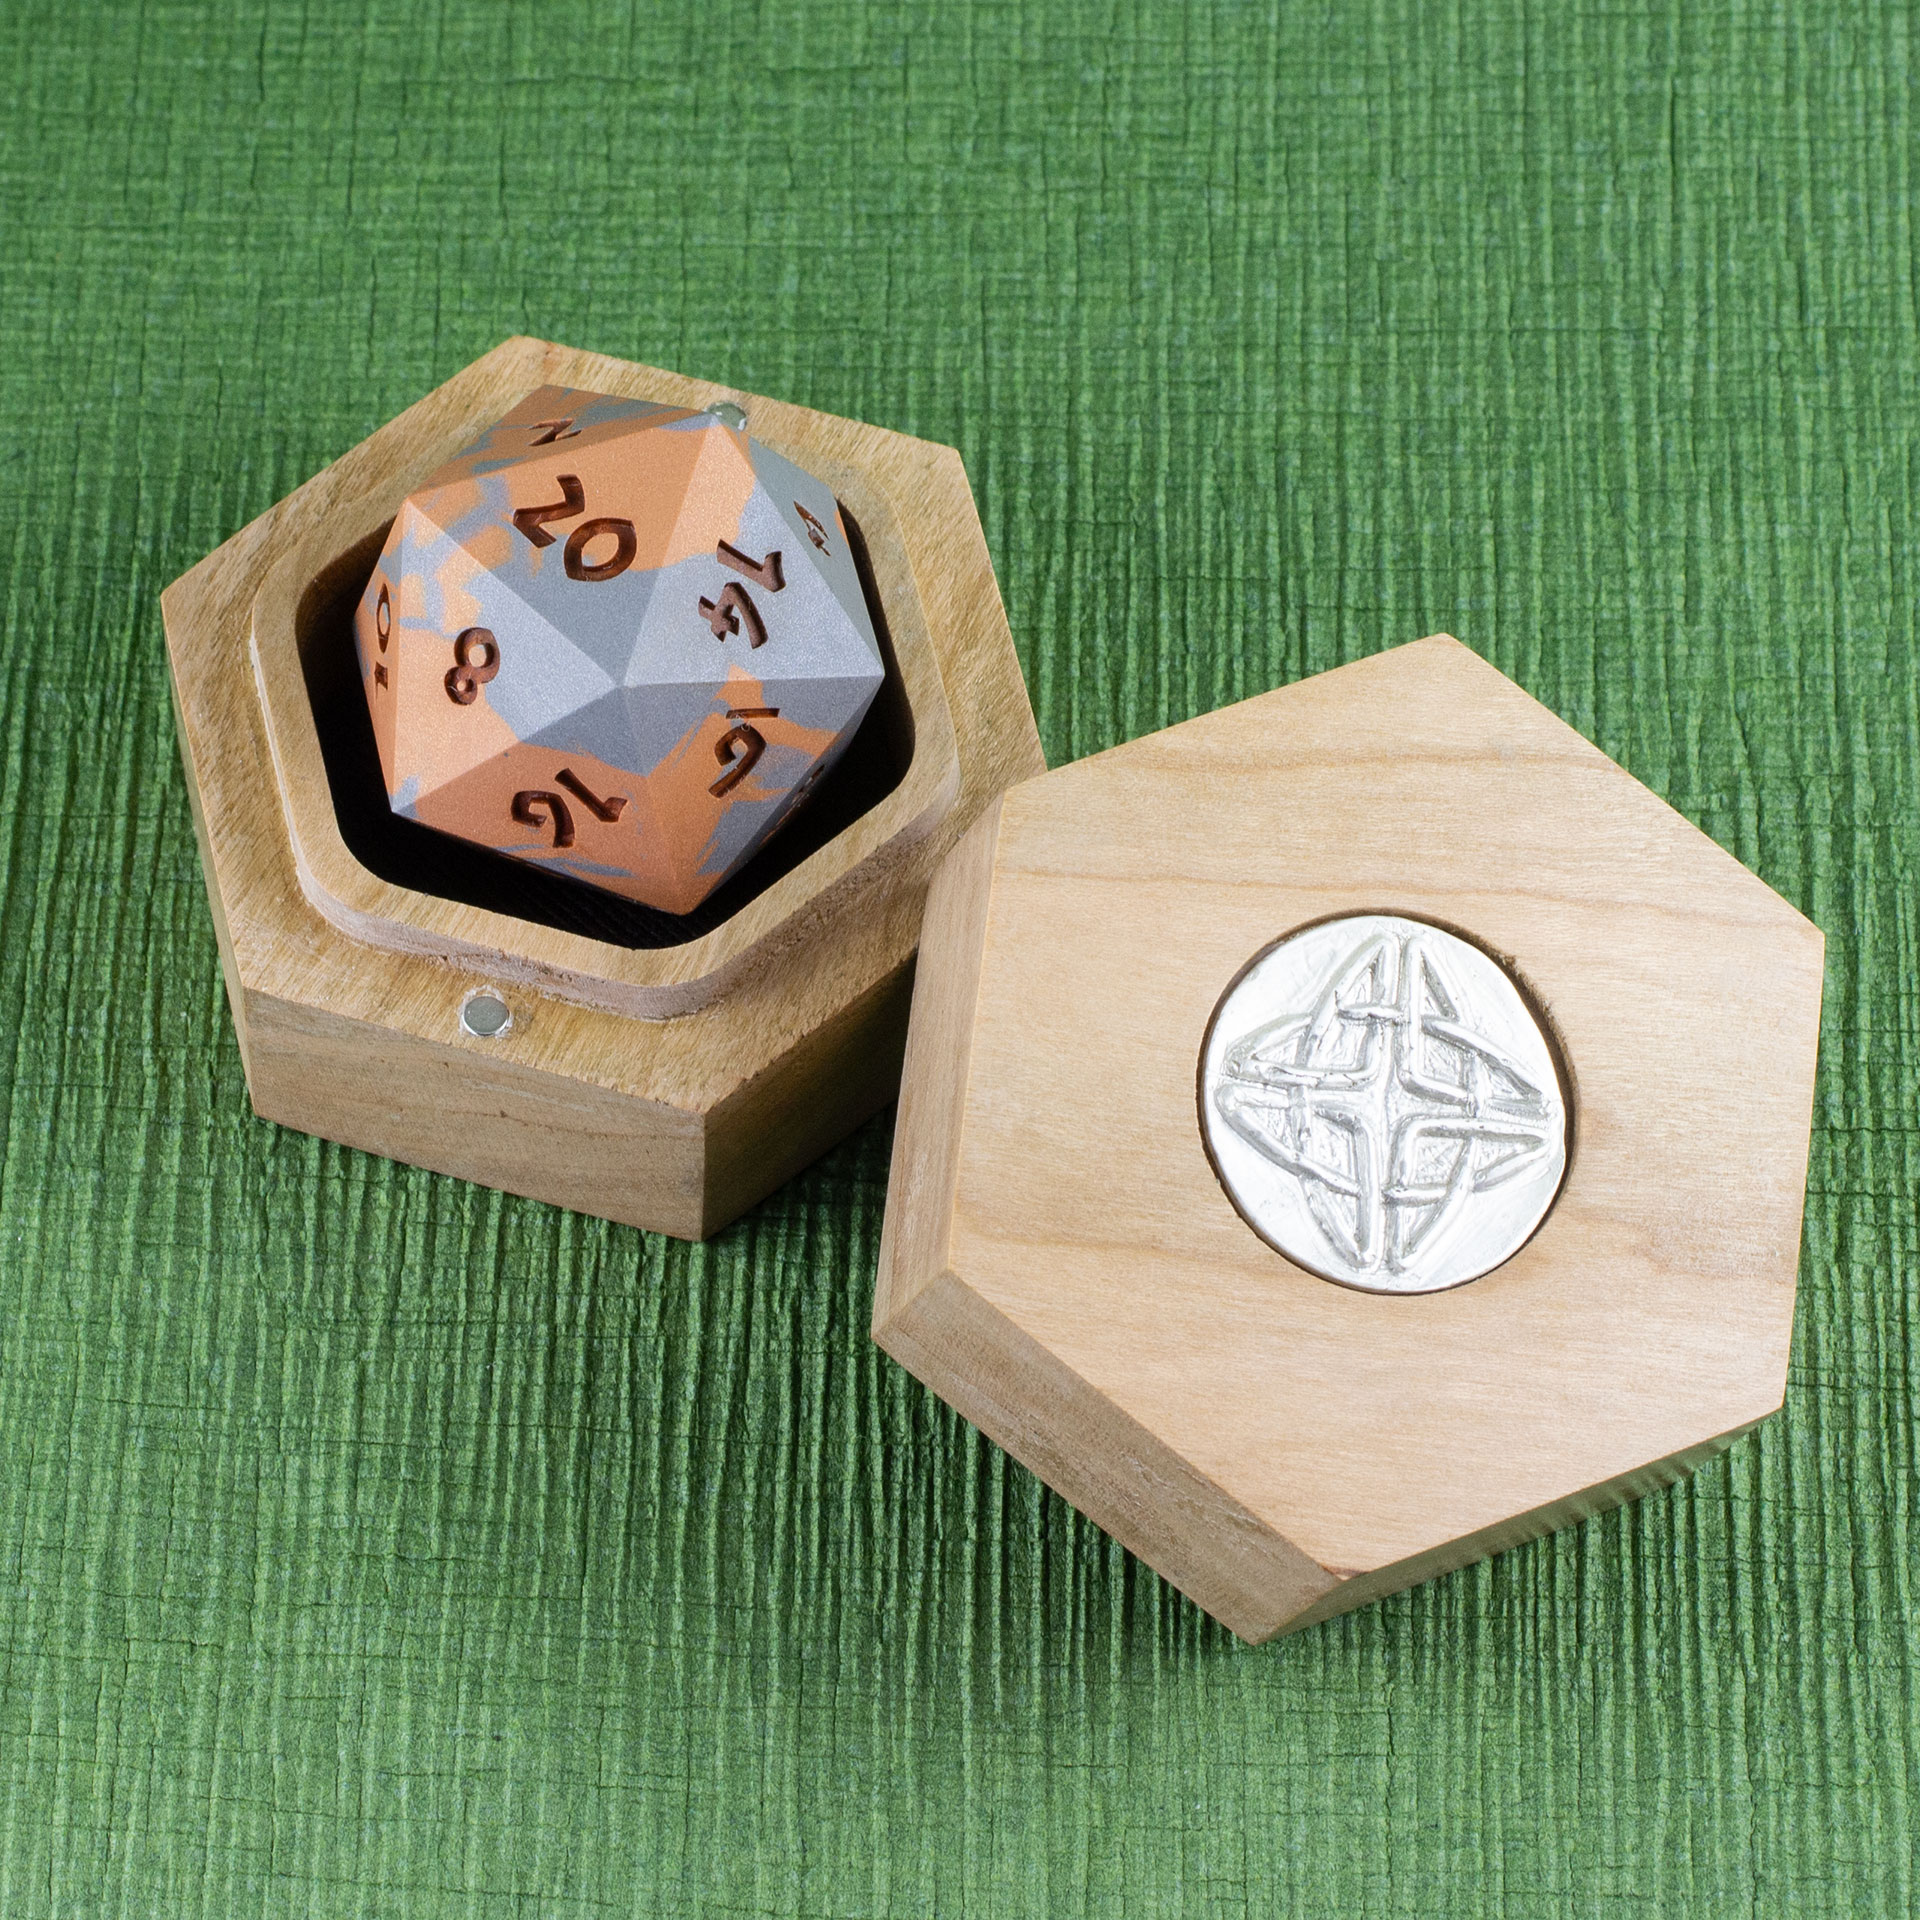
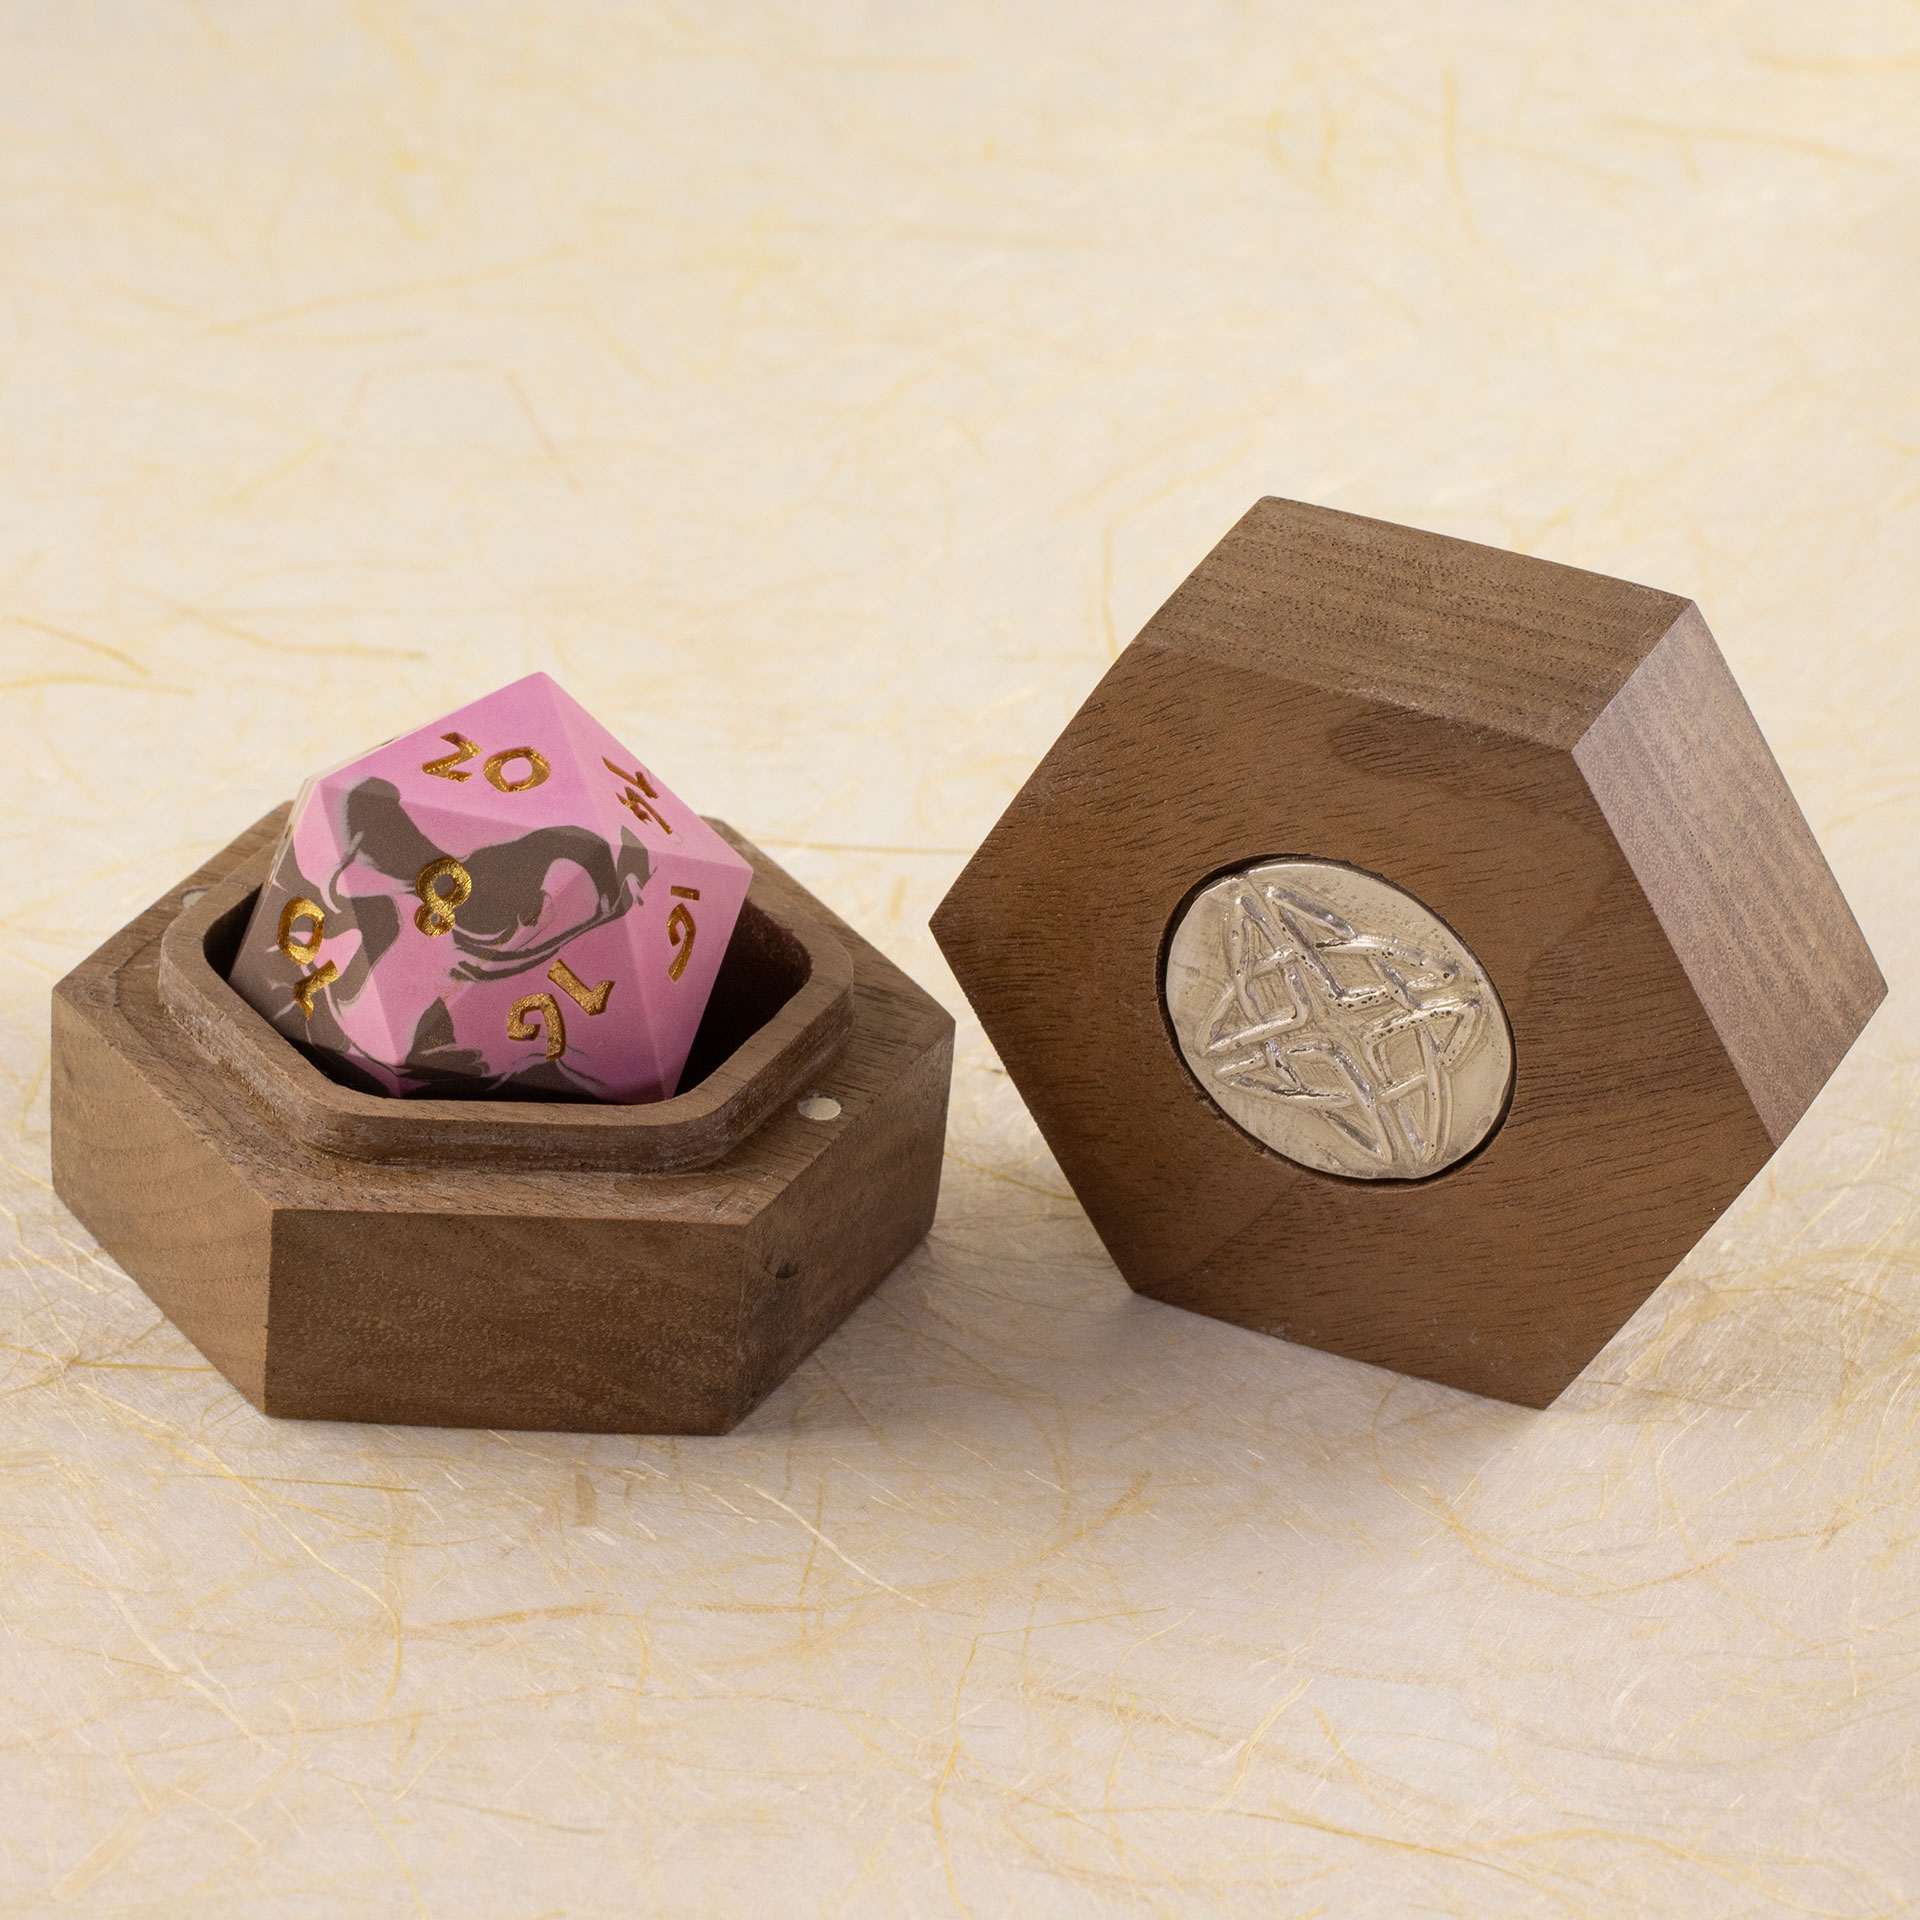
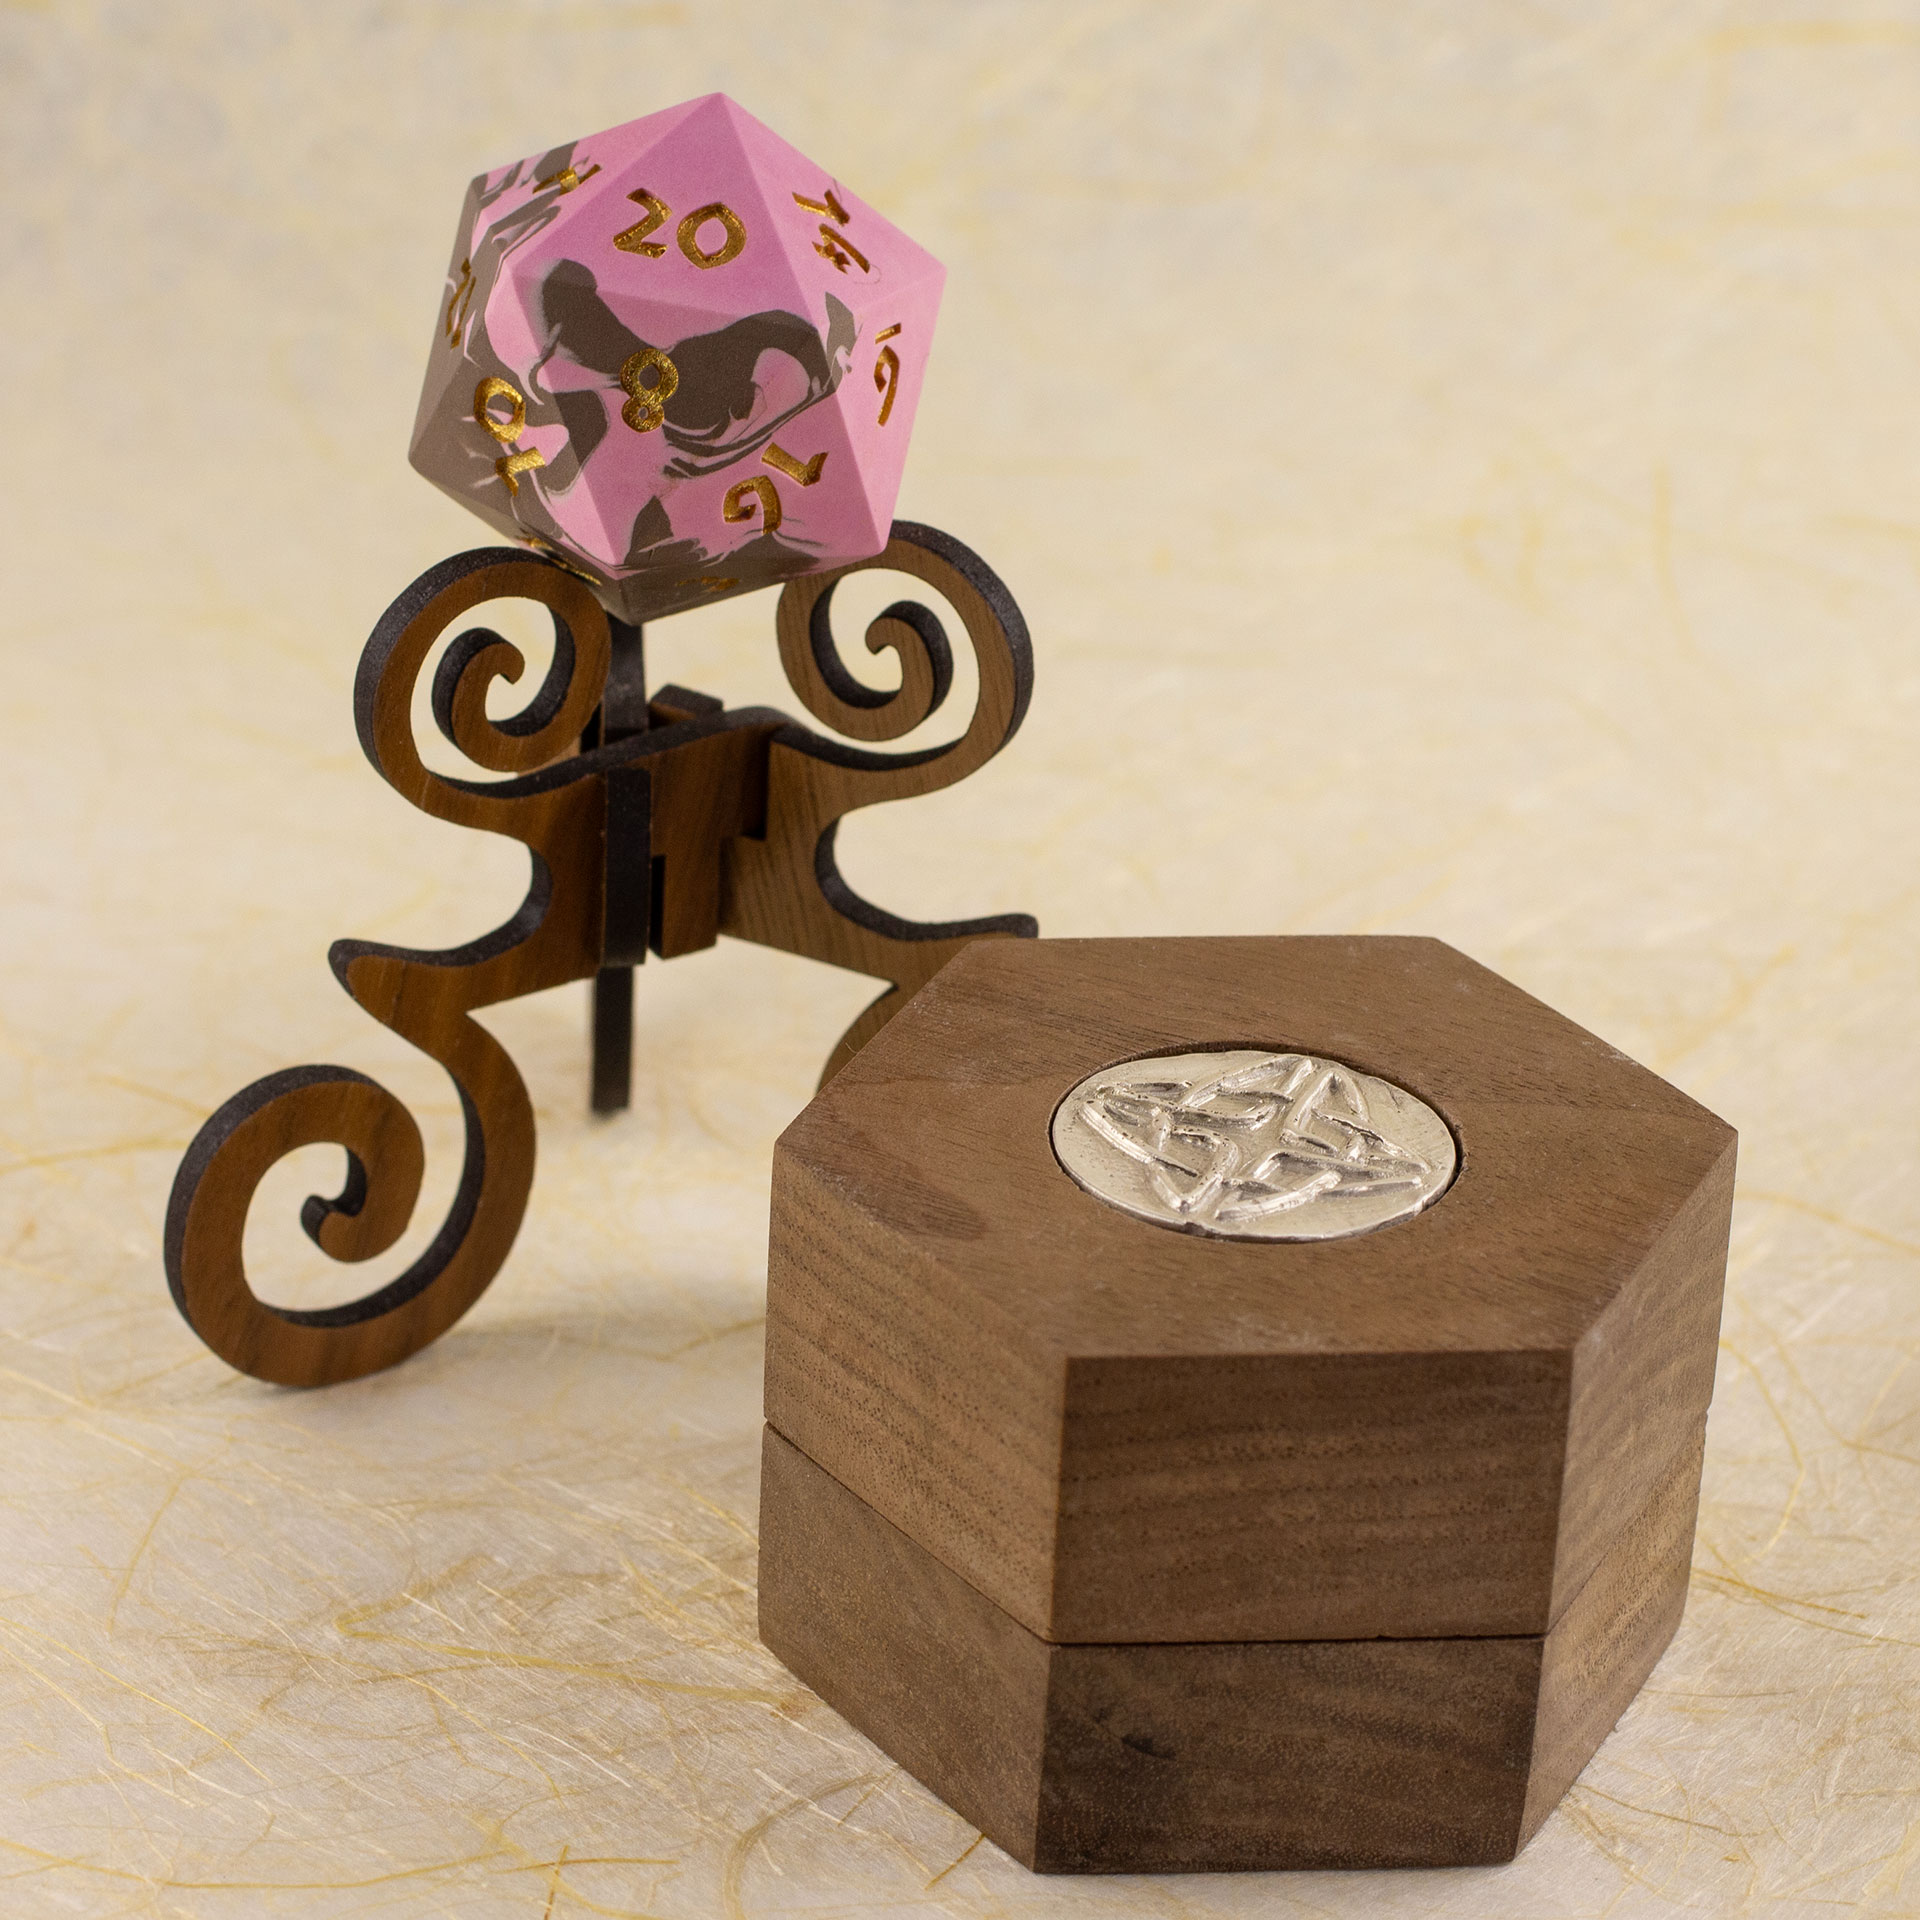
Walnut Hex Chonk Box with a silver Celtic knotwork medallion in the lid, open with a pink and brown 20-sided Jesmonite die inside.
Walnut Hex Chonk Box with a silver Celtic knotwork medallion in the lid, in front of a walnut stand with a pink and brown 20-sided Jesmonite die.
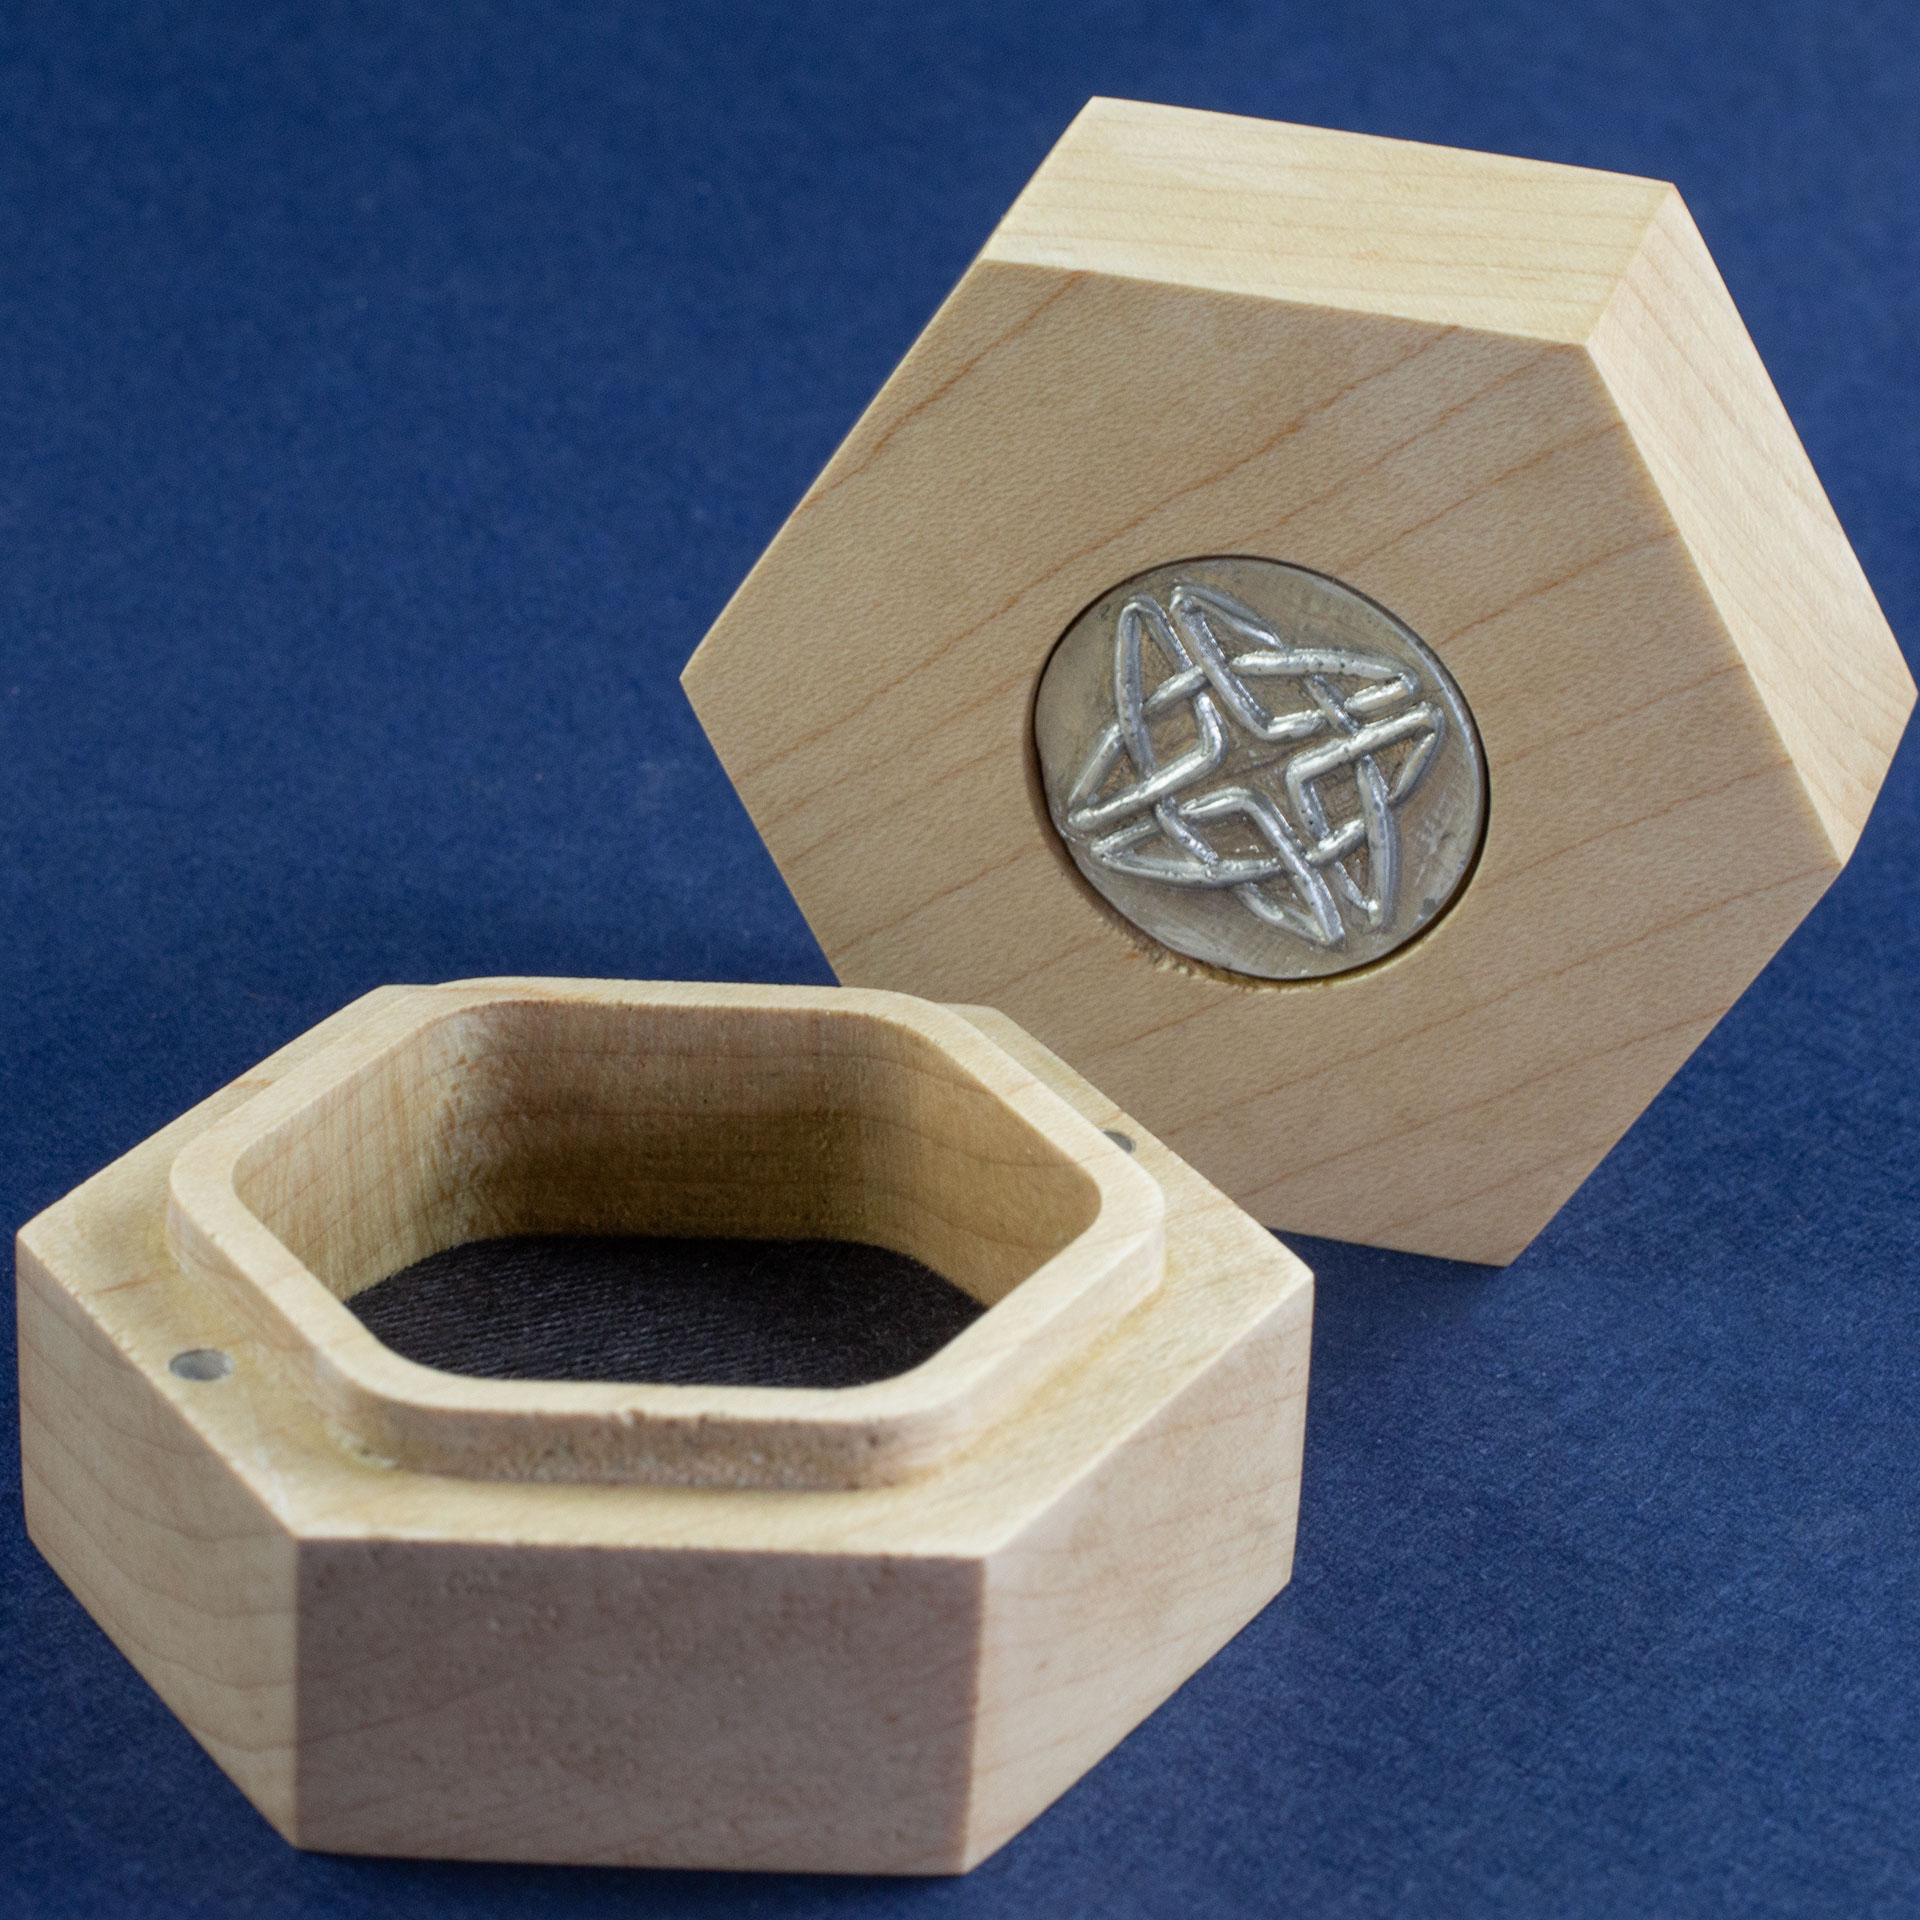
Oak Hex Chonk Box with a silver Celtic knotwork medallion in the lid, open and empty.
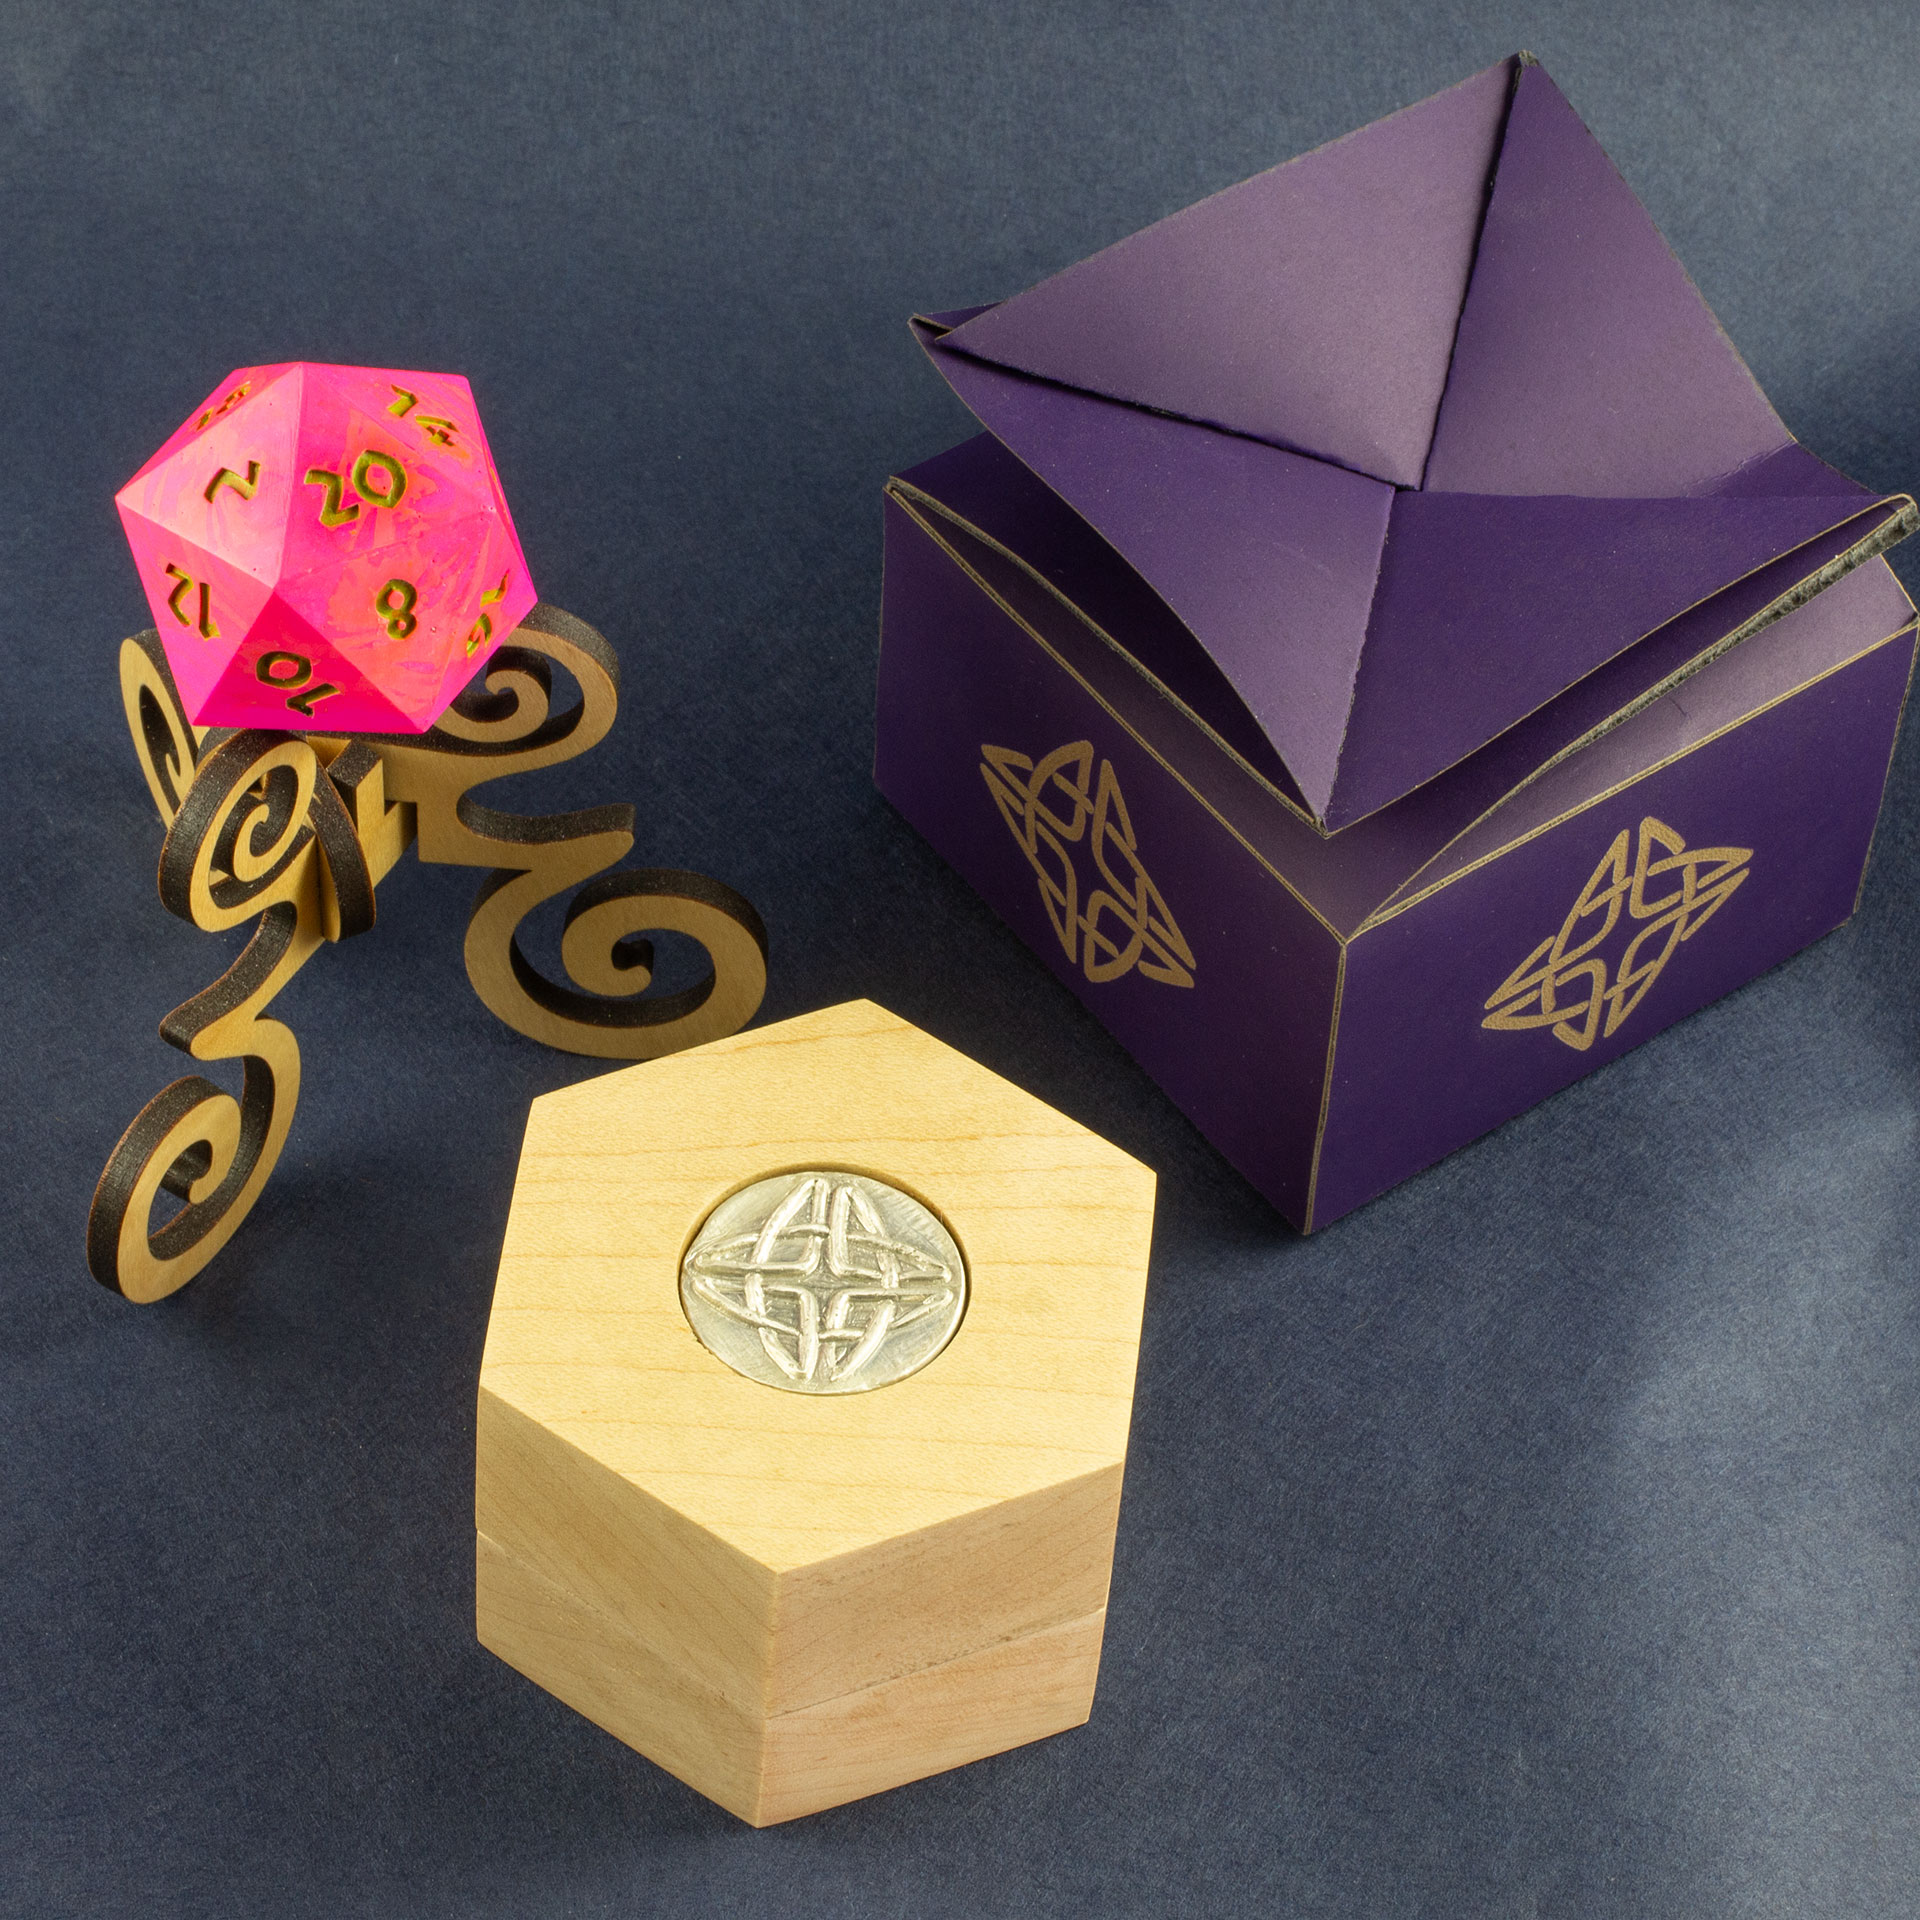
Oak Hex Chonk Box with a silver Celtic knotwork medallion in the lid, in front of an oak stand with a pink and orange 20-sided Jesmonite die, and a purple twist-top box.
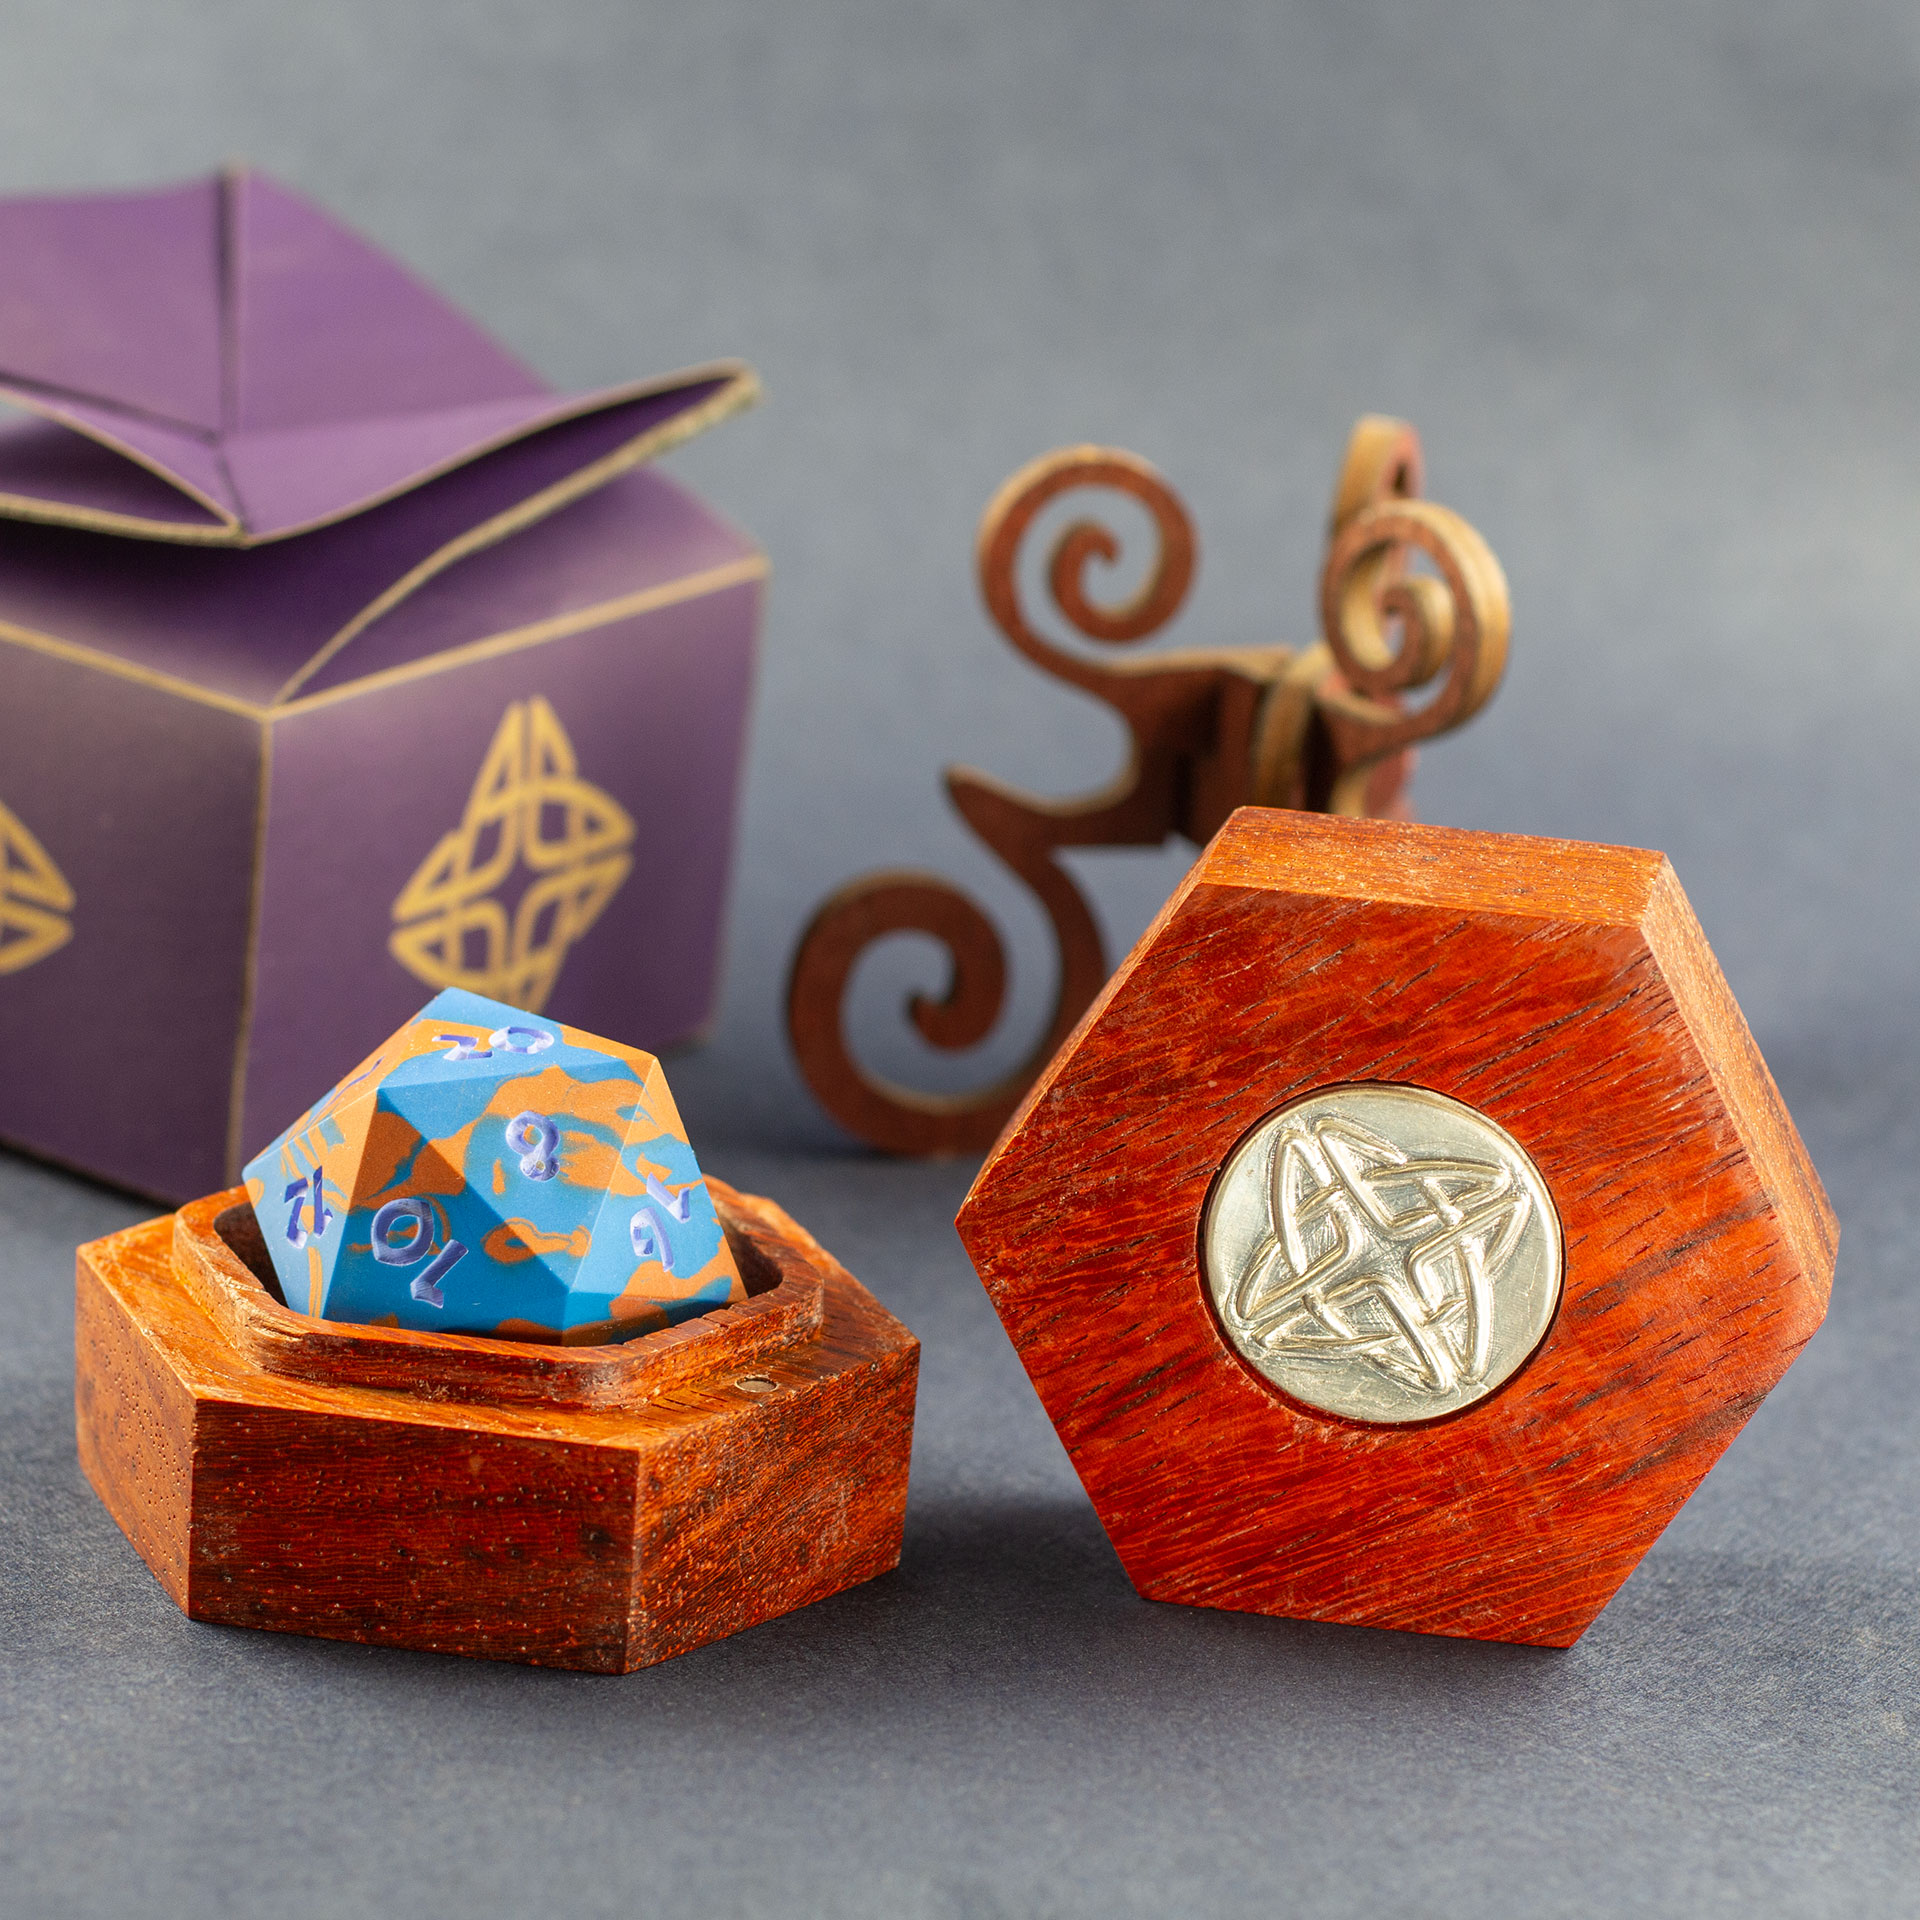
Padauk hardwood hexagonal box with a silver Celtic knotwork medallion in the lid, open with a blue and copper 42mm Jesmonite 20-sided die inside.
Padauk hardwood hexagonal box with a silver Celtic knotwork medallion in the lid sitting in front of a purpleheart wood stand bearing a blue and copper 42mm Jesmonite 20-sided die, and a purple twist-top box with matching knots engraved in the sides.
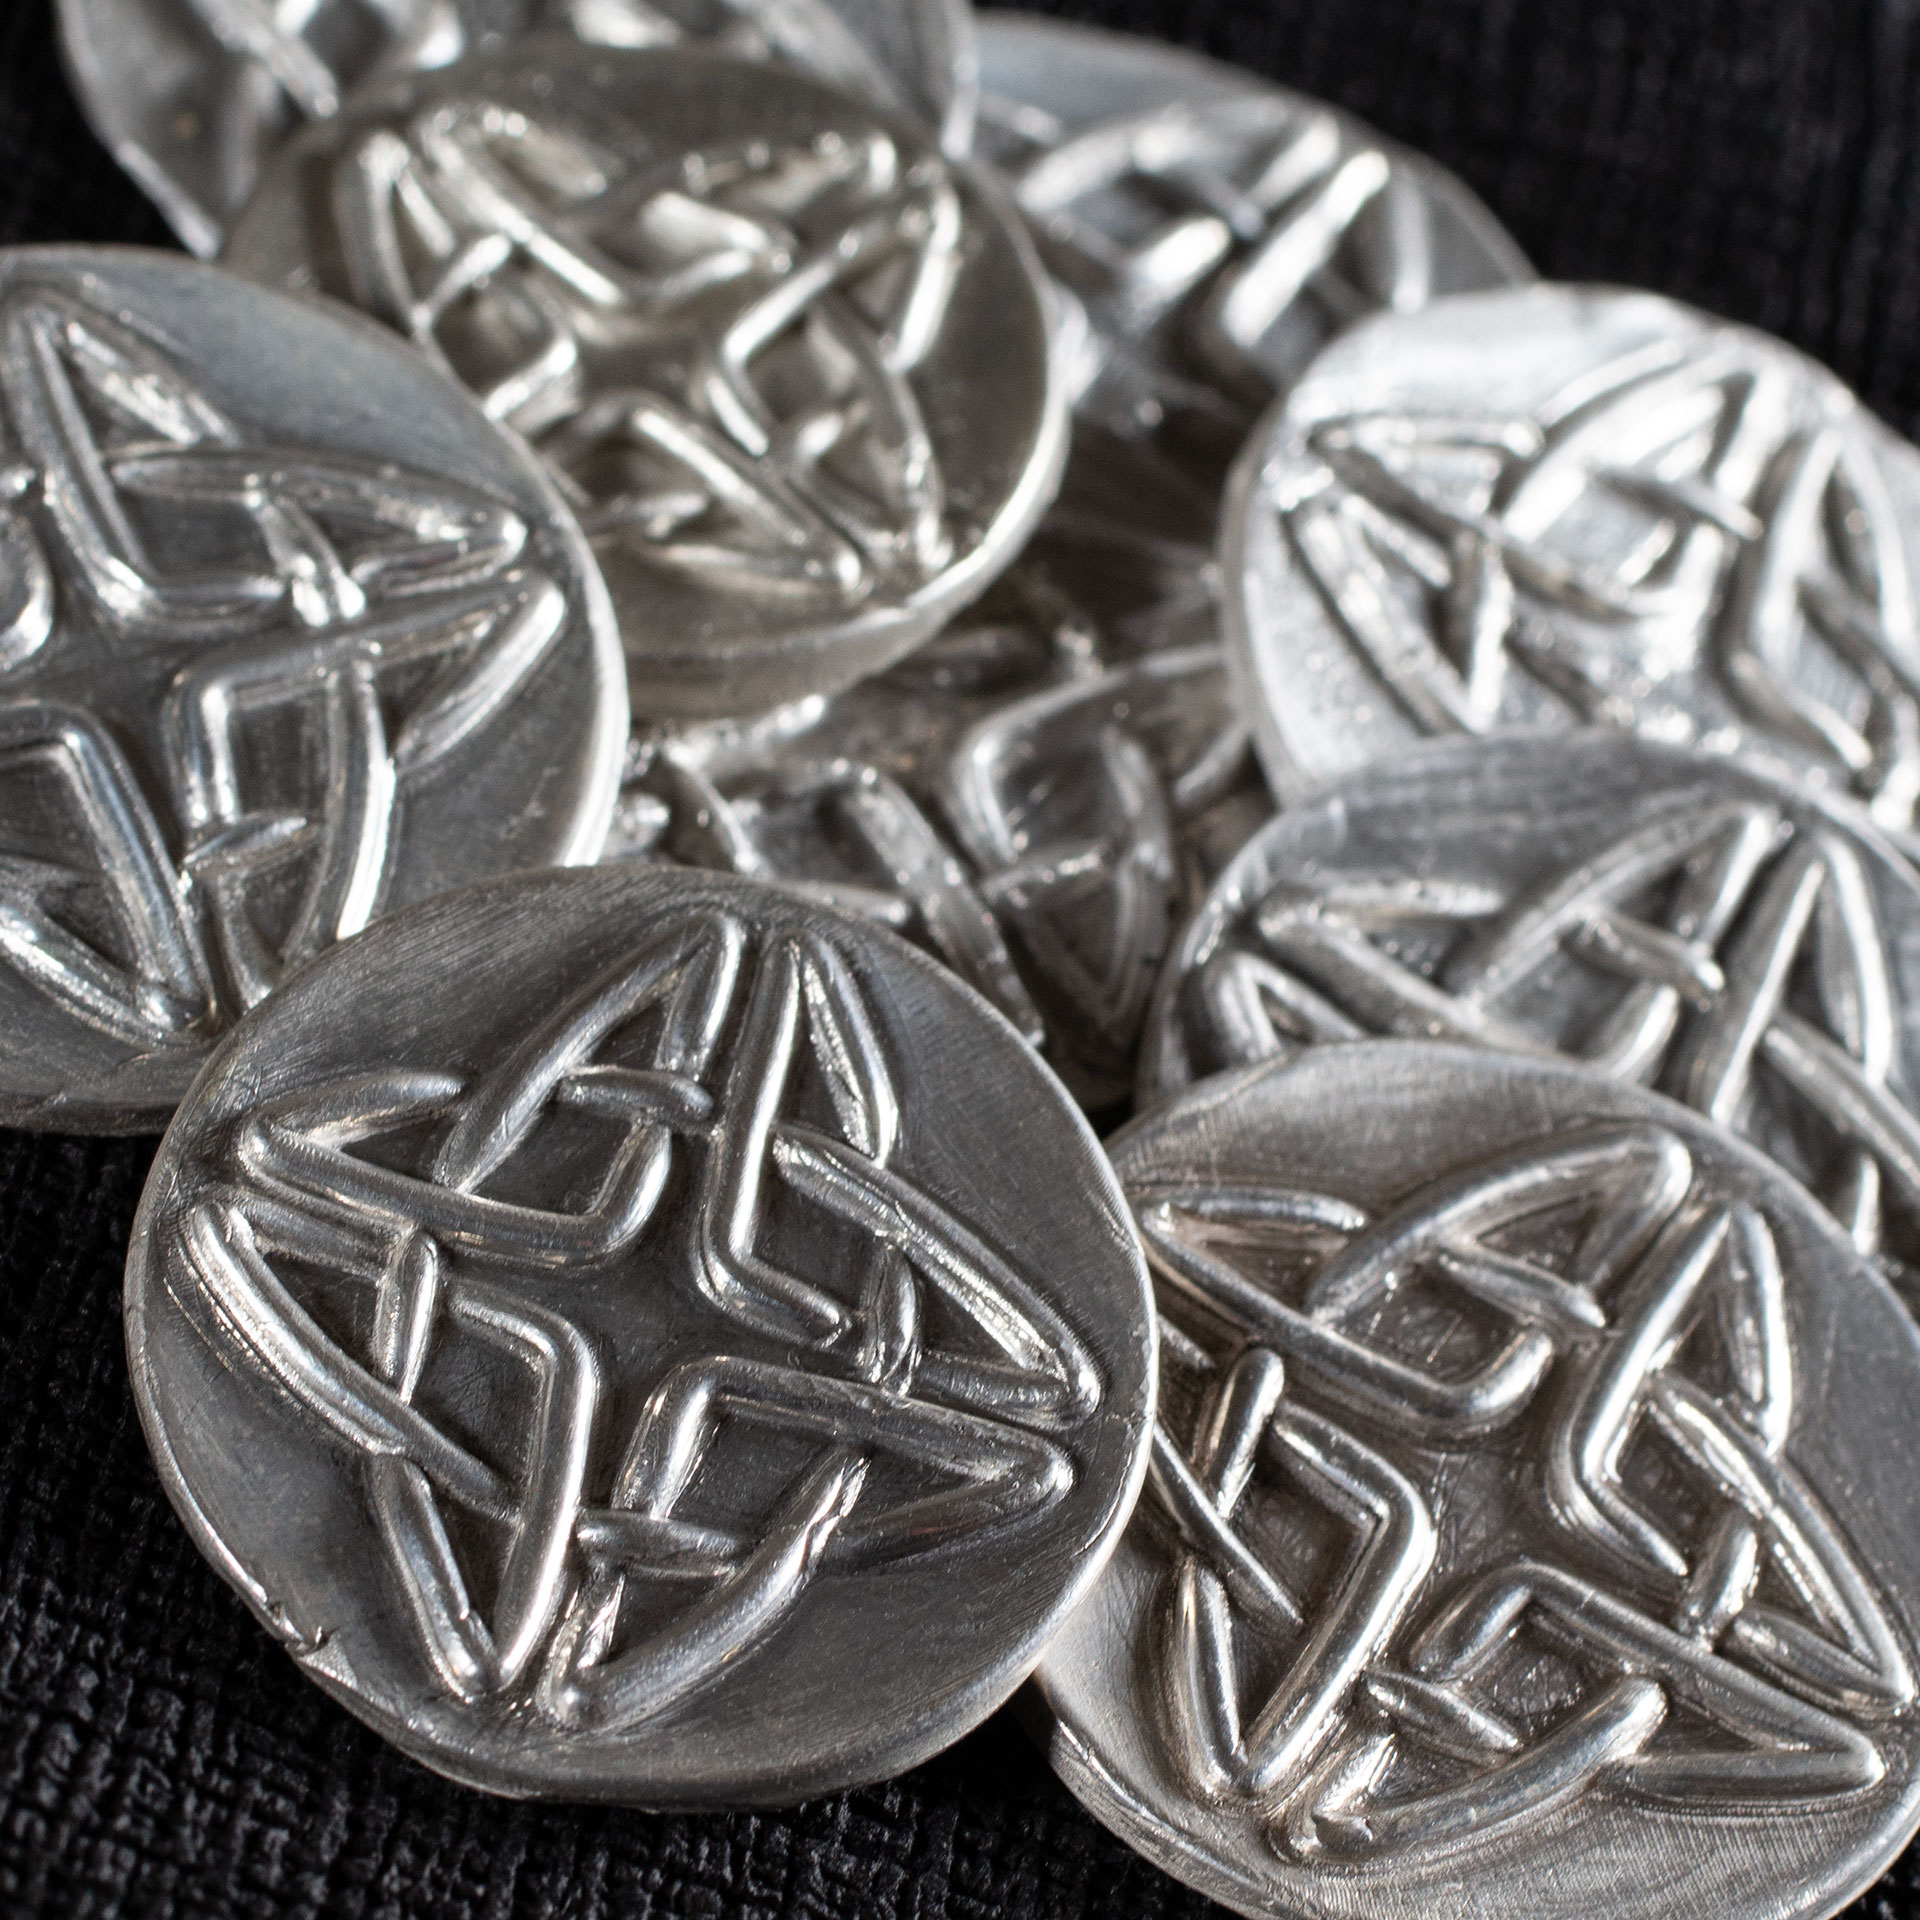
Small silver medallions with 3D Celtic knotwork, made from silver metal clay for the lids of the Hex Chonk Boxes.
I spent a lot of time thinking and planning, but the actual project came together pretty quickly over the course of a week or so.
In addition to working with the CNC, I dug out some silver metal clay (PMC) I have had, and intended to do more with, for about 20 years. Using new skills gained from making the dice, as well as old skills modeling Celtic knots in 3D, I was able to make a mold and cast some medallions for the box tops from silver clay.
There are a couple more partly completed for my own collection, including one with a copper clay medallion that I will likely share when it is finished.
If you want to get a good look at them from different angles, here are some spin videos:
There is, of course, a whole process video of making the boxes: