Jack-O-Lantern 2025

My 2025 jack-o-lantern in the lower right was created in Nomad Sculpt on the iPad, and added to the scene and animated in Blender.
Relic Light-Up Pop Up Card

I am once again participating in Chibitronics’ #LightUpPopUpTober event this year. This is prompt-driven, like so many other *tober events. In this case, people are making pop up cards that include light as an element. @5am_popup on Instagram provided the prompts, and @Chibitronics organized assorted artists, with each taking one of the prompts. Some people are making one for every prompt. That’s a bit much for some of us, given process and day jobs. My prompt for this year, on October 26th, is “Relic.”
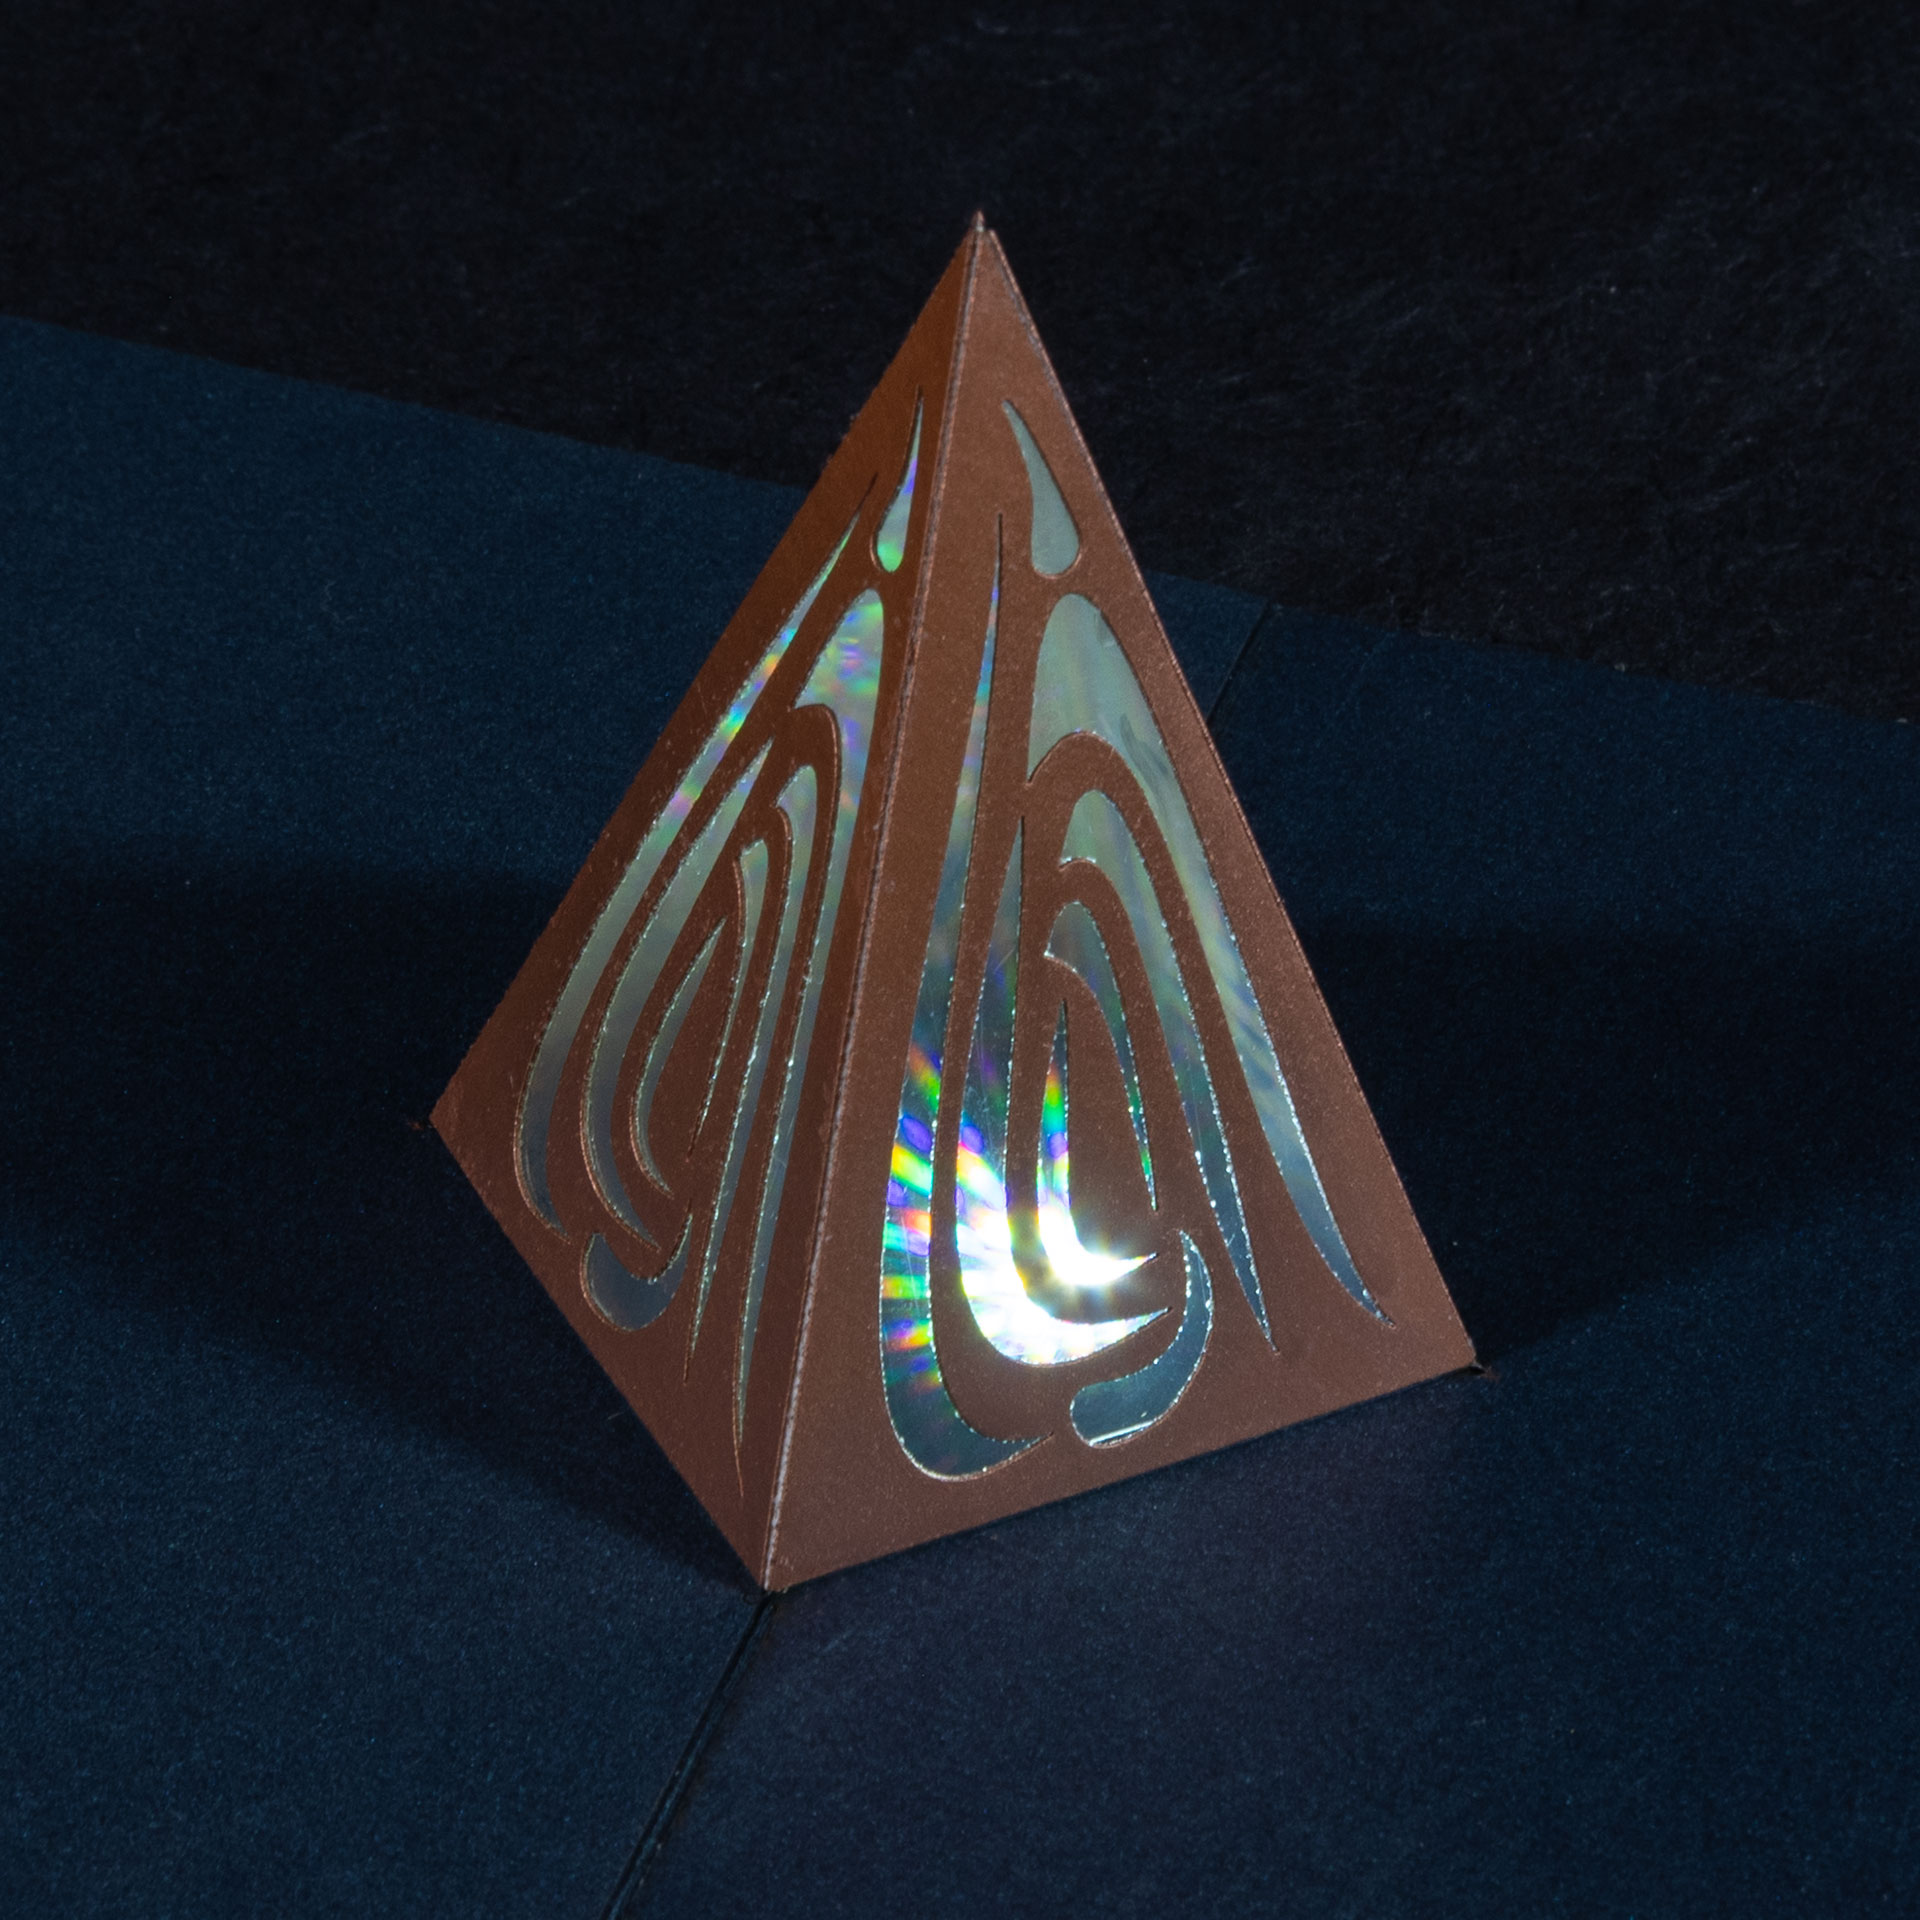
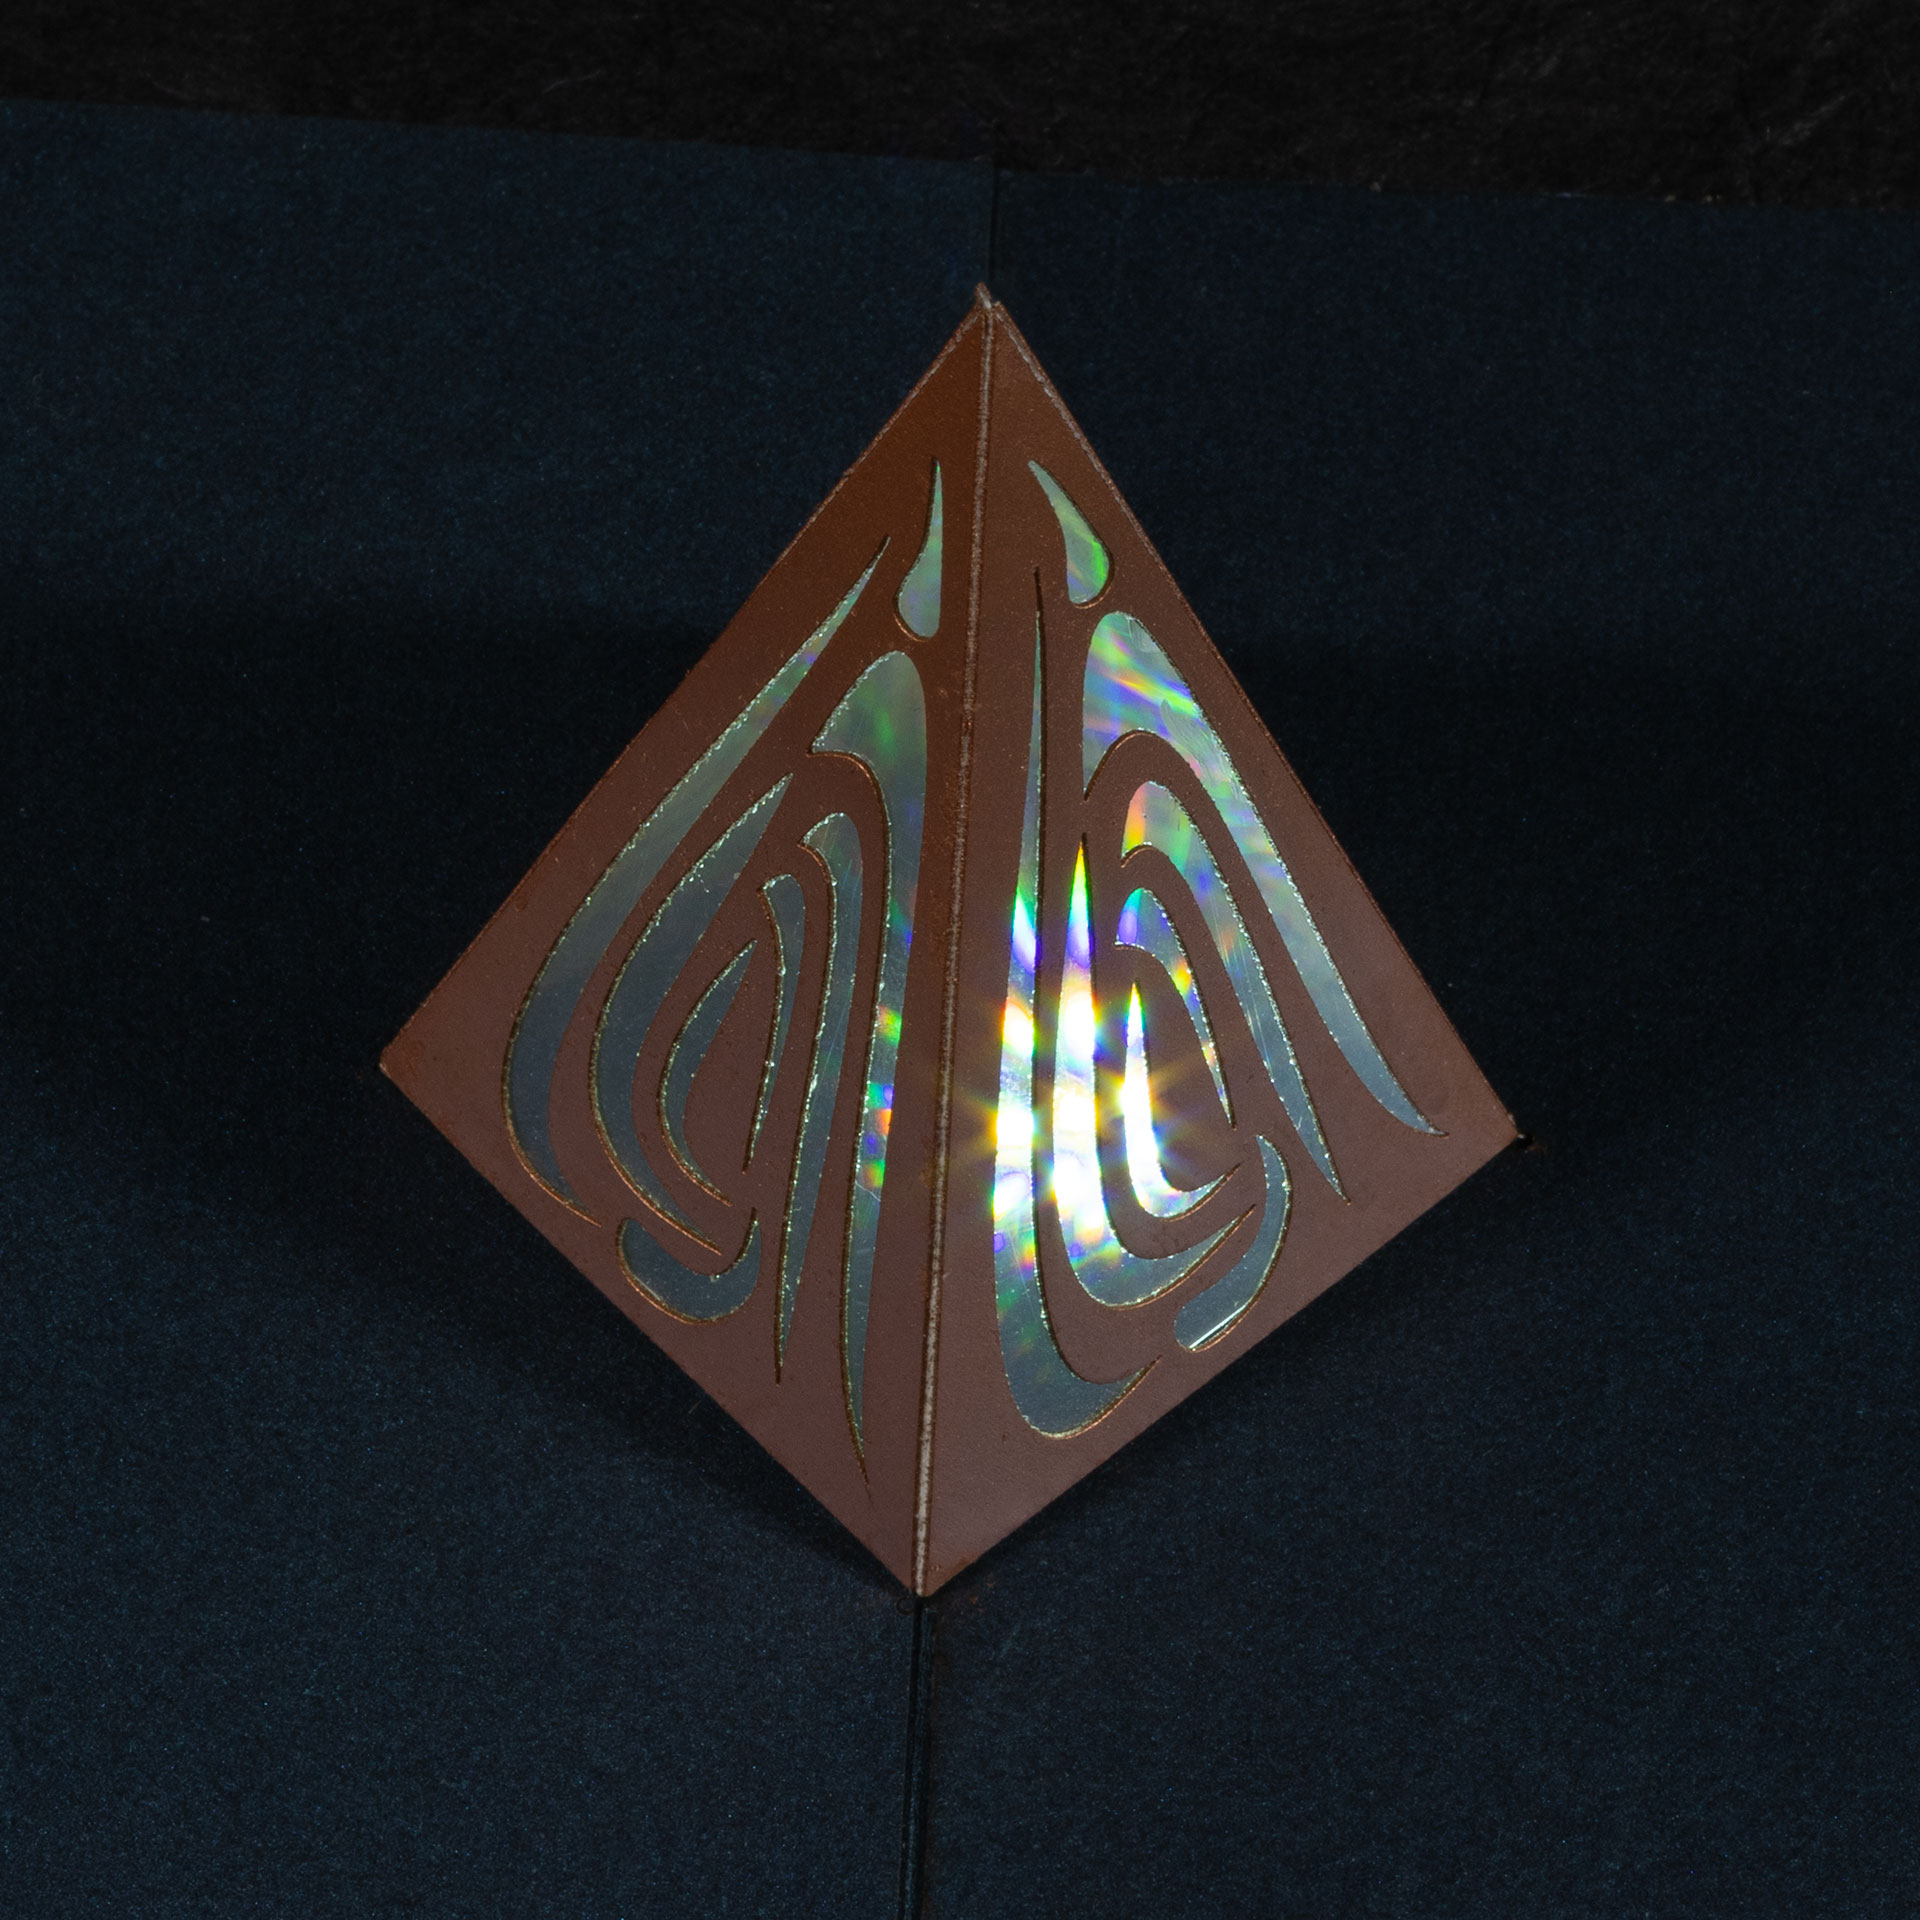
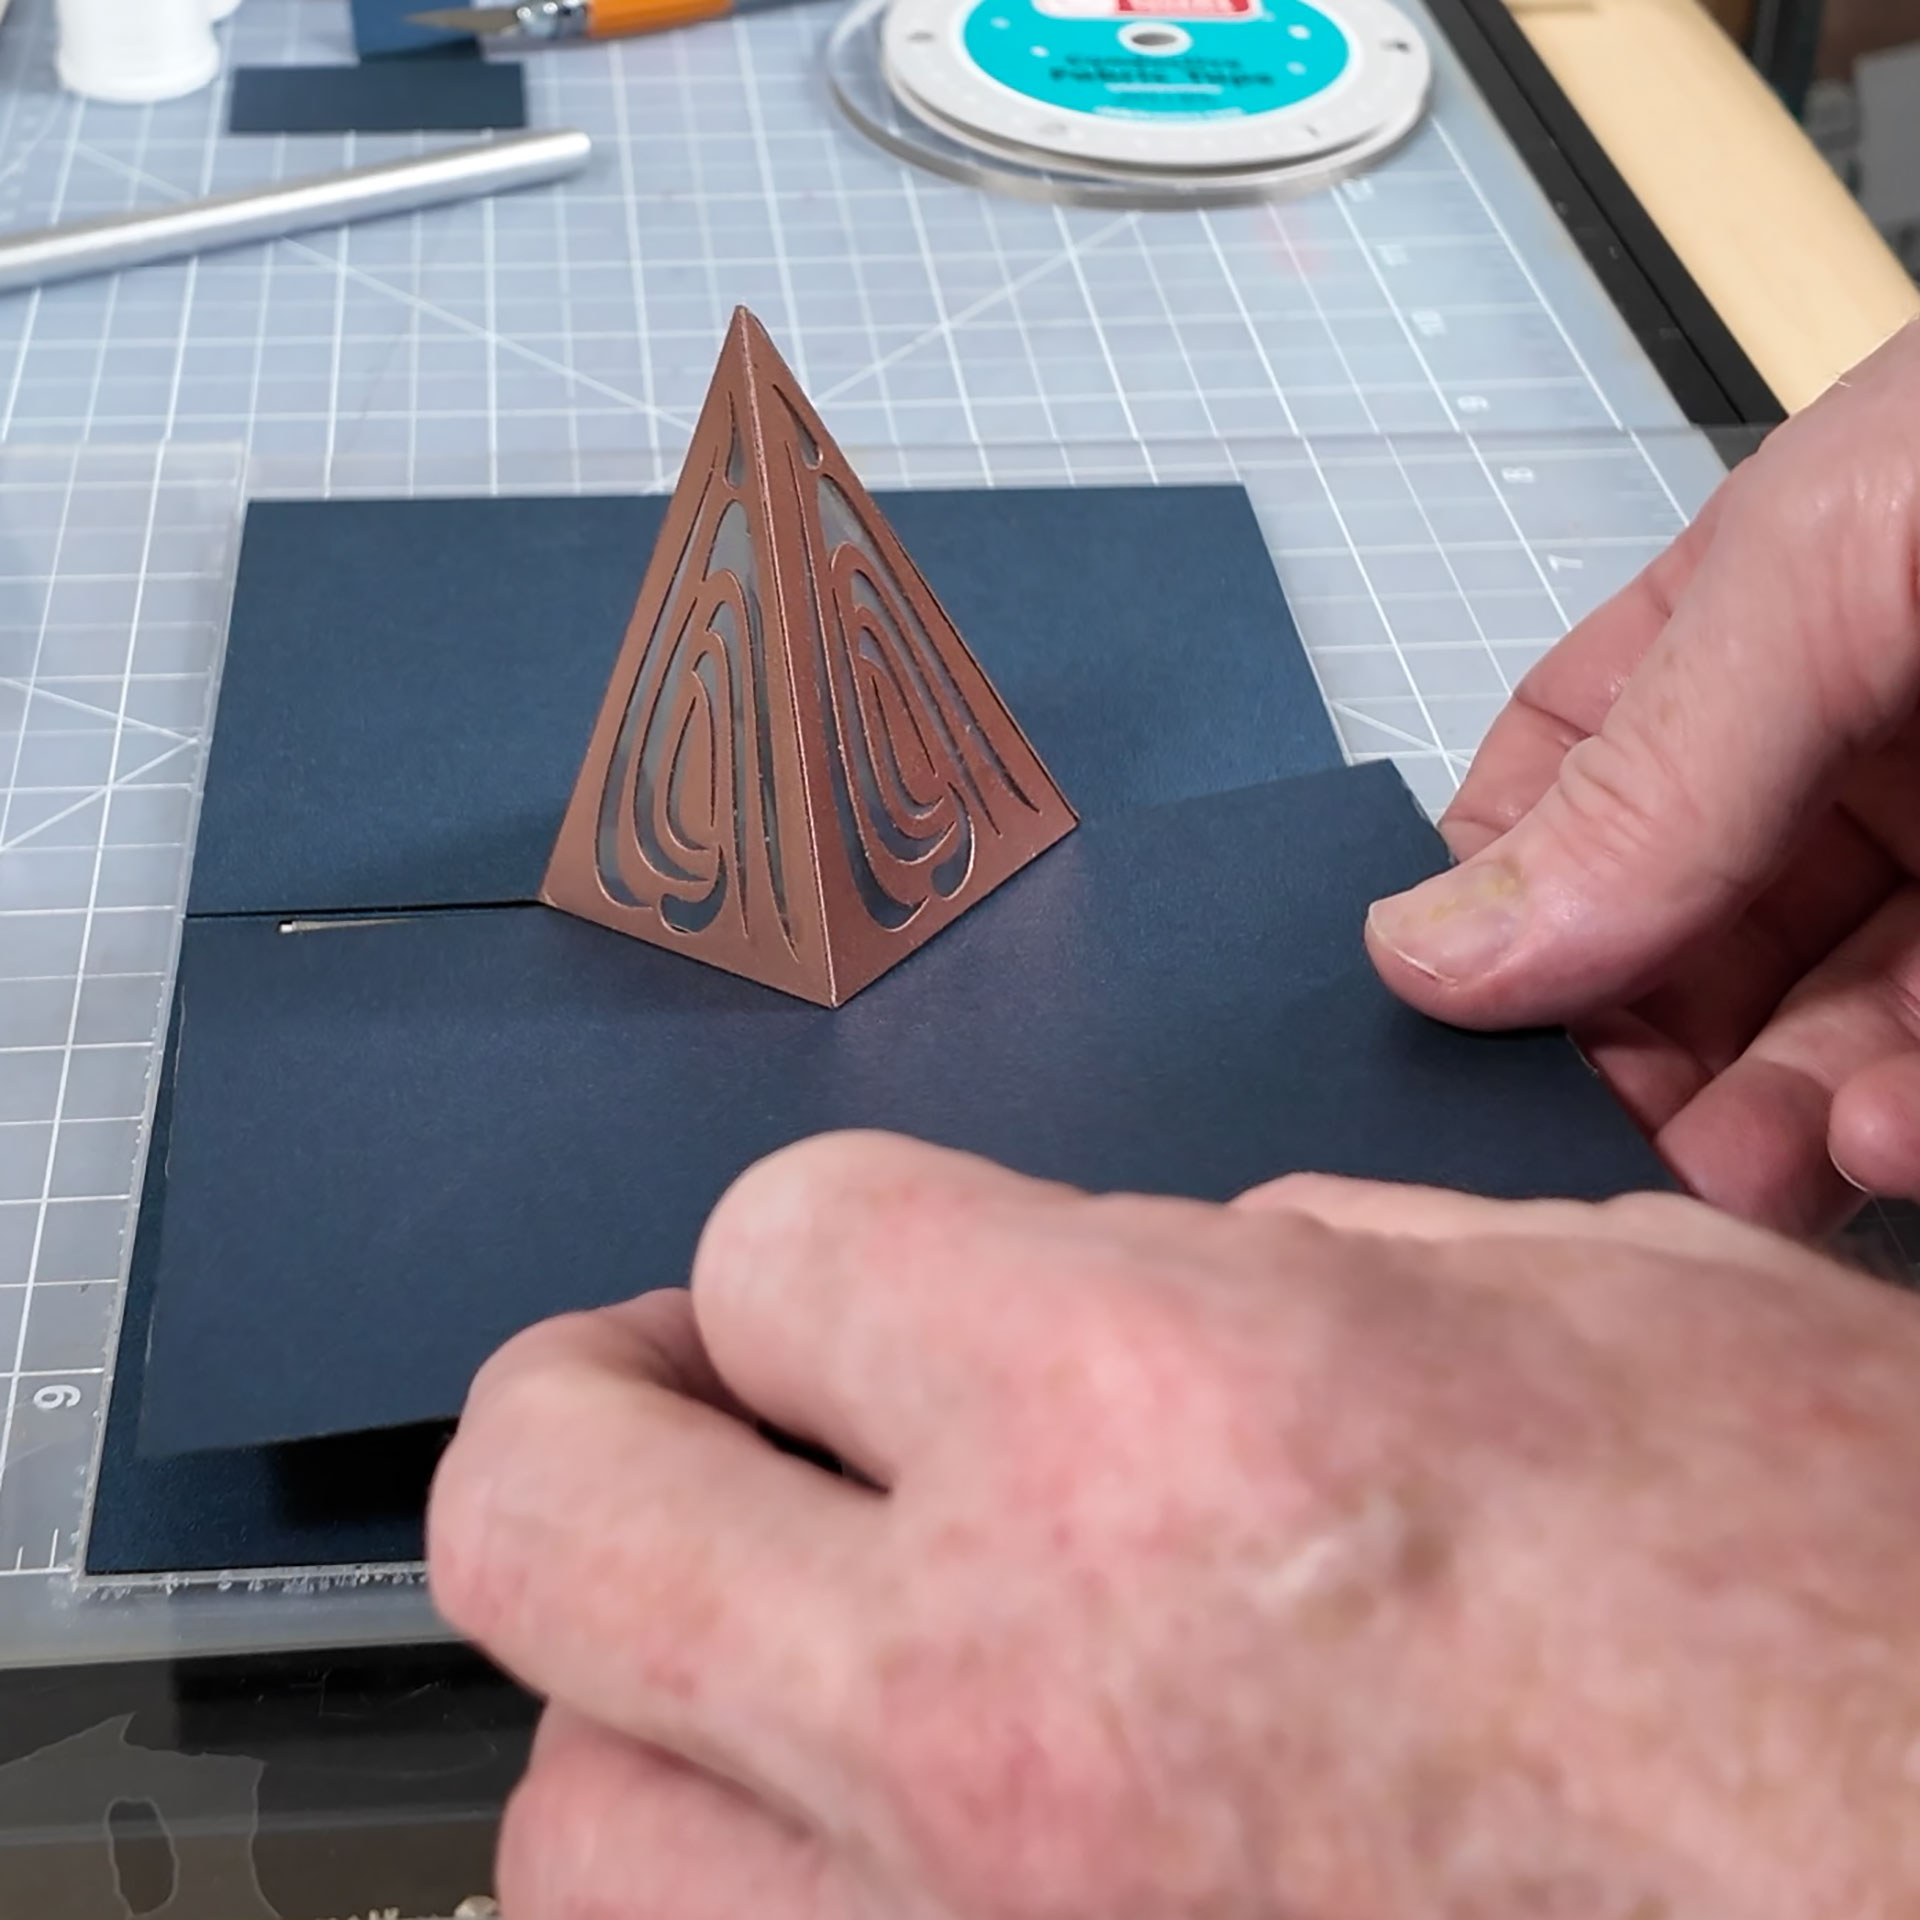
While I immediately came up with a number of humorous ideas for that prompt, I decided to go with another geometric abstract. A pop up pyramid is not particularly unique. In fact, I was a little disheartened when I was partway through designing this card to see someone had done another light-up pop up pyramid. Mine is more about the variation, embellishment, and the switching mechanism, though. So, I persevered.
The pyramid is 141lb white card stock, which is pretty heavyweight. It was perfectly adequate to stand up to spraying it with metallic copper paint. I drew some curvy abstract cut outs for the faces in Inkscape.
I had some paper glasses from Edmond Scientific with diffraction grating material over the eyes when I was a kid. I remember loving to see the rainbows everywhere. A quick check revealed that the film is easy to come by these days. A lot of people are using it to make chocolate molds to produce chocolates that throw off a rainbow reflection. I have plenty of diffraction grating left, and may get around to trying that, too.
The stuff I bought didn’t really say exactly what the material is, and I didn’t feel like researching that. Since some types of plastic have corrosive and/or toxic combustion products, I decided to cut it with the plotting cutter instead of the laser.
I recently replaced the MacBook I use in the studio, and got new Mac OS native software (SCAL) that drives my old Bosskut Gazelle plotting cutter. This was the first run at using that, and it worked great. I even guessed the right blade depth and pressure settings on the first try, which is pretty amazing for something I do not use often.
I also got some “holographic” sticker paper and tried that on one of my prototype pyramids. It does a nice job making rainbows with reflected light, but really doesn’t do anything with light passing through it.
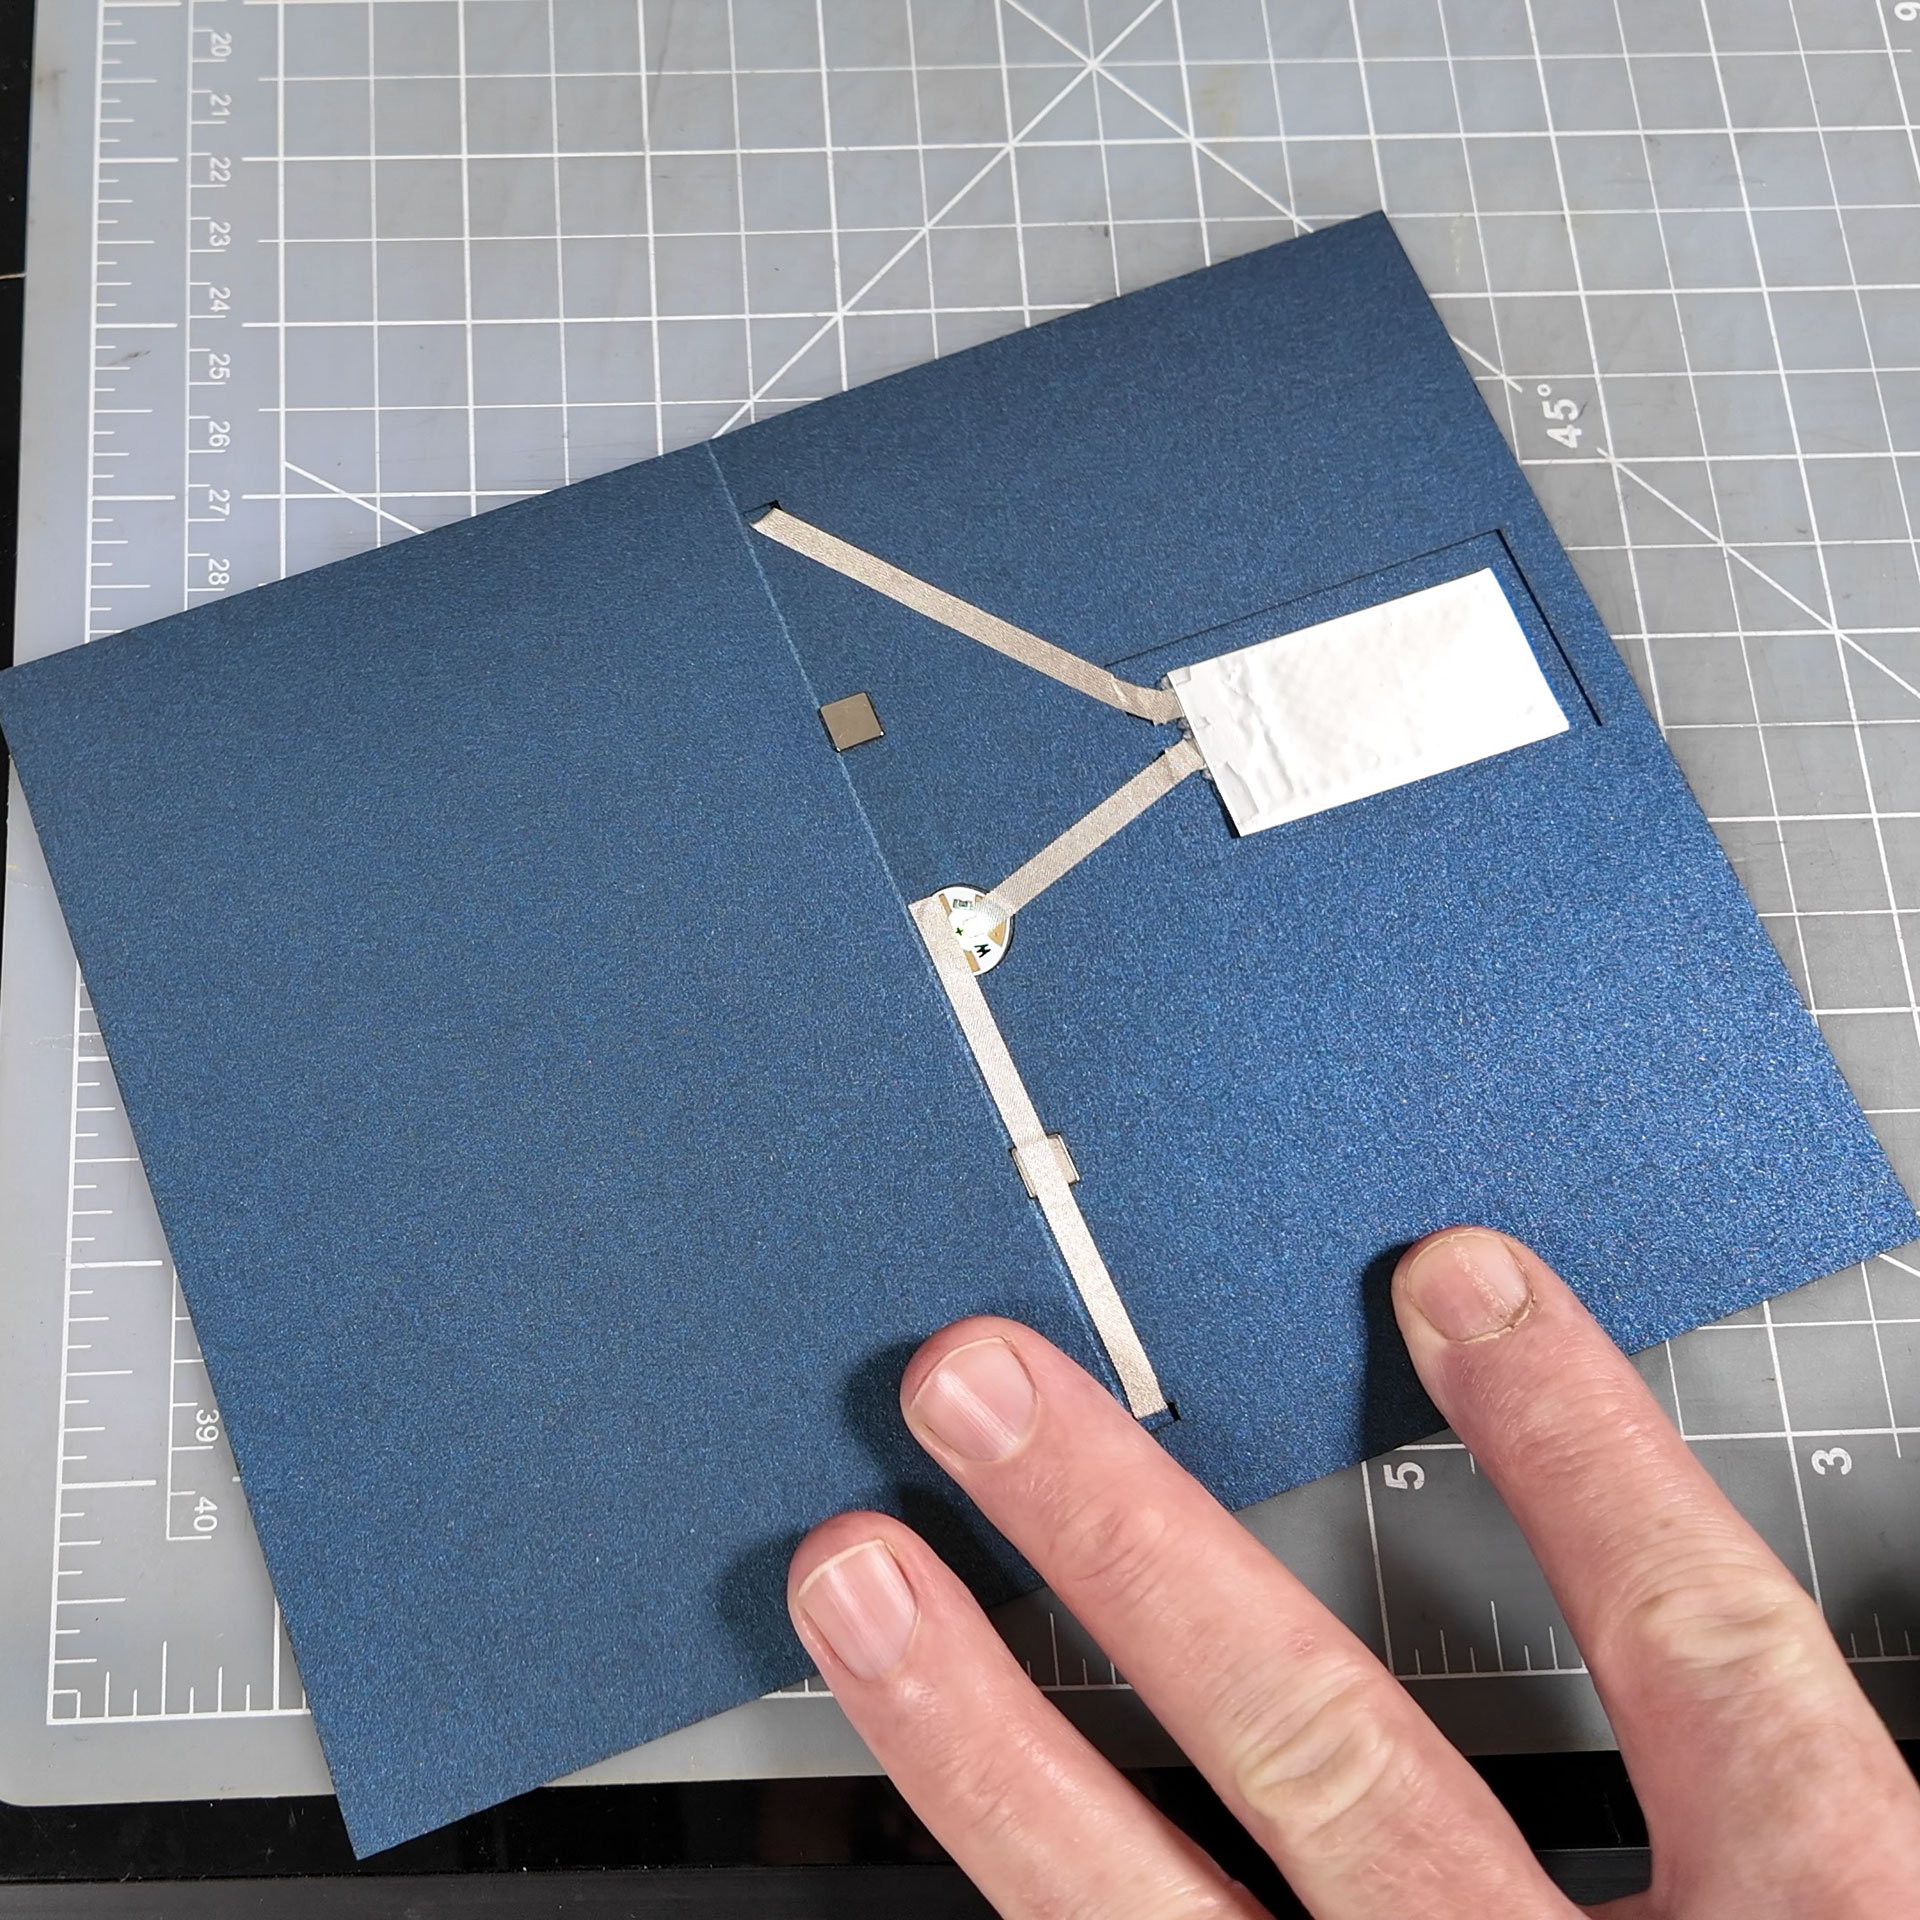
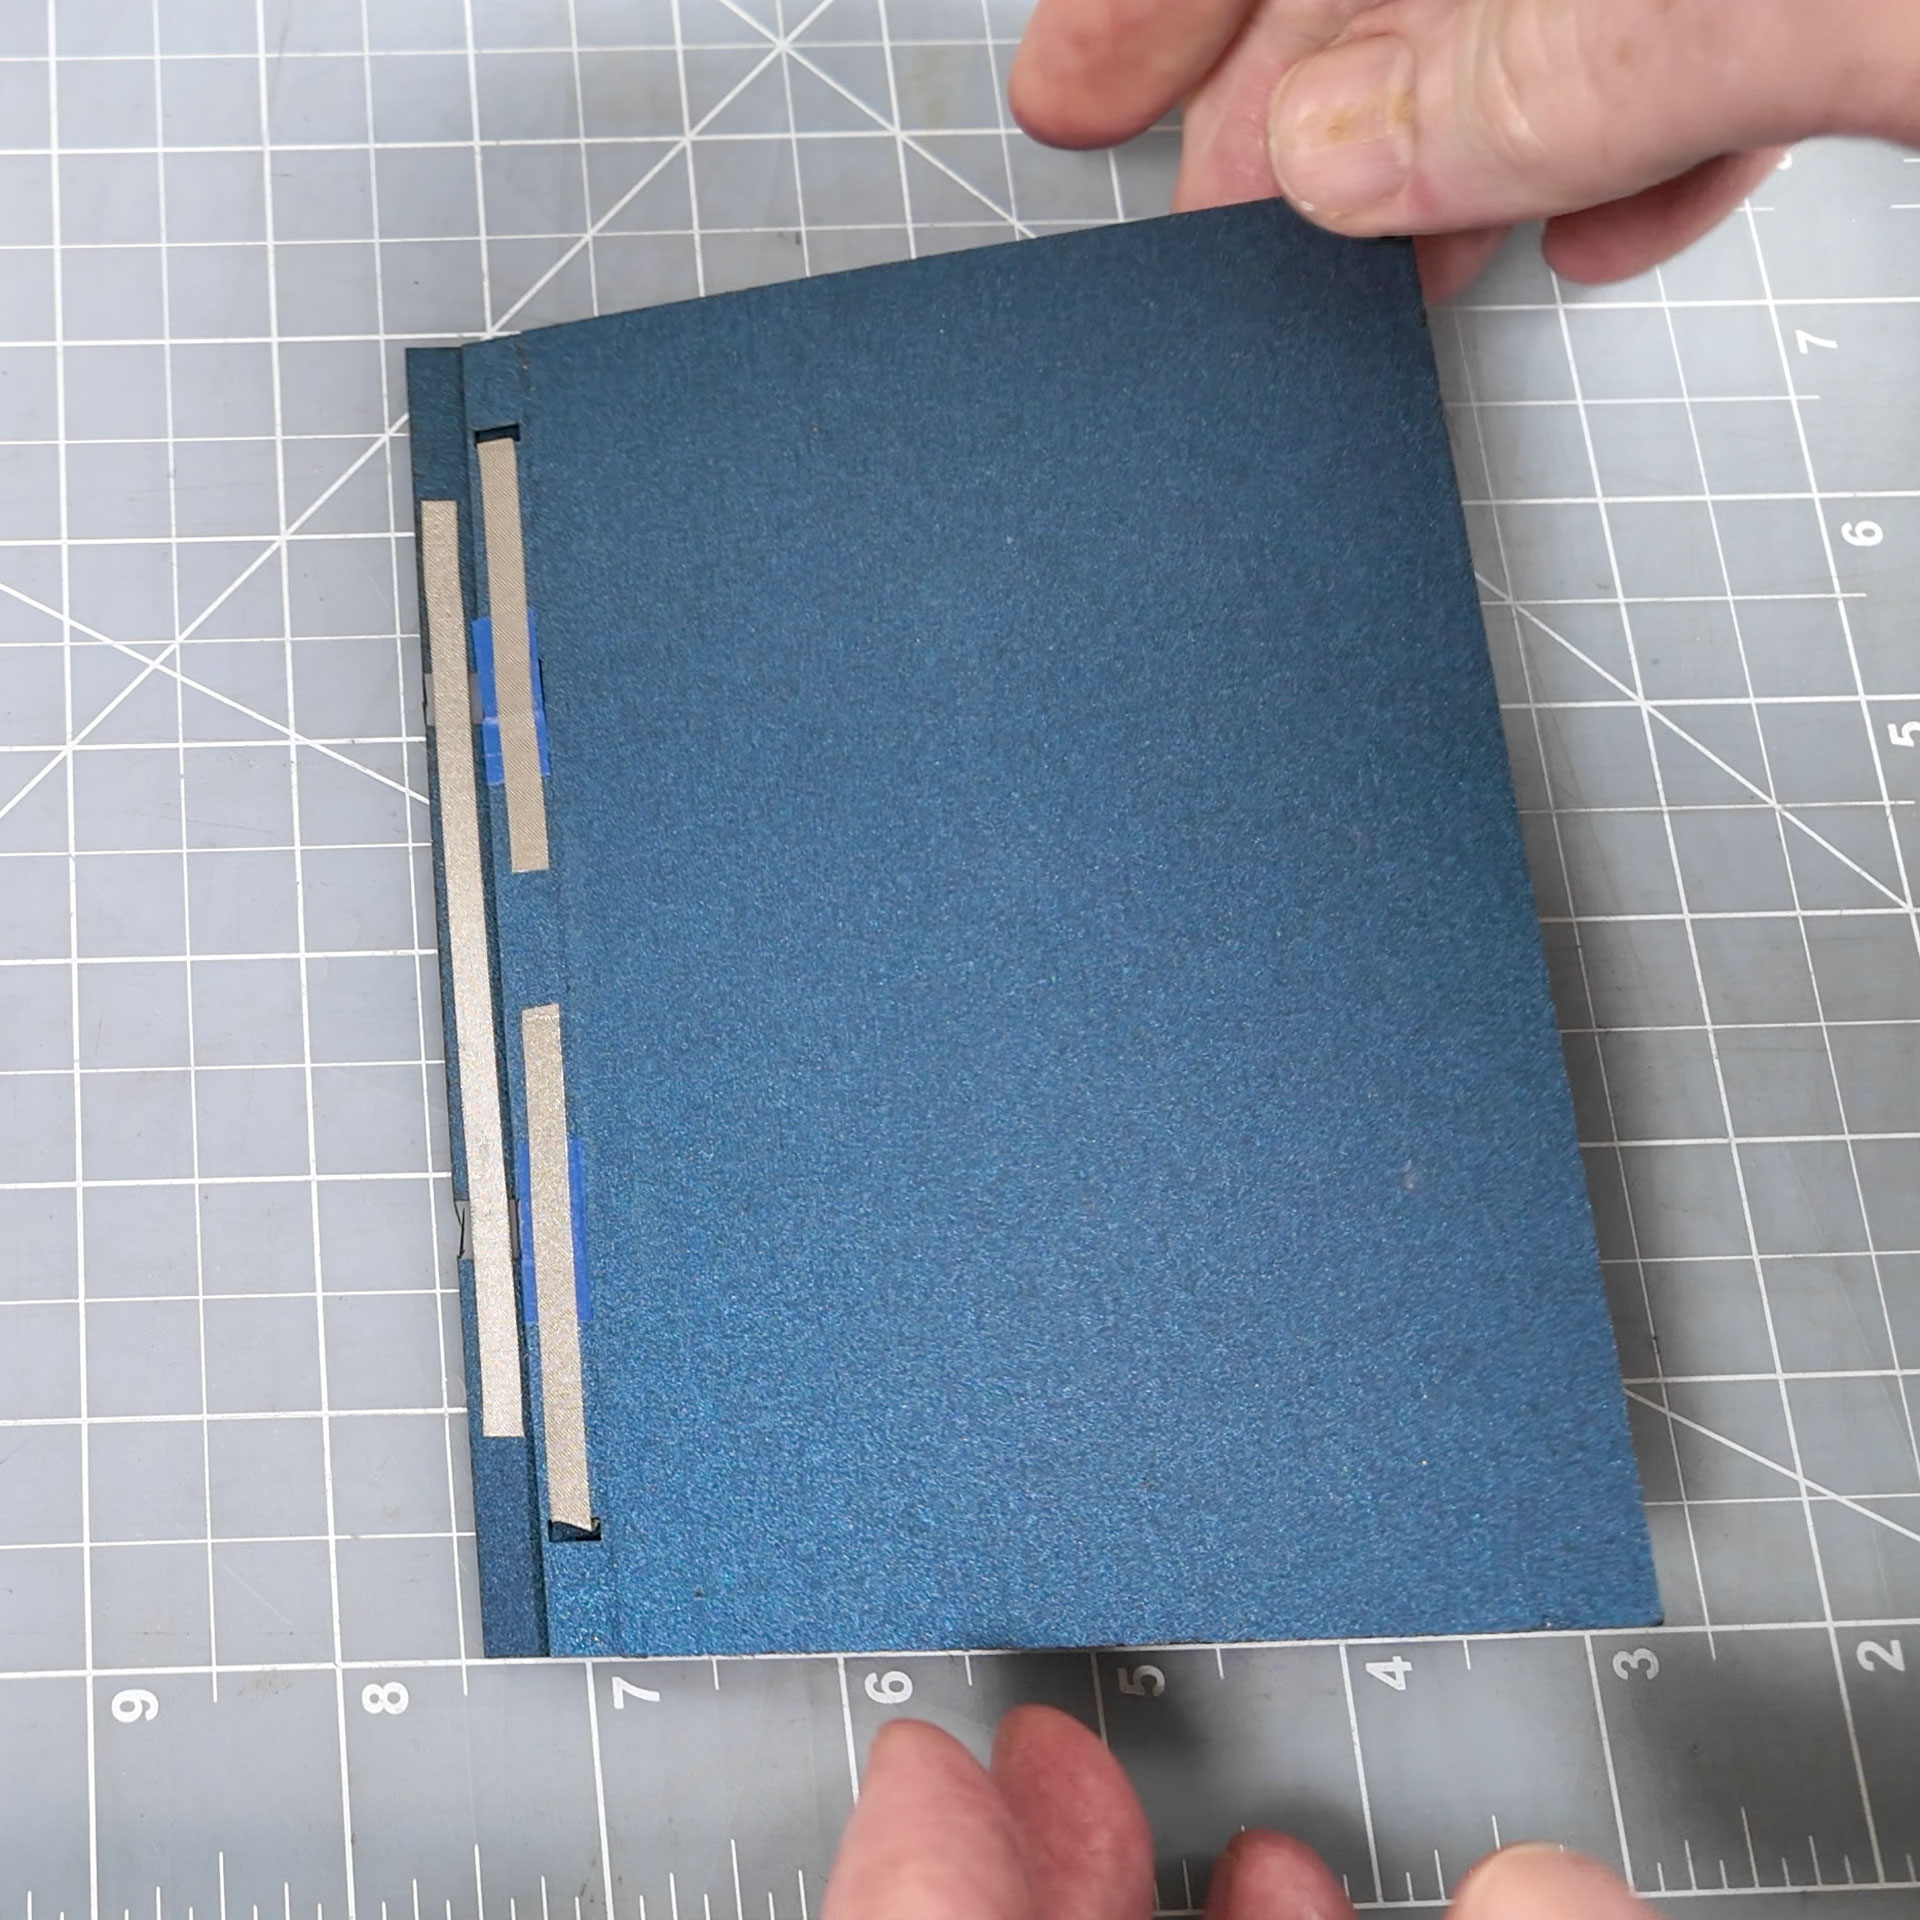
The base card is three layers of the lapis lazuli blue Stardream 105lb cover stock. The circuit works in three dimensions using the paper as an insulator, and creating a switch across the outside/back of the card. A Chibitronics heartbeat/slow pulse white LED Circuit Sticker provides the light. The traces are all conductive fabric tape, which seems to hold up and connect better than the copper tape on flexible surfaces.
The other big improvement with the switch is that I used matched 1/4” square 1/32” thick magnets behind the positive traces and the bridging strip to hold the switch closed while the card is open. They provide enough force to do that, but not enough to even be noticeable when opening and closing the card.
The cold laminator with the permanent and repositionable adhesive (the later for the panel covering the battery) was great for assembling the base card. A glue stick would probably work, too, but this was easier.
I tried to explain and document how it all works as clearly as I could in the build video. So, check that out if you are interested in how it works.
The pyramid gets attached to the base card with heavy cotton thread and glue as part of the base card assembly.
I was amazed at how well this worked on the first pass. While I made couple pyramid prototypes, and destroyed a couple pyramids and several base card components (frequently by applying adhesive to the wrong sides), the card you see in the videos and photos is the first (and currently only) finished card from this project.
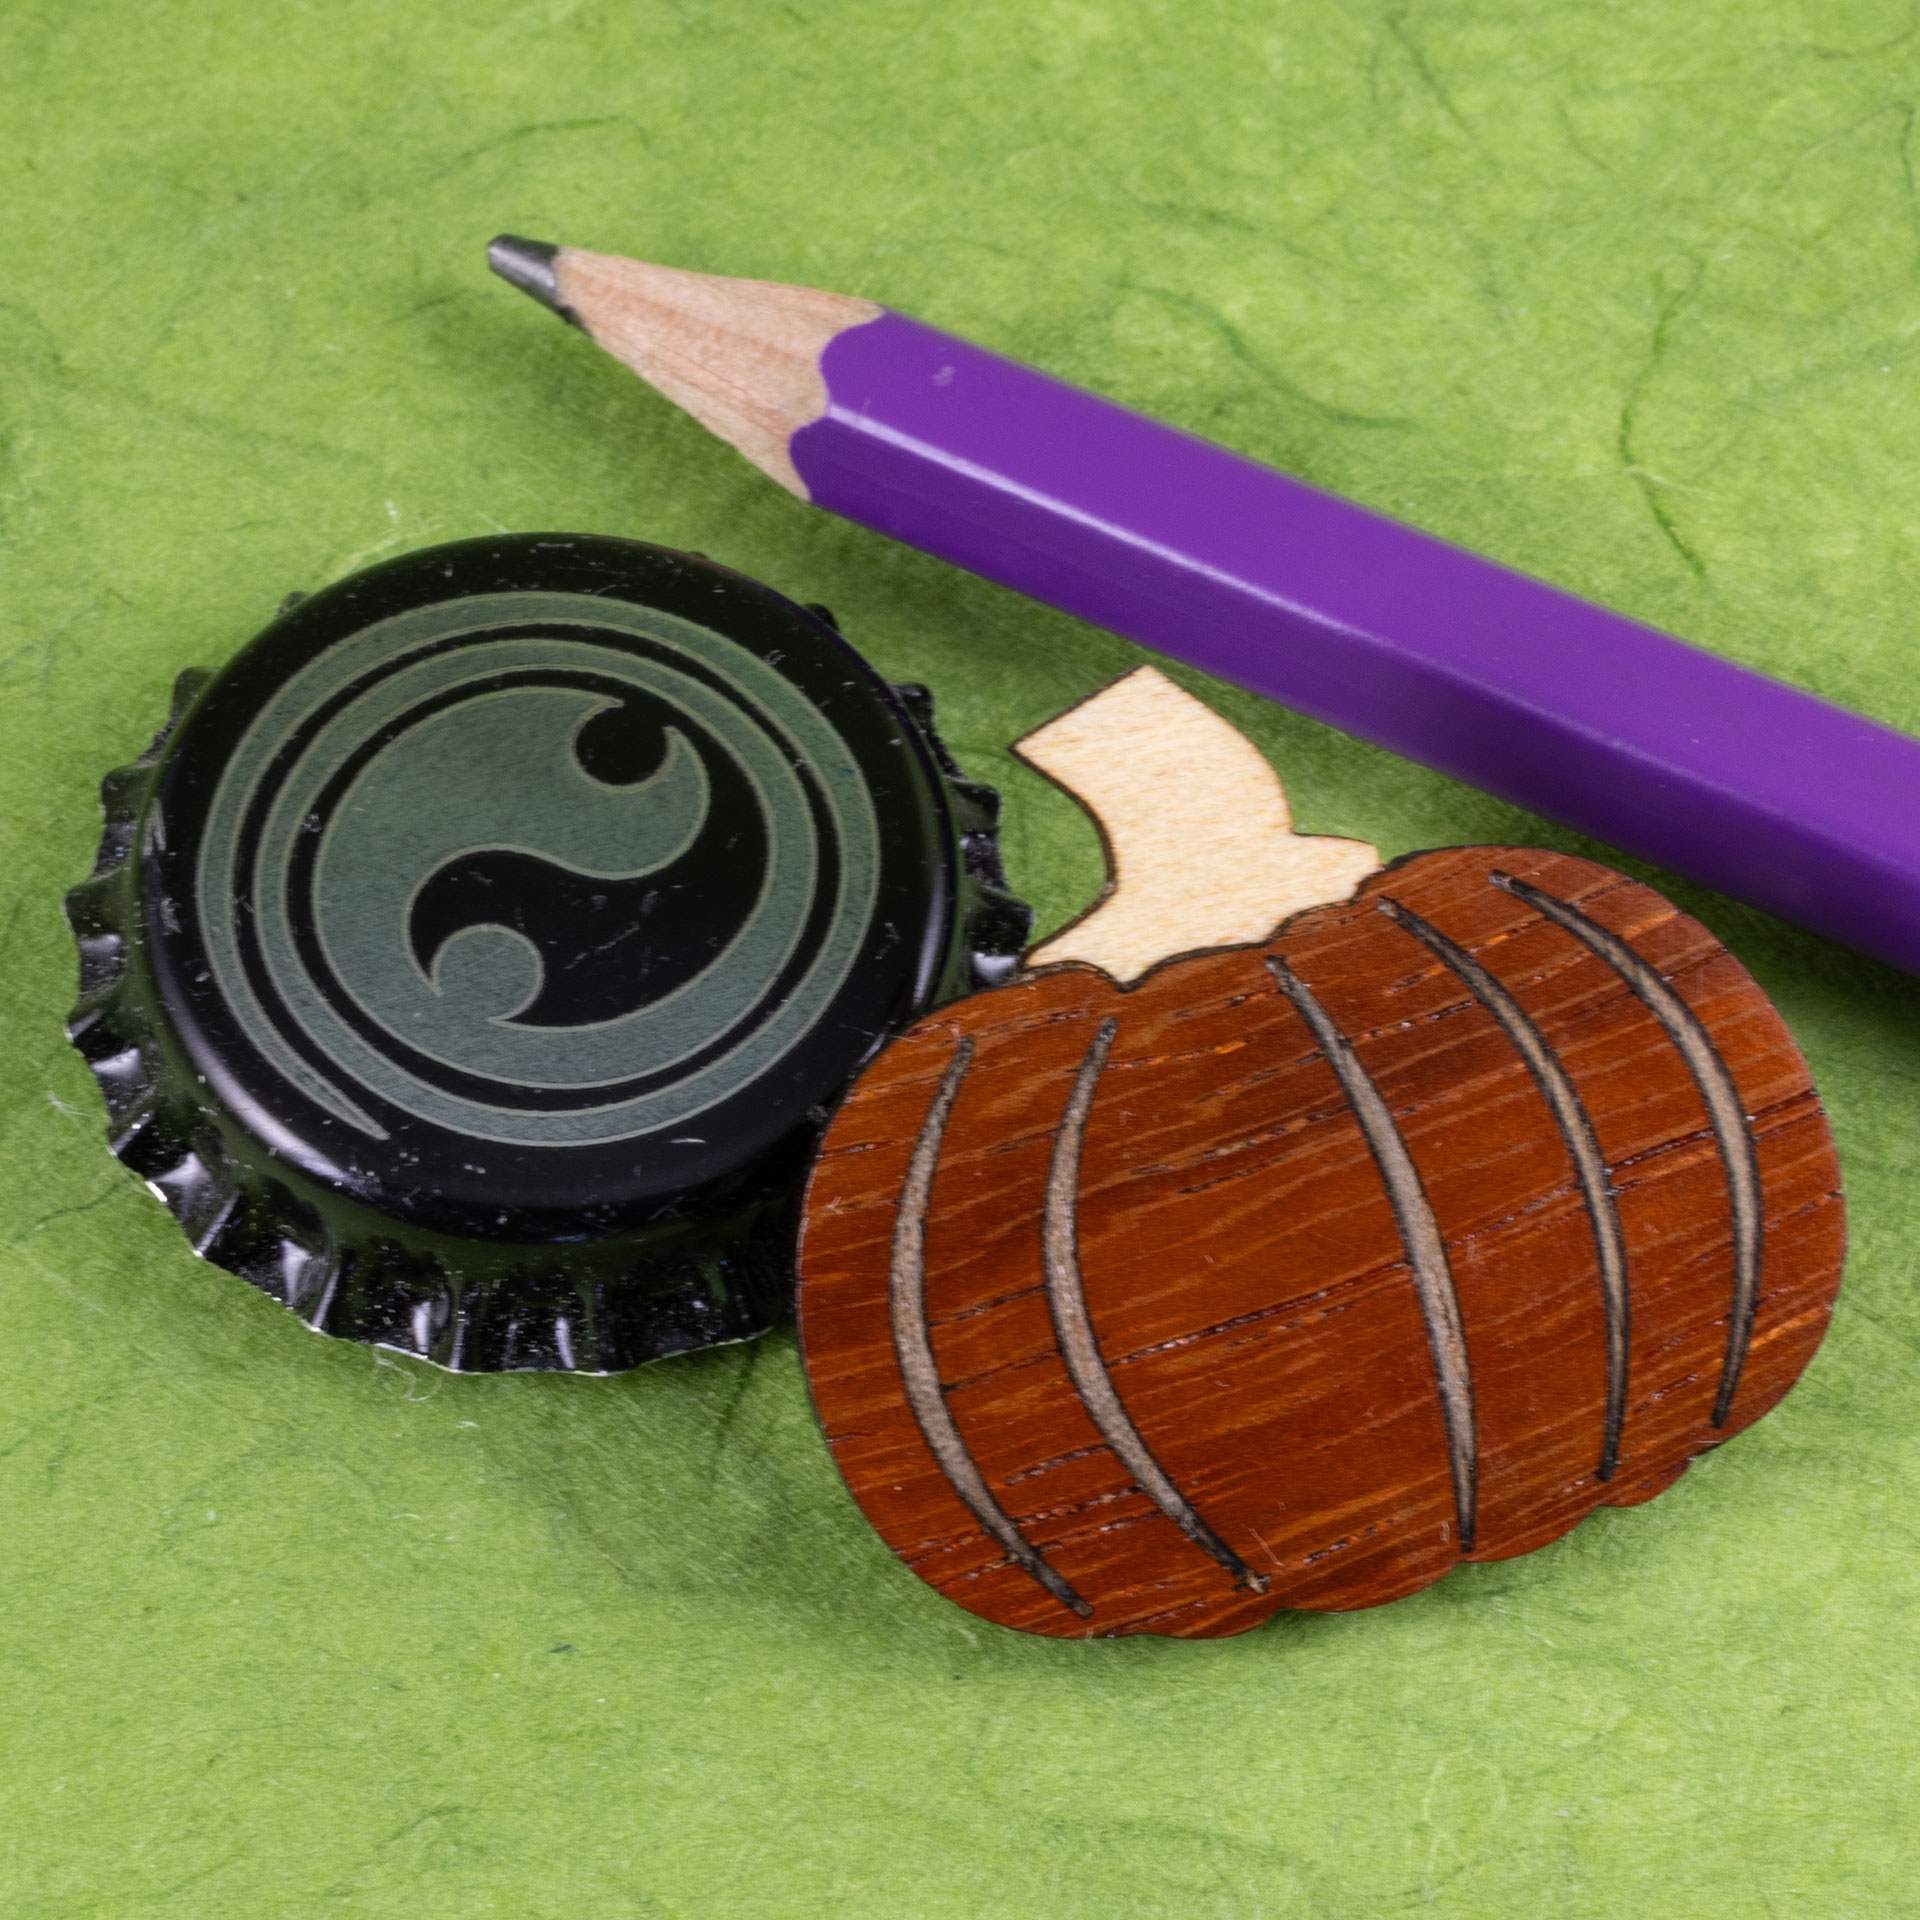
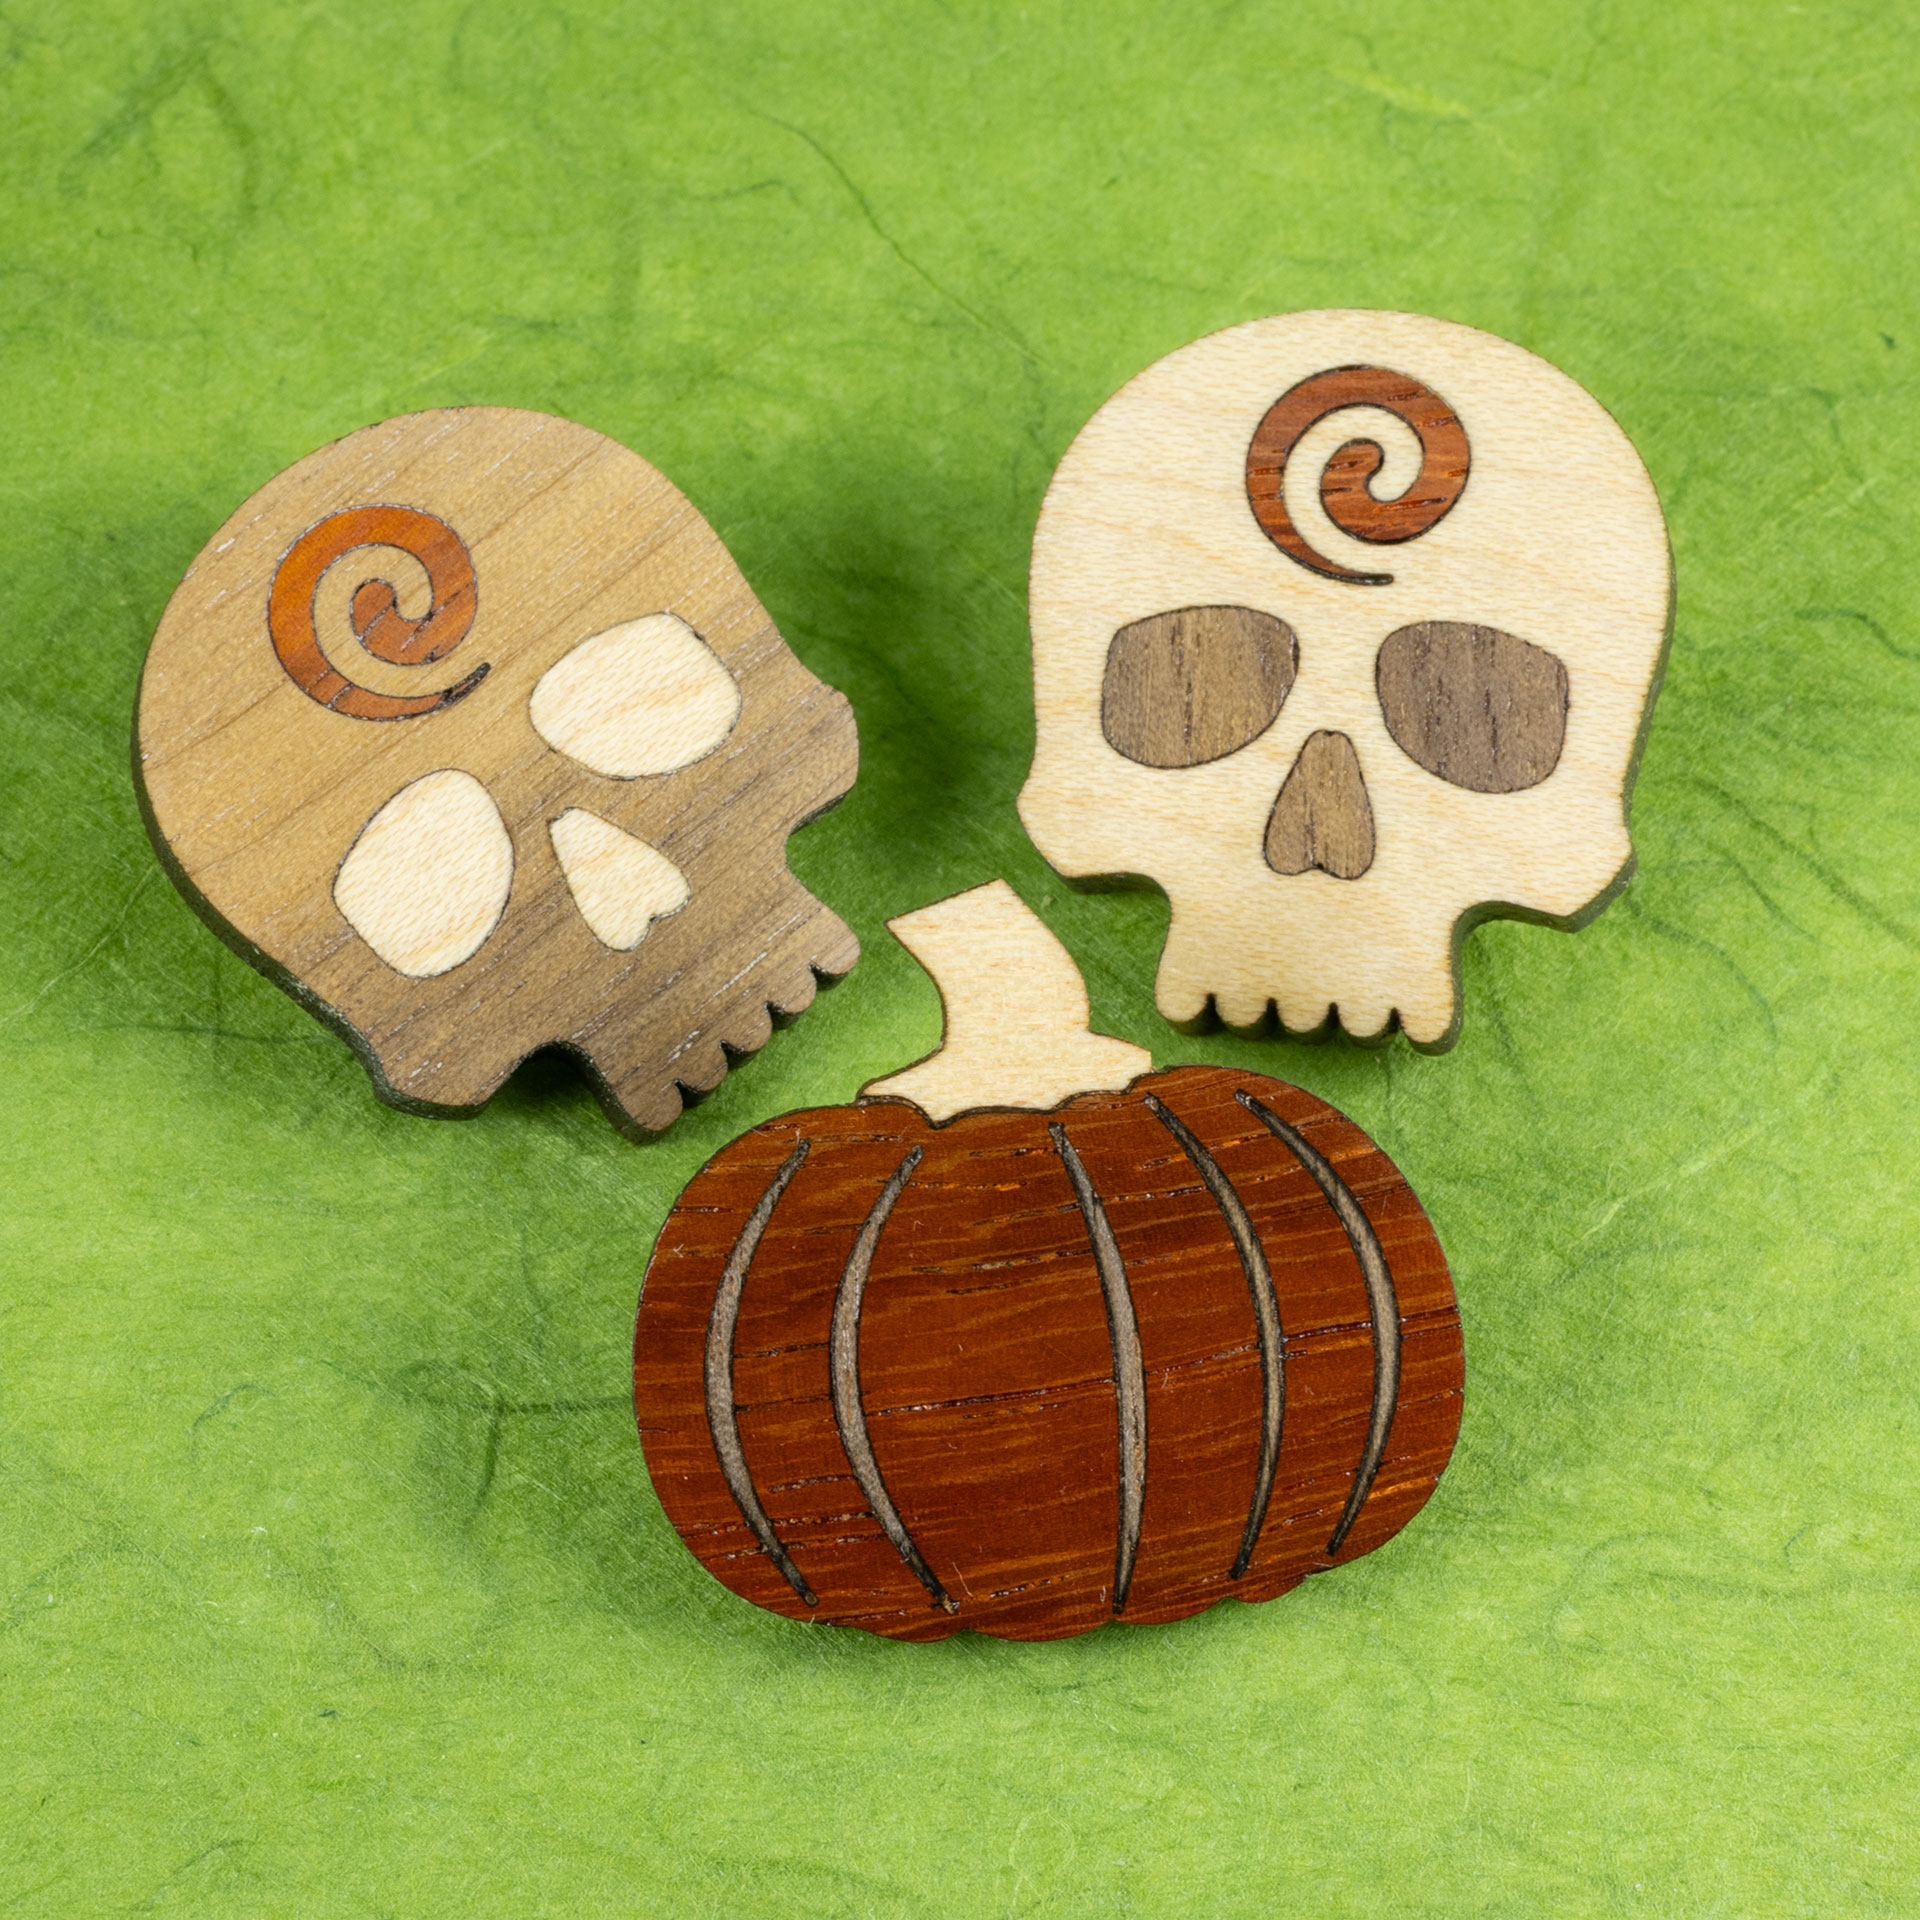
Wood Inlay Pumpkin Pins
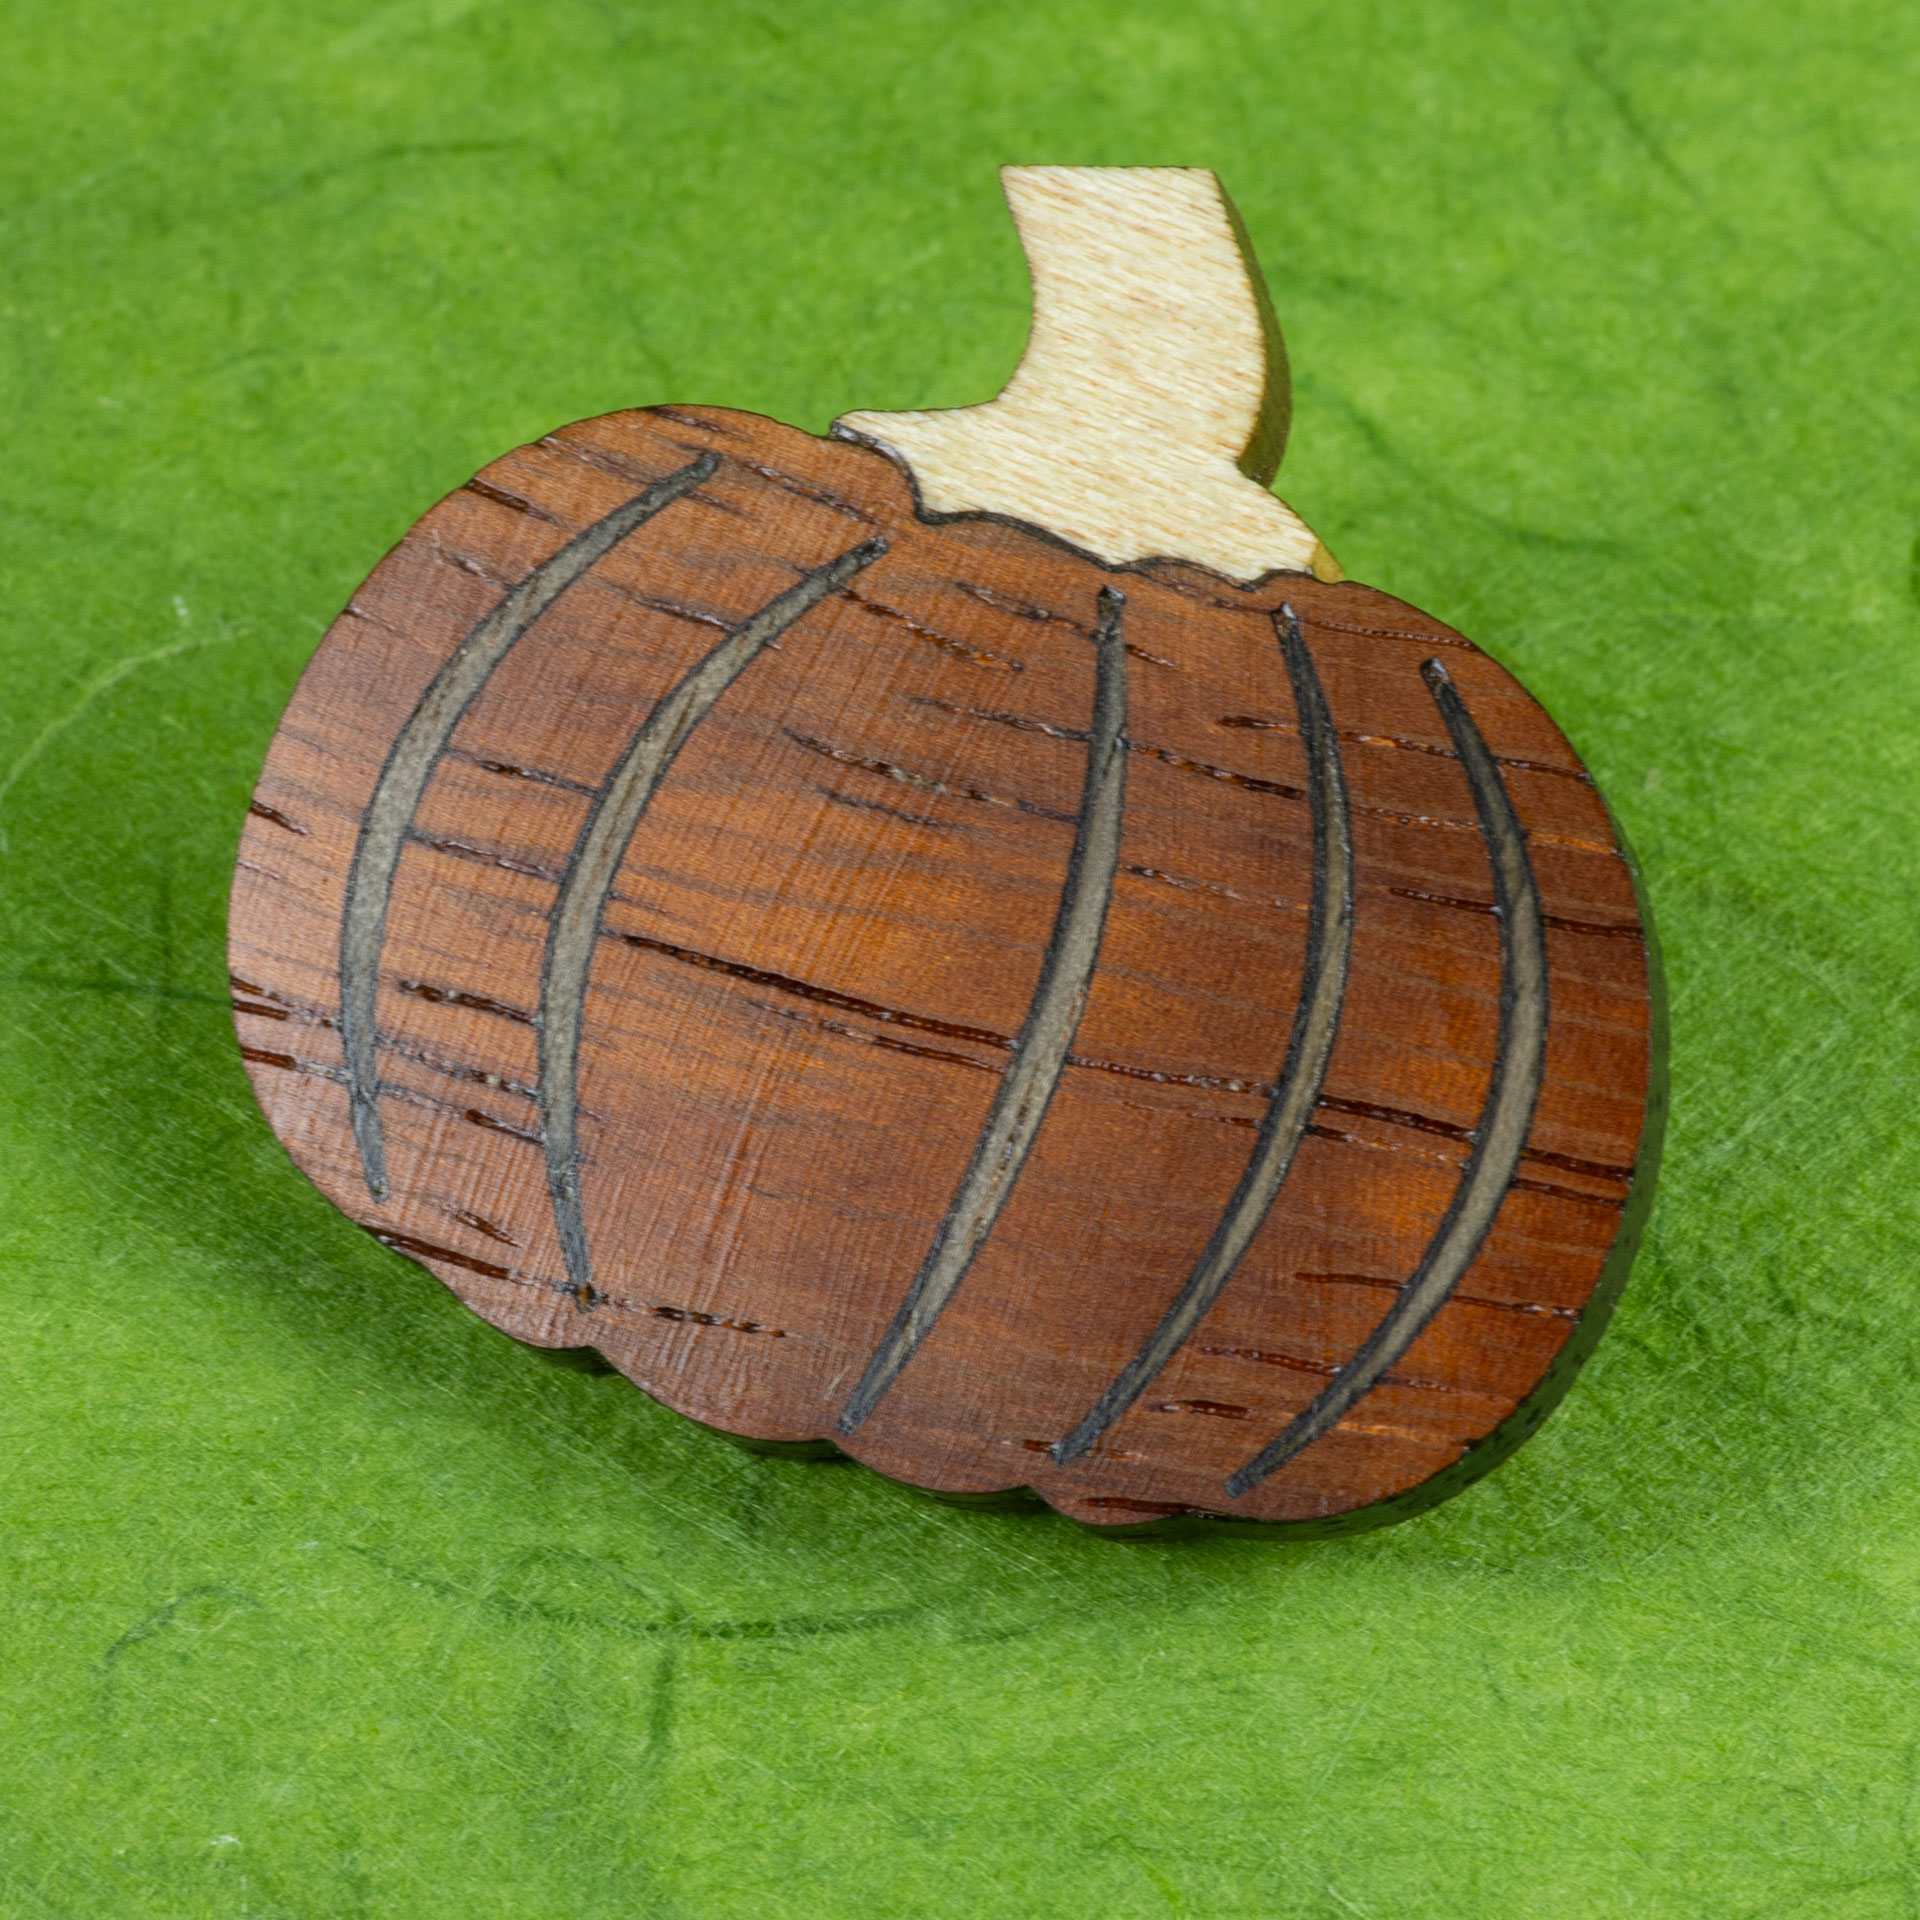
I have been wanting to try this technique for detailed wood inlay since seeing it demonstrated in a video Trotec posted last summer. I originally tried to make this pumpkin pin design last October with cut-through pieces like I have done for other wood inlay pins. The tiny walnut ribs just burned to charcoal, though. I thought of trying this new approach immediately, but had a lot of other stuff going on, and did not get to it until now.
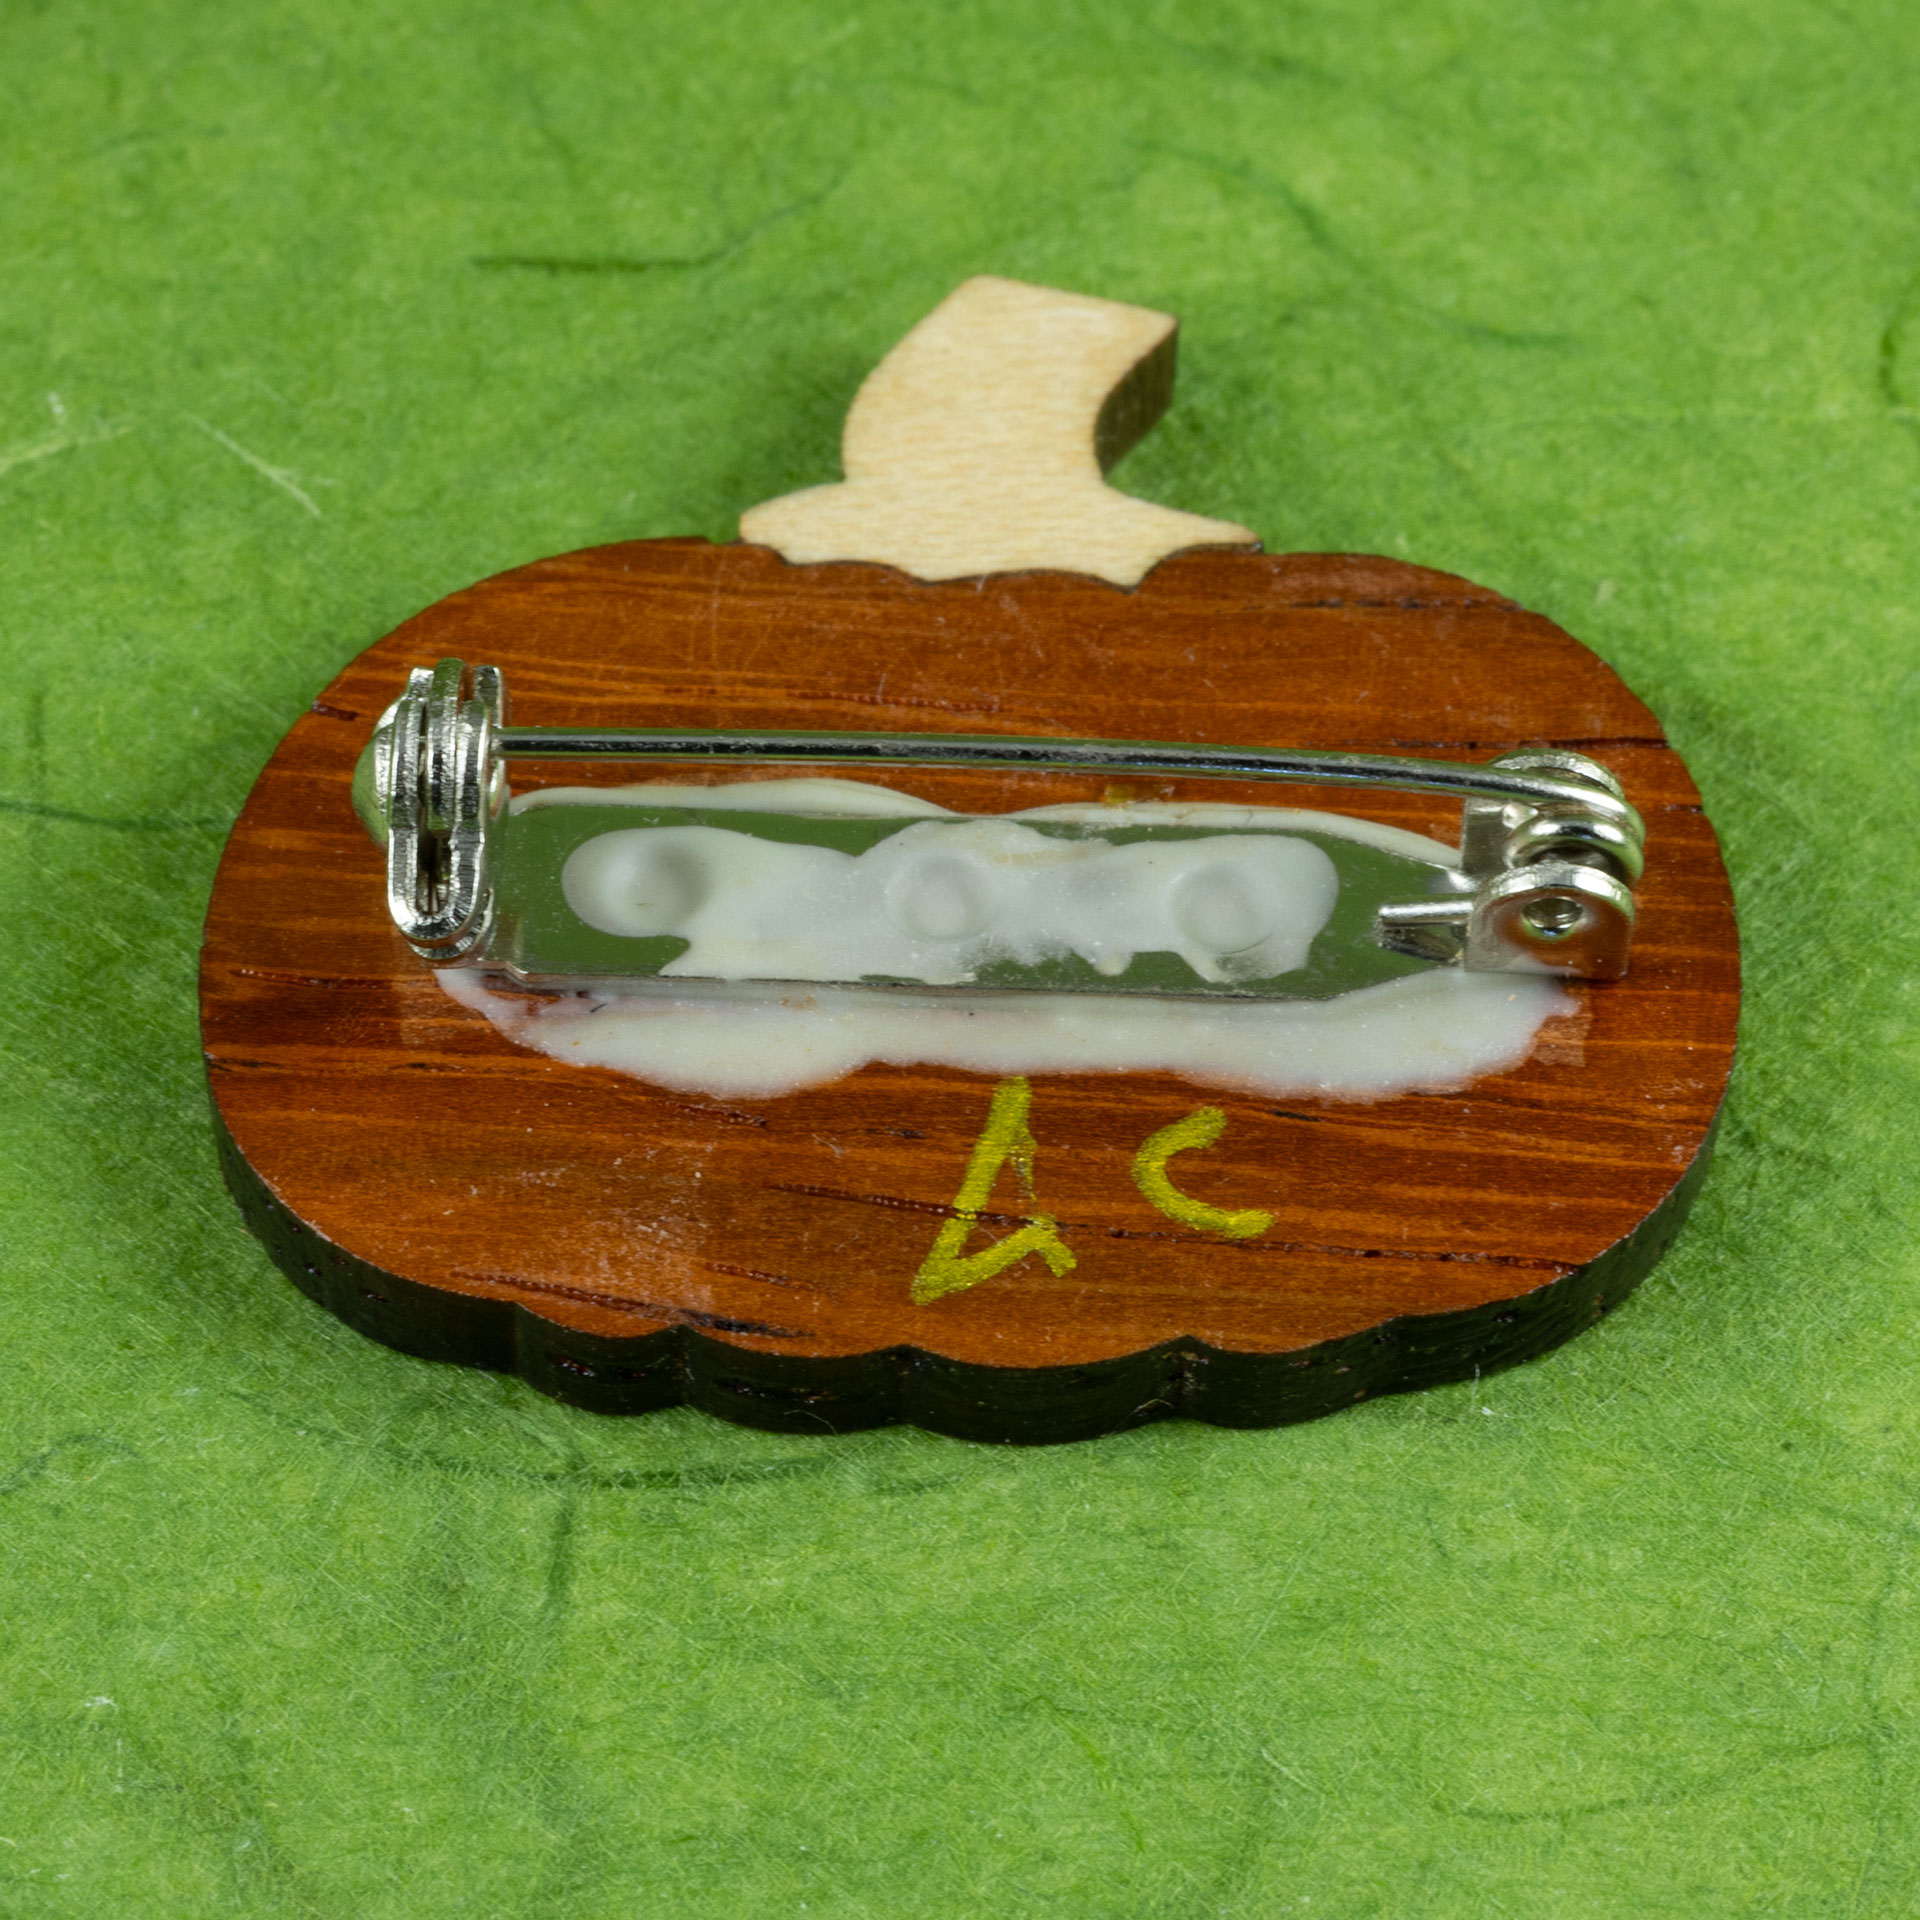
The base of these is 3mm thick padauk, picked for its orange tones. The ribs are walnut veneer, and the stem is white oak. Aluminum tape is applied to the veneer. A mirrored image of the inlay pieces is engraved all the way through the veneer to the tape (which the CO2 laser won’t touch) in multiple passes. That makes it possible to create small and delicate pieces without incinerating them. Slightly larger matching cavities are engraved into the base piece. The cavities are filled with wood glue, and the inlay pieces, still attached to the tape, are pressed in. That gets clamped flat until dry. Then, the tape is removed, the tape residue is taken off with isopropyl alcohol, and everything is sanded flat, and finished.
I made a 2.5-minute process video:
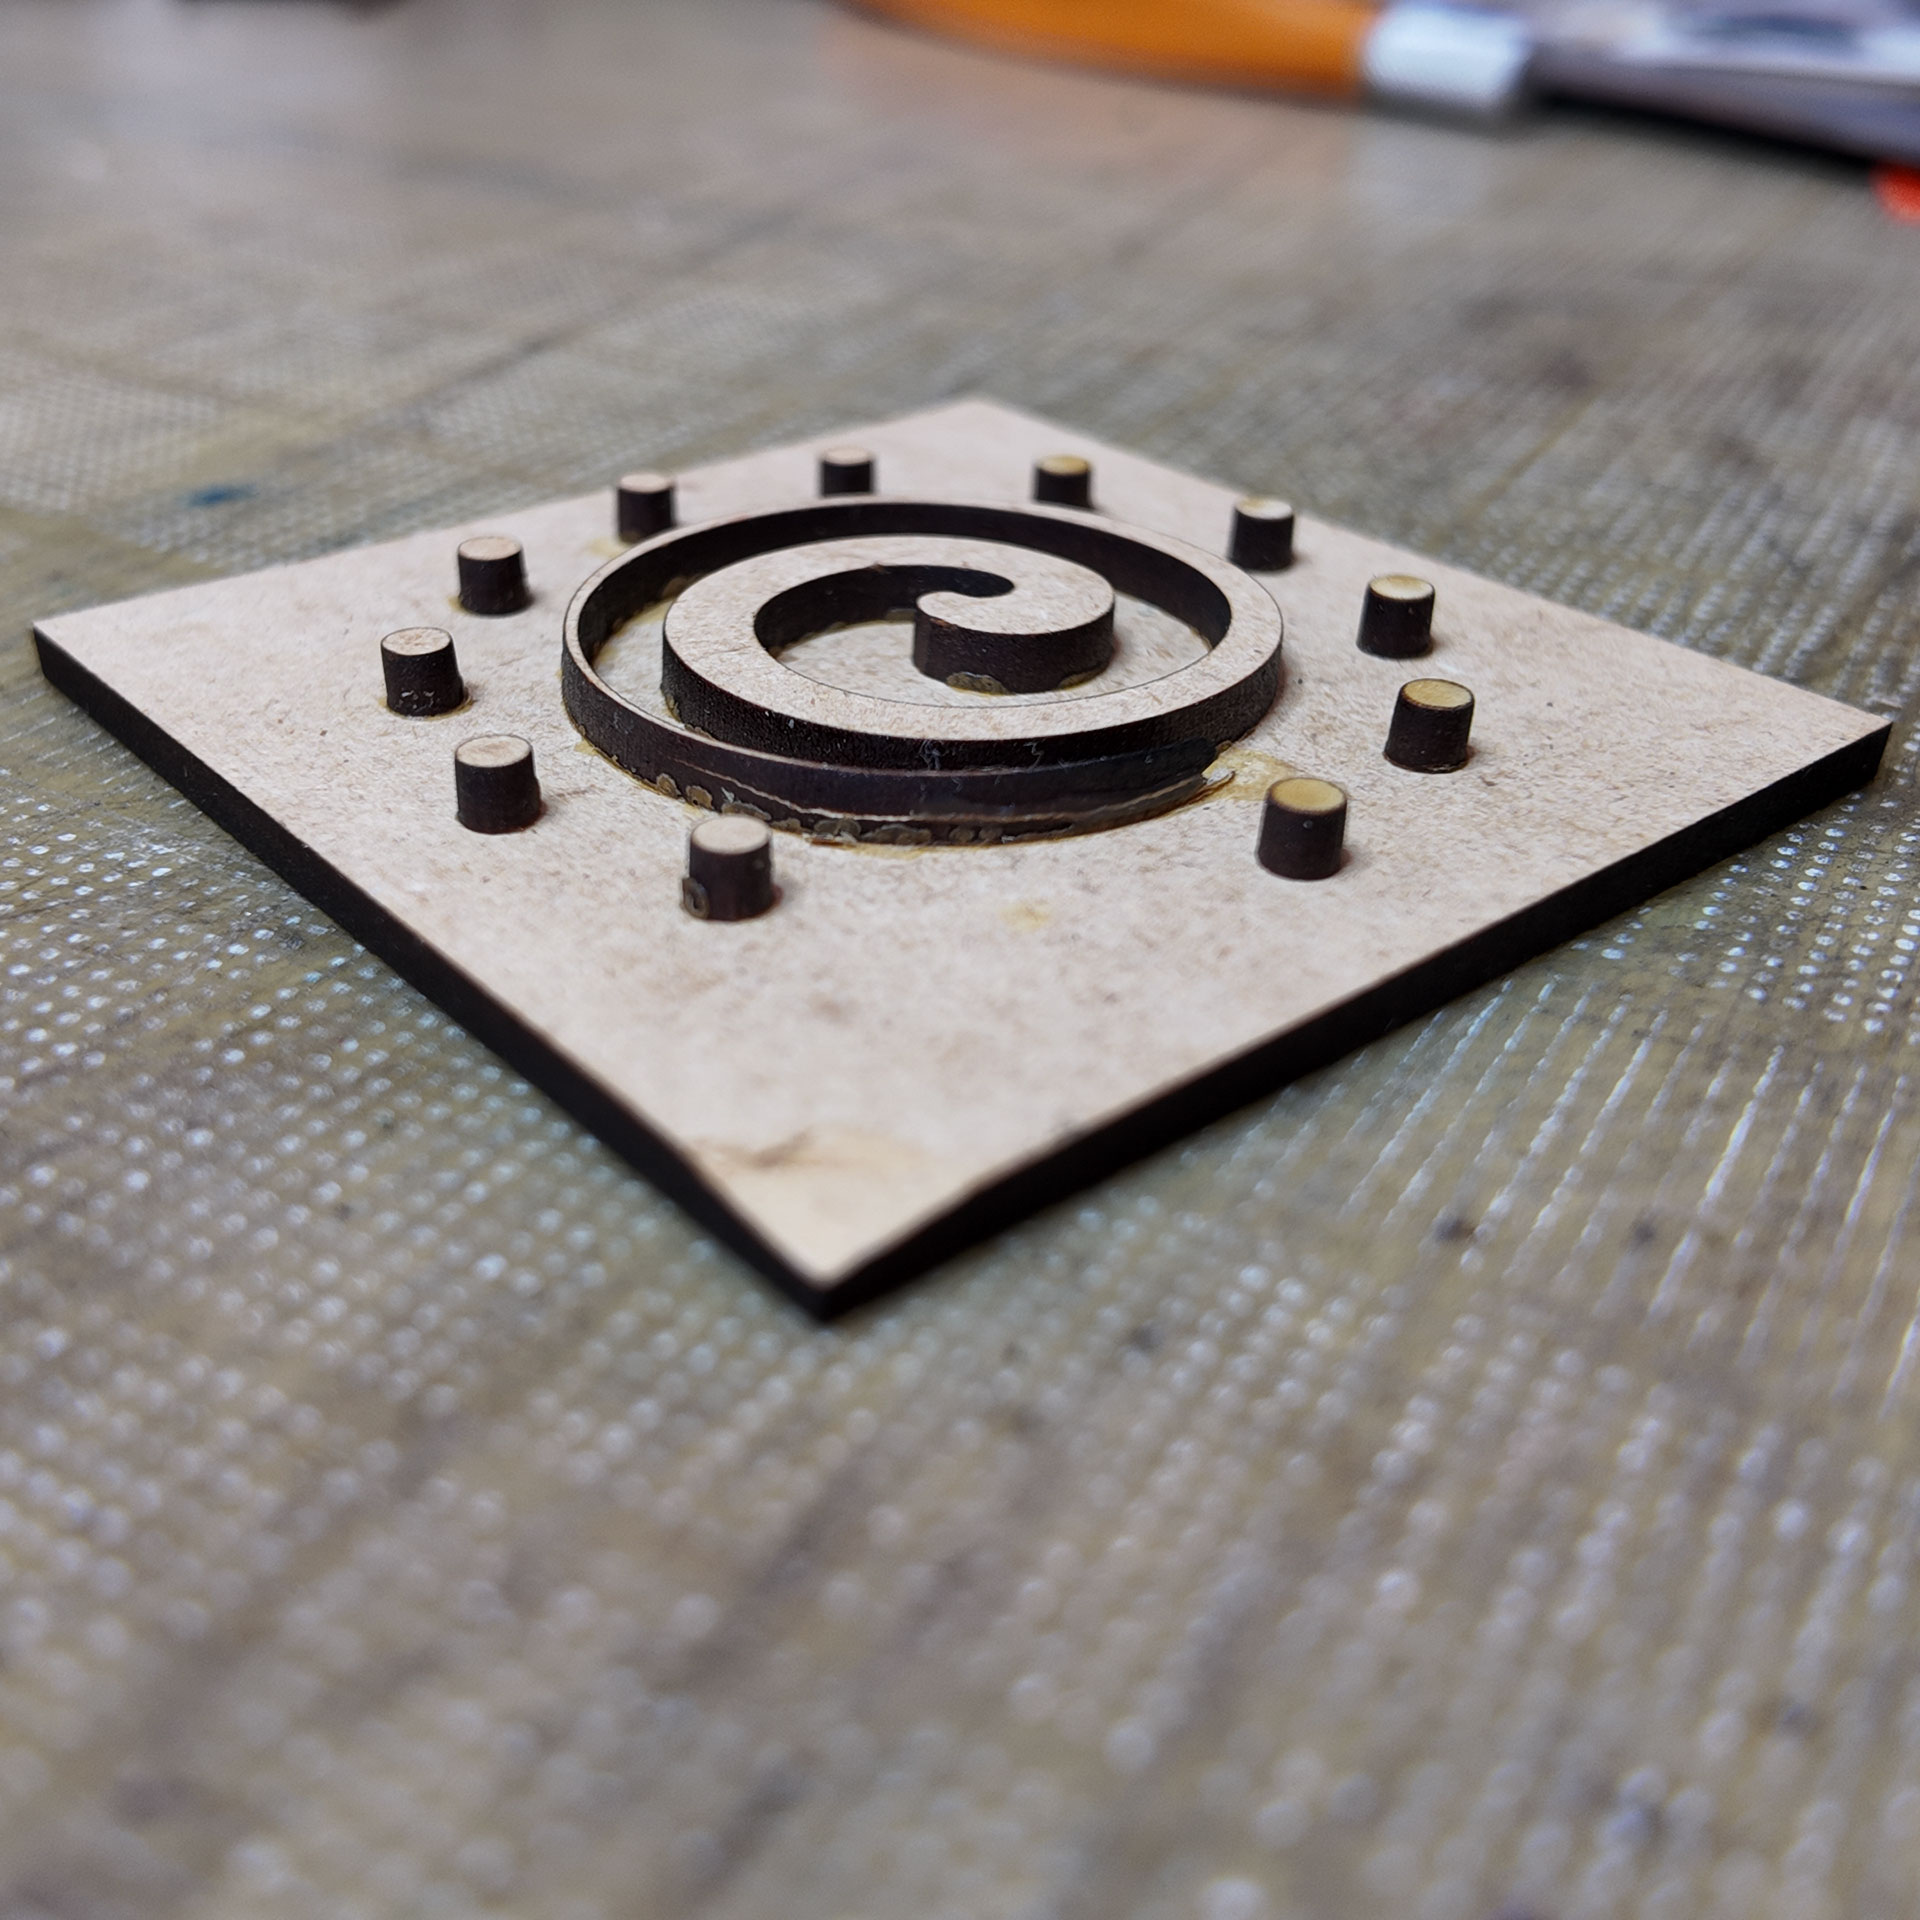
Embossed Off-Center Celtic Spiral Print
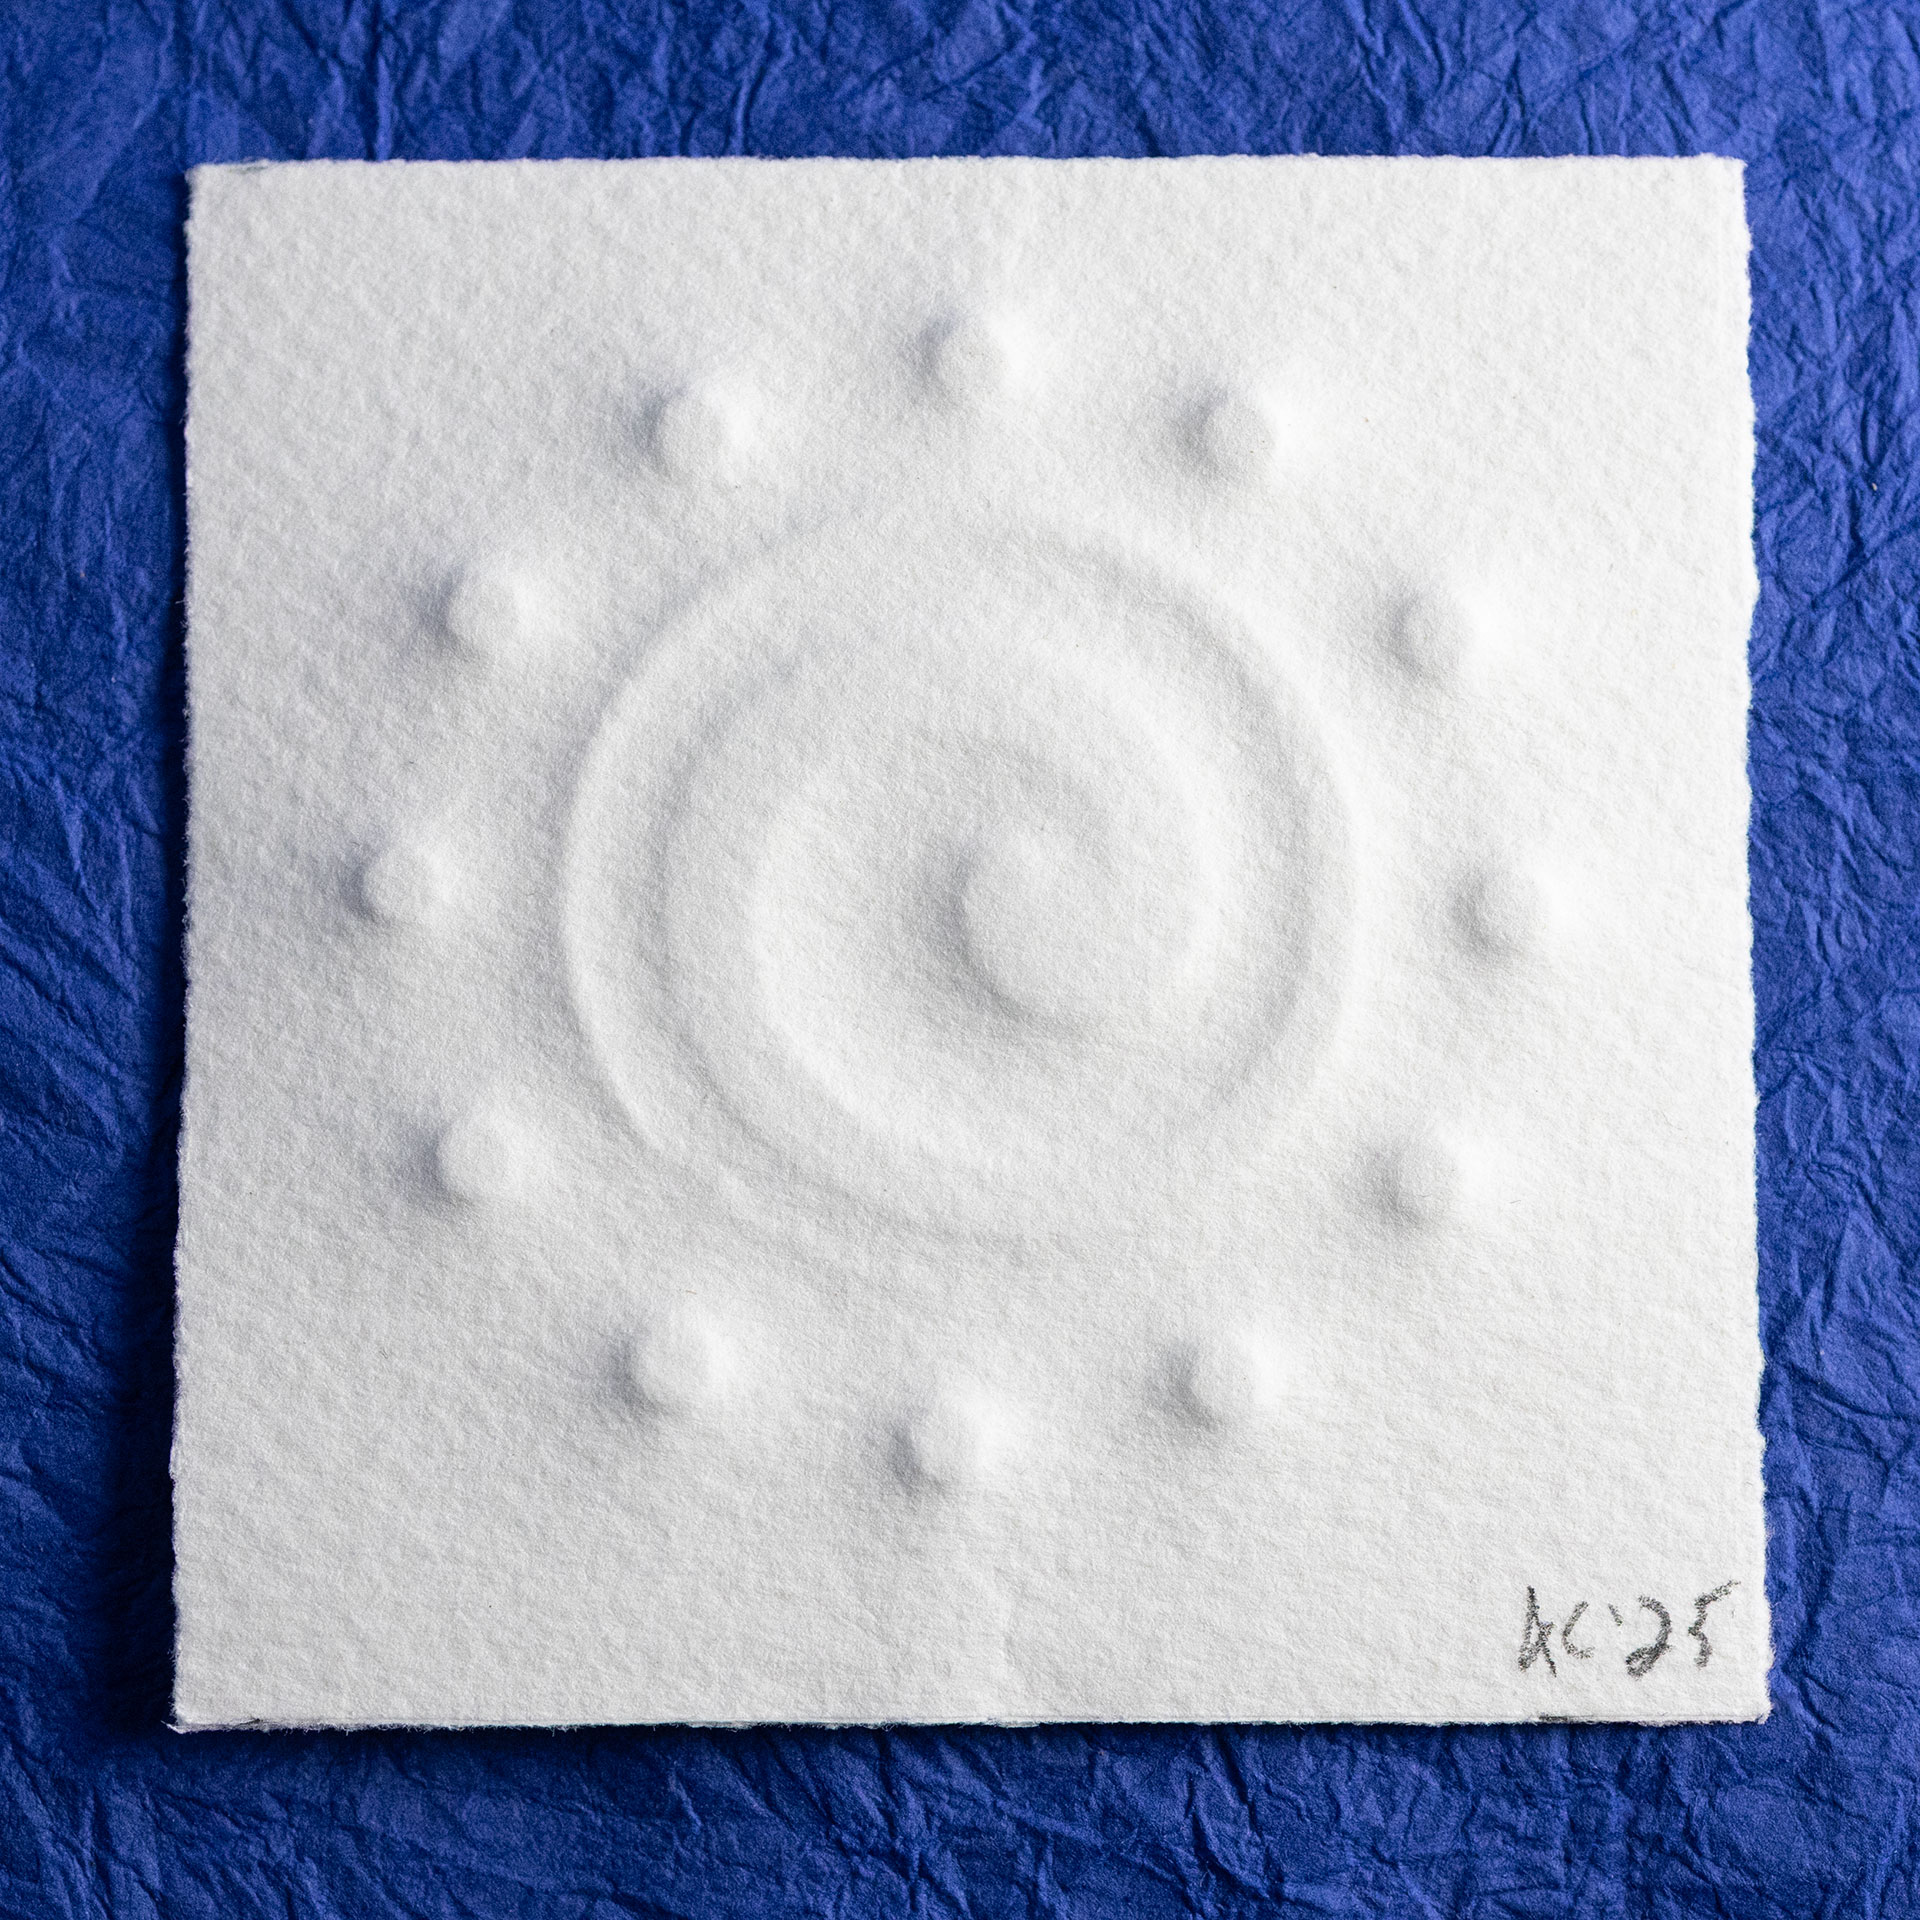
An experiment for the OpenPress Project + Haus des Papers Rising Print exhibition: an embossed off-center Celtic spiral. I did this using a plate of glued-up laser-cut MDF pieces on a heavyweight Arches paper (probably Rives – I inherited a stack of it and don’t know for sure) using the OpenPress Project’s Postcard Printing Press.
As I went to print this, I discovered that a piece had separated from the finished plate and disappeared into the ambient studio mess. A 30 second power outage caused some kind of disaster for the local Internet provider, leaving me without service for 20 hours. Fortunately, I was able to move the Glowforge to the cellular network to cut a replacement piece, and attach it with CA glue.
The finest bits did not stand up to pressure very well, but the resulting prints are neat. I will be able to design better for a future attempt.
Here is a short of the printing/embossing process.
Celtic Art Washi Tape Origami Stars
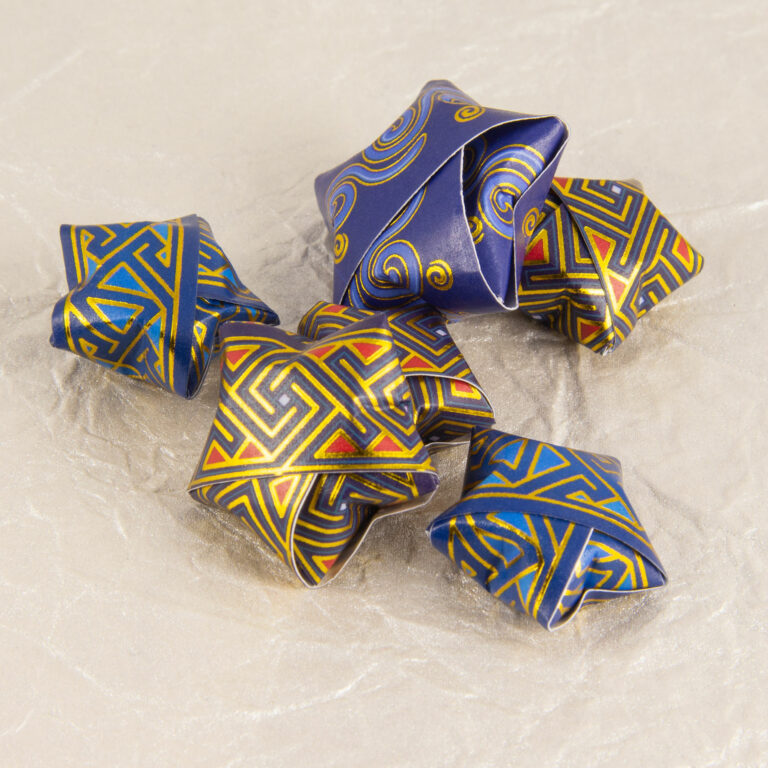
My friend Georgie came up with a clever thing to do with some of my Celtic art washi tape. I gather a lot of people learned to make these origami “lucky stars” in grade school. They are new to me, but it was easy to learn. I stuck the tape to some scrap printer paper to make 11” strips, then folded them into stars. I sliced extra-wide Squared Spirals key pattern washi tape into three strips along the row lines. I haven’t done any with the knotwork washi tape yet as I didn’t think it would read, but I may try it eventually.
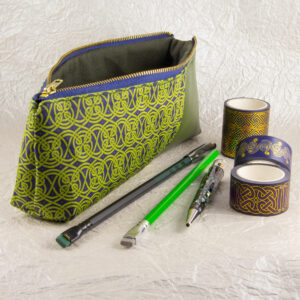
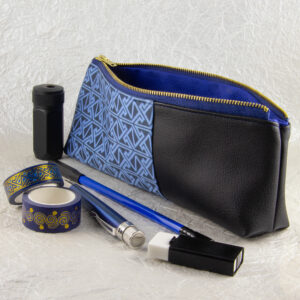
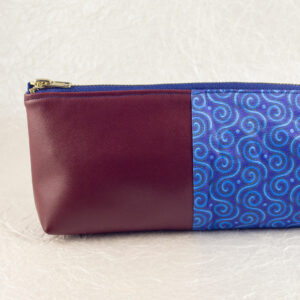
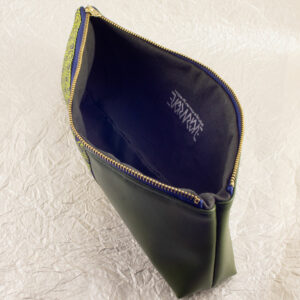
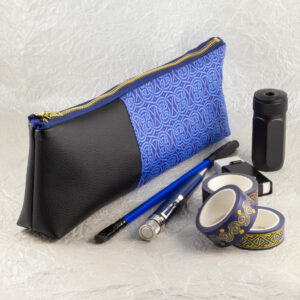
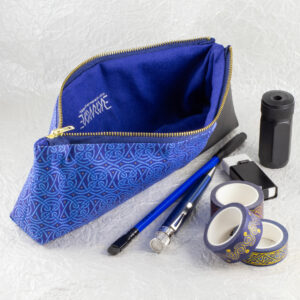
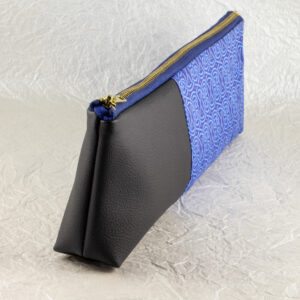
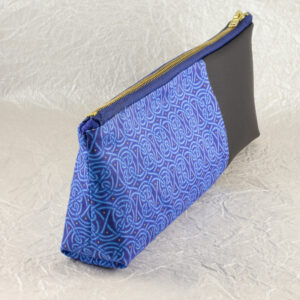
Celtic Art and Cactus Leather Pencil Pouches
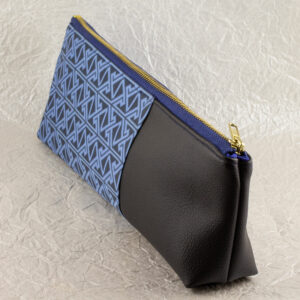
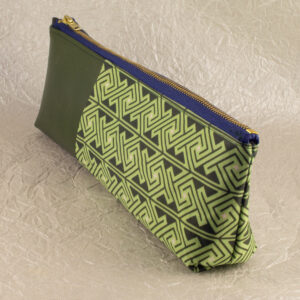
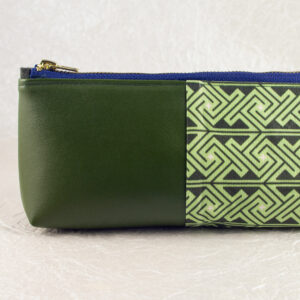
I saw some pencil pouches somewhere, and knowing some people on their way back to school soon, I thought it would be fun to make some with the Celtic art fabric I designed and the eco-friendly cactus leather.
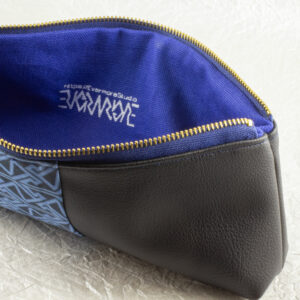
Making these has been educational, and has improved my sewing skills (though there is still plenty of room for more improvement). I learned both that I have a zipper foot for my Elna, and how to use it. I learned about boxed corners for bags.
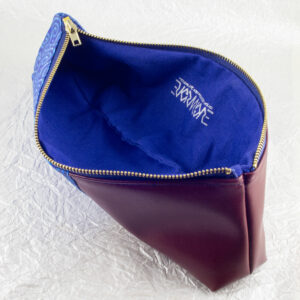
All of the fabric is 100% cotton (organic, in the case of the Celtic art prints), and the Desserto cactus leather is made mostly from fast-growing, sustainably-harvestable nopal cactus, or from agave fiber that is waste from tequila production.
The pieces (fabric, cactus leather, and interfacing) were all cut on the laser cutter for optimal precision.
I printed my Evermore ambigram logo in silver on the linings with quick Ikonart photo screens.
The pouch design is adapted from one by Anna Graham of Noodlehead.
If you have a use for them, I made the Celtic art print fabrics available from Spoonflower.
I still have some stock of the Celtic art washi tapes seen in some of the photos, if you want some of that. Given the global war on small business, I am not sure when there will be more stock after what I have is gone.