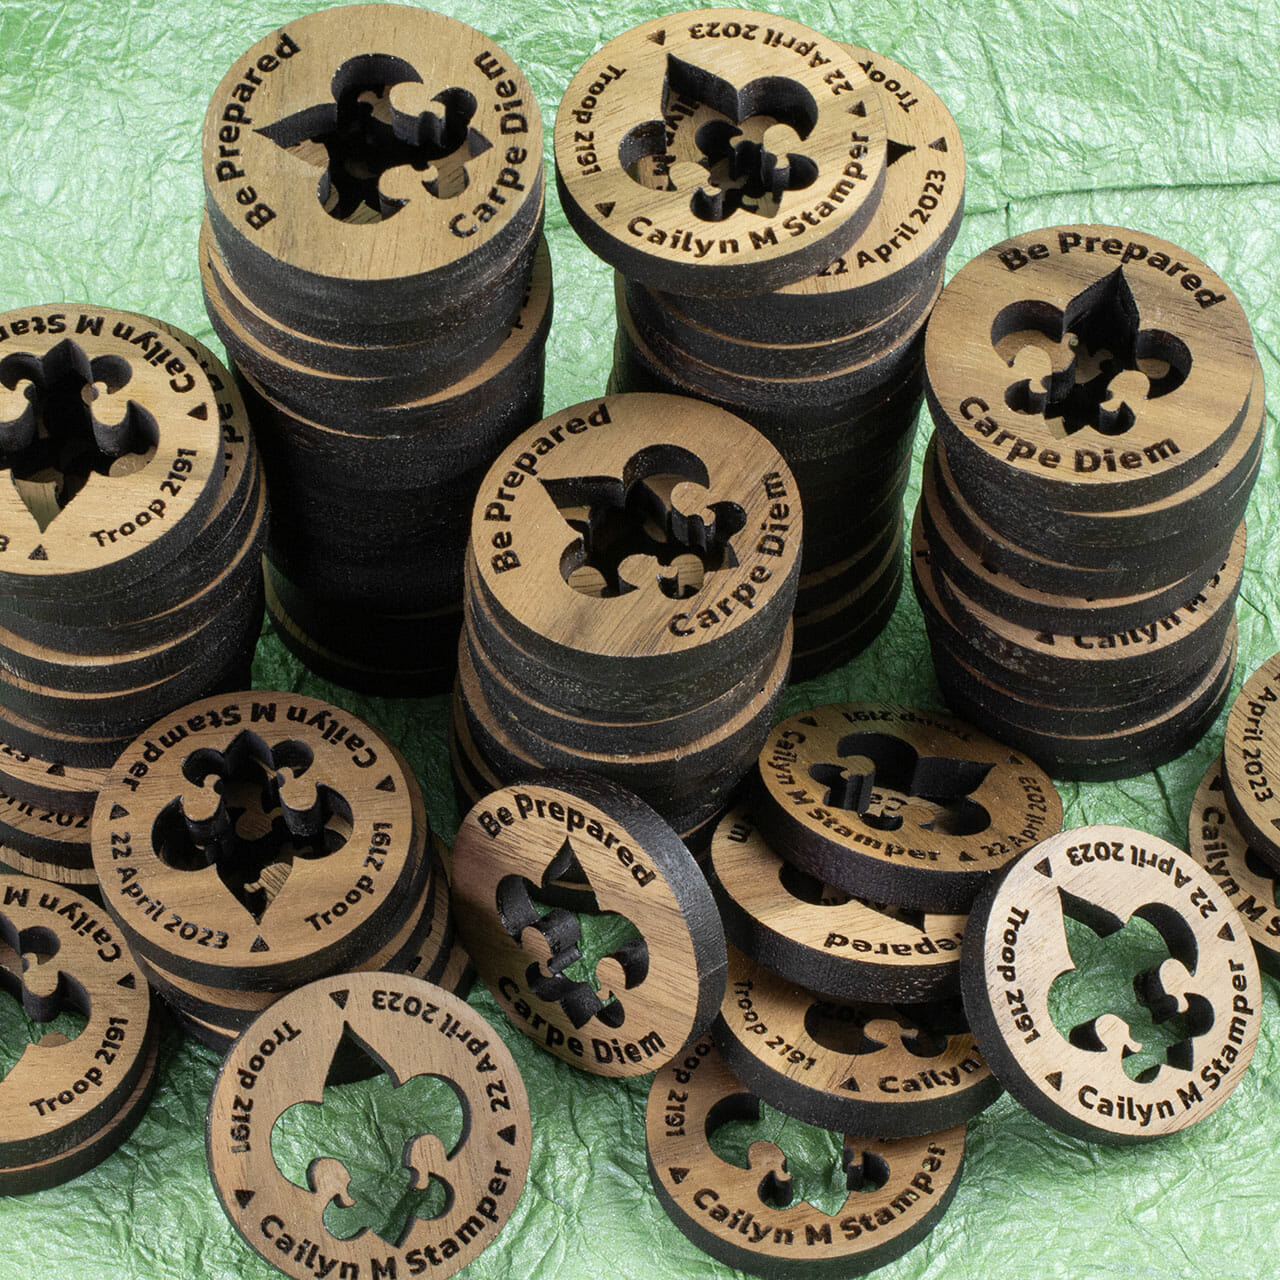
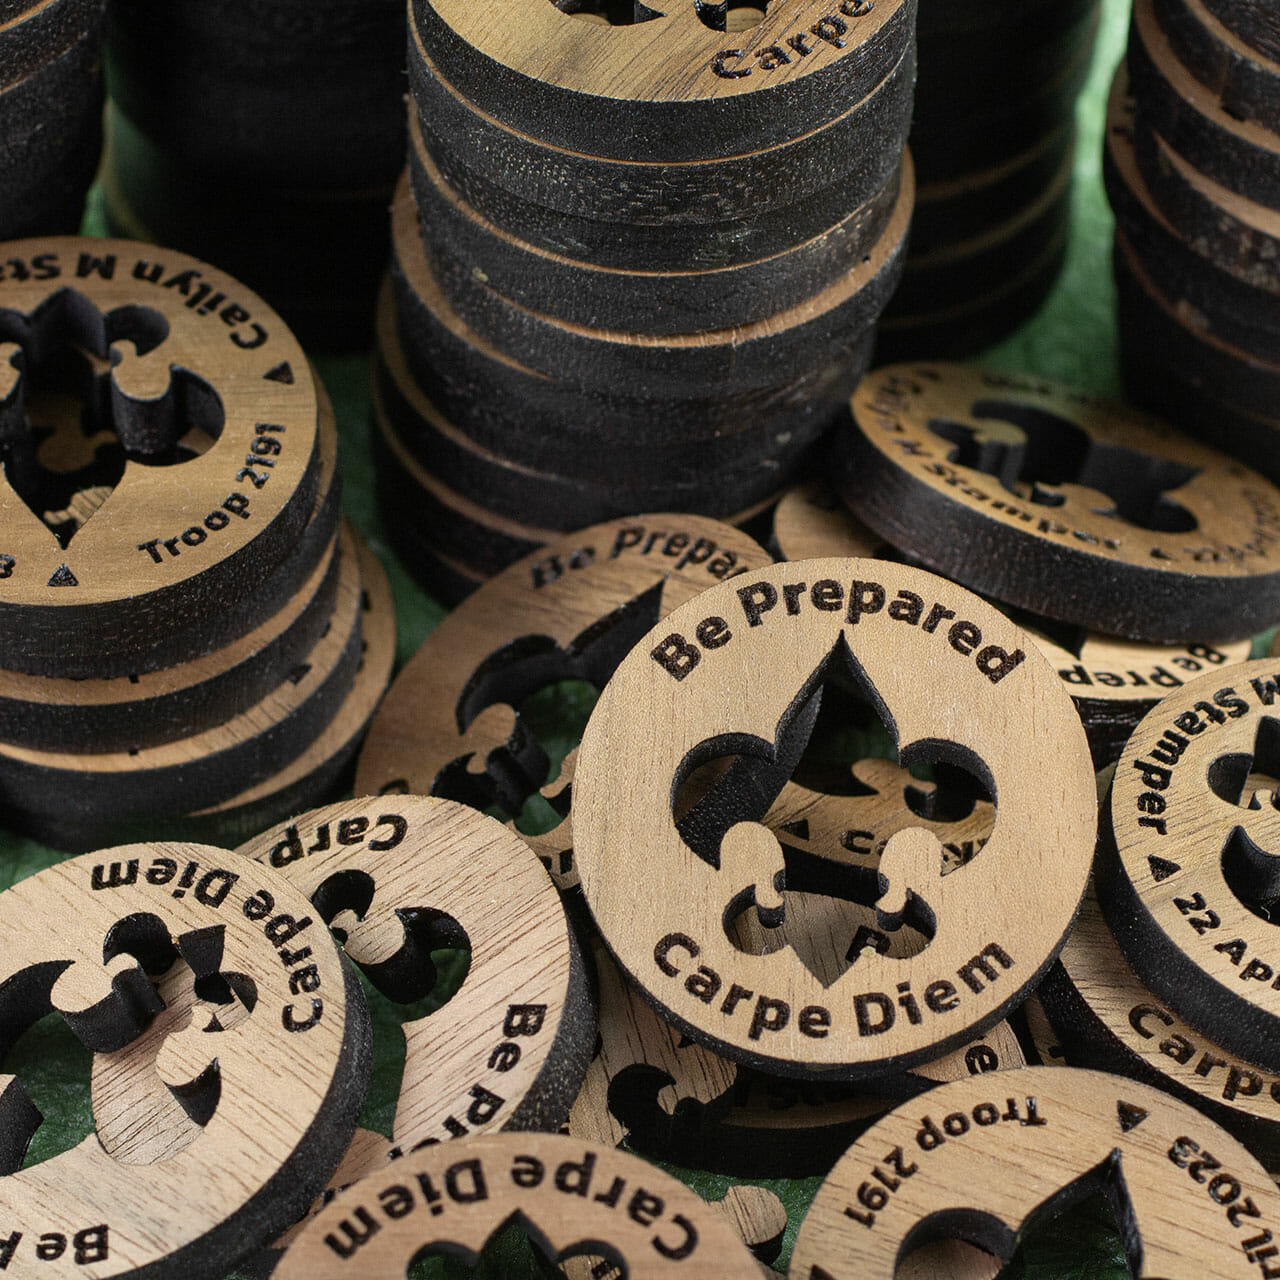
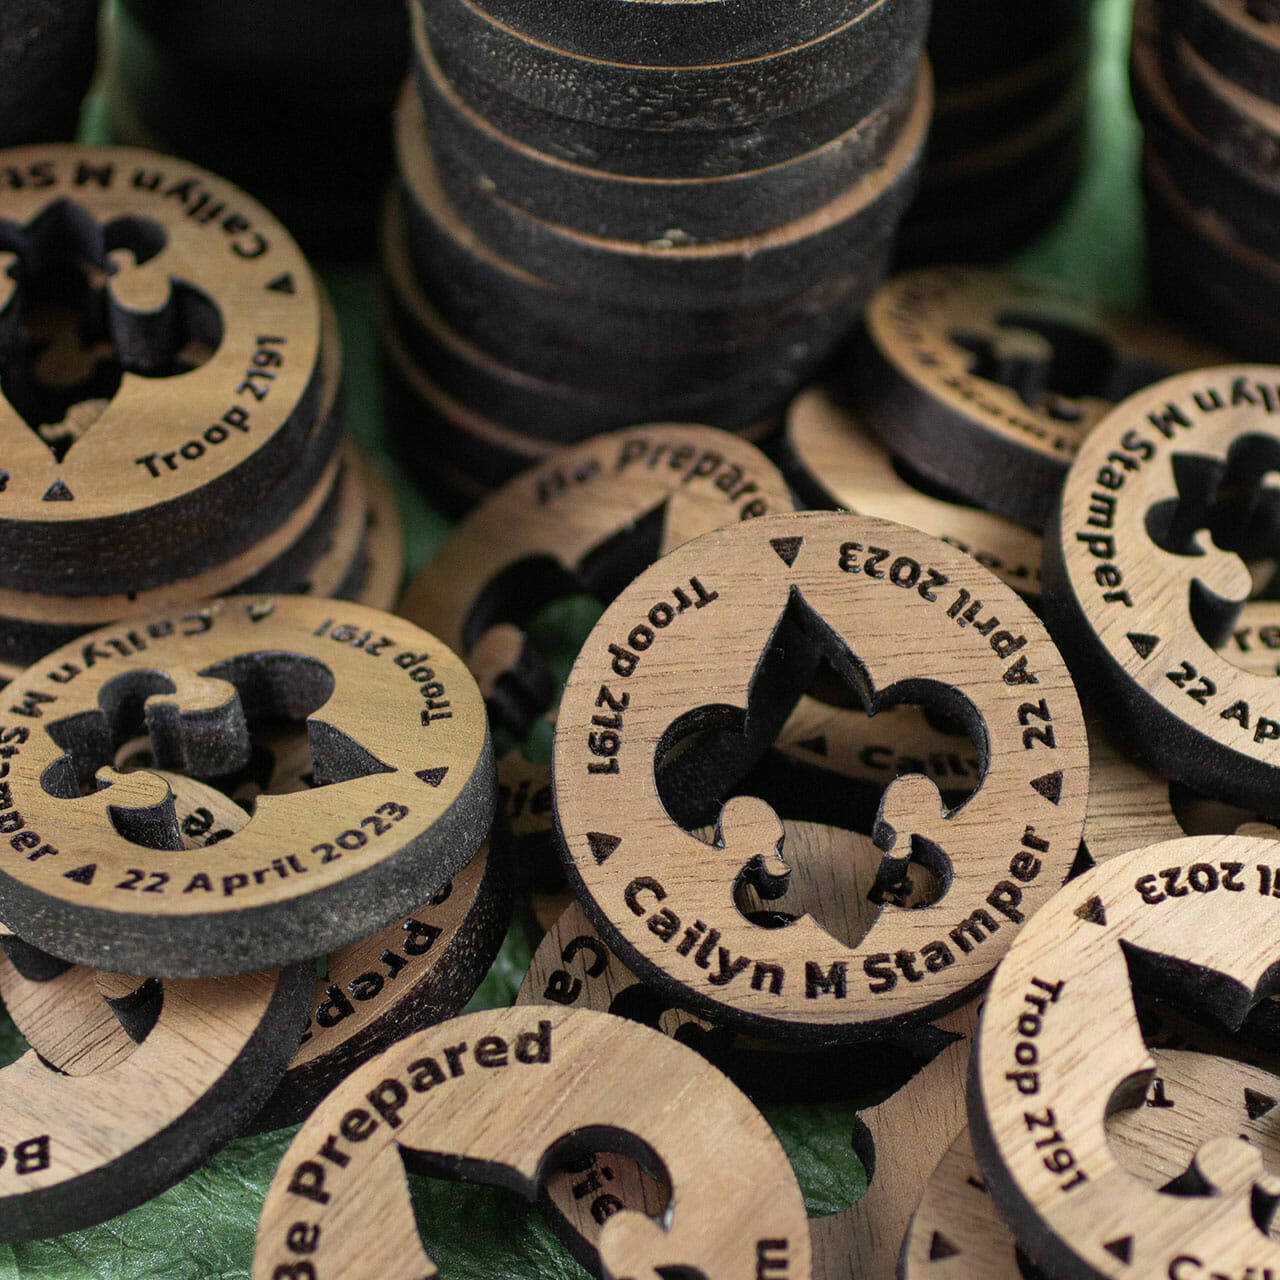
I made these walnut “challenge coins” for my niece to hand out at her Eagle Scout Court of Honor. A simple project on a tight timeline, I got 80 of these to her in time.
These are 1.5” diameter, cut from 1/4” thick pre-sanded walnut hardwood. I used the jig-in-place technique to align both sides of each coin. After engraving and cutting, they were sanded with 320 – 2000 grit sanding film, cleaned with my mini shop vac, wiped with a microfiber cloth, then coated with wipe-on poly. There was only time for one coat but, it contributed a lot to the final look.
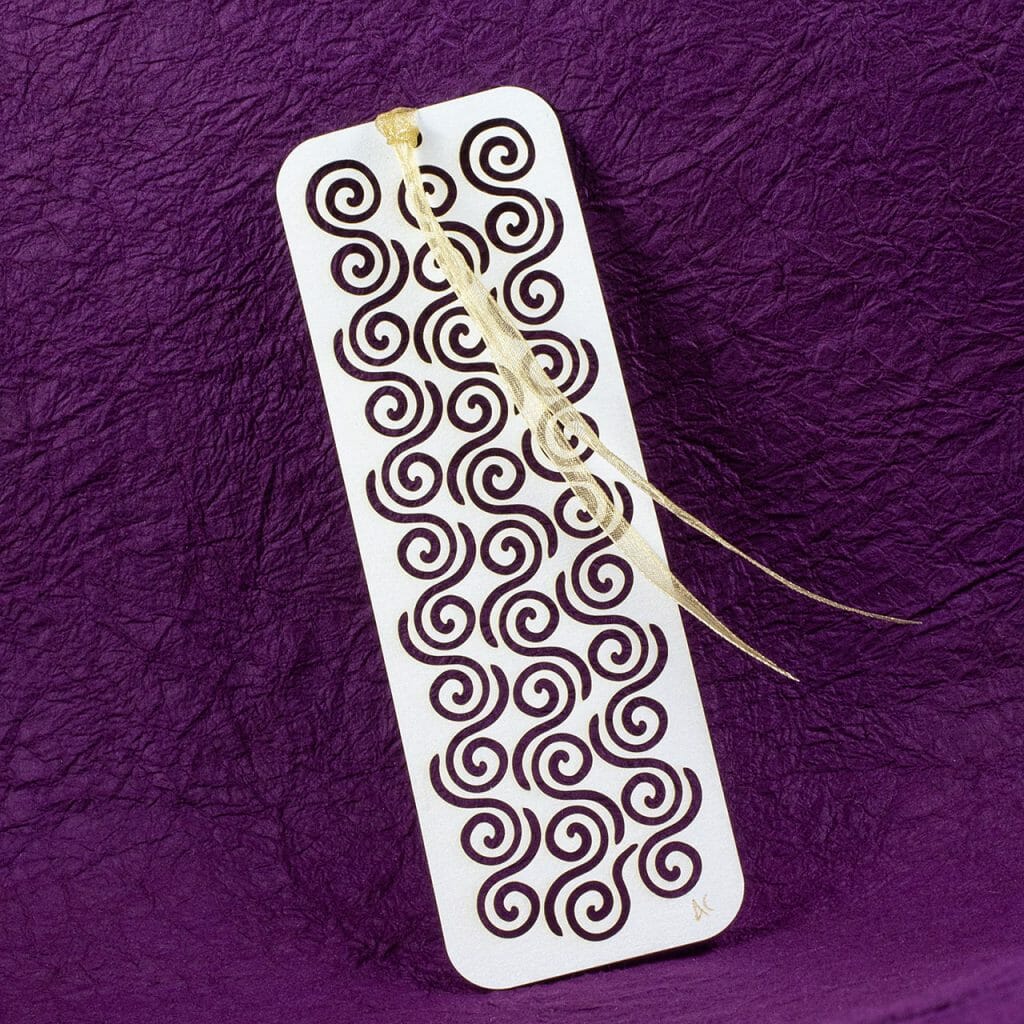
I designed a kirigami Spirals Bookmark last summer, mostly just taking what I did for one of my velvet embossing plates and, using that with minor changes. It was good but, there were a few spots where it was a little fragile – bits of connecting paper less than a millimeter wide.
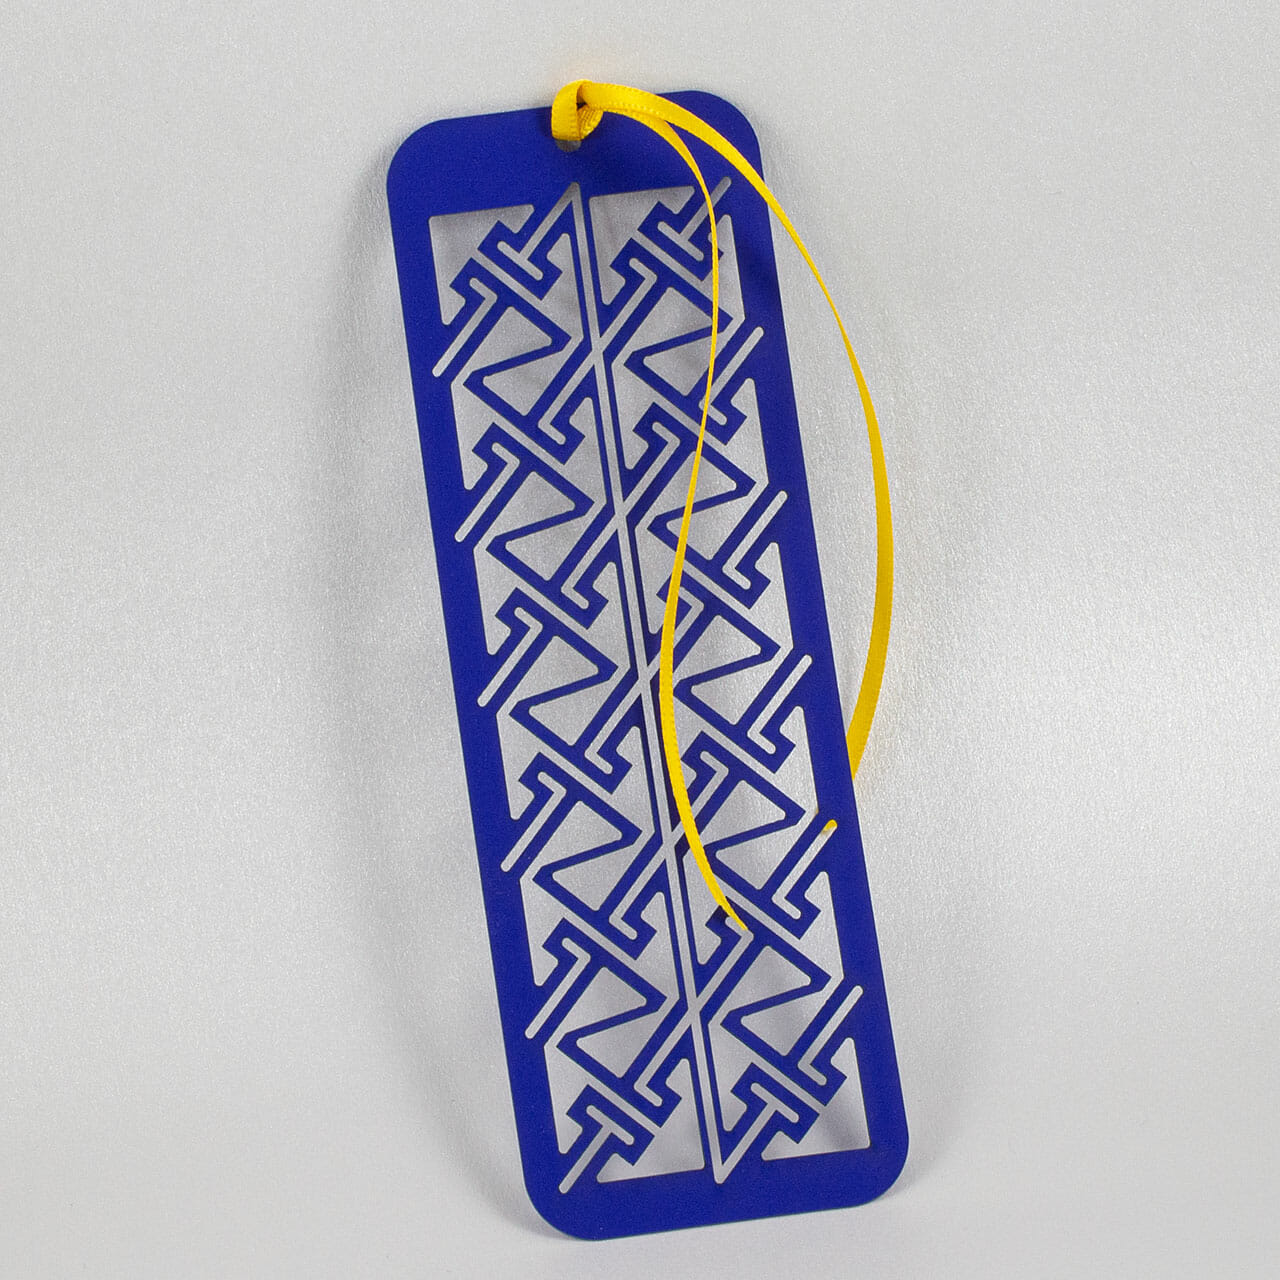
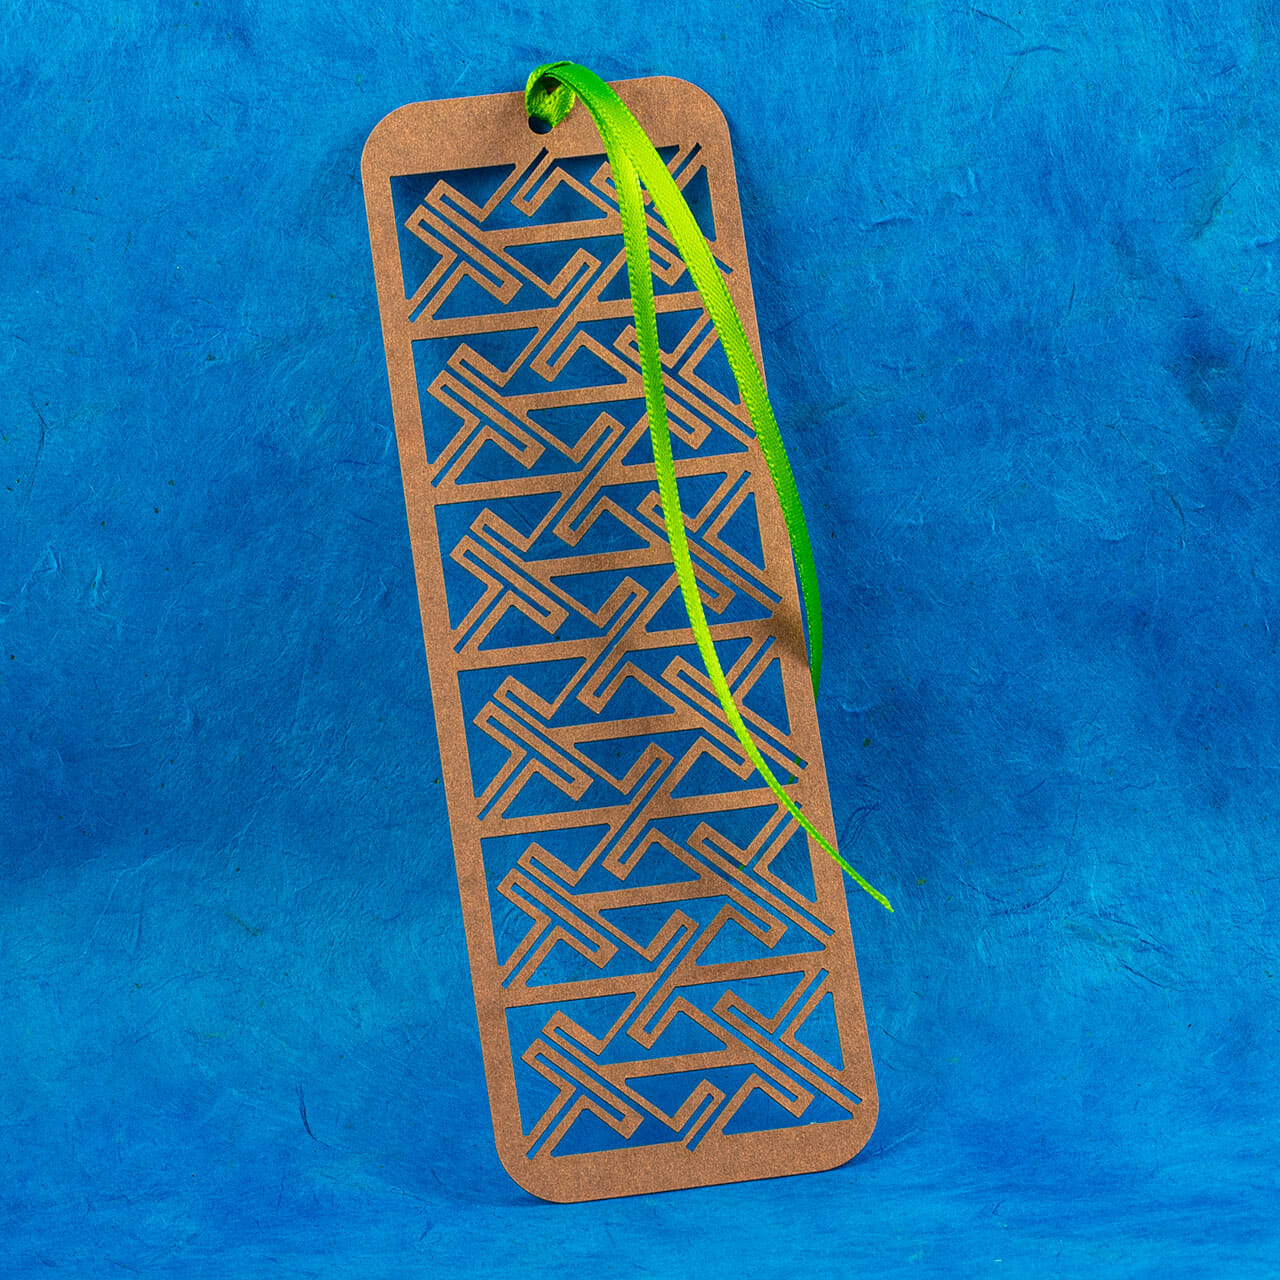
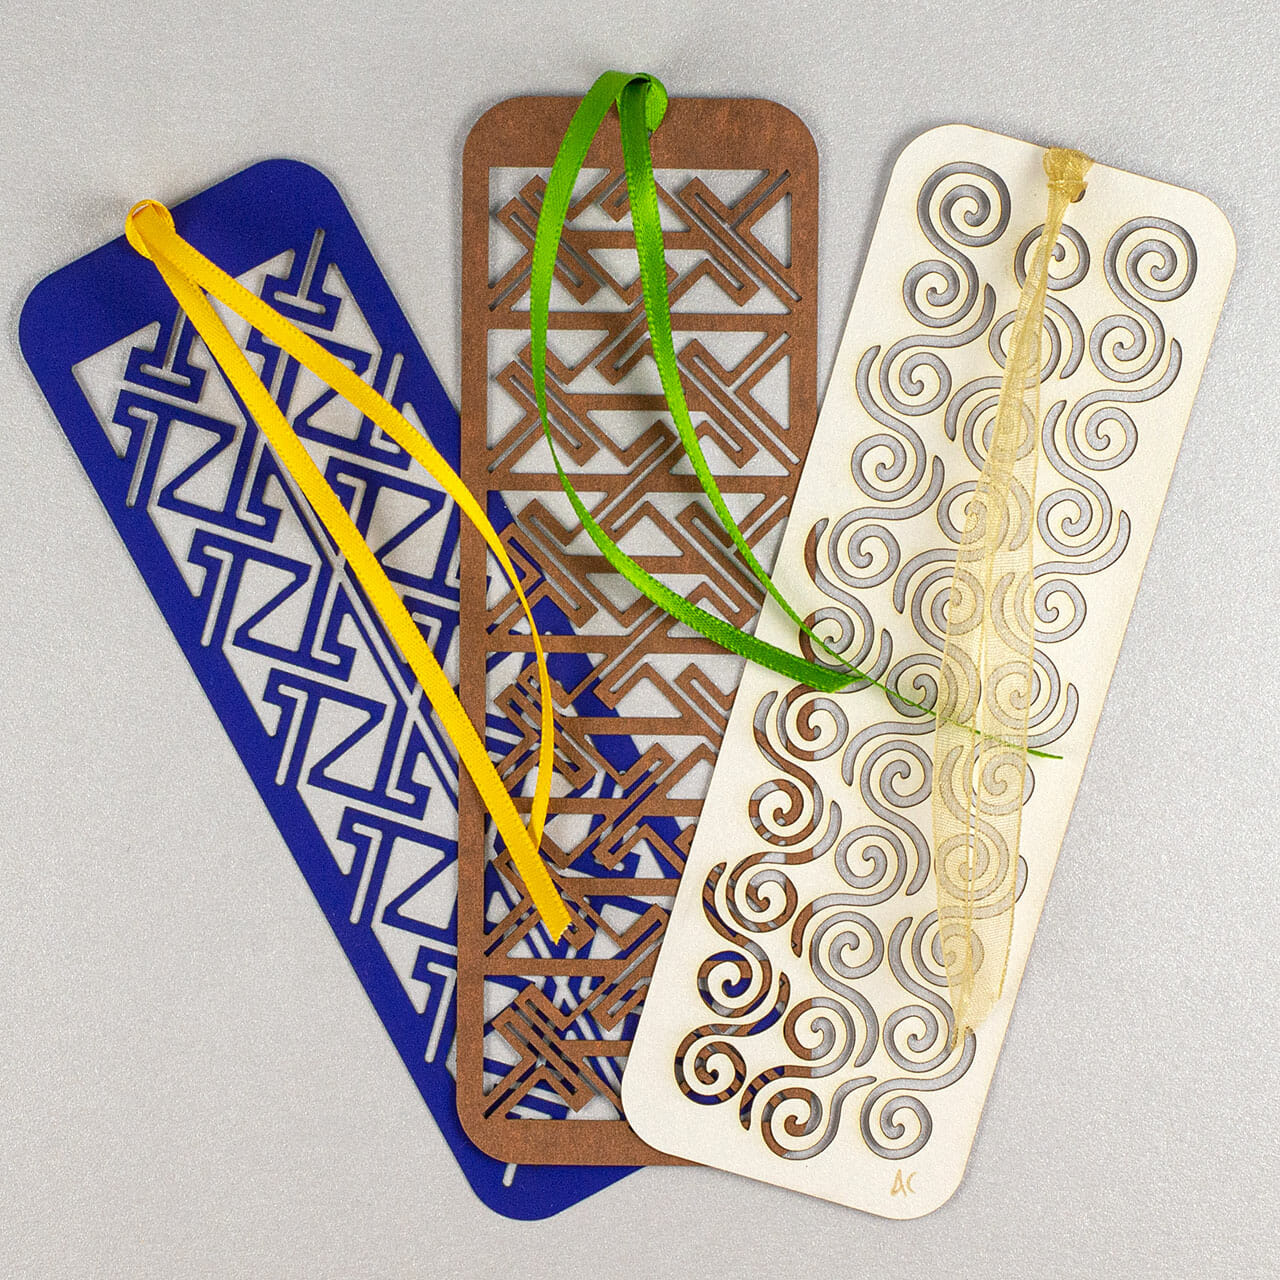
More recently, I was inspired to redesign the spirals bookmark to make it a bit more robust. While I was at it, I made a few and, made a few of my Celtic key pattern design bookmarks and, put them all up in the new shop section. The designs are available individually, in three-packs and, in a variety pack with all three designs.
Original Celtic key pattern kirigami bookmark.
Original Celtic key pattern kirigami bookmark.
Original Celtic spirals bookmark design.
Collection of three original Celtic kirigami bookmarks.
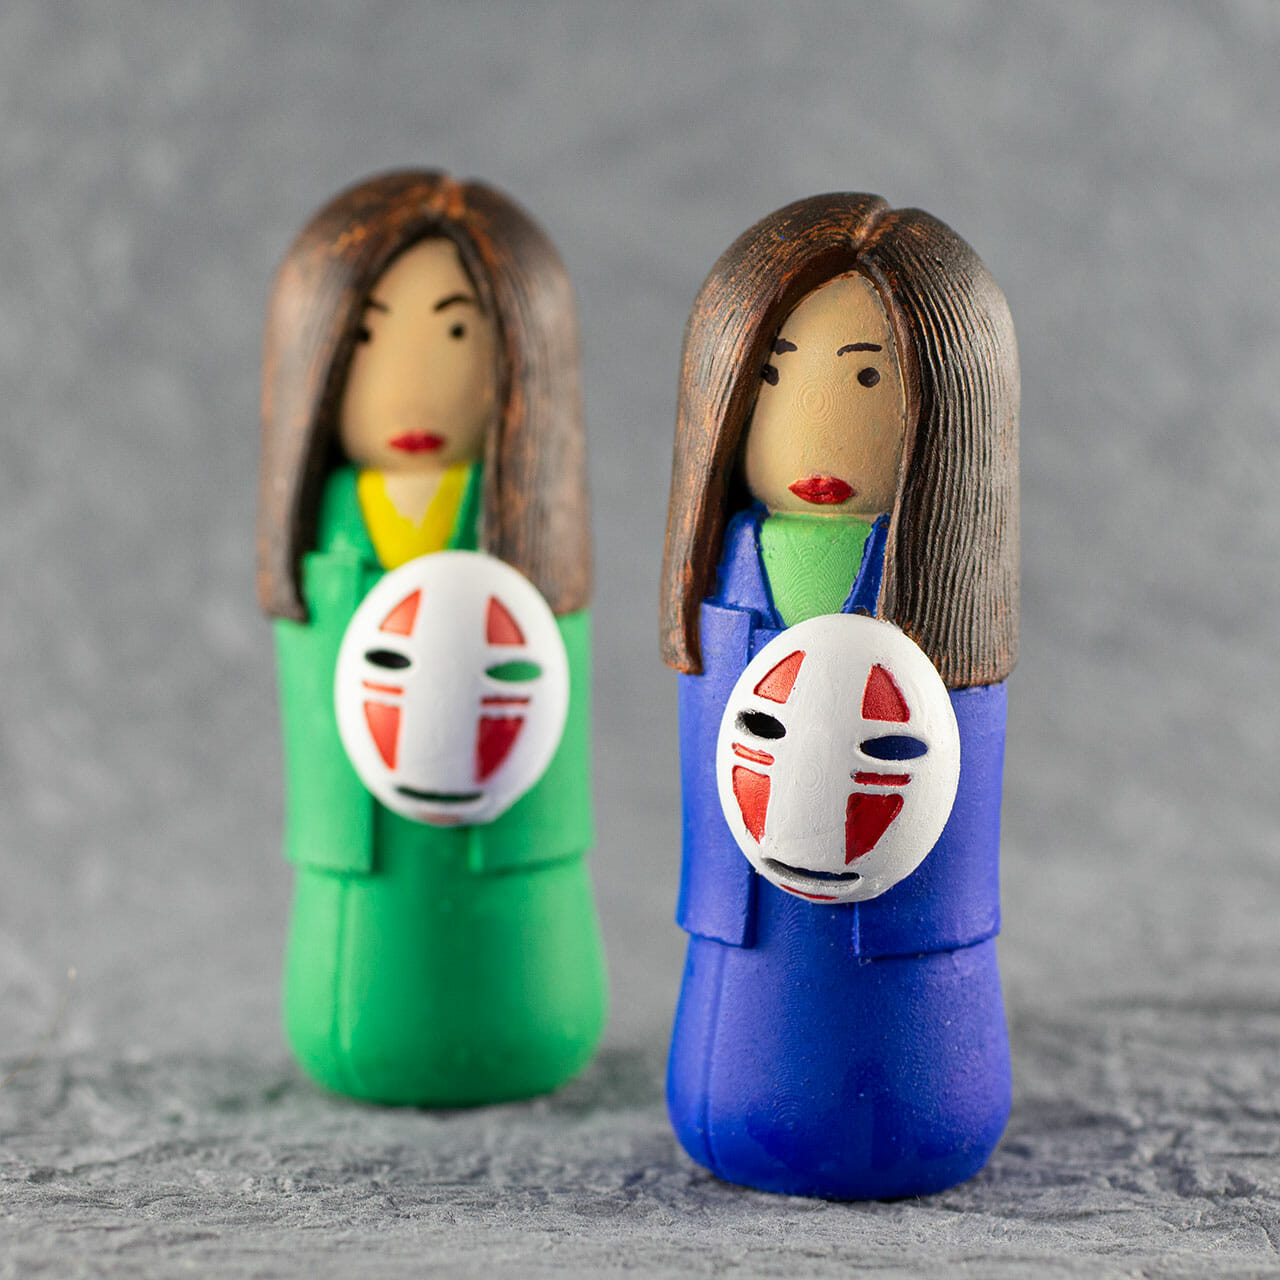
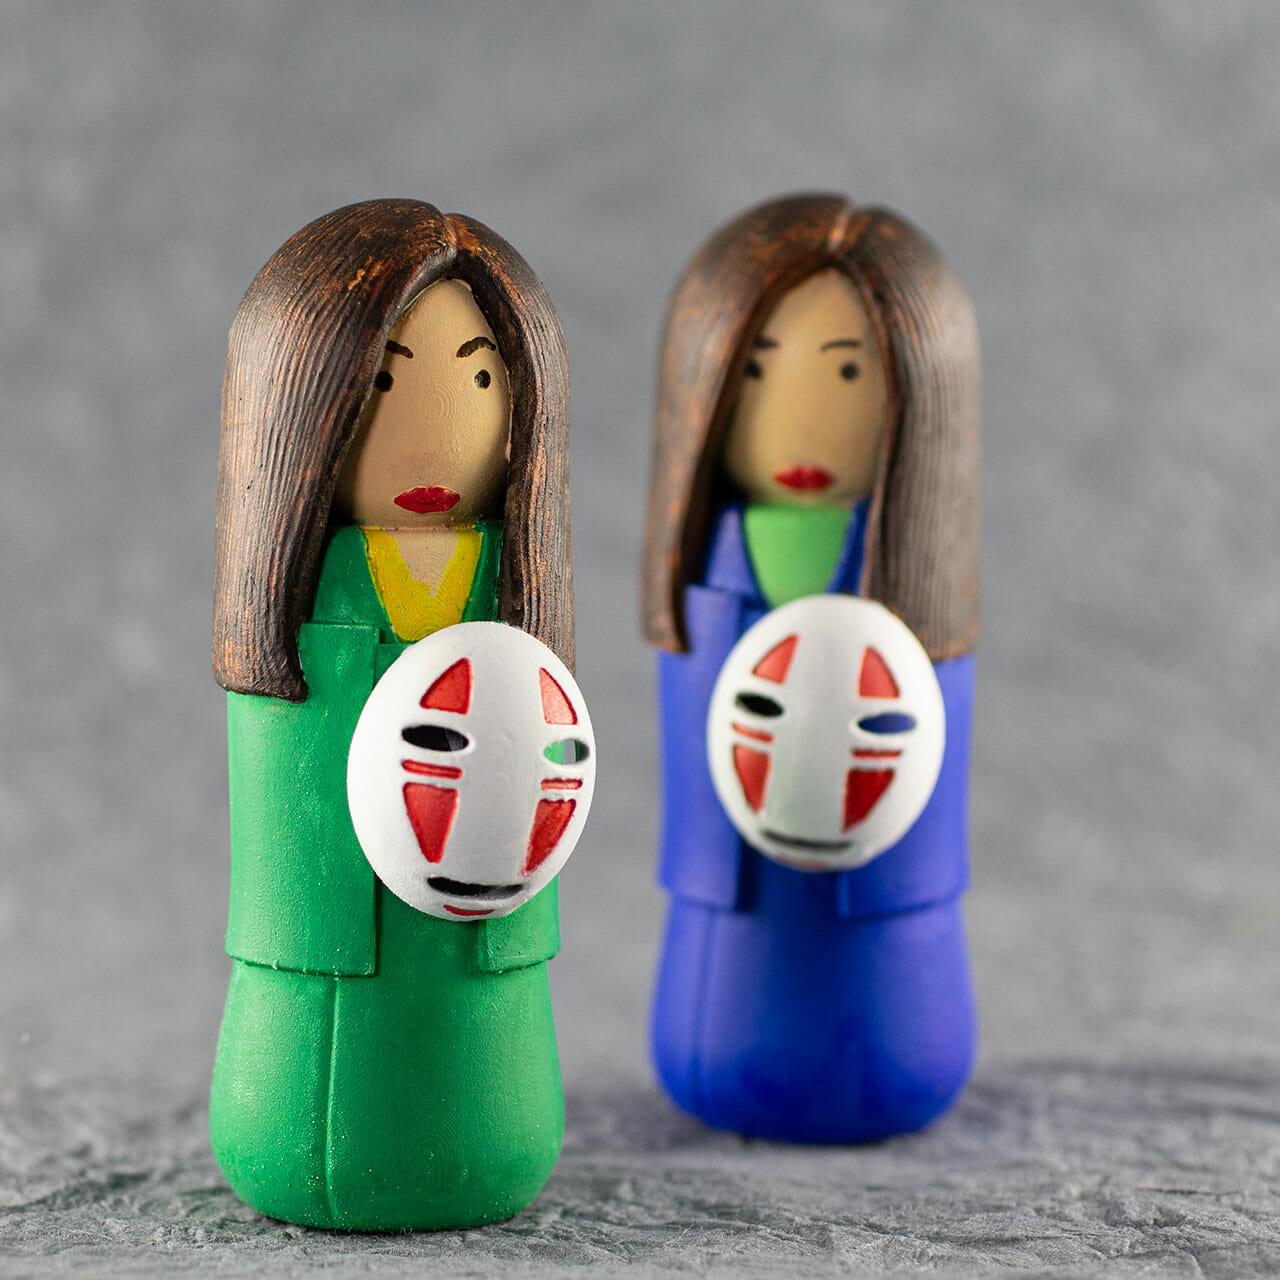
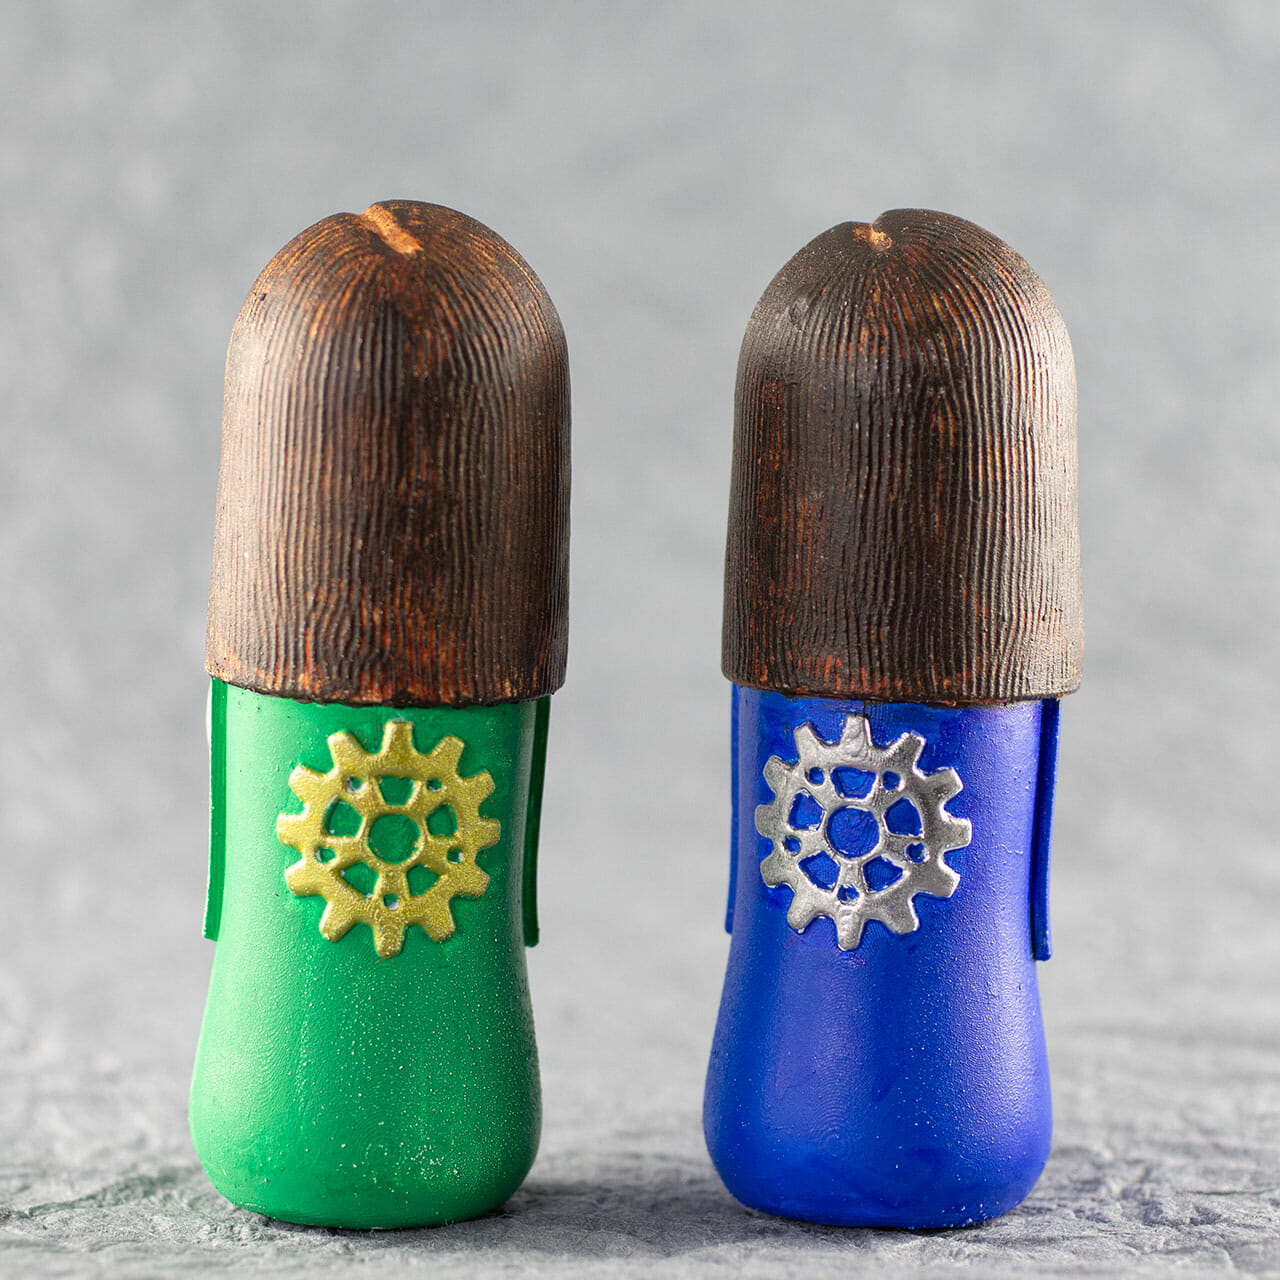
The Auntie Tanya kokeshi is kind of a work-in-progress. My friend has three nieces and is her generation’s keeper of the family’s cultural traditions. I modeled this in Nomad Sculpt, 3D printed in nylon resin and, painted by hand (obviously … I need some more practice). I made a tiny azuma bukro out of retired kimono pieces and silk to wrap them. The dolls are about 75mm tall. Bottle cap for scale.
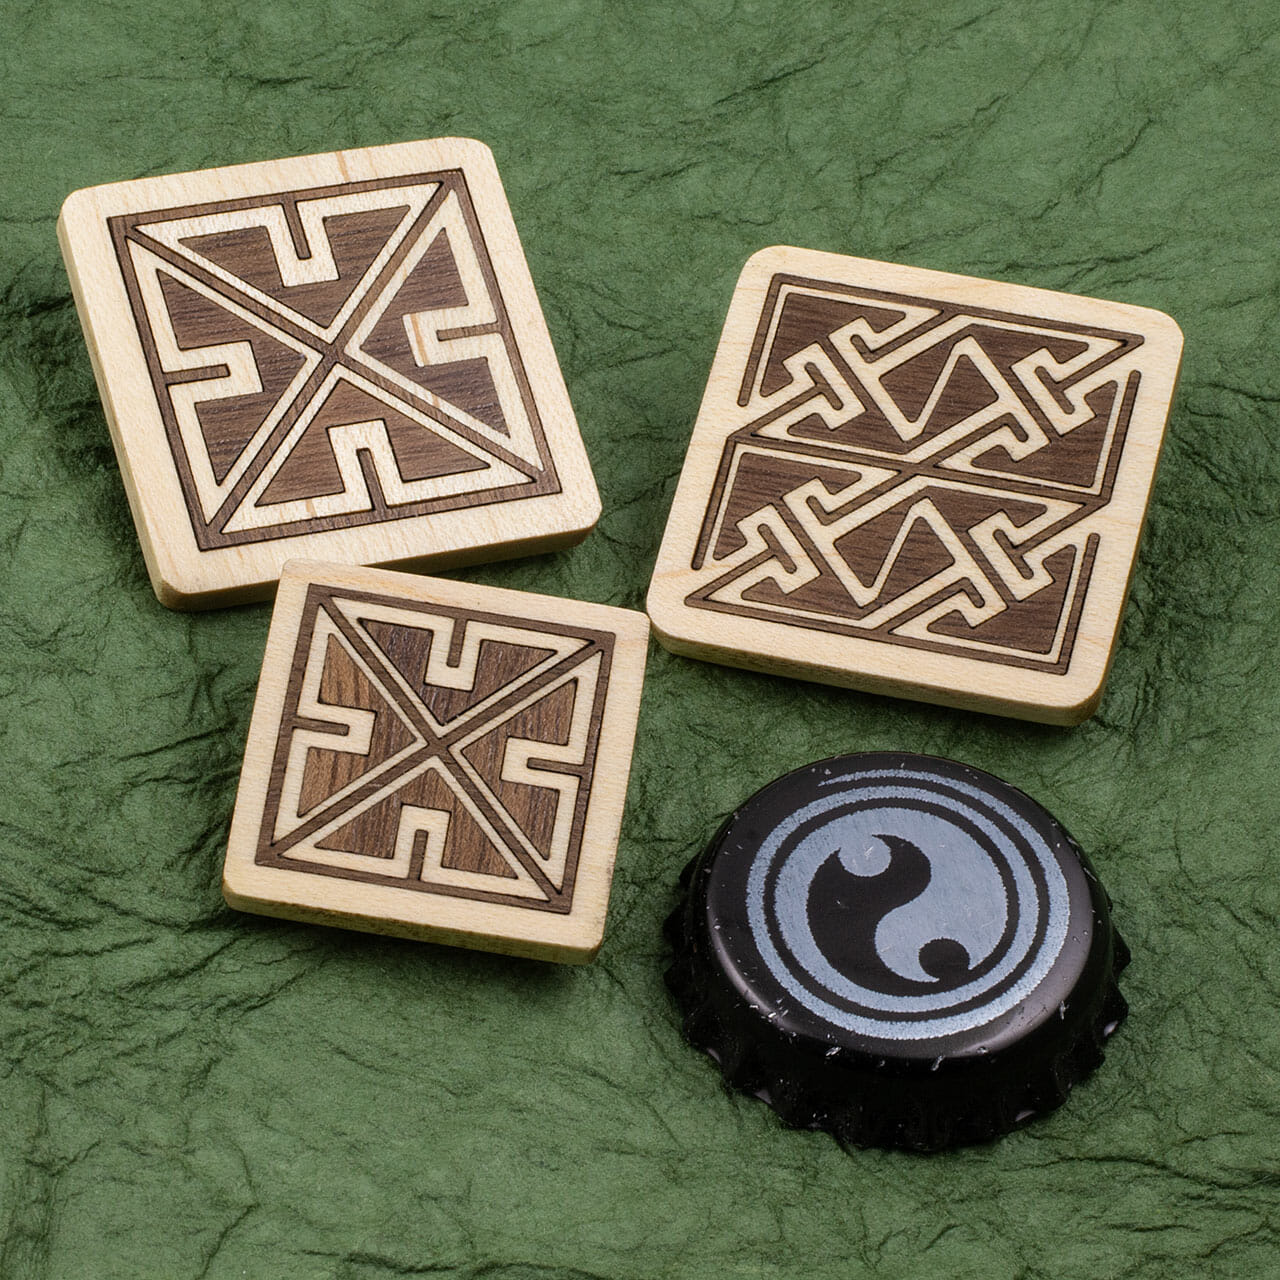
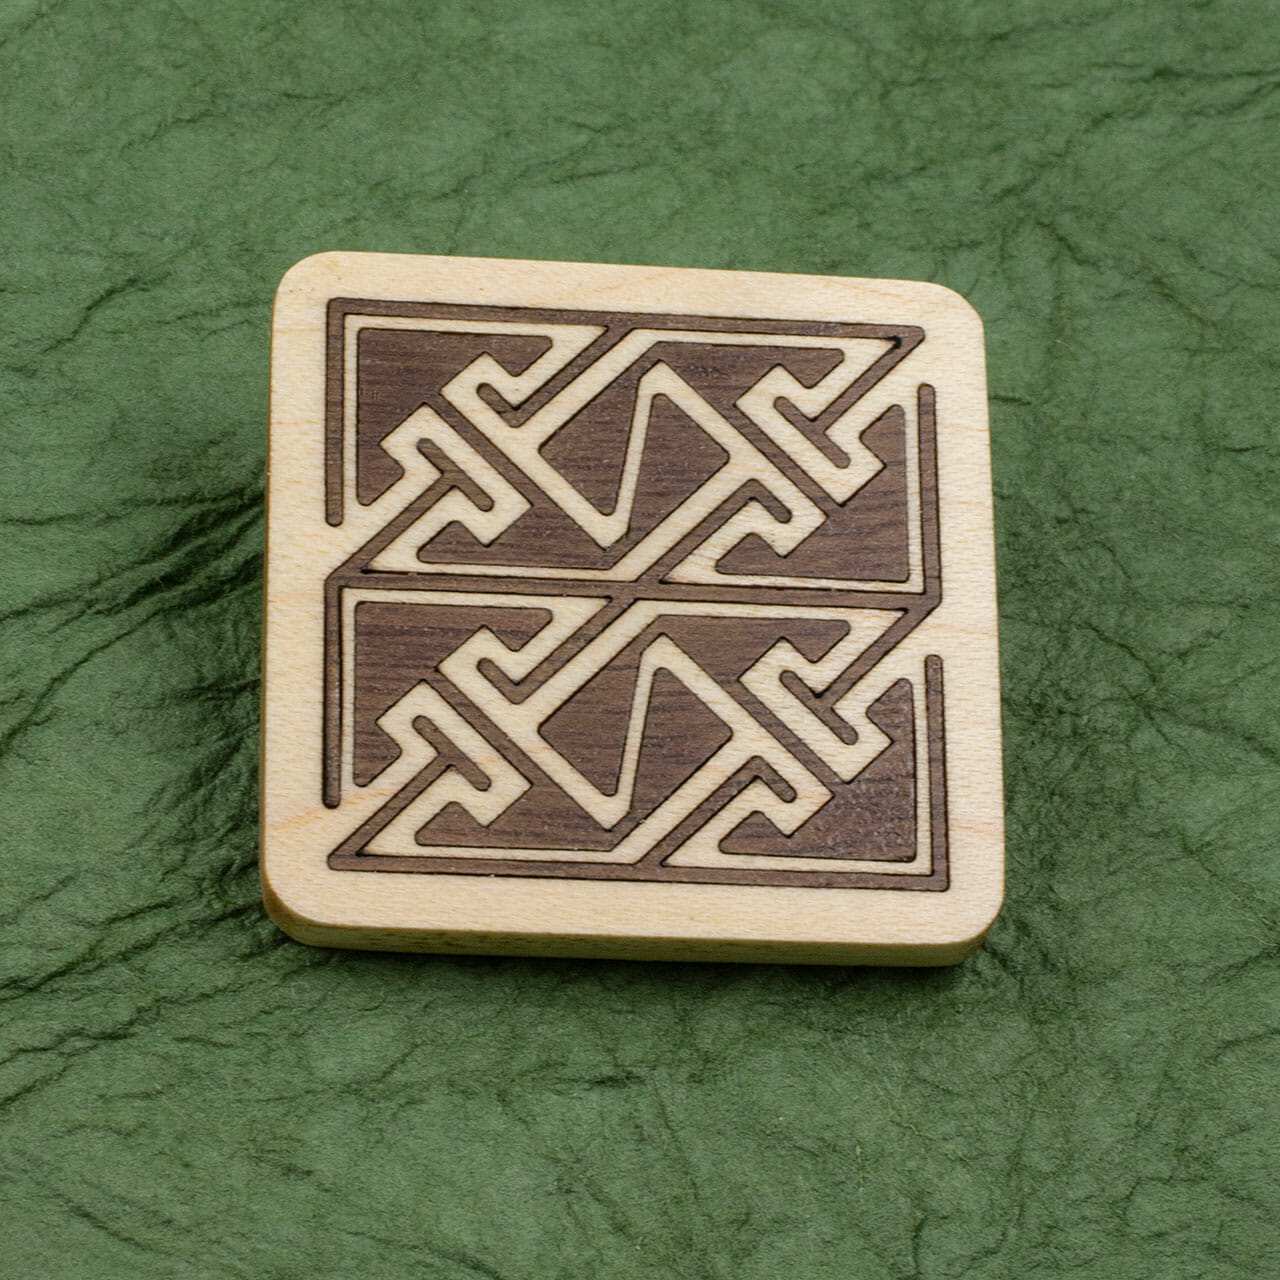
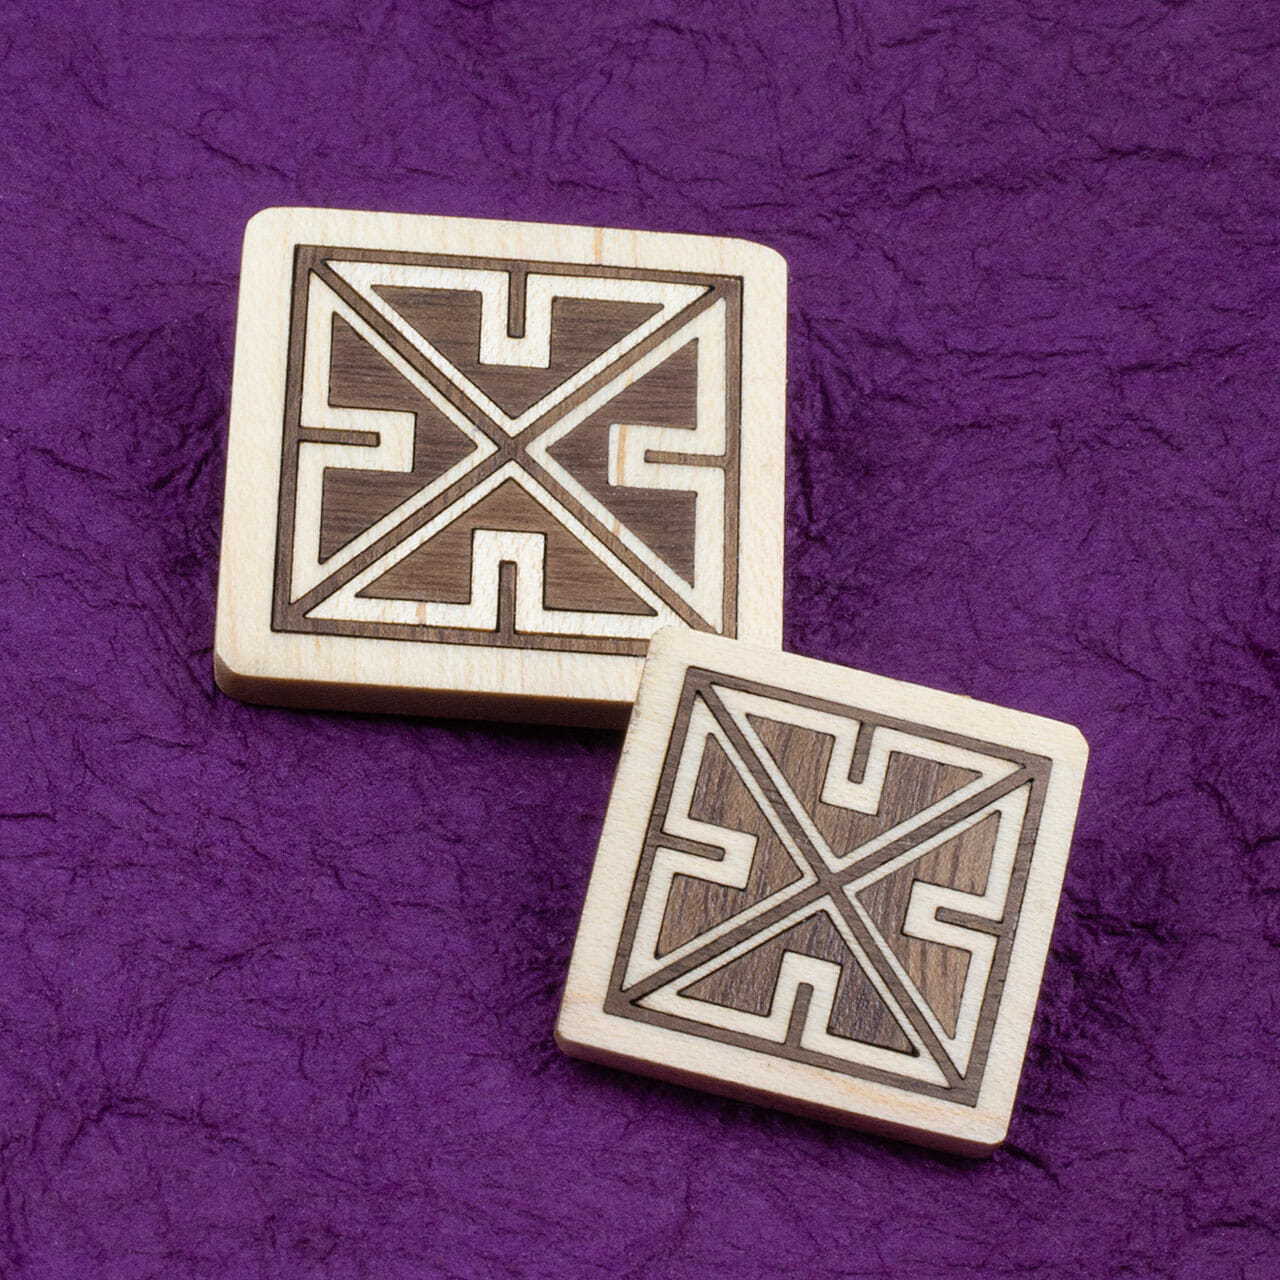
Playing with some small-scale wood inlay this week, I made these Celtic key pattern pins. The key pattern and larger key square are 30mm x ~3mm thick. The smaller key square is 25mm x ~3mm thick. These are all hardwood maple inlaid with walnut. Everything is cut on the laser, sanded to 650 grit and, finished with wipe-on poly. I attached pin backings with wood glue.
Celtic key pattern walnut in maple inlaid pins with bottle cap for scale.
Square 30mm Celtic key pattern walnut in maple inlaid pin.
Celtic key square walnut in maple inlaid pins in 30mm and 25mm sizes.
Celtic key square 25mm walnut in maple inlaid pin.
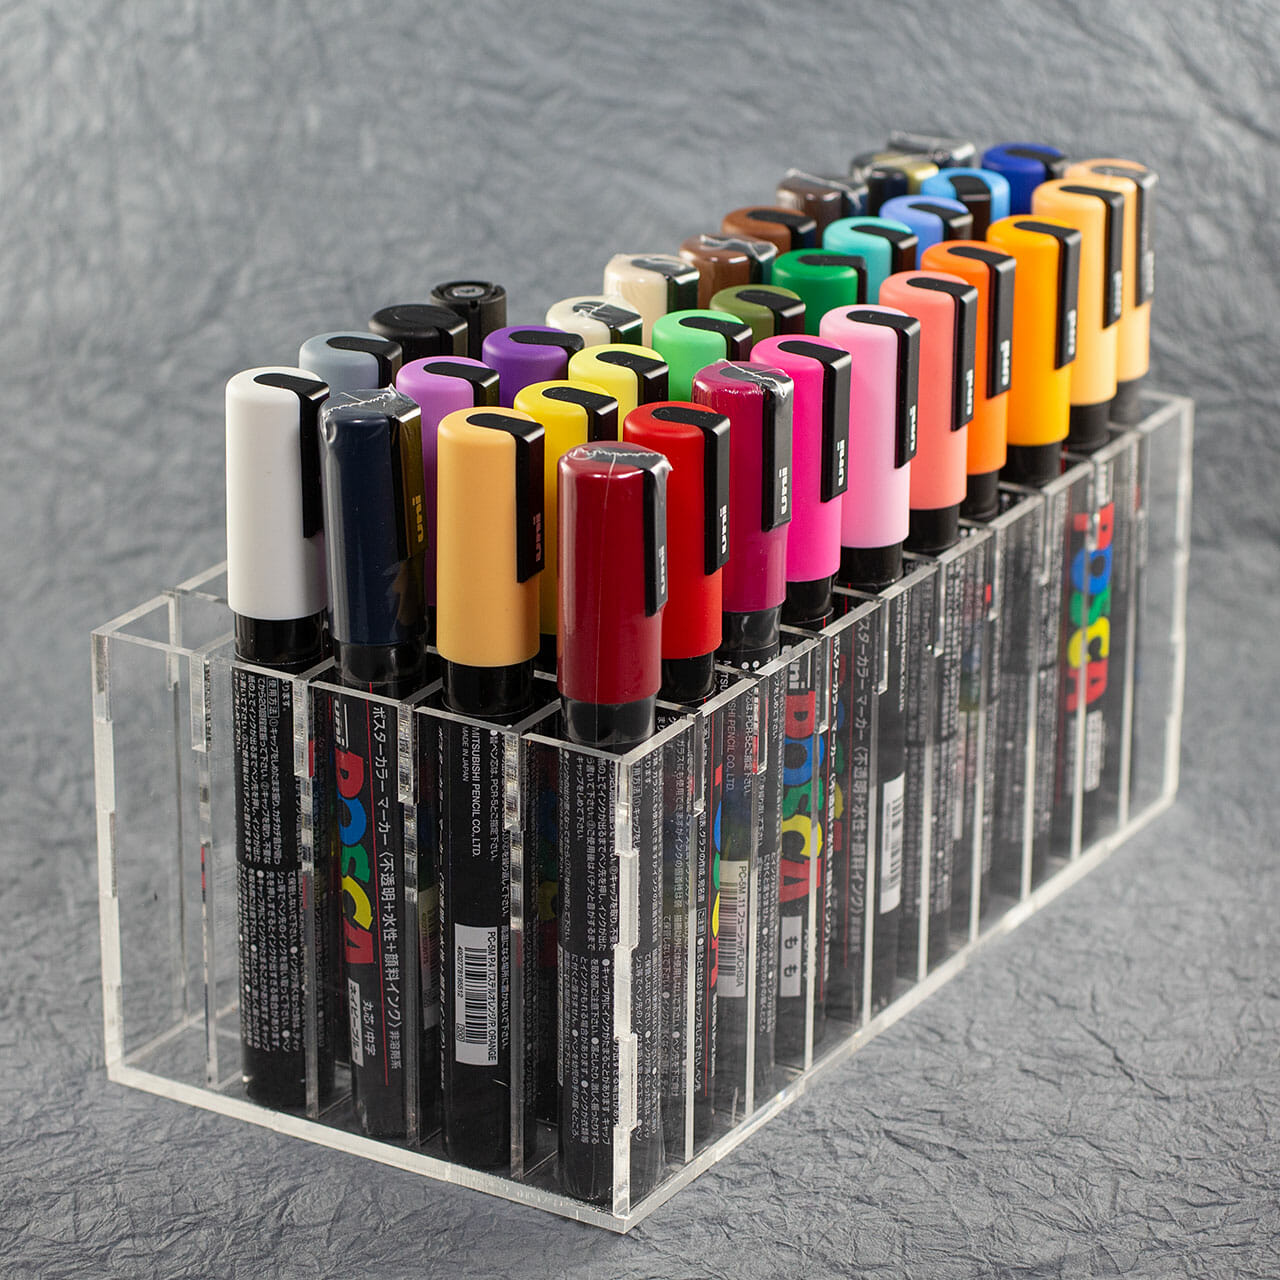
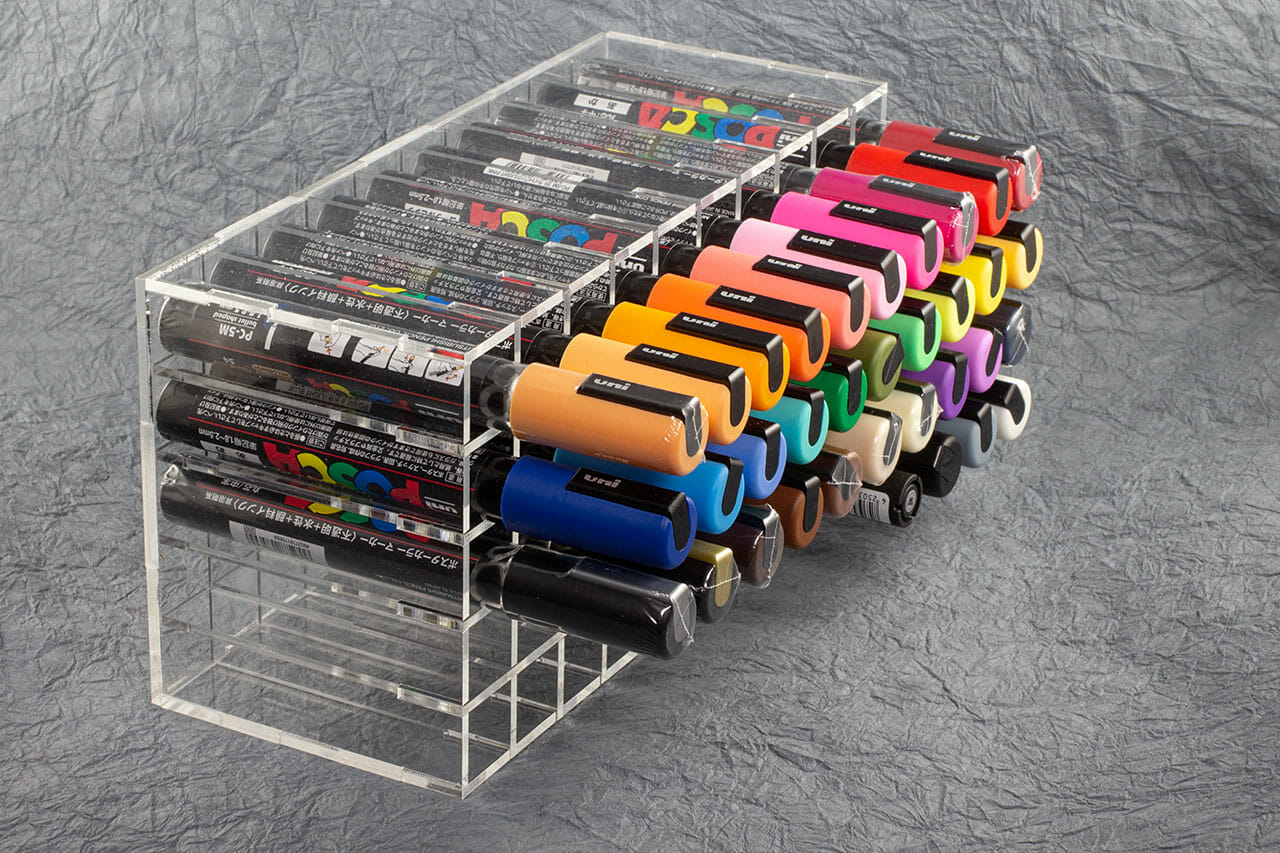
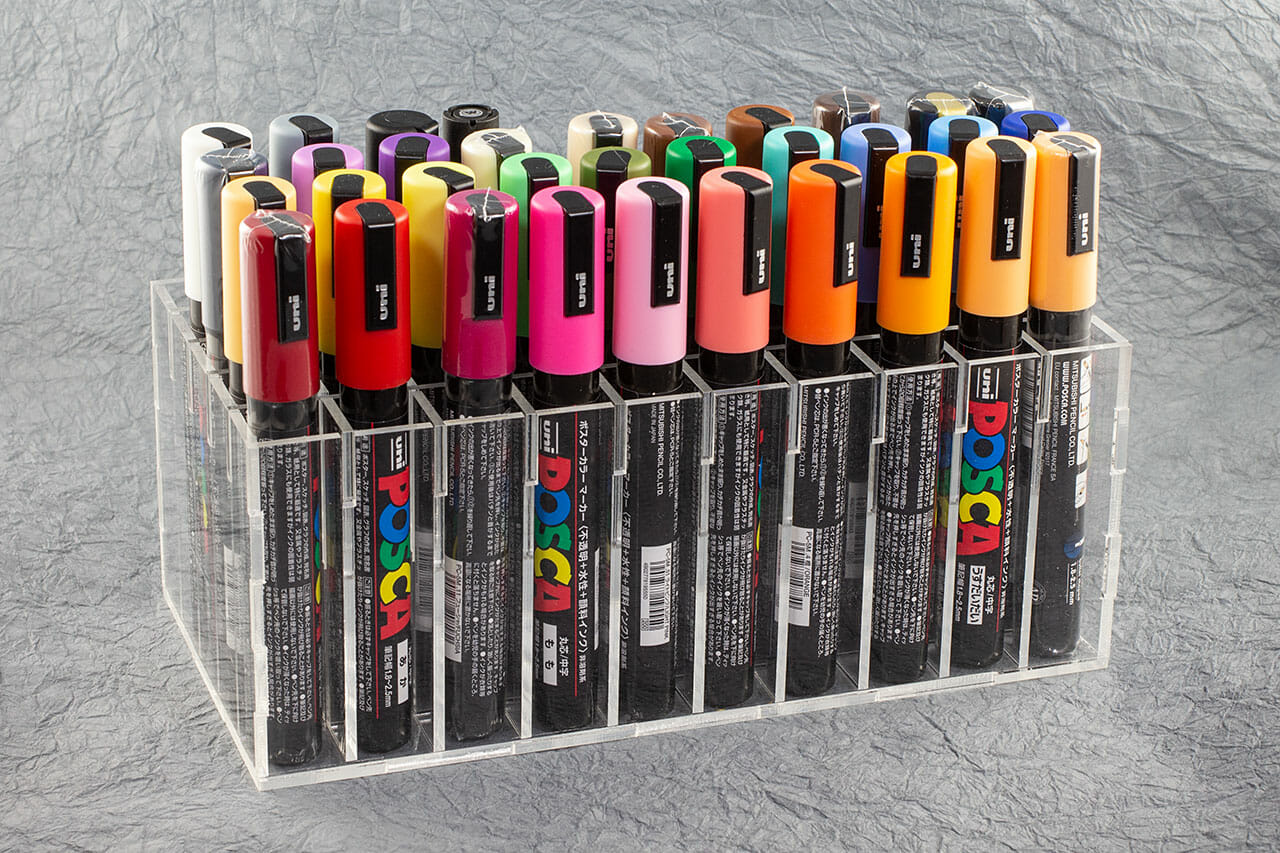
I picked up a set of Uni Posca paint pens while working on a project. They came in several boxes and, I quickly realized they would be a lot more pleasant to use if I had a way to keep them organized. There are a bunch of appropriate caddy designs floating around that use planes with aligned holes. While those use less acrylic, they seem kind of fiddly to insert and remove pens. In the interest of keeping friction while working to a minimum, I designed this divided box caddy. This works well both upright and on horizontally.
I remember my grandmother working with acrylic in the 70s. I think she would have been amazed at how quick and easy this sort of thing is now with digital fabrication. Solvent bonding the pieces still requires some dexterity and practice to master but, doing precise layout in Inkscape and having the laser cut the pieces perfectly would have been magic back then.
Clear acrylic divided box art marker/pen caddy filled with colorful Uni Posca pens.
Clear acrylic divided box art marker/pen caddy filled with colorful Uni Posca pens.
Clear acrylic divided box art marker/pen caddy filled with colorful Uni Posca pens.
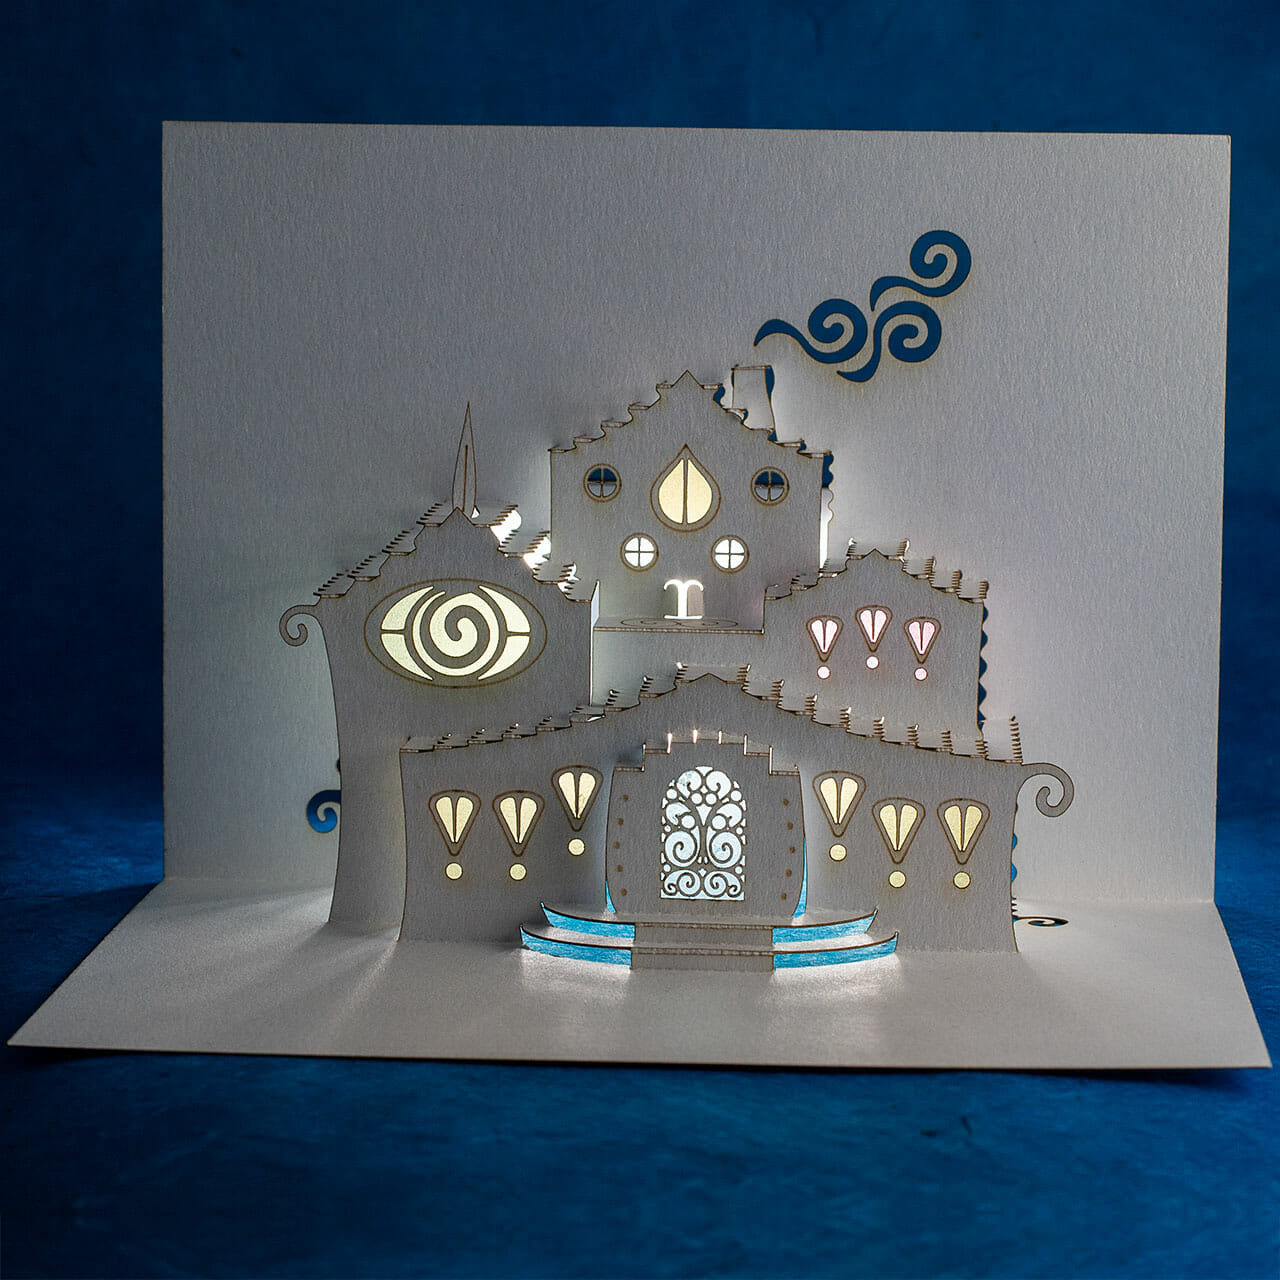
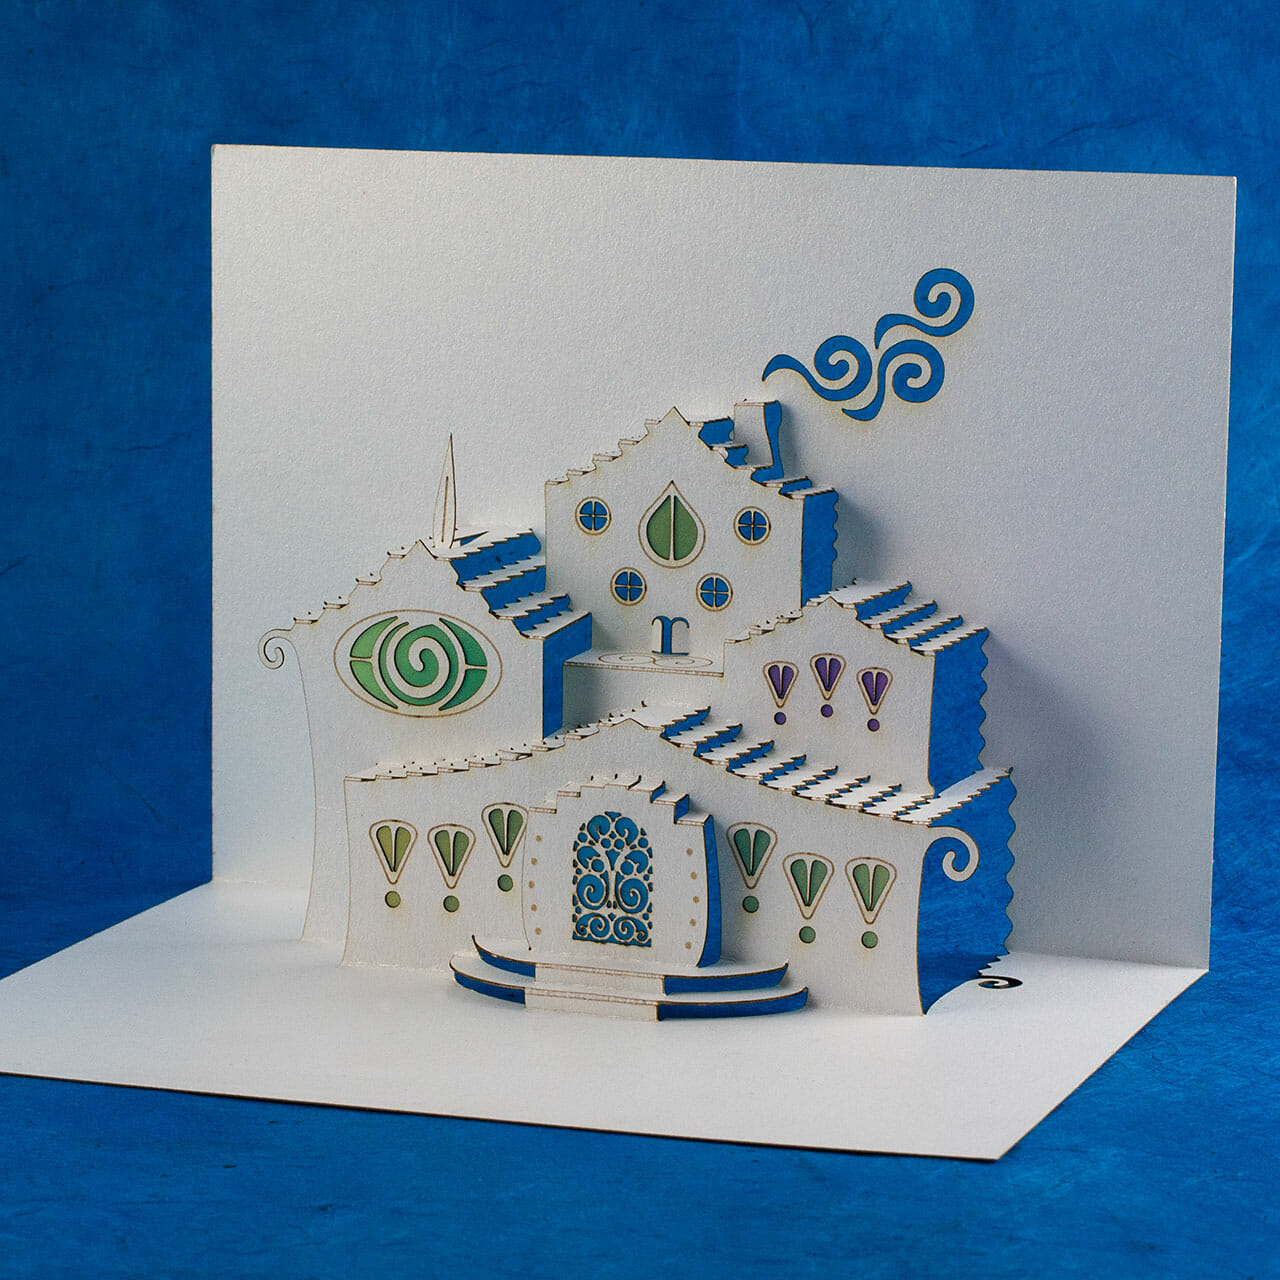
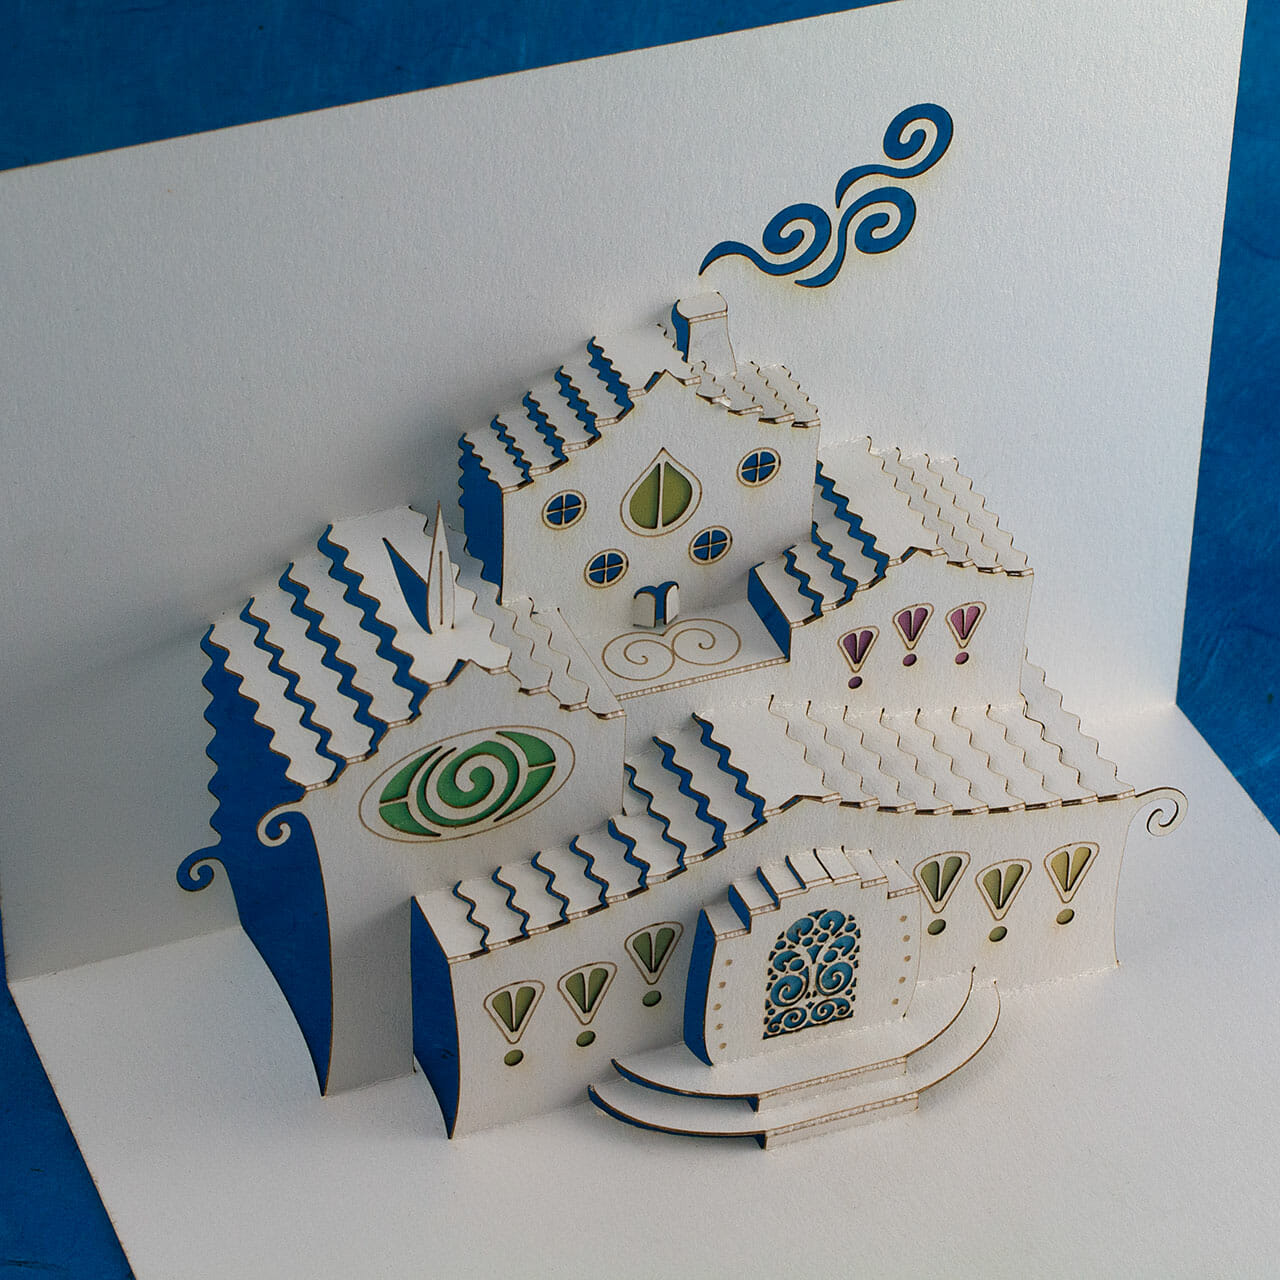
Inspired by the 2015 Snow Elf Cottage, the 2021 Snow Elf Manor is a larger home in the snow elf community. This was fun to design. The cards were cut from the Arctic Gold stock with translucent vellum for backing the windows.
I made a short (5 minute) video showing the whole process of building a card.
Snow Elf Manor Origamic Architecture / Kirigami Pop Up Card
Snow Elf Manor Origamic Architecture / Kirigami Pop Up Card
Snow Elf Manor Origamic Architecture / Kirigami Pop Up Card