
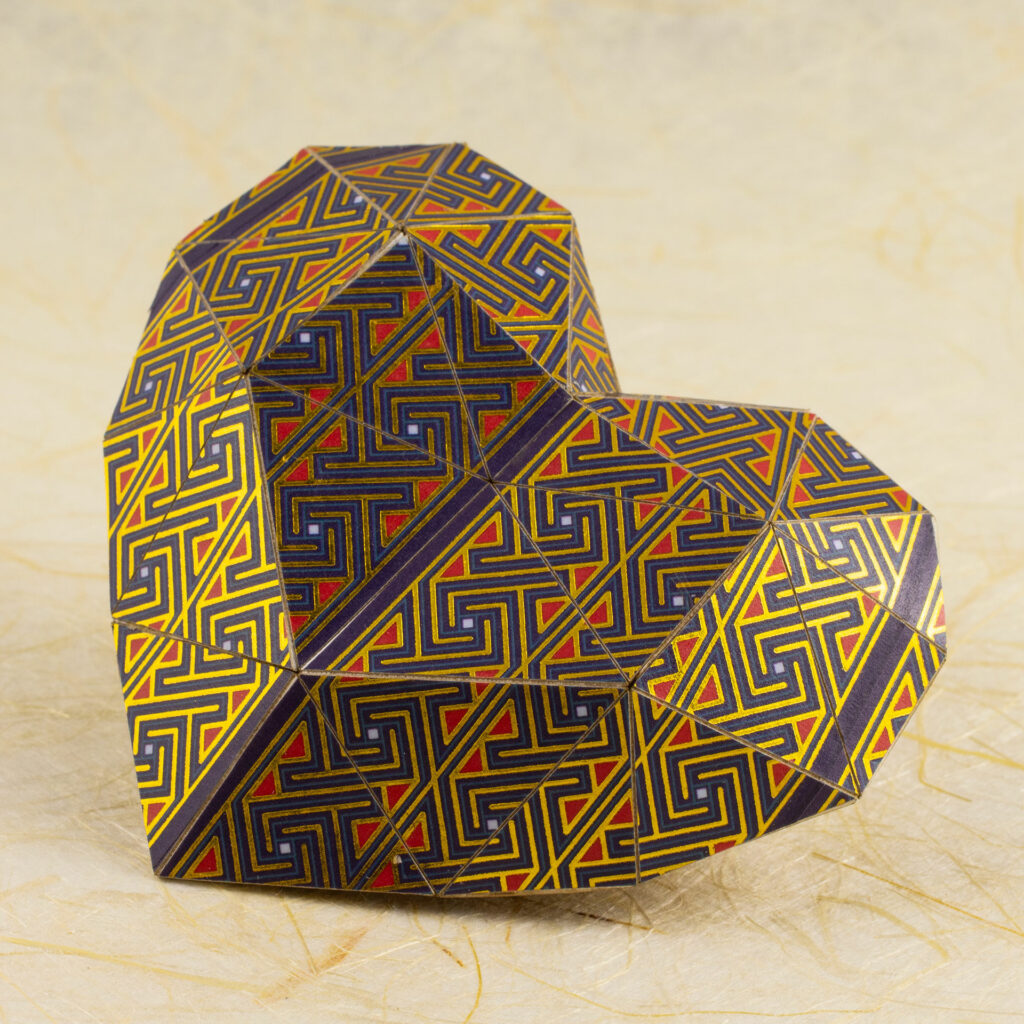
Elongated Dodecahedra Models

Elongated Dodecahedron Model
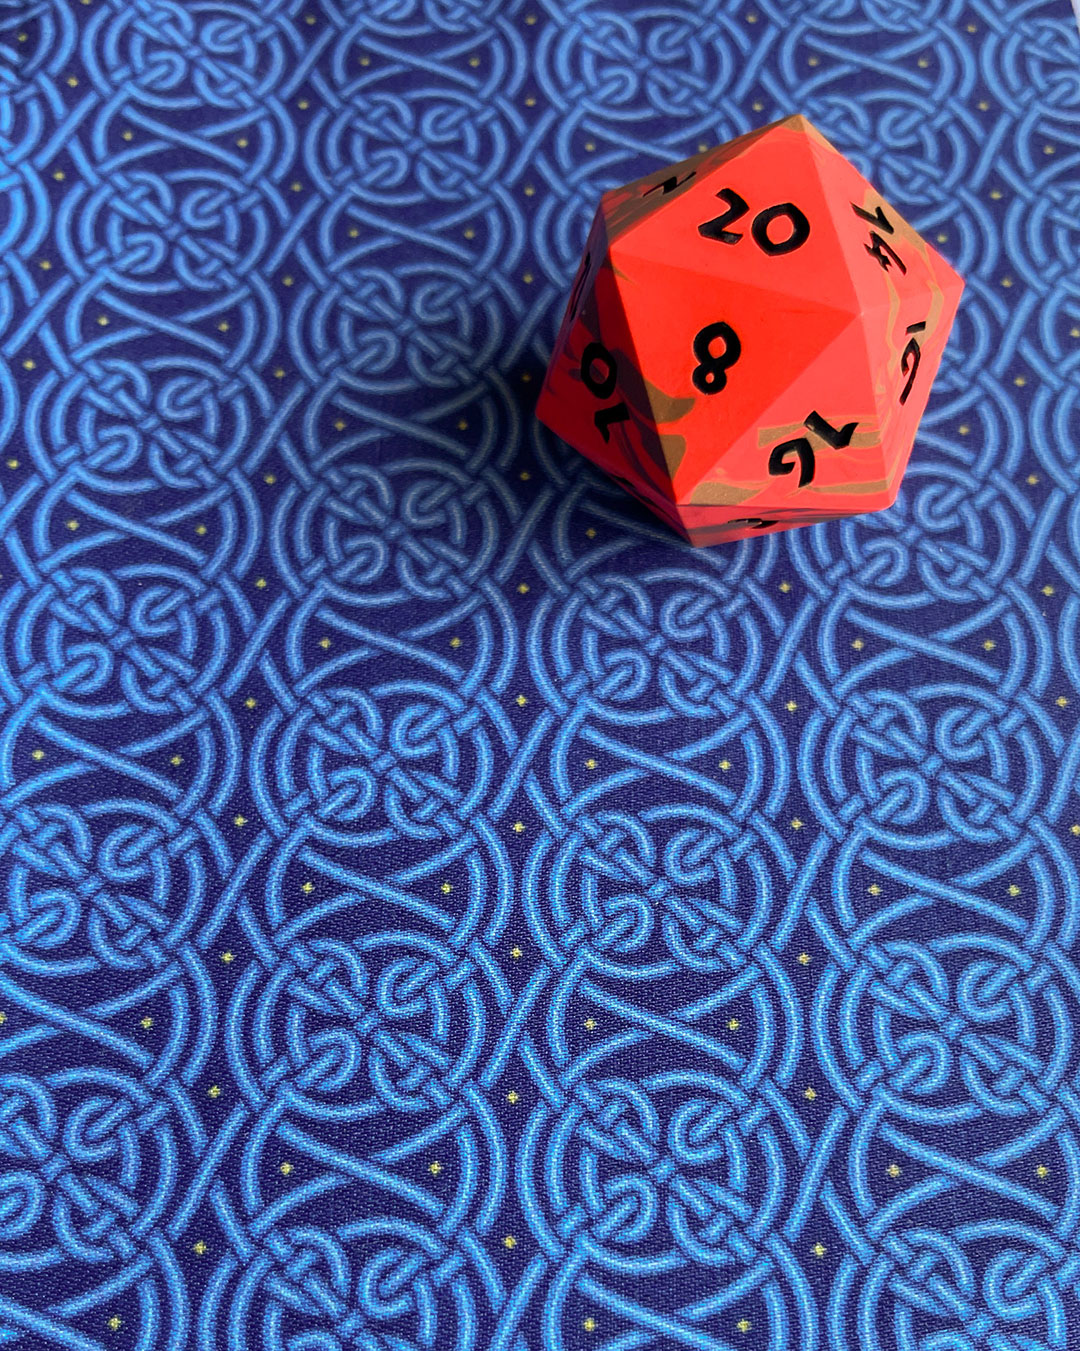
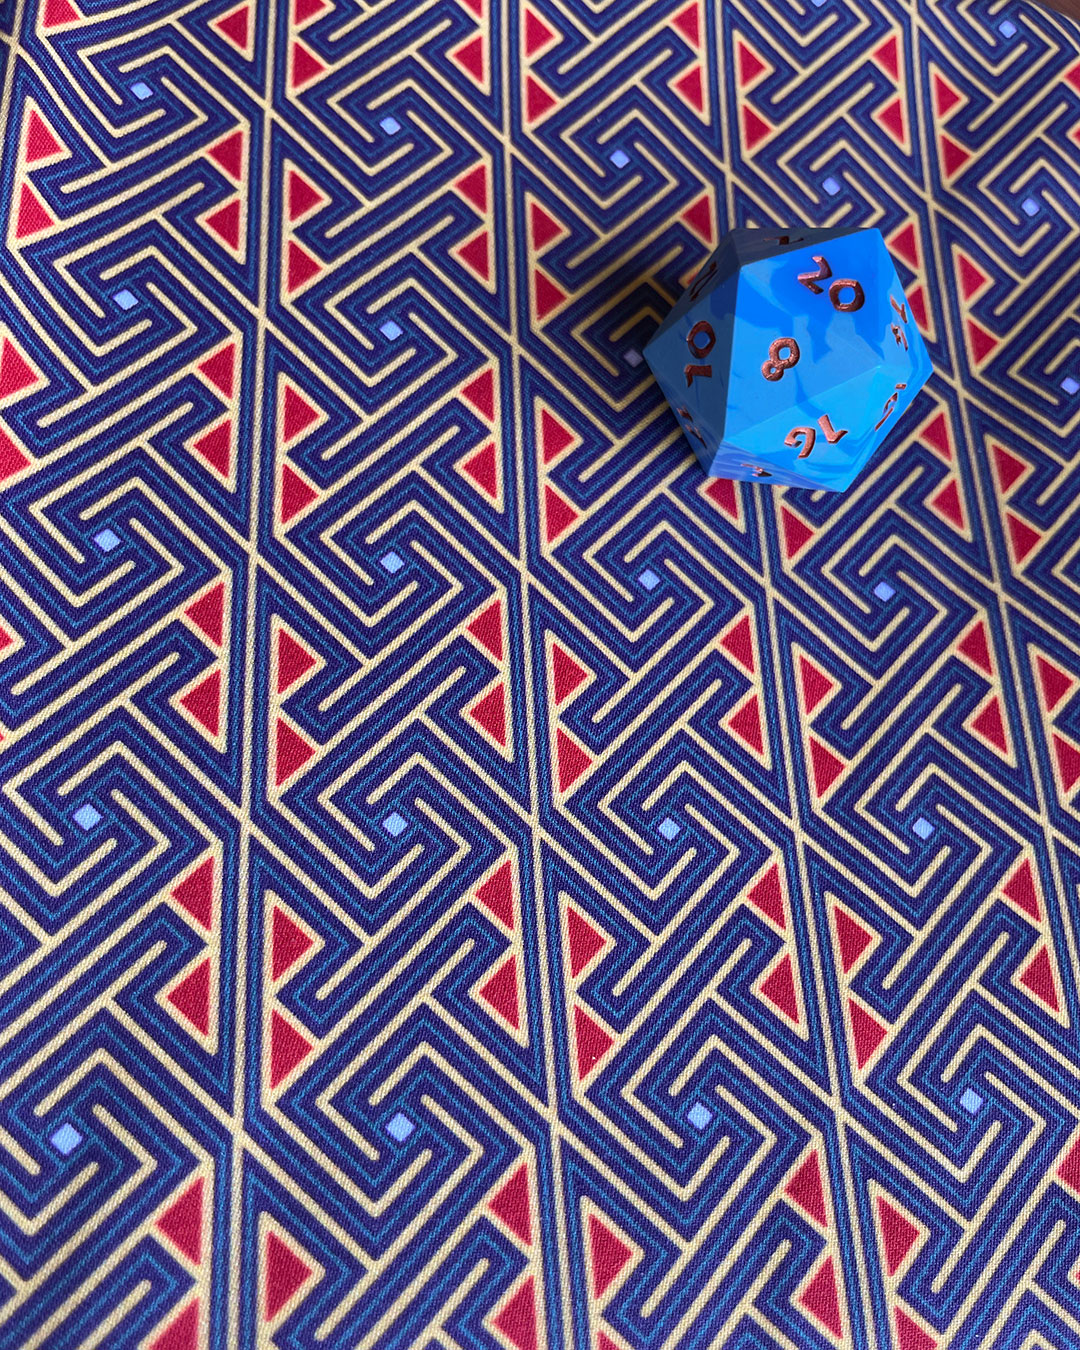
This is a set of blender and STL files for an elongated dodecahedron. This is a well-known solid that has been modeled and used for all sorts of things, including as 4-sided dice, for decades.
Size: 264kb
The Newsletter and the Archive

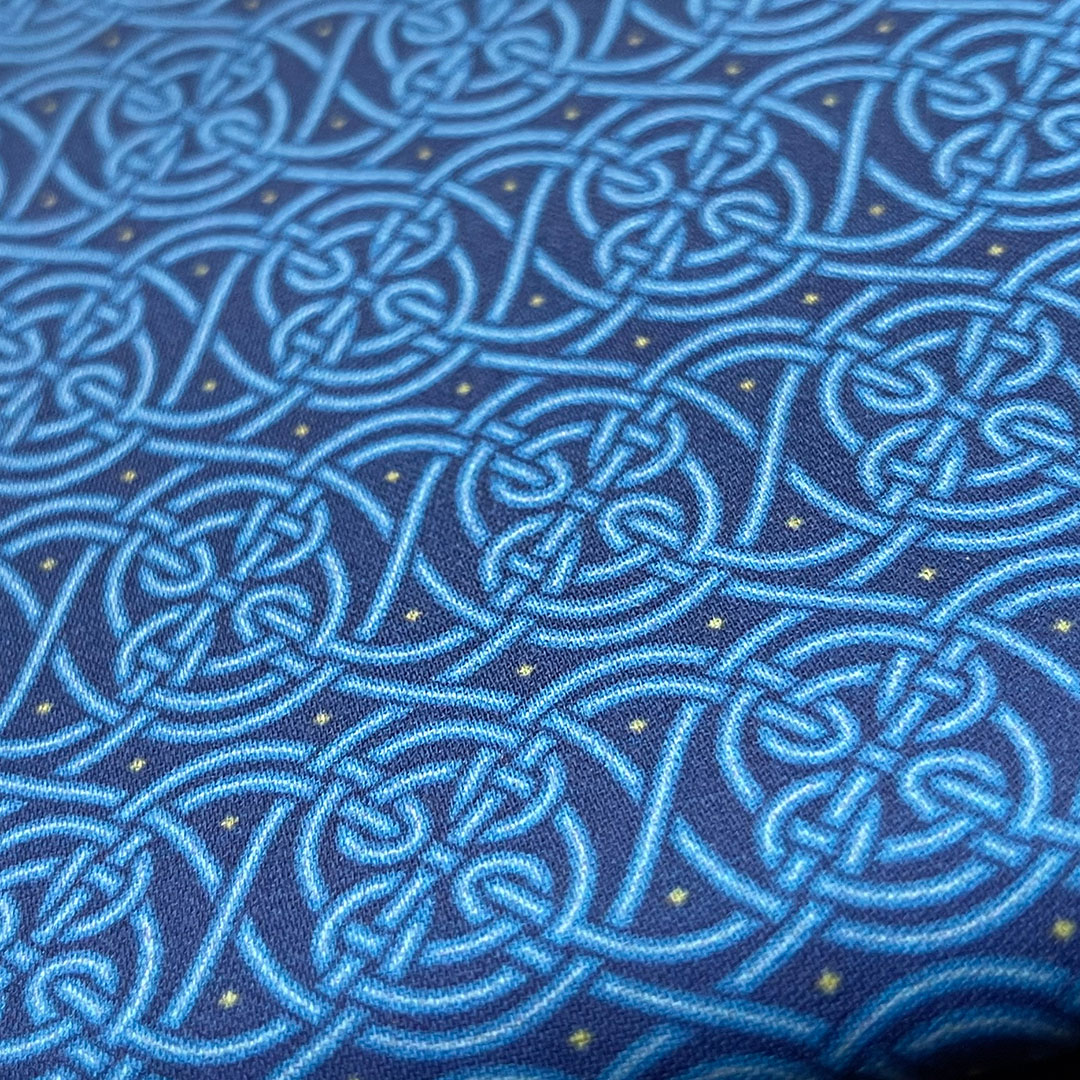
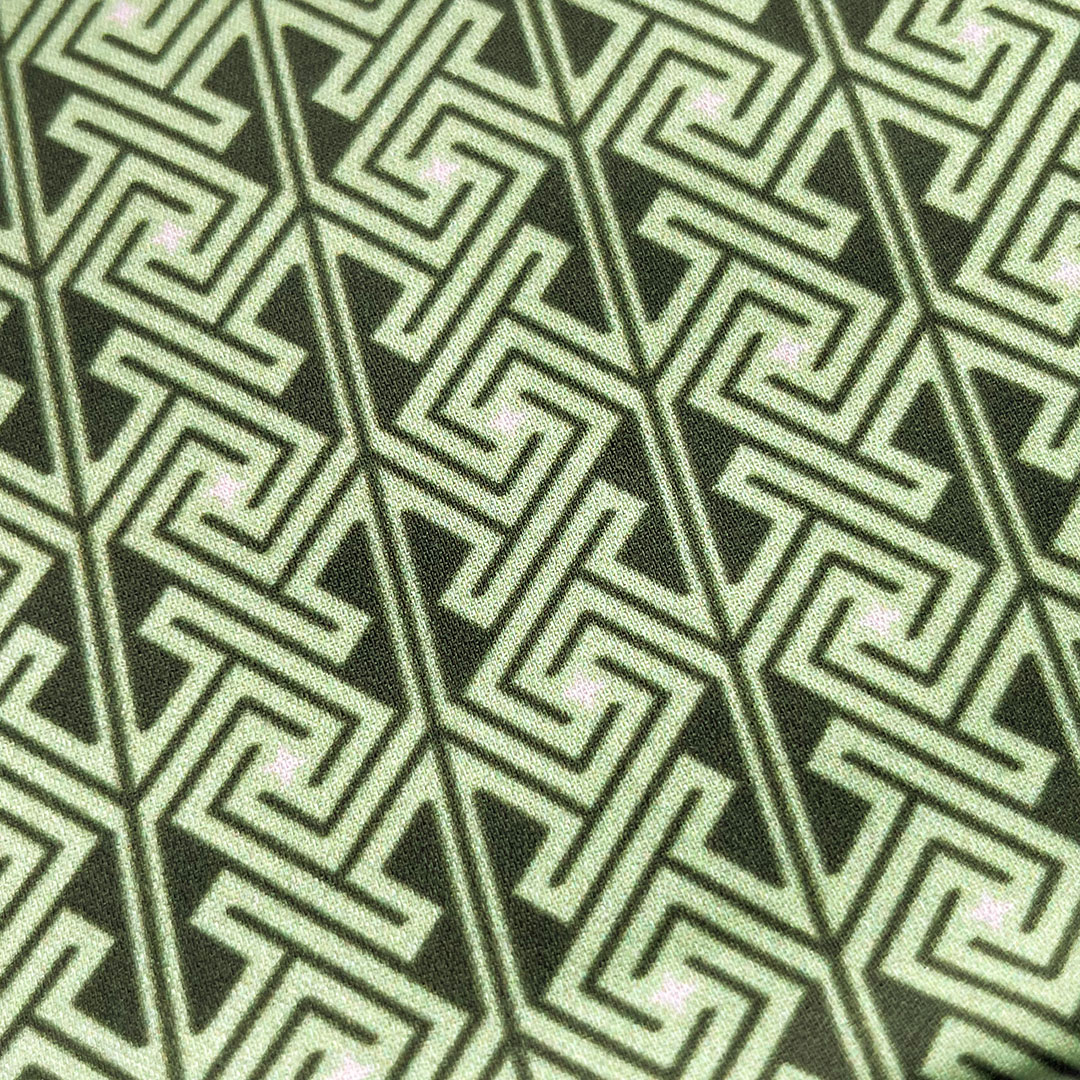
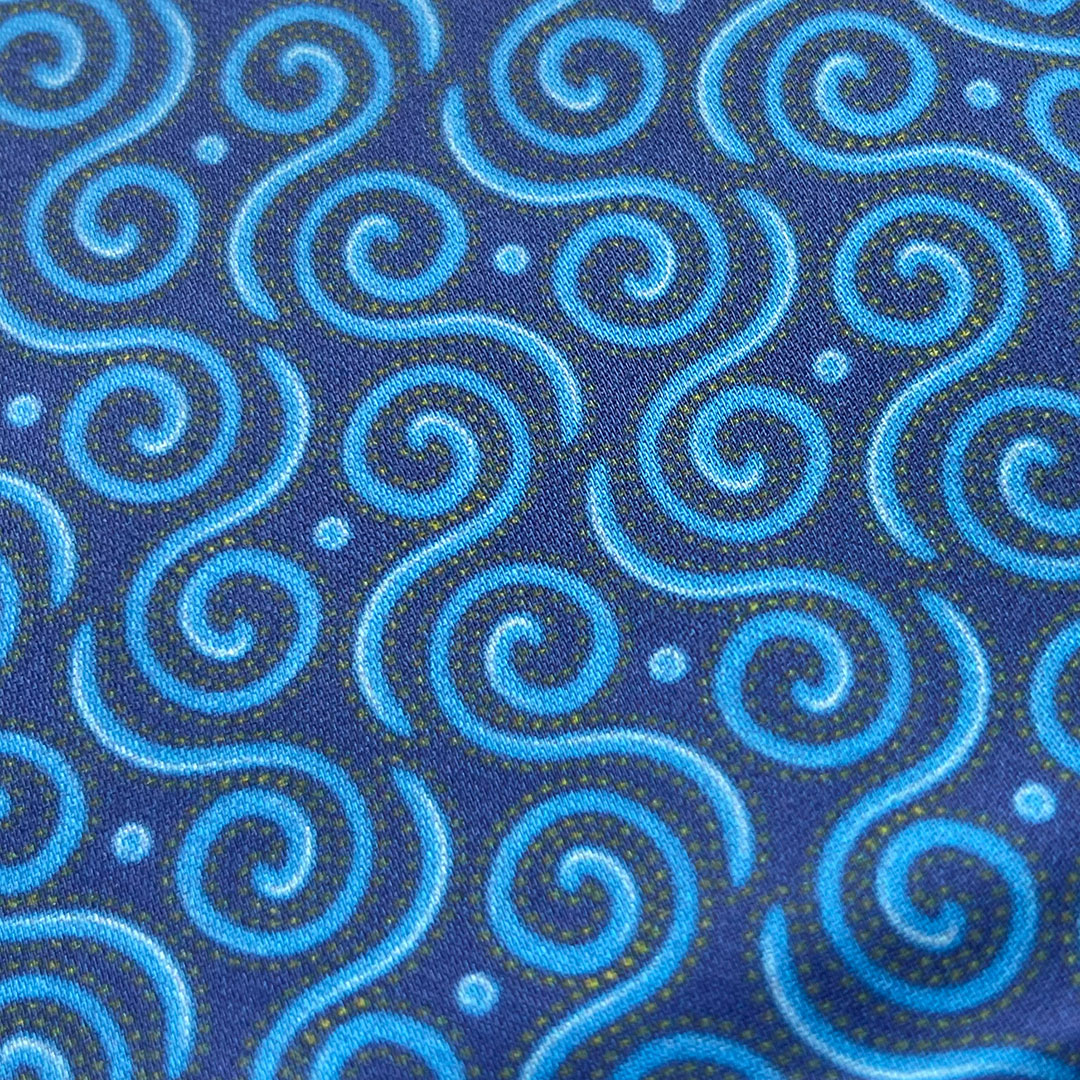
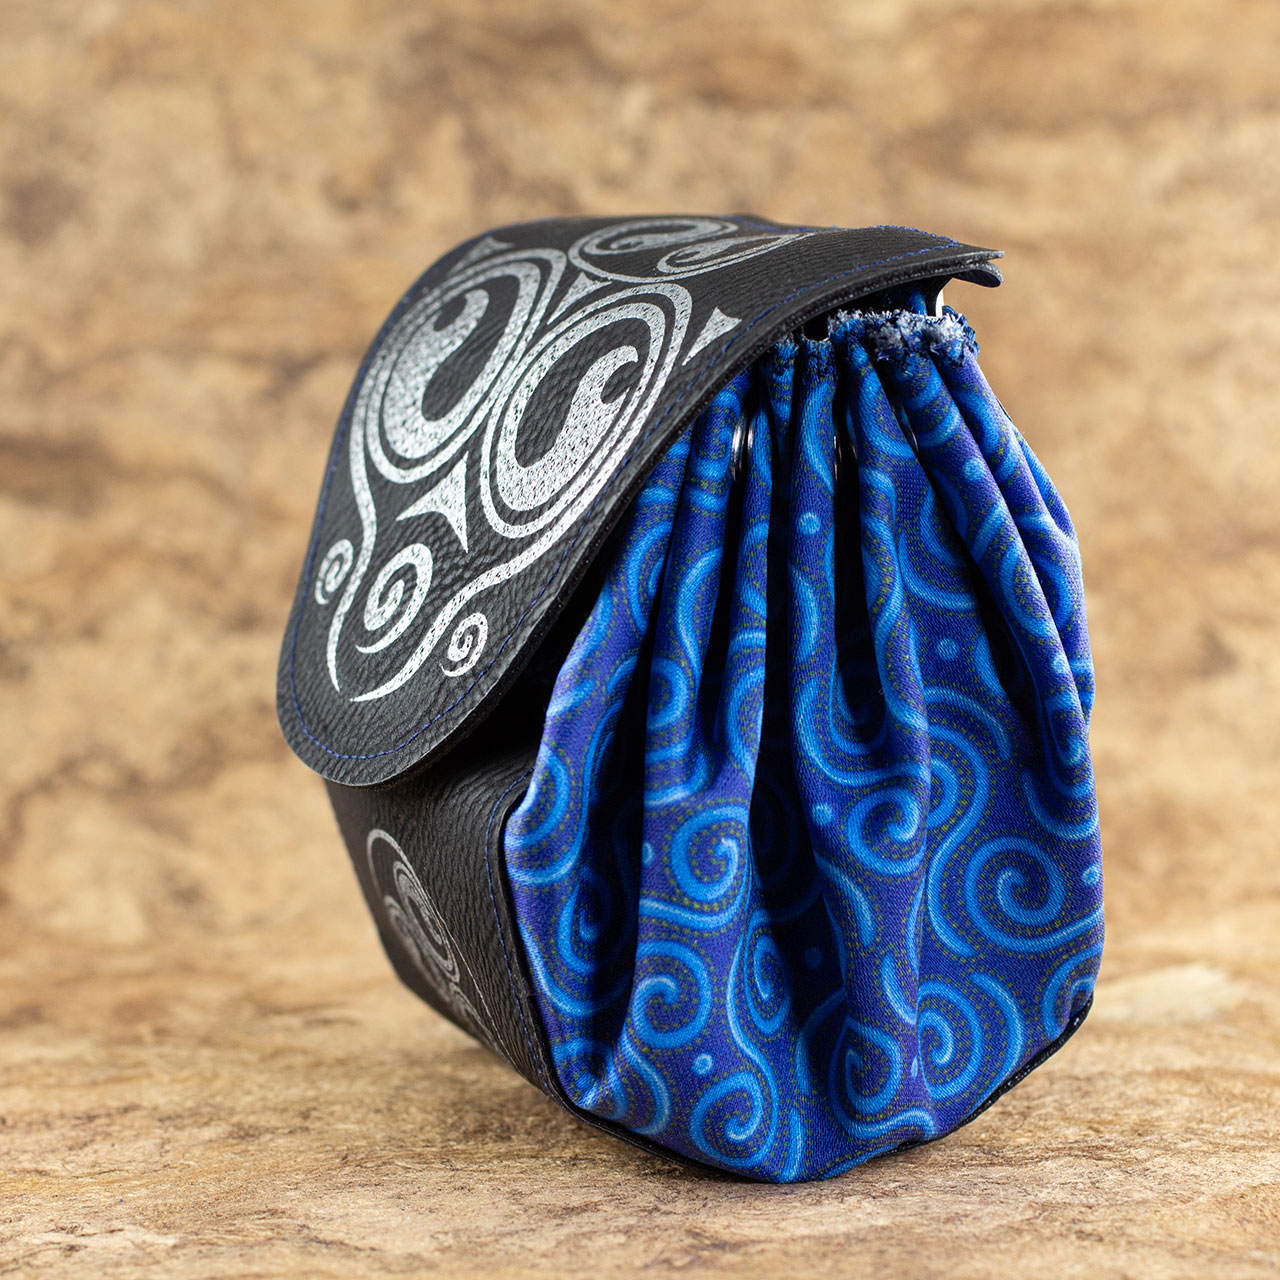
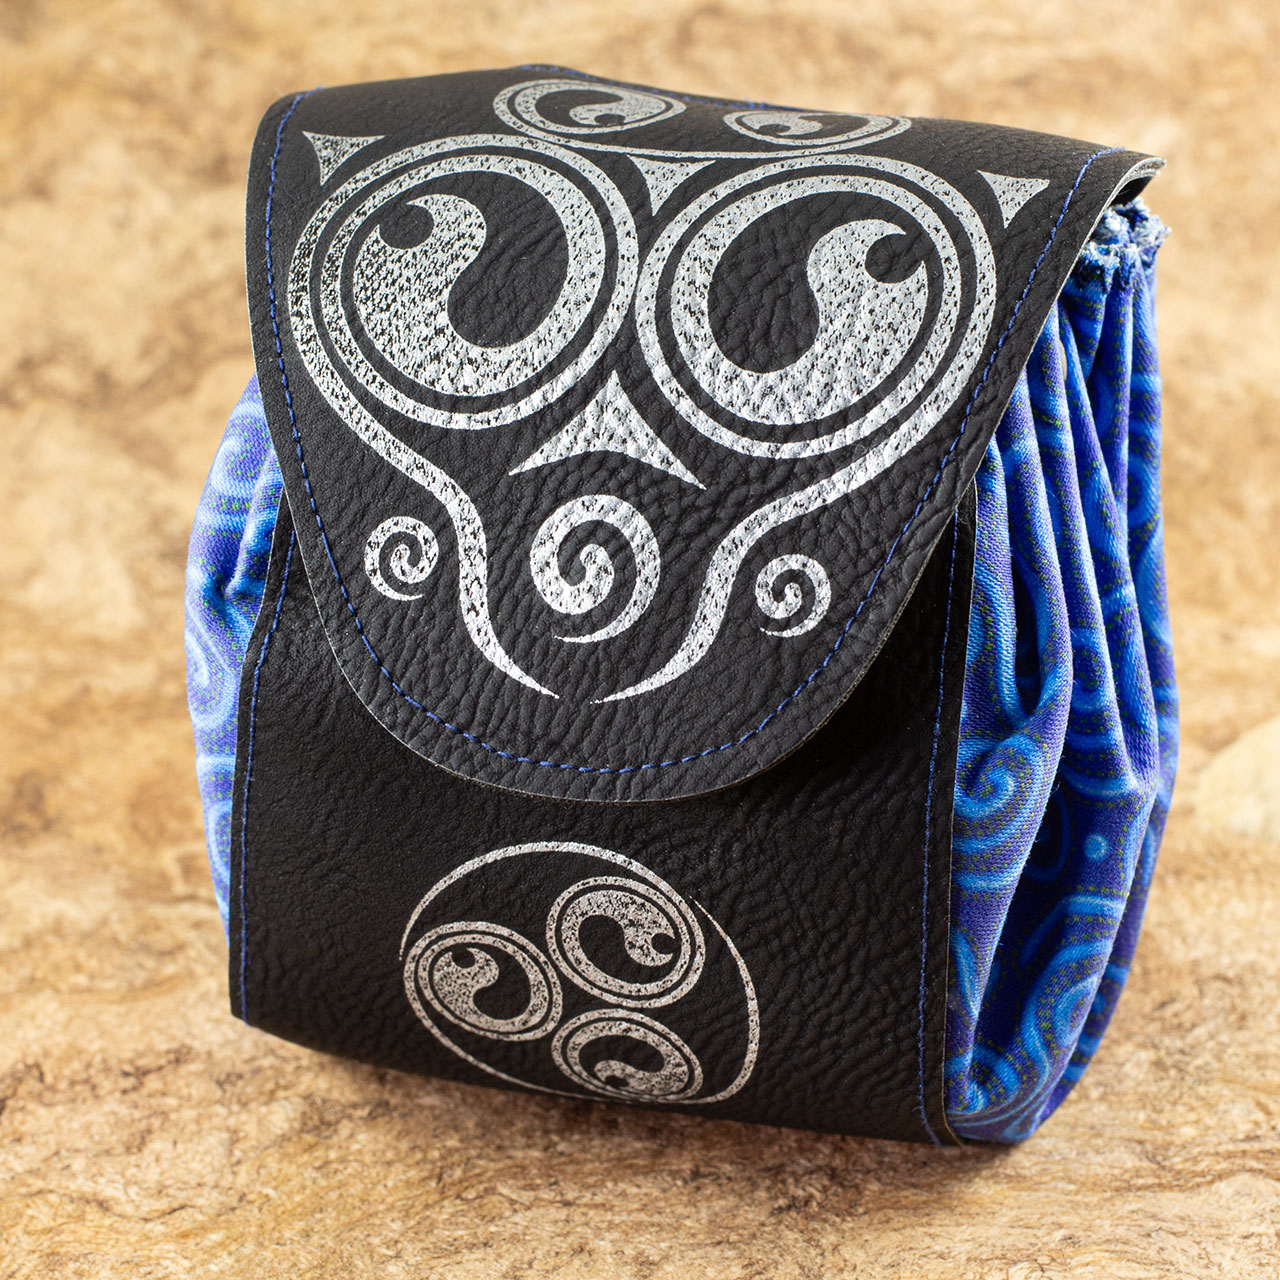
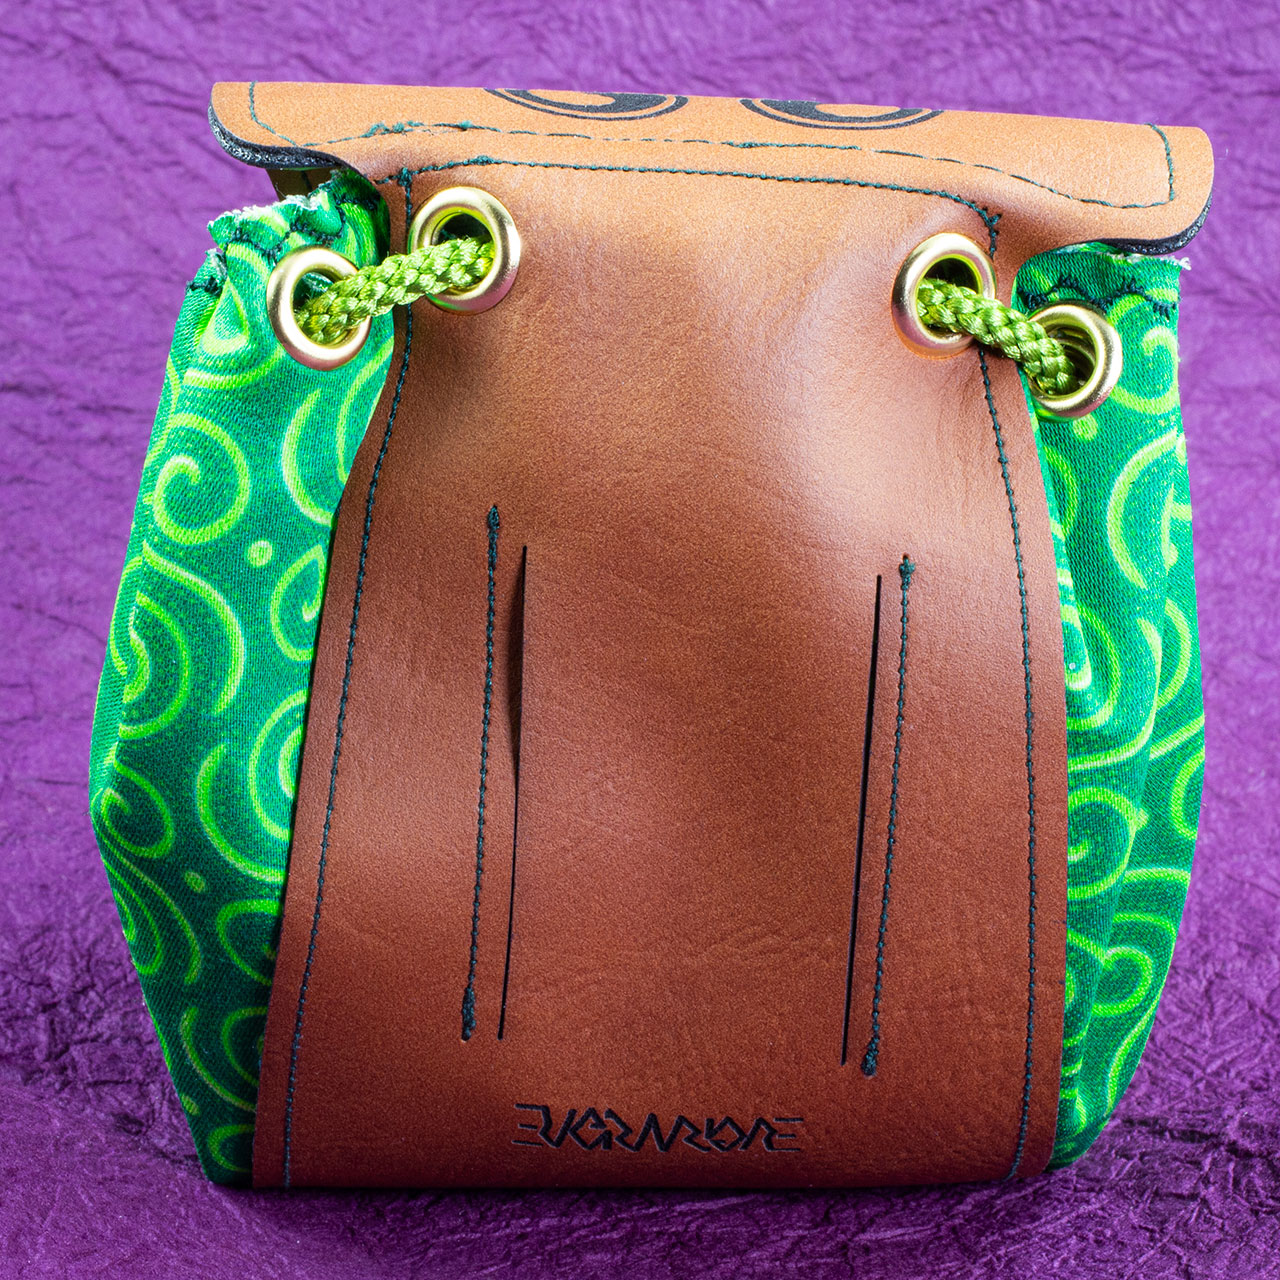
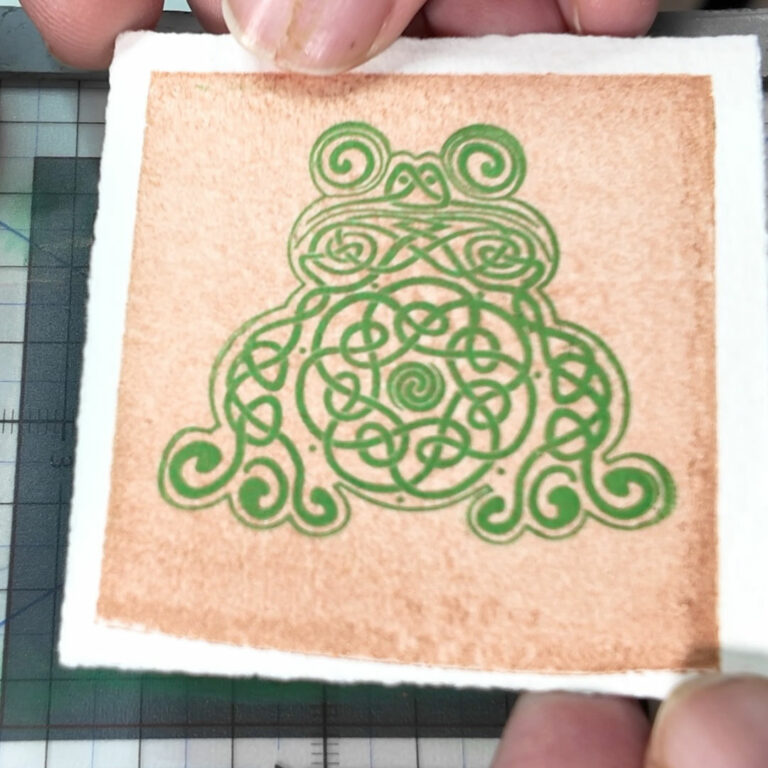
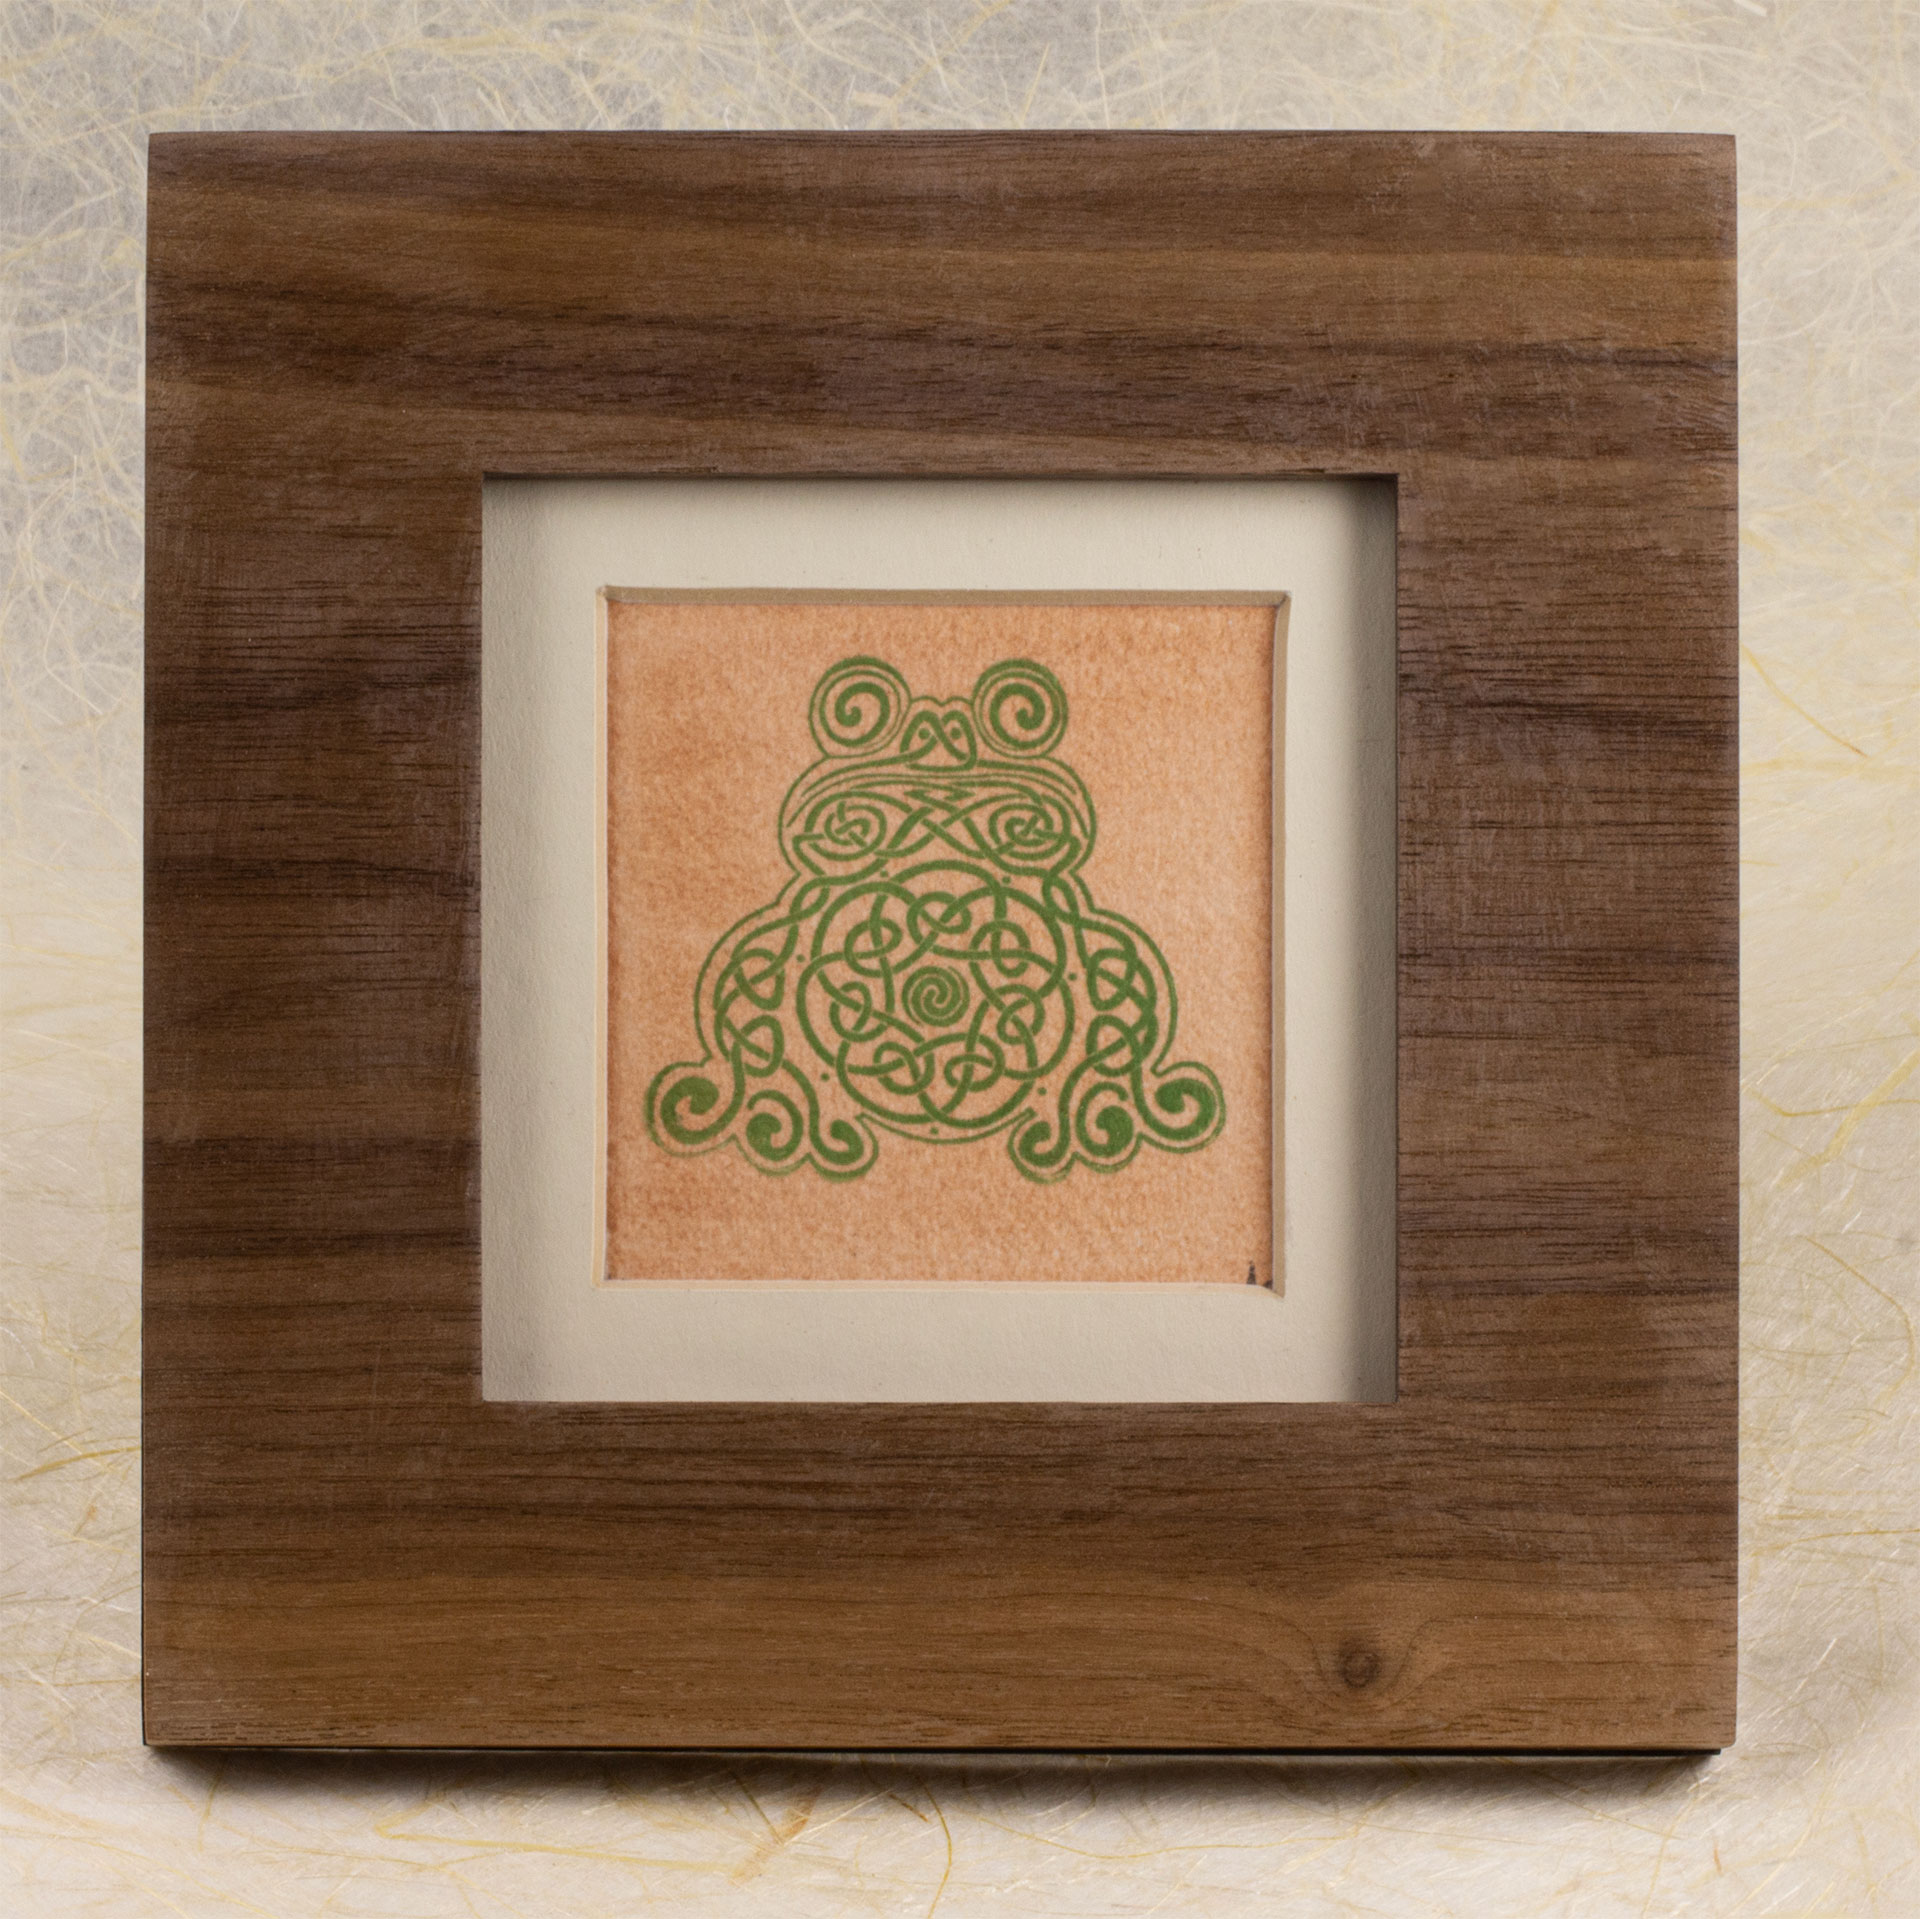
Celtic Design Fabric


