
Floss Separator

This is a quick, simple tool to assist when separating skeins of kumihimo (or embroidery) floss into working clusters with the desired number of strands. The upright is a sandwich of a piece of EVA foam between two pieces of 1/4″ stock (MDF here but, something like Baltic birch ply or acrylic should work, too). The EVA is sliced with a razor blade in the middle of each channel. Then, just glue it all together with wood glue. Some clamping is likely required while it dries.
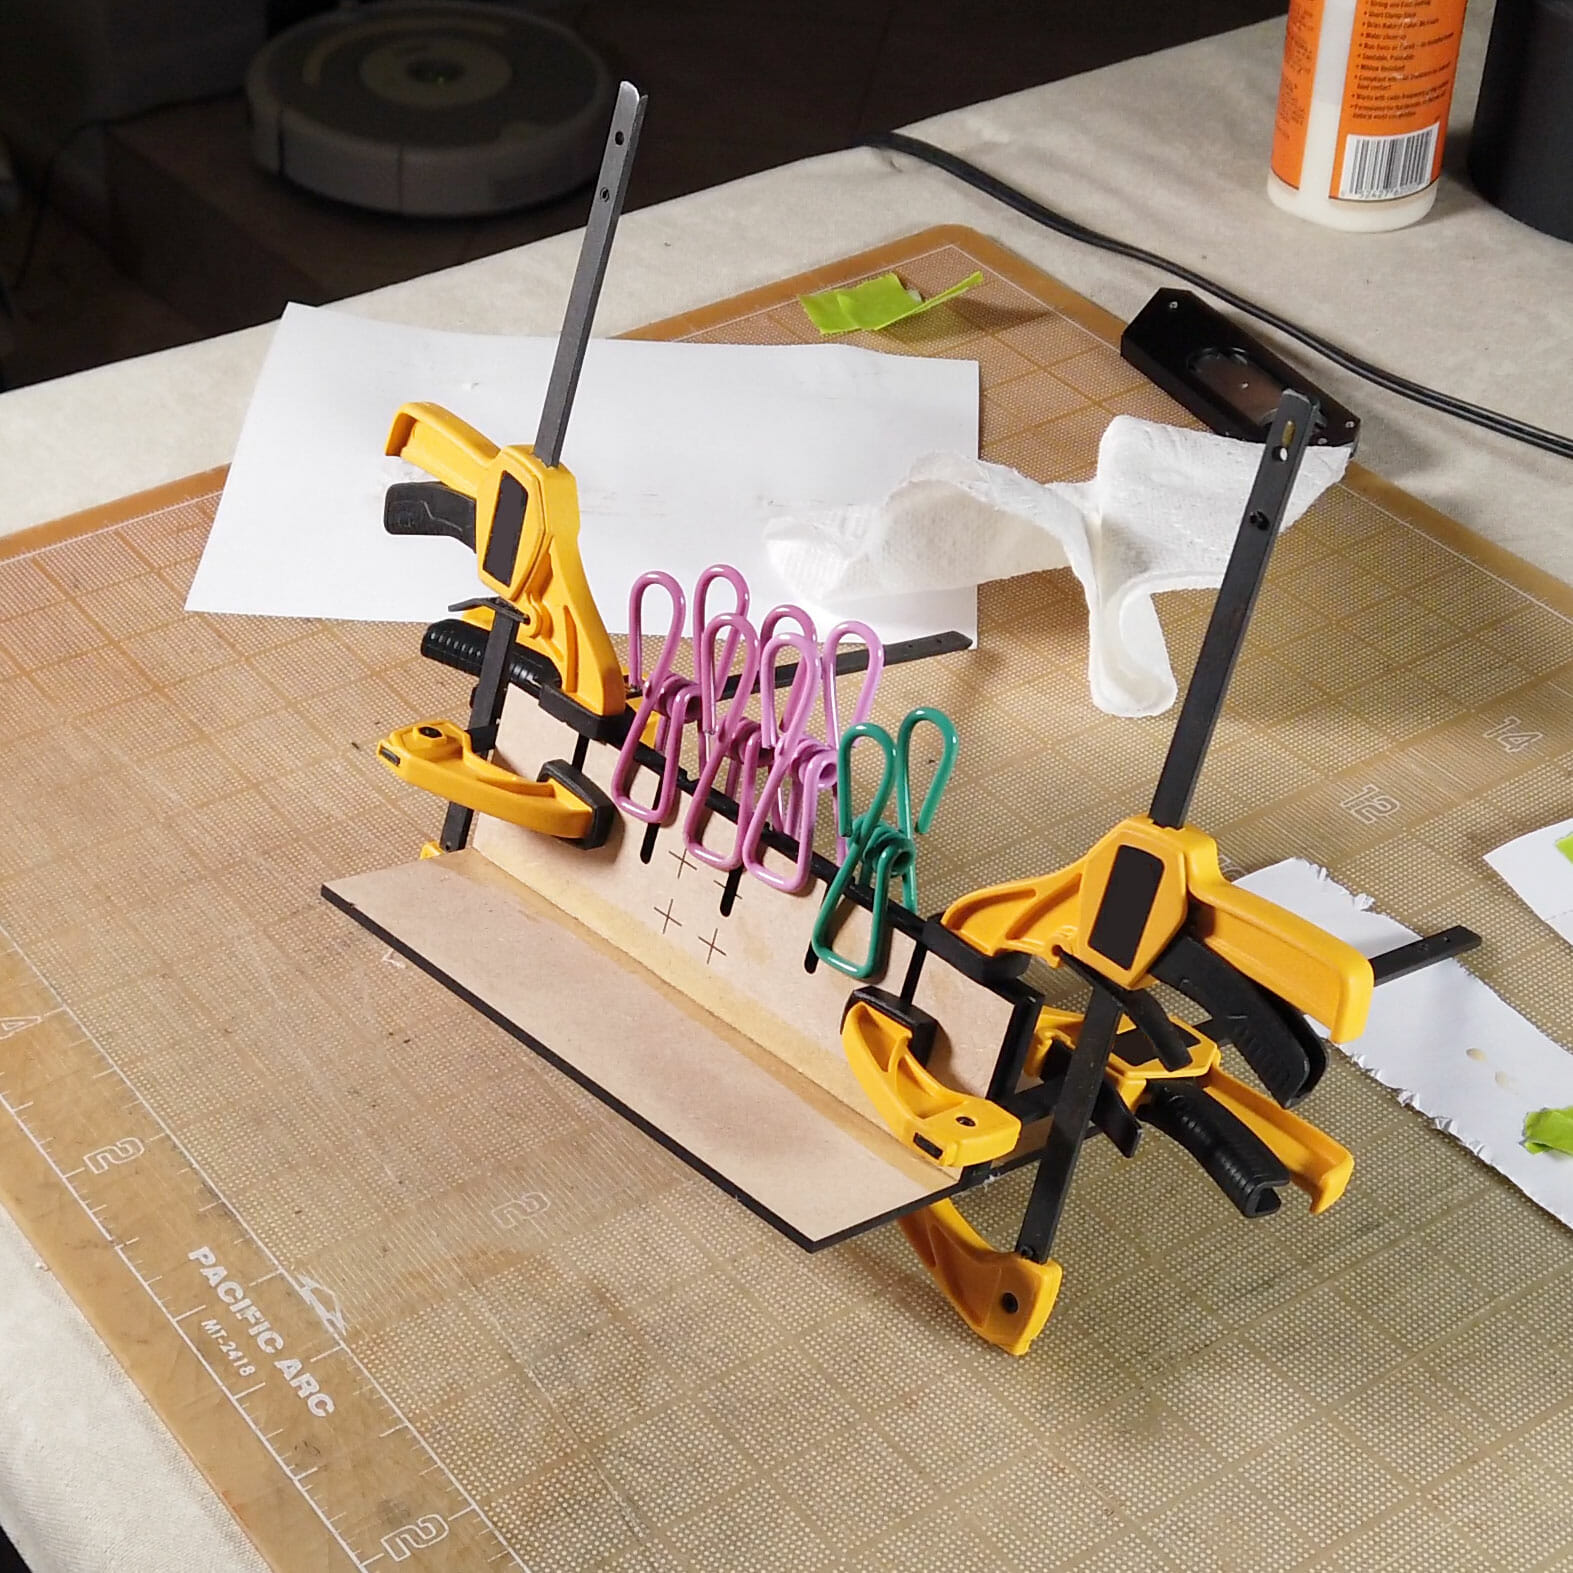
It is probably best to clamp it down to a table when using. Knot the end of the skein/bundle of strands and, slip it into the cut in the EVA. That should keep the end in place while you separate the full length.
Floss Separator Design Files
These files are for personal, non-commercial use only. Note that, by referencing these, you are agreeing to release any variations you create under identical terms.
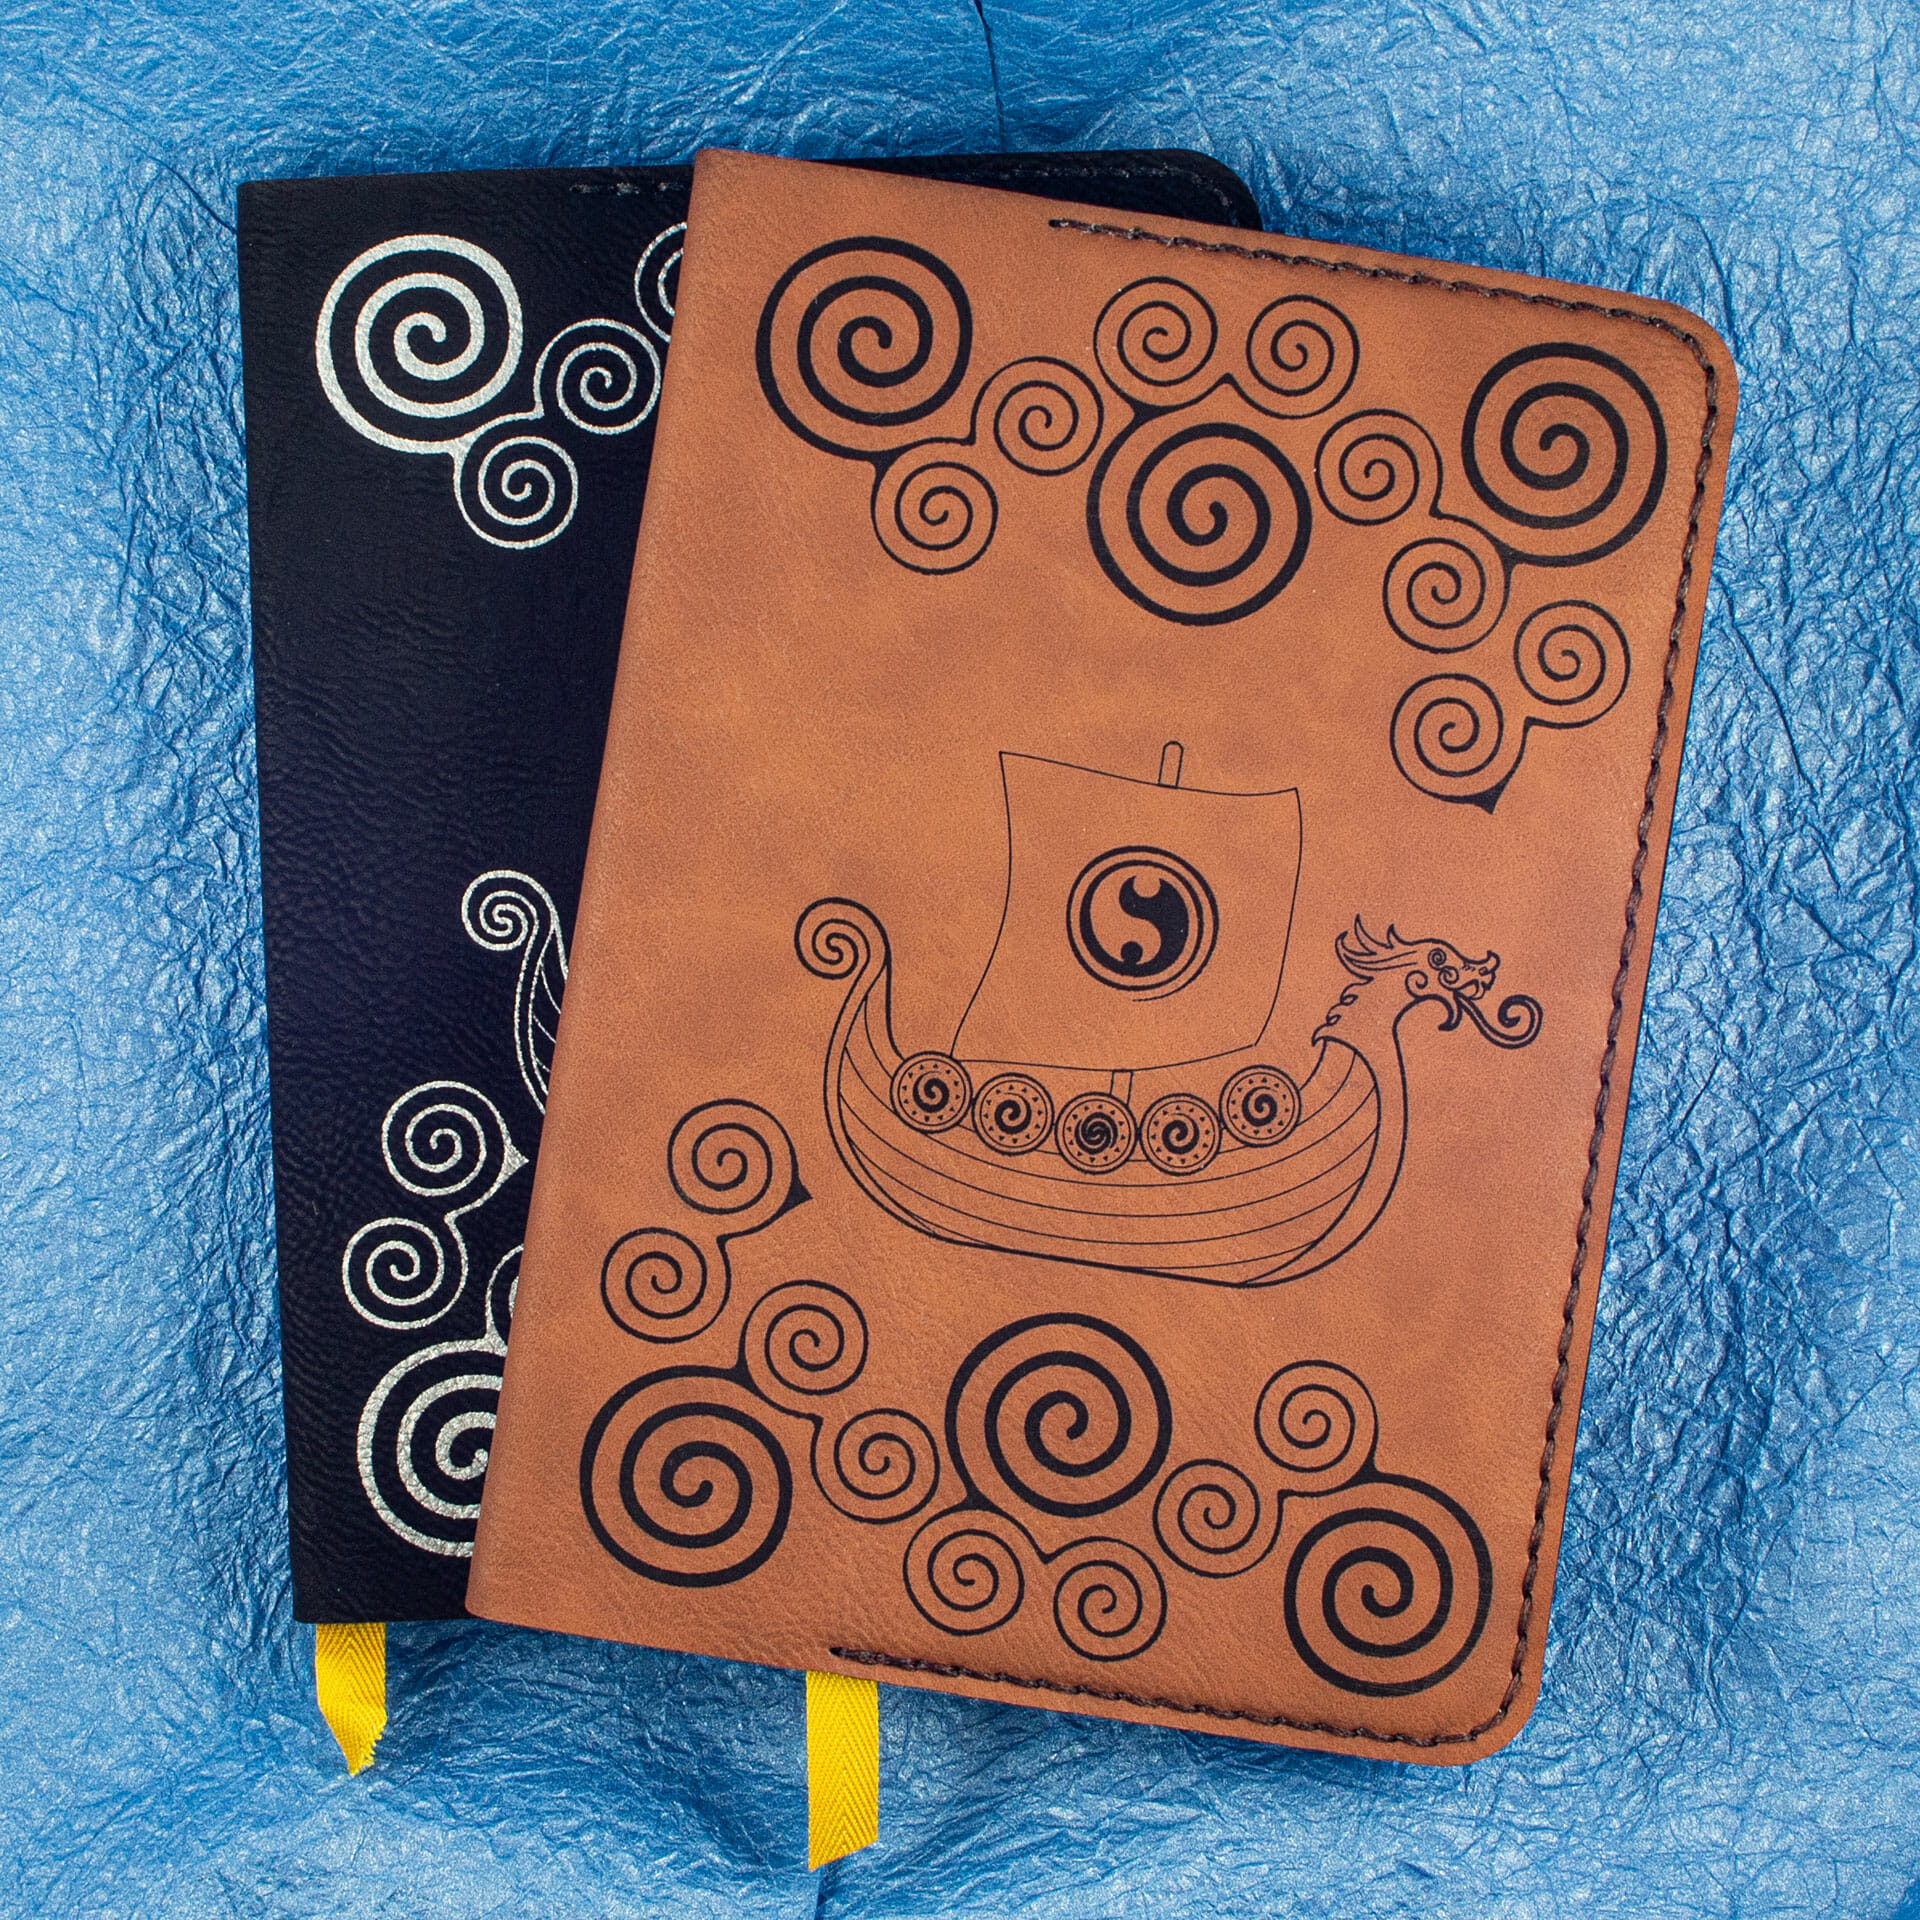
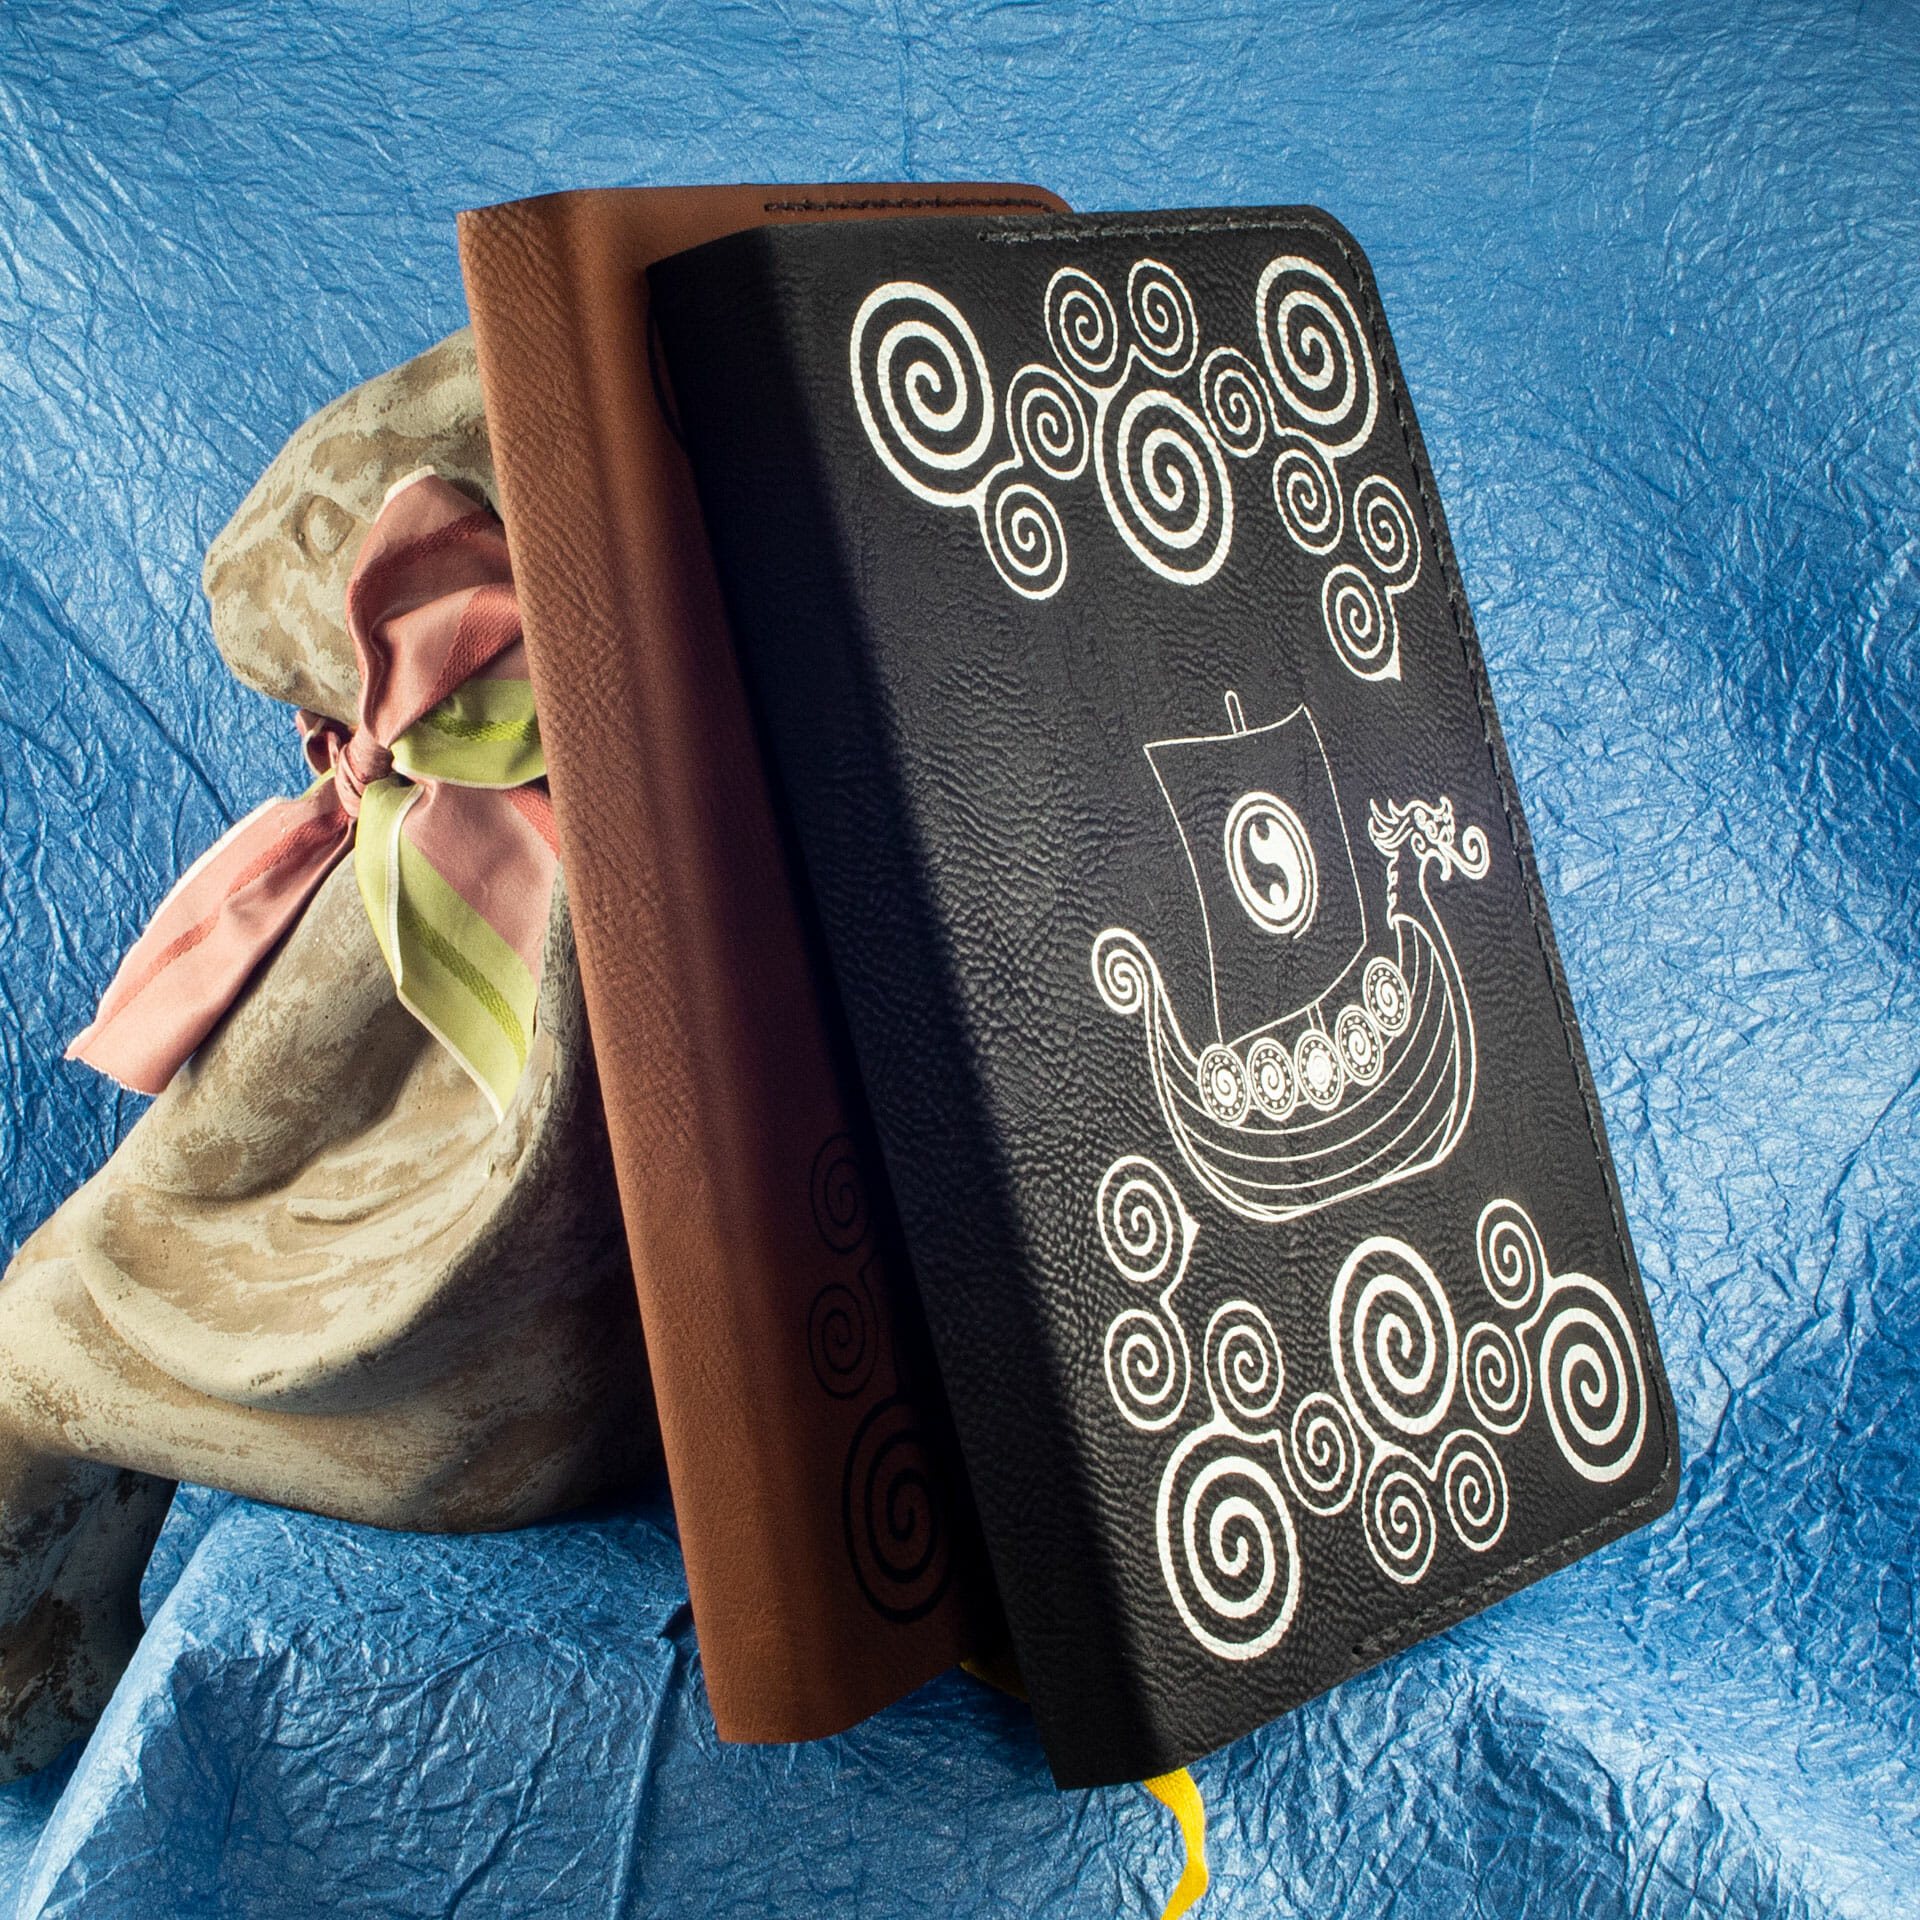
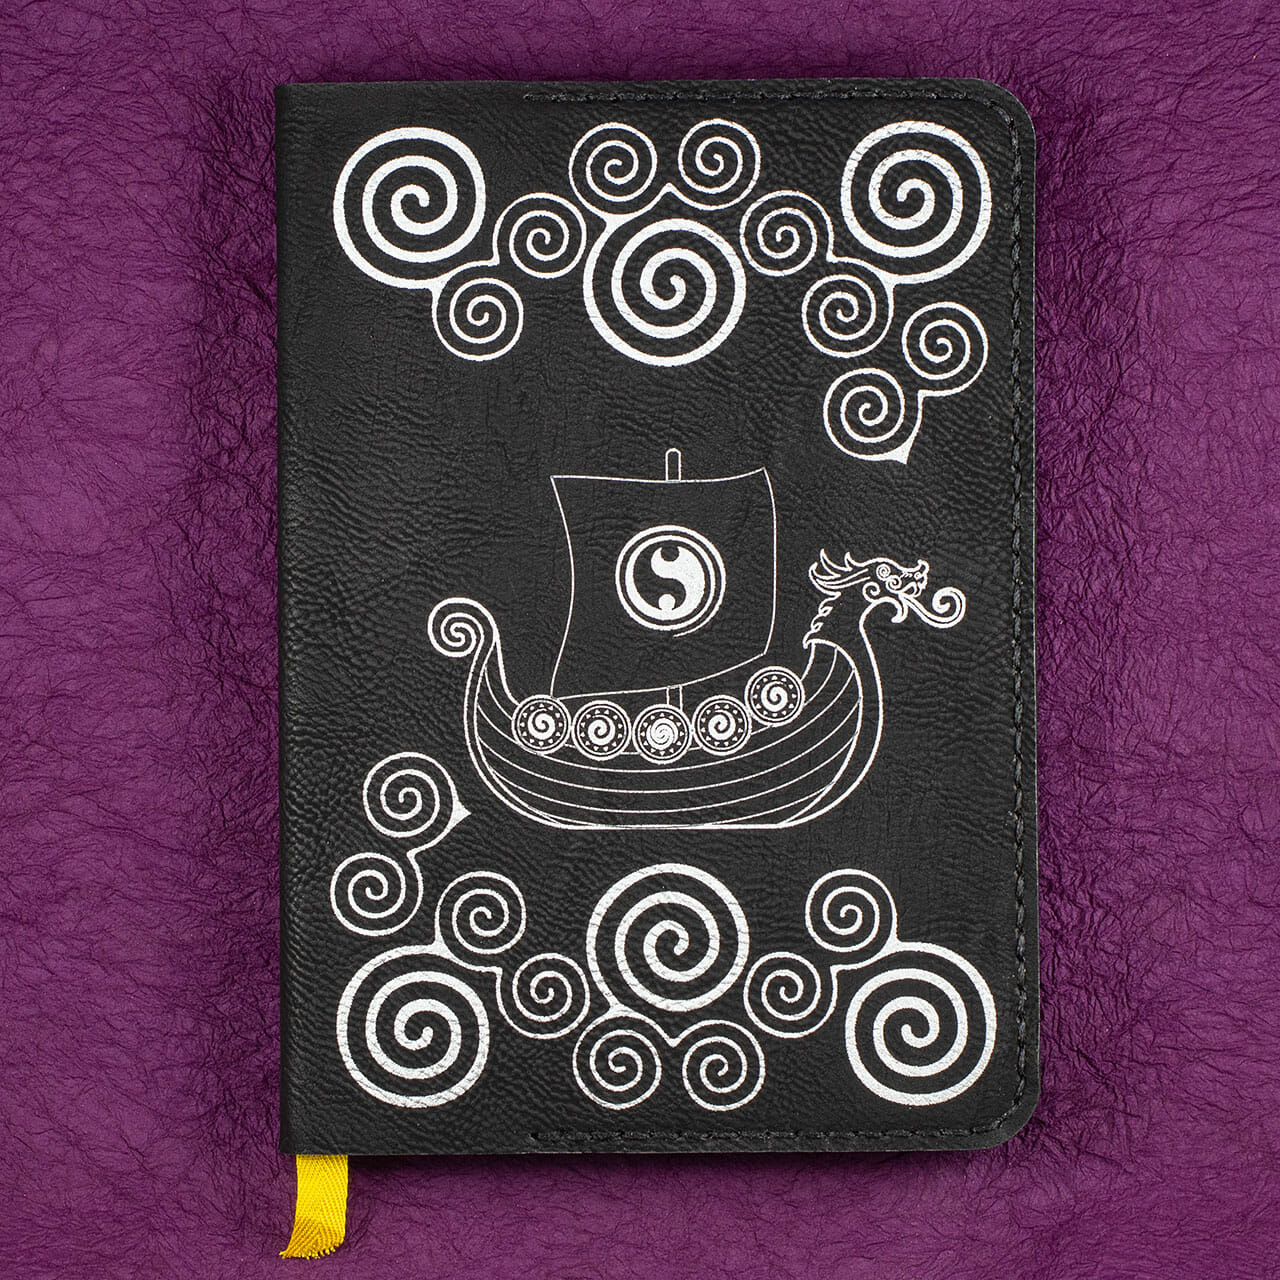
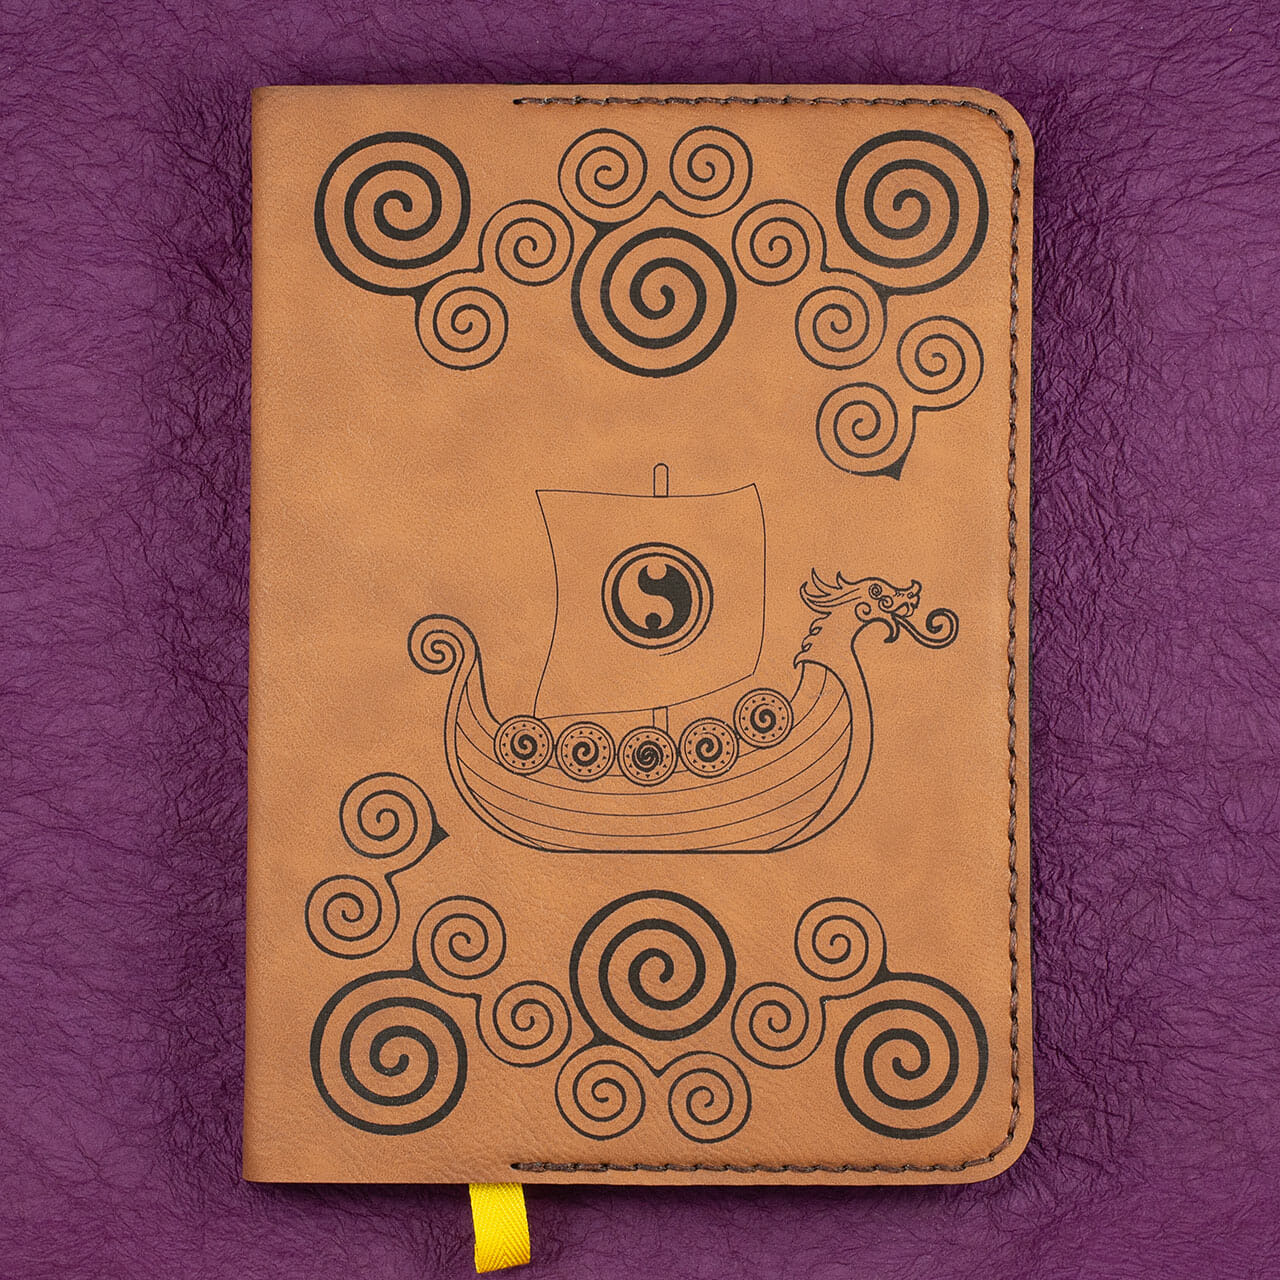
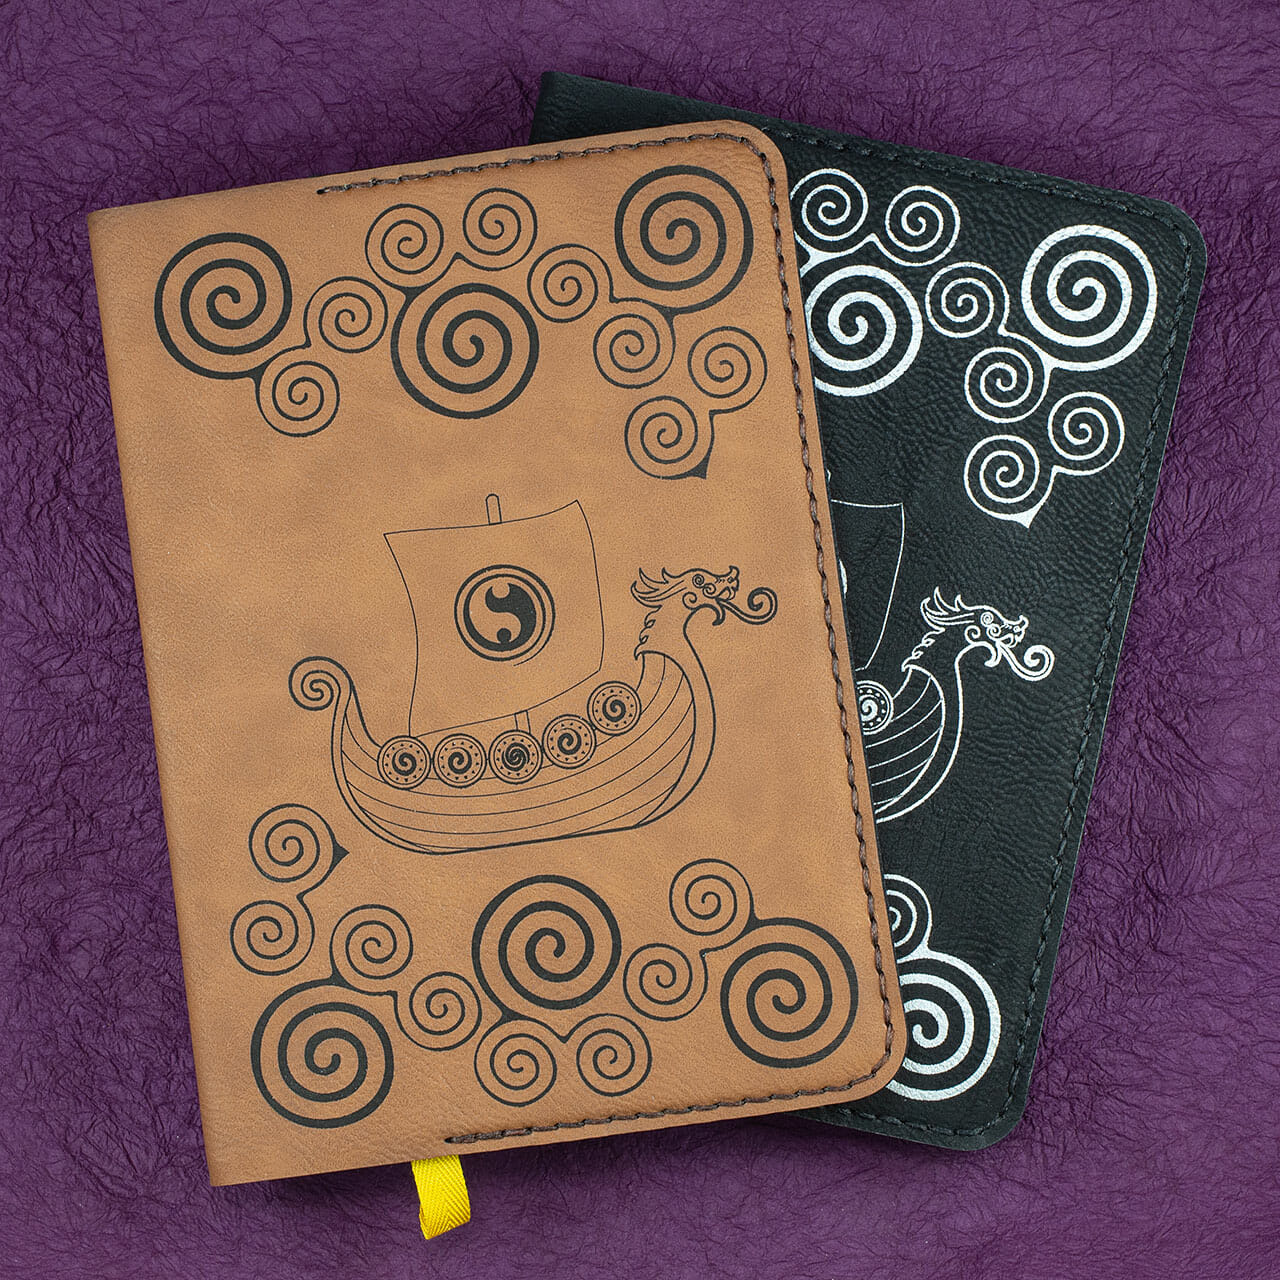
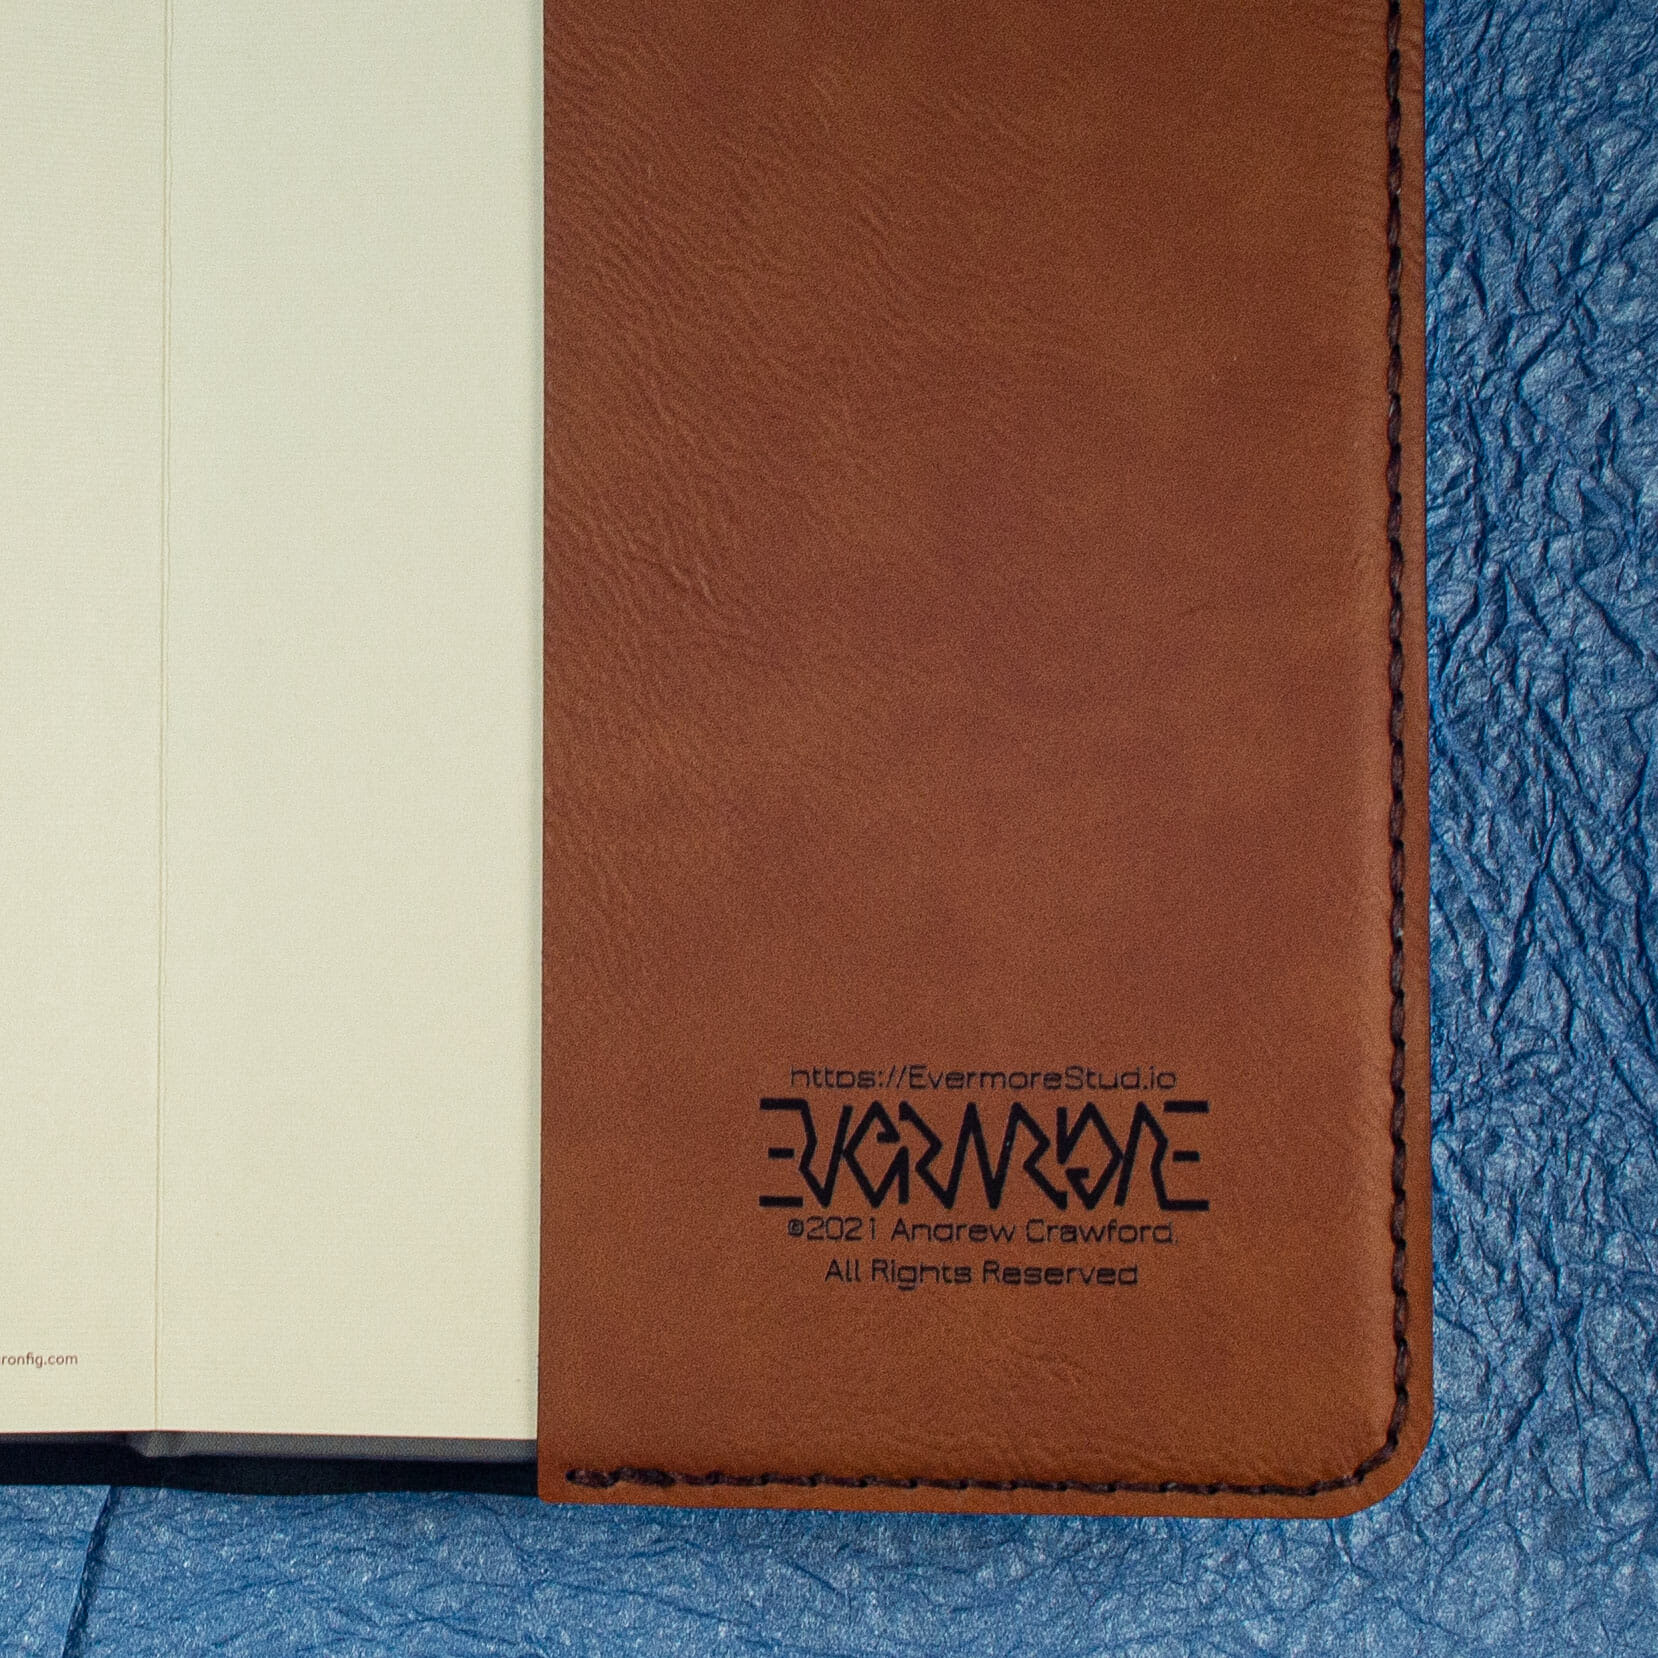
Viking Longship Design on Hardcover Notebooks


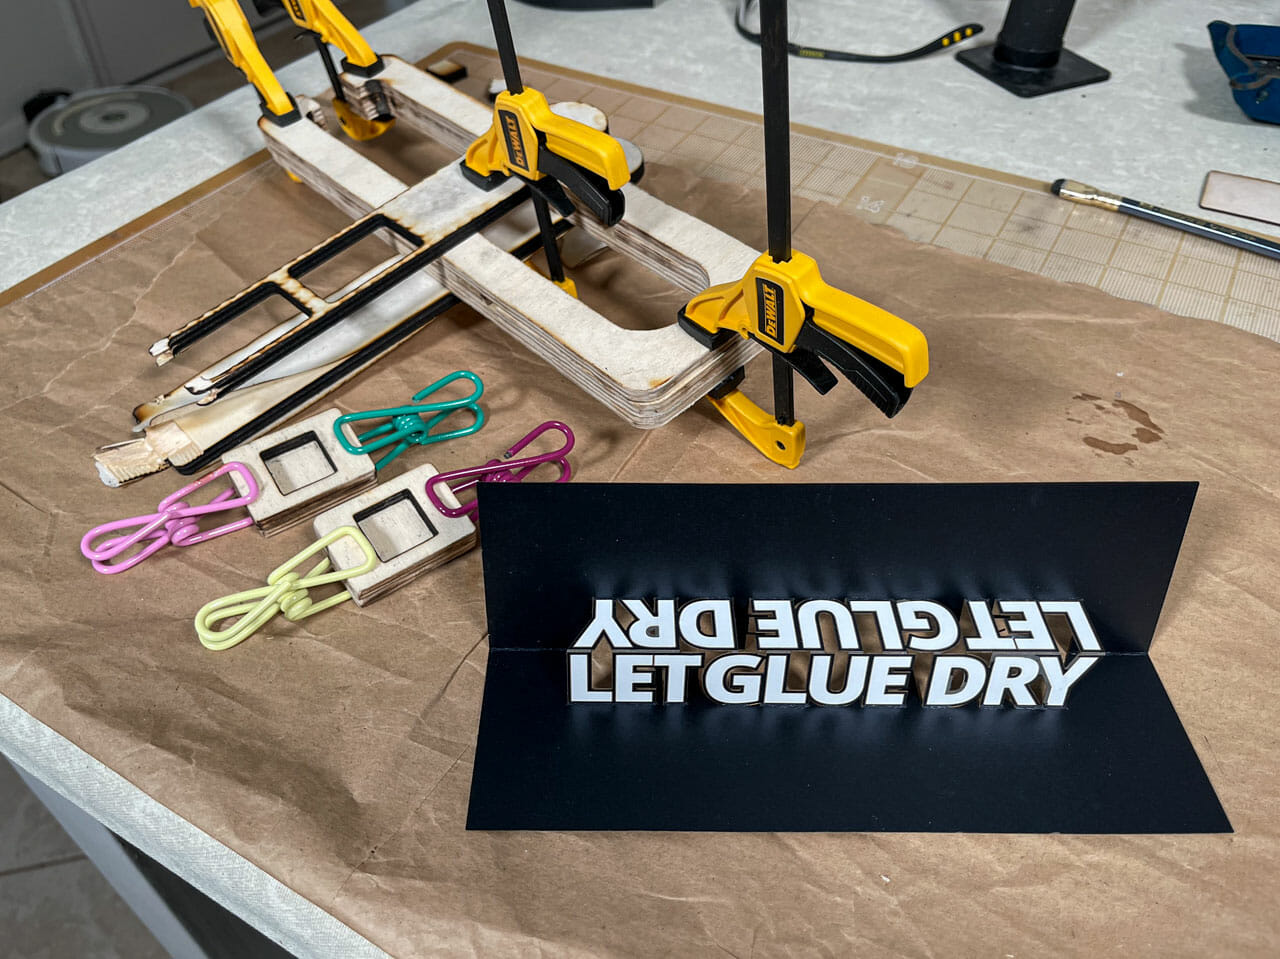
Let Glue Dry Pop Up Card
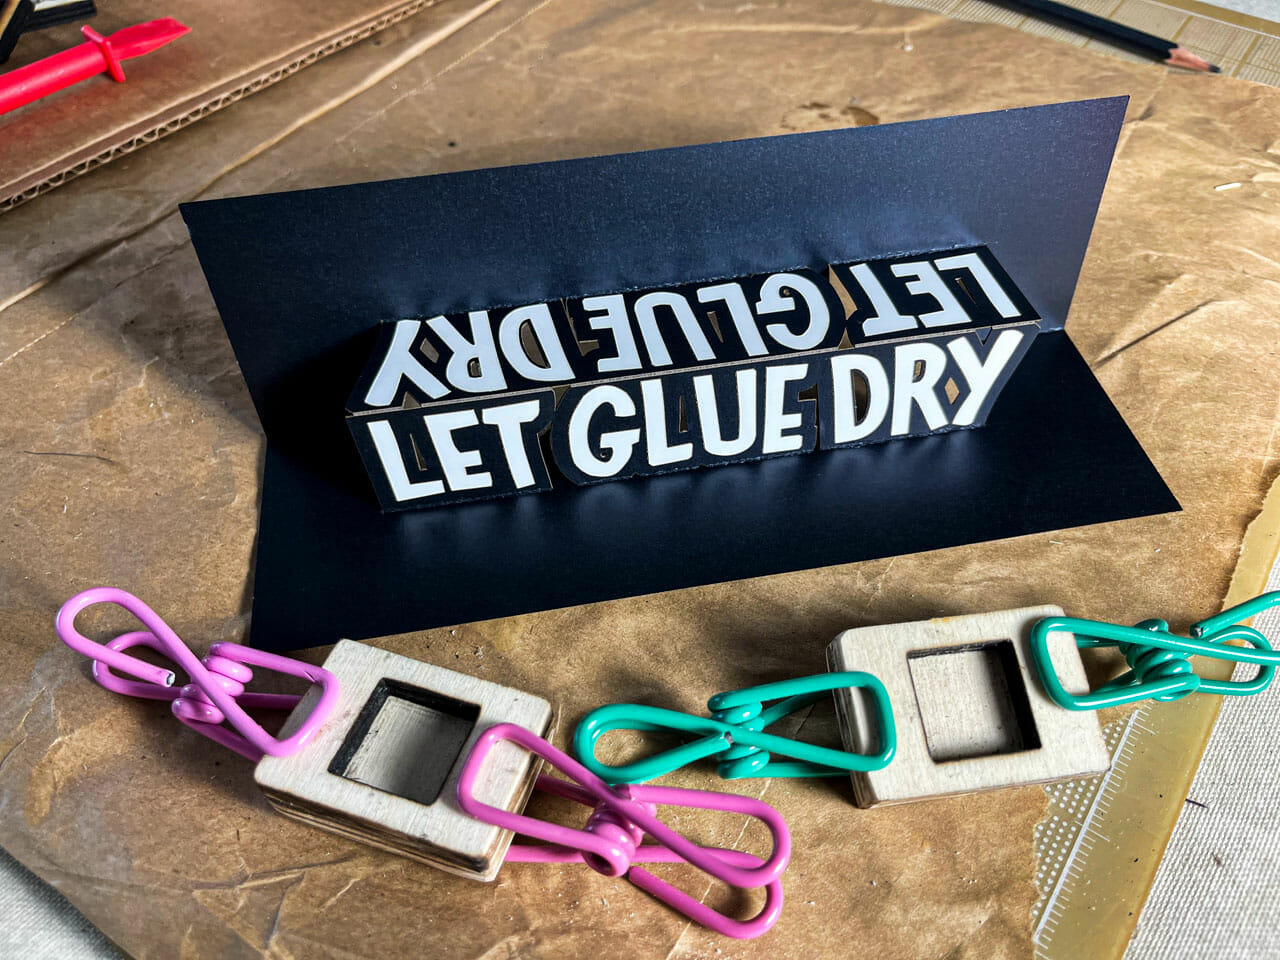
Someone made a paper craft version of the “Let Glue Dry” block Laura Kampf uses in her shop awhile back. I immediately thought of making a pop up card version that could be stored flat. I did one with a simple block font but, later, made another version where I reproduced the hand lettering from a photo of Laura’s block.
I sent one of these to Laura back in March. I am going to assume that it’s okay to share these unless I hear otherwise.
Although I cut my cards on the laser, you could do this entirely by hand with a craft knife. You can even skip the white stickers. The letters could be cut from white paper and glued on. The letters could be colored in with an opaque white marker or paint.
There are two version of each design. The regular one has everything aligned in one image. That is, the score lines for the back show aligned where they should be on the front like a standard OA pattern. The jig-in-place version has the score lines for the reverse flipped for production on a sign or laser cutter.
I made my cards using the jig-in-place technique. In brief, I:
- Stuck the black stock down to an adhesive mat in the Glowforge.
- Disabled all operations except the score lines for the reverse side and the card outline.
- Ran those two operations.
- Flipped the card over in place, aligning it with the hole from which it was cut.
- Placed a strip of white polyester sticker over the face of the card where the white letter would be.
- Disabled the reverse scores and outline cut. Enabled the other operations
- Ran the operations.
- Removed the card and weeded the white polyester stickers.
- Folded the finished card!
I started to make a video of the jig-in-place technique but, it is not super clear on the black stock. I will likely do a video showing how this is done when I have another design on a lighter-colored stock to run.
Files to Make Your Own
These files are for personal, non-commercial use only. Note that, by referencing these, you are agreeing to release any variations you create under identical terms.
![]() LK Let Glue Dry Pop Up Card (Standard version)
LK Let Glue Dry Pop Up Card (Standard version)
LK Let Glue Dry Pop Up Card (Jig-in-Place version)
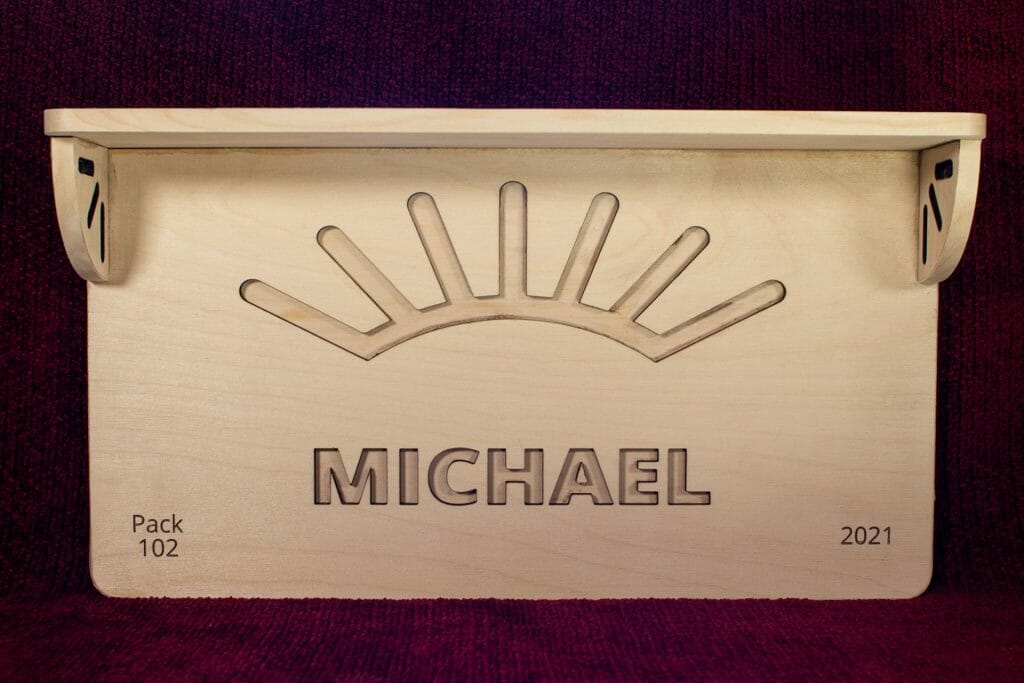
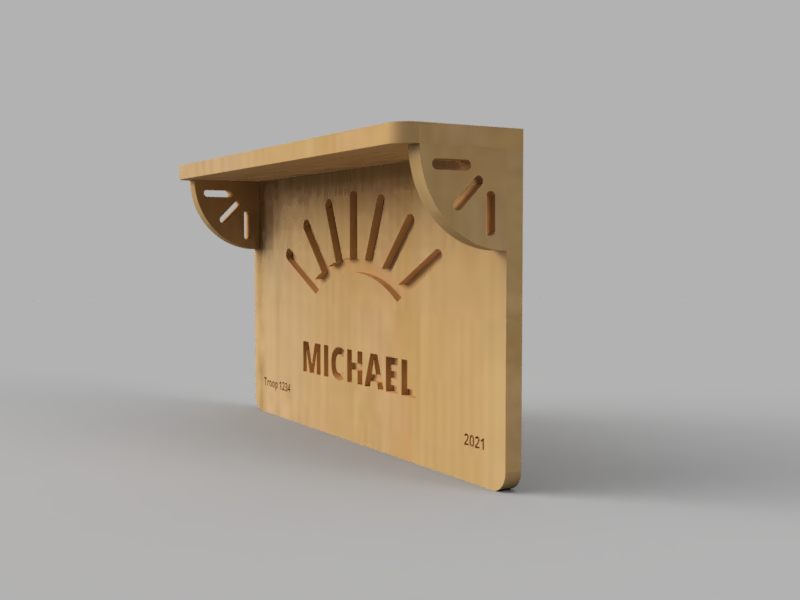
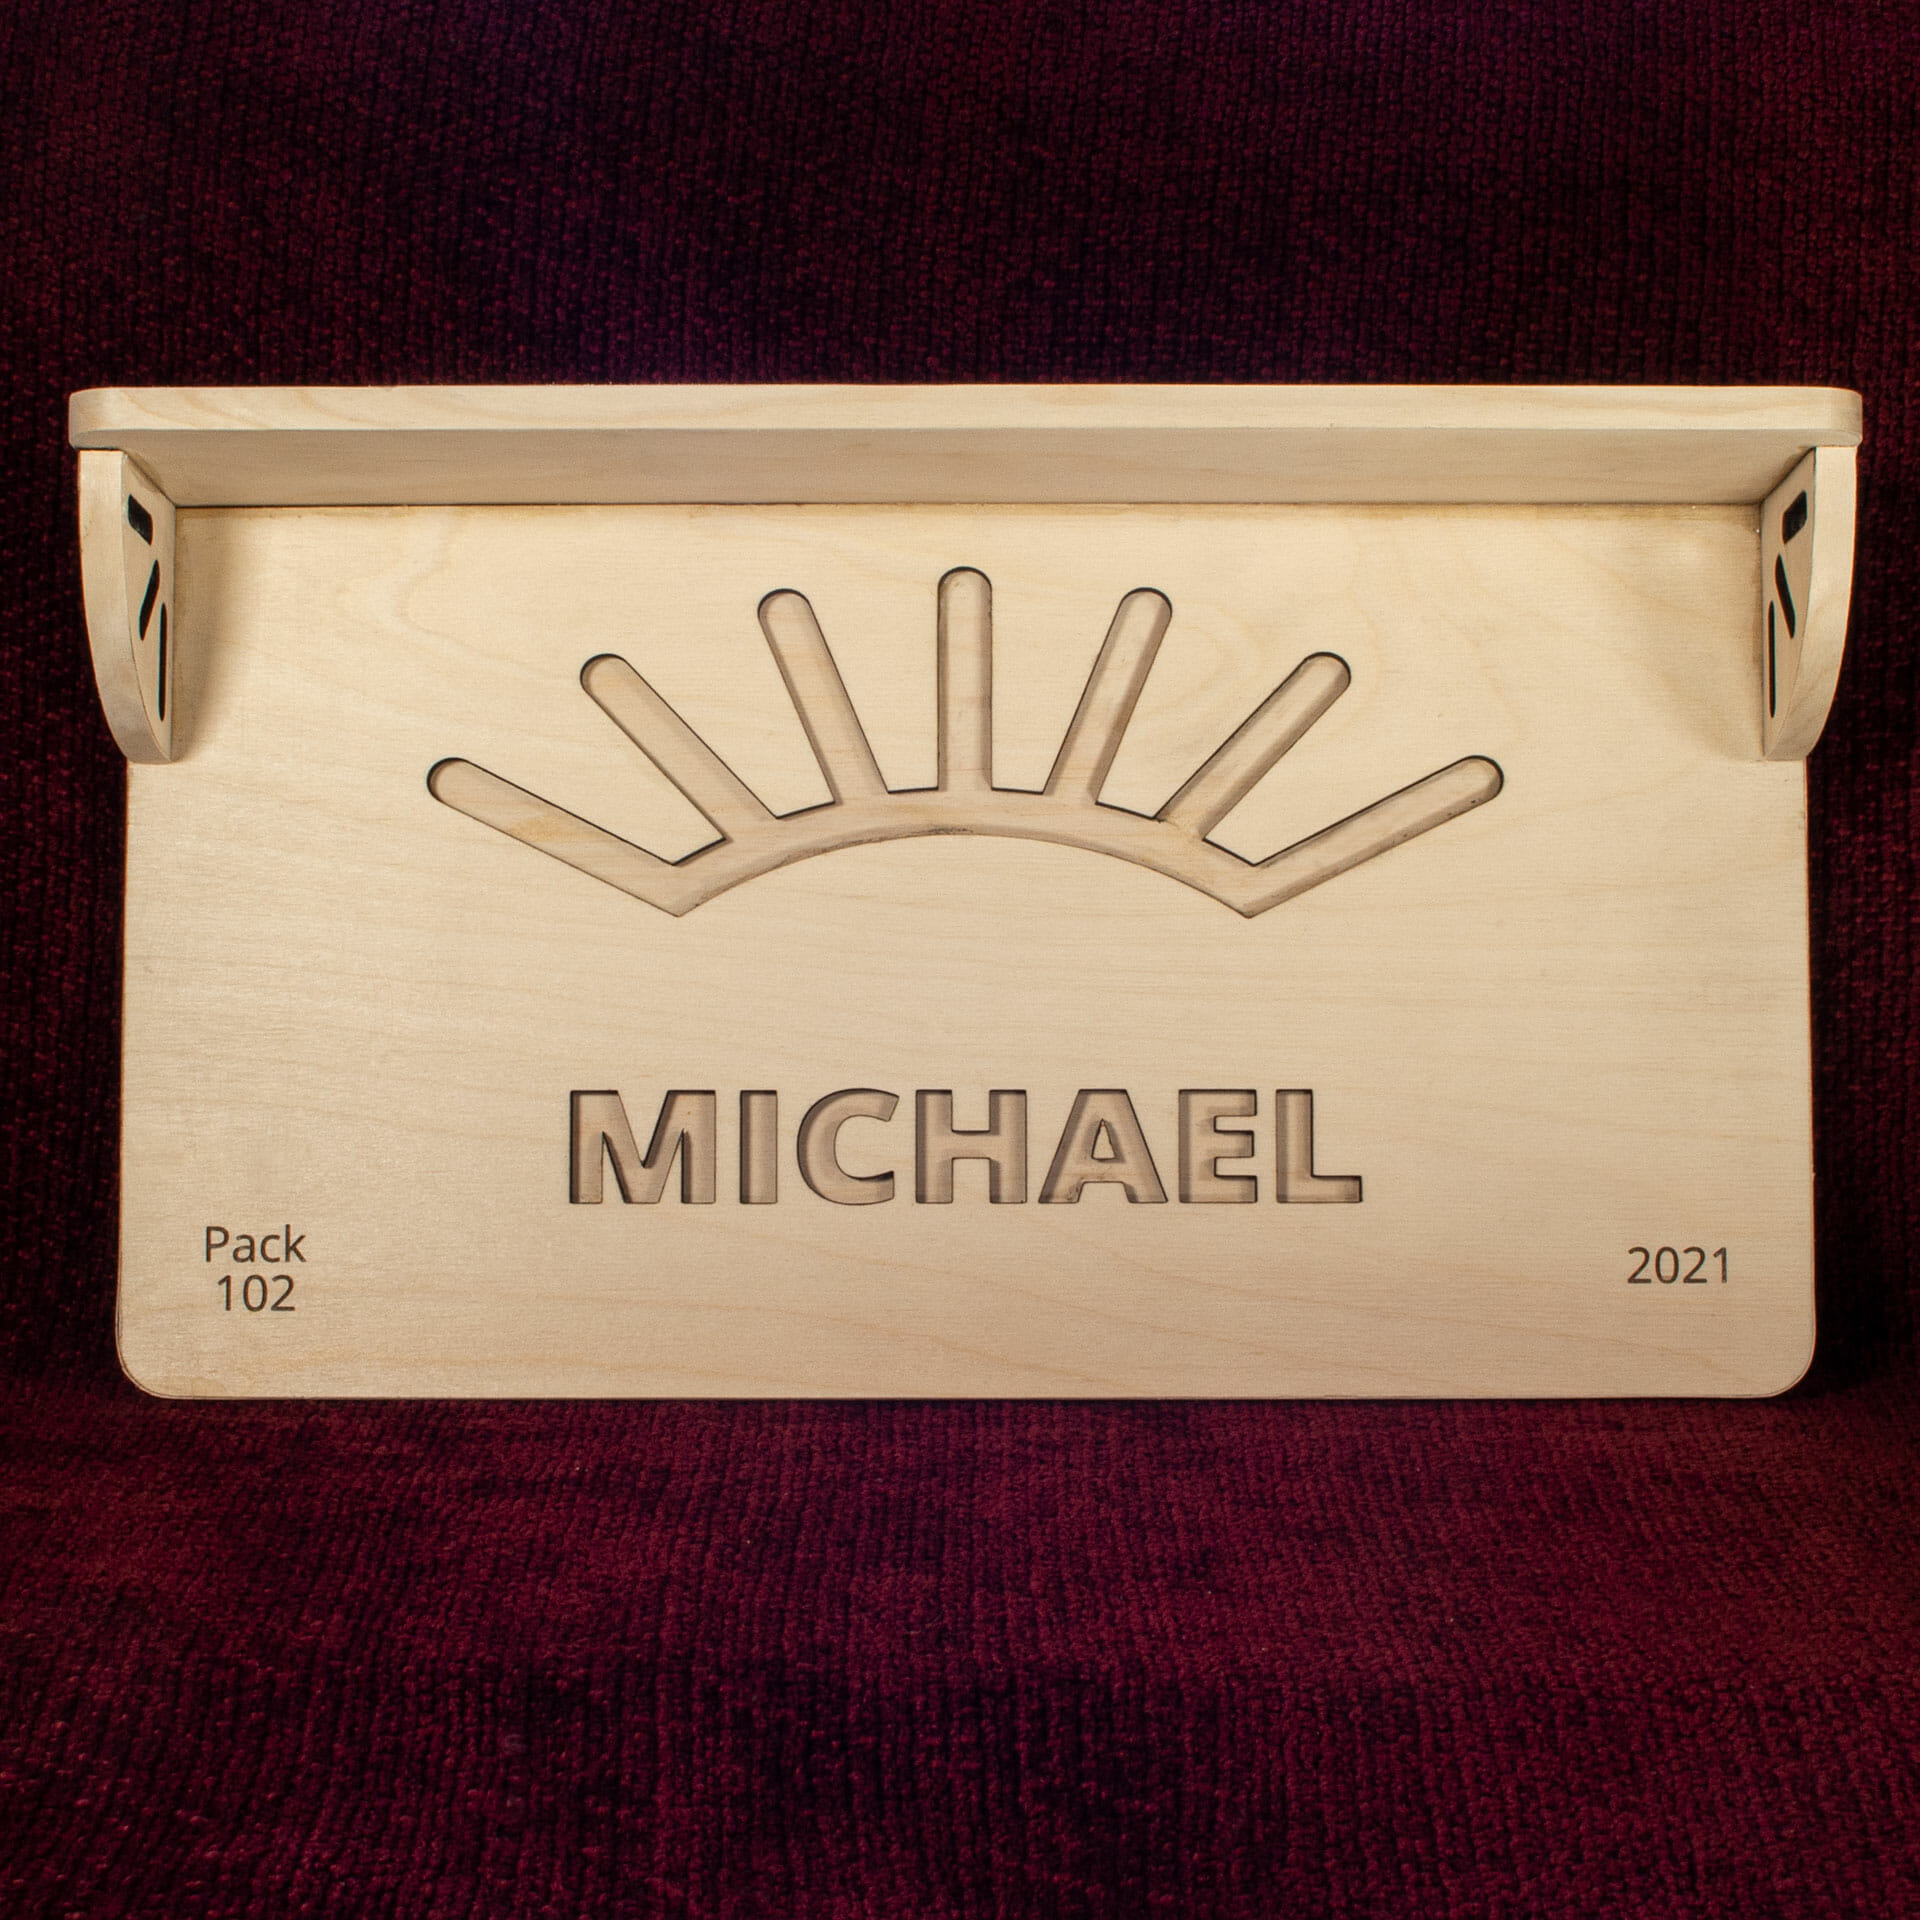
Personalized Arrow of Light Shelf Plaque

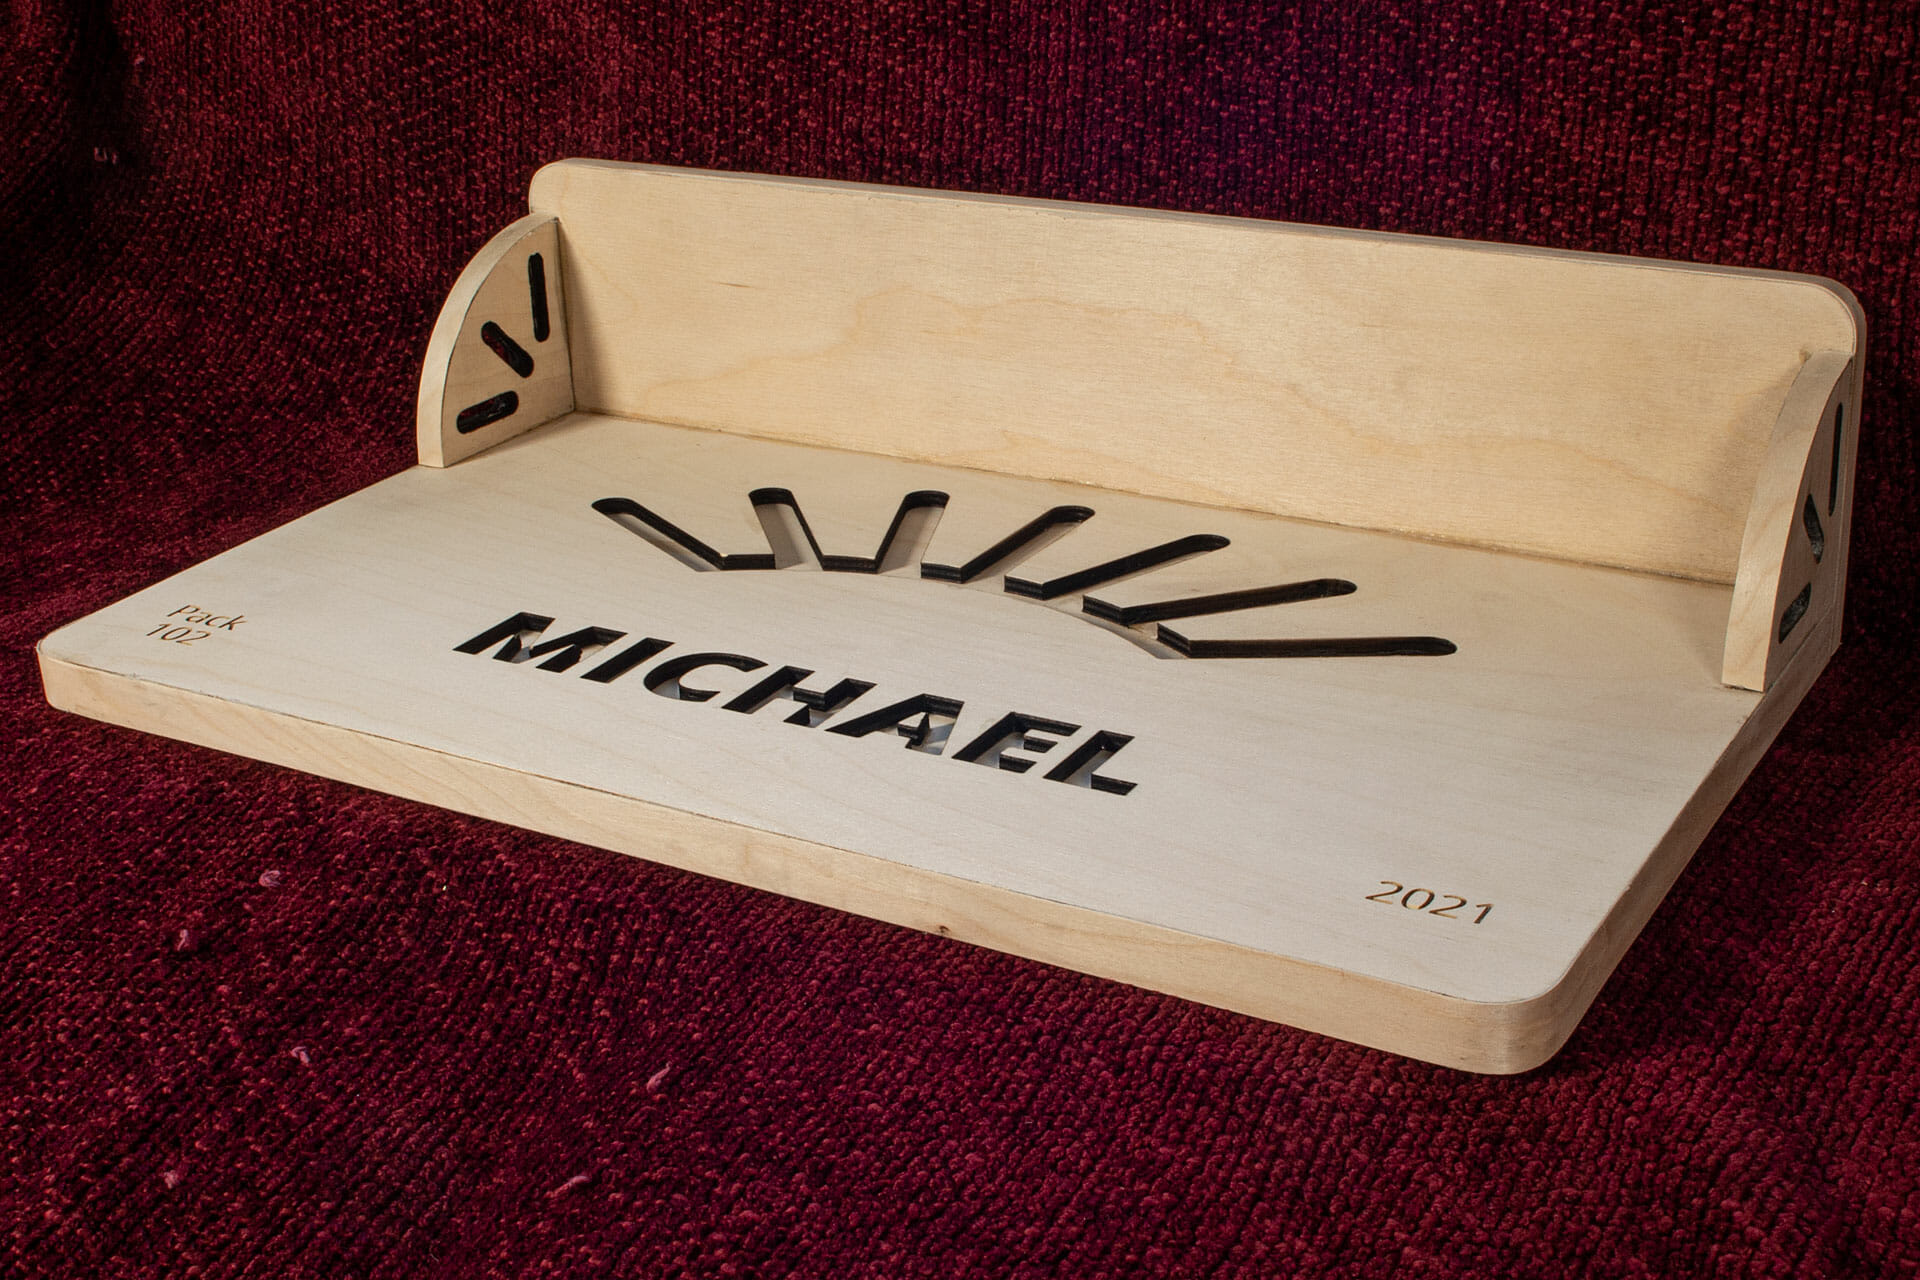

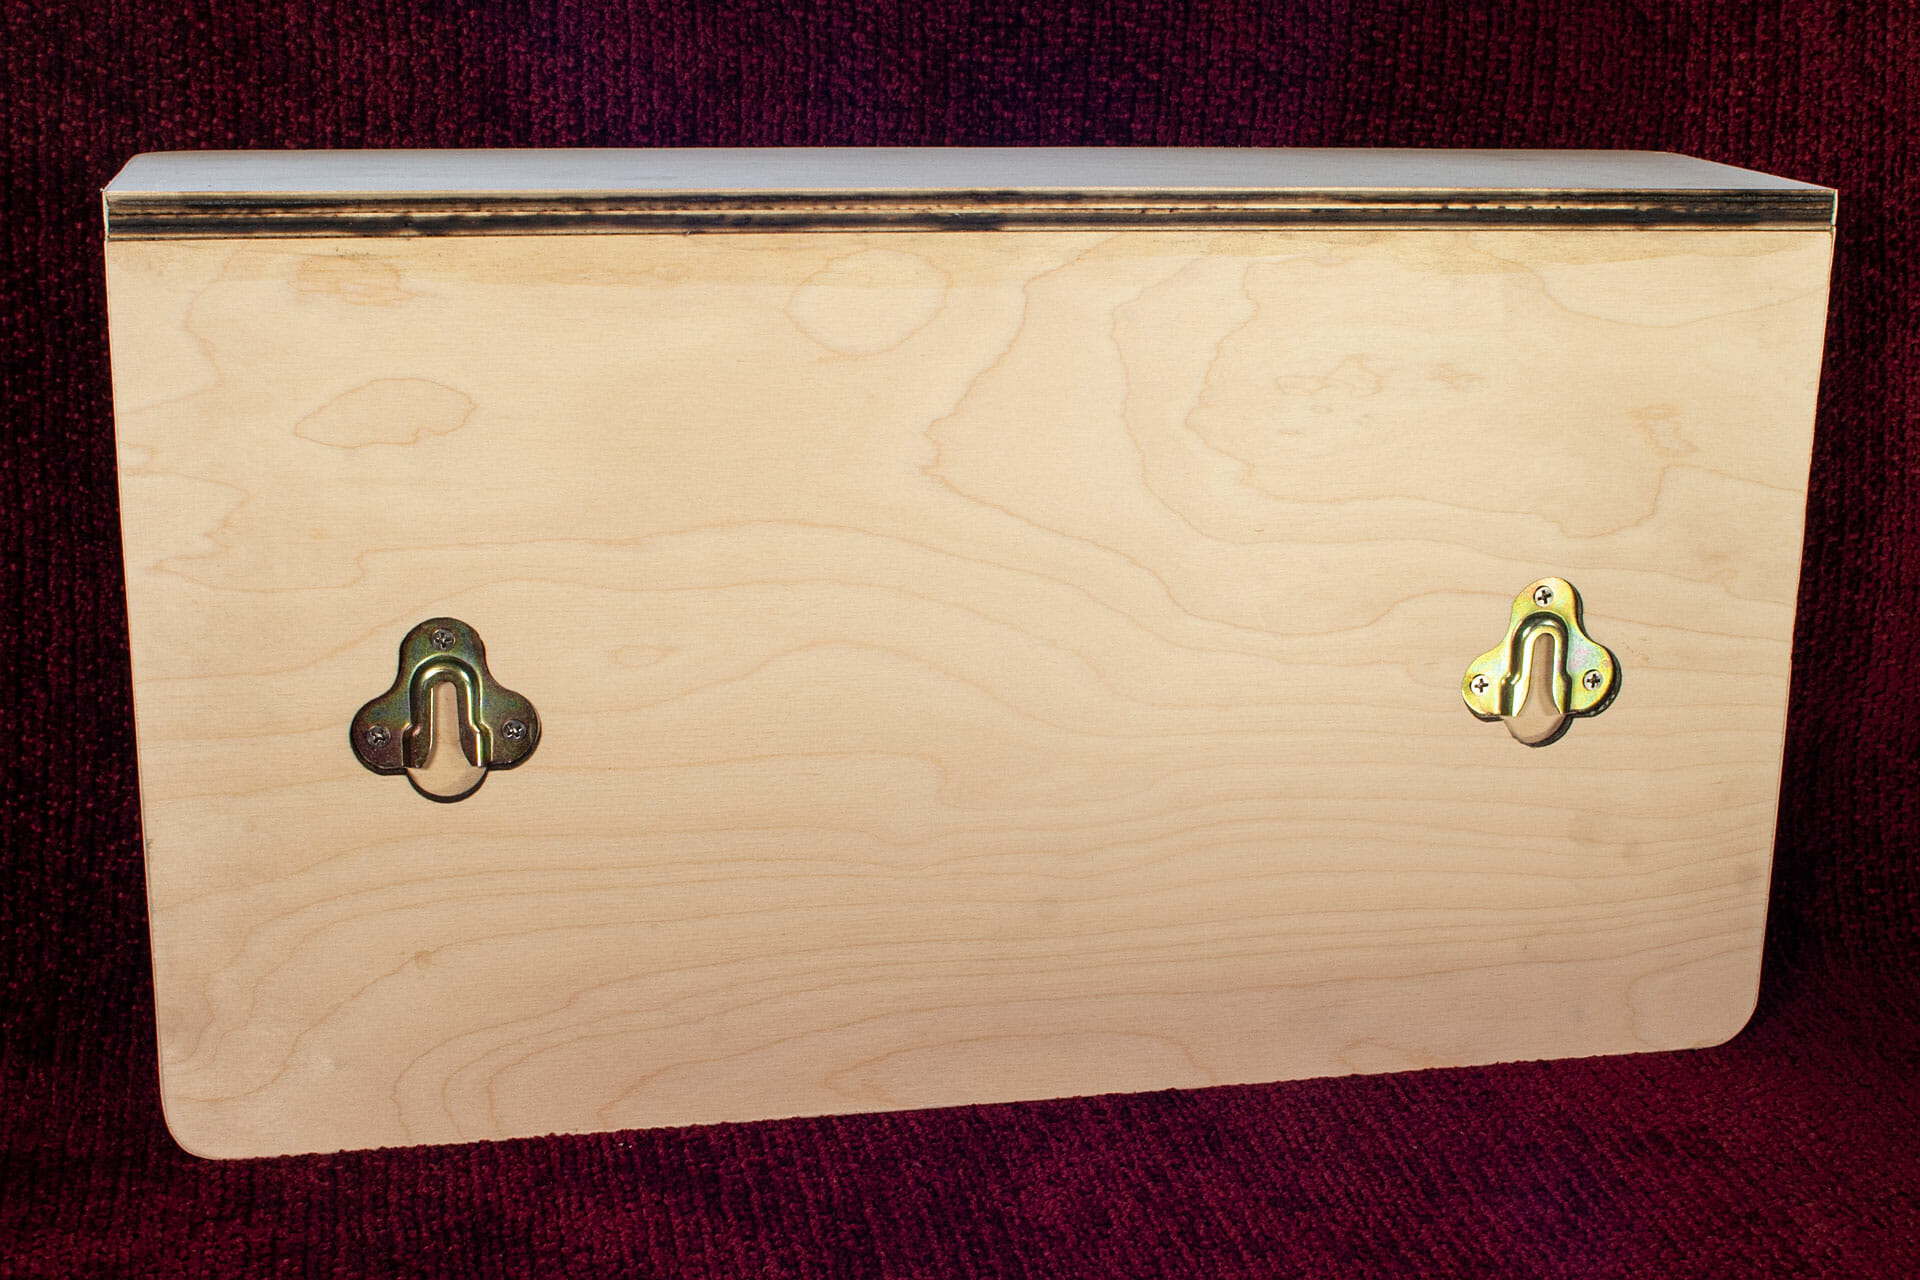
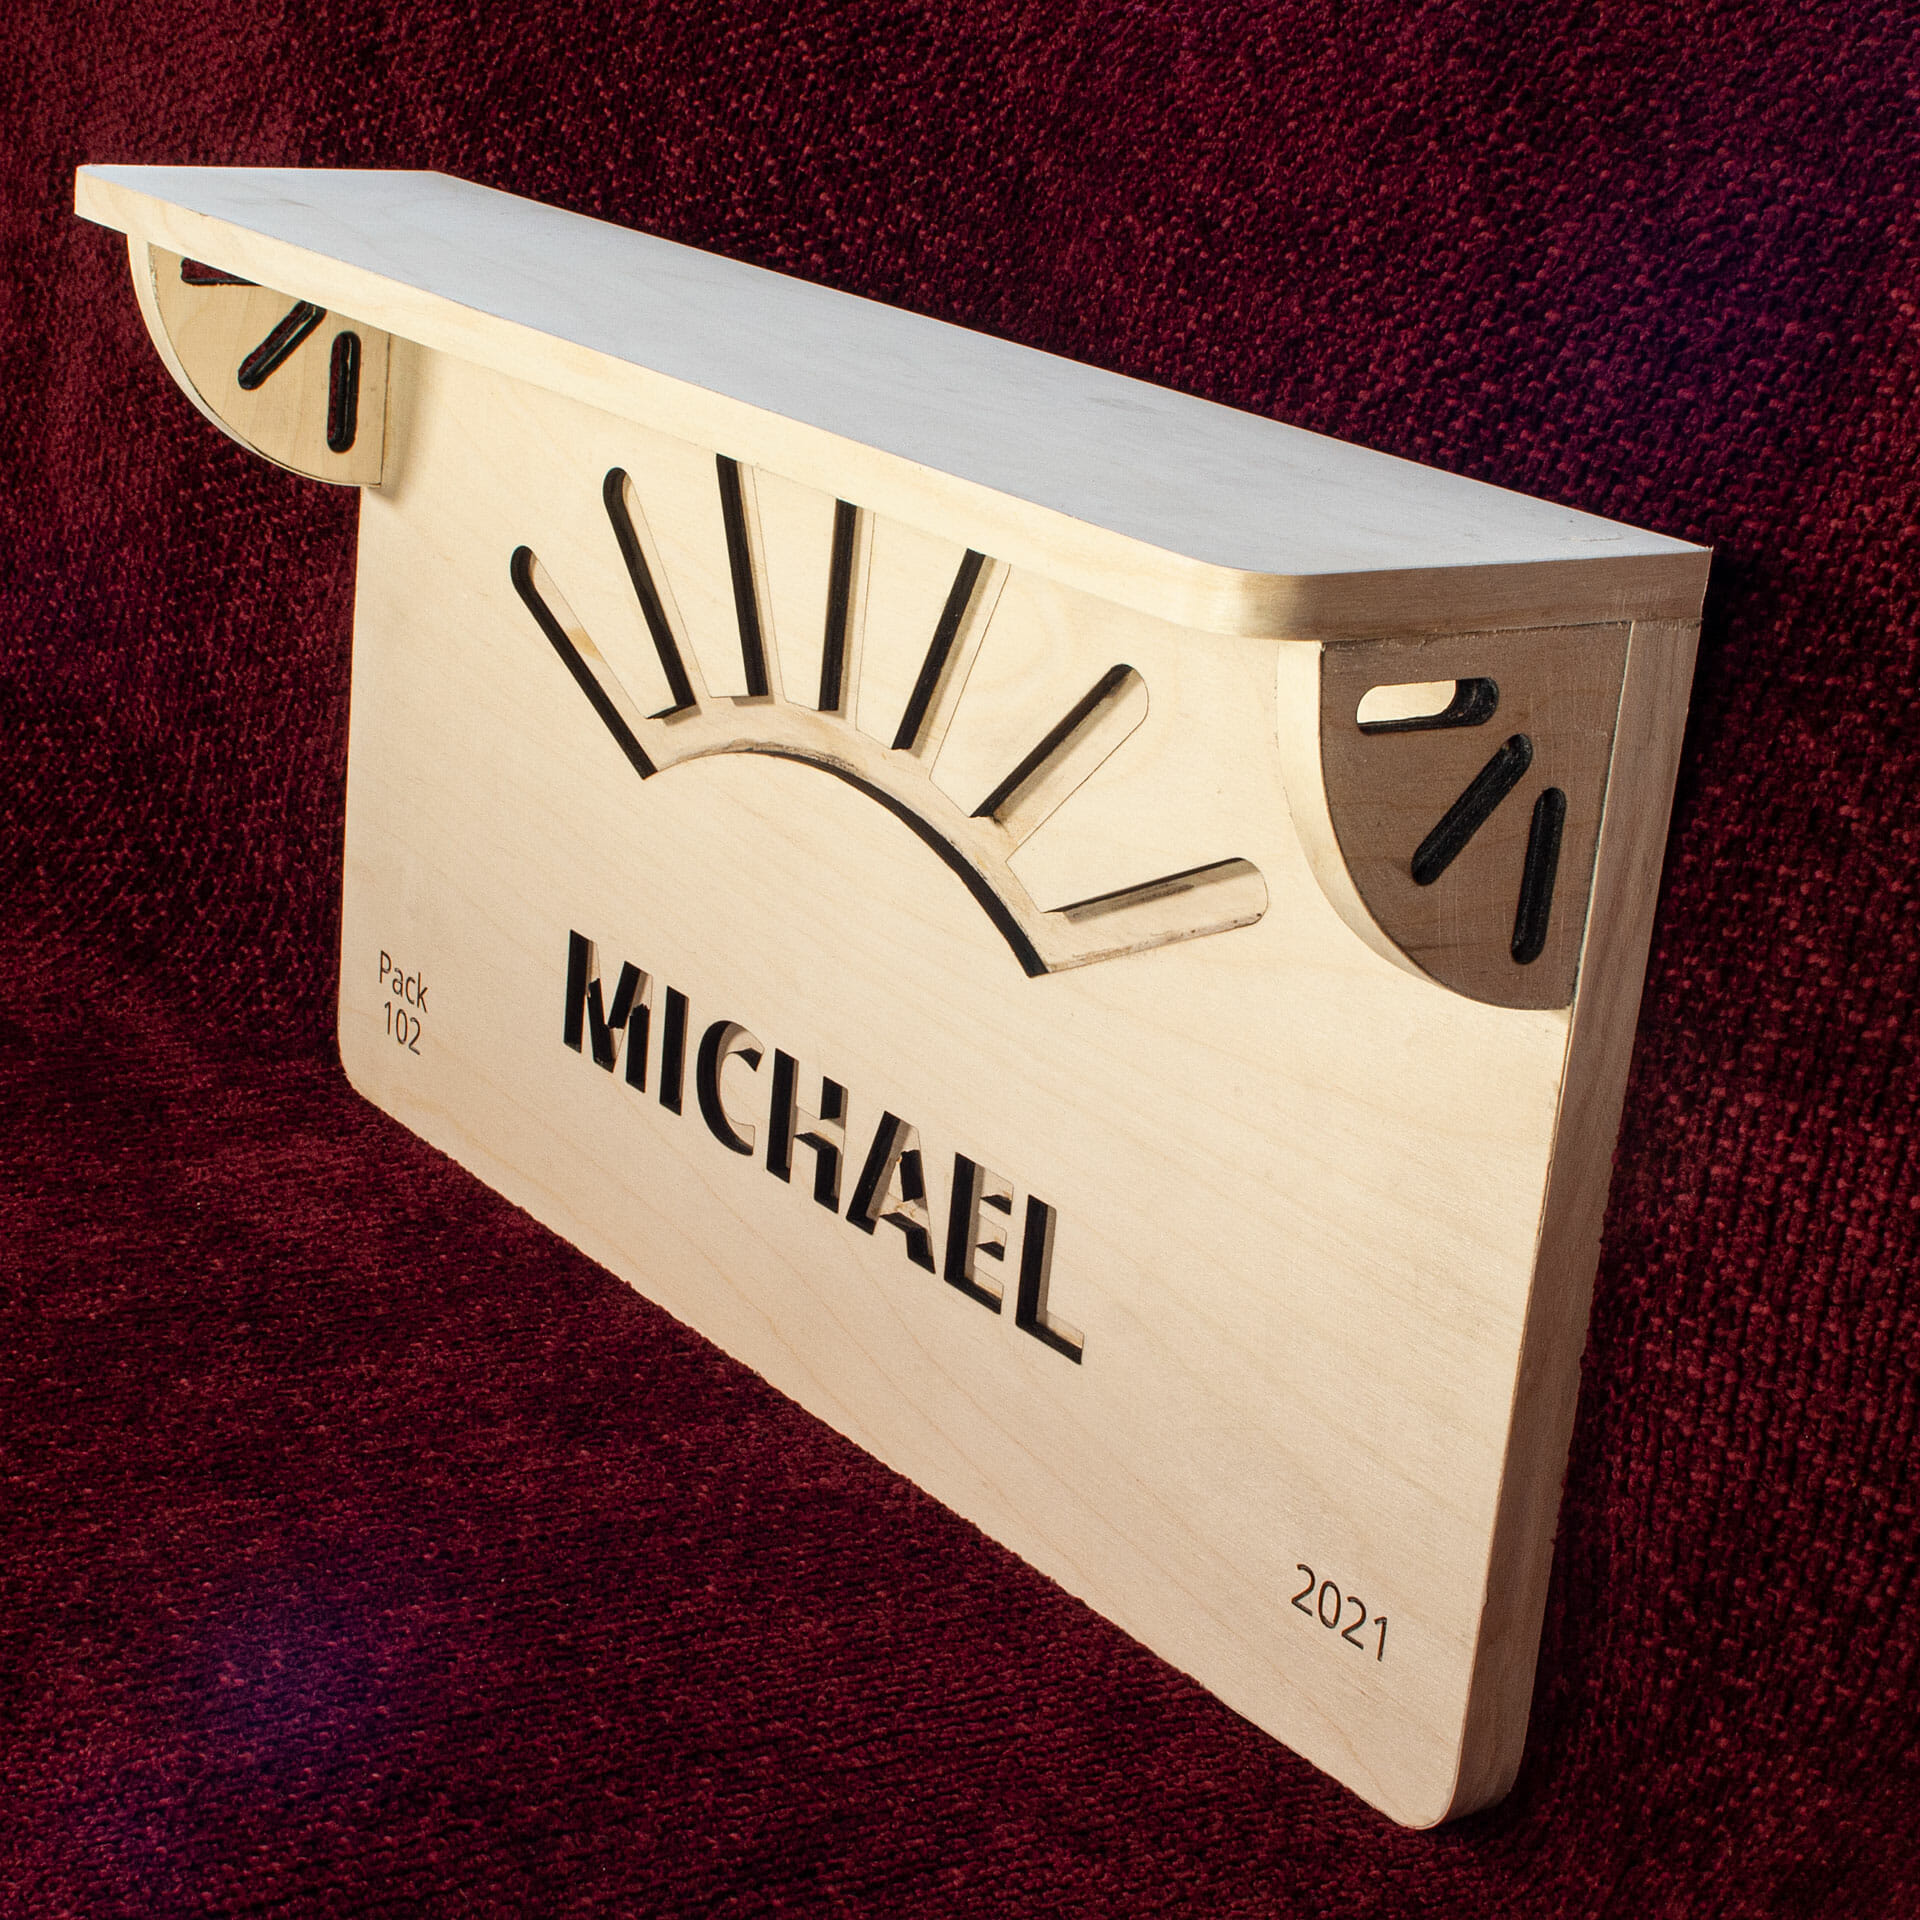
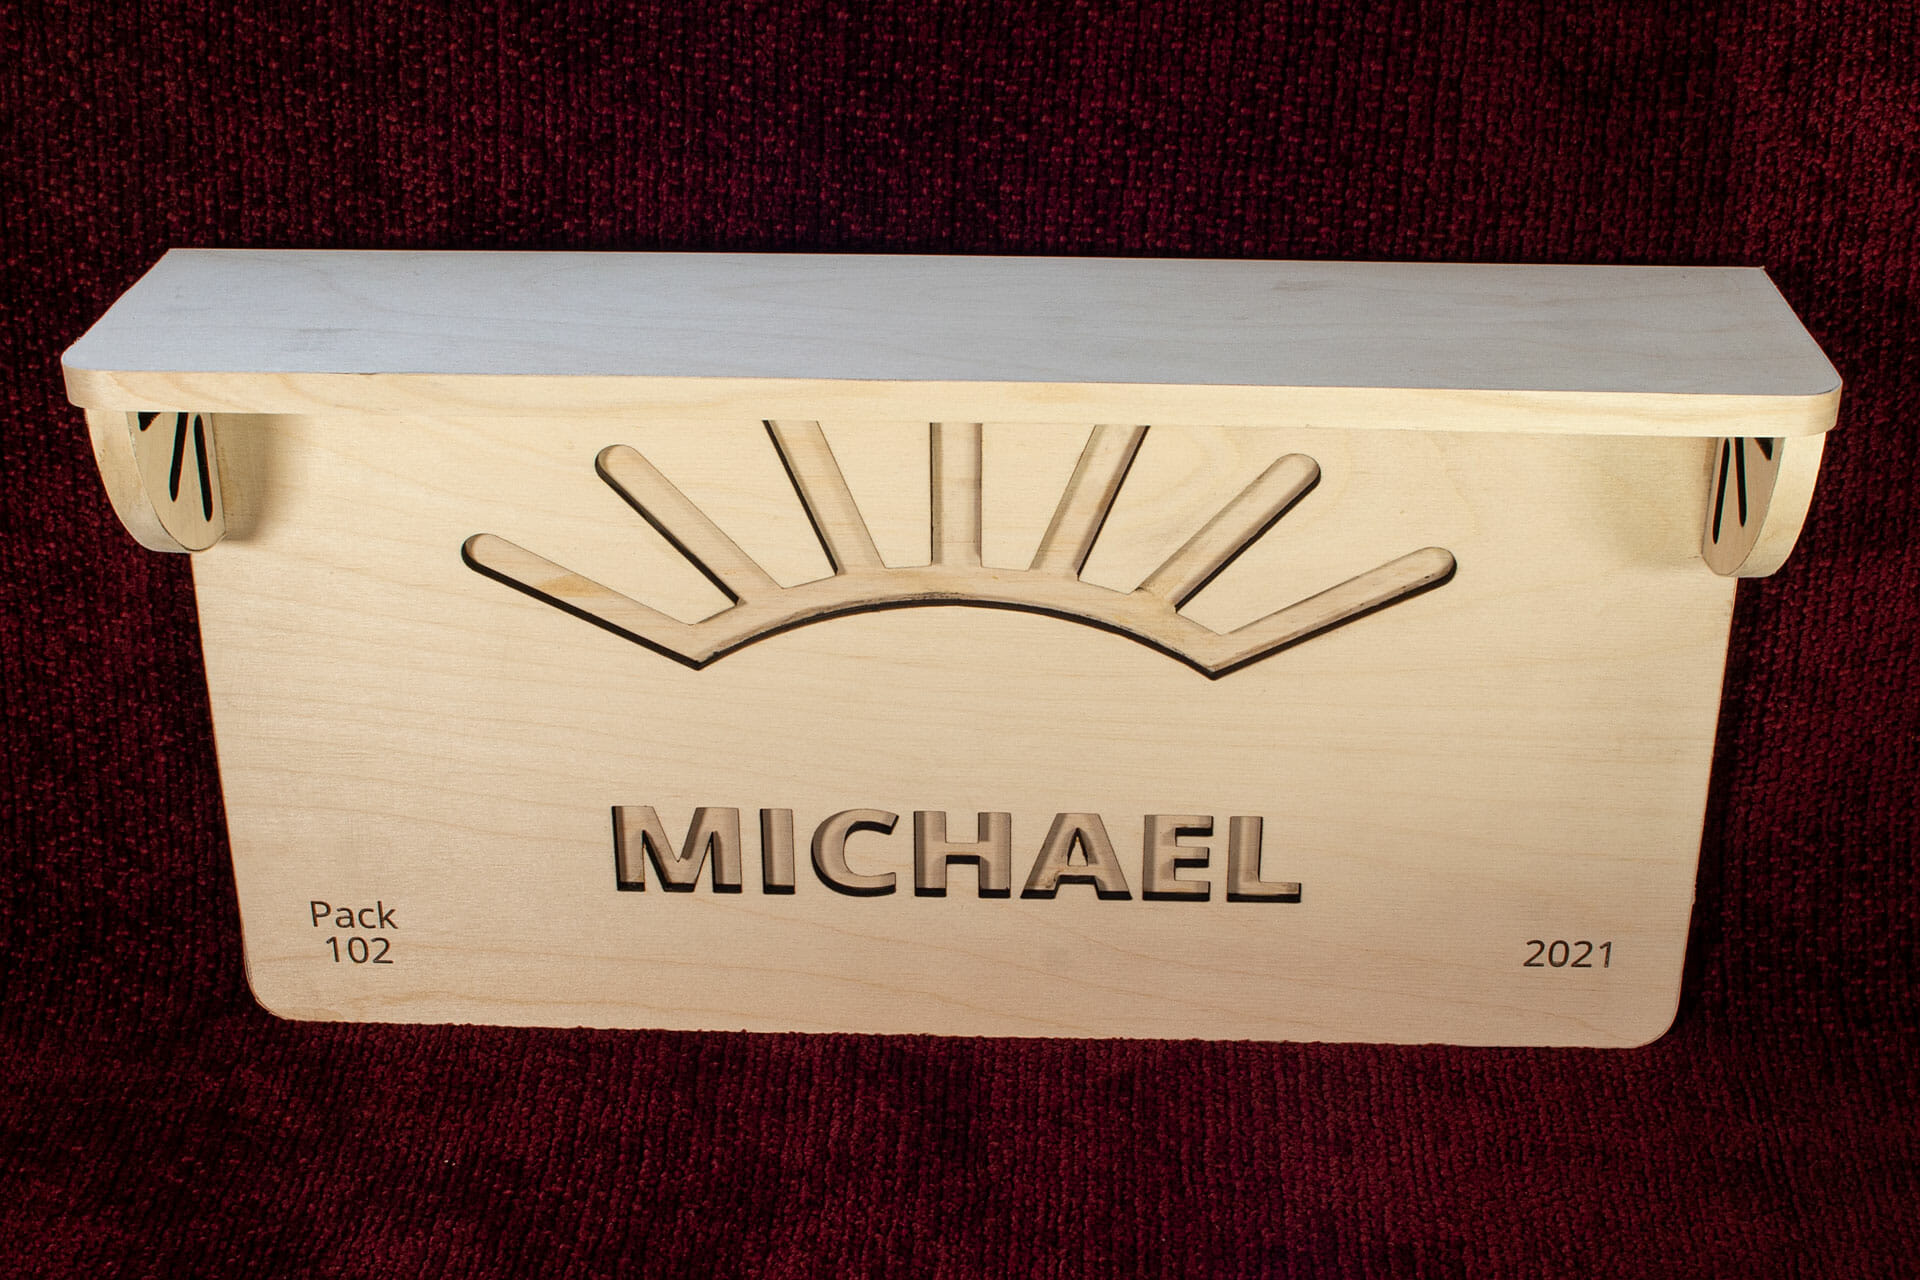

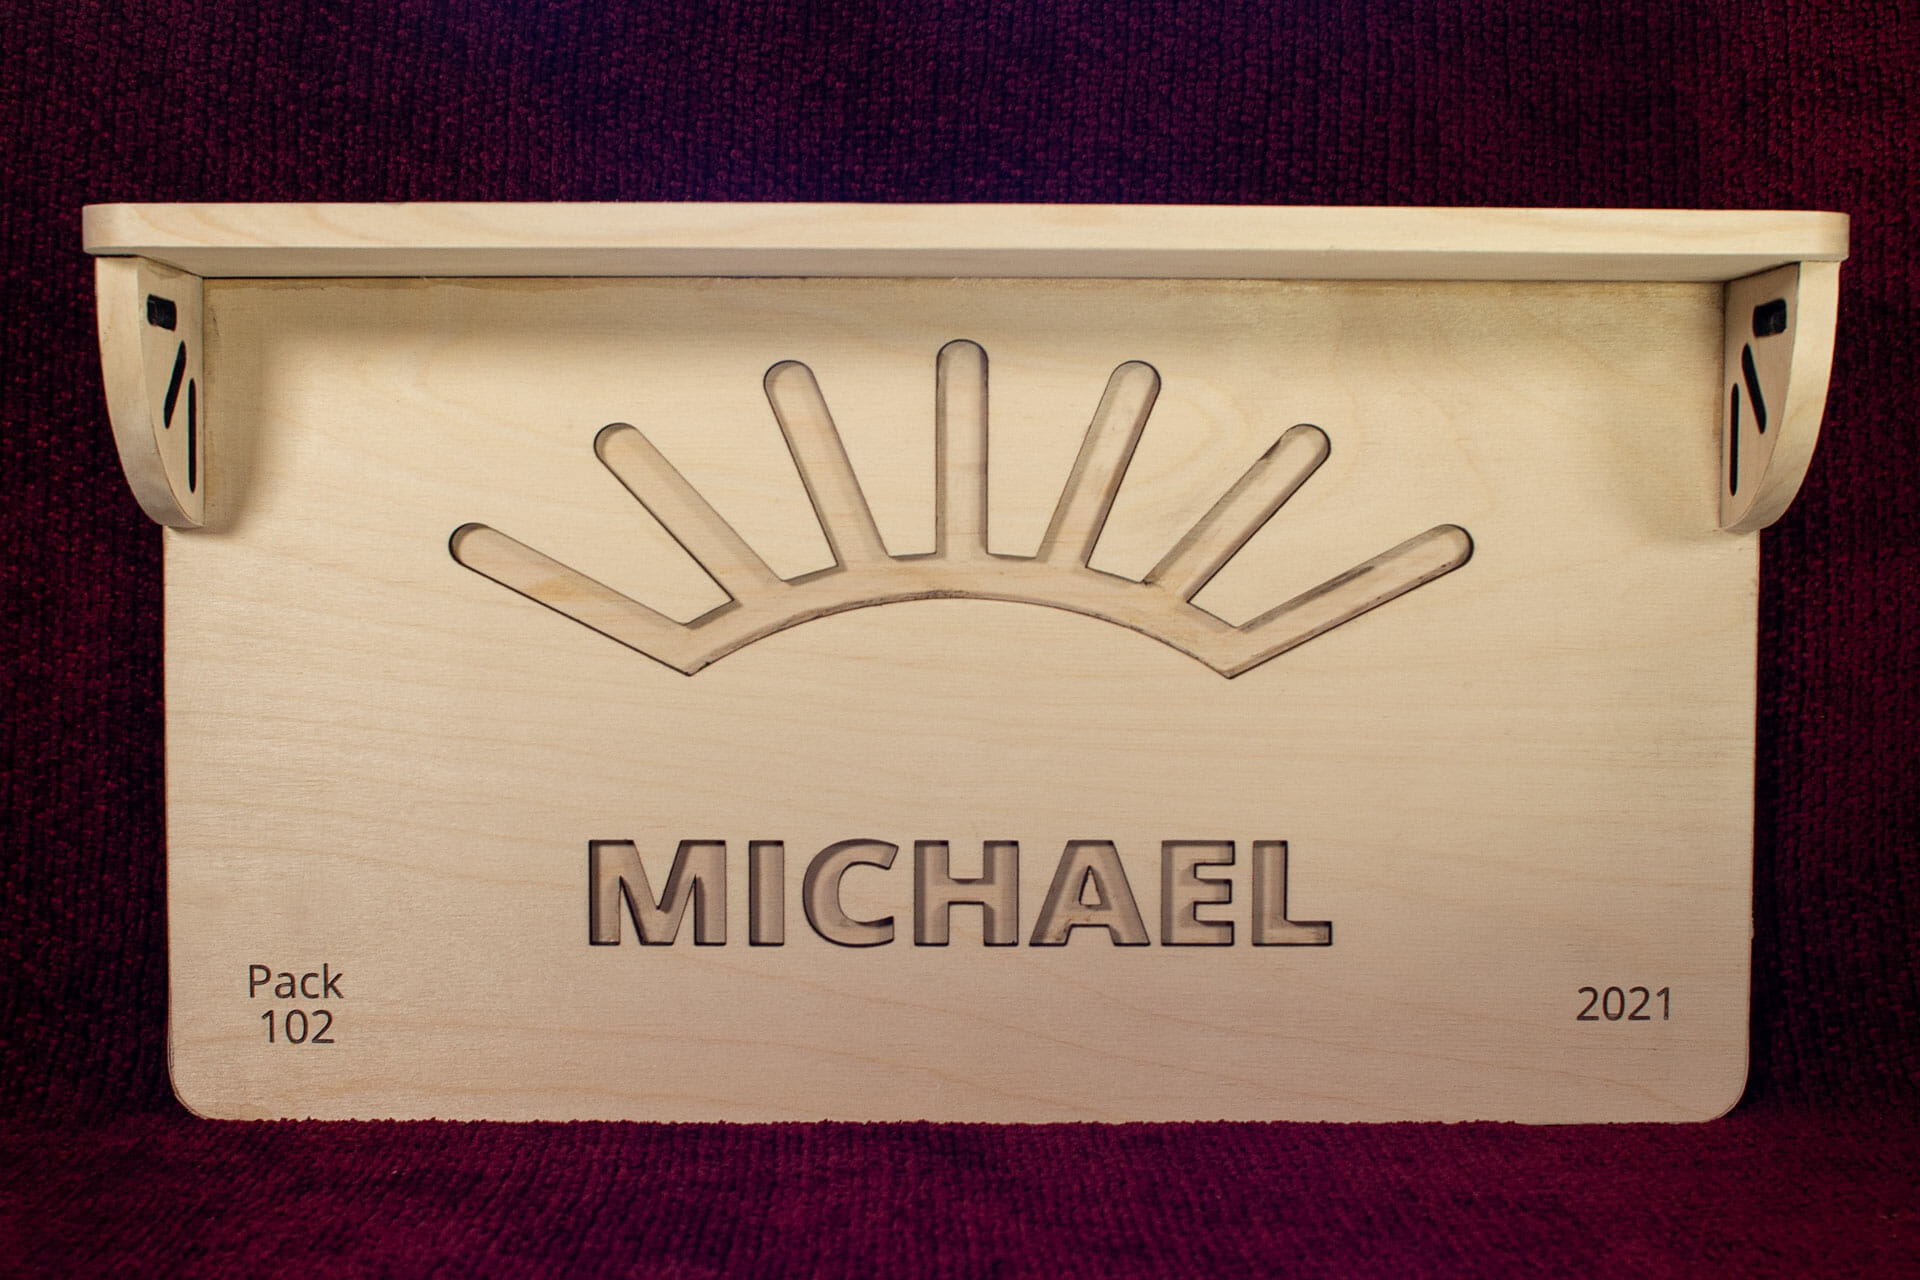
These files are for personal, non-commercial use only. If you want to produce these to sell or for other business use, please contact me to arrange for licensing terms. Also note that, by referencing these, you are agreeing to release any variations you create under identical terms.
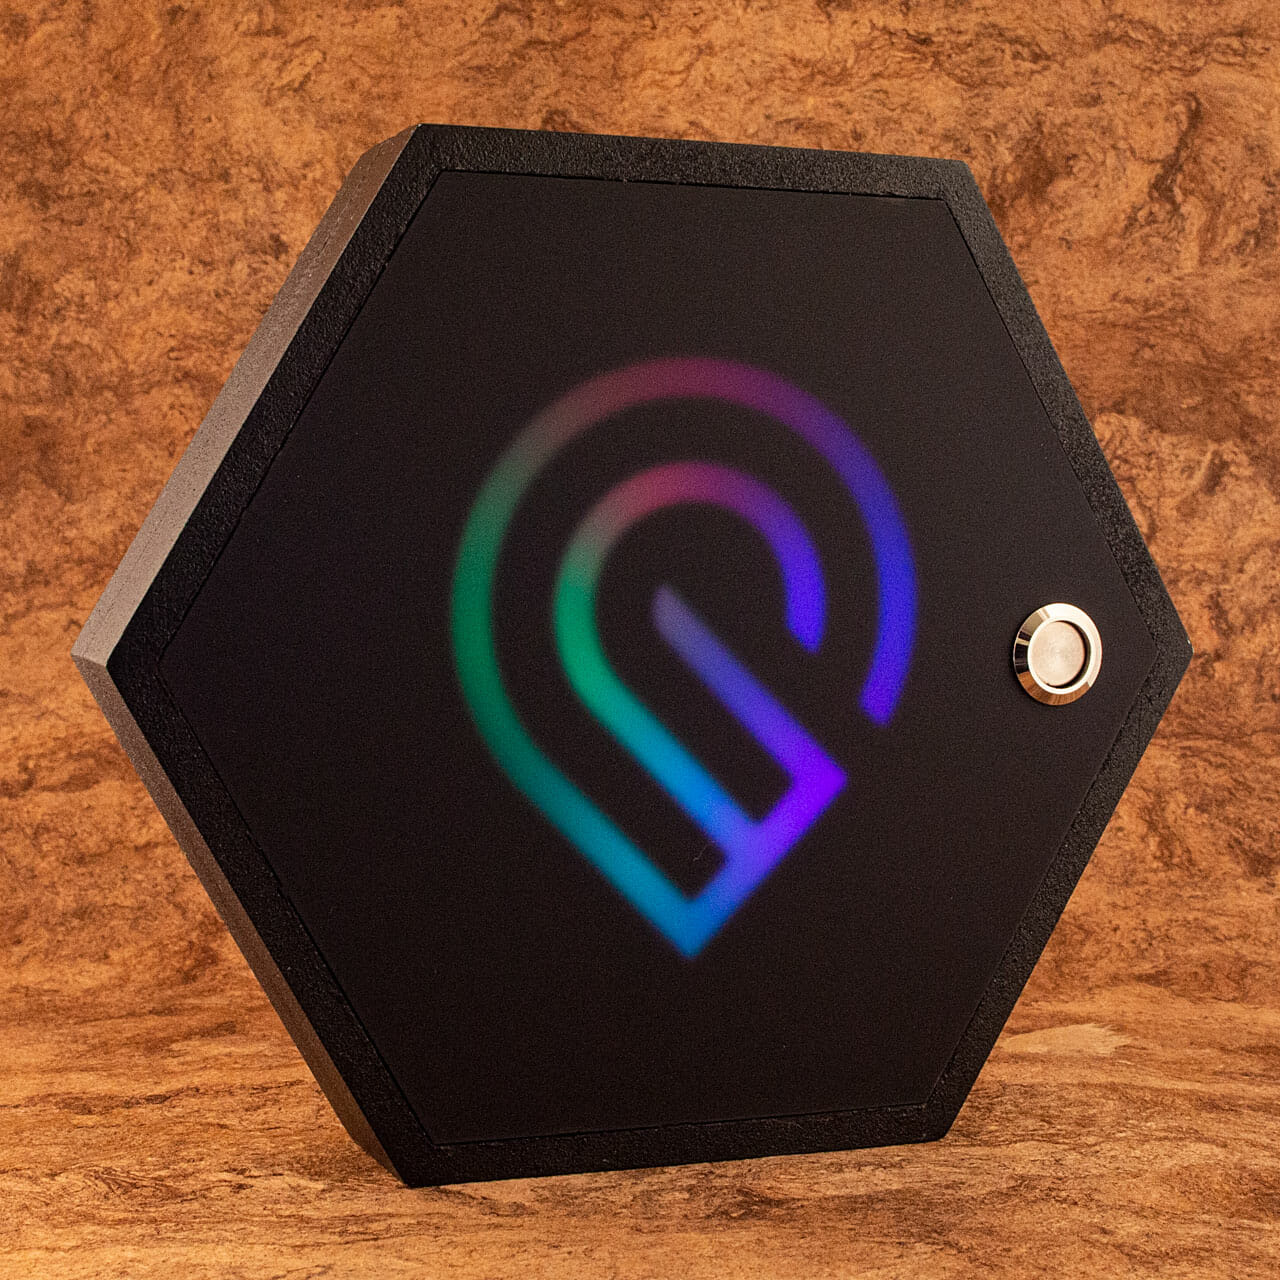
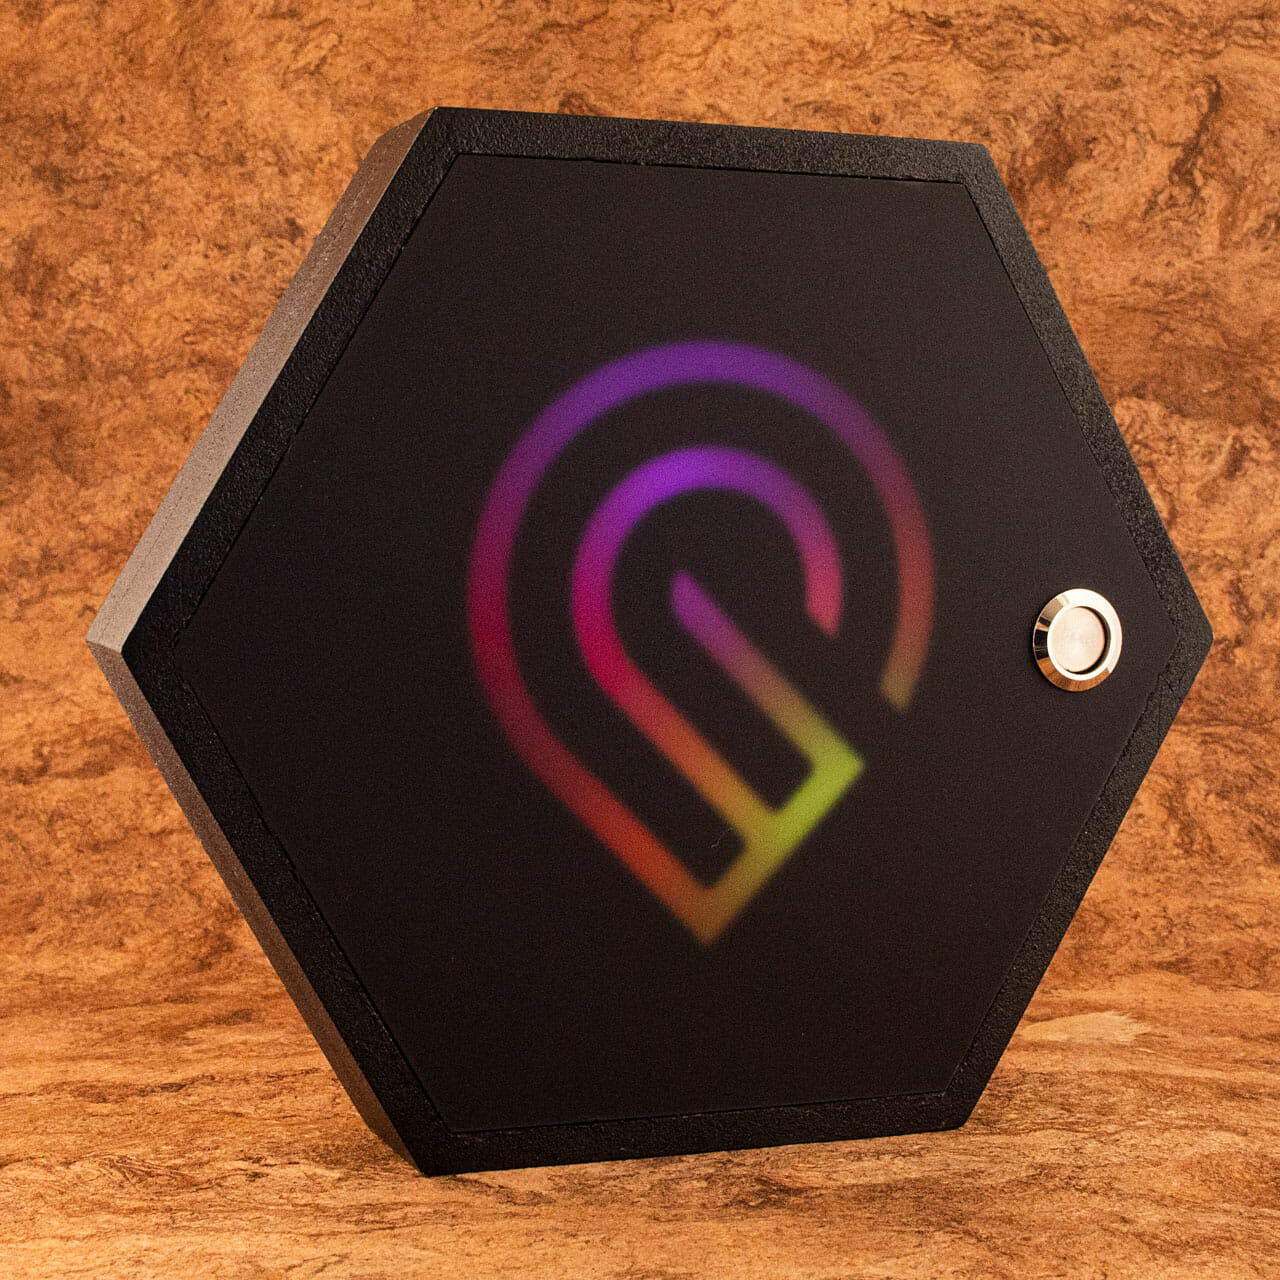
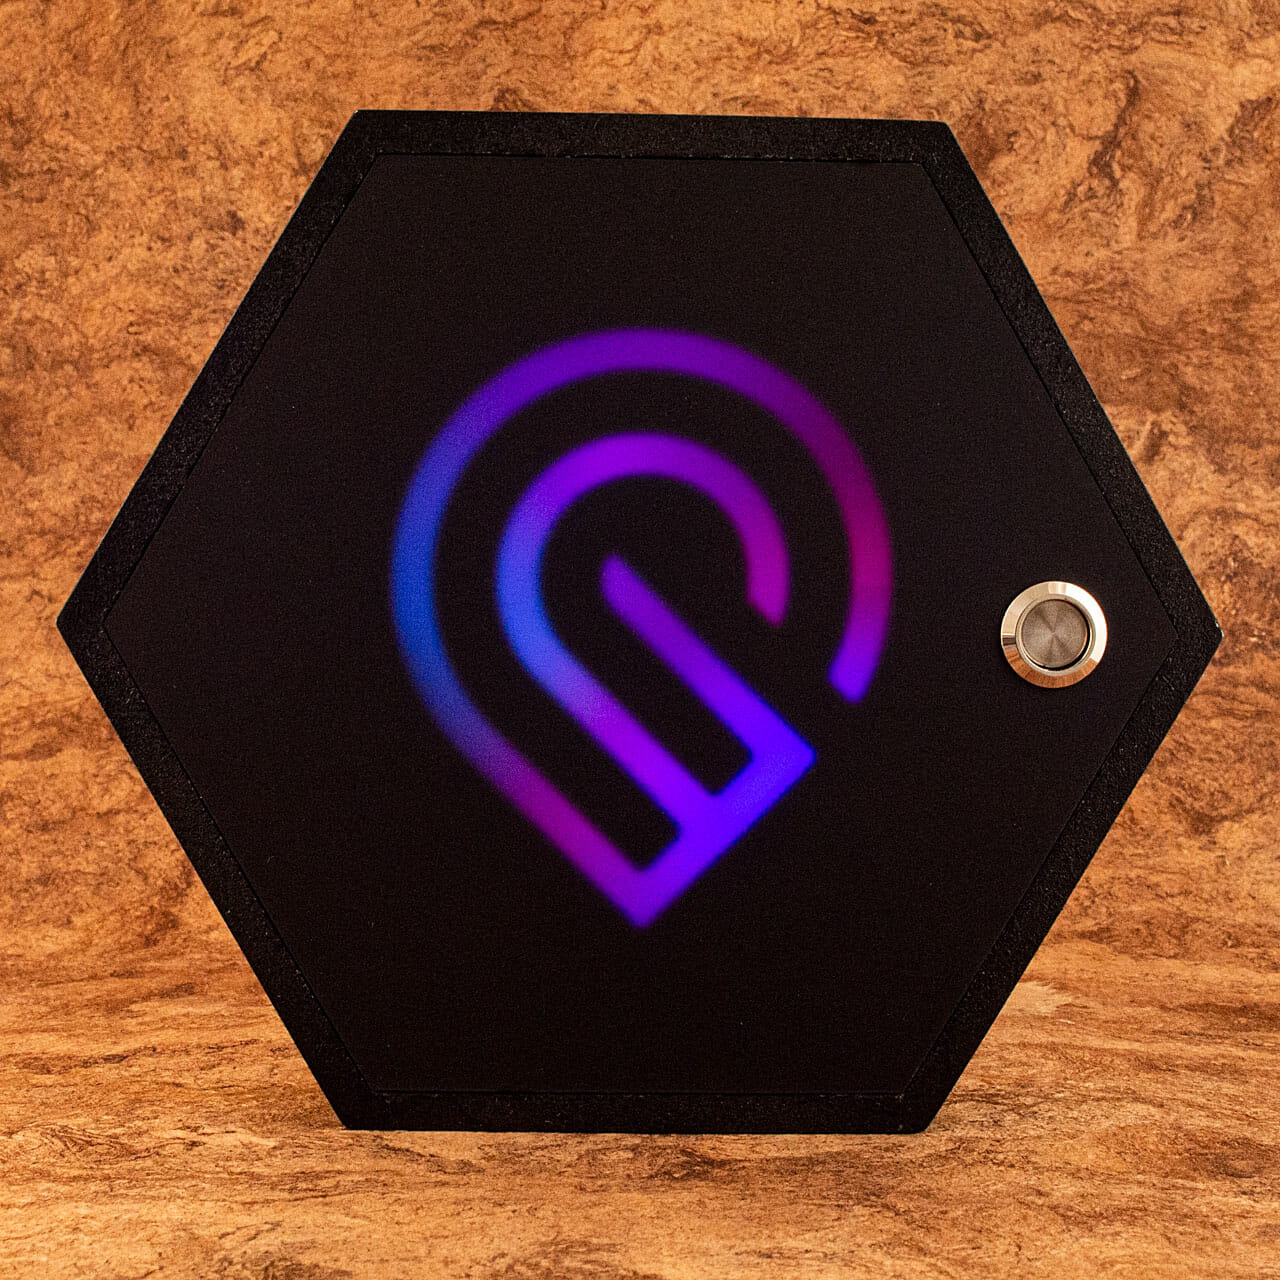
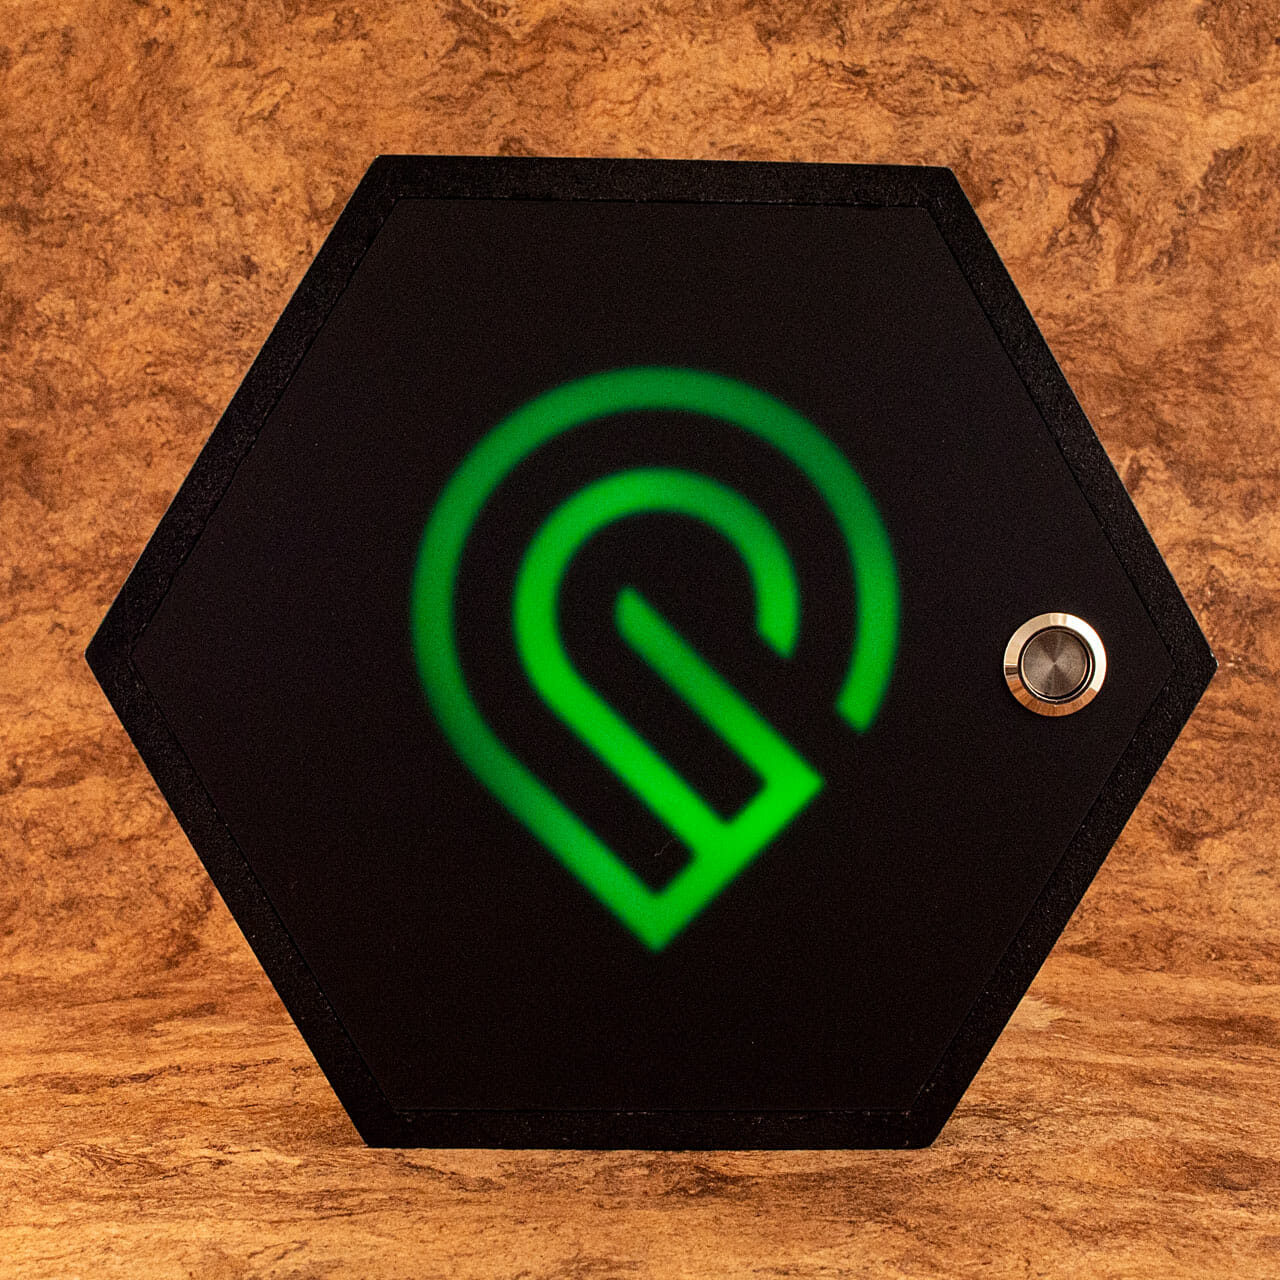
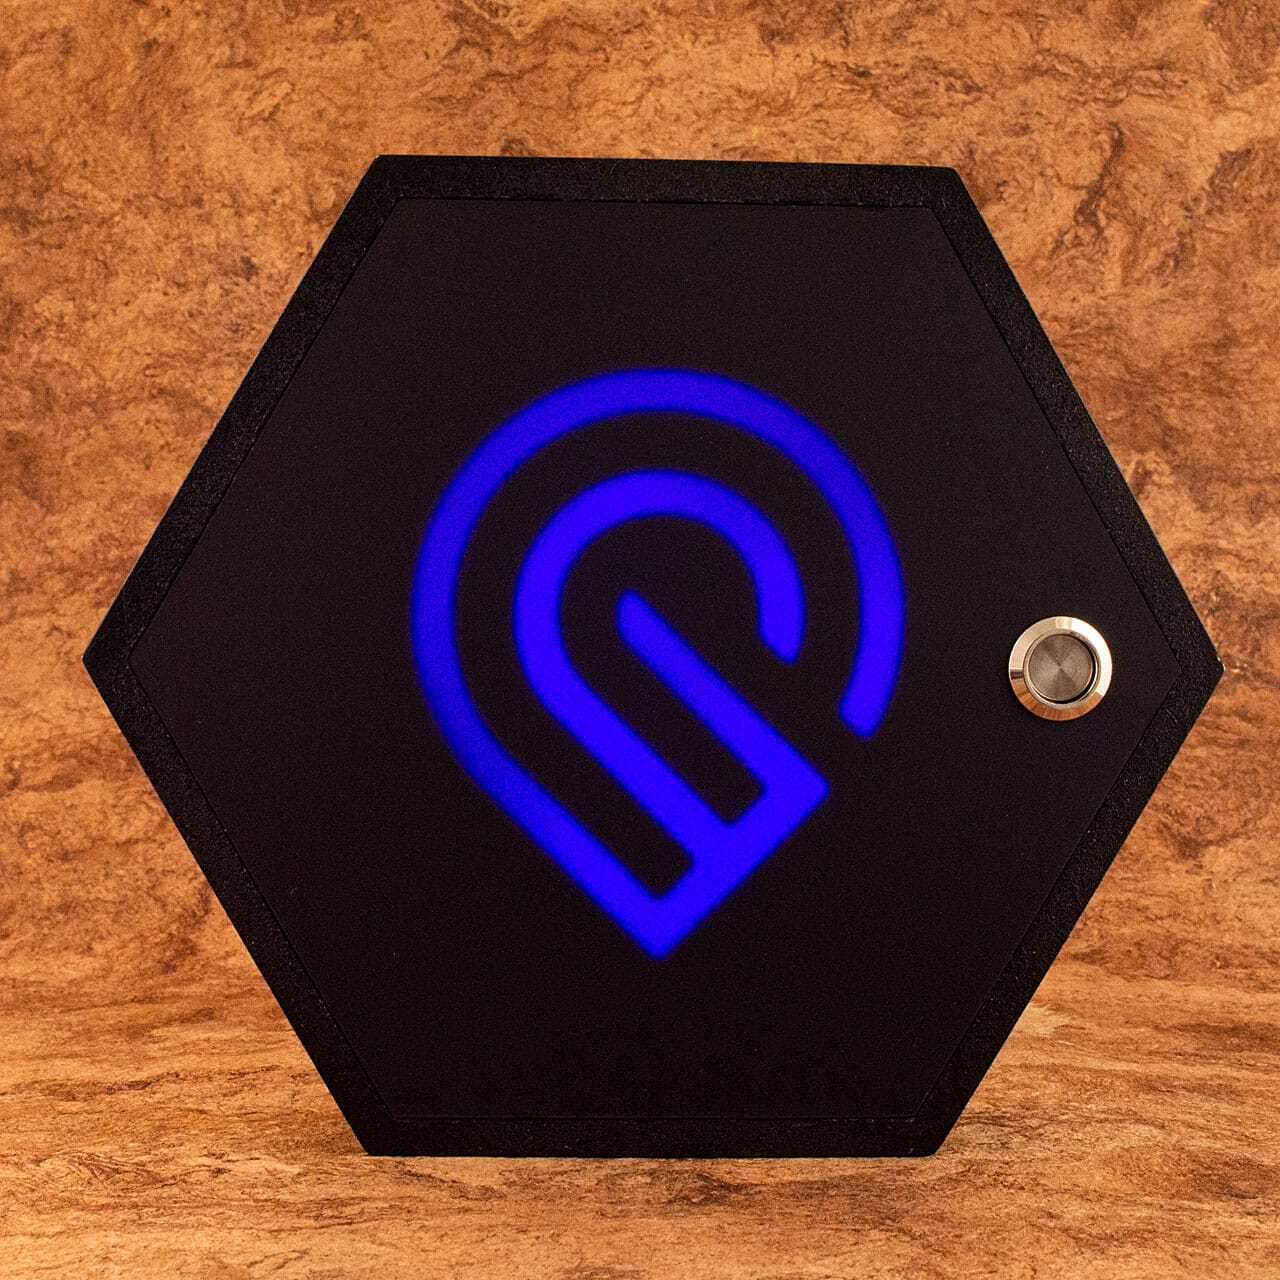
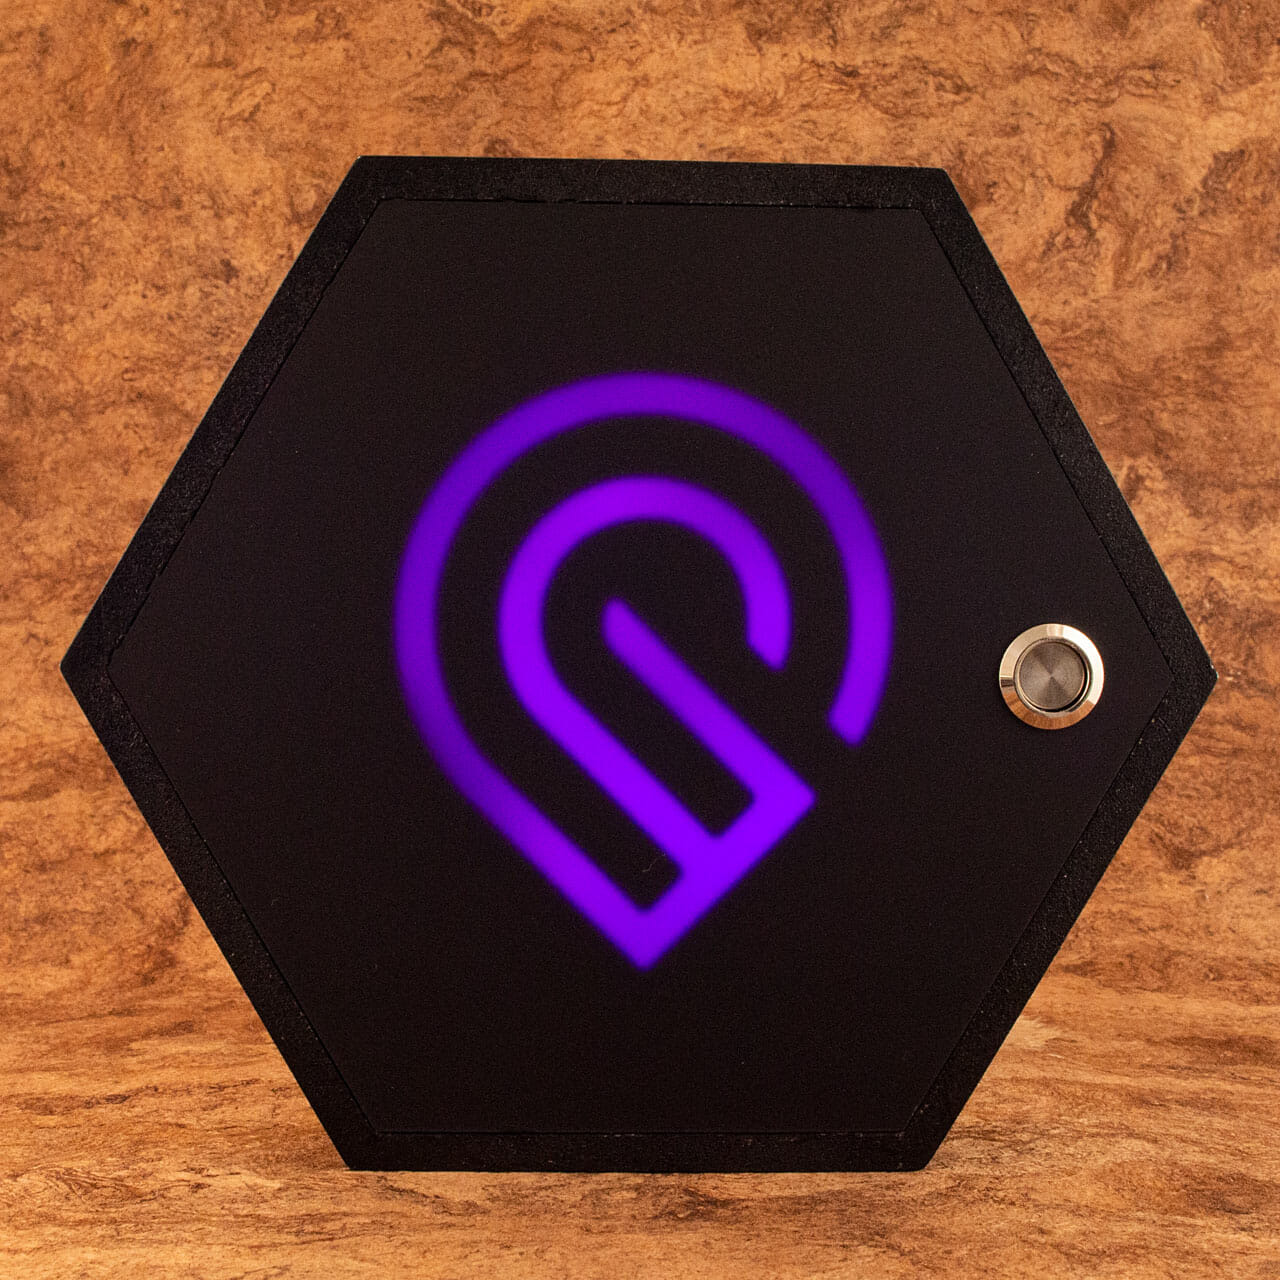
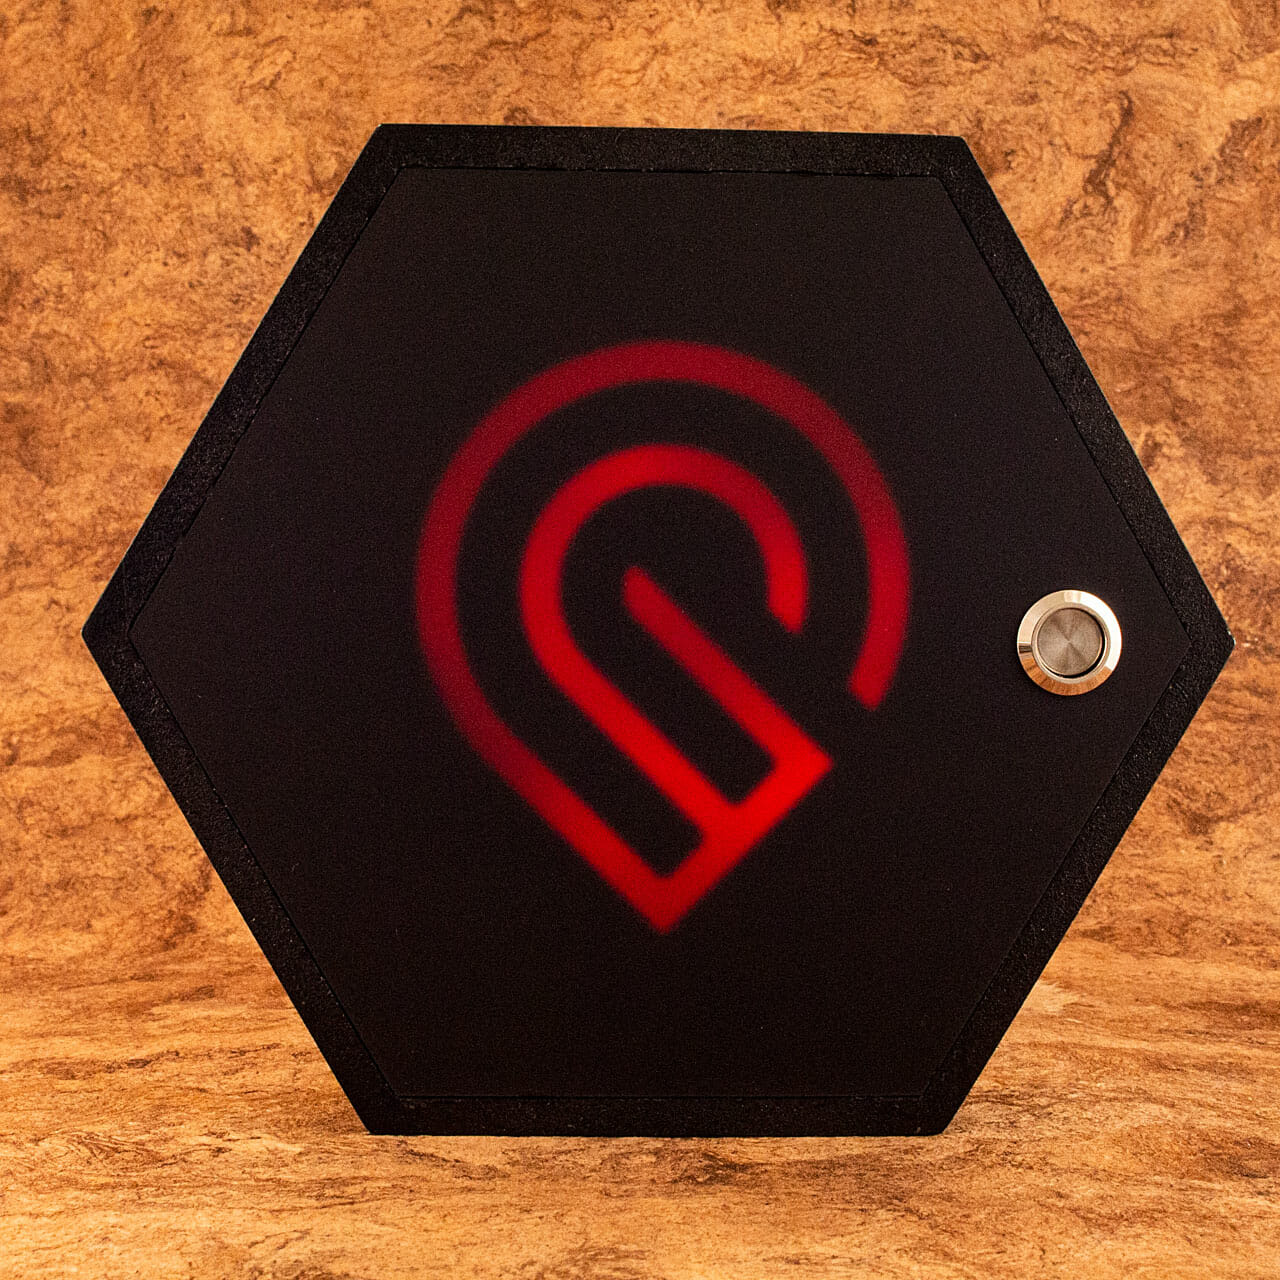
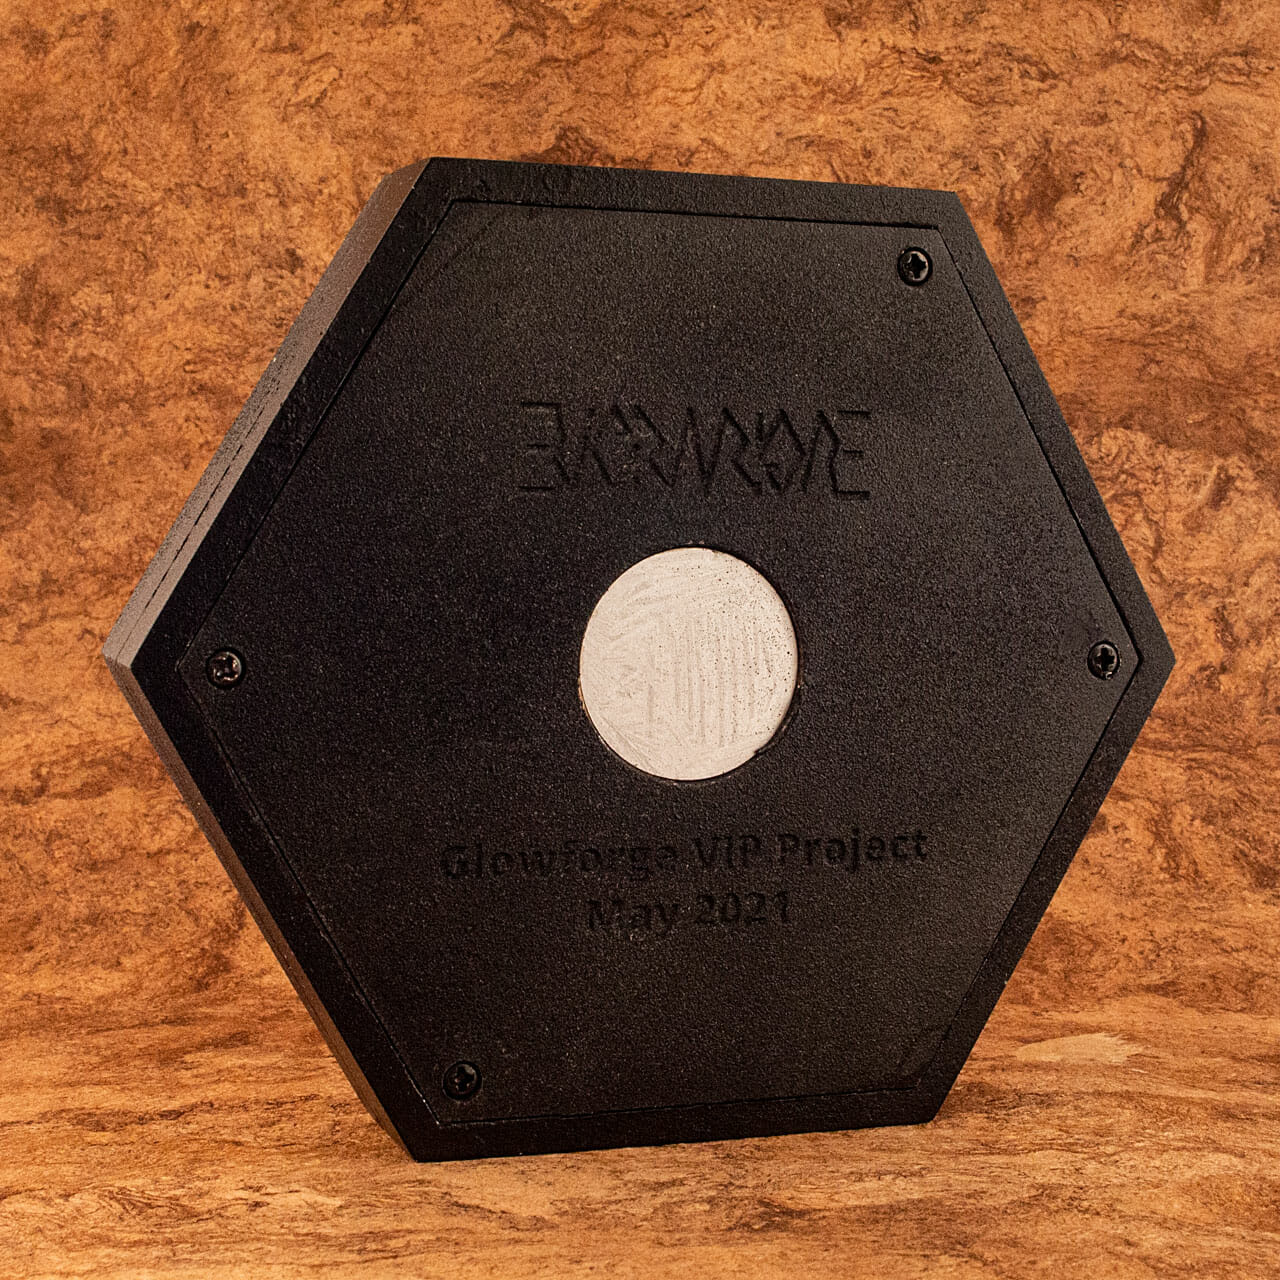
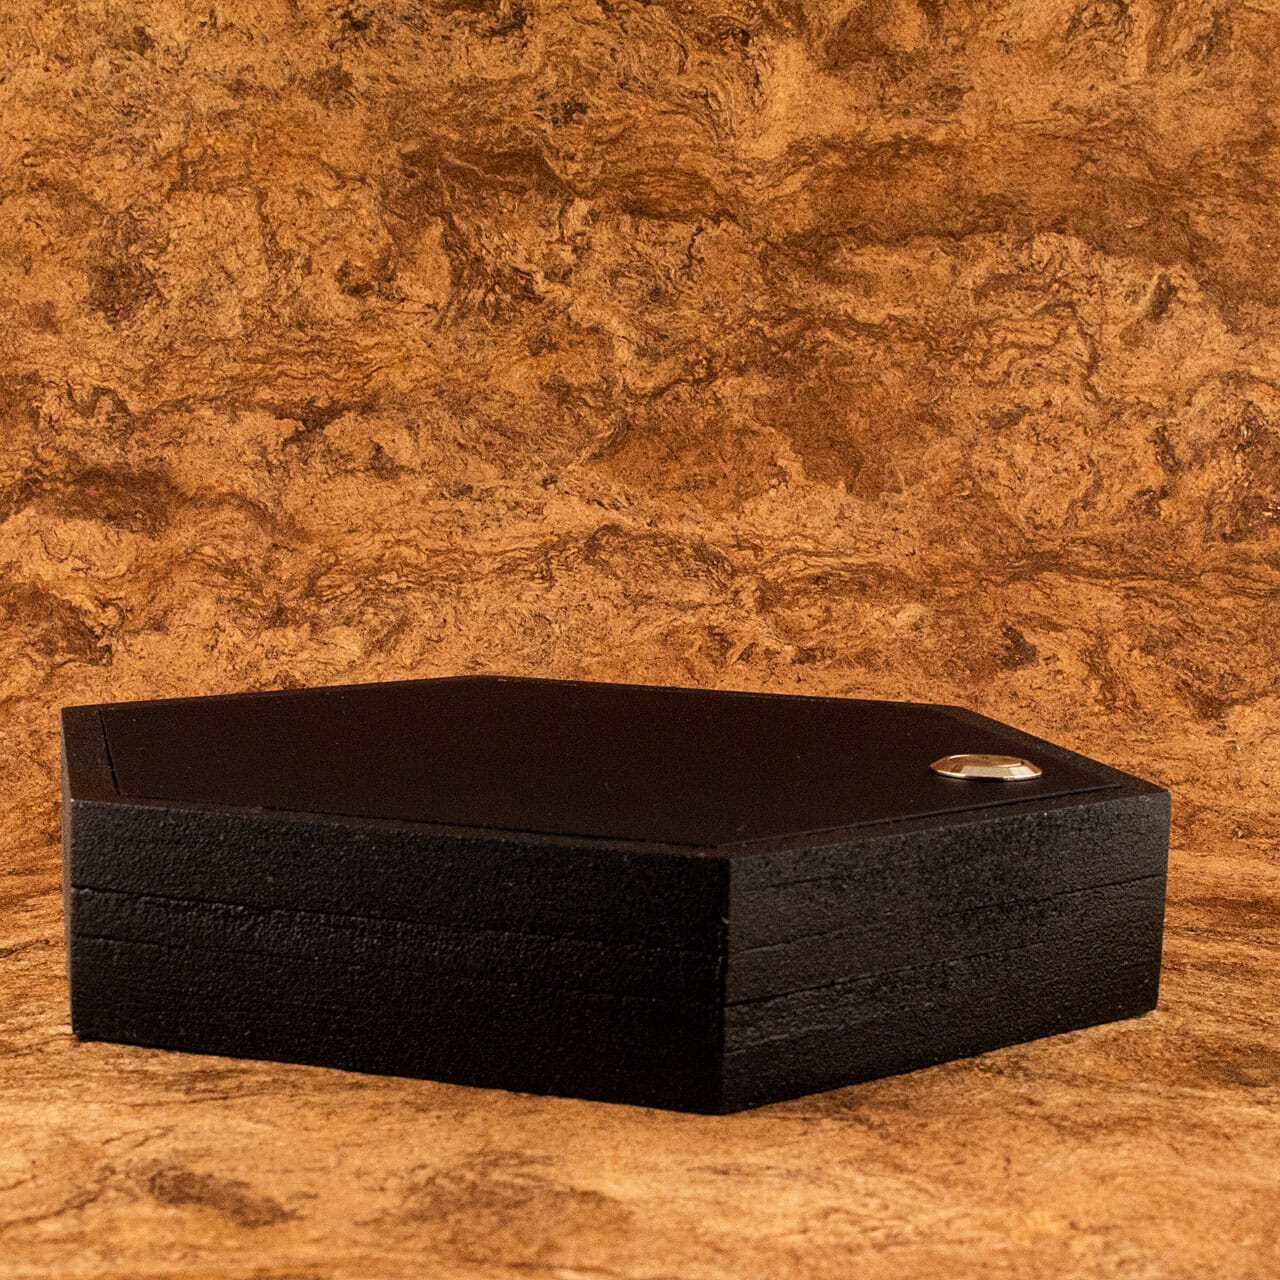
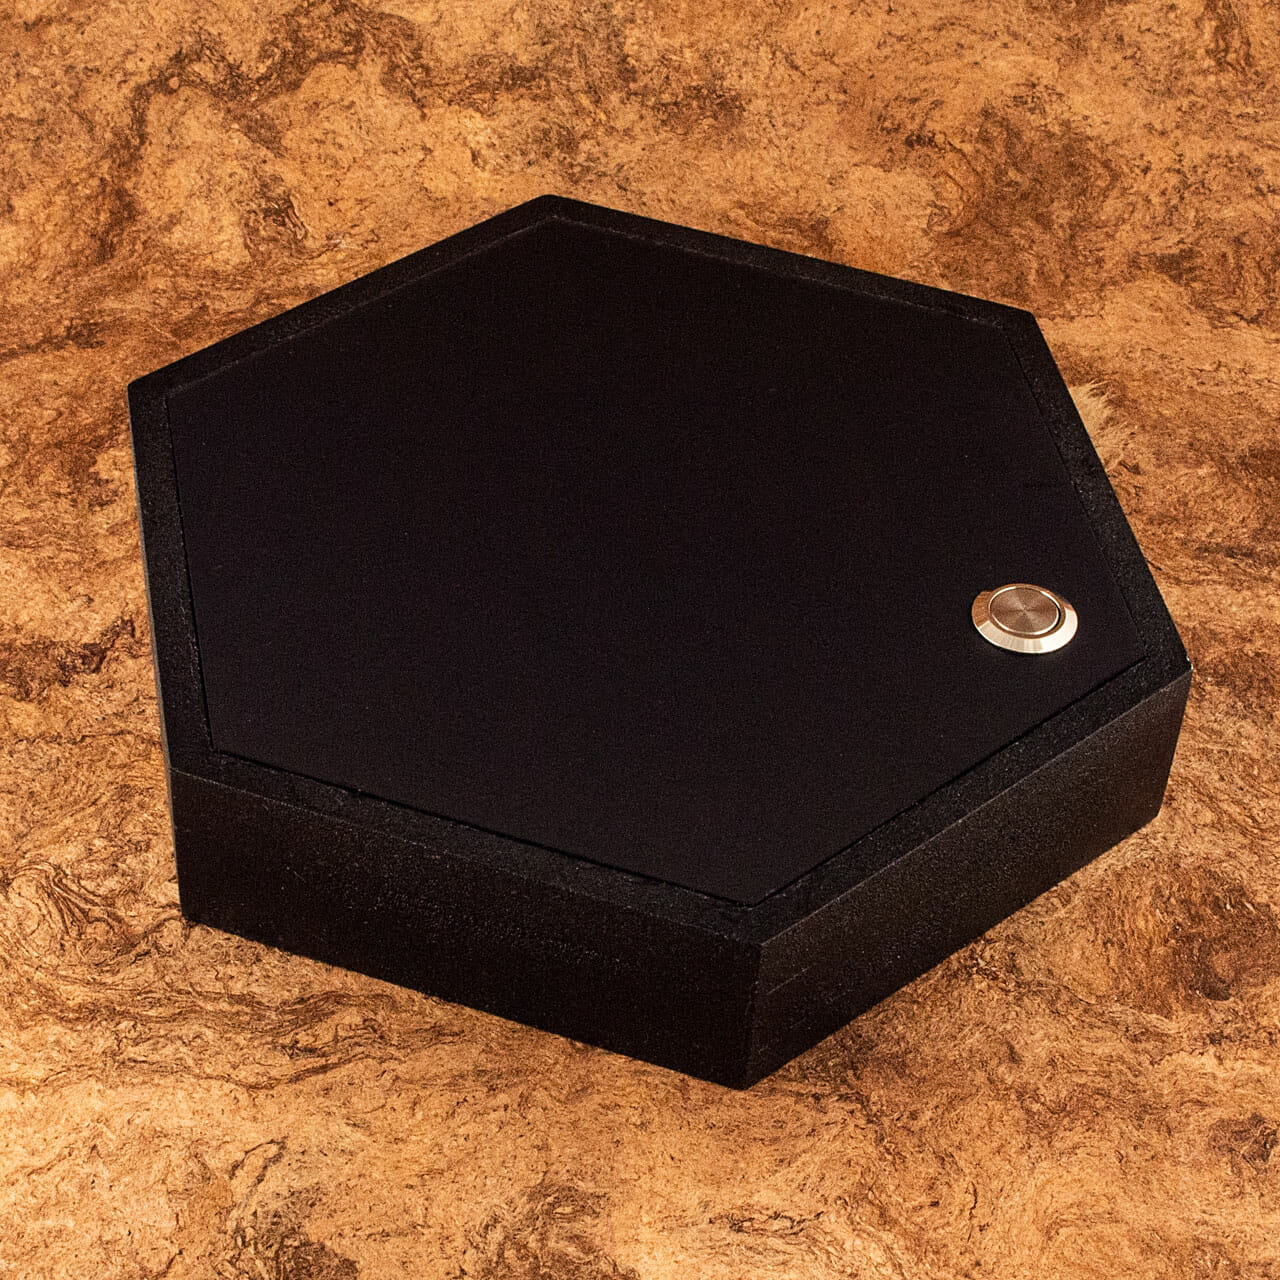
Color-Cycling Glowforge Logo Hex Panel


Quick Paper Towel Roll Holder
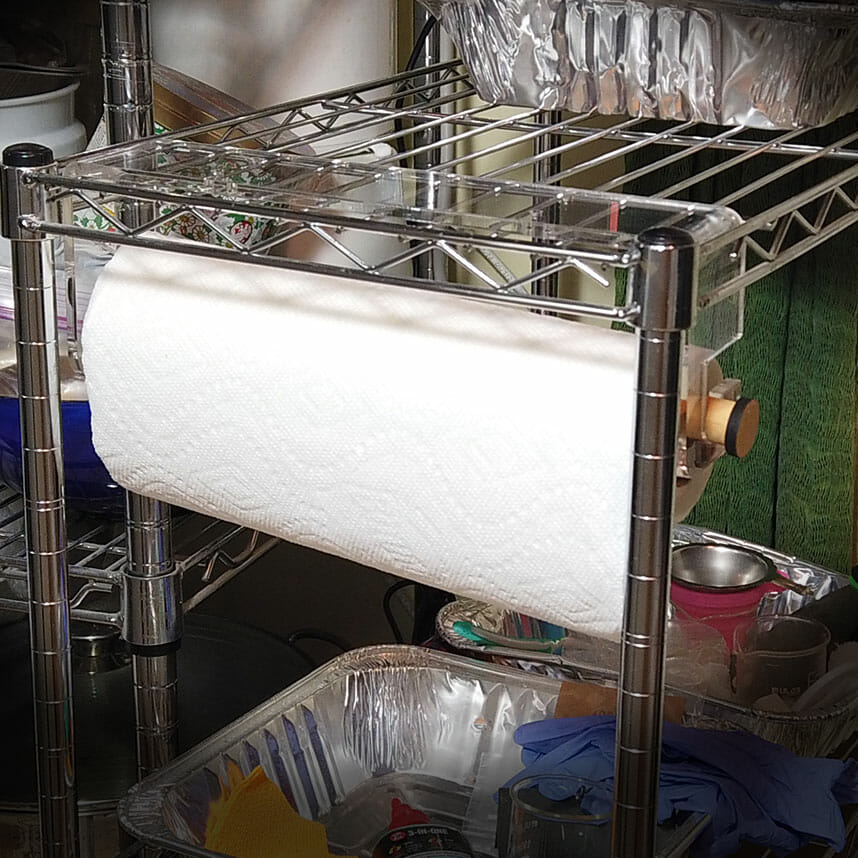
After one too many rounds of fumbling with a roll of paper towels while working at the resin 3D printer, I whipped out this quick paper towel roll holder. It’s a laser-cut strip of quarter-inch-thick acrylic, a three-quarter inch dowel I had on-hand and, a couple discs of MDF. It drops into the wire rack I am using as a 3D printing workstation. There are screw holes for mounting, if someone wanted to put it somewhere like under a cabinet.
Sandwich either side of each bend point in the acrylic between small pieces of MDF or plywood to constrain the bend to a straight line. Heat with a heat gun and, bend both ends 90 degrees in the same direction.
Cut the dowel to 11.5 inches. Sand a little, if desired. Glue the discs on the ends and, allow to dry.
The dowel goes through the tube of the paper towel roll, then drops in to the slots.
Here is a fast (and quiet) assembly video if you prefer to see it done:
It’s a quick and dirty design with many opportunities for improvement but, here is the design file, in case it is useful to anyone.
Design Files
These files are for personal, non-commercial use only. If you want to produce these to sell or for other business use, please contact me to arrange for licensing terms. Also note that, by referencing these, you are agreeing to release any variations you create under identical terms.
![]()