
- Posted on
- By Andrew C.
- In Other Projects
- Leave a comment

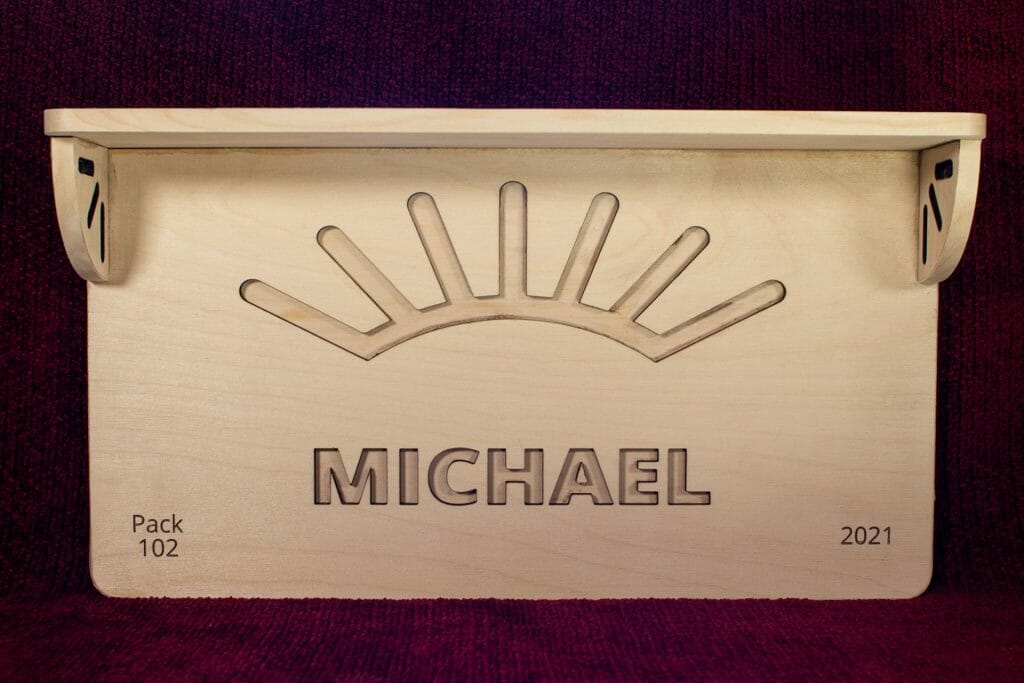
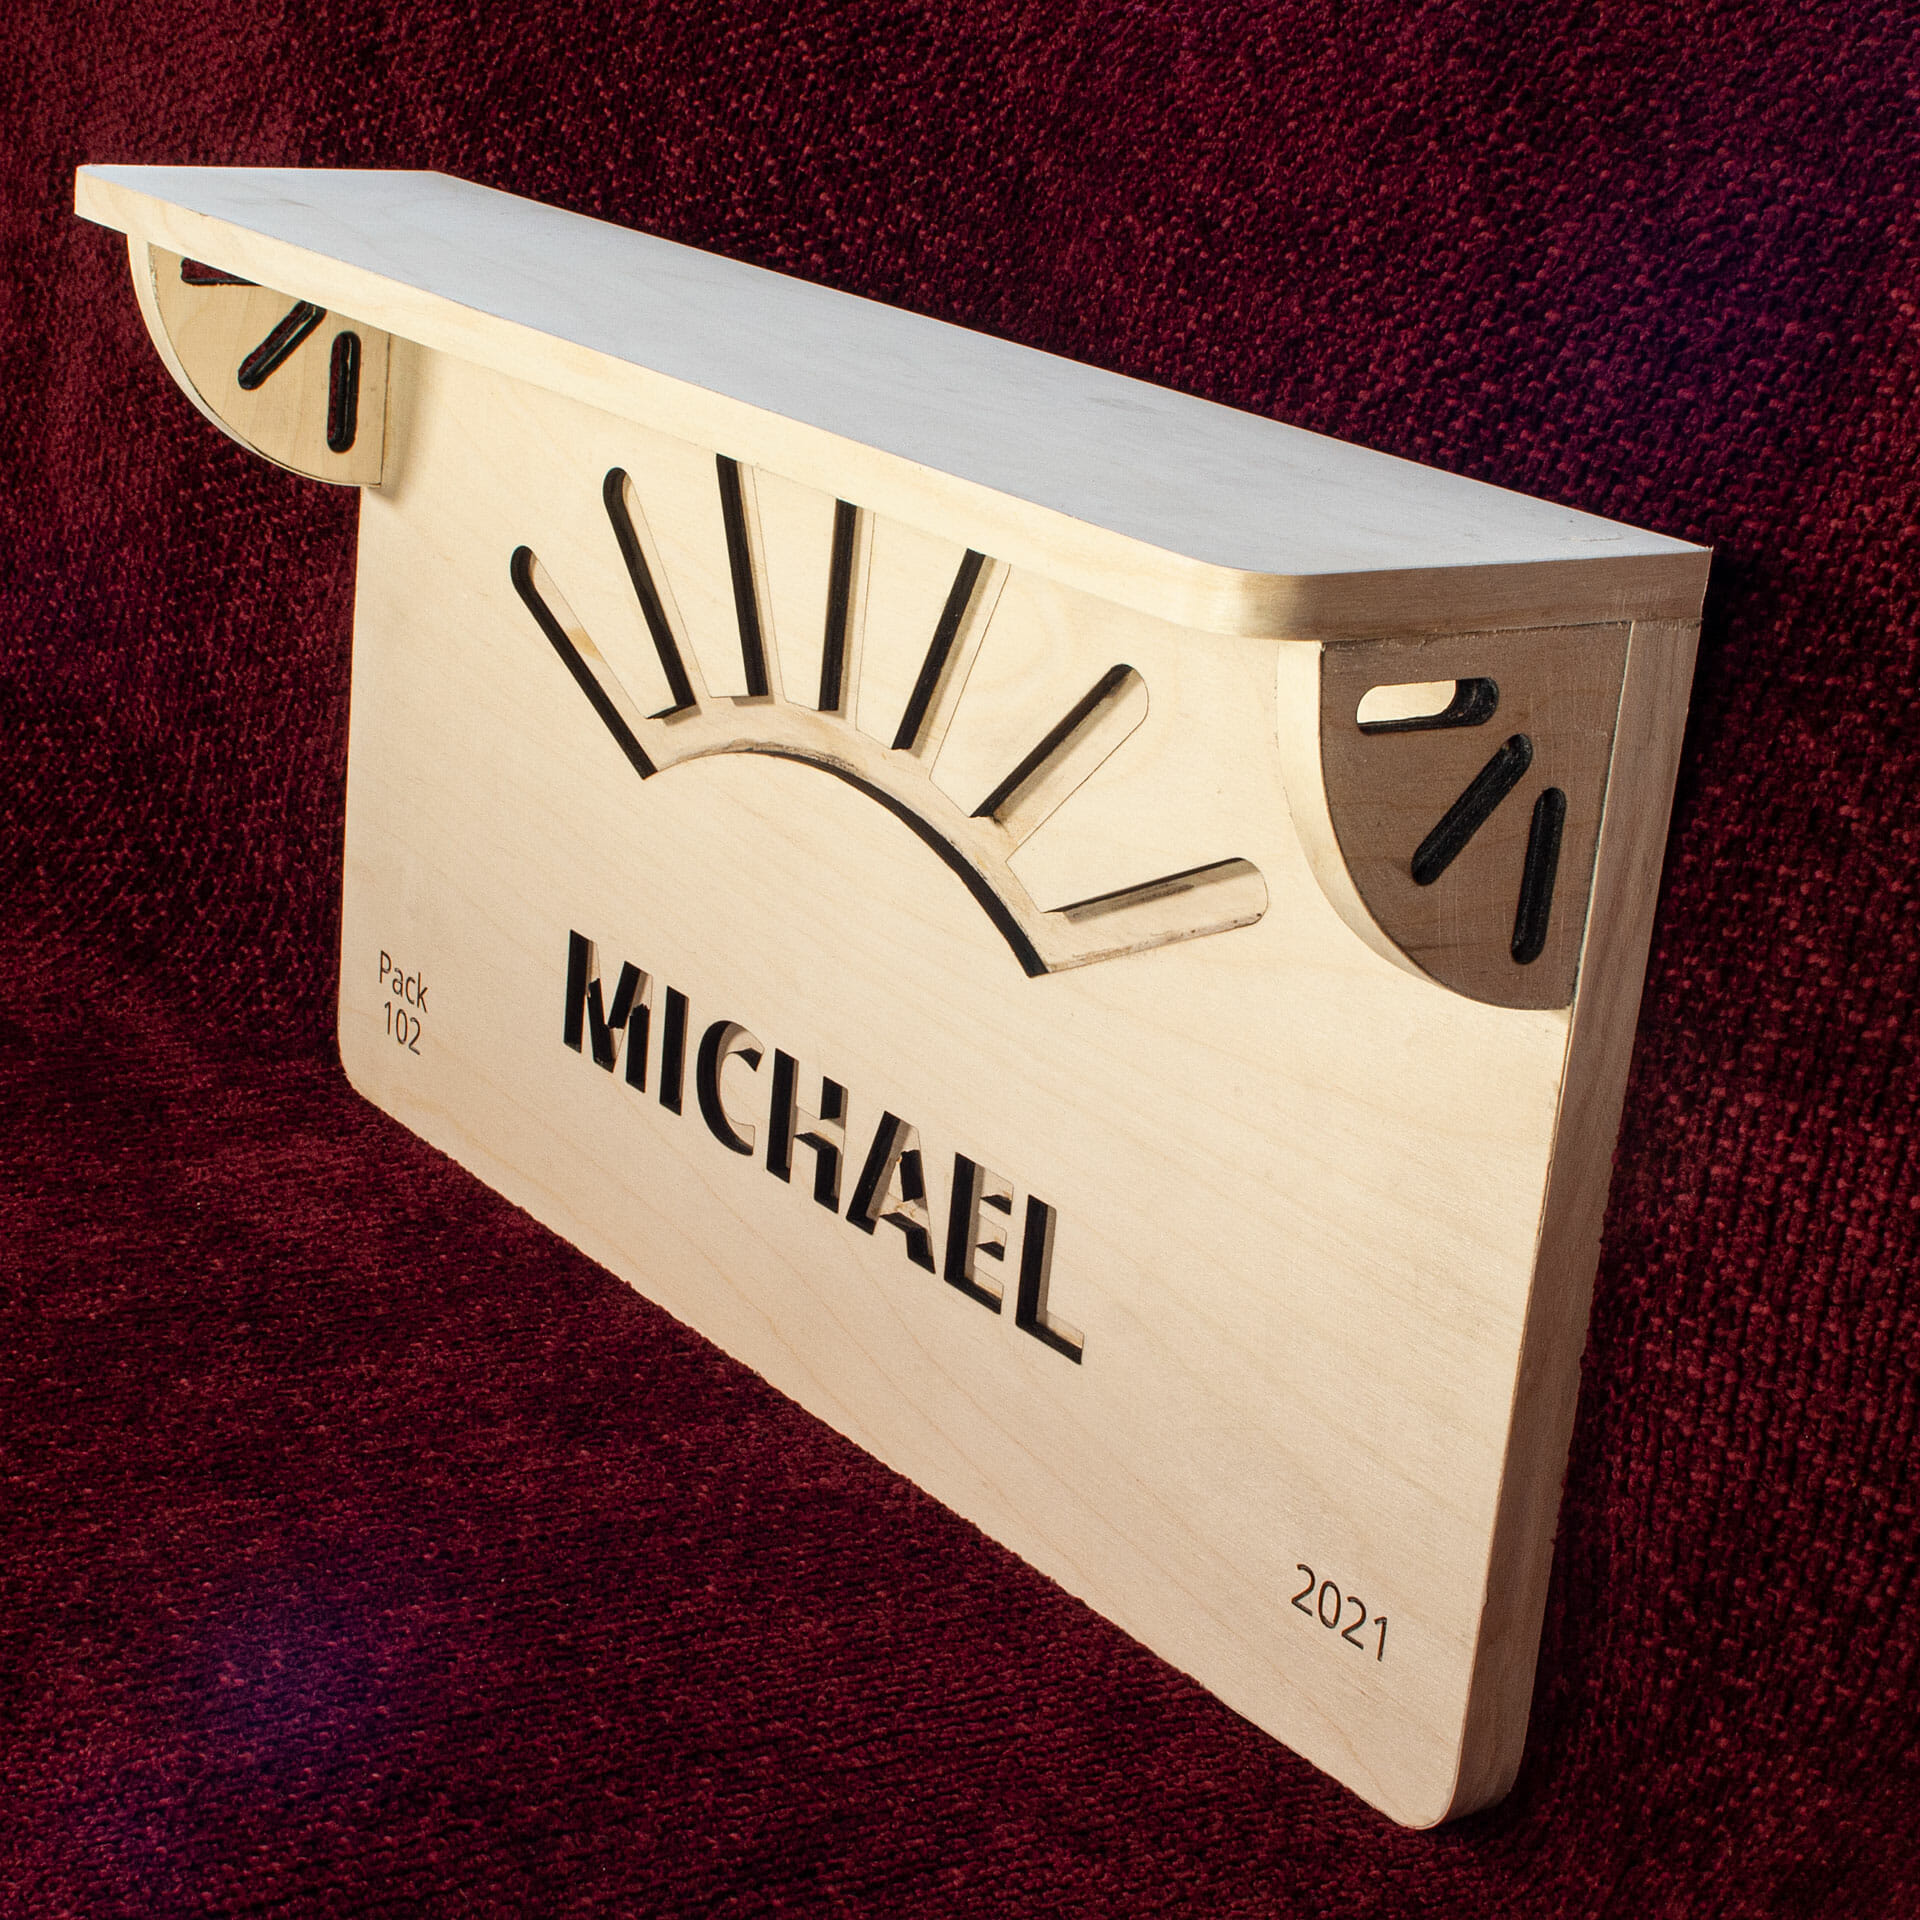
A recent recipient of the Arrow of Light wanted a plaque + shelf to hang in his room for display. There didn’t seem to be anything easily available that fit the bill. So, despite limited experience with woodworking, I agreed to take a run at it.
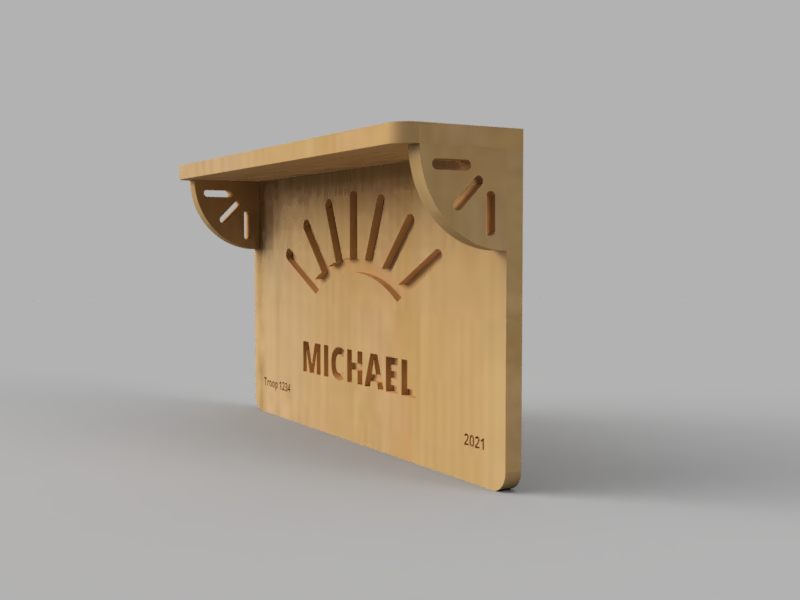
I did a quick visualization in Fusion 360 but, patterned the parts in Inkscape.
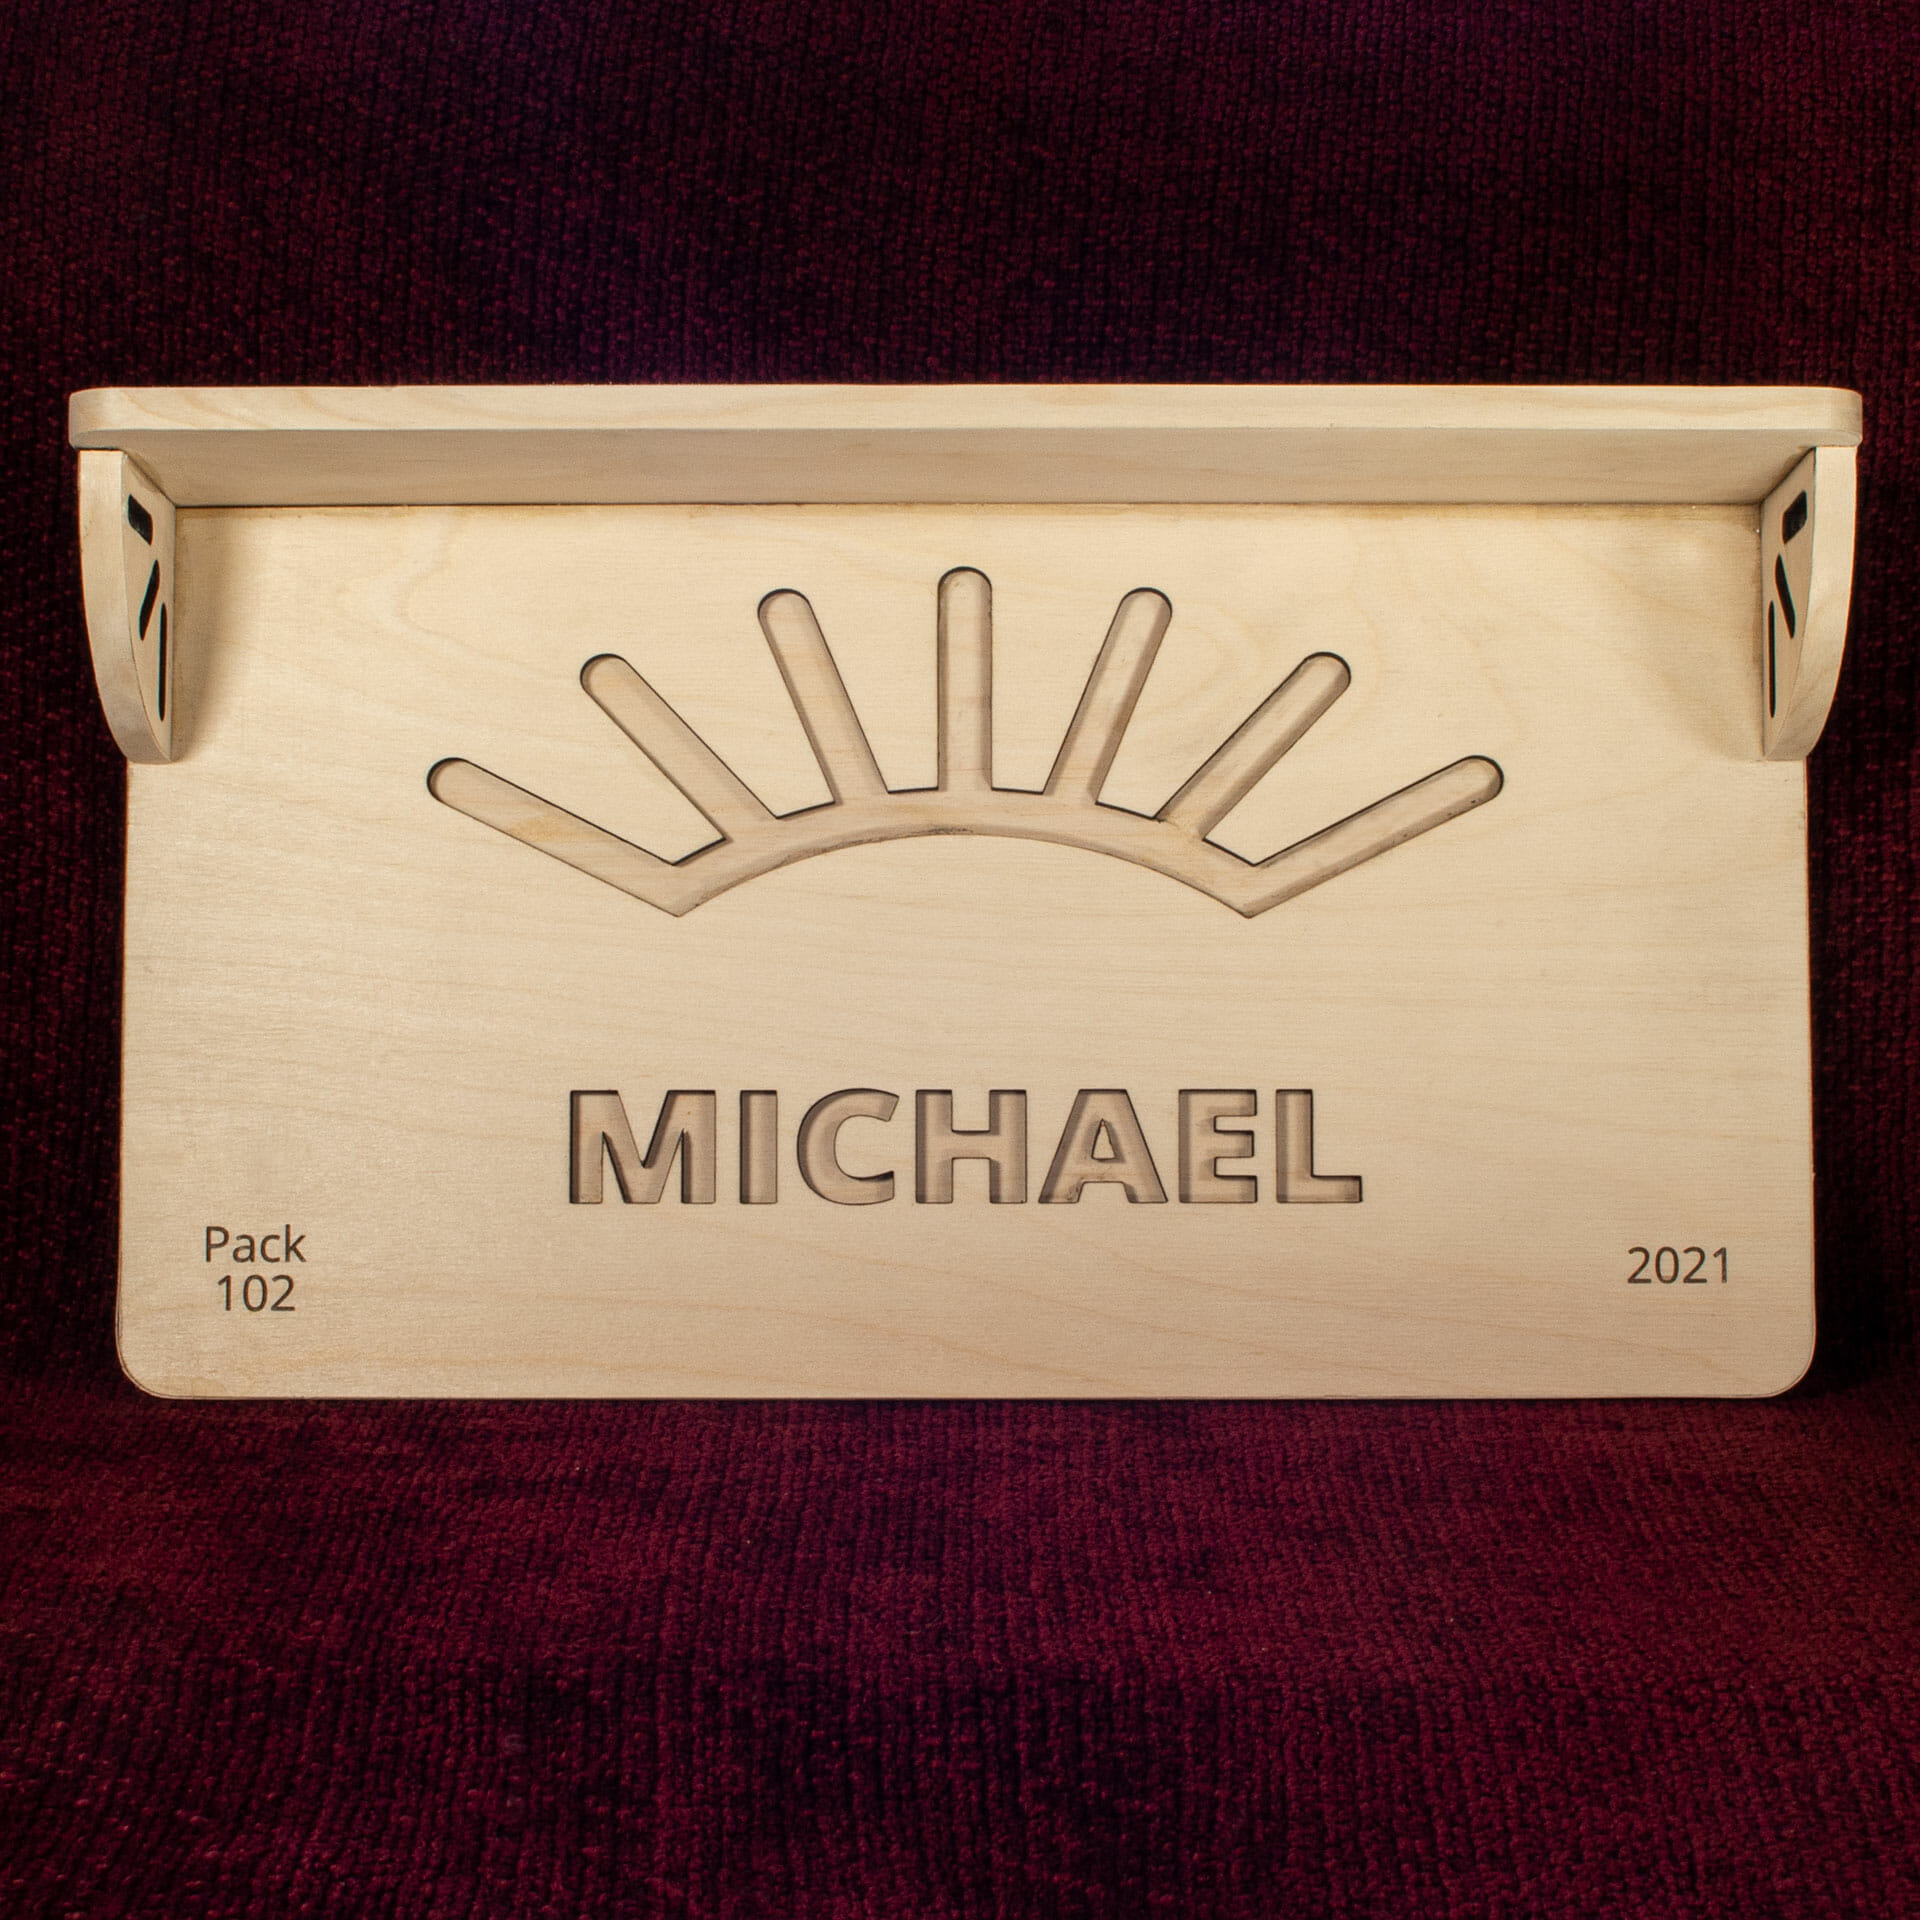
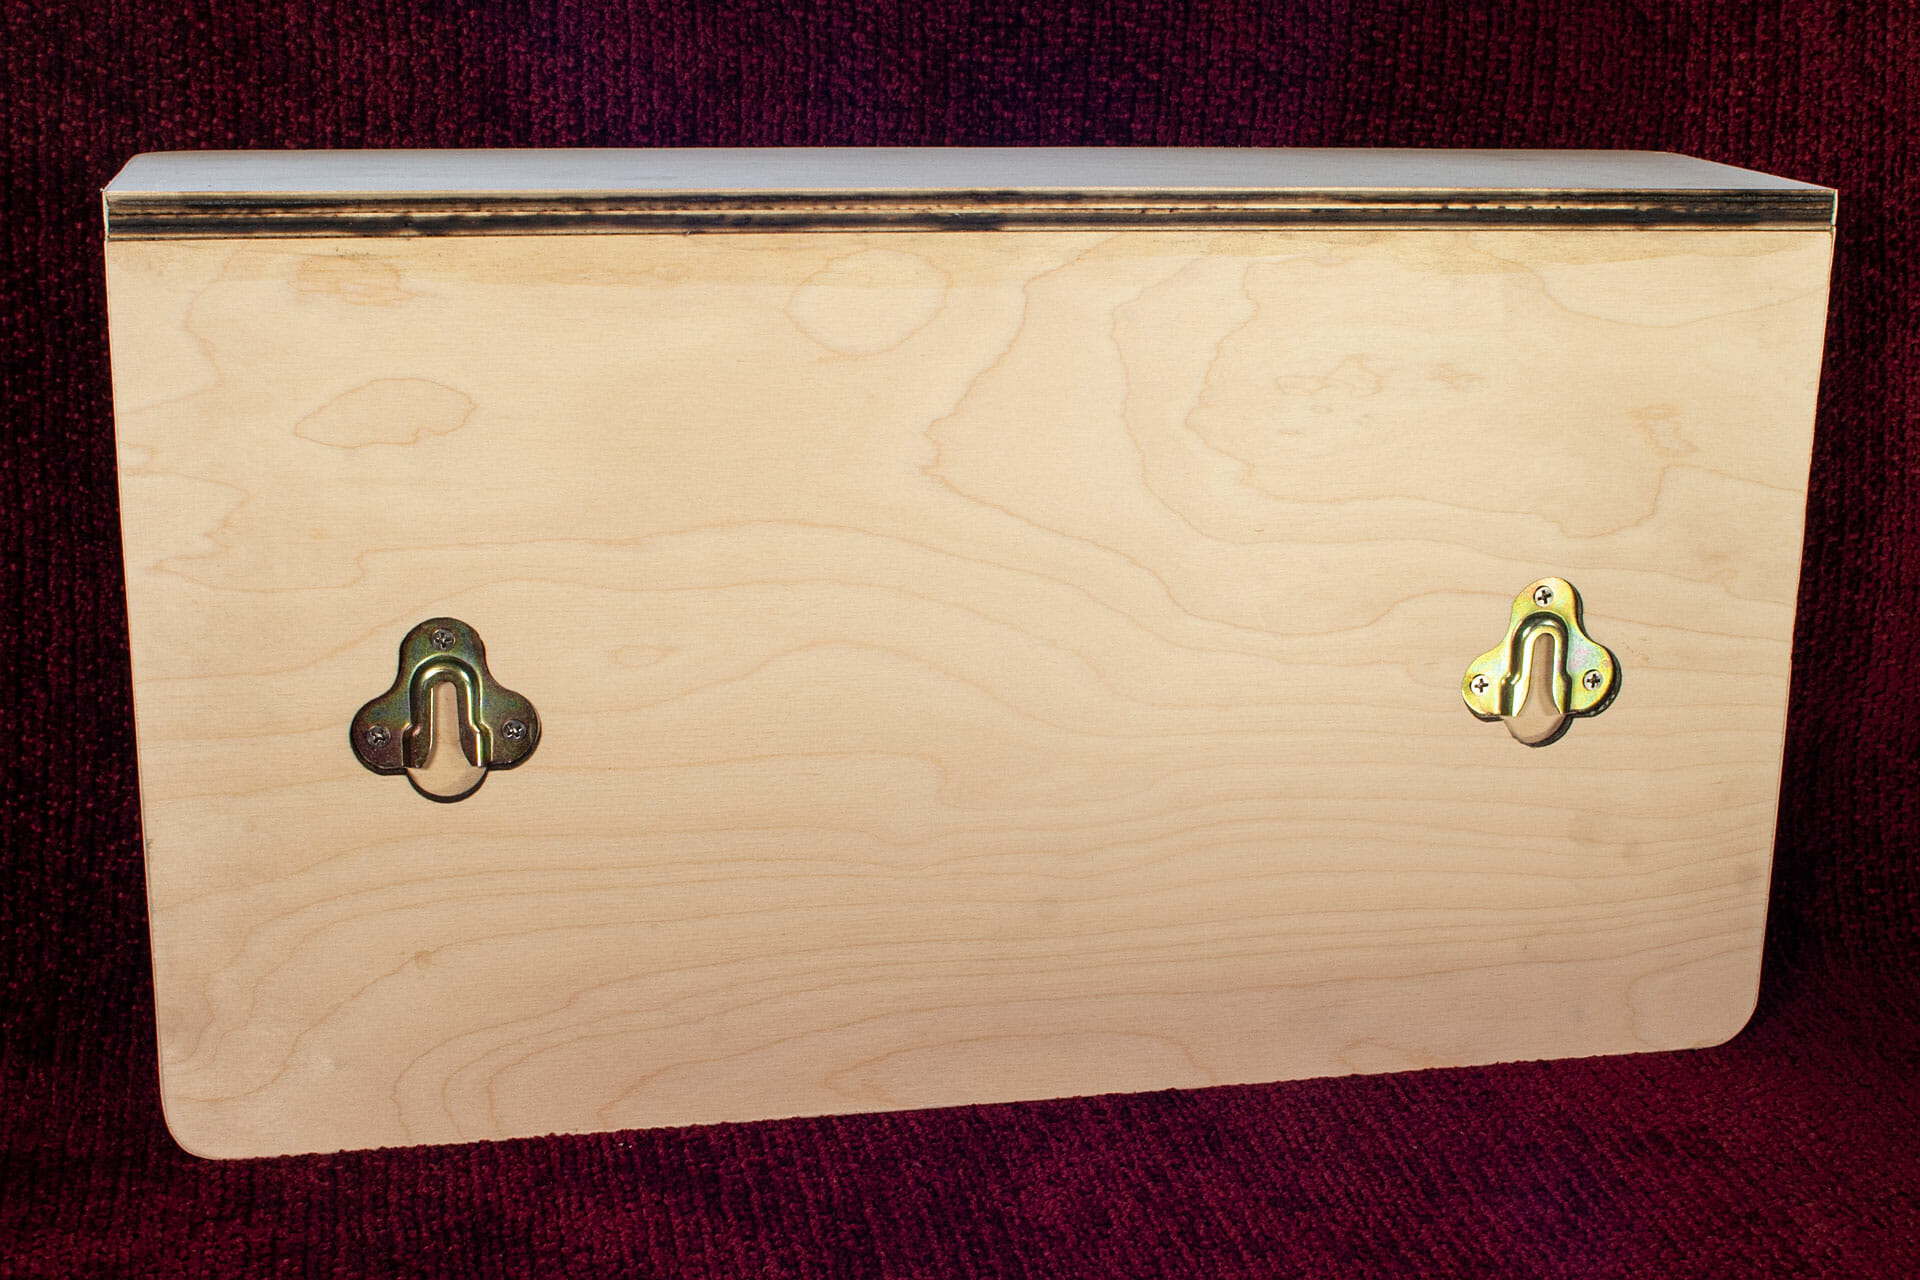
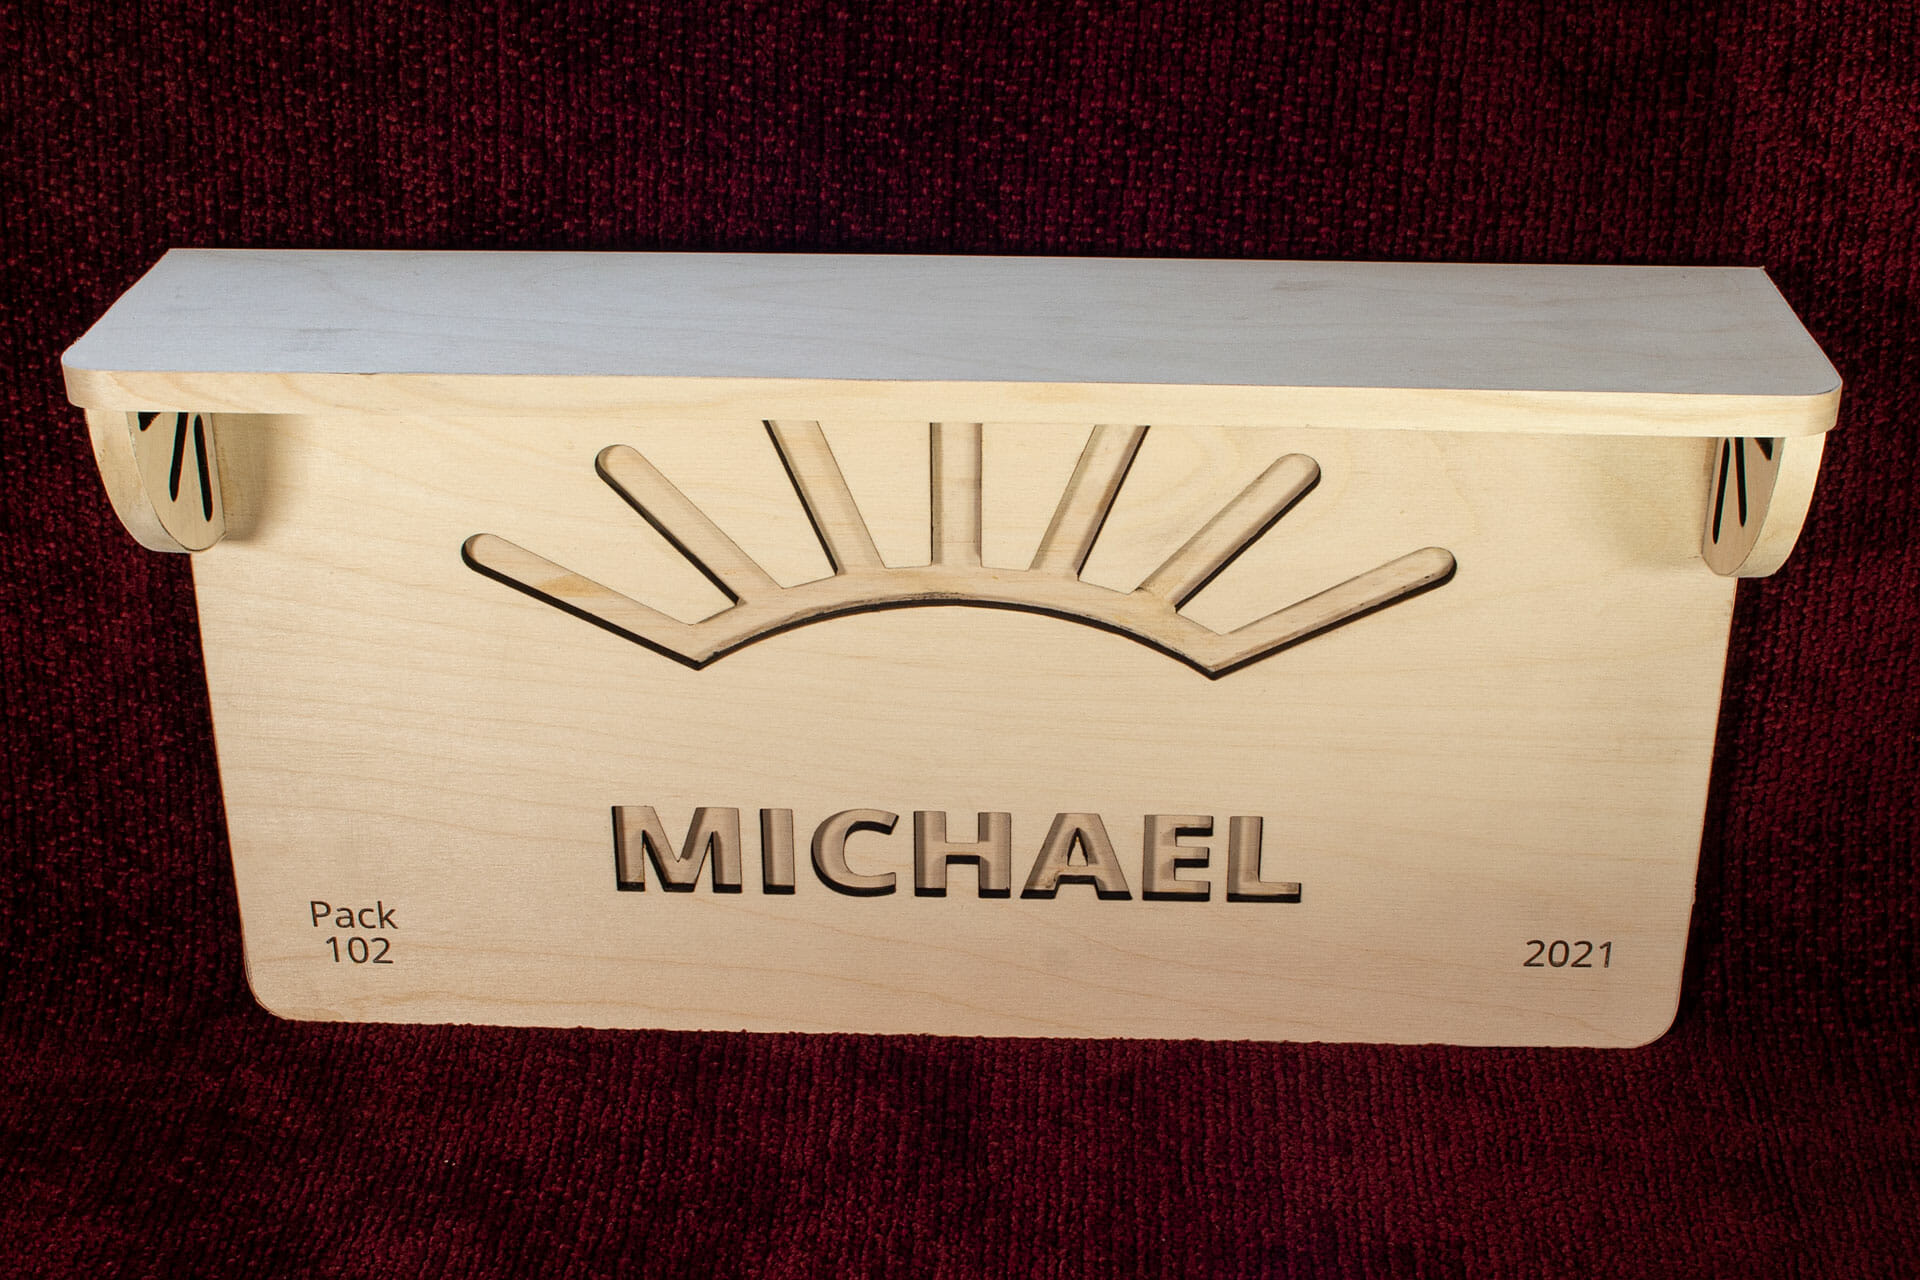
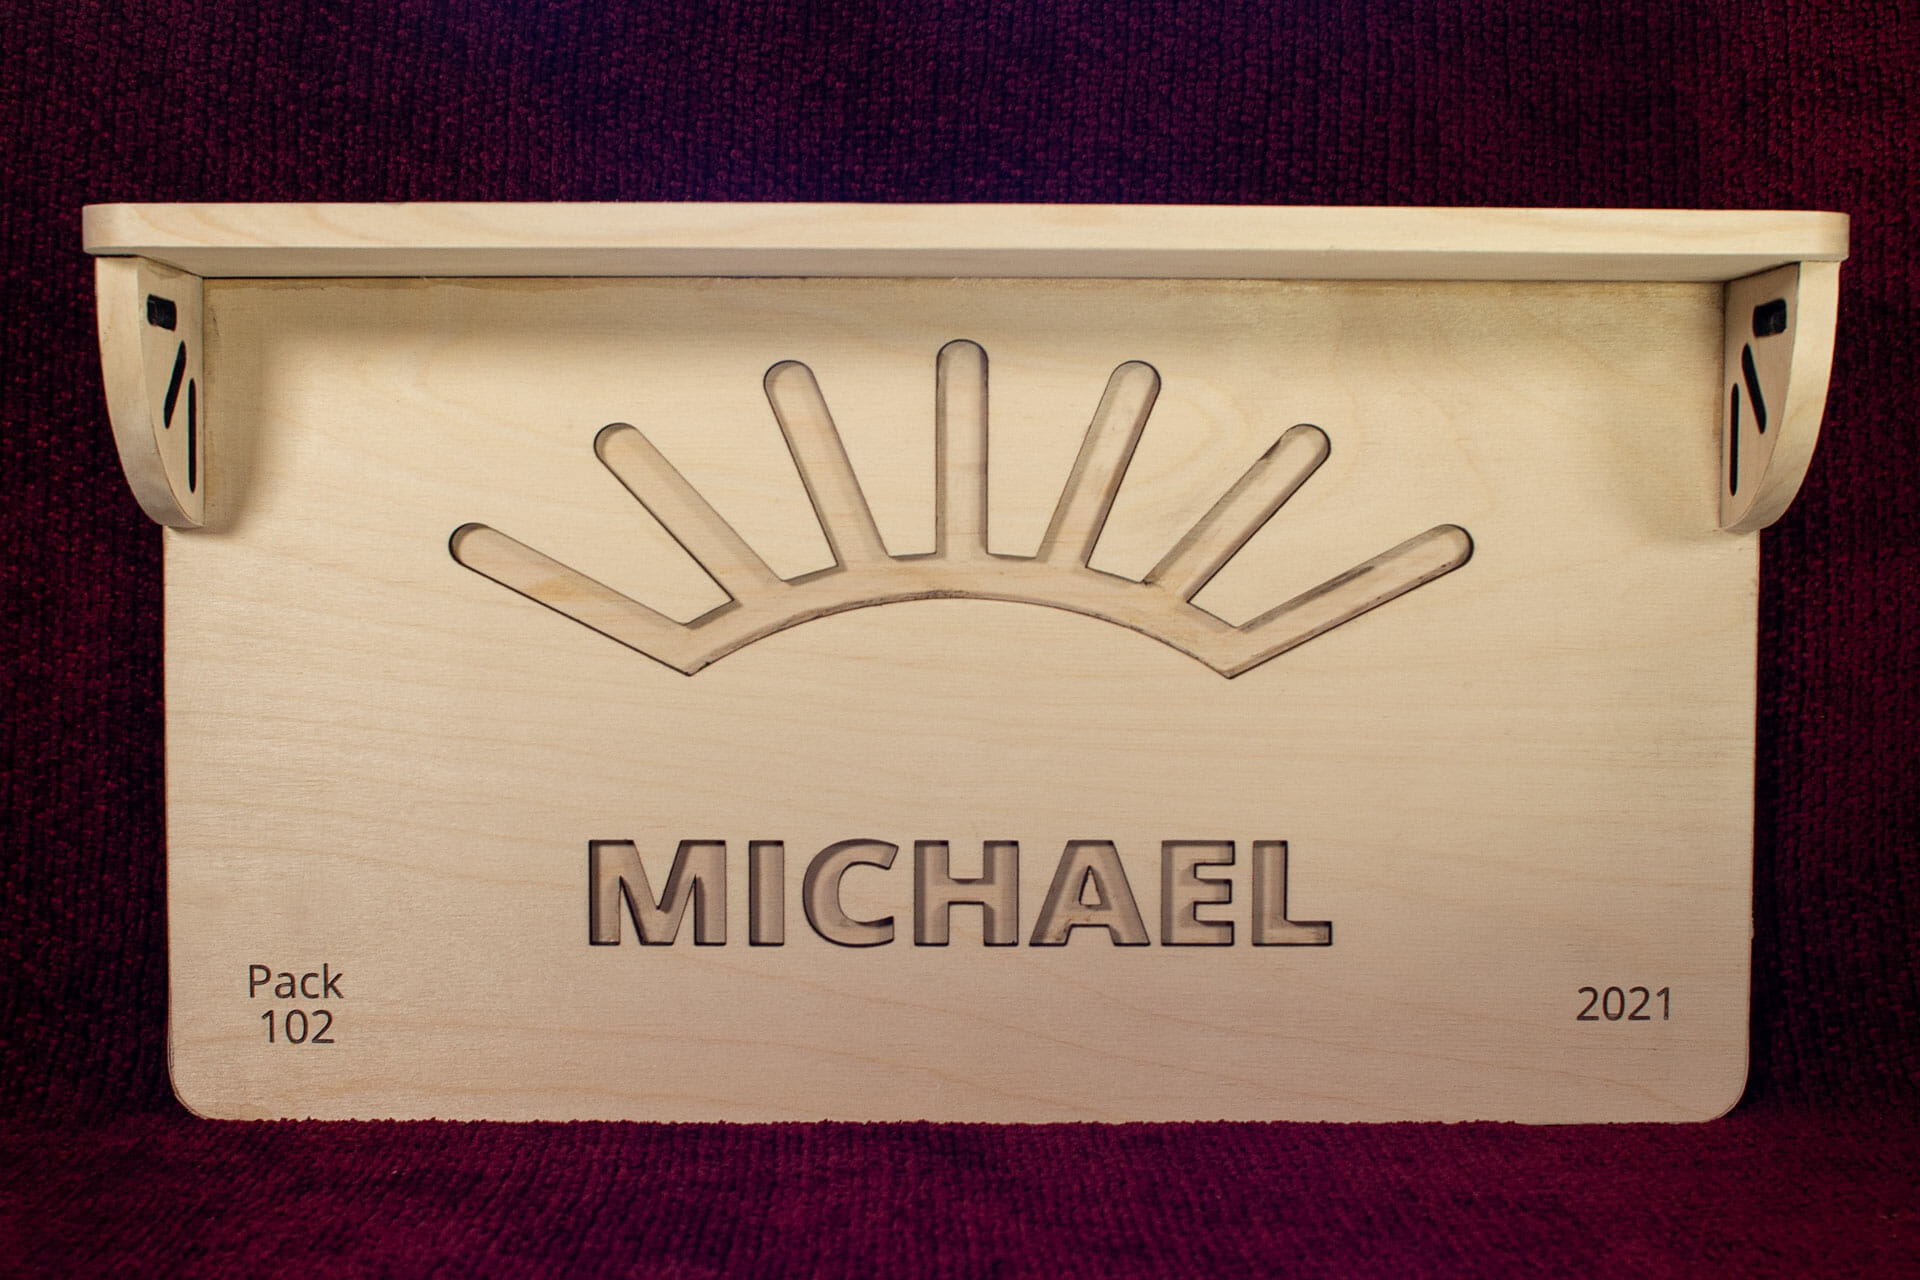
The back is three layers of 1/4″ Baltic birch plywood glued together. The name and sunbeam design are cut through the top layer with additional details engraved in the corners. I put cut-outs in the back layer so the hardware can be inset and, allow for flush mounting against a wall.
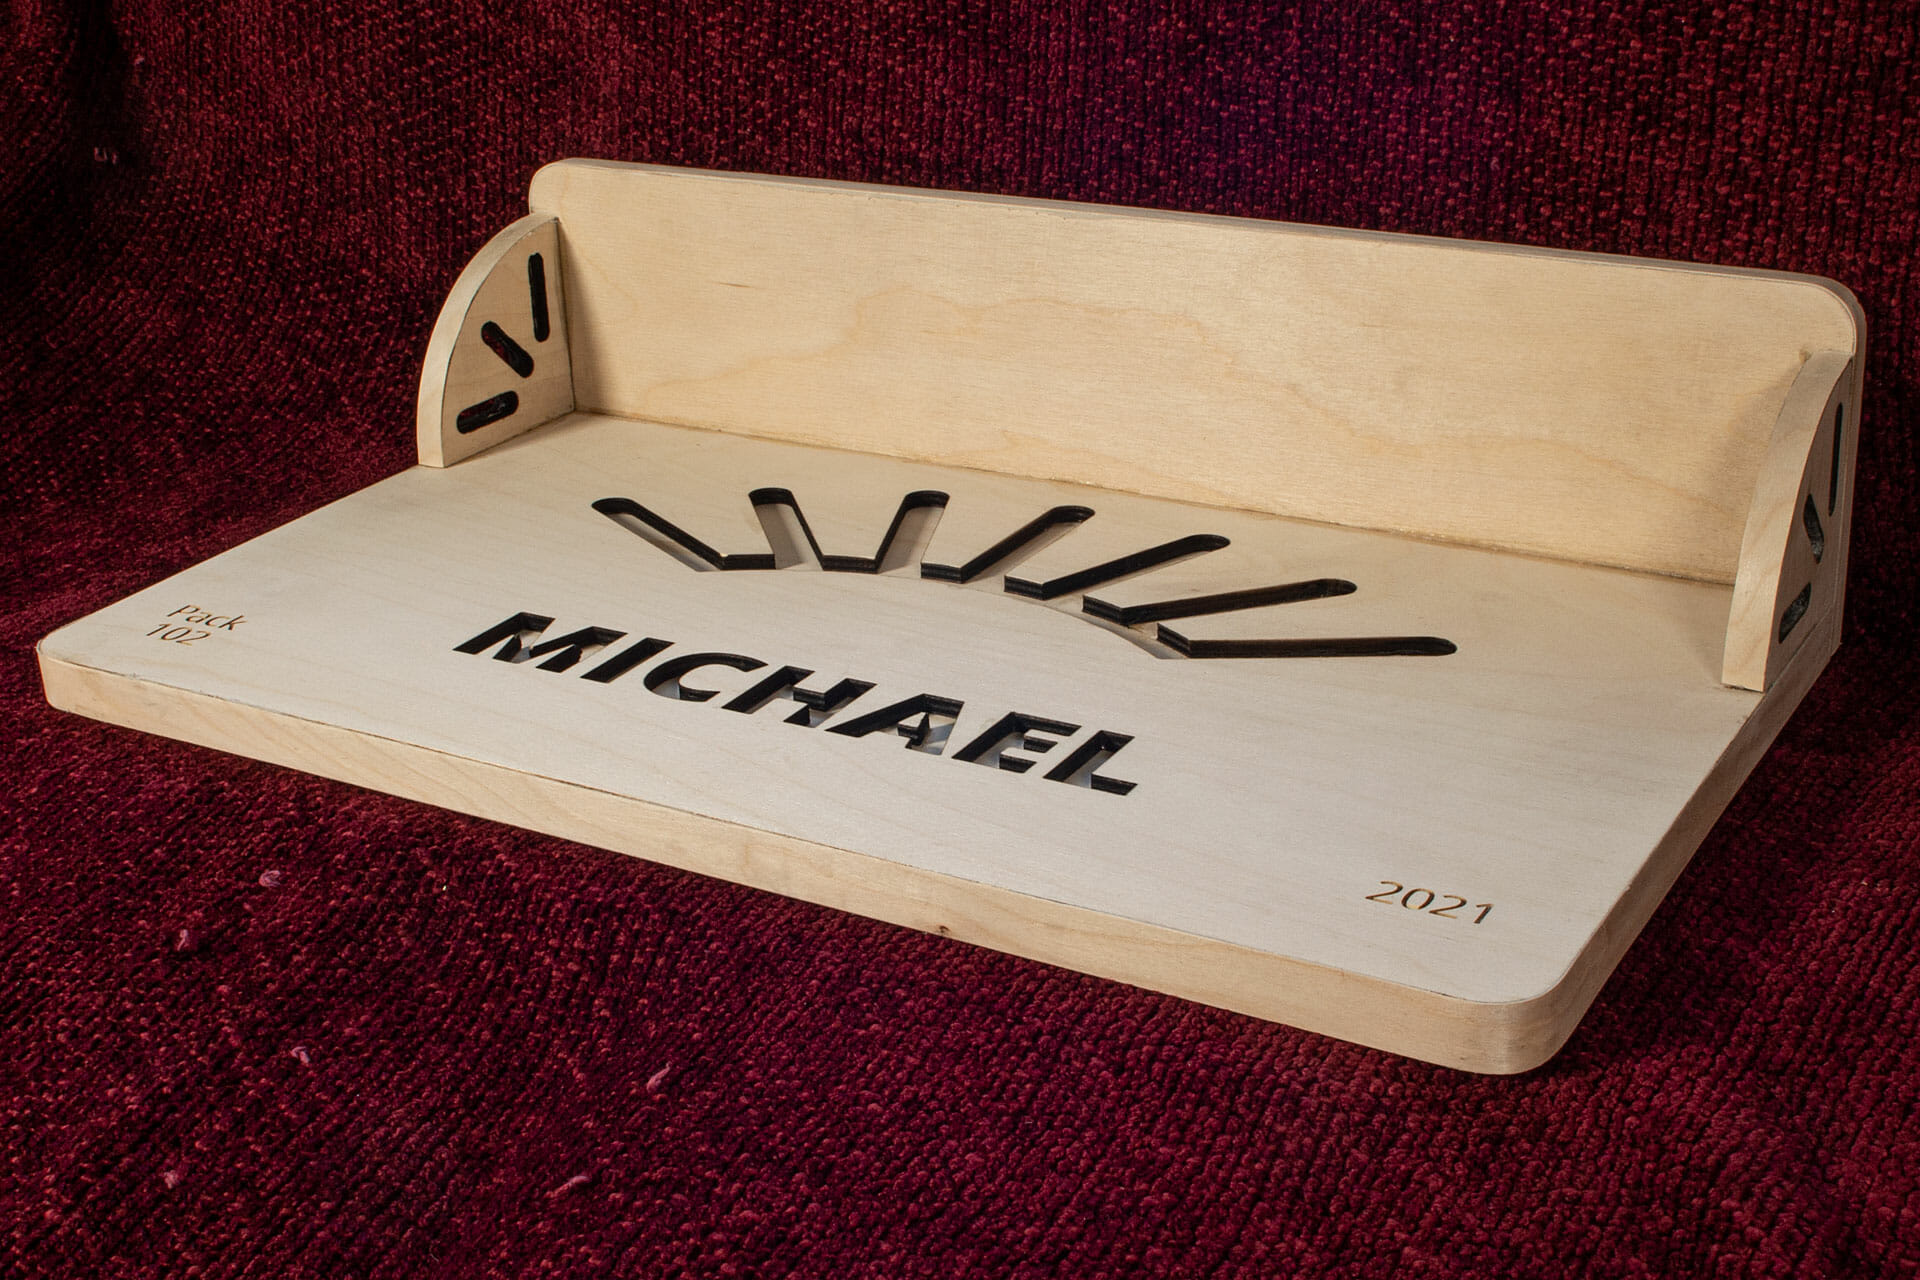
The shelf and brackets are two layers of the same plywood, laminated with glue.
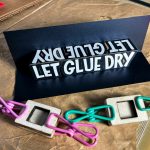
My original intent was to use countersunk screws to connect the bottom layer of the shelf to the plaque, then put the second shelf layer over that to create a good mechanical connection. With all of my countersink bits MIA, though, I ended up just using wood glue. A few quick tests suggest the ply will fail before the glue does.
I applied birch edge banding – my first experience with edge banding – to all of the exposed edges for a more consistent look.
This was shipped unfinished so that the recipient can stain it himself to match his room decor.
Make Your Own Arrow of Light Plaque Shelf
If you want to make a plaque + shelf like this, the files are below. Note that there are two files, one for the plaque part and another for the shelf.
The font I used is Open Sans Extrabold (link goes to download) at 144pts. I left it as text in the file. When you have the text/name you want, use the alignment tool in your editing software (e.g., Inkscape) to center it on the sunburst. Then, convert the text to paths (Path > Object to Path in Inkscape).
Similarly, edit the text in the corners as desired, then convert them. Leave them filled to process them as engraves.
Cut three variants of the plaque:
- The front layer with the corner text engraved and the name, sunburst and outline cut out (everything else ignored).
- The middle layer with just the two clusters of three tiny screw holes and the outline.
- The back layer with the cut-outs for the mounting hardware and the outline.
Laminate the three layers together with wood glue, avoiding applying glue to areas that will be exposed.
The shelf is simpler: cut two shelf pieces and four bracket pieces and laminate each set of two together with wood glue.
Glue the shelf and brackets to the plaque as seen in the photos. Edge band, if desired.
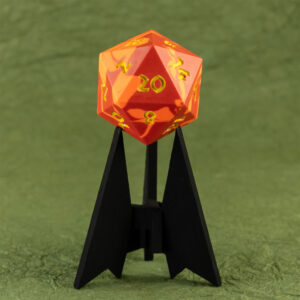
Finish (e.g., stain, paint), install the mounting hardware, add the arrow and hang.
Materials
You are almost certainly better off buying your Baltic birch plywood from a local supplier. You can get little boxes of it online but, it is generally twice the price.
1/4″ Baltic Birch Plywood (Amazon)
Amazon referral links for some parts and incidentals defray IT and hosting costs for a local arts organization (Arizona Aikido).
Design Files
These files are for personal, non-commercial use only. If you want to produce these to sell or for other business use, please contact me to arrange for licensing terms. Also note that, by referencing these, you are agreeing to release any variations you create under identical terms.


No comment yet, add your voice below!