180° Degree Spirals Pop Up Card
In keeping with tradition, I present my 2019 holiday card: a 180° degree opening Celtic spirals abstract origamic architecture / kirigami-style pop up.
Laser-Scoring Both Sides of a Card
I have had several people ask me about this. So, I made a video showing how to score both sides of a piece of paper or card stock with precision alignment using the laser.
After cutting and scoring the front of the card, I cut an outline of the reversed card and, set up a simple right-angle jig to make it easy to put the cut cards in the same spot in the machine. I discuss several methods for work hold-down and, how to adjust for minor errors in the setup.
I am consistently able to get hair-line alignment using this approach.
While I am using a Glowforge here, this technique is essentially the same in other laser cutters.
Resources
Glowforge Boot (for reducing tray movement)
Acrylic Square / Fiducial Alignment Ruler
(While this incorporates fiducial markings for a beta alignment feature you may not have (Snapmarks), we are NOT using that here. We just need a right angle piece that will stay put and, let us consistently put our cards in the same spot in the machine.)
Amazon referral links for some parts and incidentals defray IT and hosting costs for a local arts organization (Arizona Aikido).
Pop the Vote
There is a big event going on in the United States right now.
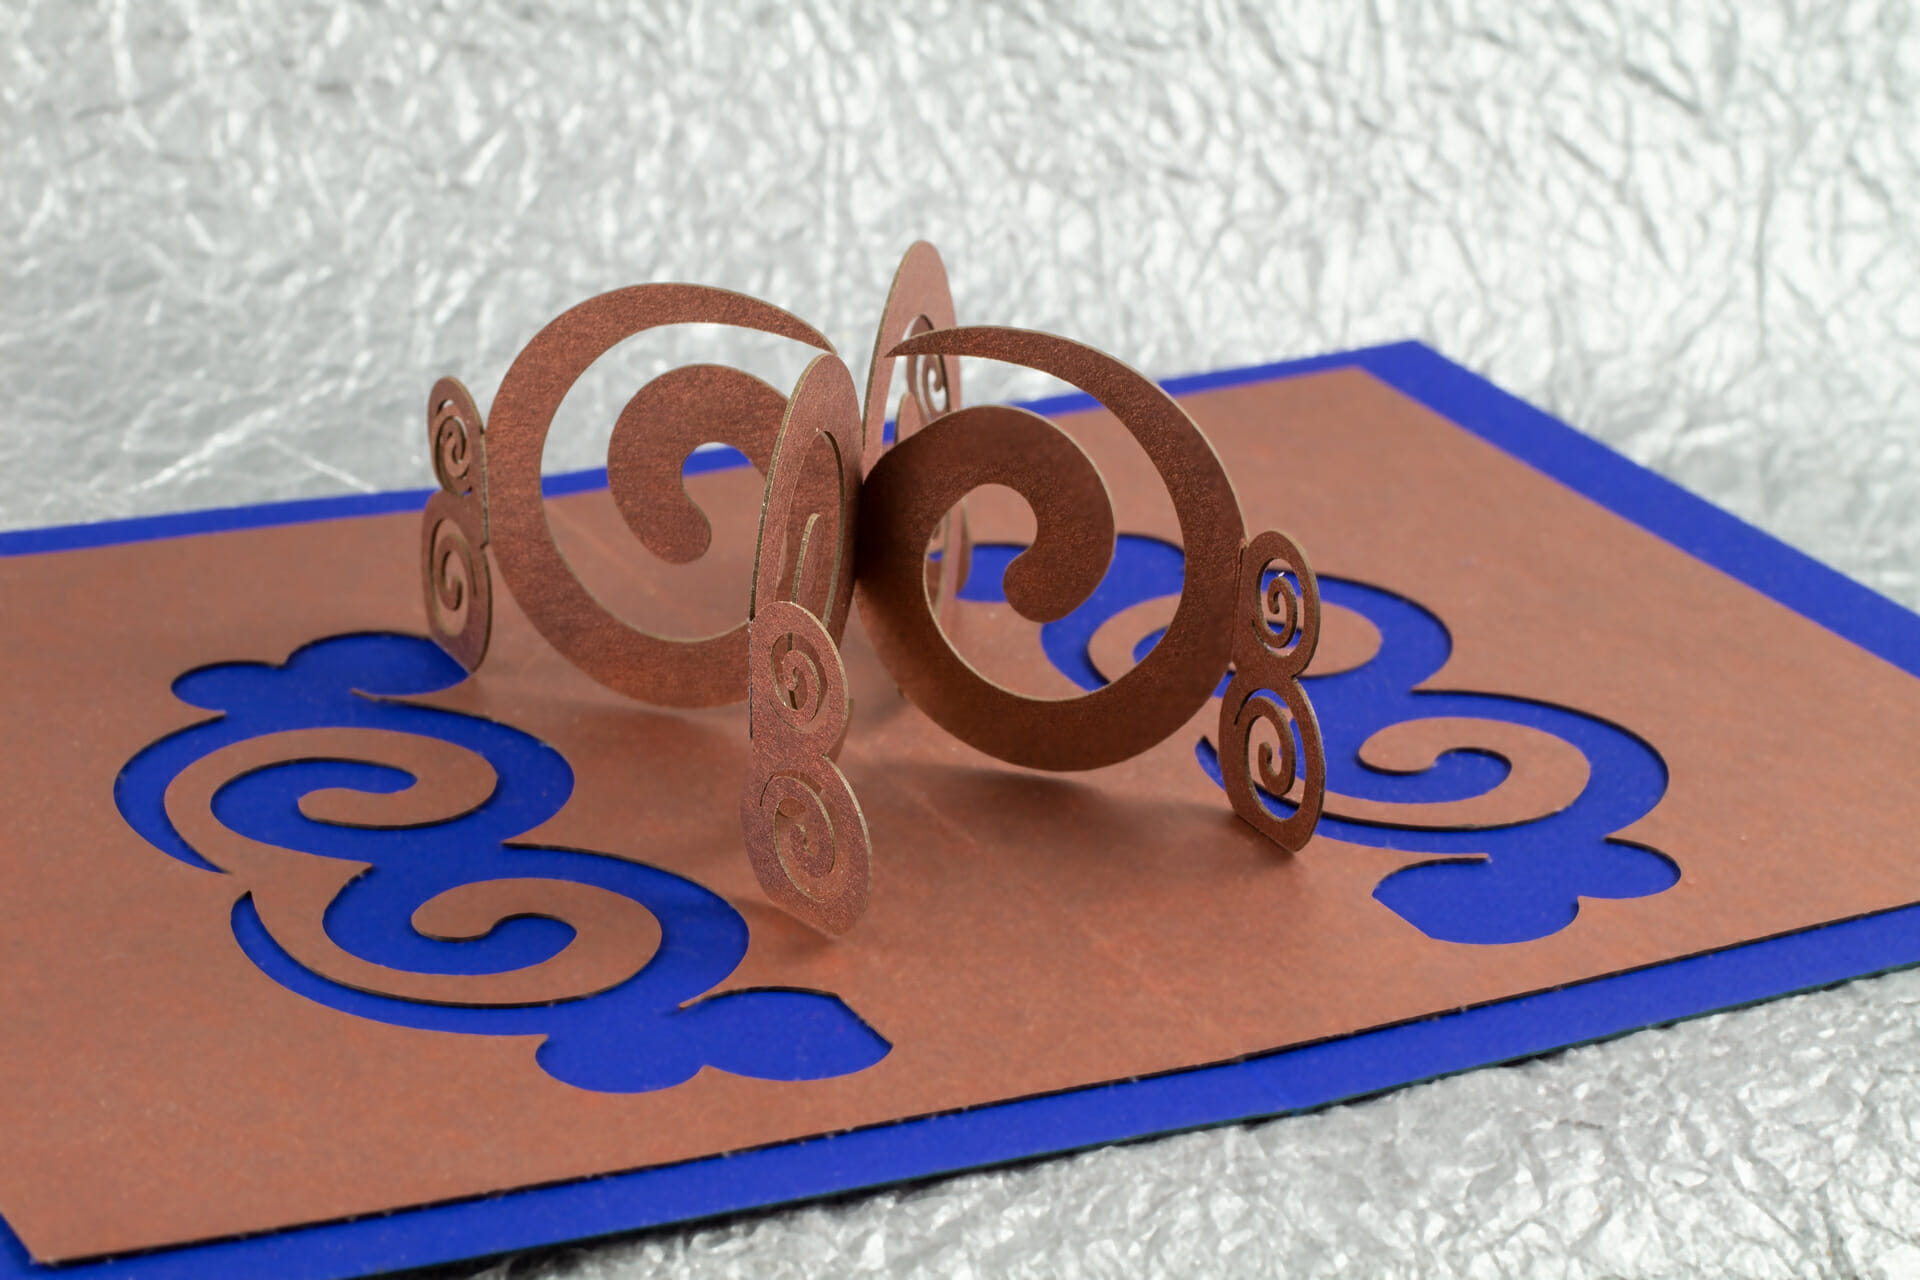
If you would like to make your own, you can download the Pop the Vote pop up card pattern for free.
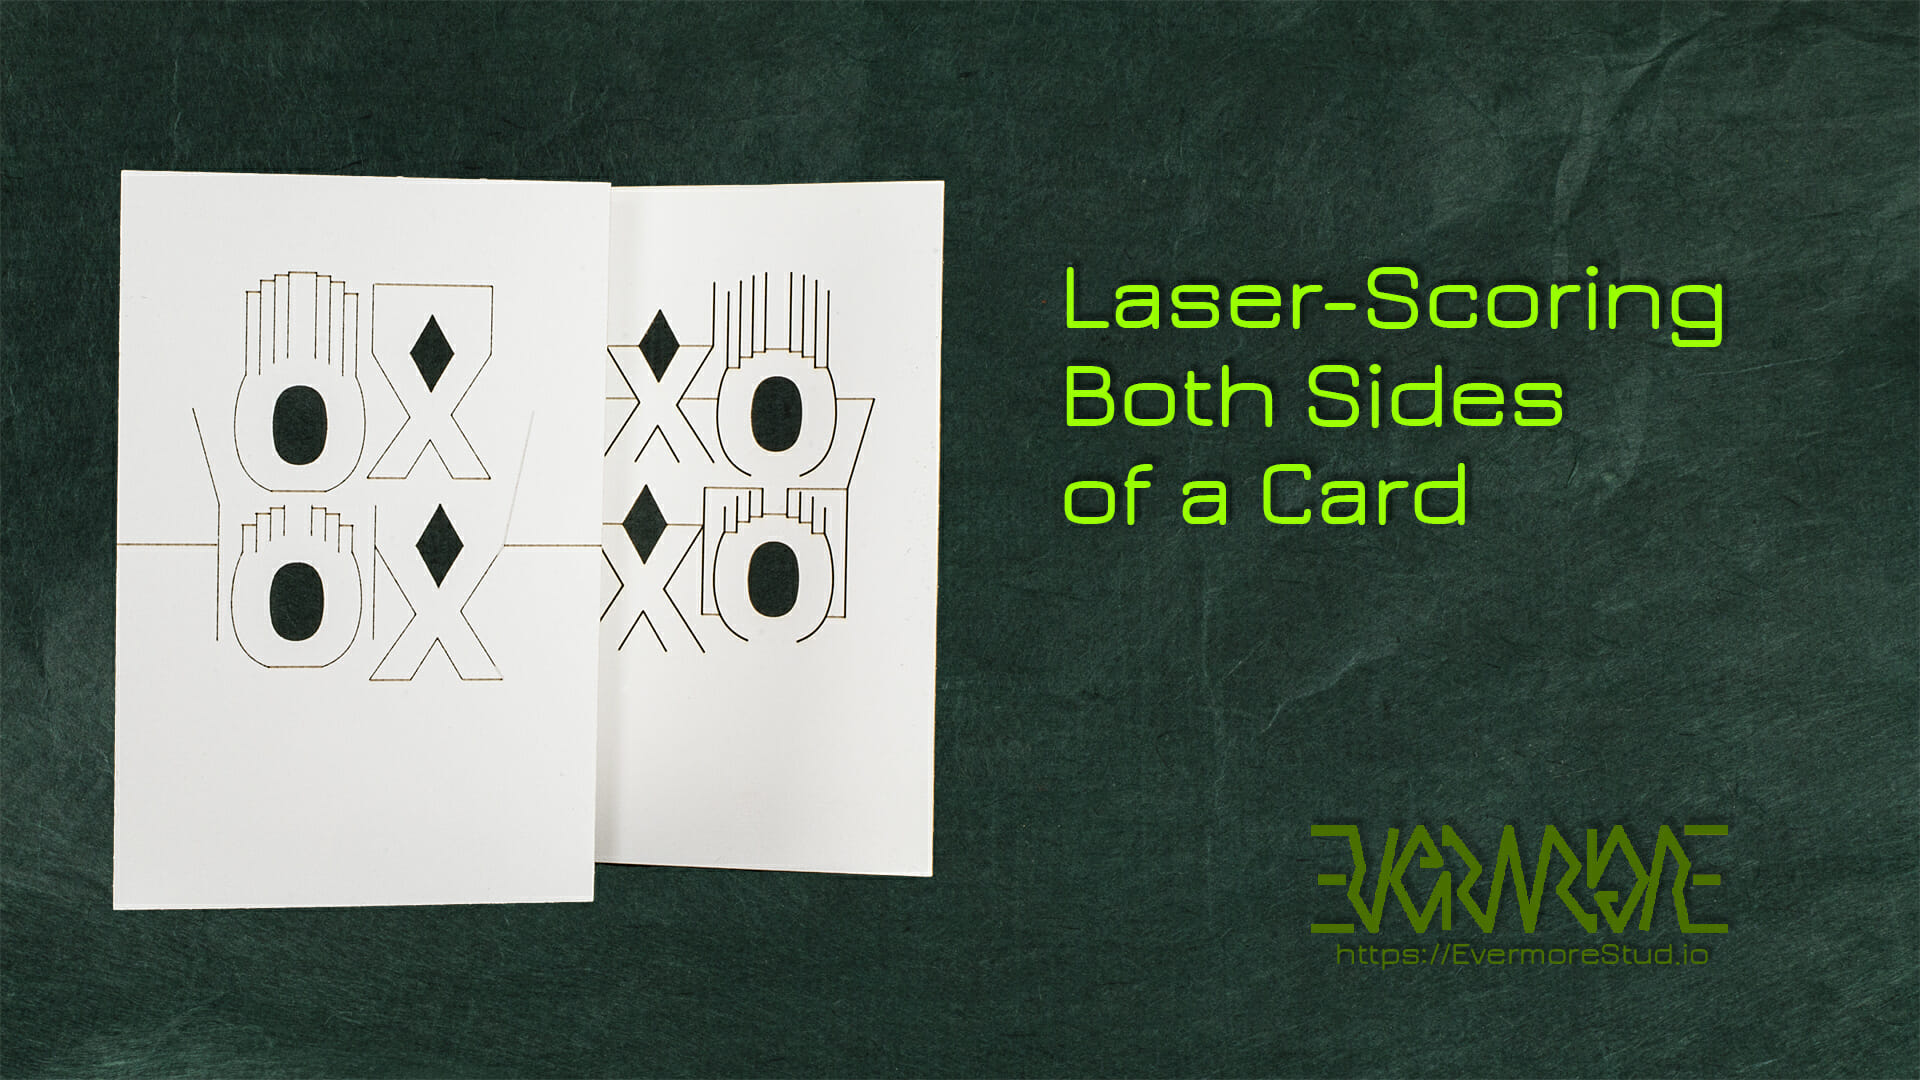
Totoro Twisted-Crest OA/Kirigami Pop Up Card
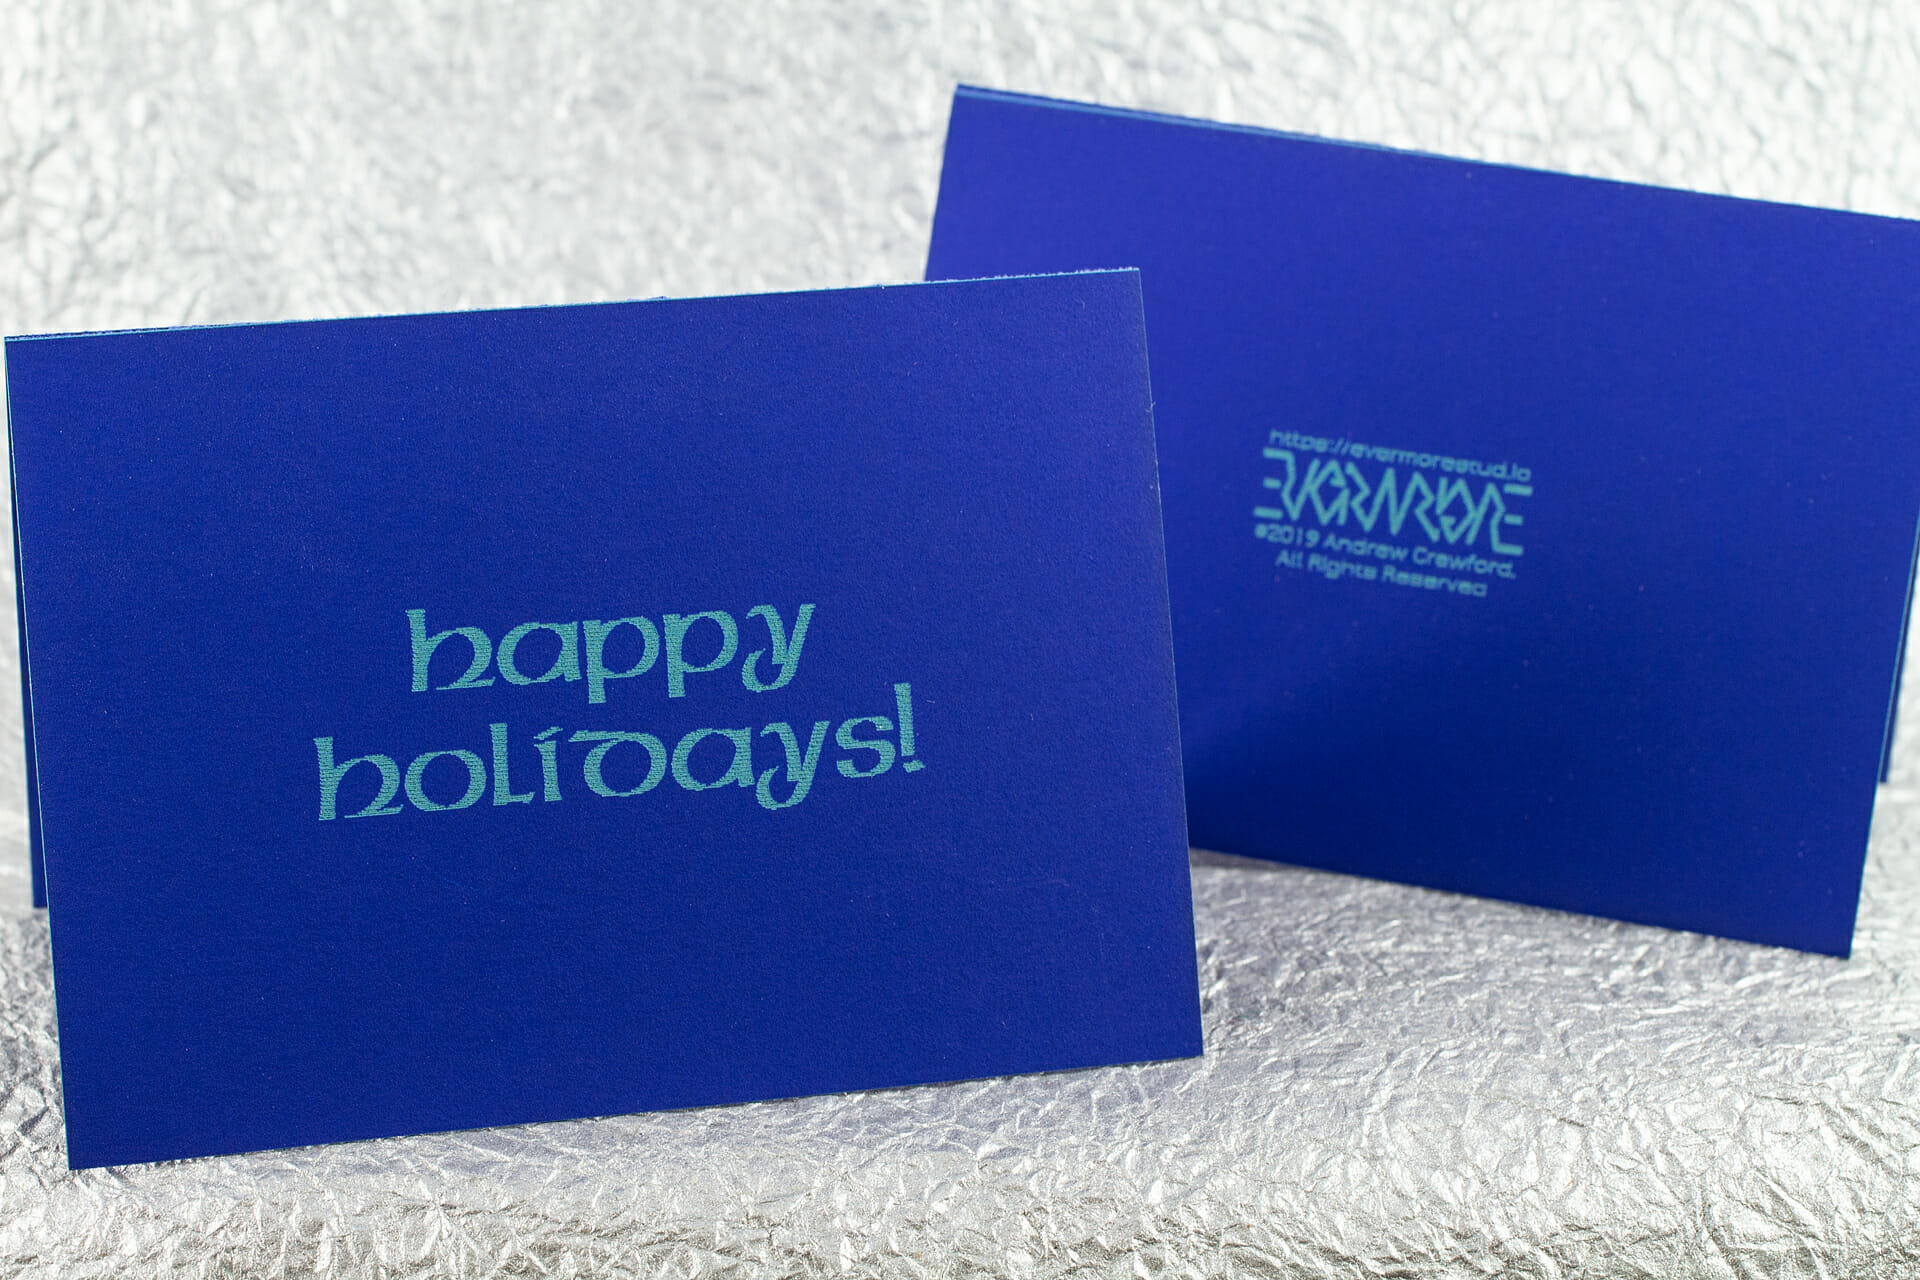
Just open this card and … 🎶 you’ll be meeting Totoro! 🎶
Although I don’t normally do a lot with other people’s characters or designs, some of Hayao Miyazake’s movies have a special place in my heart. I know they do for many others, too. So, I did this for some upcoming birthdays.
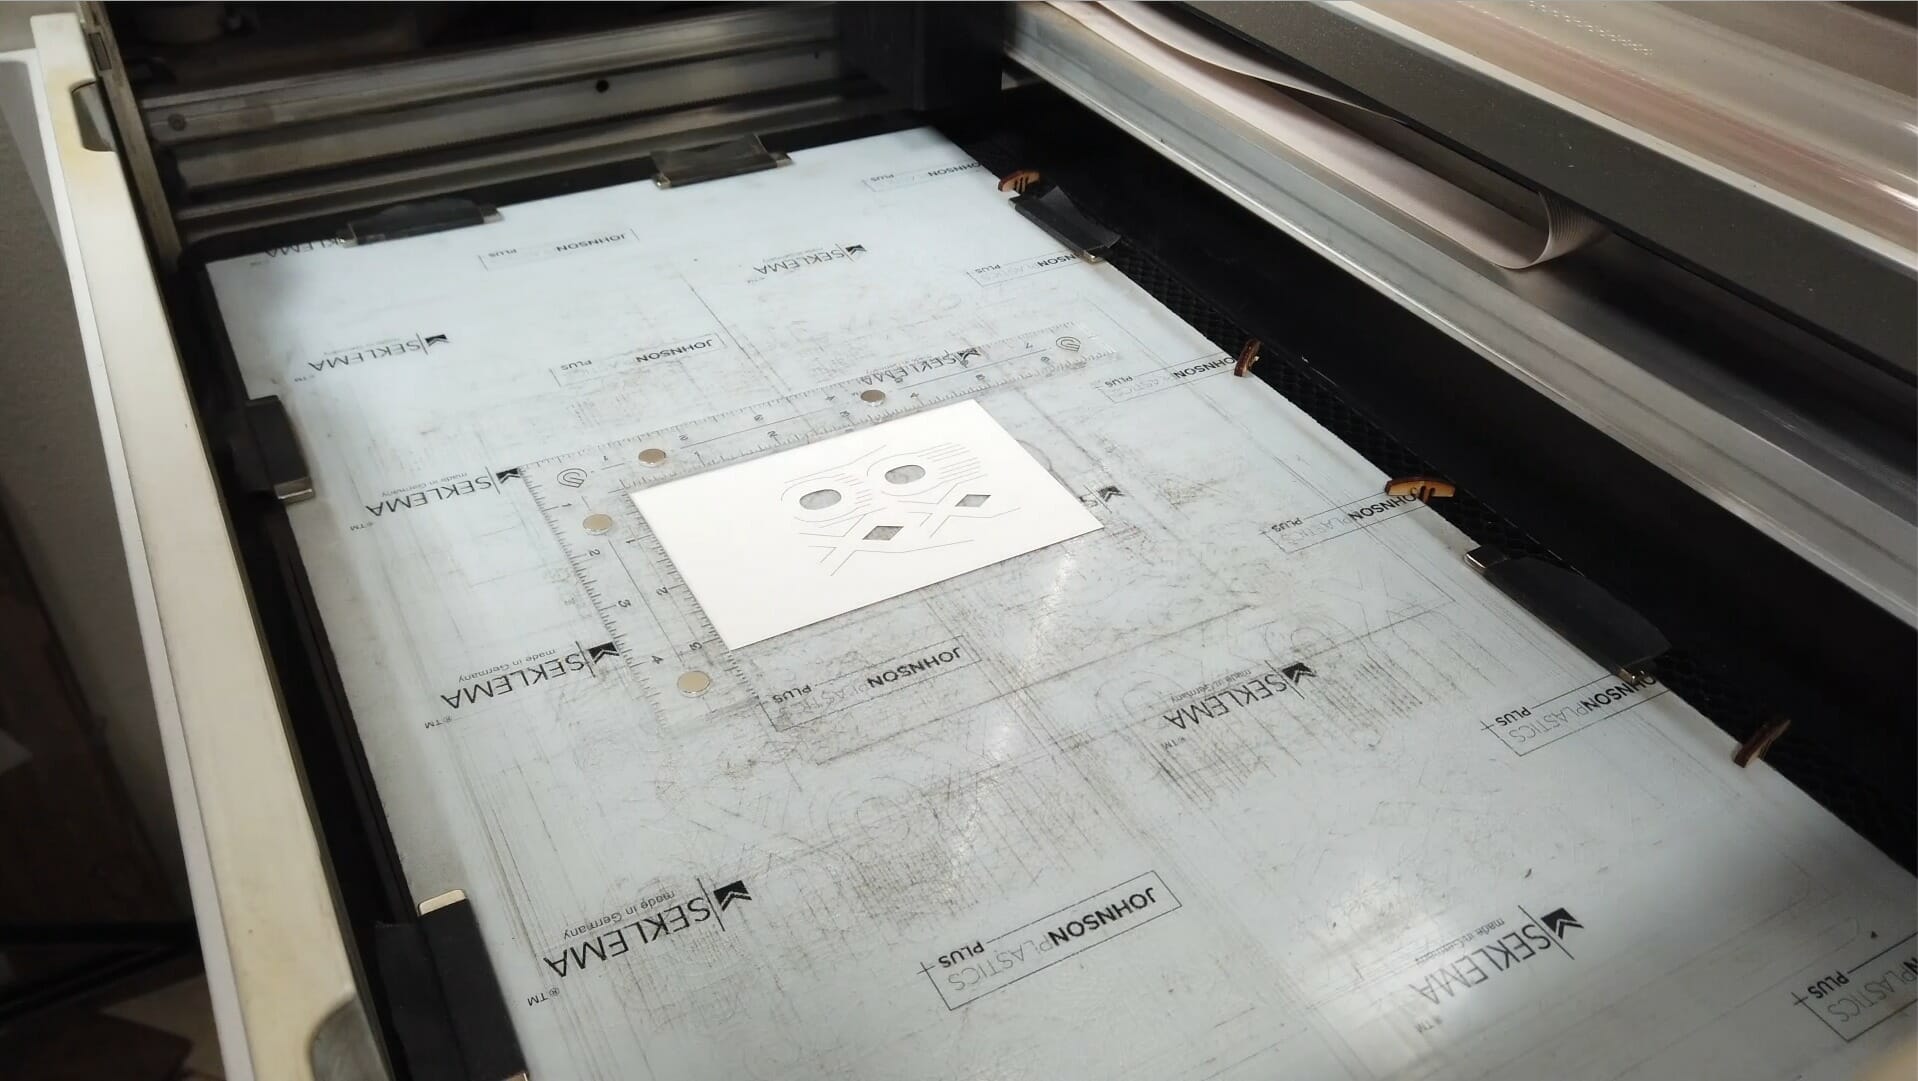
I sketched my Totoro (Totoros?) in Procreate on the iPad, with a still from the movie as a reference. I used the sketch as a reference to make a vector version in Inkscape. I created the ferns the same way. I designed the flowers directly in Inkscape.
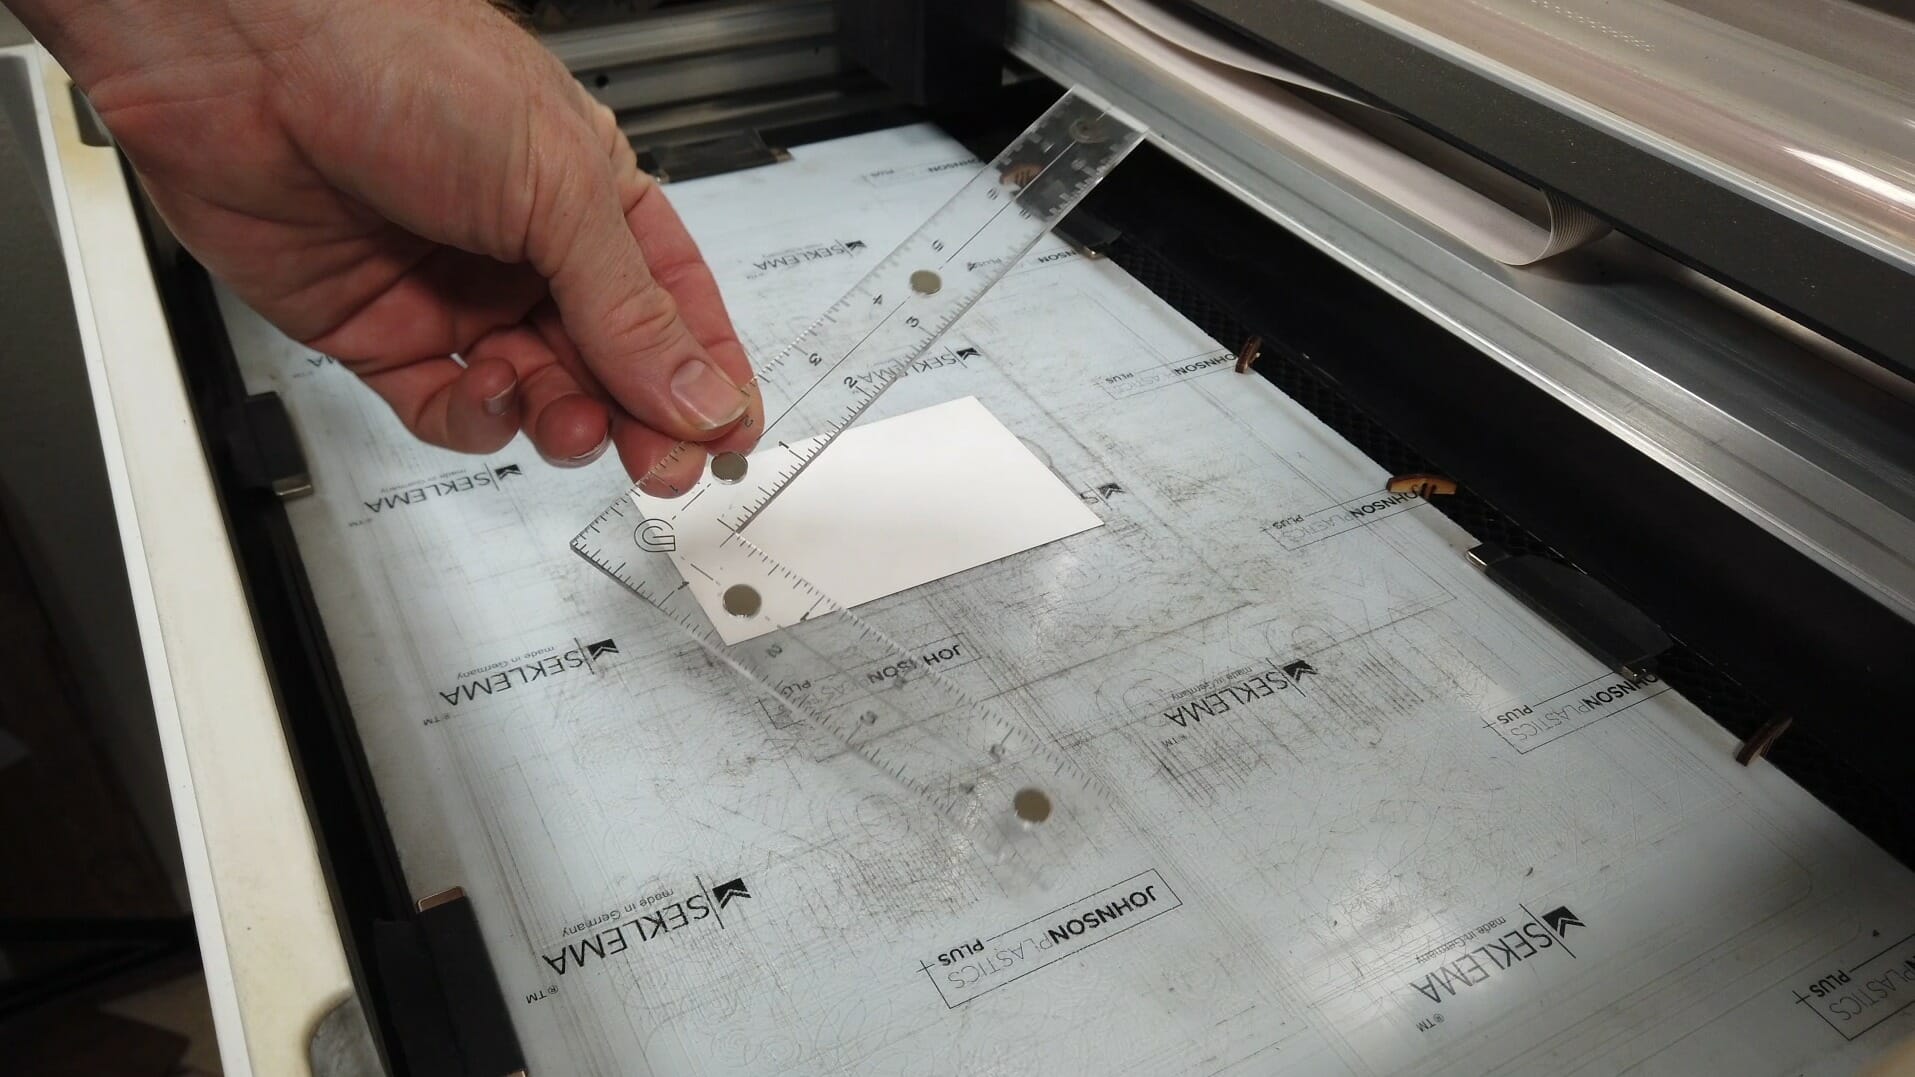
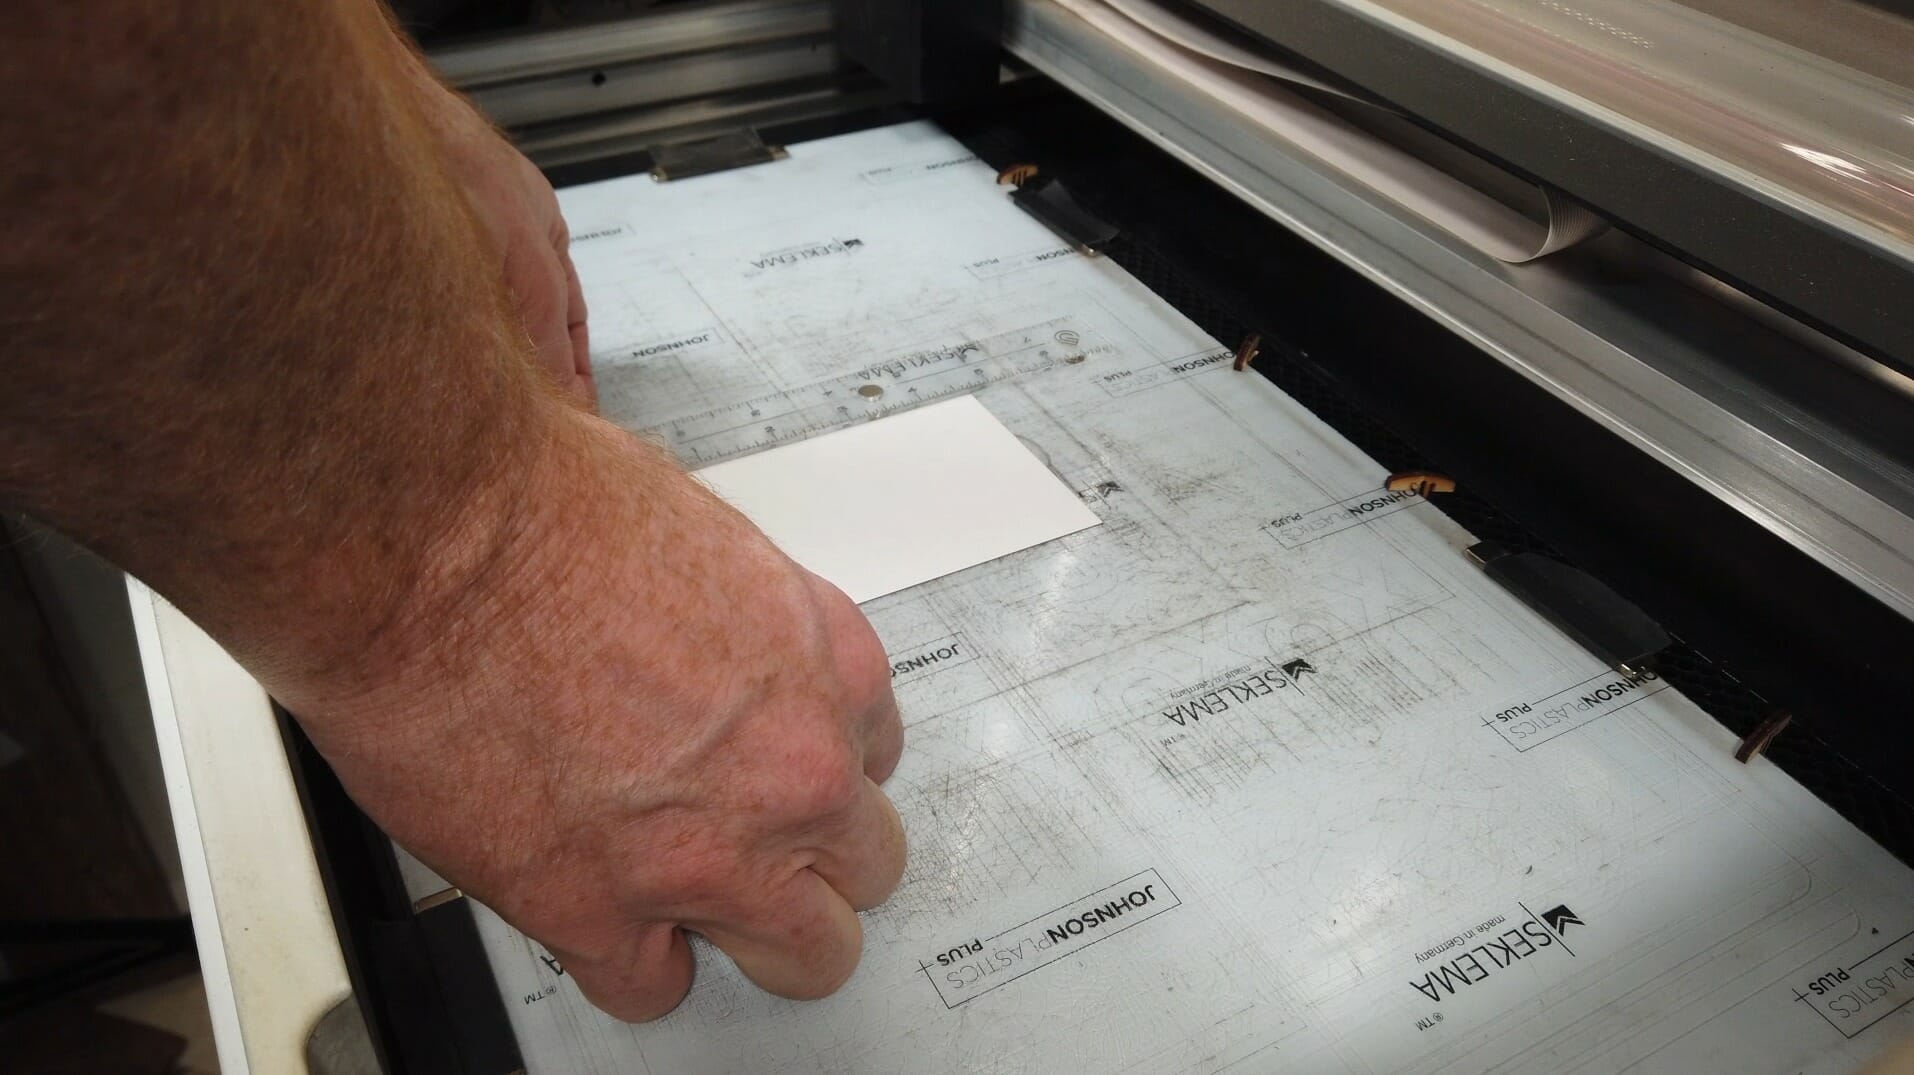
Engraving wasn’t providing enough contrast, even when dusting with chalk. So, the white on the fronts are polyester sticker stock where I just cut the sticker layer and weeded it. I filled in the tail engraves with a white gel pen.
Celtic Key Patterns
Celtic key (or maze) patterns figure prominently in a few past and a bunch of upcoming projects. So, I made a quick video with some basics on how I assemble those as vector art images. I used Inkscape for these but, the principles are the same for any vector art program.
Celtic Art: The Methods of Construction by George Bain
Celtic Key Patterns by Ian Bain
Celtic Pattern: Visual Rhythms of the Ancient Mind by Adam Tetlow
(Proceeds from associate links defray hosting costs for a local arts organization, Arizona Aikido.)
Quest Battery Pouch
Something I noticed pretty quickly with my new Oculus Quest VR headset is that it slips forward very easily, especially during the sort of very active games I got it to play. It is pretty front-heavy. So, some ballast on the back strap helps quite a bit.
I taped a battery pack I had on-hand to the back strap with gaffer tape to confirm that it helped with the issue. I decided I really wanted something a little more elegant, though. So, I designed and made this battery ballast pouch.
If you want to make one of these, the files are all linked below, along with instructions and a build video.
Instructions / Fabrication Notes
There are two pattern files: one for cutting the pouch from the faux leather and, one for the rigidity insert.
The purple square is where you would put any graphic you wanted on the flap. You could actually use all of the horizontal space to the edges of the flap, if you wanted. Anything farther towards the body (down) will bend over the top of the battery, though.
For engraving the JPP Saddle Collection faux leather on the Glowforge, I used 1000 speed, 30 power and 225 LPI. You are on your own for figuring out settings for other equipment.
Everything else in the pattern is cut using 245 speed and 60 power.
I cut the 1/8″ acrylic for the rigidity insert with the usual Proofgrade settings on the Glowforge.
Design Files
These files are for personal, non-commercial use only. If you want to produce these to sell or for other business use, please contact me to arrange for licensing terms. Also note that, by referencing these, you are agreeing to release any variations you create under identical terms.
Resources
I know not everyone has a laser cutter but, many communities have maker spaces where you can get access to tools like laser cutters and, assistance learning to use them for free or, for a small fee or donation. Support your local communities, learn new skills and make new friends!
As I mention in the video, the Saddle Collection faux leather cuts great with a craft knife, screw punch, etc. So, you could absolutely do this without any fancy equipment.
Of course, if you really want your own laser, feel free to use my Glowforge referral code to purchase your own. Glowforge will give you a discount off their posted price and, I will get a credit kickback to help defray the cost of materials for future projects. Your support is always appreciated.
Amazon referral links for some parts and incidentals defray IT and hosting costs for a local arts organization (Arizona Aikido):
Anker PowerCore Slim 1000PD Power Bank (rechargeable battery)
“Saddle Collection” Faux / Vegan Leather
Industrial adhesive-backed Velcro
Industrial Velcro in Larger Rolls


