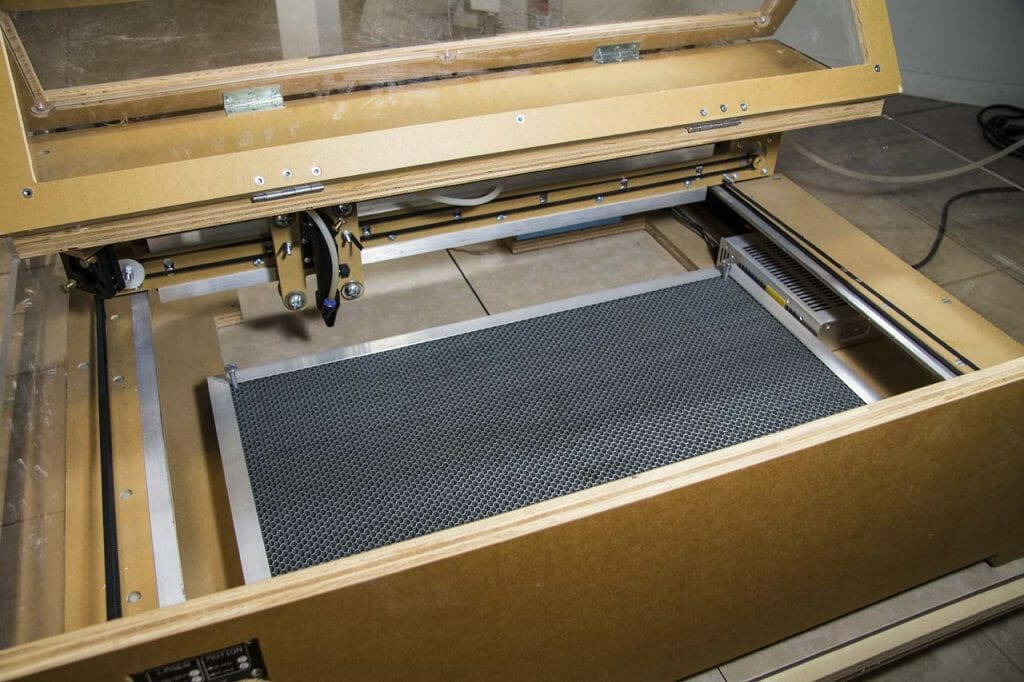
Westward Ho Origamic Architecture Pop Up Card

Westward Ho Origamic Architecture Pop Up Card by Andrew Crawford

There have been a lot of changes in downtown Phoenix in the last few years. A lot of history remains. I thought it would be fun to make a pop up design of a local building or two. So, I had a go at the Westward Ho.

The Westward Ho is a landmark of downtown Phoenix. The hotel with office space and restaurants was built in 1928 and, remained the tallest building in Arizona until 1960. The steel tower and antenna were added in 1949 to broadcast the first television station in Phoenix. The building was converted to housing for the elderly and mobility-impaired in 1980.

Westward Ho Origamic Architecture Pop Up Card by Andrew Crawford

Keyboard.io Logo Twisted Crest Pop Up Card

Keyboard.io Logo Crest OA

Another one of the twisted-crest style origamic architecture pop up cards I did early last year. This is modeled on the logo for Keyboard.io, which makes a really great heirloom-grade ergonomic keyboard (the Model 01). This one was done on the new Glowforge, which made some of the finer details a lot easier.

Keyboard.io Logo Crest OA
Keyboard.io logo 180-degree open twisted crest origamic architecture pop up card.
Keyboard.io Logo Crest OA
Keyboard.io logo 180-degree open twisted crest origamic architecture pop up card.

Make a 180º Open Twisted Crest OA/Kirigami Pop UP Card

Flower 180º Open Twisted Crest Pop Up Card
Flower 108º Open Twisted Crest Pop Up Card

I have been having fun making these 180º open twisted crest style origamic architecture pop up cards. This is a clever technique and, I wanted to invite you to join in the fun.  This post includes patterns for my new Flower Crest design, suitable for production on a laser cutter, a craft CNC cutter or, by hand.

Most people will have to actually make one of these cards or watch the folding video to get how it works.  I originally spotted this technique used for several patterns in Keiko Nakazawa’s 2006 book 3D Pop-Up Greeting Cards (link in the resources section below) and, abstracted it to make my own designs. Rather than gluing to backing cards, I prefer to develop other approaches like what I have done here.

Flower Crest OA Backing Card Pattern

Flower Crest OA Card Pattern

Machine Settings

Settings for your cutting machine, whether CNC or laser, will vary depending on your machine, the specific paper stock you are using and other factors.

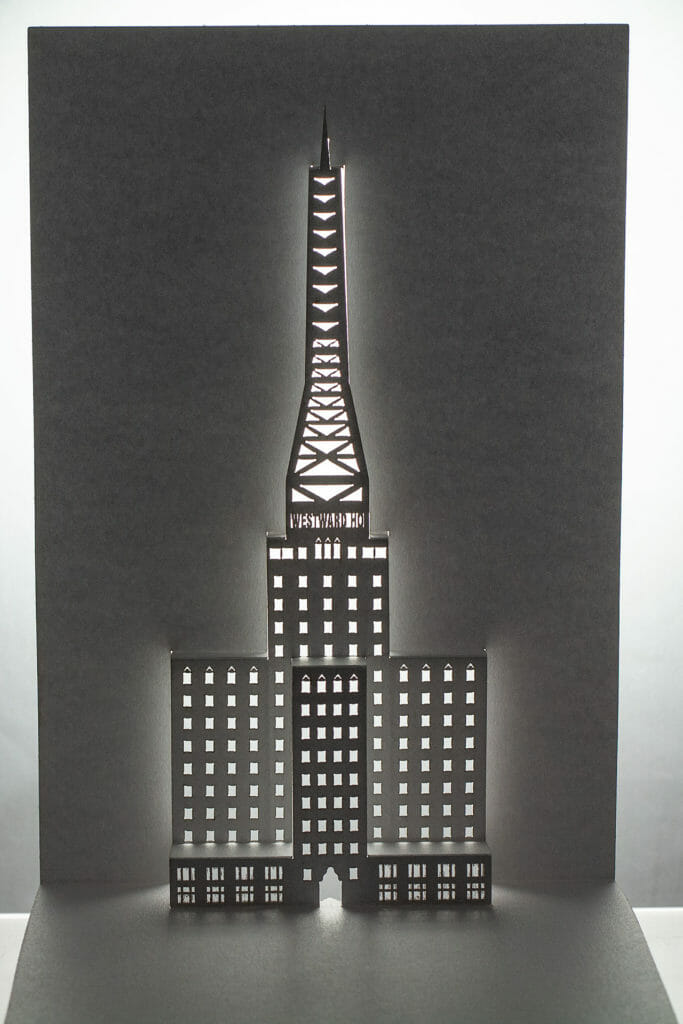
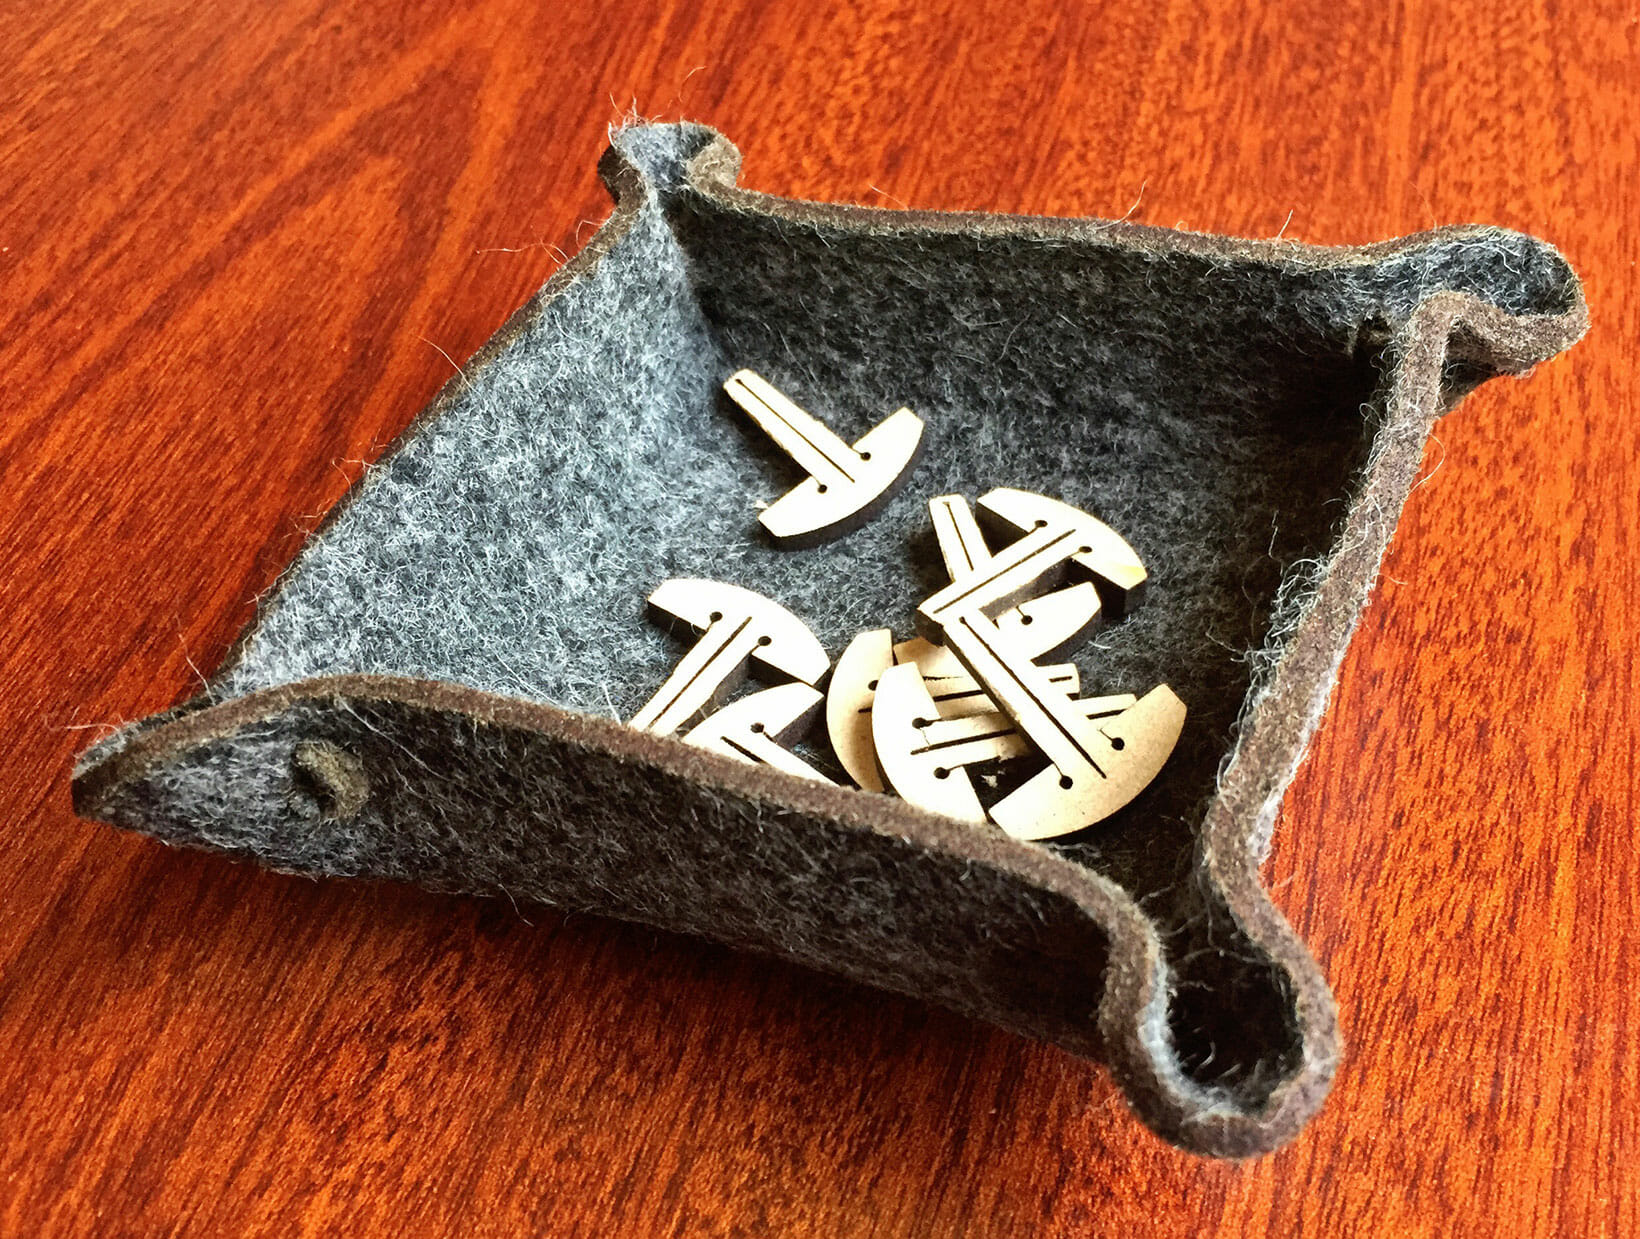
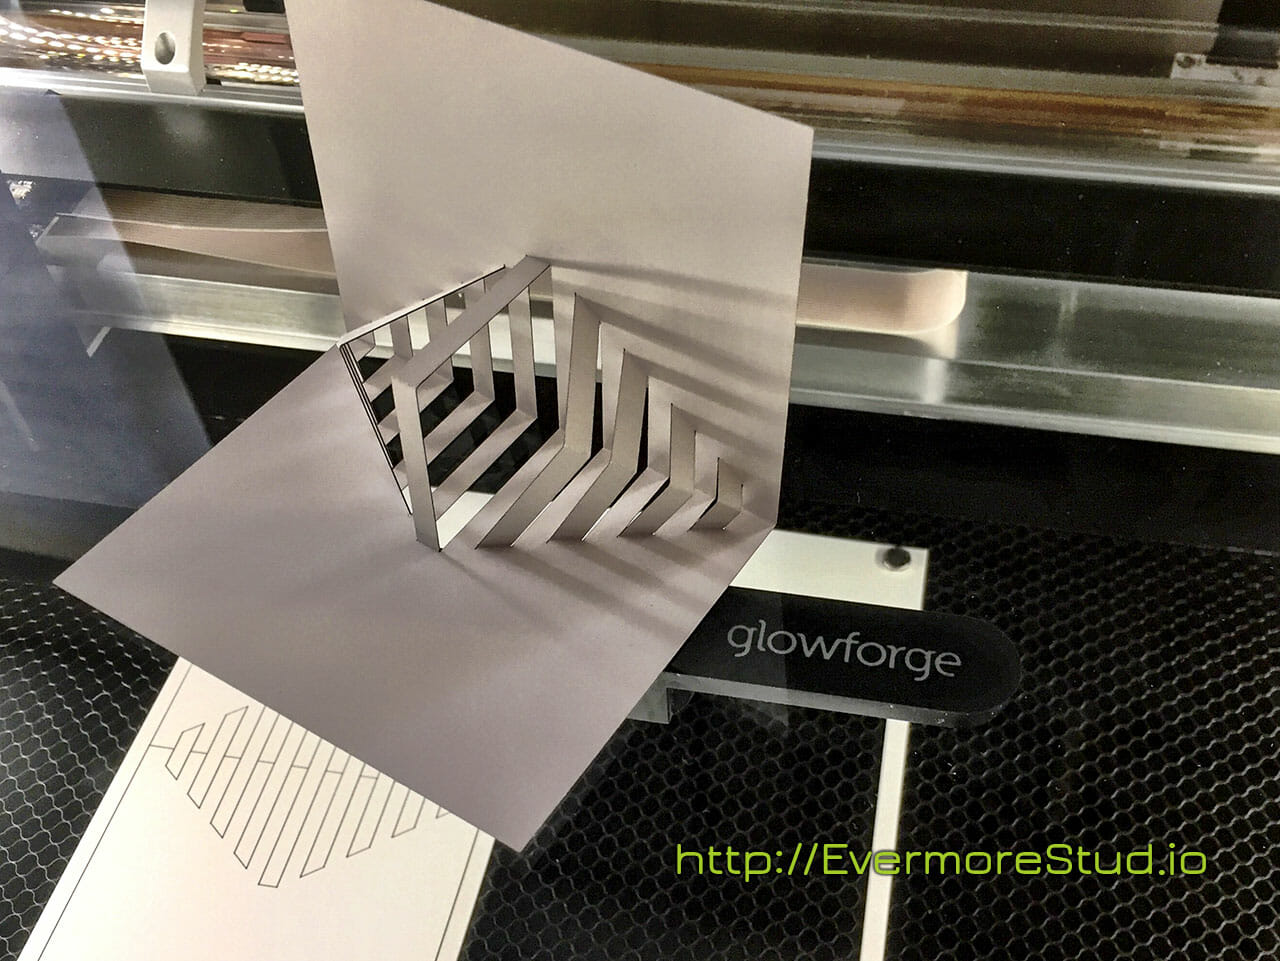
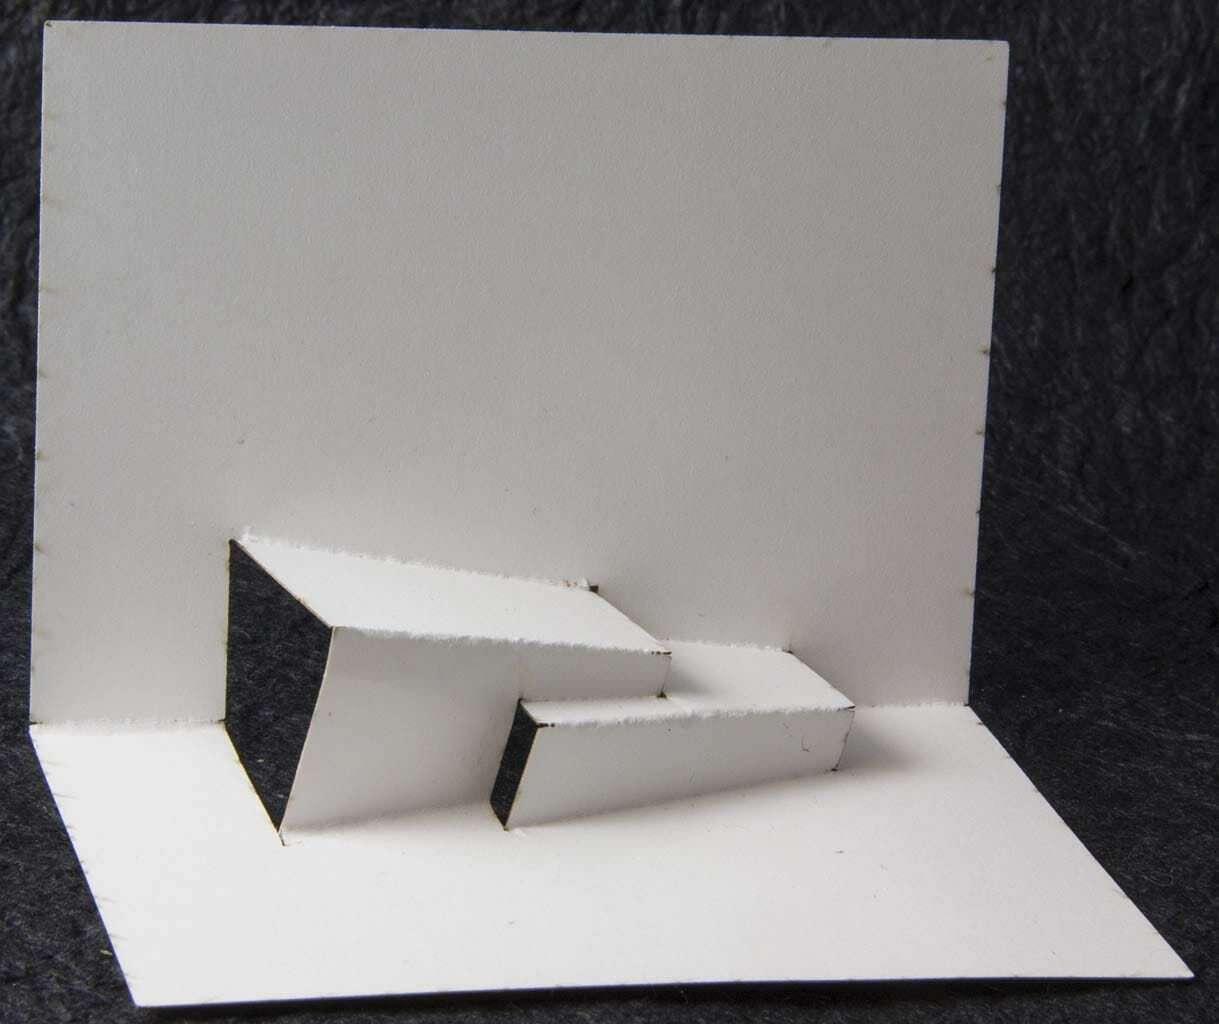
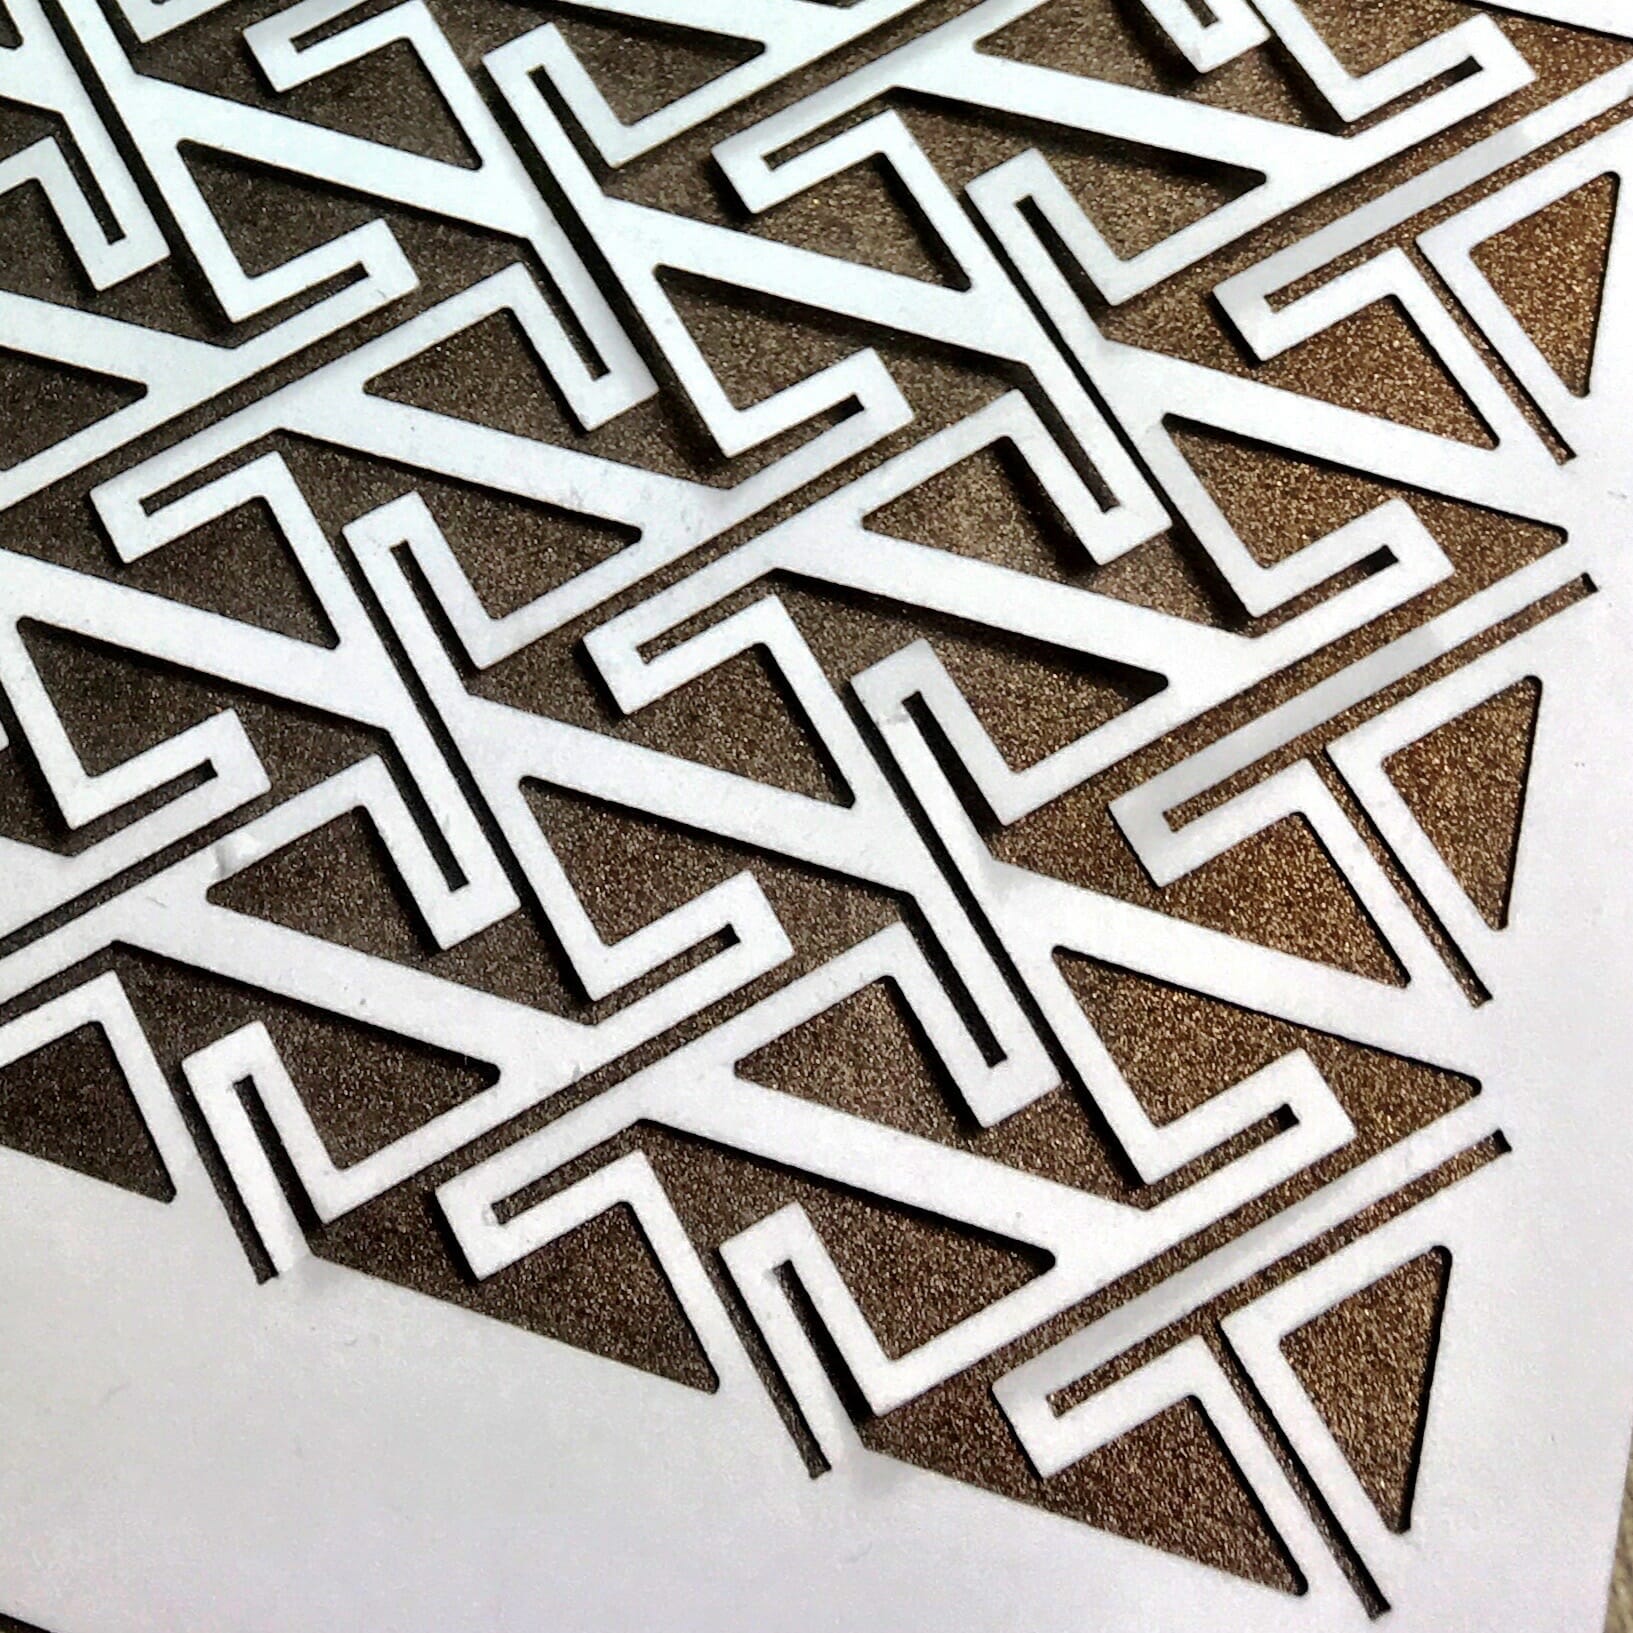
The paper I used for my cards was 0.014″ thick 105lb cover stock.

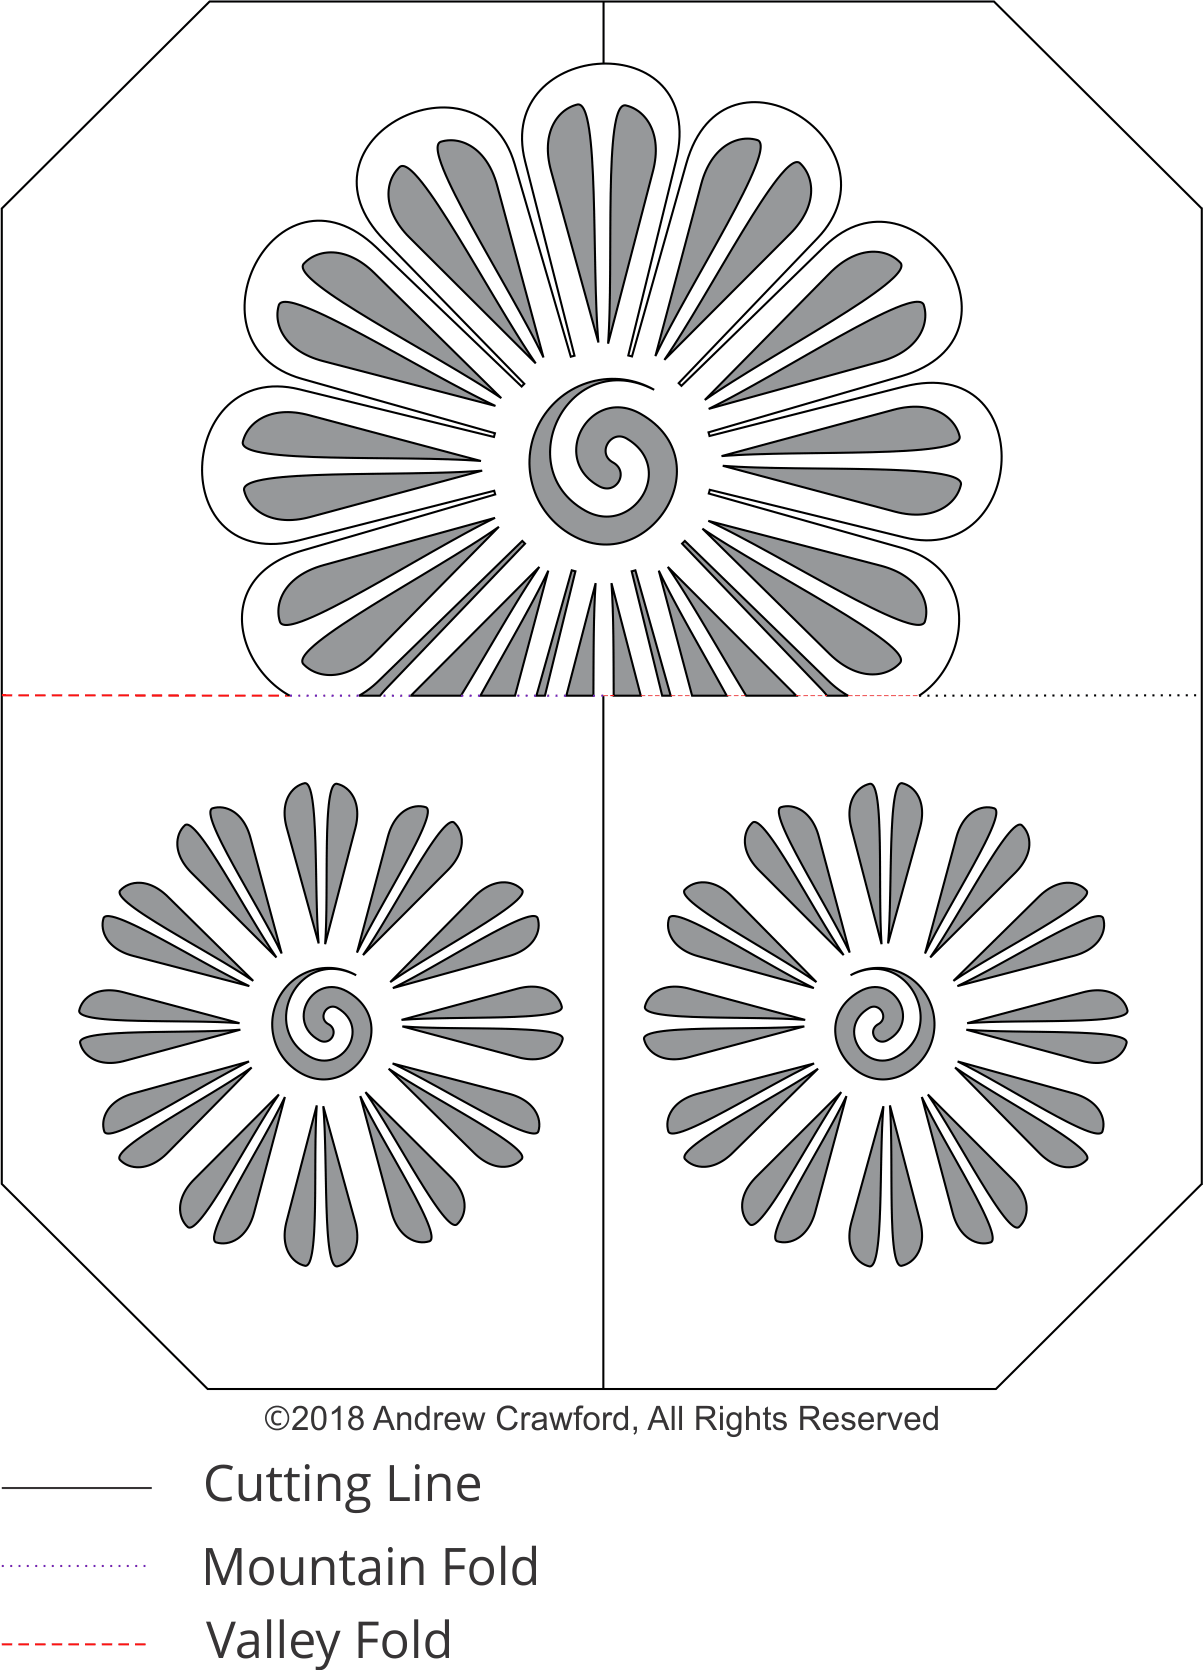
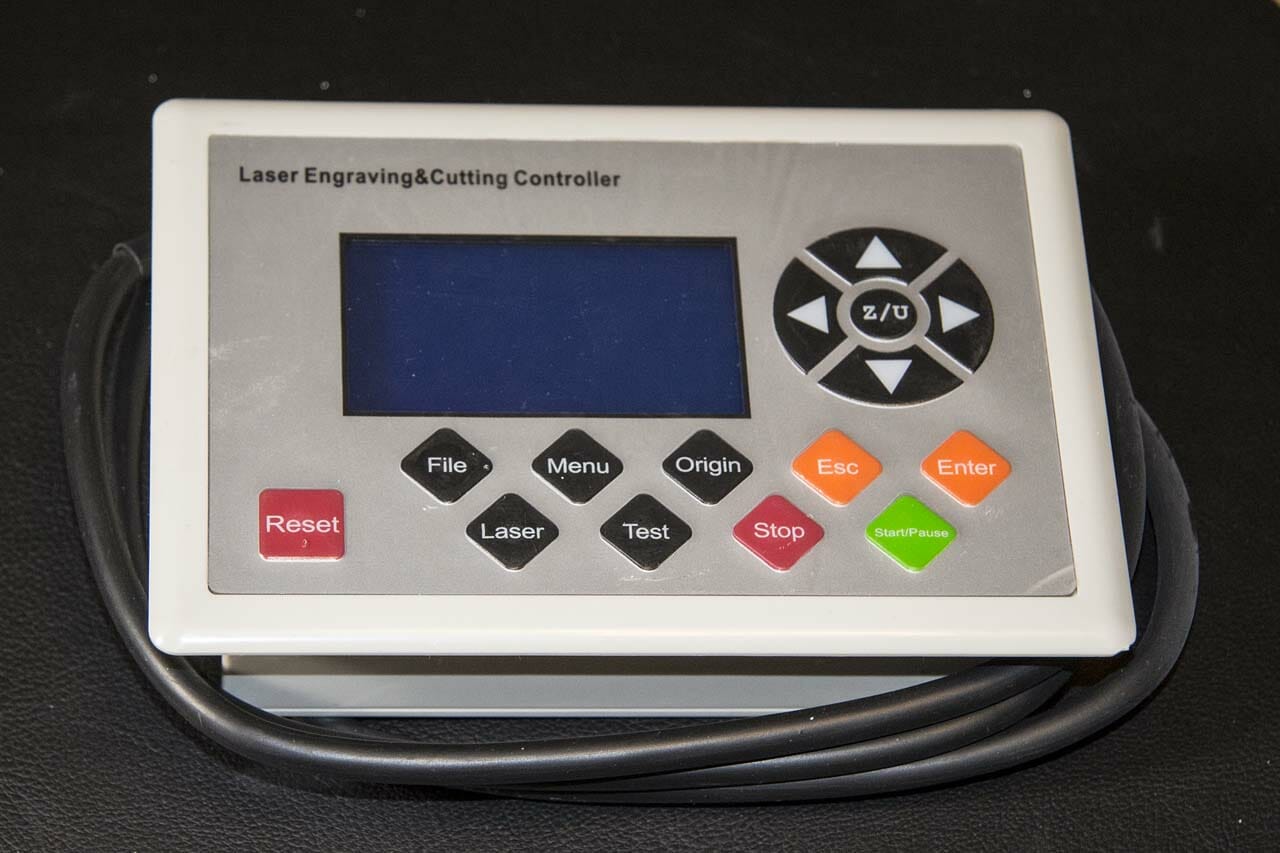
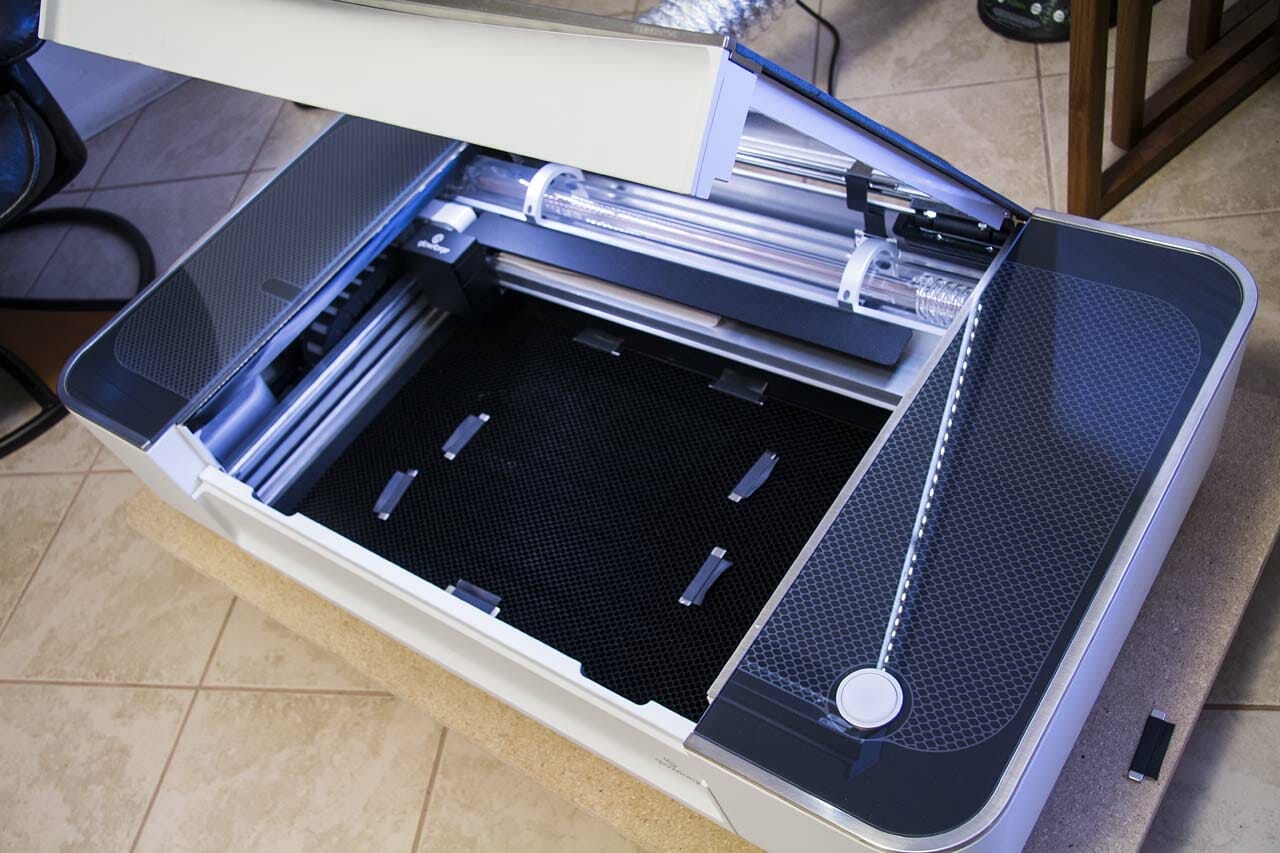
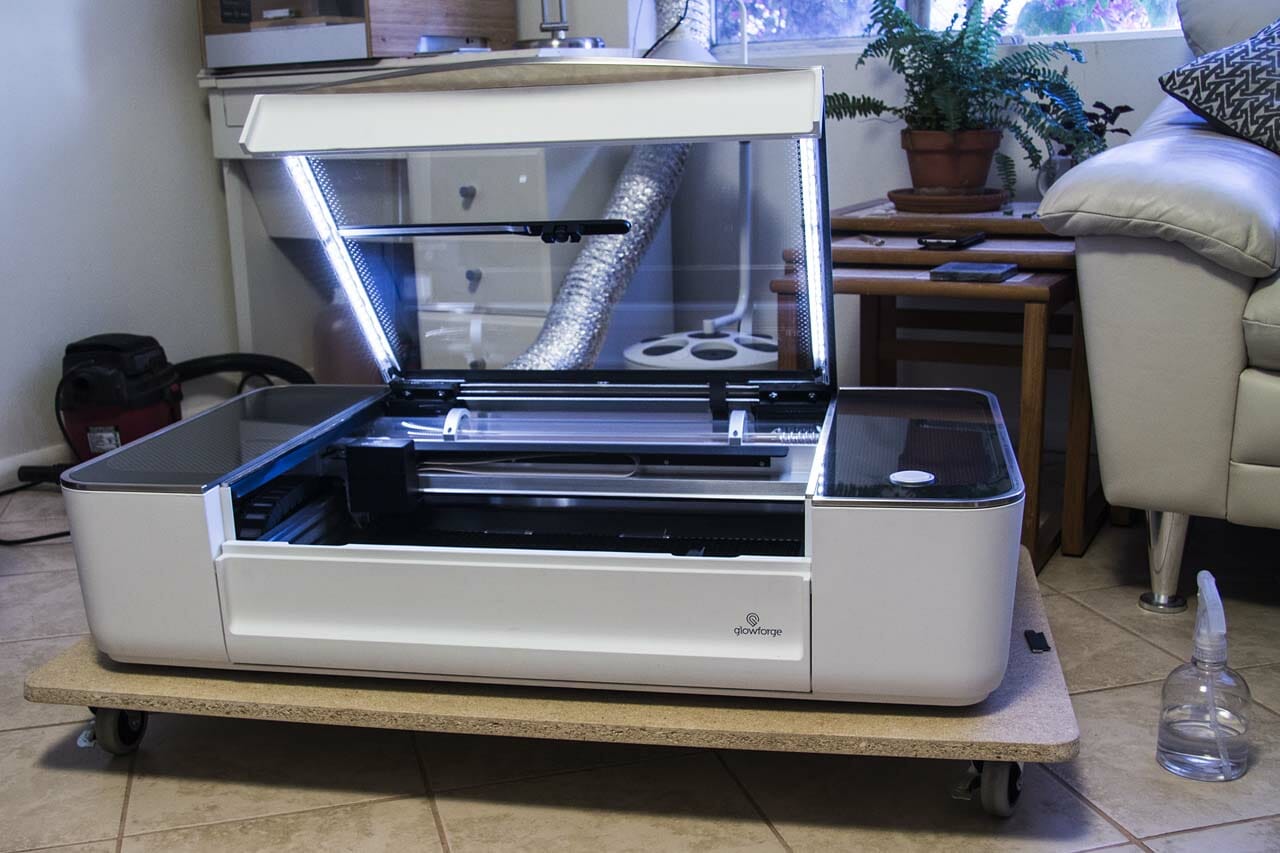
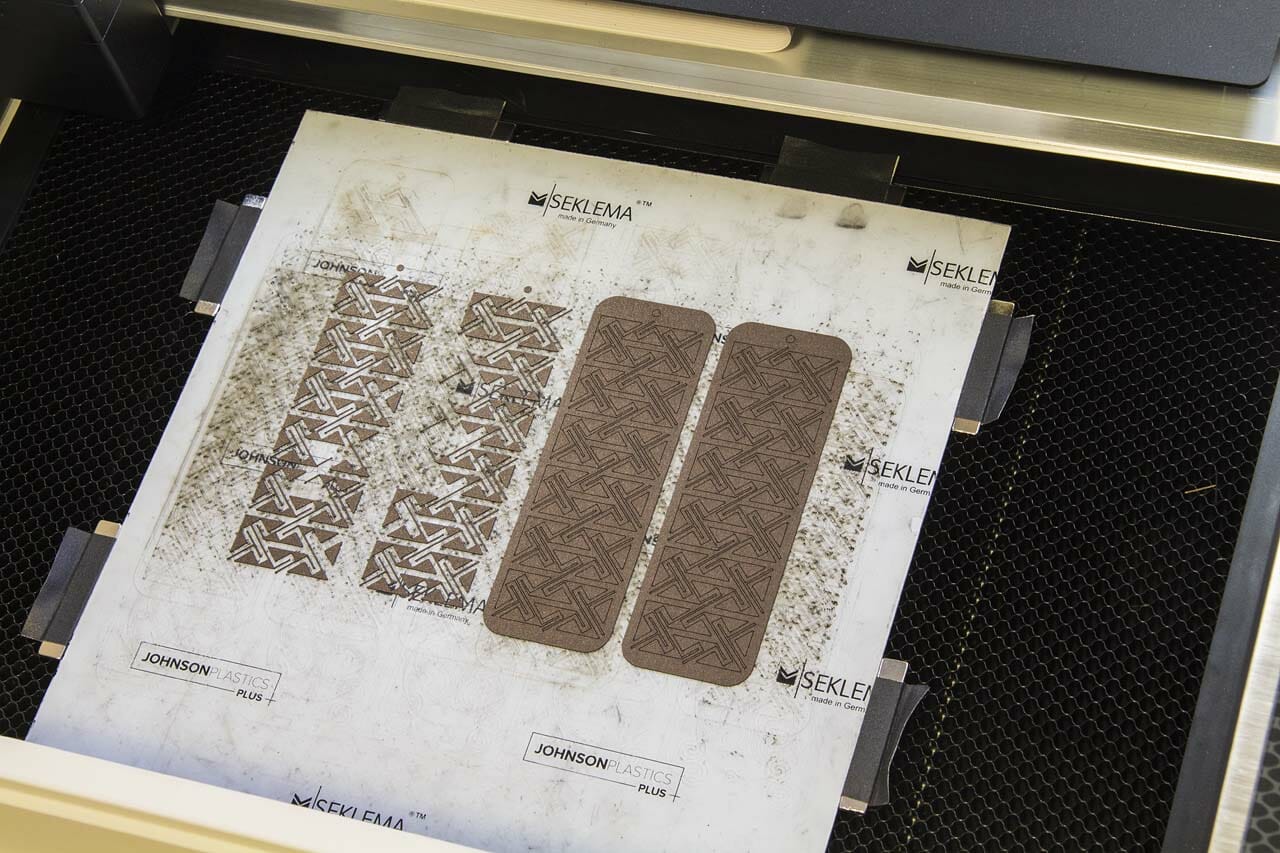
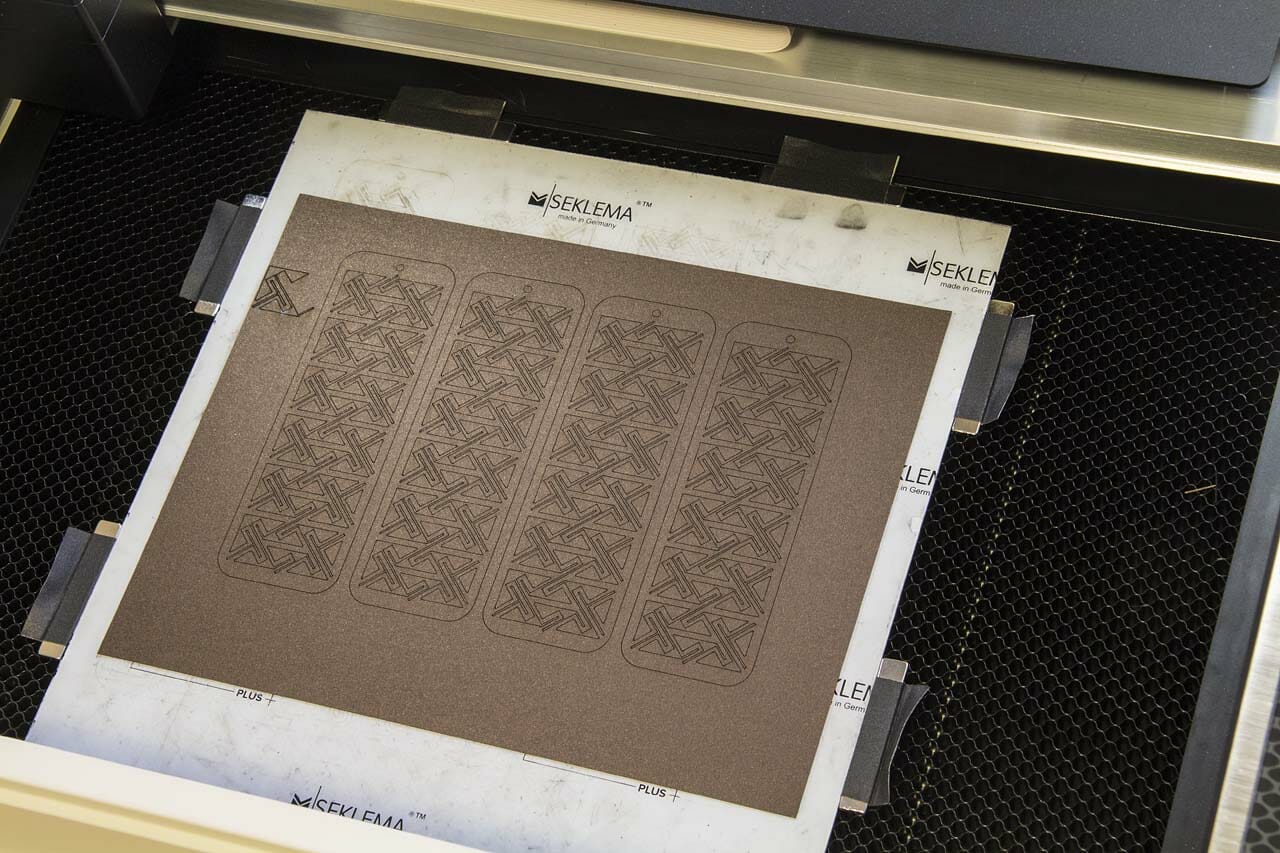
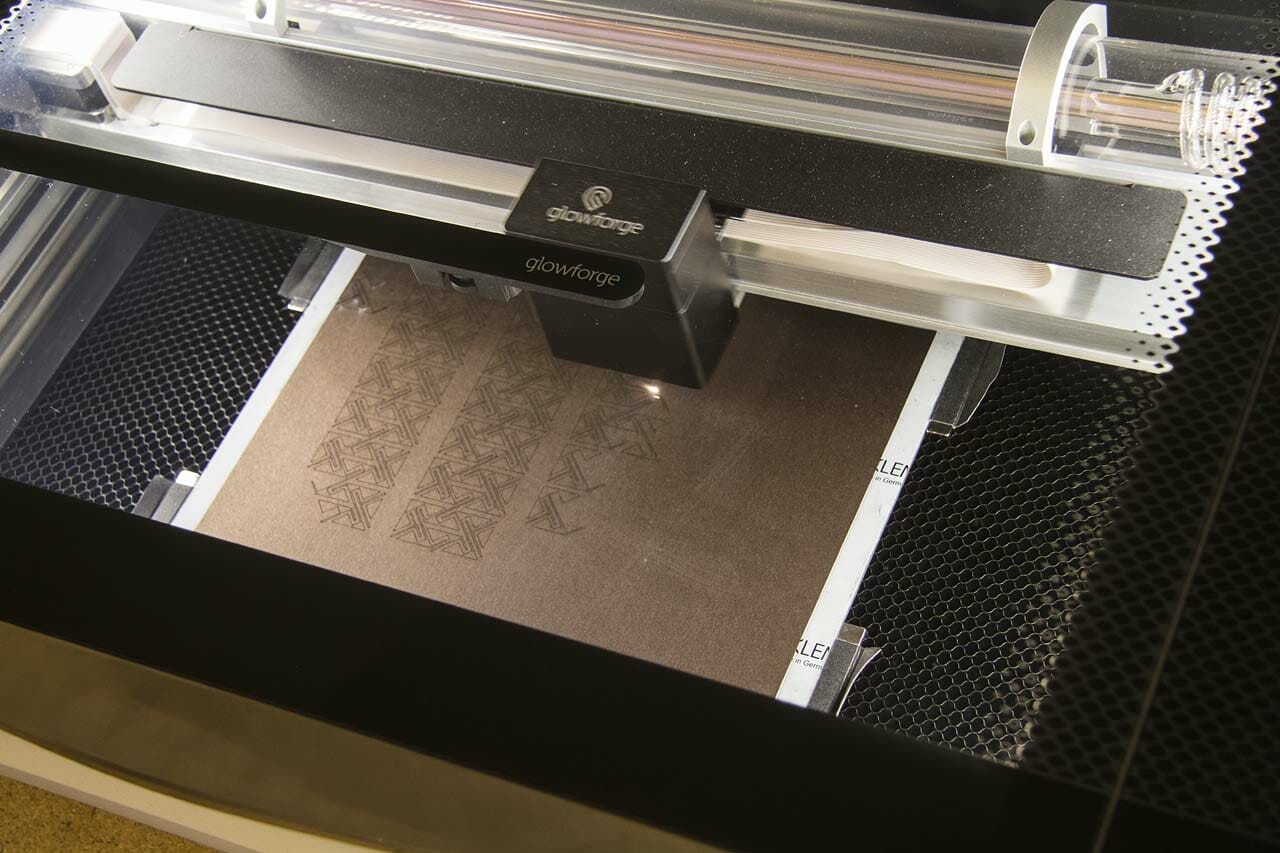
On the Glowforge, I used a speed of 500 and power of 72 for the cut lines and a power of 18 for the mountain fold lines.  I scored the valley fold lines on the back by hand with a craft knife.  If you are a Glowforge user, you likely have some experience dialing in settings for a particular material. I color-coded the file so that the GFUI will separate and order the operations on import.

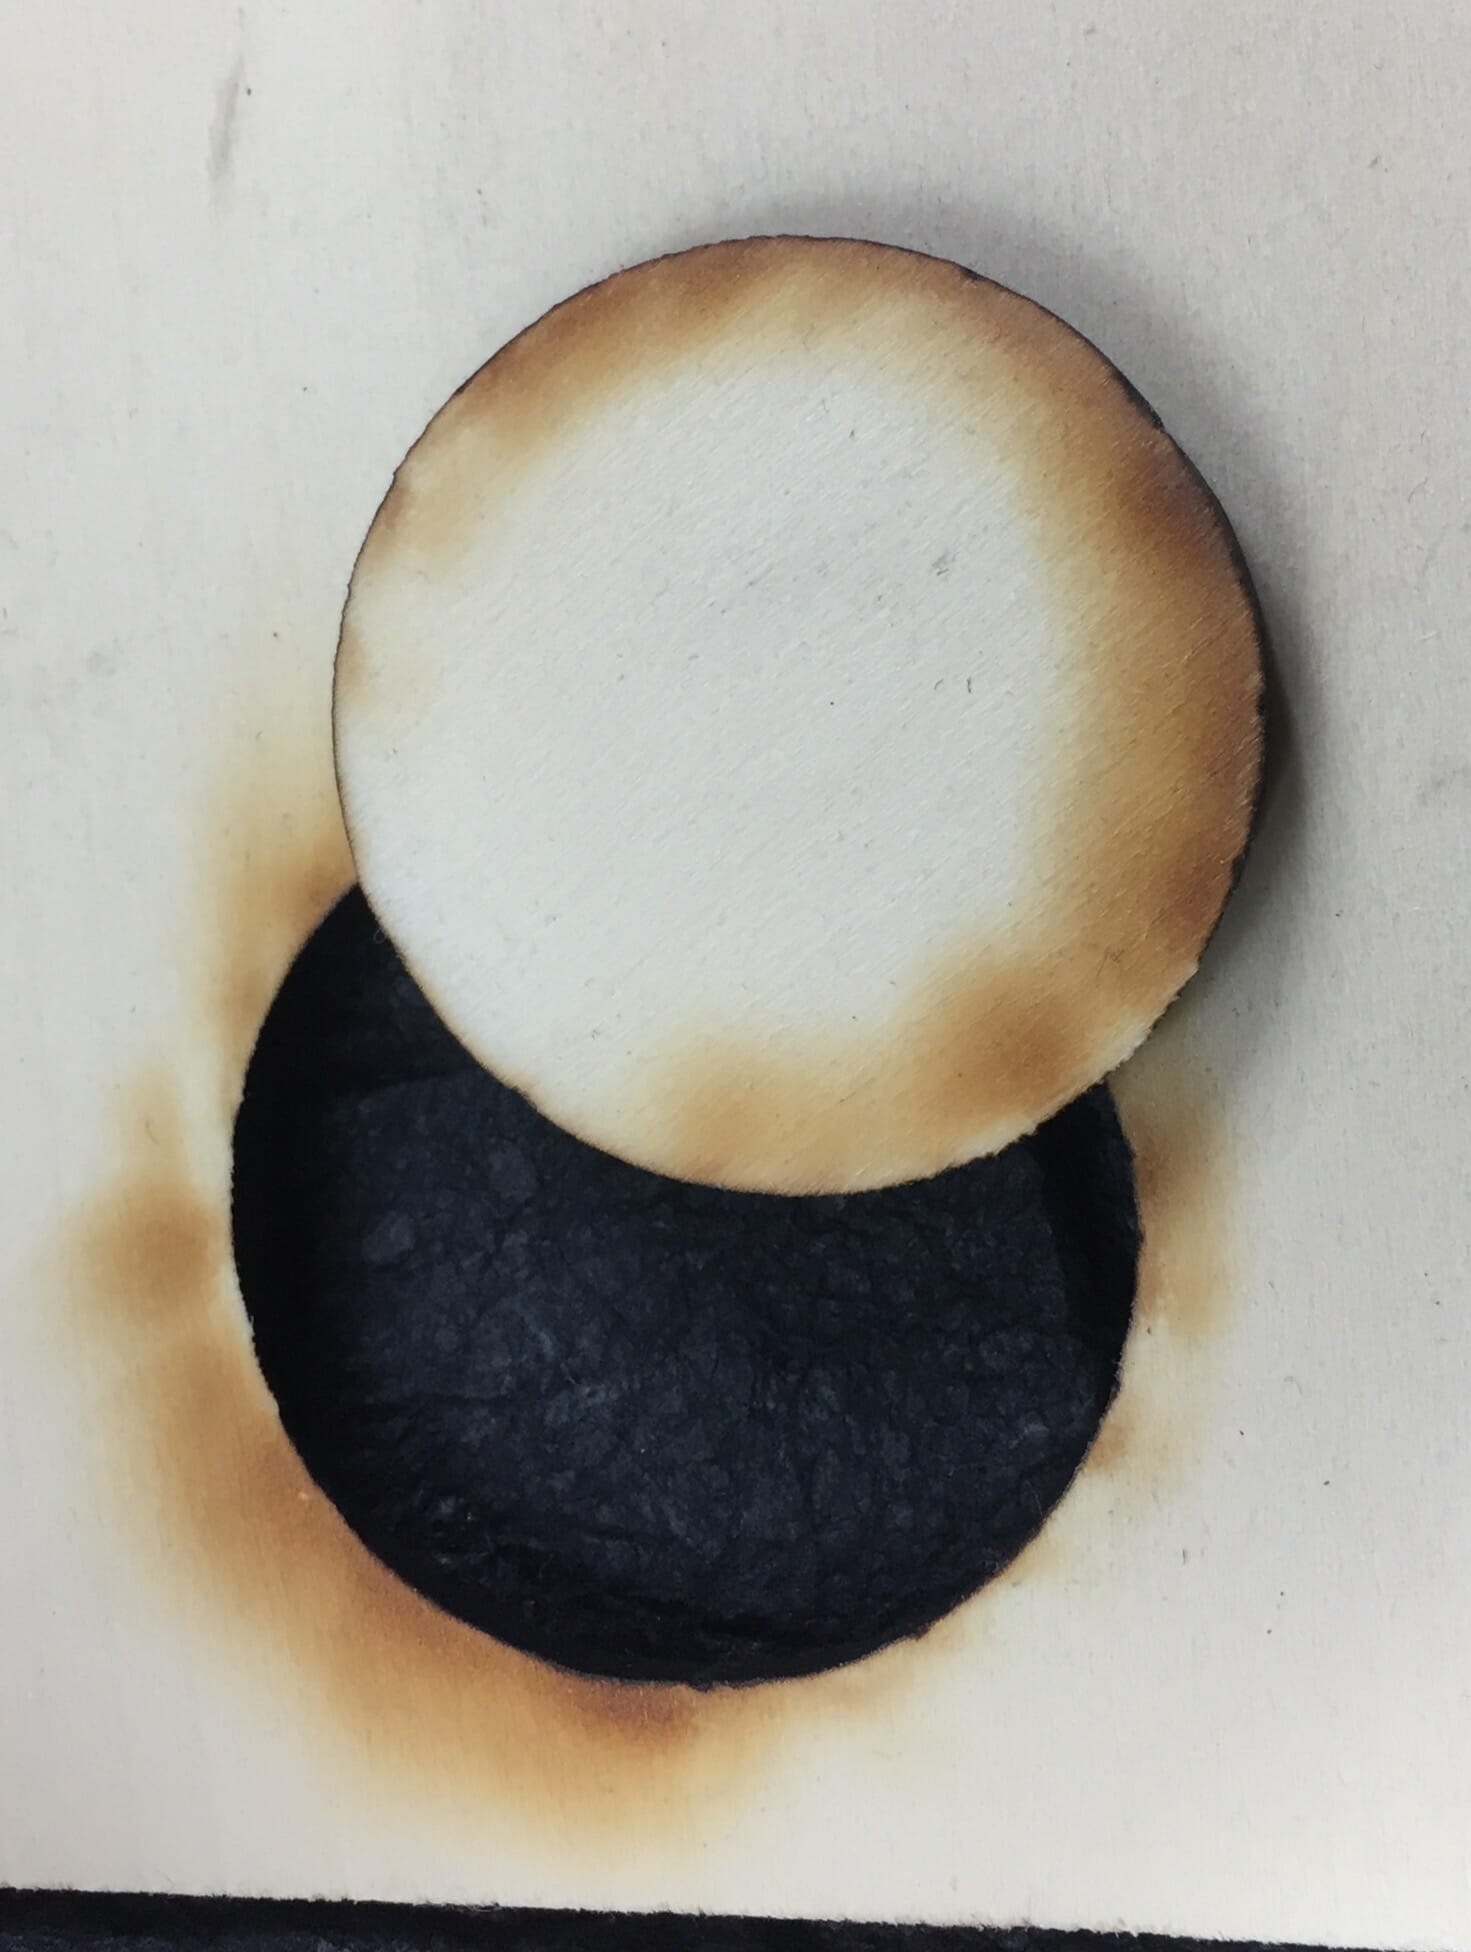
27 July 2019 update: I’m seeing less smoke deposition with lower power and slower speed.  I have switched to using 250 speed and 36 power.

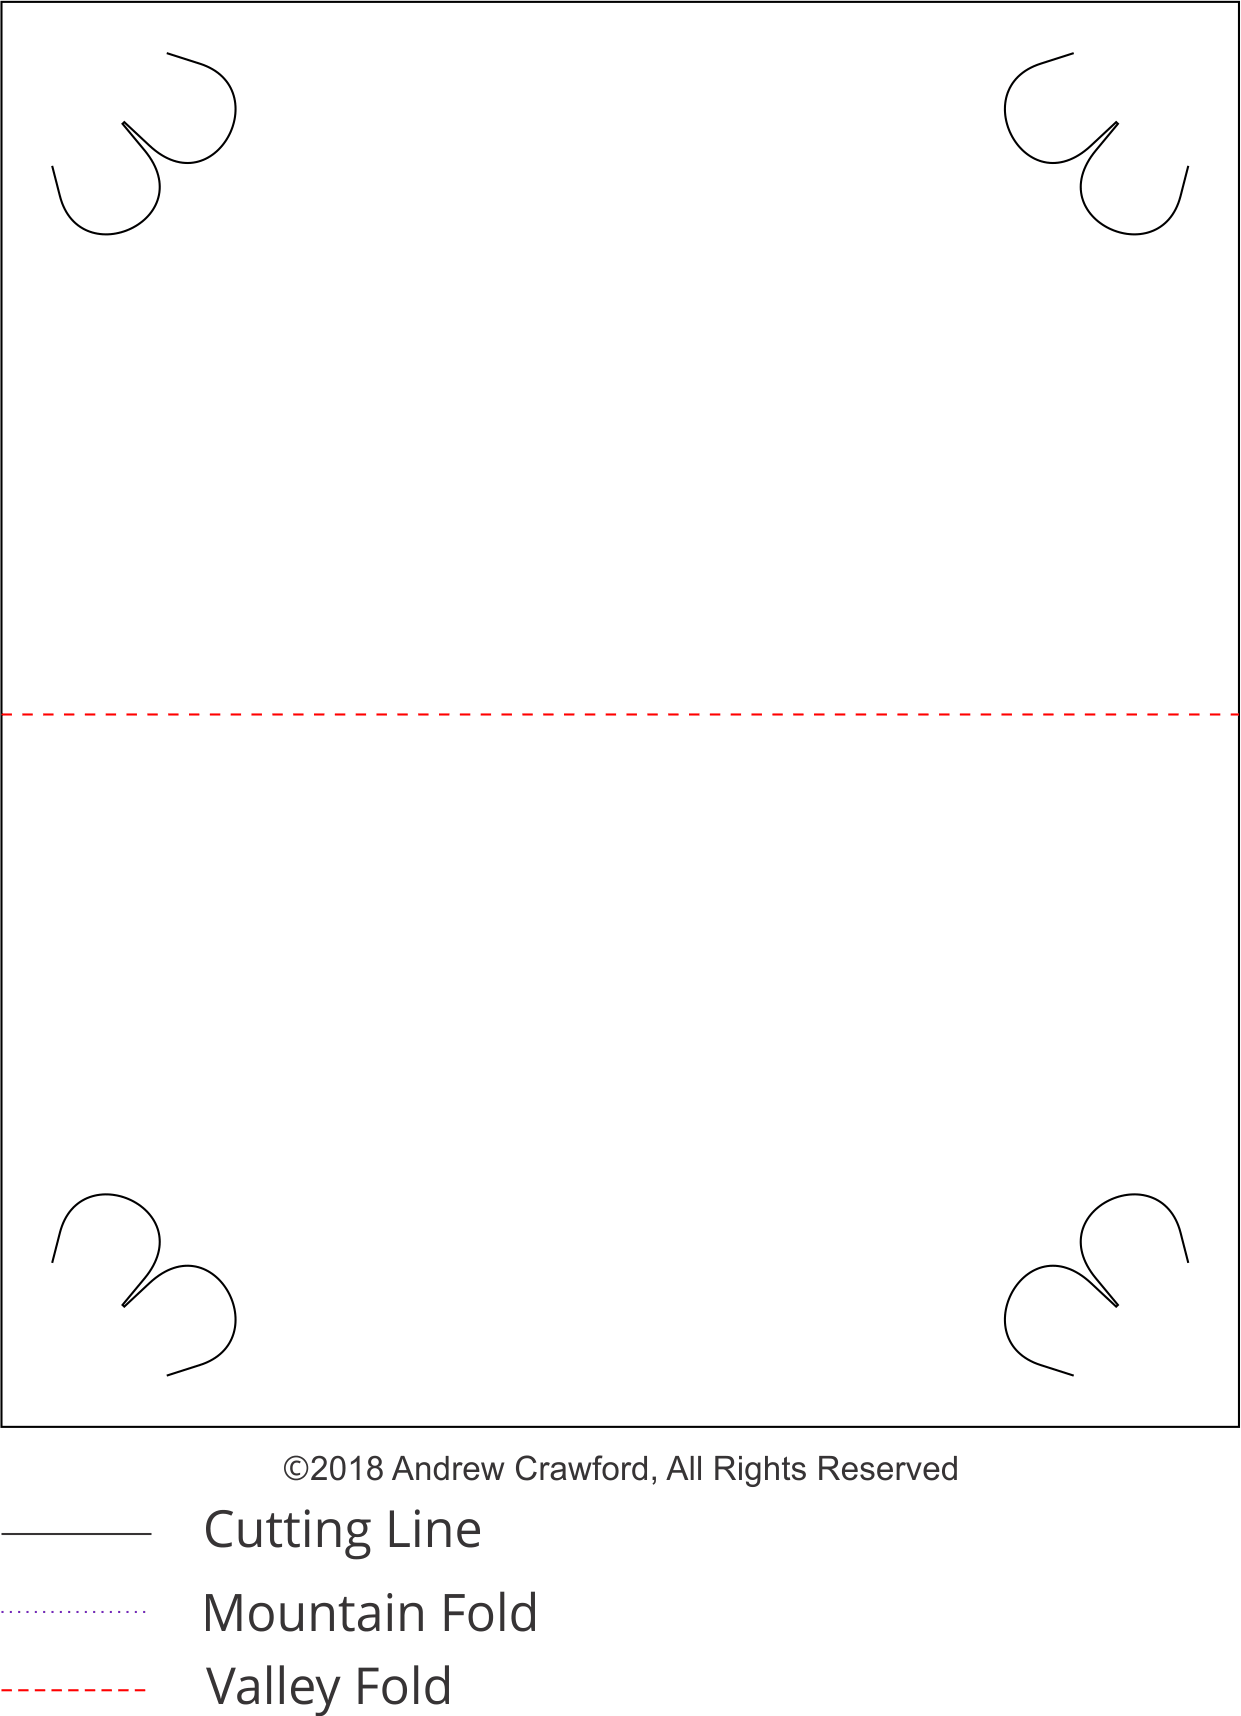
My settings for each operation for the Gazelle cutter are in the MTC file as layer descriptions (D is depth setting on my adjustable blade holder, V is velocity and F is force). Those will probably be mostly useless unless you are also using a Gazelle cutter with an adjustable blade holder.  If you are a craft cutter user, you are likely used to sorting out settings for a given stock.  The layers are in the order you should cut them.  The last two layers are the backing card (one score and the cuts).

Pattern Files

Important: These files are for personal, non-commercial use only.  If you want to produce these to sell or for other business use, please contact me to arrange for licensing terms.

Attribution-Creative Commons NonCommercial-ShareAlike

Flower Crest Pop Up Card PNG (for cutting by hand)

Flower Crest Backing Card PNG (for cutting by hand)

Flower Crest Pop Up Card SVG (optimized for Glowforge)

Flower Crest Backing Card SVG

Flower Crest Pop Up Card MTC (for craft cutters)

Resources

MT Washi Masking Tapes, Set of 20, Bright & Cool Colors

(Also available in bright and cool half sets.)

Lil Chizler scraping tool

3D Pop Up Greeting Cards by Keiko Nakazawa

Glowforge Laser Cutter

Amazon referral links support a local arts organization. Glowforge referral link helps defray my costs of running the studio.

Viking Longship Origamic Architecture Card

Viking Longship Origamic Architecture Pop Up Card

This Viking longship OA/kirigami pop up card was some time in the making. I’m quite happy with it, especially the dragon head.

I made four custom rubber stamps for imprinting the sails (two dragons and two spirals, one for each orientation). The metallic ink takes a long time to dry (like a month). So, I embossed them with clear embossing powder and a heat gun. The tongue is painted red. Lots of fragile bits on these. So, they required careful handling.

No-Sew Felt Tray

Laser-Cut No-Sew Felt Tray

I wanted to make something to contain my work hold-down pins for the laser cutter. I had seen some simple felt trays that were formed from squares with the corners pinched and sewn together. It seemed like a no-sew technique might work well for that and, it did!

For assembly, I push a pair of small 5″ needle-nose pliers through the slit and, pull the mushroom-shaped tabs through.  If you want more guidance, I made a quick video showing production and assembly.


Update: I made another felt tray in “peacock” blue.  The edges did not char evenly, which looked a little odd.  Light application of a fine sanding sponge removed most of the edge char.


If you would like to make your own no-sew felt tray, you can use the pattern linked below. I am releasing this under a Creative Commons license.  You are free to use and modify this pattern for non-commercial purposes.  If you make changes to the pattern, you are encouraged to release your changes back to the community.

If you want to do something else with it (like make and sell felt trays), please contact me for separate licensing terms.

Blacktooth Laser Cutter Redux and Review

Blacktooth Laser Cutter

Executive summary

The Blacktooth Laser Cutter is a laudable experiment in producing a low-cost laser cutter and engraver from a time when commercial options were mostly over $15K USD, despite the cost of the component technologies having come way down. A significant amount of adjustment and modification is necessary to make the Blacktooth serviceable for any particular application. For those with a strong DIY ethos who enjoy tinkering with their equipment, it is likely still a solid option for a small shop or maker space. For most people looking for a laser to use as a general purpose shop or studio tool, there are now options requiring less tinkering and, with a shallower learning curve.

Update: I handed the Blacktooth laser off to a local school with a nascent maker space in 2019. In addition to a very competent teacher supervising the project, they have a literal rocket scientist available to assist.

Start

Blacktooth Laser Cutter
Blacktooth Laser Cutter on its dolly in the studio.

The Blacktooth laser started as a Kickstarter campaign in October of 2012 [1]. Behind it was a team that was already building other affordable CNC equipment, BuildYourCNC [2]. The Kickstarter campaign failed to get enough support but, they decided to proceed with the project and, generously, to honor the price offered to backers during the campaign.

So, in April of 2013, my factory-assembled Blacktooth Laser Cutter arrived, well-wrapped, on a large wooden palette. Getting it set up and in any way operational took me awhile.

Documentation and Support

The documentation for the Blacktooth is basically the assembly instructions [3] and, whatever you can glean from the support forums.  Mine required an additional shipment of fasteners and, a few exchanges with support to understand what was part of the machine assembly and, what was for protection during shipping.

It is important to note that the DIY ethos runs very deep in the community of people using the Blacktooth. It quickly became clear from exchanges in the forums that no two users really have the same machine. Everyone has modified their Blacktooth significantly from the original design.Typical changes include homing limit switches, which make it easier to set the origin point and avoid driving the laser head beyond its actual range; upgraded air assist; filtration systems and digital signal processors (DSP).

BuildYourCNC was enthusiastic and quick to respond to my support inquiries. There were some initial issues where the employee helping me left the company, stopped responding and, no one took over monitoring their email address. They may need a support ticketing system. I noted that they were guarded or vague about some topics (like exhaust filtration and venting, safety equipment, etc.), presumably for liability reasons. Most of the responses I got from BuildYourCNC support were along the lines of a starting place to figure it out rather than a complete solution.

Software

Most commercial laser cutters have a component called a digital signal processor or DSP. The DSP is a sort of purpose-built computer that takes input in a standard format (typically raster and vector image formats) and, converts them into the signals that control the movement of the laser cutter. In most cases, this allows the operator to use standard image editing software and feed their jobs to the laser cutter as if it were a printer.

By contrast, the original stock Blacktooth Laser Cutter operates like a CNC machine. The movements of the laser are controlled by sending gcode (a standard CNC control language) instructions from CNC control software running on the operator’s computer. There are a number of options for this software but, one of the most common and, the one recommended for the Blacktooth is the Windows-based Mach3 [4].

There is also an opensource package that runs on Linux, predictably named LinuxCNC [5]. While I did not realize this was a workable option early on, I did later get it working with the Blacktooth. The UI is less polished but, it seemed serviceable.

Mach3 and LinuxCNC are just control software for sending gcode to the Blacktooth. To produce the the gcode for a particular design to send to the machine requires additional software. This is called computer-aided machining or CAM. I opted to work with a commercial CAM package called CamBam [6].

There are some idiosyncrasies with the Blacktooth (and any other CNC equipment, almost certainly) with regard to how specific gcode instructions are handled. Tweaking the settings in the CAM software to get the right gcode output for a particular machine can be a fiddly process. Variations in construction and the modifications people have made to their machines means that the same settings will not necessarily work the same way for anyone else.

Hardware

The Blacktooth has a generous 24” by 20” cutting bed. The bottom of the case is open to allow working on larger surfaces.

Blacktooth Laser Cutter Ports and Switches

In the original stock model, power is controlled by a potentiometer on the side of the case.

Cooling is provided by circulating distilled water through the tube with a pump. I set up a 5 gallon plastic bucket as the reservoir and, added an aquarium thermometer to monitor coolant temperature. This is required to avoid overheating and damaging the machine.

Another pump provides a modest “air assist,” which pushes smoke out of the way of the laser while cutting and, reduces deposition of vaporized particles on the lens.

A Little Focus

Part of the initial set up for the Blacktooth included aligning the mirrors. This requires a fairly high level of precision. I found some descriptions of various techniques in the forums and, with a couple hours of effort, I managed to get it all working. There are a few singed spots on the interior of the enclosure but, no serious complications.

In the Studio

Blacktooth Laser Cutting Bed
The Blacktooth Laser Cutter is open at the bottom to allow work on larger pieces.

I promptly built a low dolly out of plywood for the Blacktooth. This made it possible to push it under the main workbench in the studio when not in use.

Since the bottom of the Blacktooth is open, using the wood of the dolly as a backstop for cutting with the laser seemed like a bad idea. I covered the top of the dolly with large heavy ceramic tiles. While a 40-watt CO2 laser may be able to etch into the surface finish of the tile, it won’t be able to cut through it or heat it up enough to ignite the dolly.

I also purchased a steel “honeycomb” or “egg crate” tray. These make an excellent work surface. It reduces flashback (where the laser cuts through something and, reflects off of the surface behind it to damage the back of the stock being cut) and, makes it possible to use strong magnets to hold down lighter weight stock (like paper).

Blacktooth Laser Cutter with Steel Honeycomb

"Dots" Issue

I design and build a style of paper art pop up cards called origamic architecture. I had borrowed time on commercial laser cutters to produce some of my designs and, had always wanted my own laser for prototyping and production. So, I was very eager to get the Blacktooth working for that.

Cutting Paper with the Blacktooth Laser

The gcode I was able to generate for the Blacktooth turned out to be unsuitable for cutting paper. For each vector cut, the laser would turn on. Then, the cutting head would move along the vector, stopping at the end. Then, the laser would turn off. This caused the laser to dwell at the start and end of each cut, producing a pronounced dot. While unlikely to be a serious problem on most heavier materials, this is completely unworkable for paper.

While I found other Blacktooth users who claimed to have resolved this issue, their CAM settings did not work for me. This is likely because their machines were significantly modified from the stock Blacktooth I was using.

It became clear to me that I would have to make some of these modifications to get the Blacktooth any closer to usable for my purposes.

Other Applications

I did experiment briefly with cutting 1/8” hardwood ply with the Blacktooth. I cut a well-charred circle at something shy of full power with multiple passes. I also etched some lines into a piece of MDF. Now that I have a little more experience working with those on other machines, I can see where masking and a different approach would likely yield better results.

I never tried a raster engrave on the Blacktooth. I saw some other people’s experiments and, concluded that a DSP was really the best route to getting acceptable results.

DSP

By far the most popular upgrade for Blacktooth owners is a digital signal processor (DSP). In fact, later iterations of the Blacktooth from BuildYourCNC include a DSP.

Add-On DSP for the Blacktooth Laser Cutter

I ordered the DSP most people seemed to be using (an AWC608). I checked with BuildYourCNC for some details on wiring it in and, got back some terse preliminary notes and, a promise that they would eventually have more detailed instructions.

While I do build and repair computers and have done some electronics work, rewiring idiosyncratic devices with high voltages and fragile, high-priced components is towards the edge of my comfort zone. So, my Blacktooth is currently sitting with its un-connected DSP gathering dust.

Other Upgrades

Reading what other users were posting the forums, it became clear that an upgrade to the air assist would likely also be in my future. Typically, people replace the basic pump used for the air assist with output from a small compressor (like those used for airbrush work).

I also aspired to filtering the output rather than just venting it out a window. This turns out to be non-trivial. Commercial solutions are very pricey and, assorted DIY projects that demonstrate any acceptable level of effectiveness are involved projects.

The Future

Now that I have a working Glowforge laser cutter, it seems even less likely that I will continue working on the Blacktooth. The Glowforge made the rapid transition to a usable tool that eluded me with the Blacktooth.

Now that I am using the Glowforge regularly for assorted projects, I see where the Blacktooth could be more useful, particularly with the DSP and air assist upgrades completed.  The large cutting area is appealing.

The Blacktooth is an inexpensive laser cutter that would likely be a good fit for a small maker space where it can be adapted and maintained by people who like to tinker with their tools.

If you are within reasonable driving distance of Phoenix and, the Blacktooth sounds like a good fit for you or your organization, my slightly-used Blacktooth may be looking for a better home. Drop me a note.

With the Glowforge running $2495 for a Basic unit like mine, most people who don’t need the larger bed size and, are more interested in a working tool than a tool that is easy to customize, that is likely a better option. Note that you can get an even better price ($100 to $1500 better, depending on the model) by using my referral link [7].

Physical Dimensions

  • Length and width: 37″ x 34″
  • The height: 11.25″
  • The weight: 70 lbs

Blacktooth Laser Cutter Costs

Item Required? Price
Blacktooth Laser Cutter (shipped) Y $2200
Cooling System Y $ 38
Dolly N $ 115
CamBam Plus software N $ 149
MACH3 software N $ 159
Laser Goggles N $ 82
Steel Tray N $ 57
DSP N $ 406
Total $3206

Glowforge

Glowforge Pulse

I have been working with the new Glowforge laser cutter for several weeks now and, thought it was a good time to post about it.

Glowforge Pulse
The Glowforge pulses slowly to indicate a job is ready to start!

I first learned about the Glowforge project in July of 2015.  A lower-cost laser cutter developed with a focus on usability sounded fantastic and, their early prototypes looked great.  I have worked with a number of other laser cutters over the years, including units from Universal and Epilog (and, of course, the Blacktooth, which still needs a follow-up post).  They remained impractical for studio use for various reasons.

My main concern about the Glowforge was their intent to use cloud-based software for operating it.  If you have talked to me much or, read other things I have written, you may be aware that I am not a big fan of that sort of thing.  Thanks to XOXO, I was able to talk to the developers and, they allayed my fear on that count somewhat.  There are now also developers working on custom firmware for the machines at the OpenGlow project.

With shipping expected with a few months, I finally pre-ordered a Glowforge on the very last day of their campaign.  In the great tradition of ambitious startups, it ended up taking a bit longer for them to actually ship production units …

So far, my Glowforge has proven worth the wait.  It is easy to use and, I was up and running within an hour of its arrival.  While I have found the learning curve so far fairly shallow, be aware that I already had quite a bit of experience with vector graphics, CNC, cutting machines, other laser cutters and, technology in general.  The most common challenges I see people facing in the user forums are conceptual issues like not being familiar with creating vector images.

Origamic Architecture on the Glowforge

If you have browsed this site or seen my work elsewhere, you may be aware that I like to design origamic architecture pop up cards. The Glowforge has been great for quick prototyping experiments and, is even more suitable for small-scale production than I had hoped. Very granular control over the speed and power applied have allowed me to adjust for different types of paper stock to get both score lines and cuts without excessive charring or smoke damage.

Unlike CNC cutting machines, the laser doesn’t put any physical pressure on the paper. So, it is easier to work with finer details without as much risk of tearing.

Other Paper Art

Looking to experiment some with the level of detail possible when cutting paper with the Glowforge, I re-worked and adapted an old Celtic keypattern design I did long ago and, created a new Celtic spiral triskelion design. I wanted to do something useful with those. So, I turned them into kirigami bookmarks.

Some Limits

The Glowforge does not entirely obsolete CNC “craft” cutting machines like the Gazelle.  There are still cases where that will continue to be the best choice, particularly for the paper art projects.  I will likely post more about that at some point.  One good example was an attempt to cut one of my Helical Heart cards.  I use a stock with a particularly sumptuous finish for those.  While the Glowforge did a fantastic job cutting the design, the heat of the laser bruised the stock along each cut – note the particularly pronounced damage on the inner point of the outermost heart.  This stock has a particularly fragile finish, though and, I haven’t run into this with any other stock, yet.


Laser Melted Finish
The stock I use for the Helical Heart cards is not really suitable for laser cutting as the finish melts a bit.


Acrylic Window Panel for Venting the Glowforge


[Updated] I pre-ordered my Glowforge with a filter unit that is intended to allow it to operate indoors without venting to the outside. Filtering laser exhaust is difficult and important to get right.  At this point (May 2018), the filter units are still not shipping.  In order to use my Glowforge, I built an acrylic panel with a vent hose connection that slots into the studio window.


Working with Paper

Very early on, I discovered the Seklema mat from Johnson Plastics, which has helped quite a bit with holding down paper cutting work.  A piece of wood or mat coated with repositionable adhesive also works in a pinch.  The Celtic keypattern and triskeleon bookmarks I produced are excellent examples of the mat’s utility.  Without it, small pieces would have been moved around during cutting by the Glowforge’s air assist, interfering with some of the cuts.  With the mat, it goes without a hitch.

Neodymium magnets, wrapped in gaf tape flags for easier lifting, are also useful for holding down substrates to be cut or etched in the Glowforge.  They attach easily to the steel grid tray.

Engraving Experiments

The 40-watt CO2 laser in the Glowforge is capable of cutting more than paper, of course and, I would be hard-pressed to resist using it for other projects.  In addition to a few things I am not ready yet to share, I produced a rubber stamp of one of my Celtic spiral patterns and, engraved some anodized aluminum flash drives.  I am sure there will be much more of that sort of thing to come!

Get Your Own Glowforge!

Glowforge has finally caught up on its domestic (U.S.A.) production and distribution.  In fact, they have a number of their Pro units ready to ship immediately.  They are offering a special deal on that limited number of units.  If you are quick, you can score a $1500 discount while supporting me a little, too. Please use this link to order your own Glowforge Pro!