Chibitronics Intervew

Chibitronics interviewed me (Andrew Crawford) for a Meet the Maker feature on their blog! Details on what I do, my background, and my process.
Continue reading
Chibitronics interviewed me (Andrew Crawford) for a Meet the Maker feature on their blog! Details on what I do, my background, and my process.
Continue reading
A lone stag at the focus of a long forest tunnel of wild trees with spiraling branches is my take on a popular origamic architecture/kirigami pop up card theme.
Continue reading
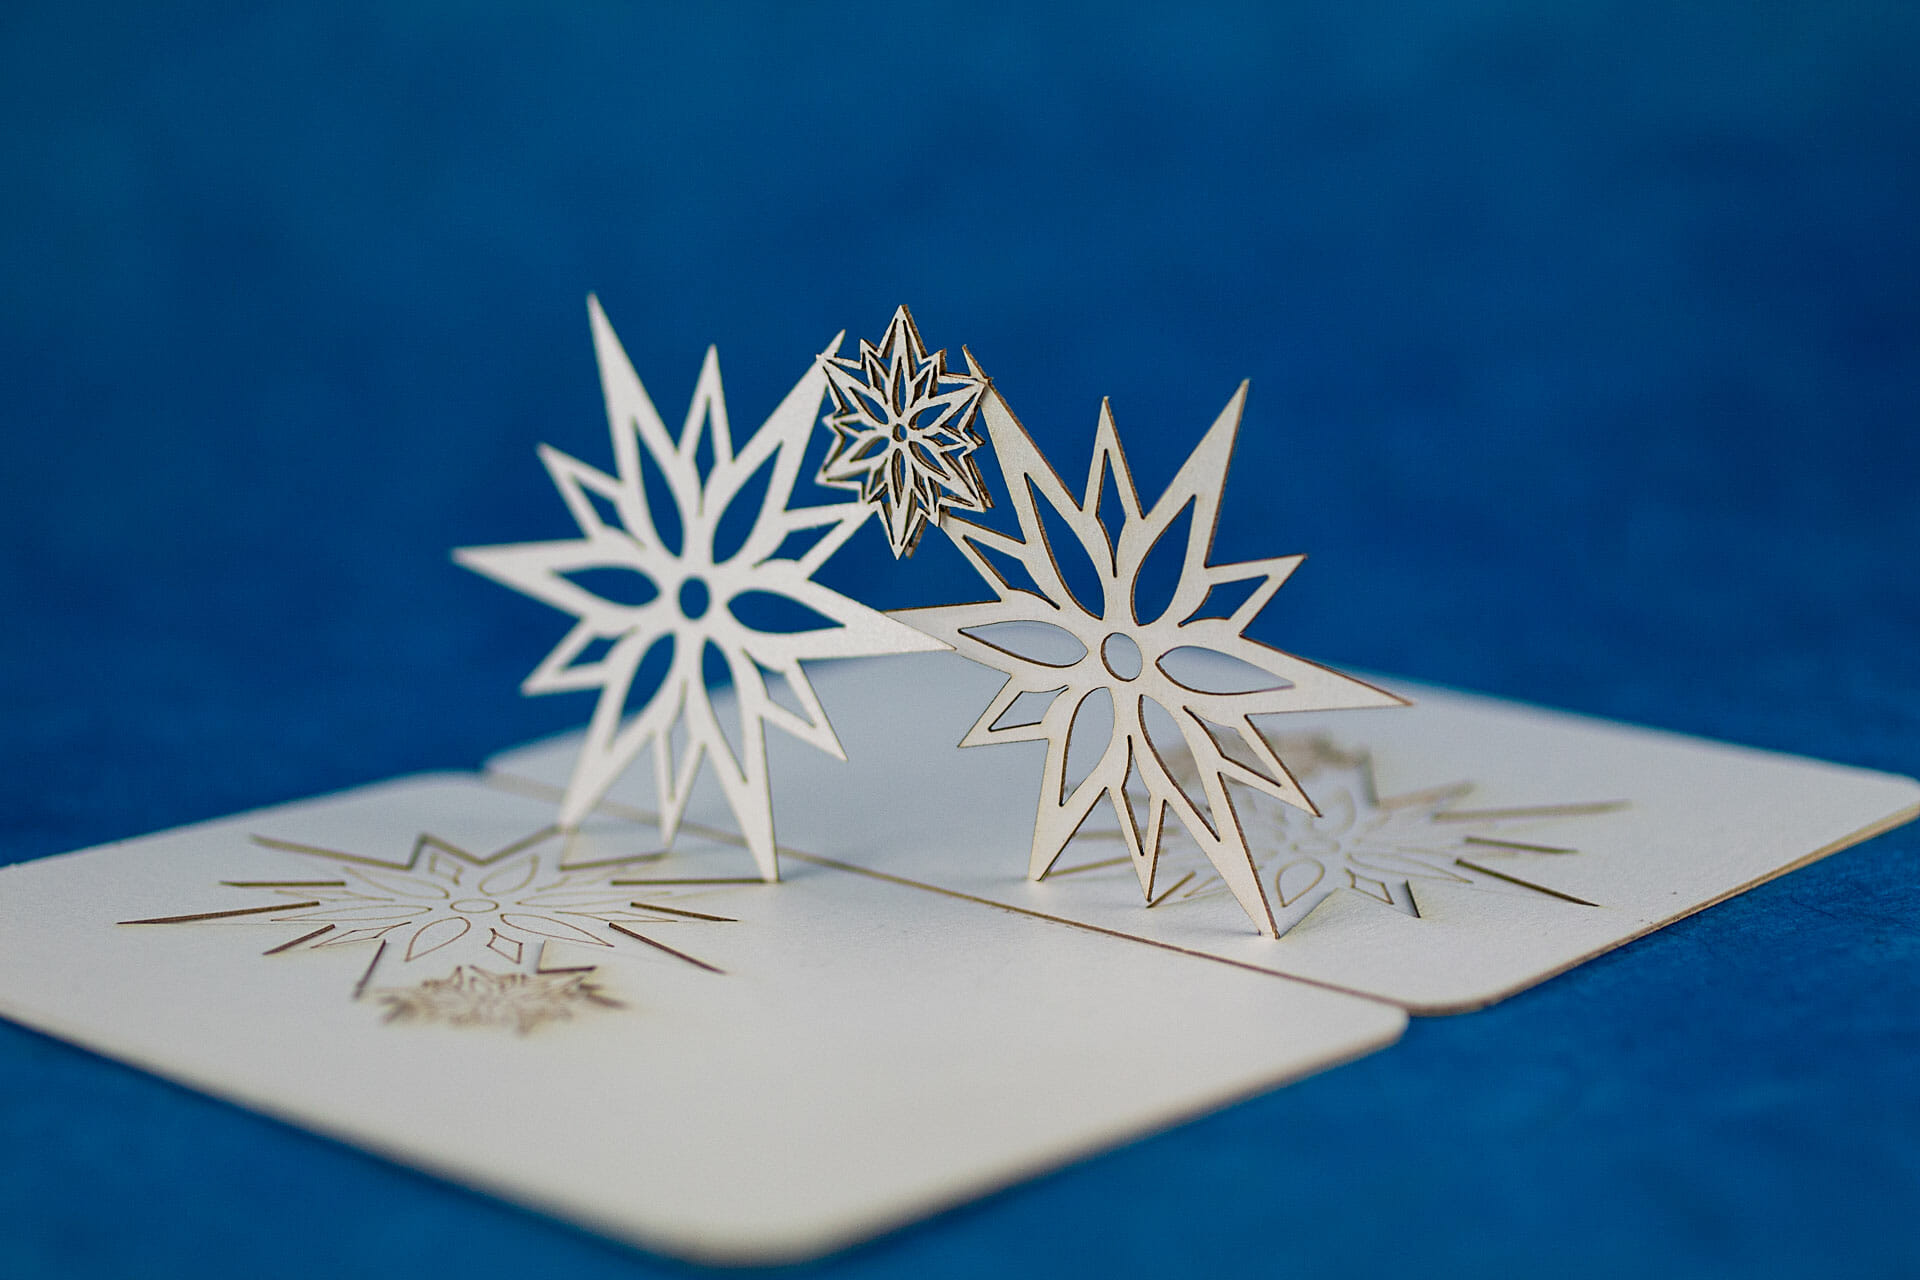
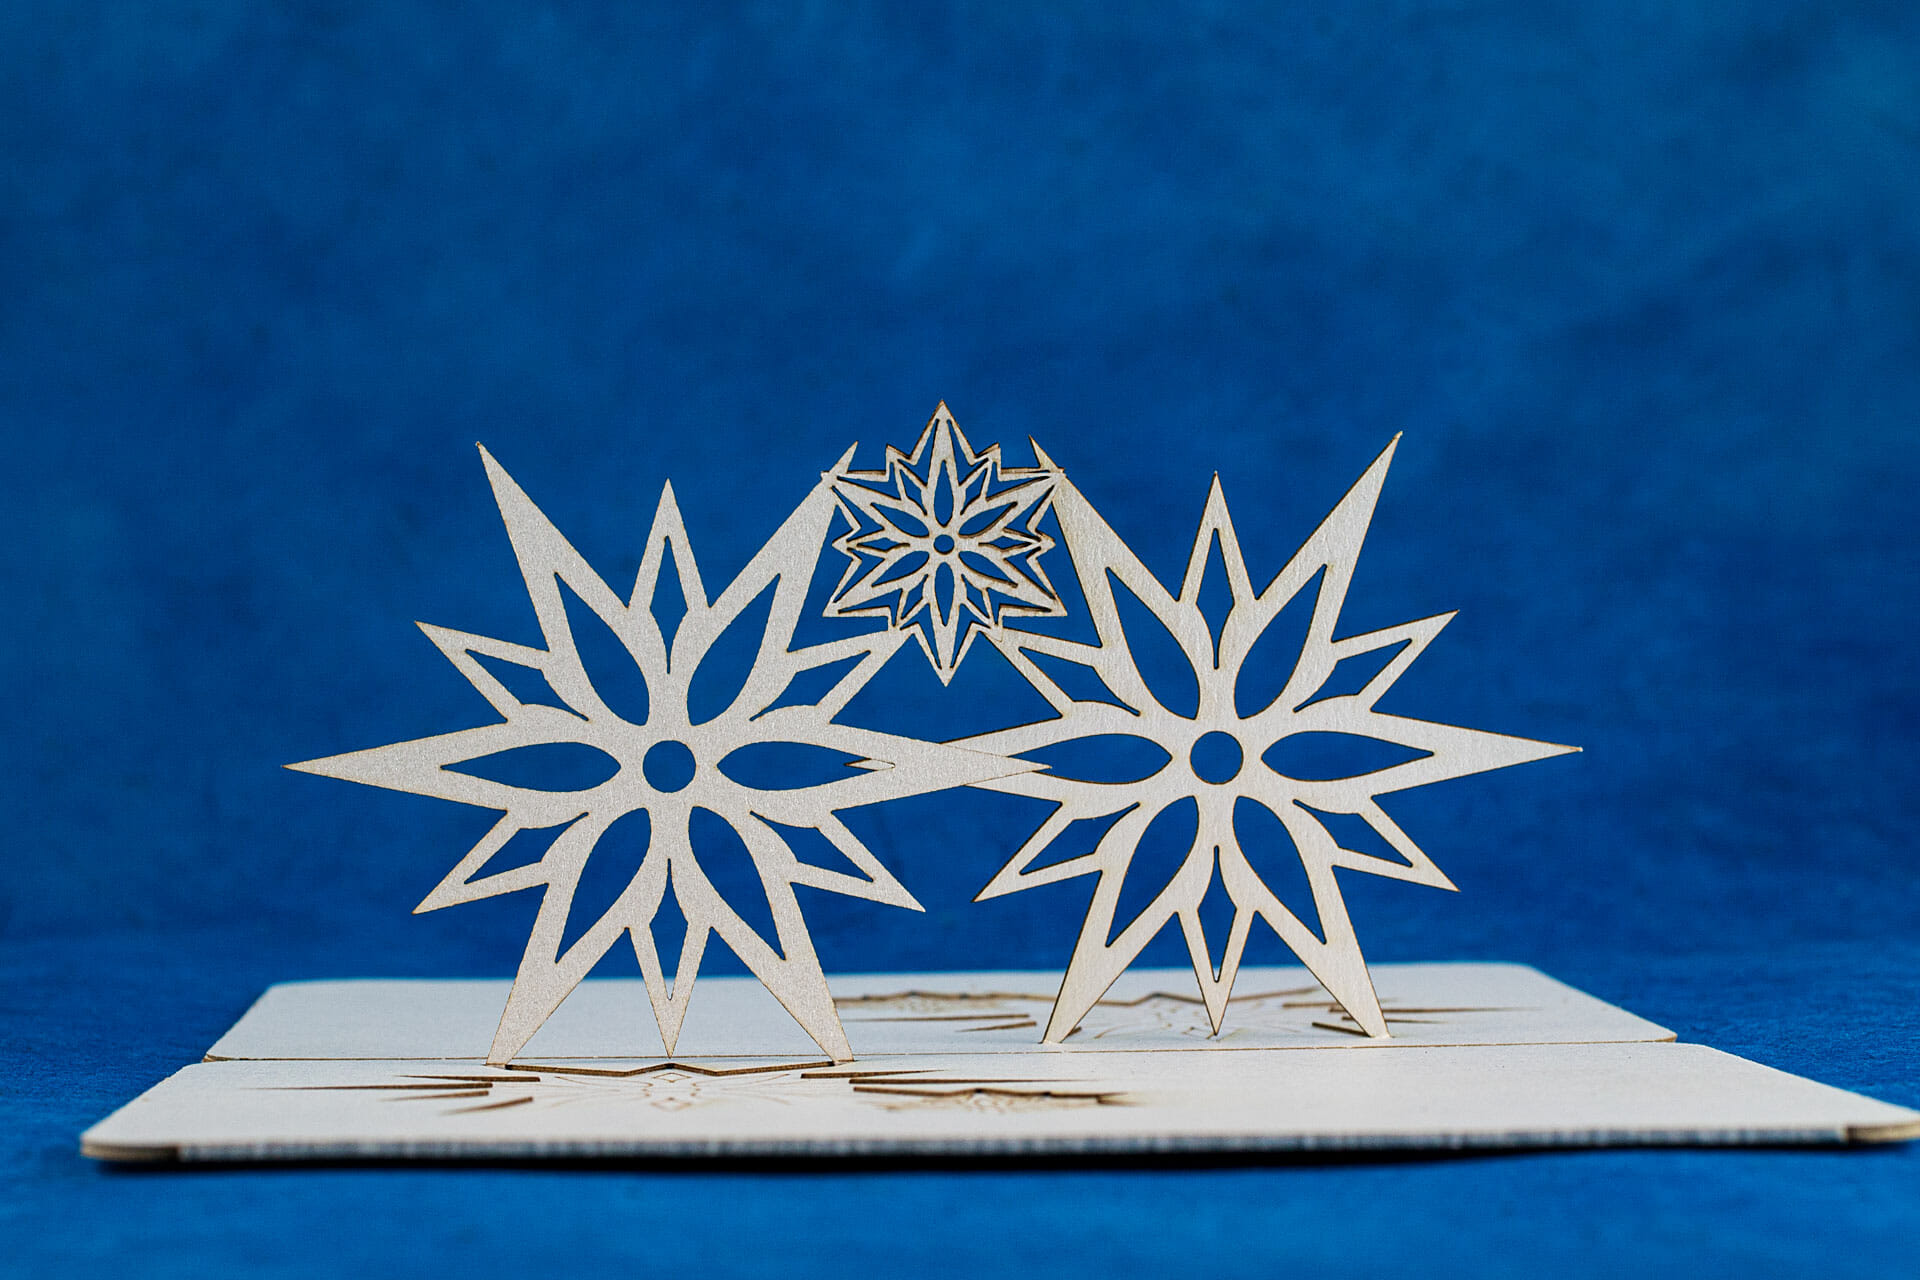
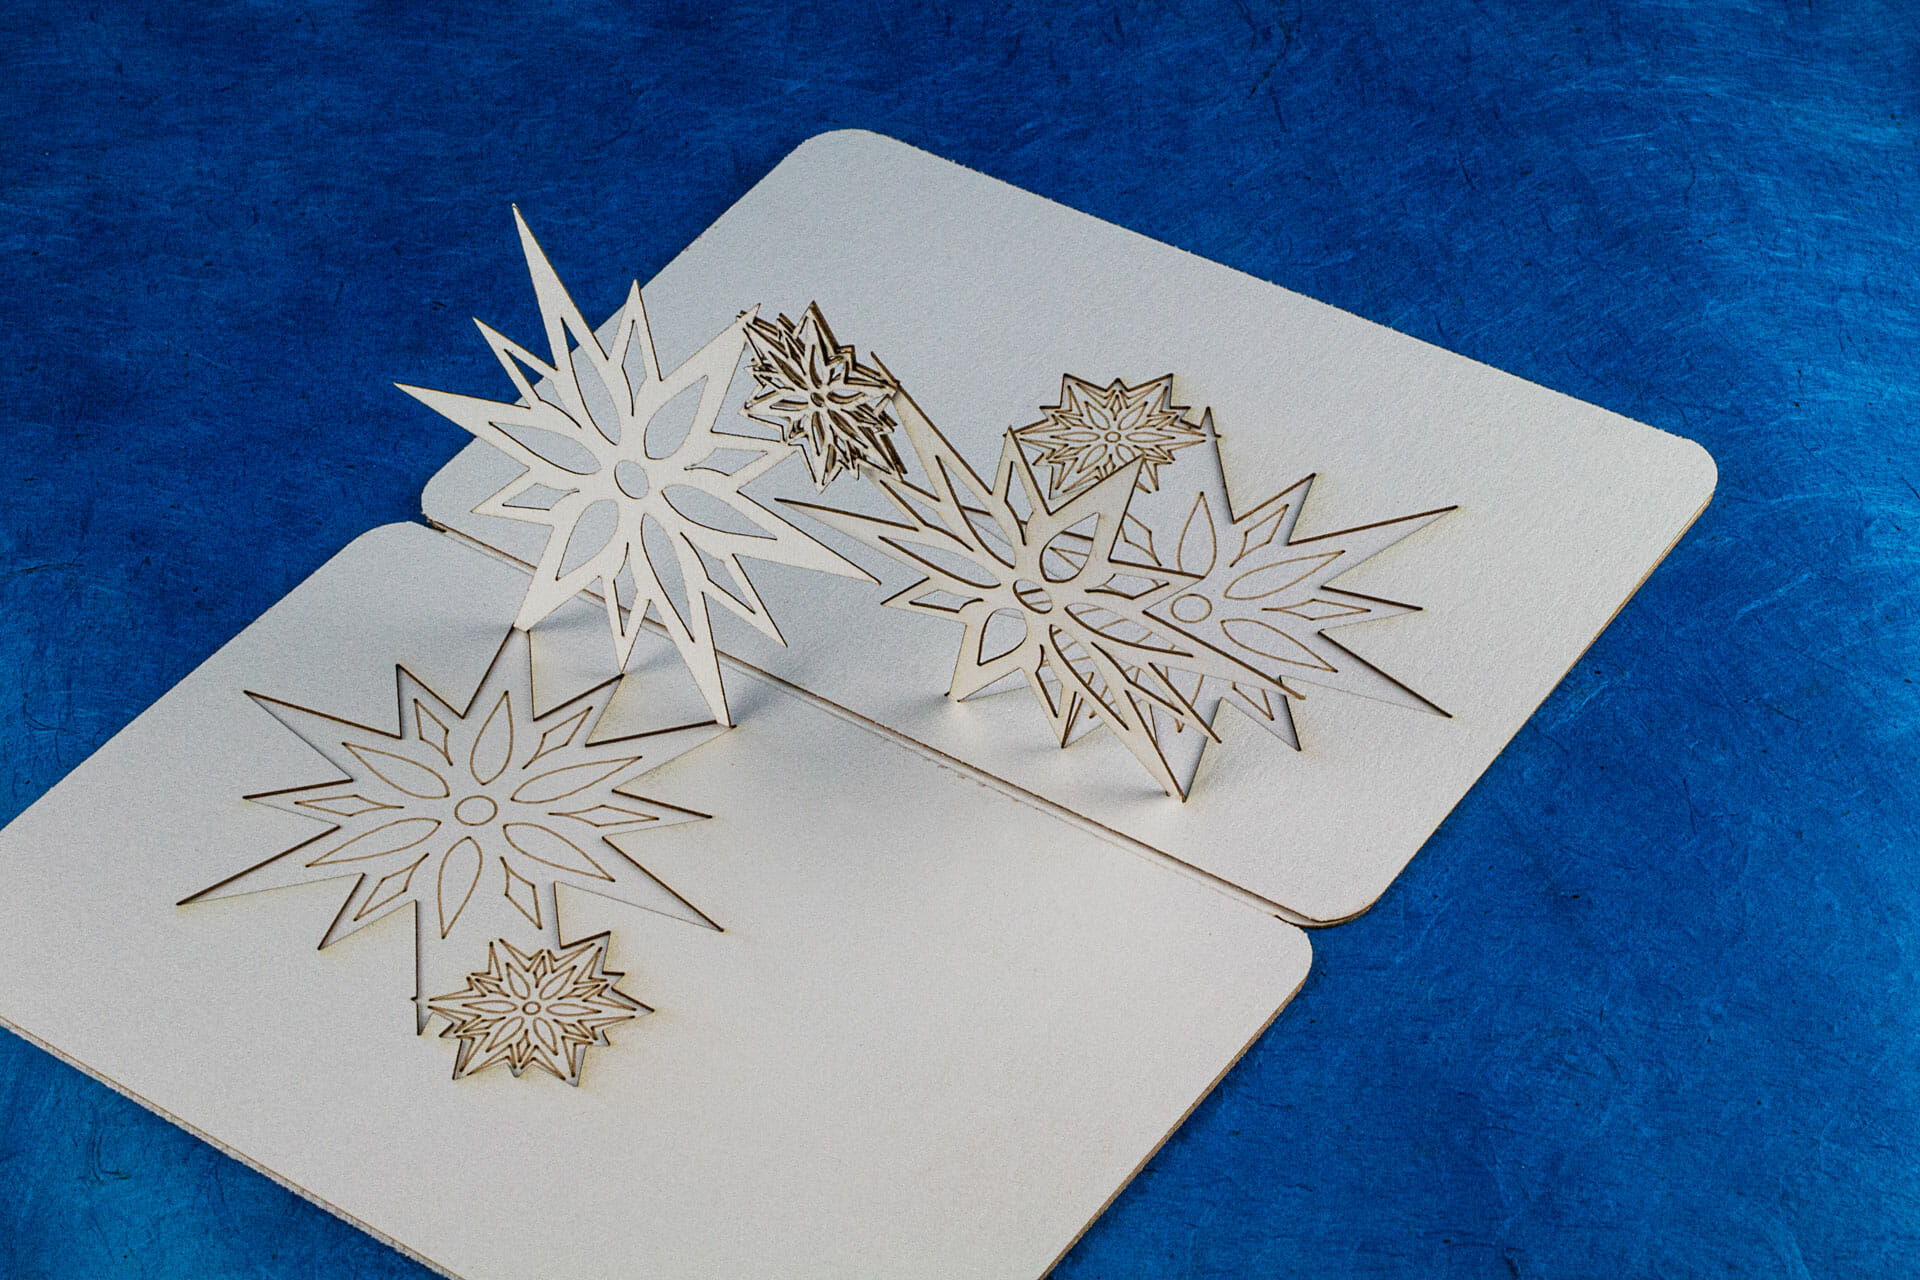
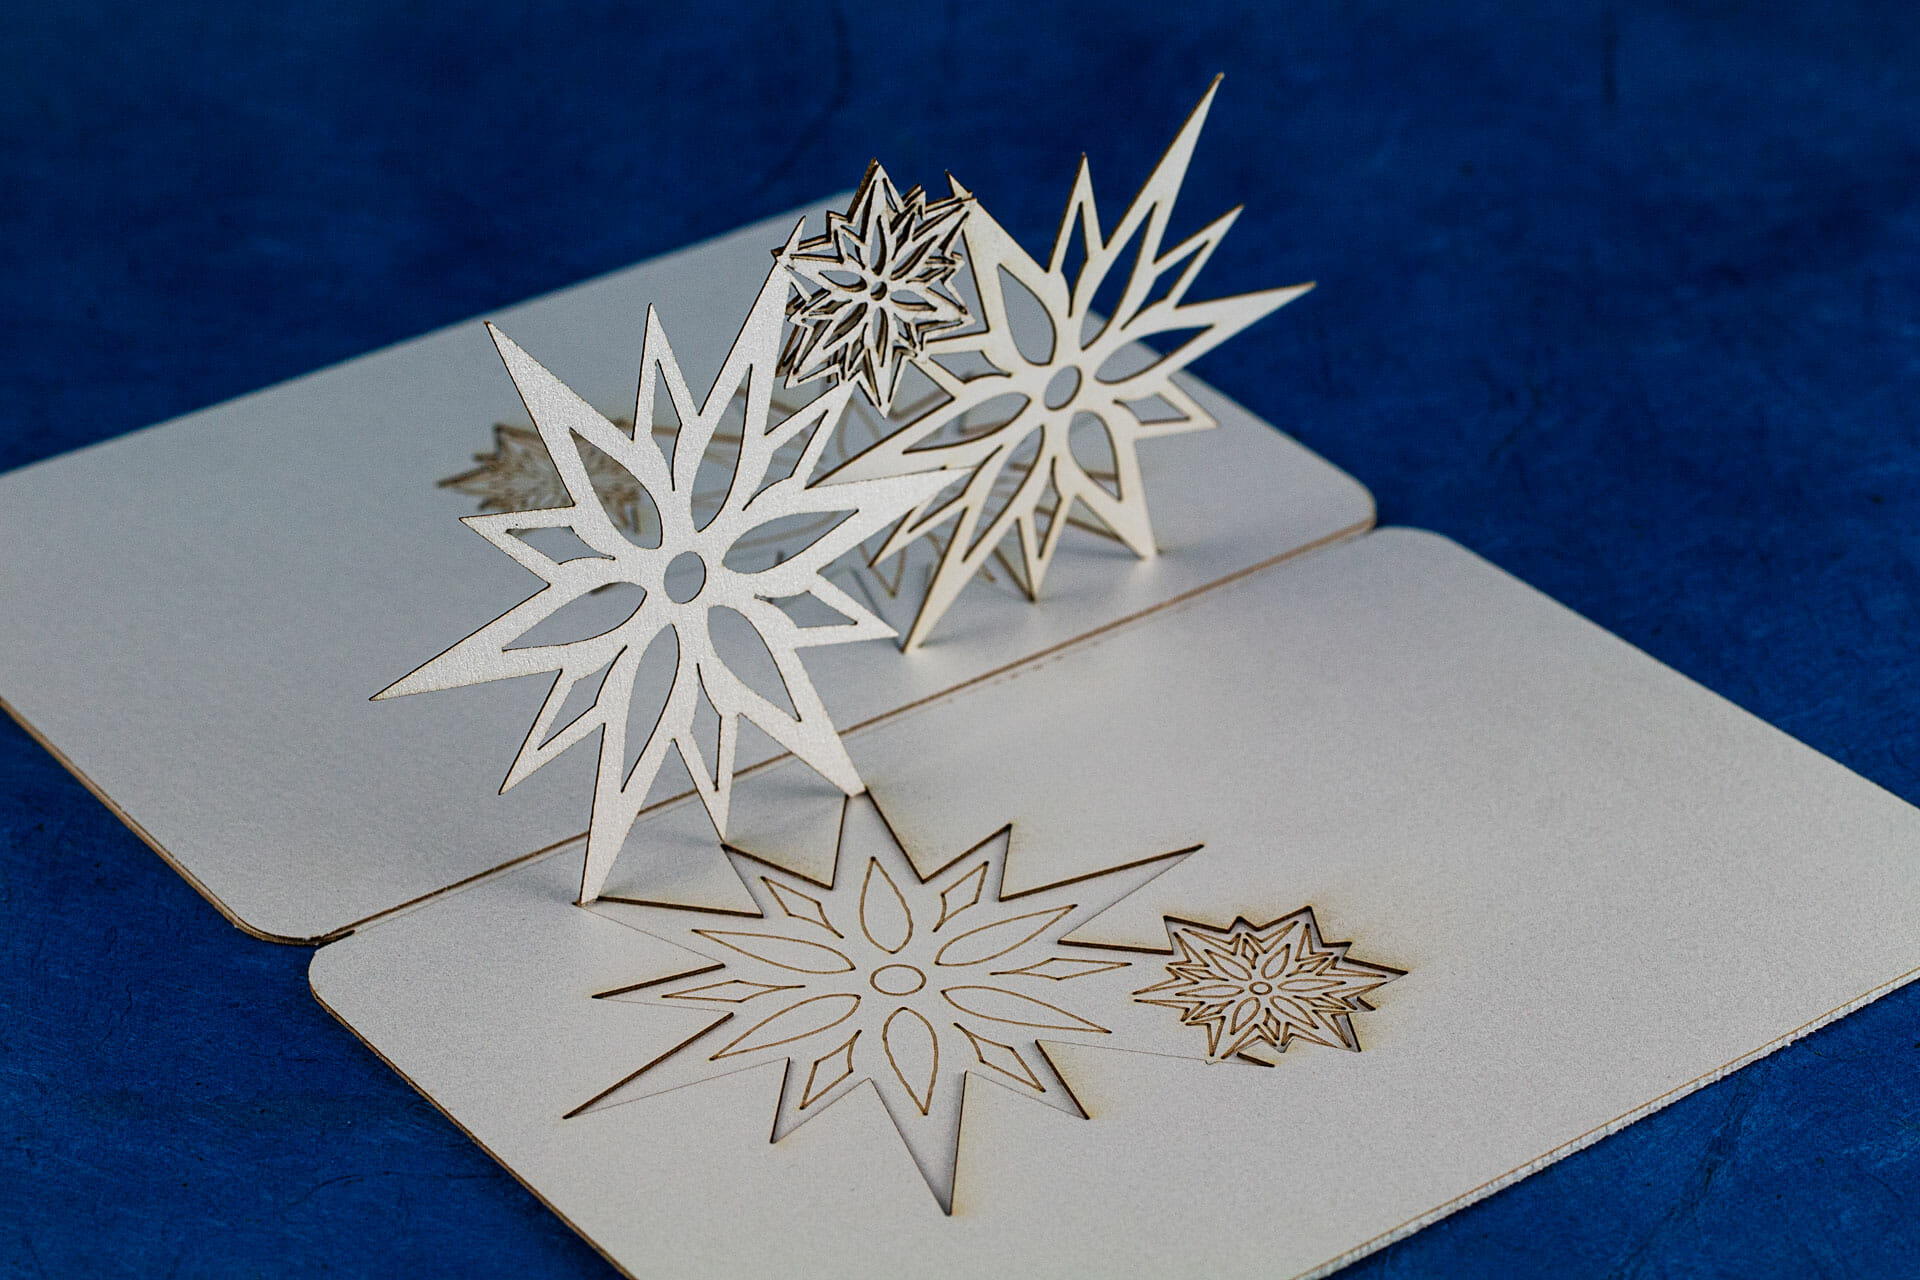
I made this abstract pop up card with integrated electronics for the 2024 #LightUpPopUpTober project organized by Chibitronics.
Continue reading
Quick Celtic key pattern washi tape paper art pop up card for Valentine’s Day.
Continue reading
This Lunar New Year marks the start of the Year of the Wood Dragon. I made a video walk-through of making my origamic architecture / kirigami dragon pop up card to celebrate.
Continue reading
Original origamic architecture / kirigami pop up card of a dragon’s head.
Continue reading

A stately origamic architecture / kirigami pop up manor for snow elves, sent for the 2021 winter holidays.
Continue reading

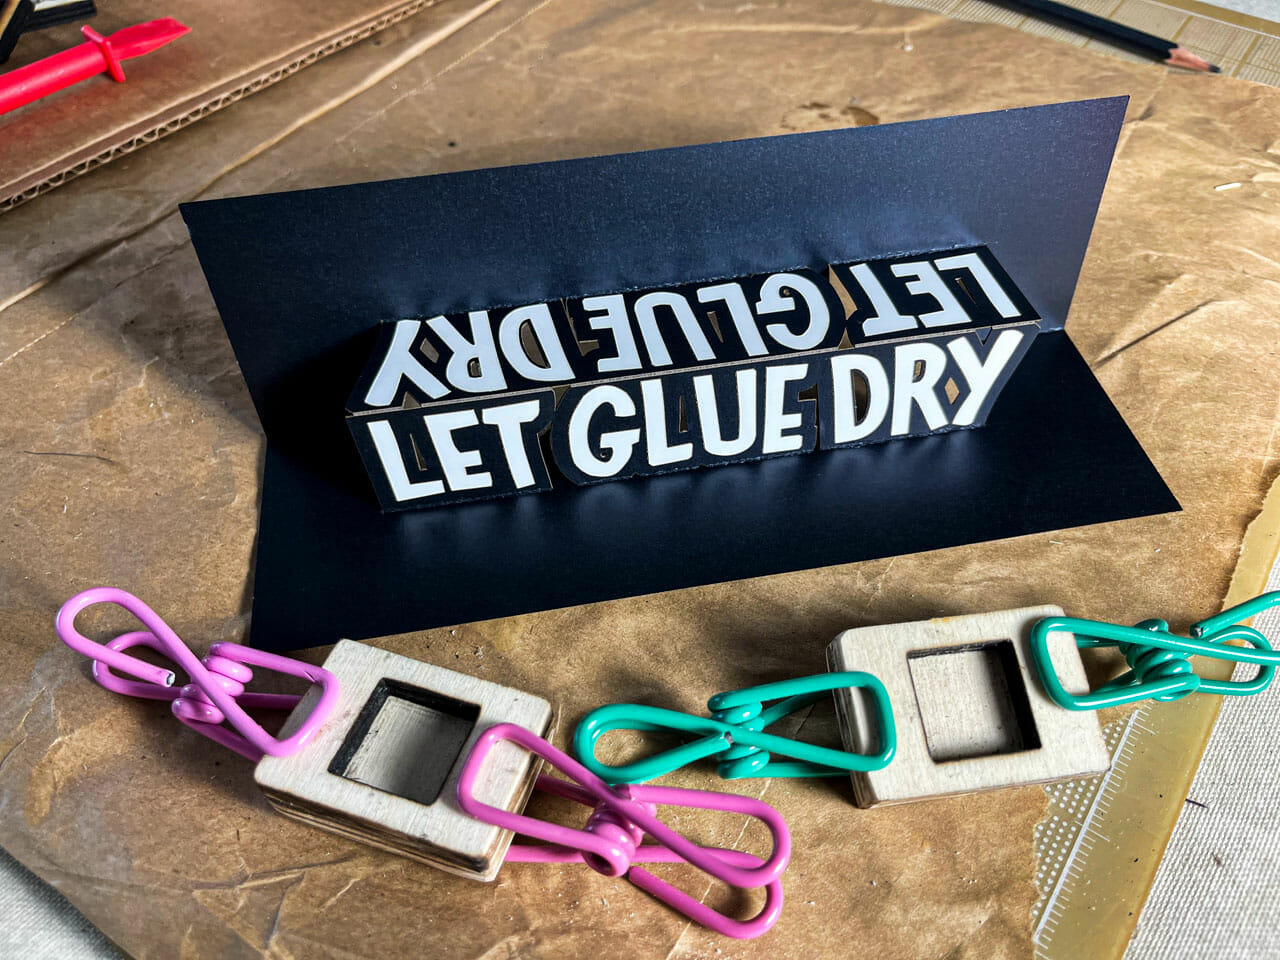
Someone made a paper craft version of the “Let Glue Dry” block Laura Kampf uses in her shop awhile back. I immediately thought of making a pop up card version that could be stored flat. I did one with a simple block font but, later, made another version where I reproduced the hand lettering from a photo of Laura’s block.
I sent one of these to Laura back in March. I am going to assume that it’s okay to share these unless I hear otherwise.
Although I cut my cards on the laser, you could do this entirely by hand with a craft knife. You can even skip the white stickers. The letters could be cut from white paper and glued on. The letters could be colored in with an opaque white marker or paint.
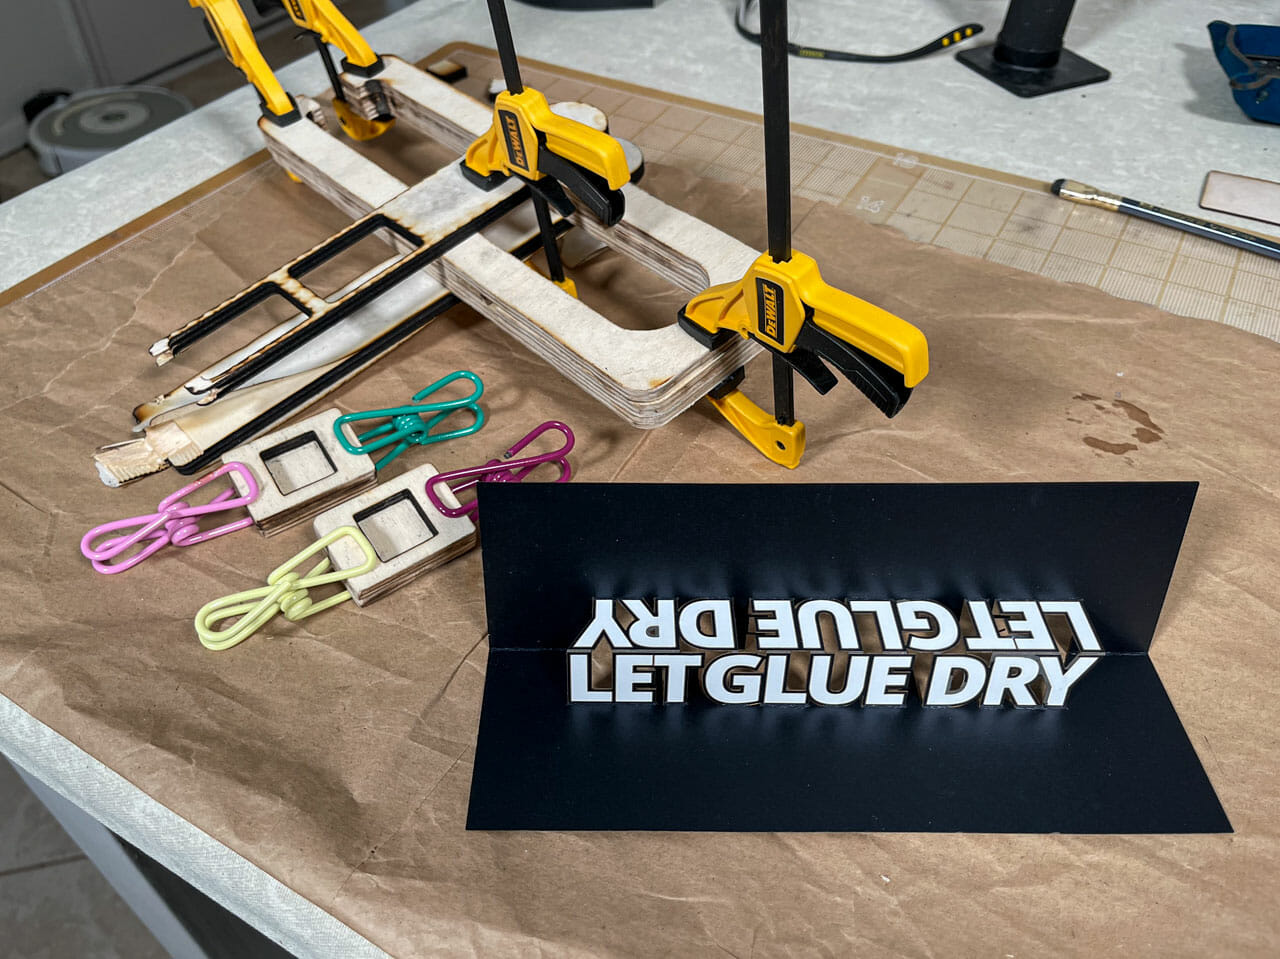
There are two version of each design. The regular one has everything aligned in one image. That is, the score lines for the back show aligned where they should be on the front like a standard OA pattern. The jig-in-place version has the score lines for the reverse flipped for production on a sign or laser cutter.
I made my cards using the jig-in-place technique. In brief, I:
I started to make a video of the jig-in-place technique but, it is not super clear on the black stock. I will likely do a video showing how this is done when I have another design on a lighter-colored stock to run.
These files are for personal, non-commercial use only. Note that, by referencing these, you are agreeing to release any variations you create under identical terms.
![]() LK Let Glue Dry Pop Up Card (Standard version)
LK Let Glue Dry Pop Up Card (Standard version)
LK Let Glue Dry Pop Up Card (Jig-in-Place version)