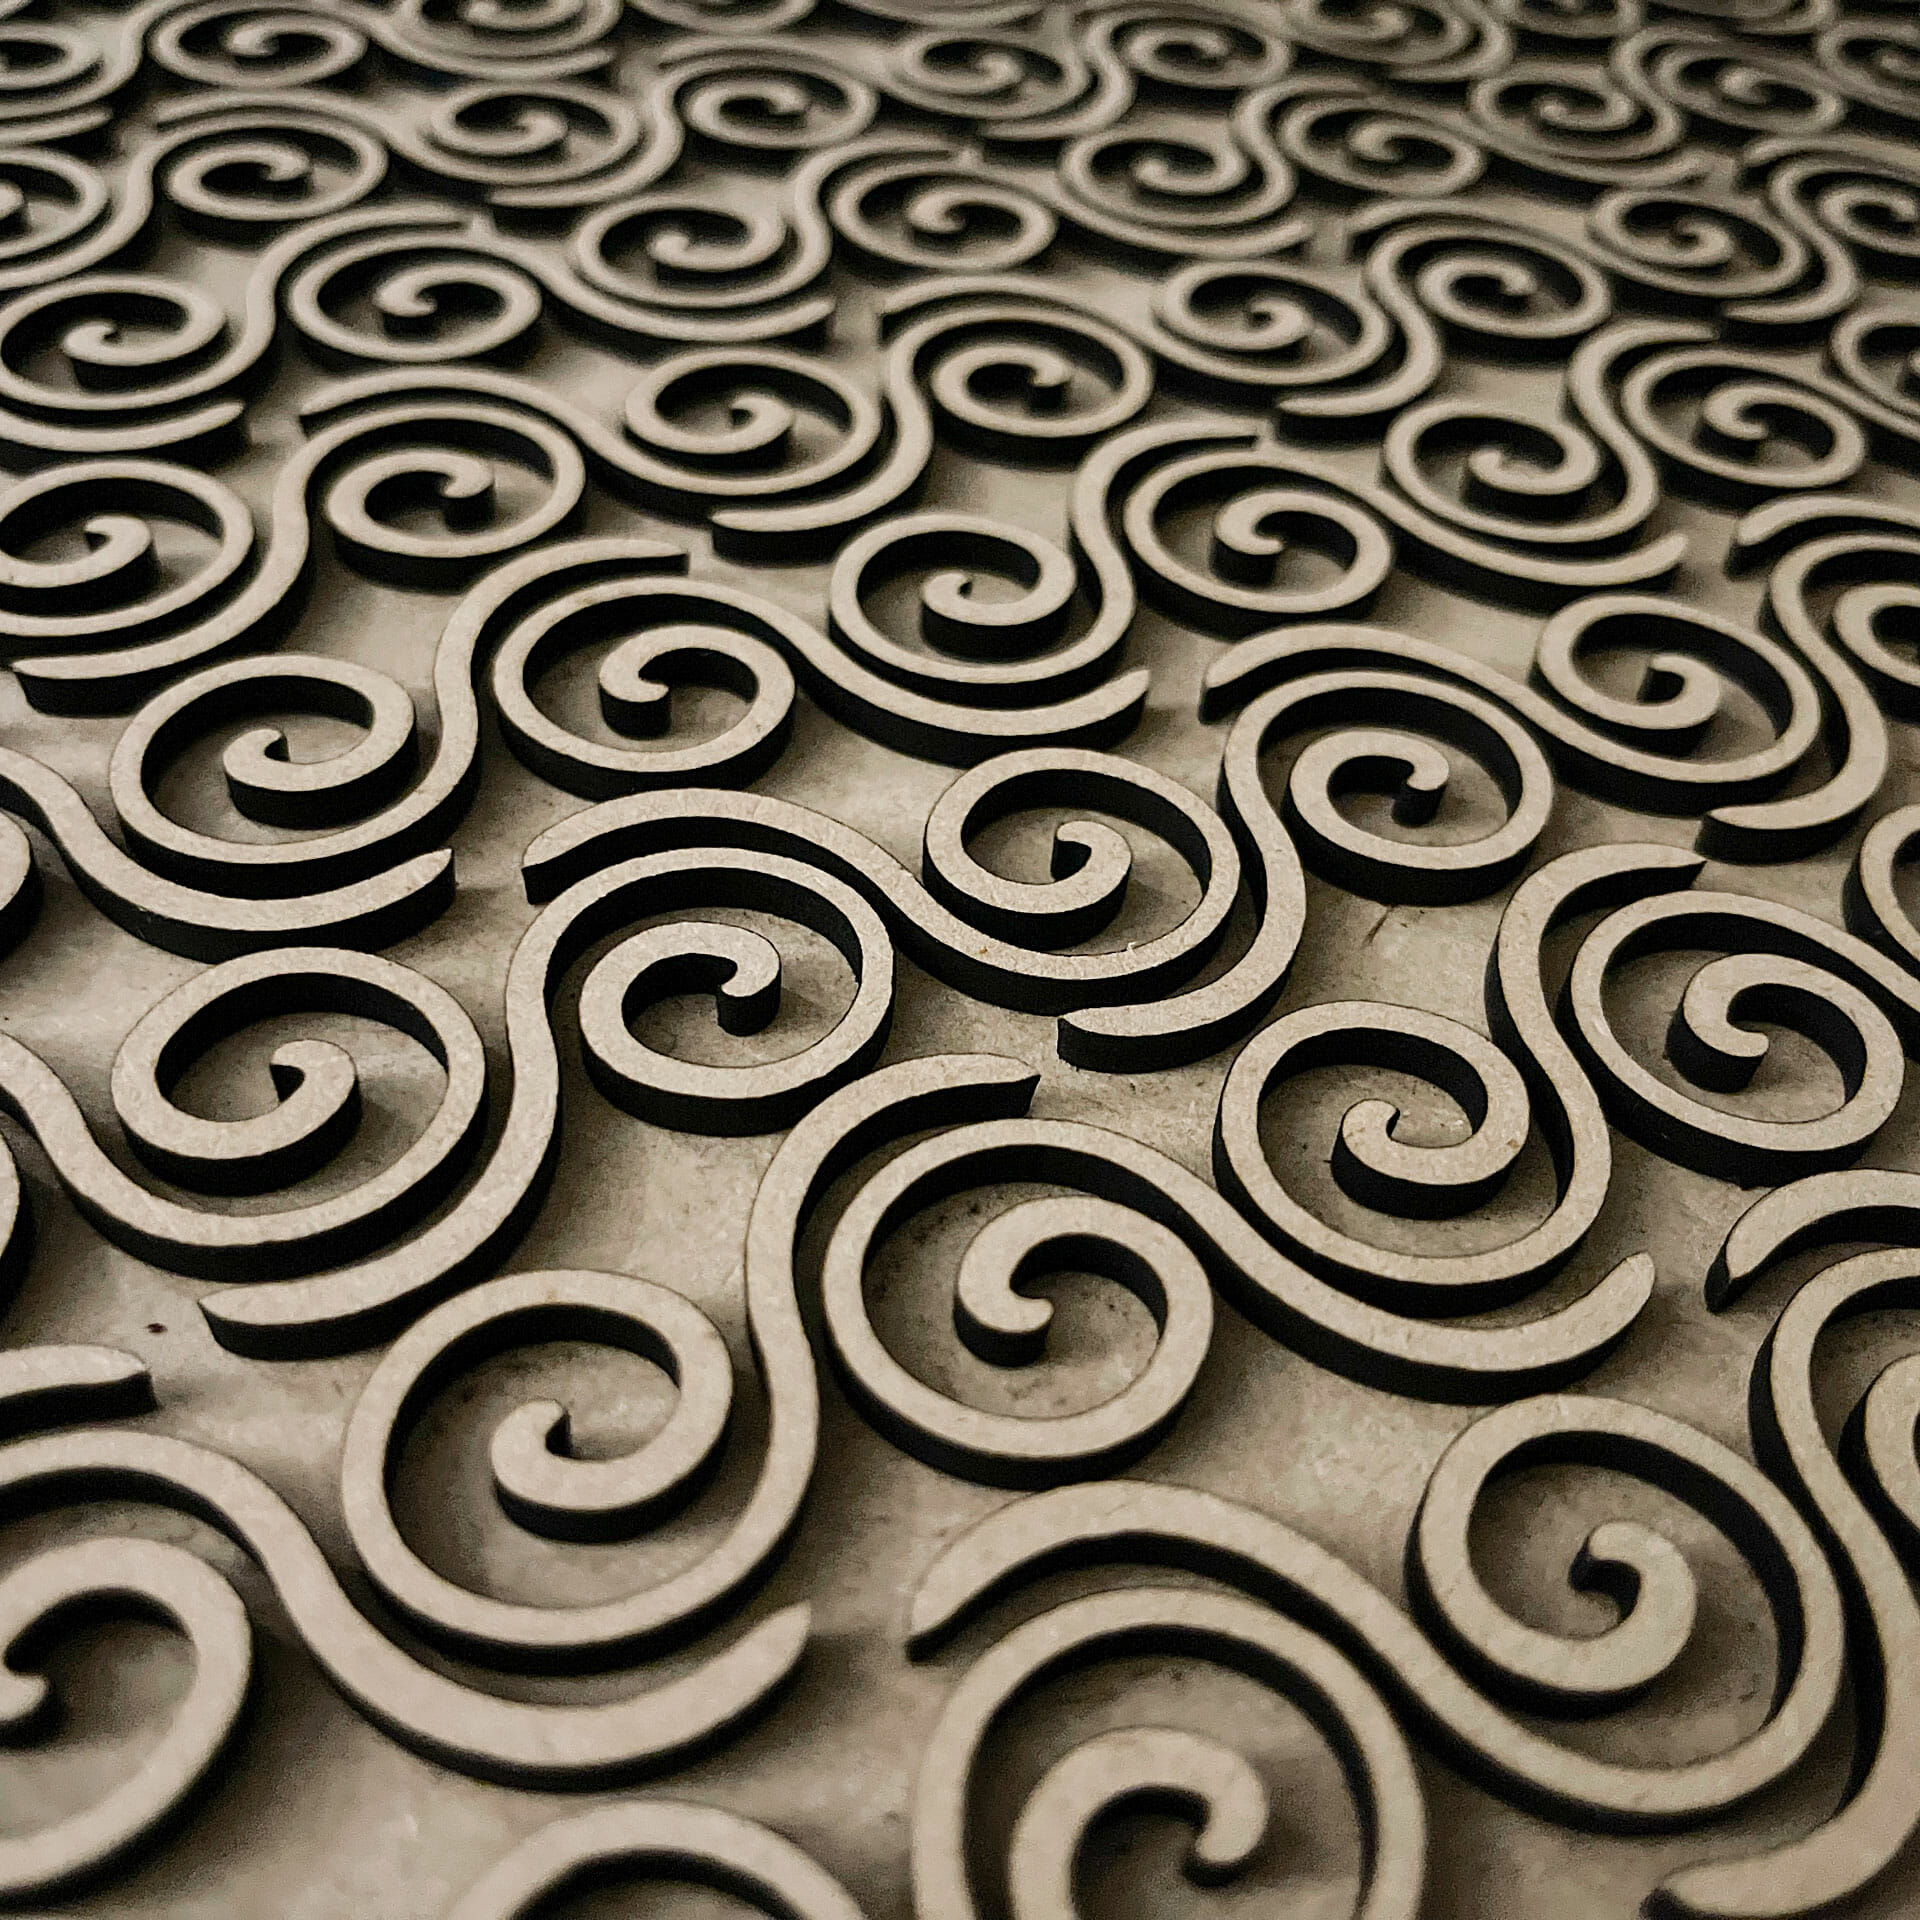
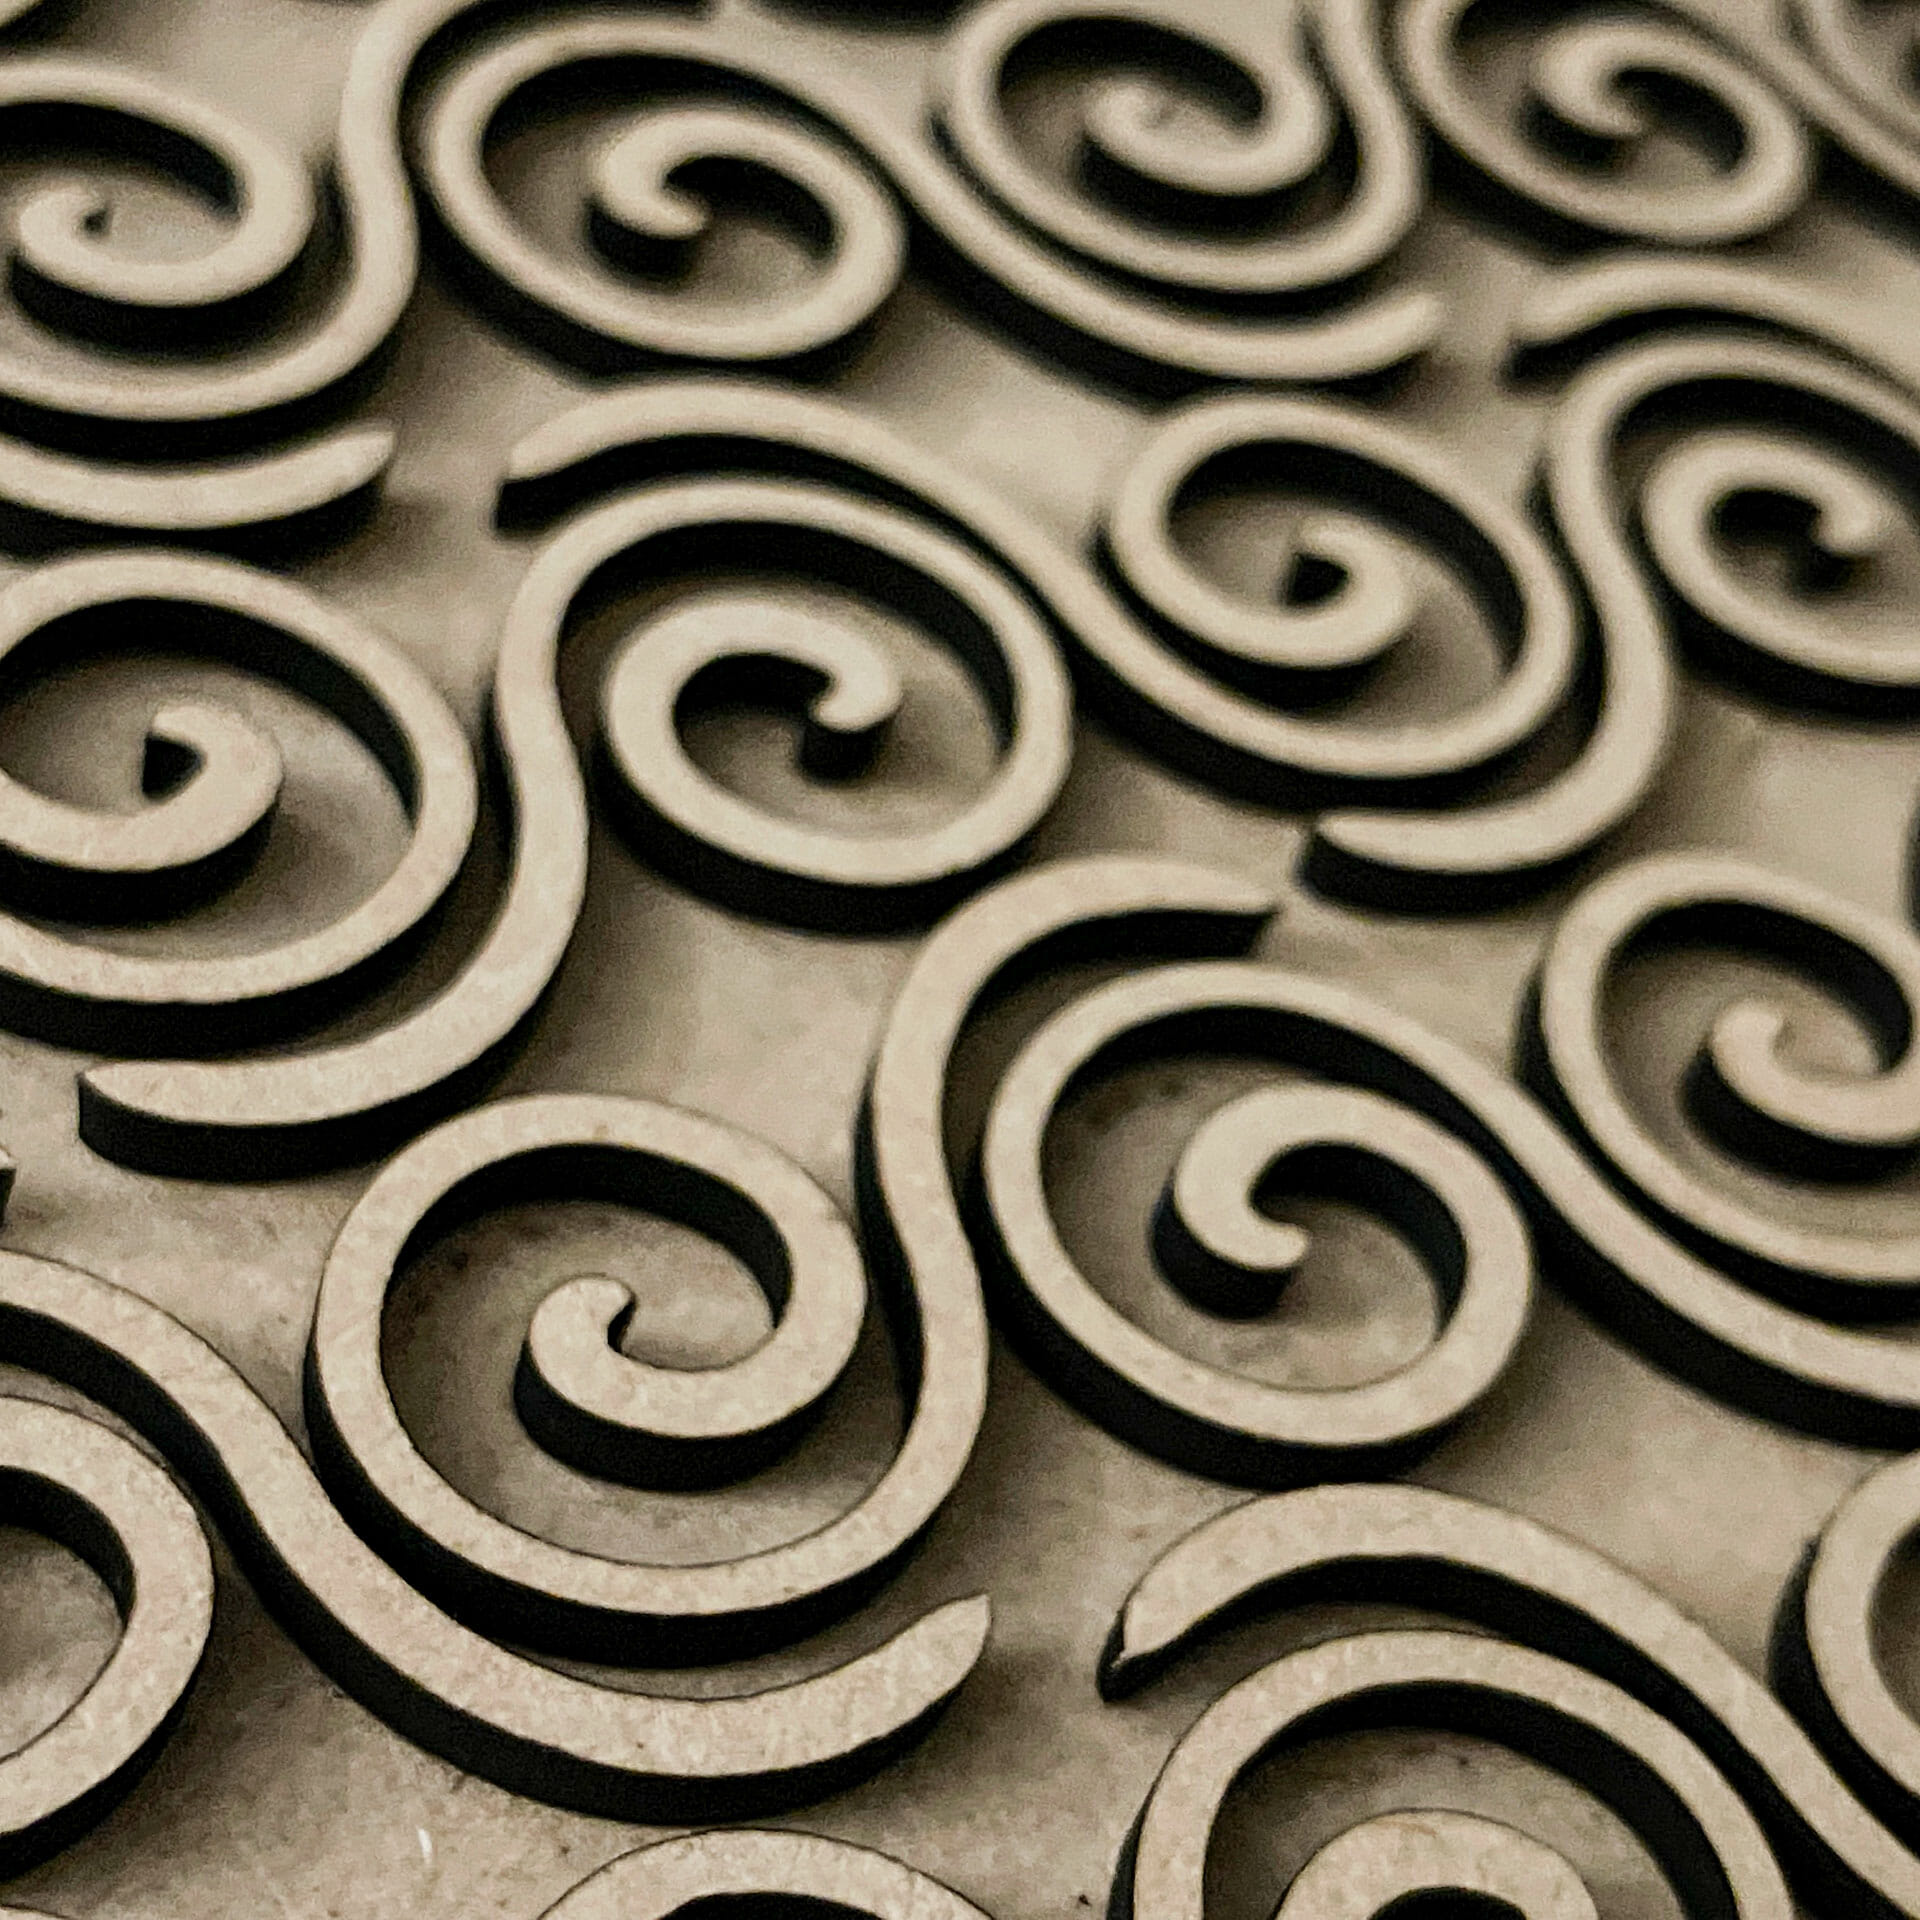
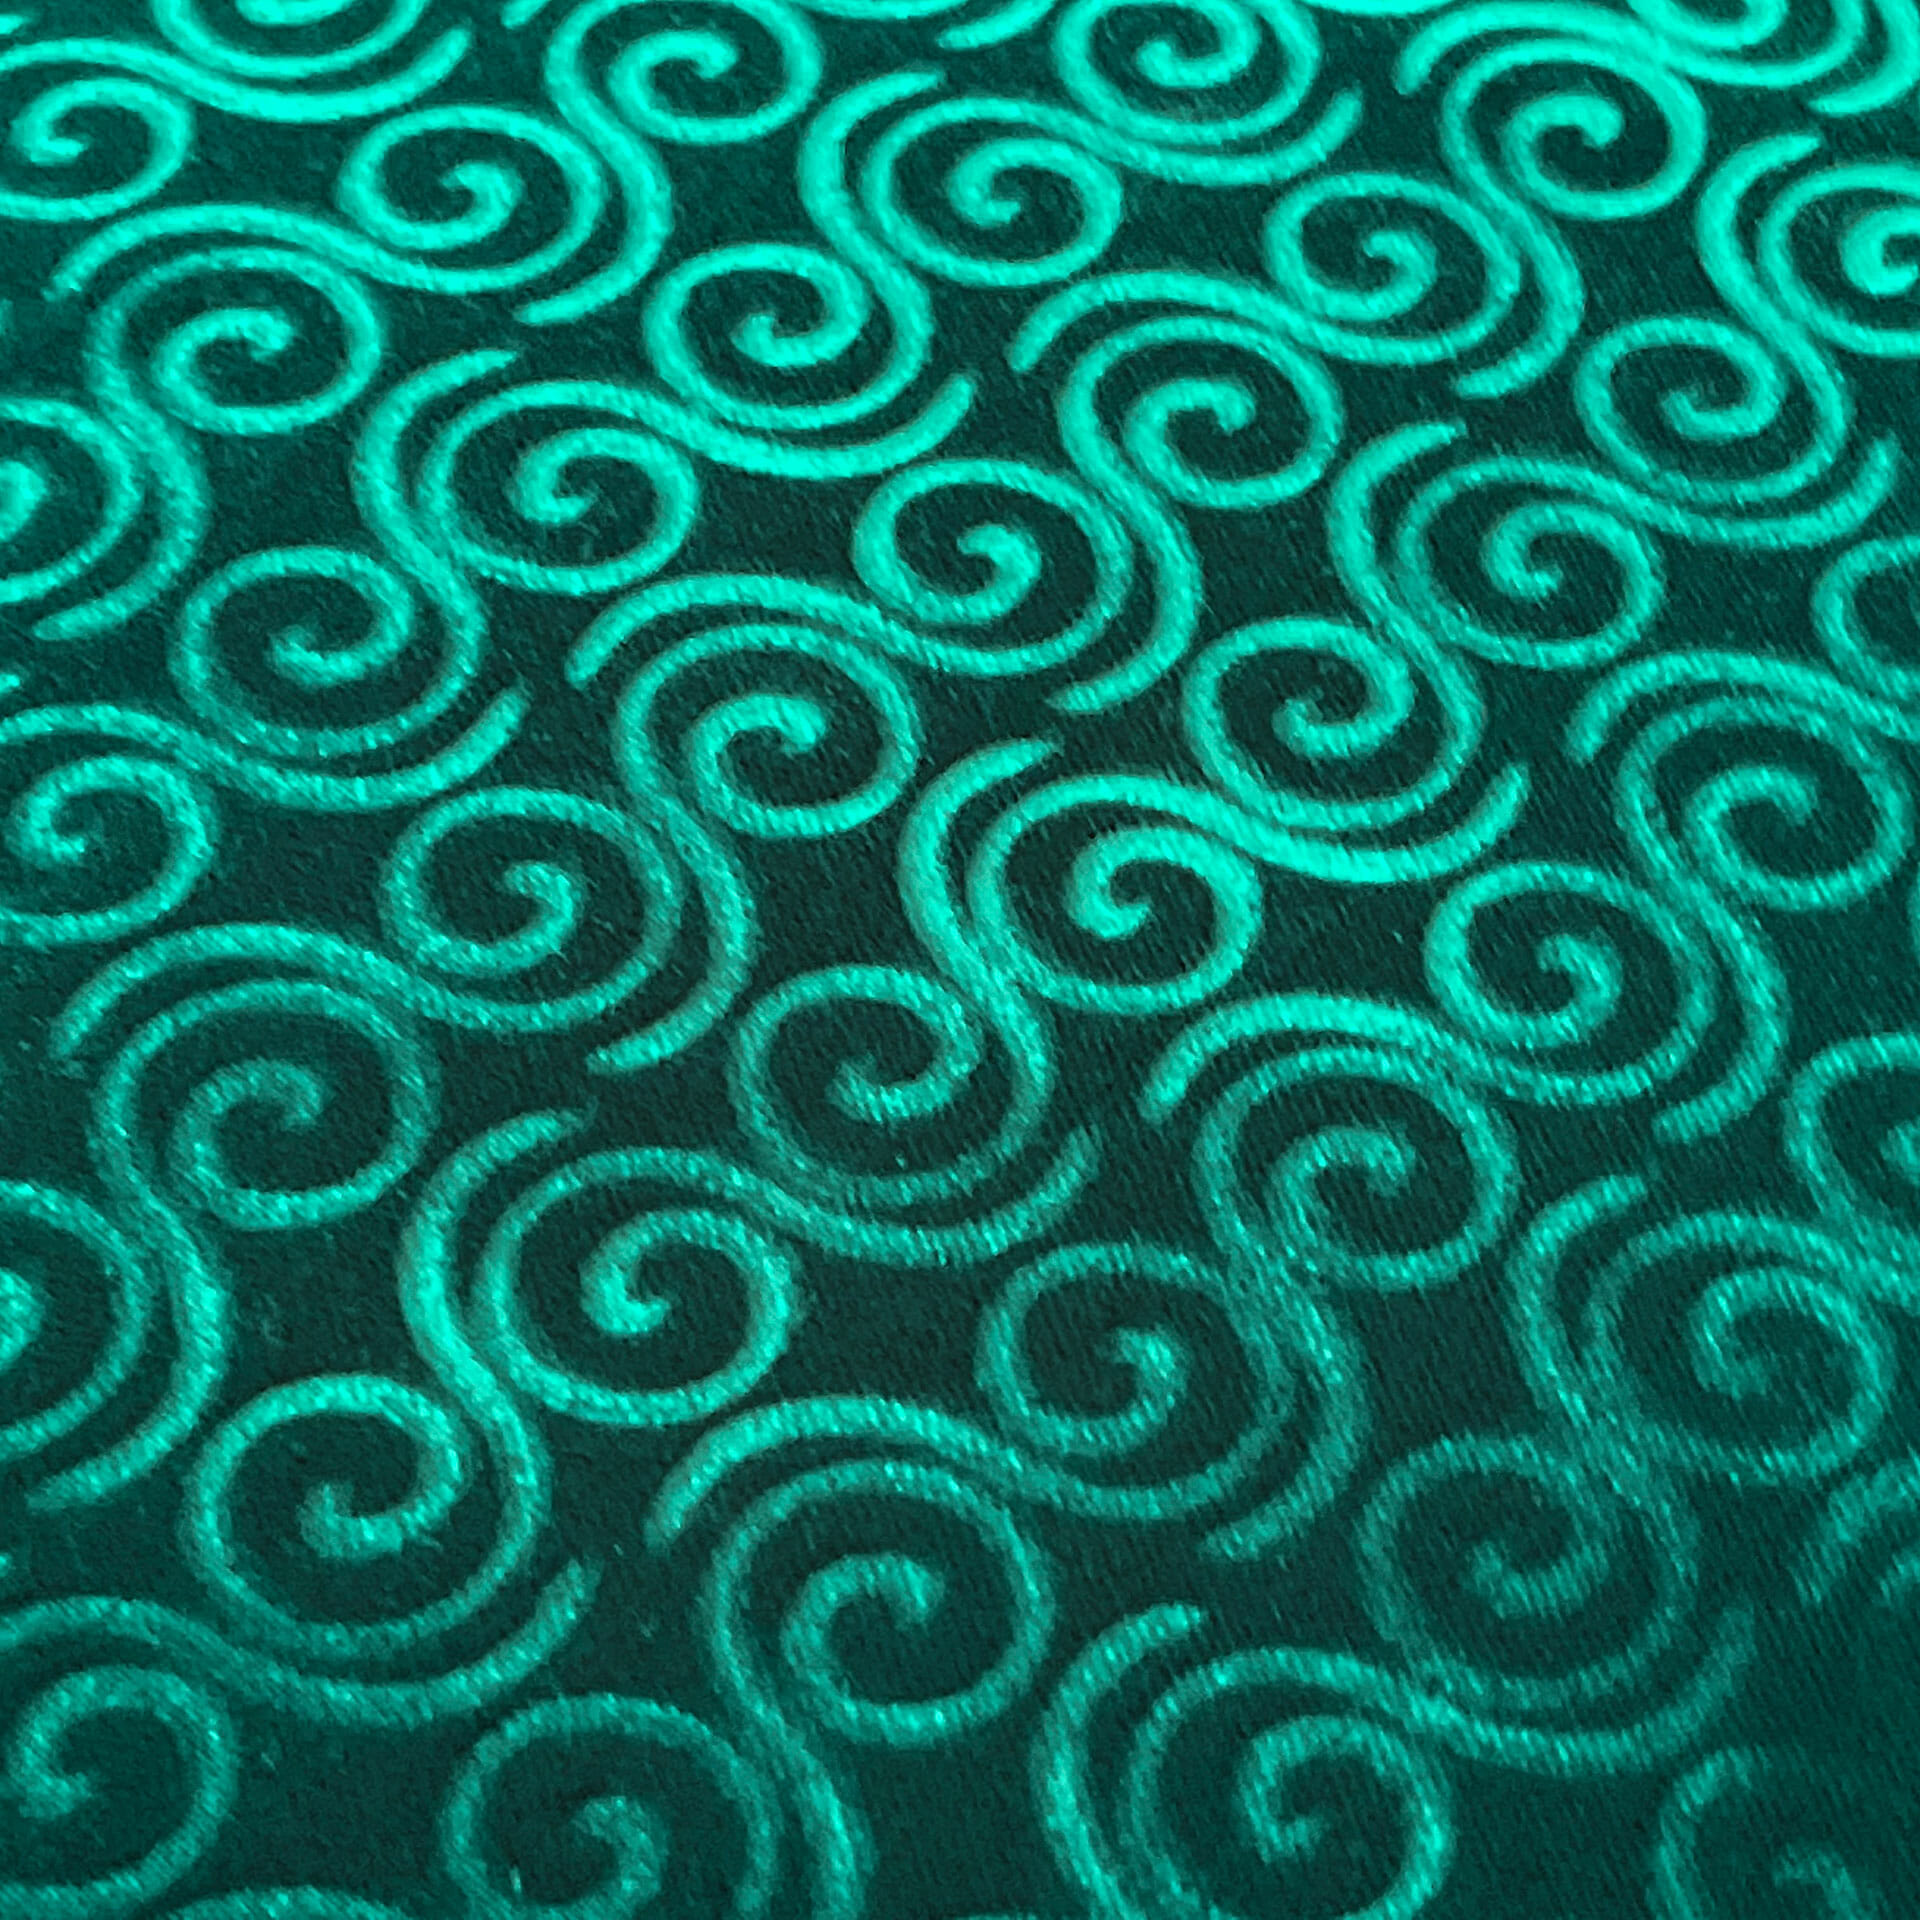
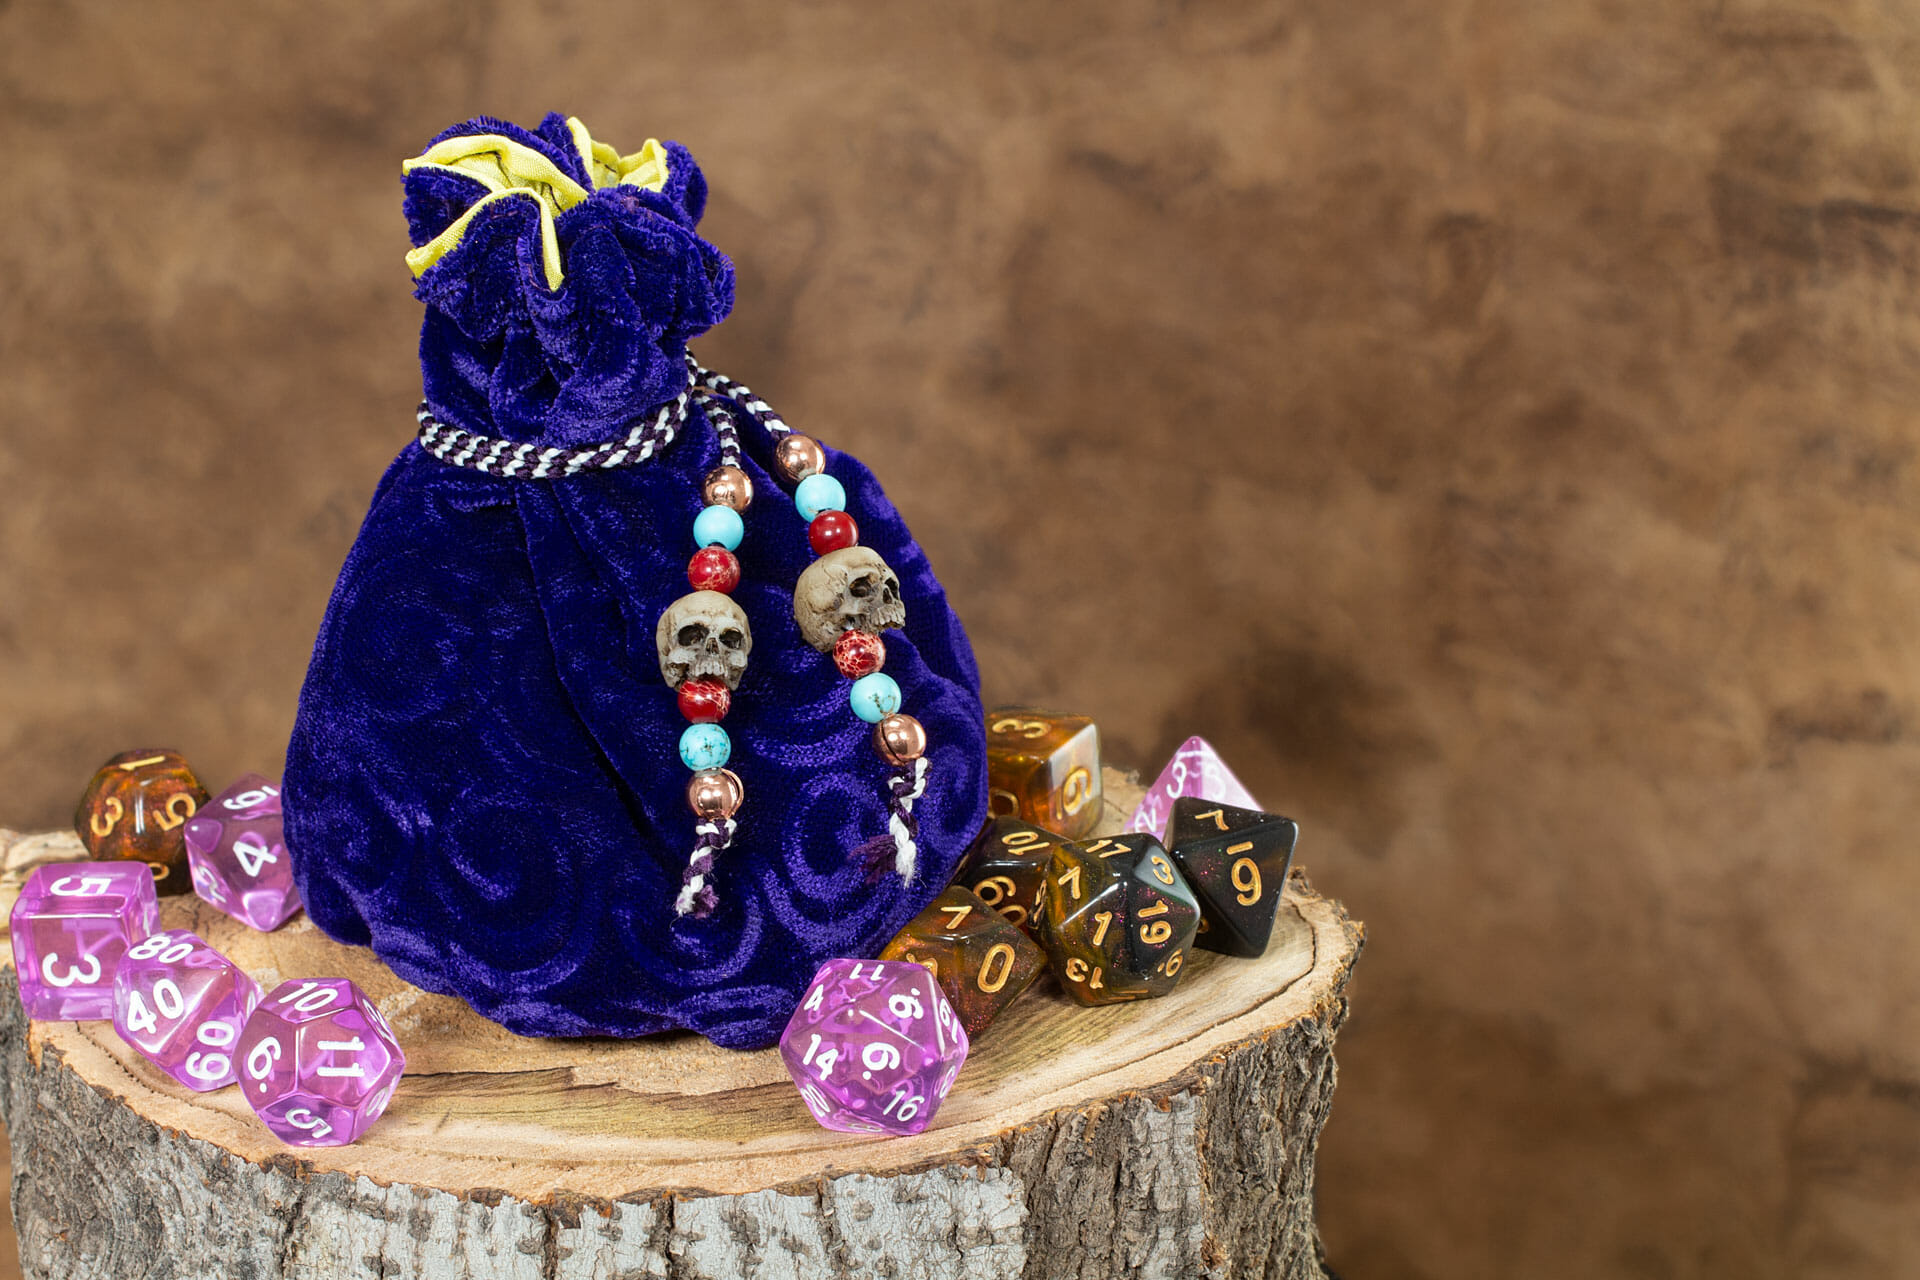
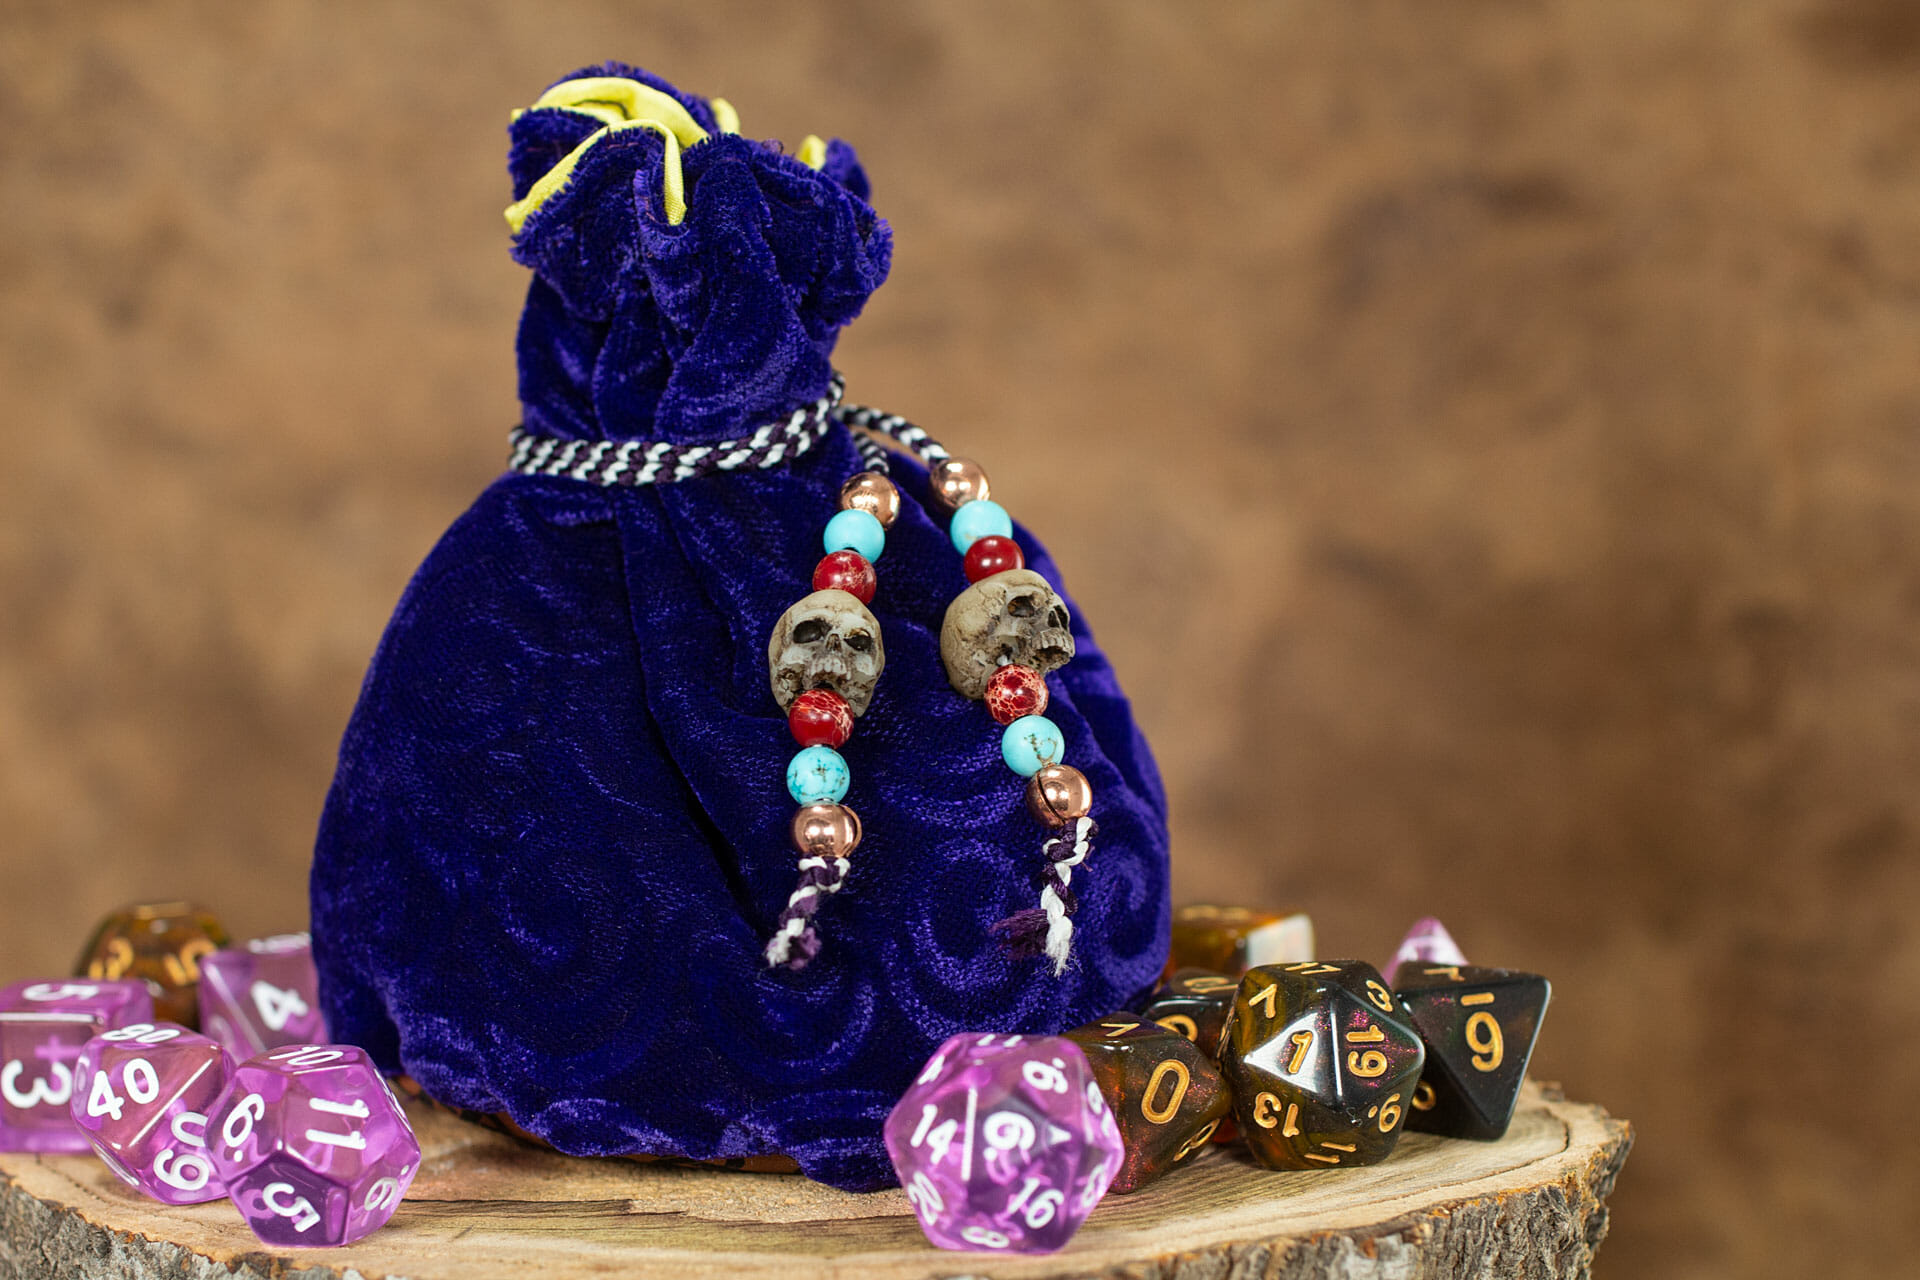
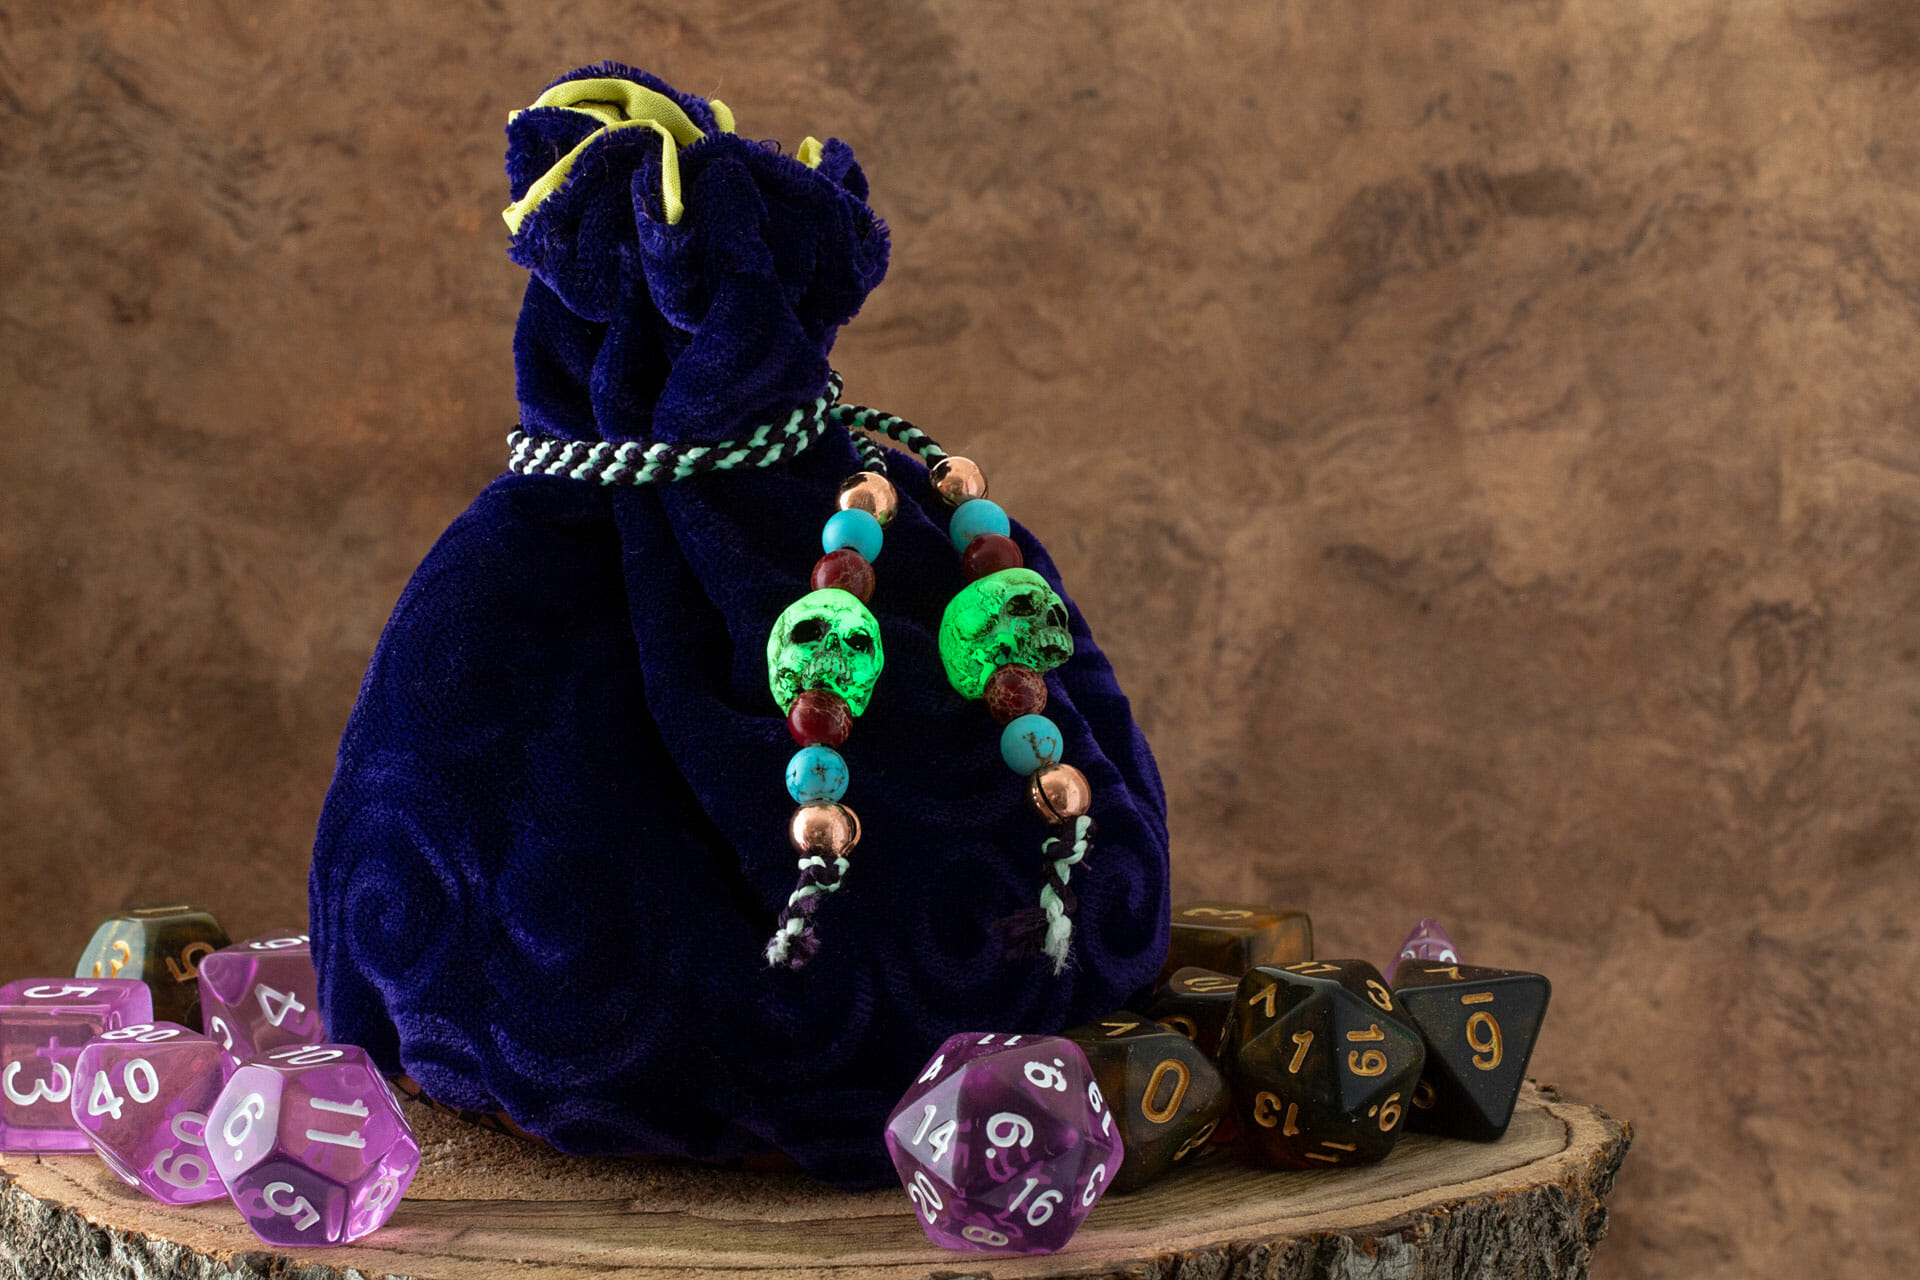
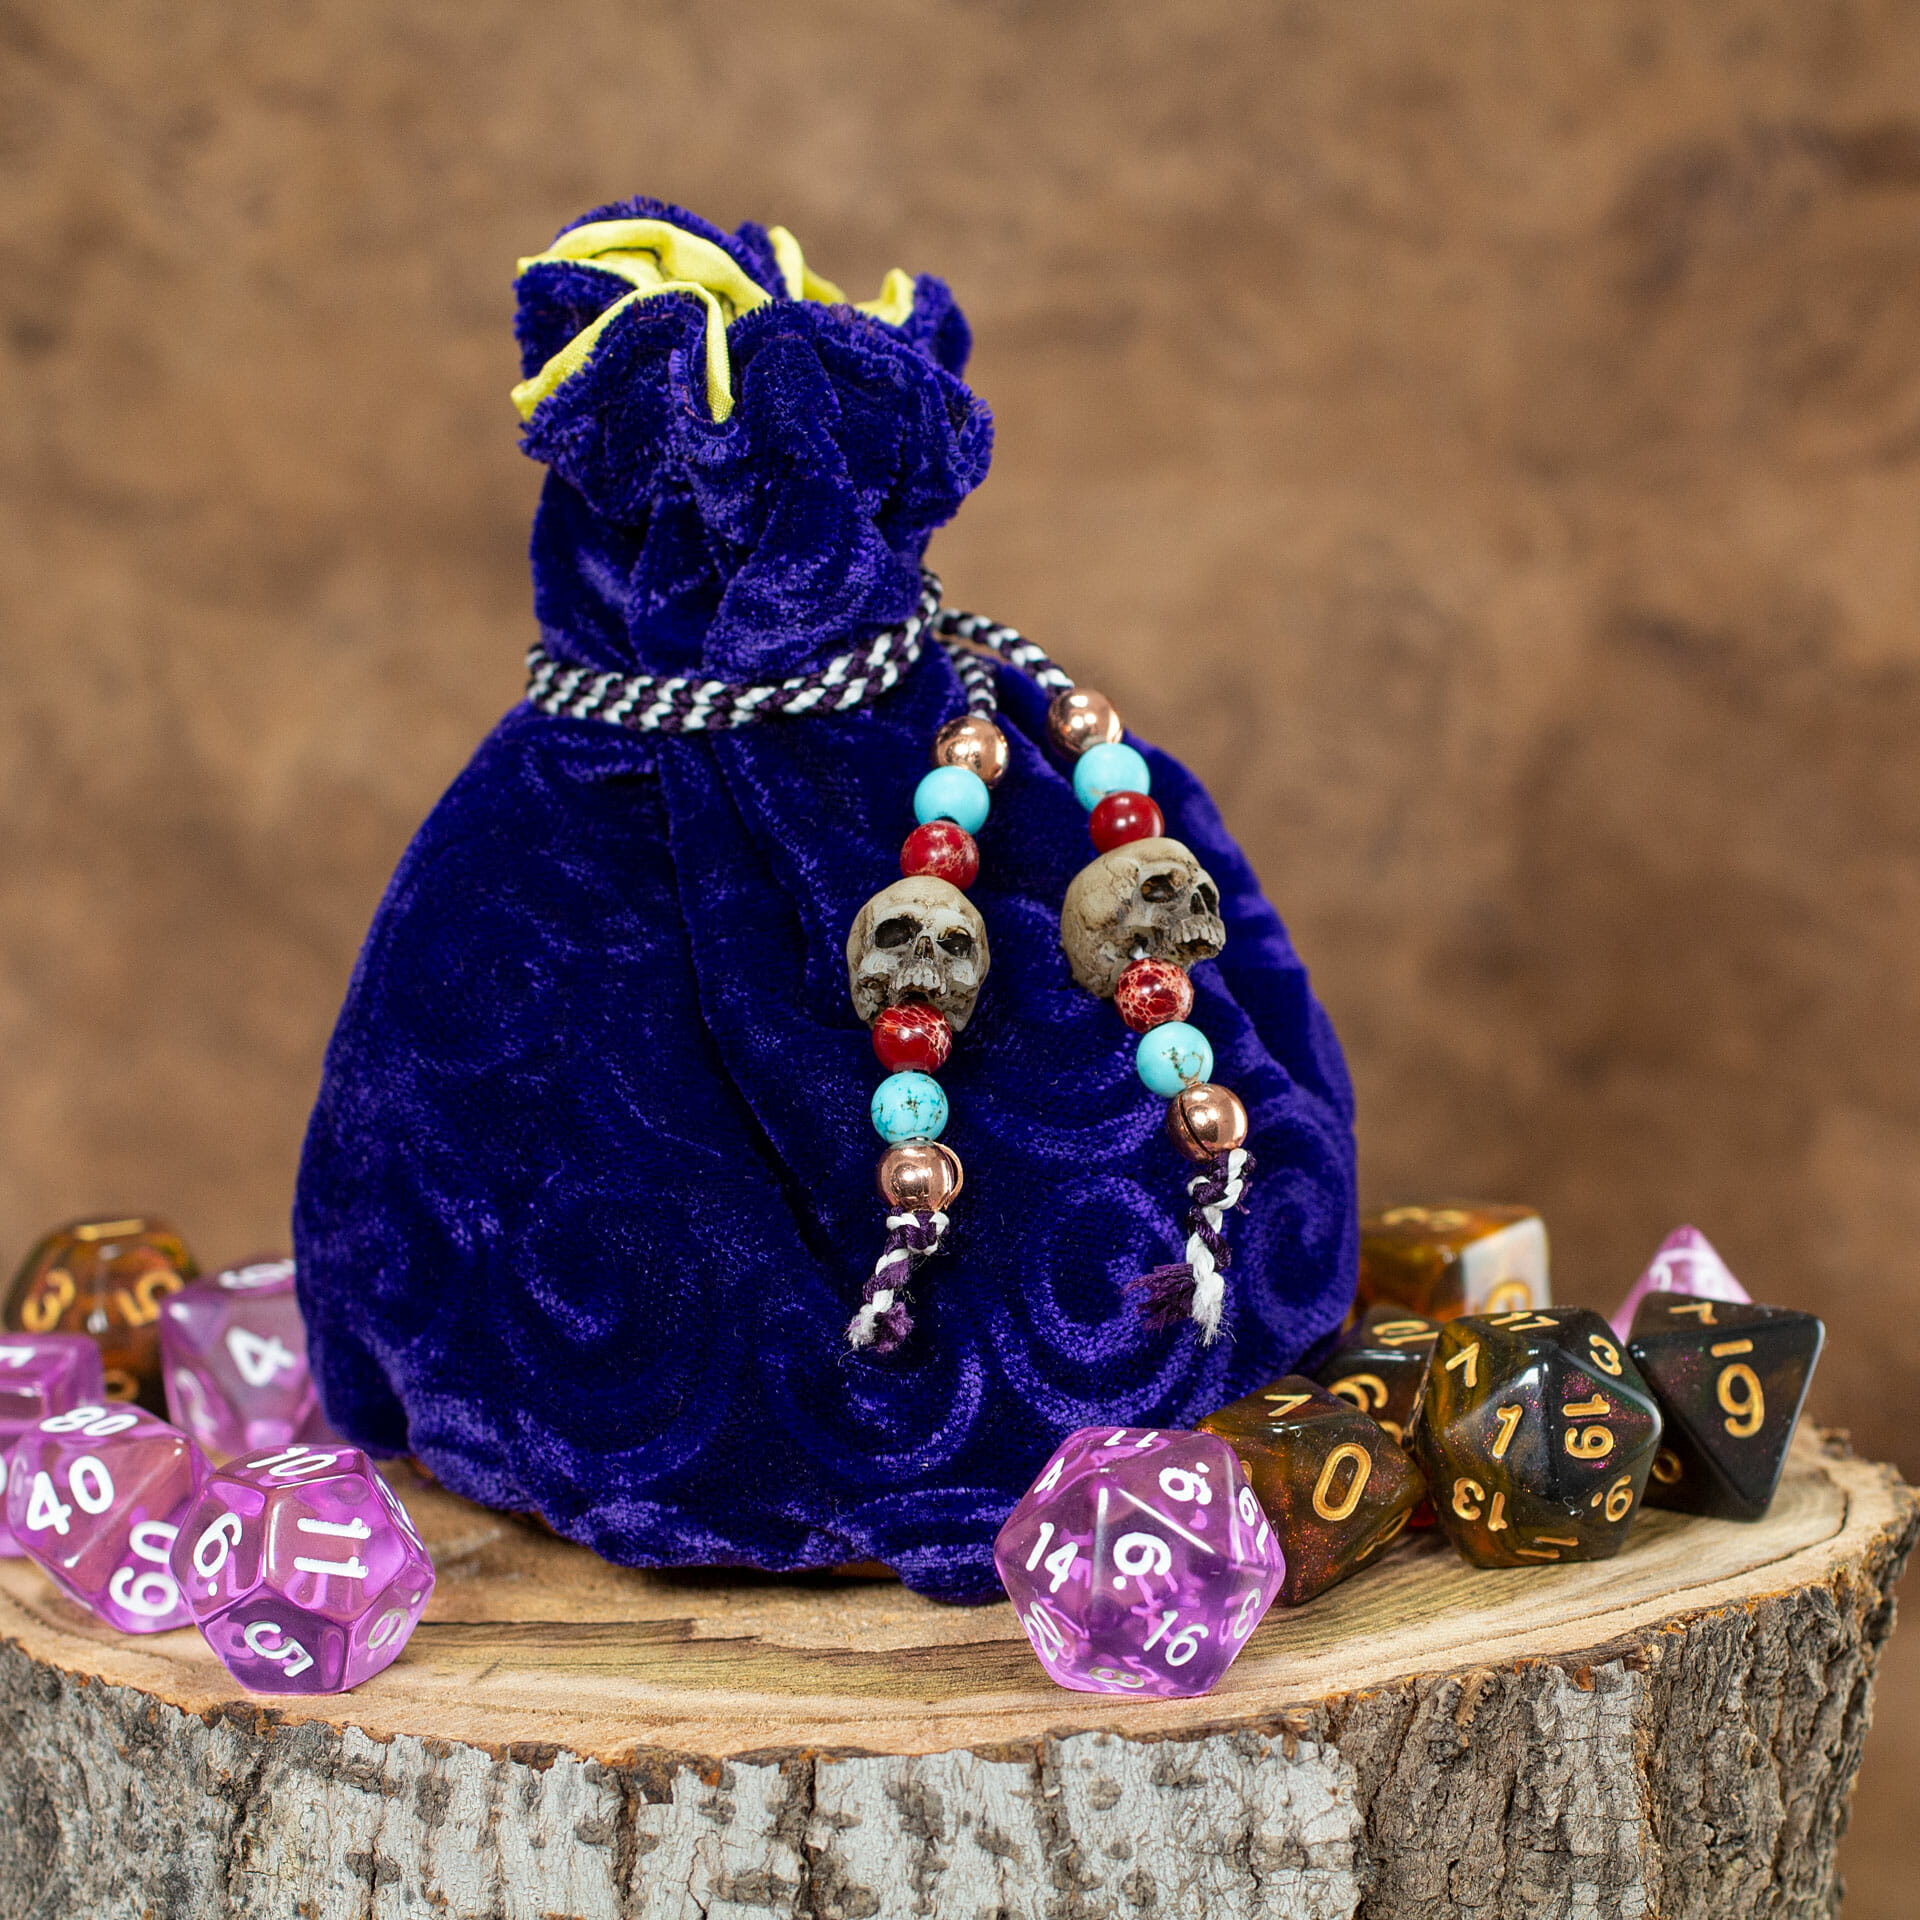
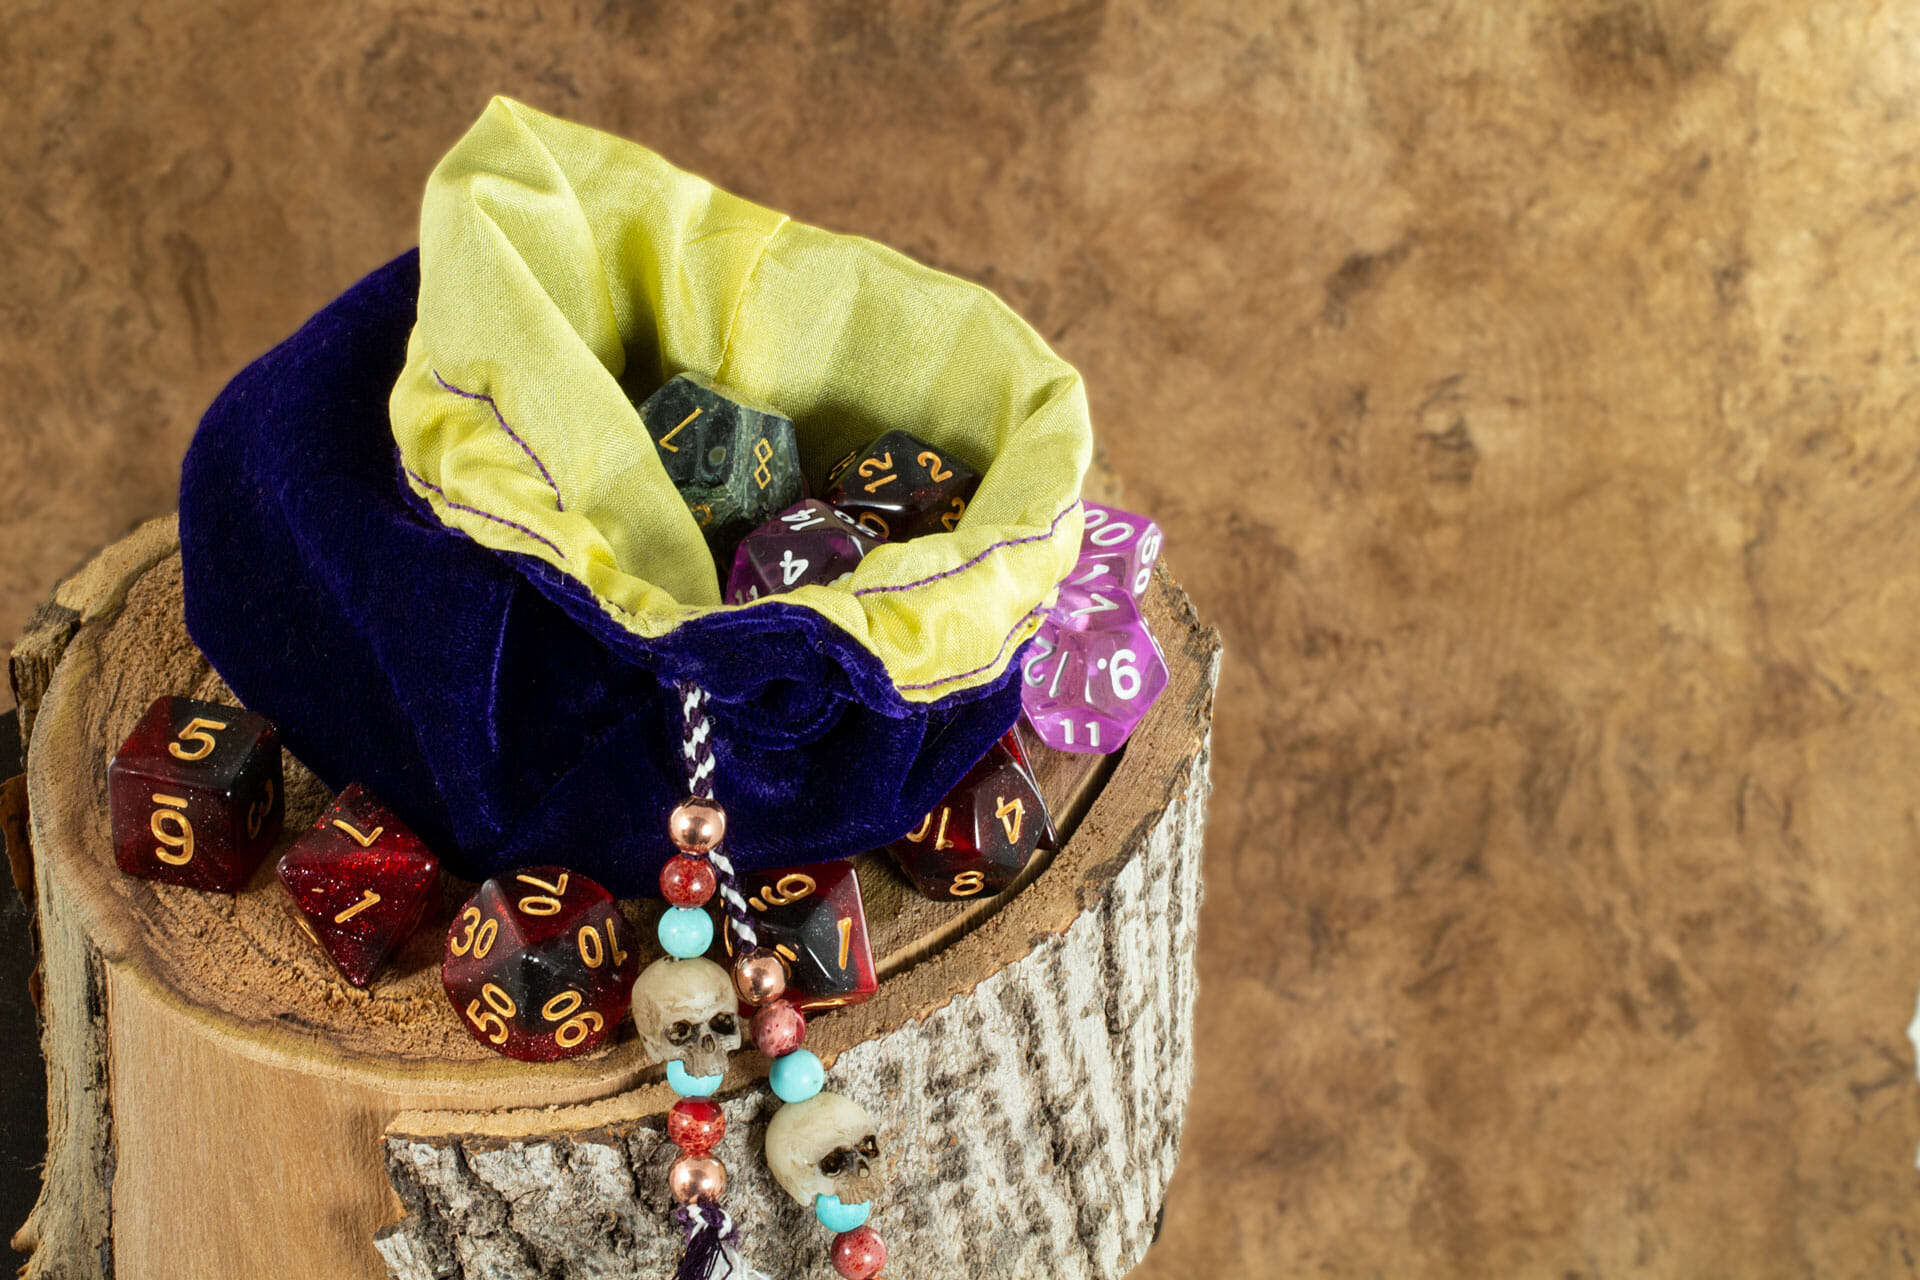
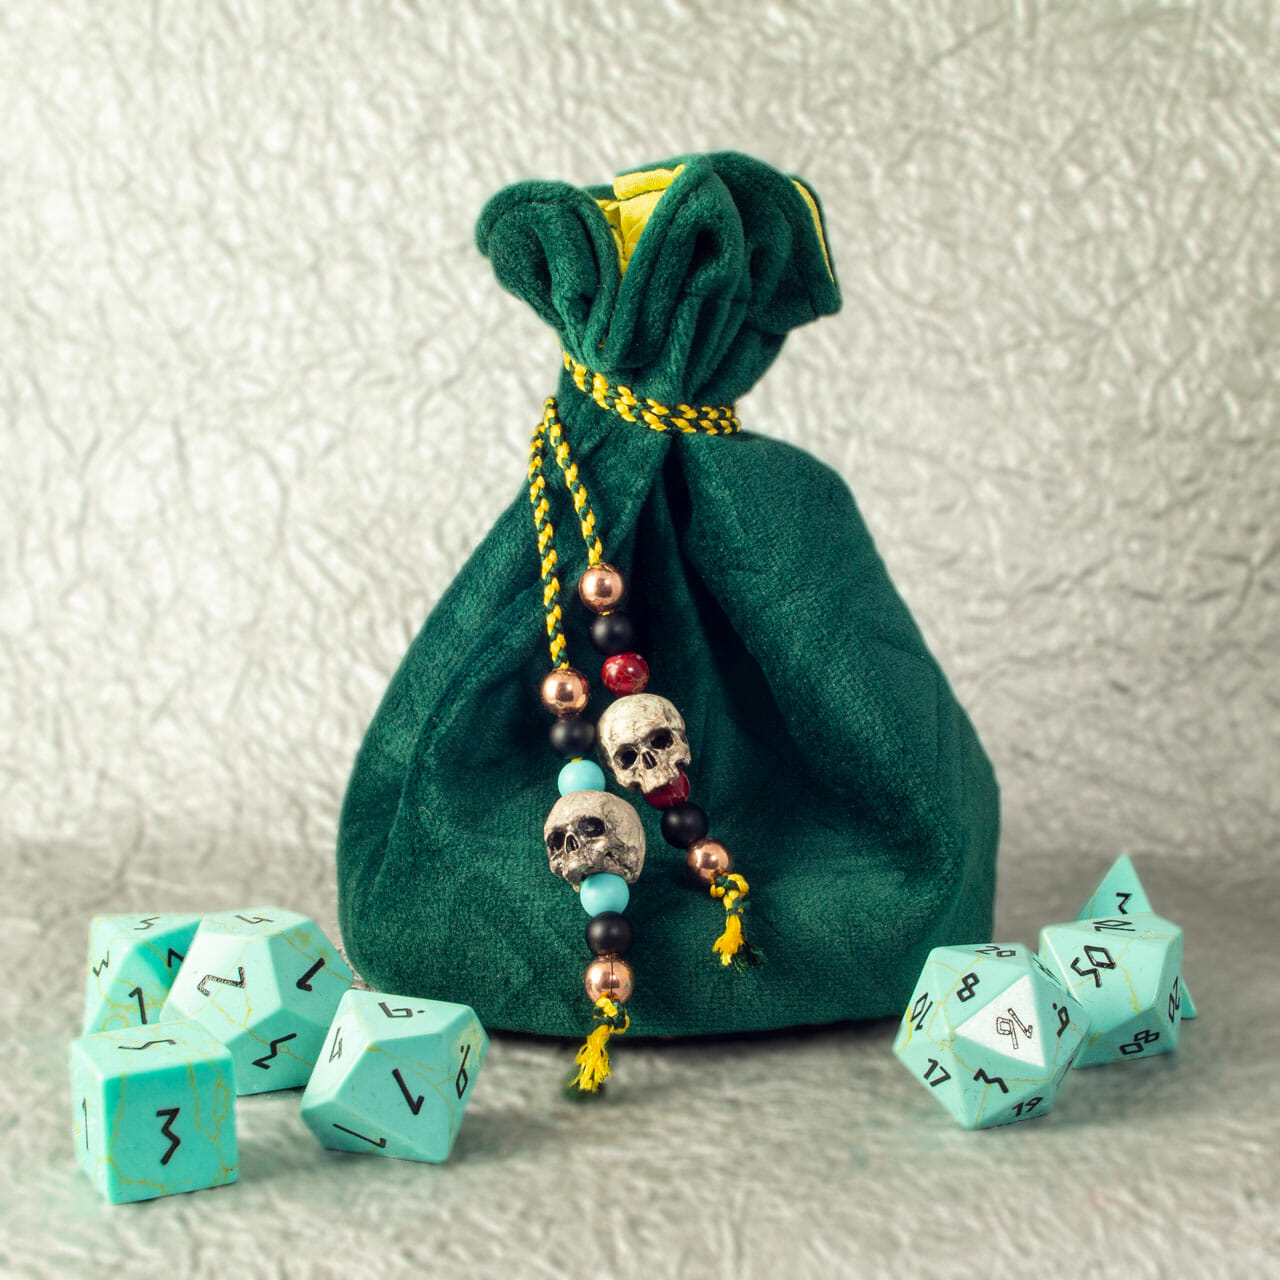
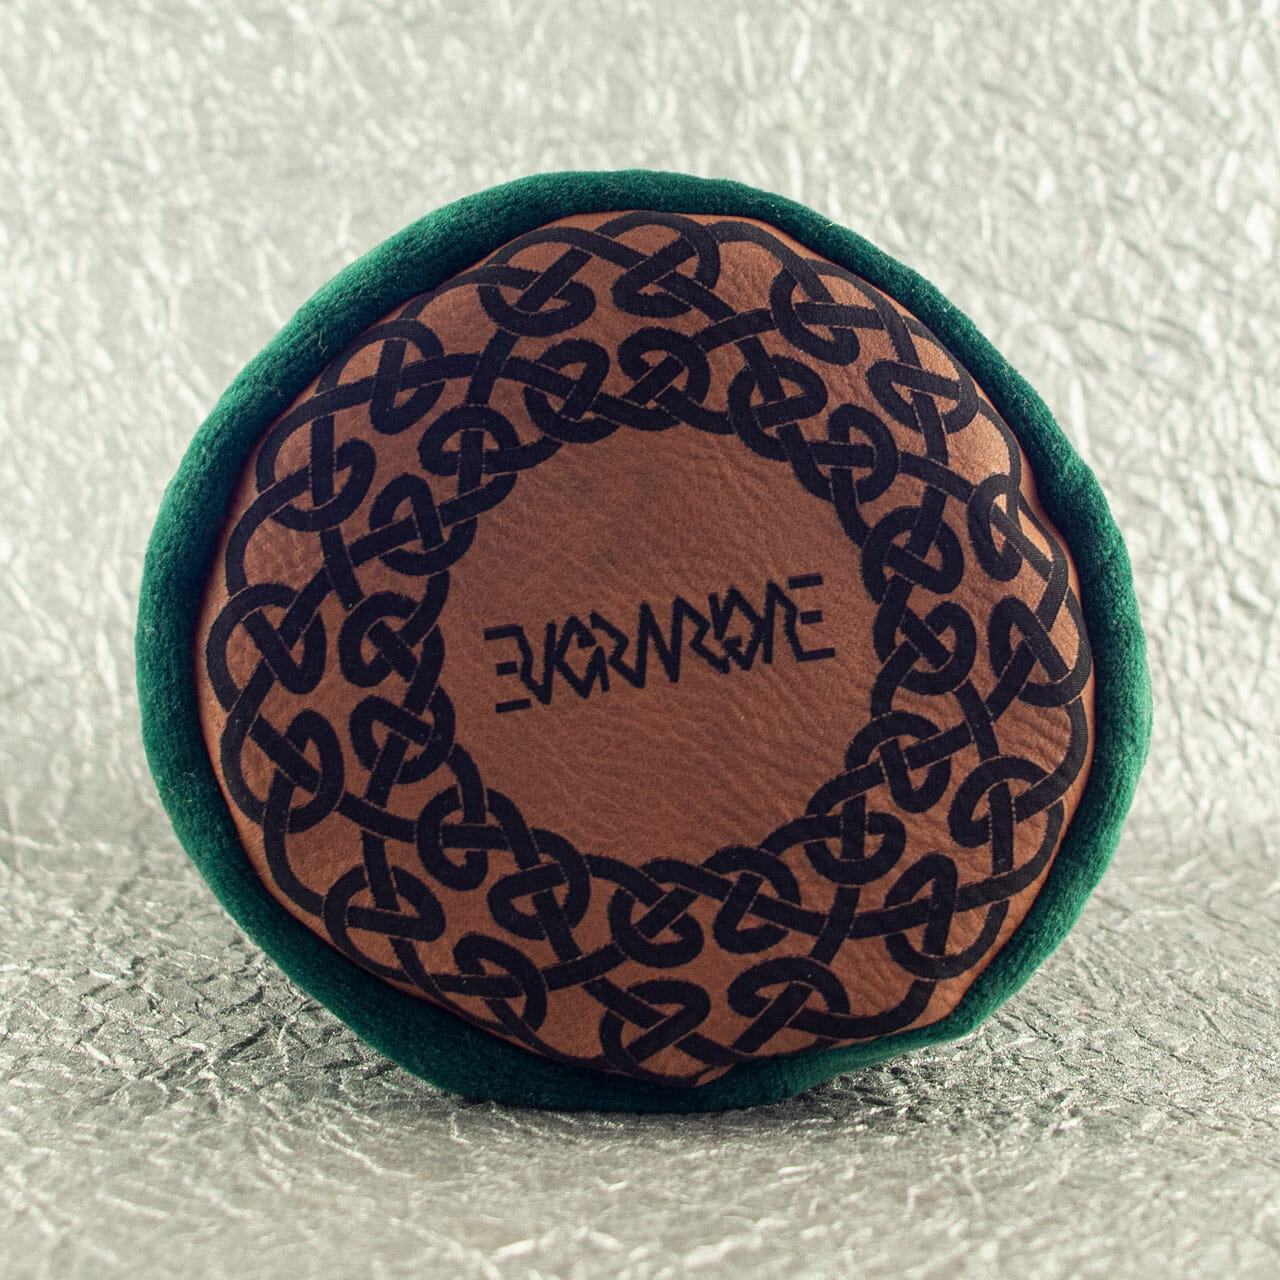
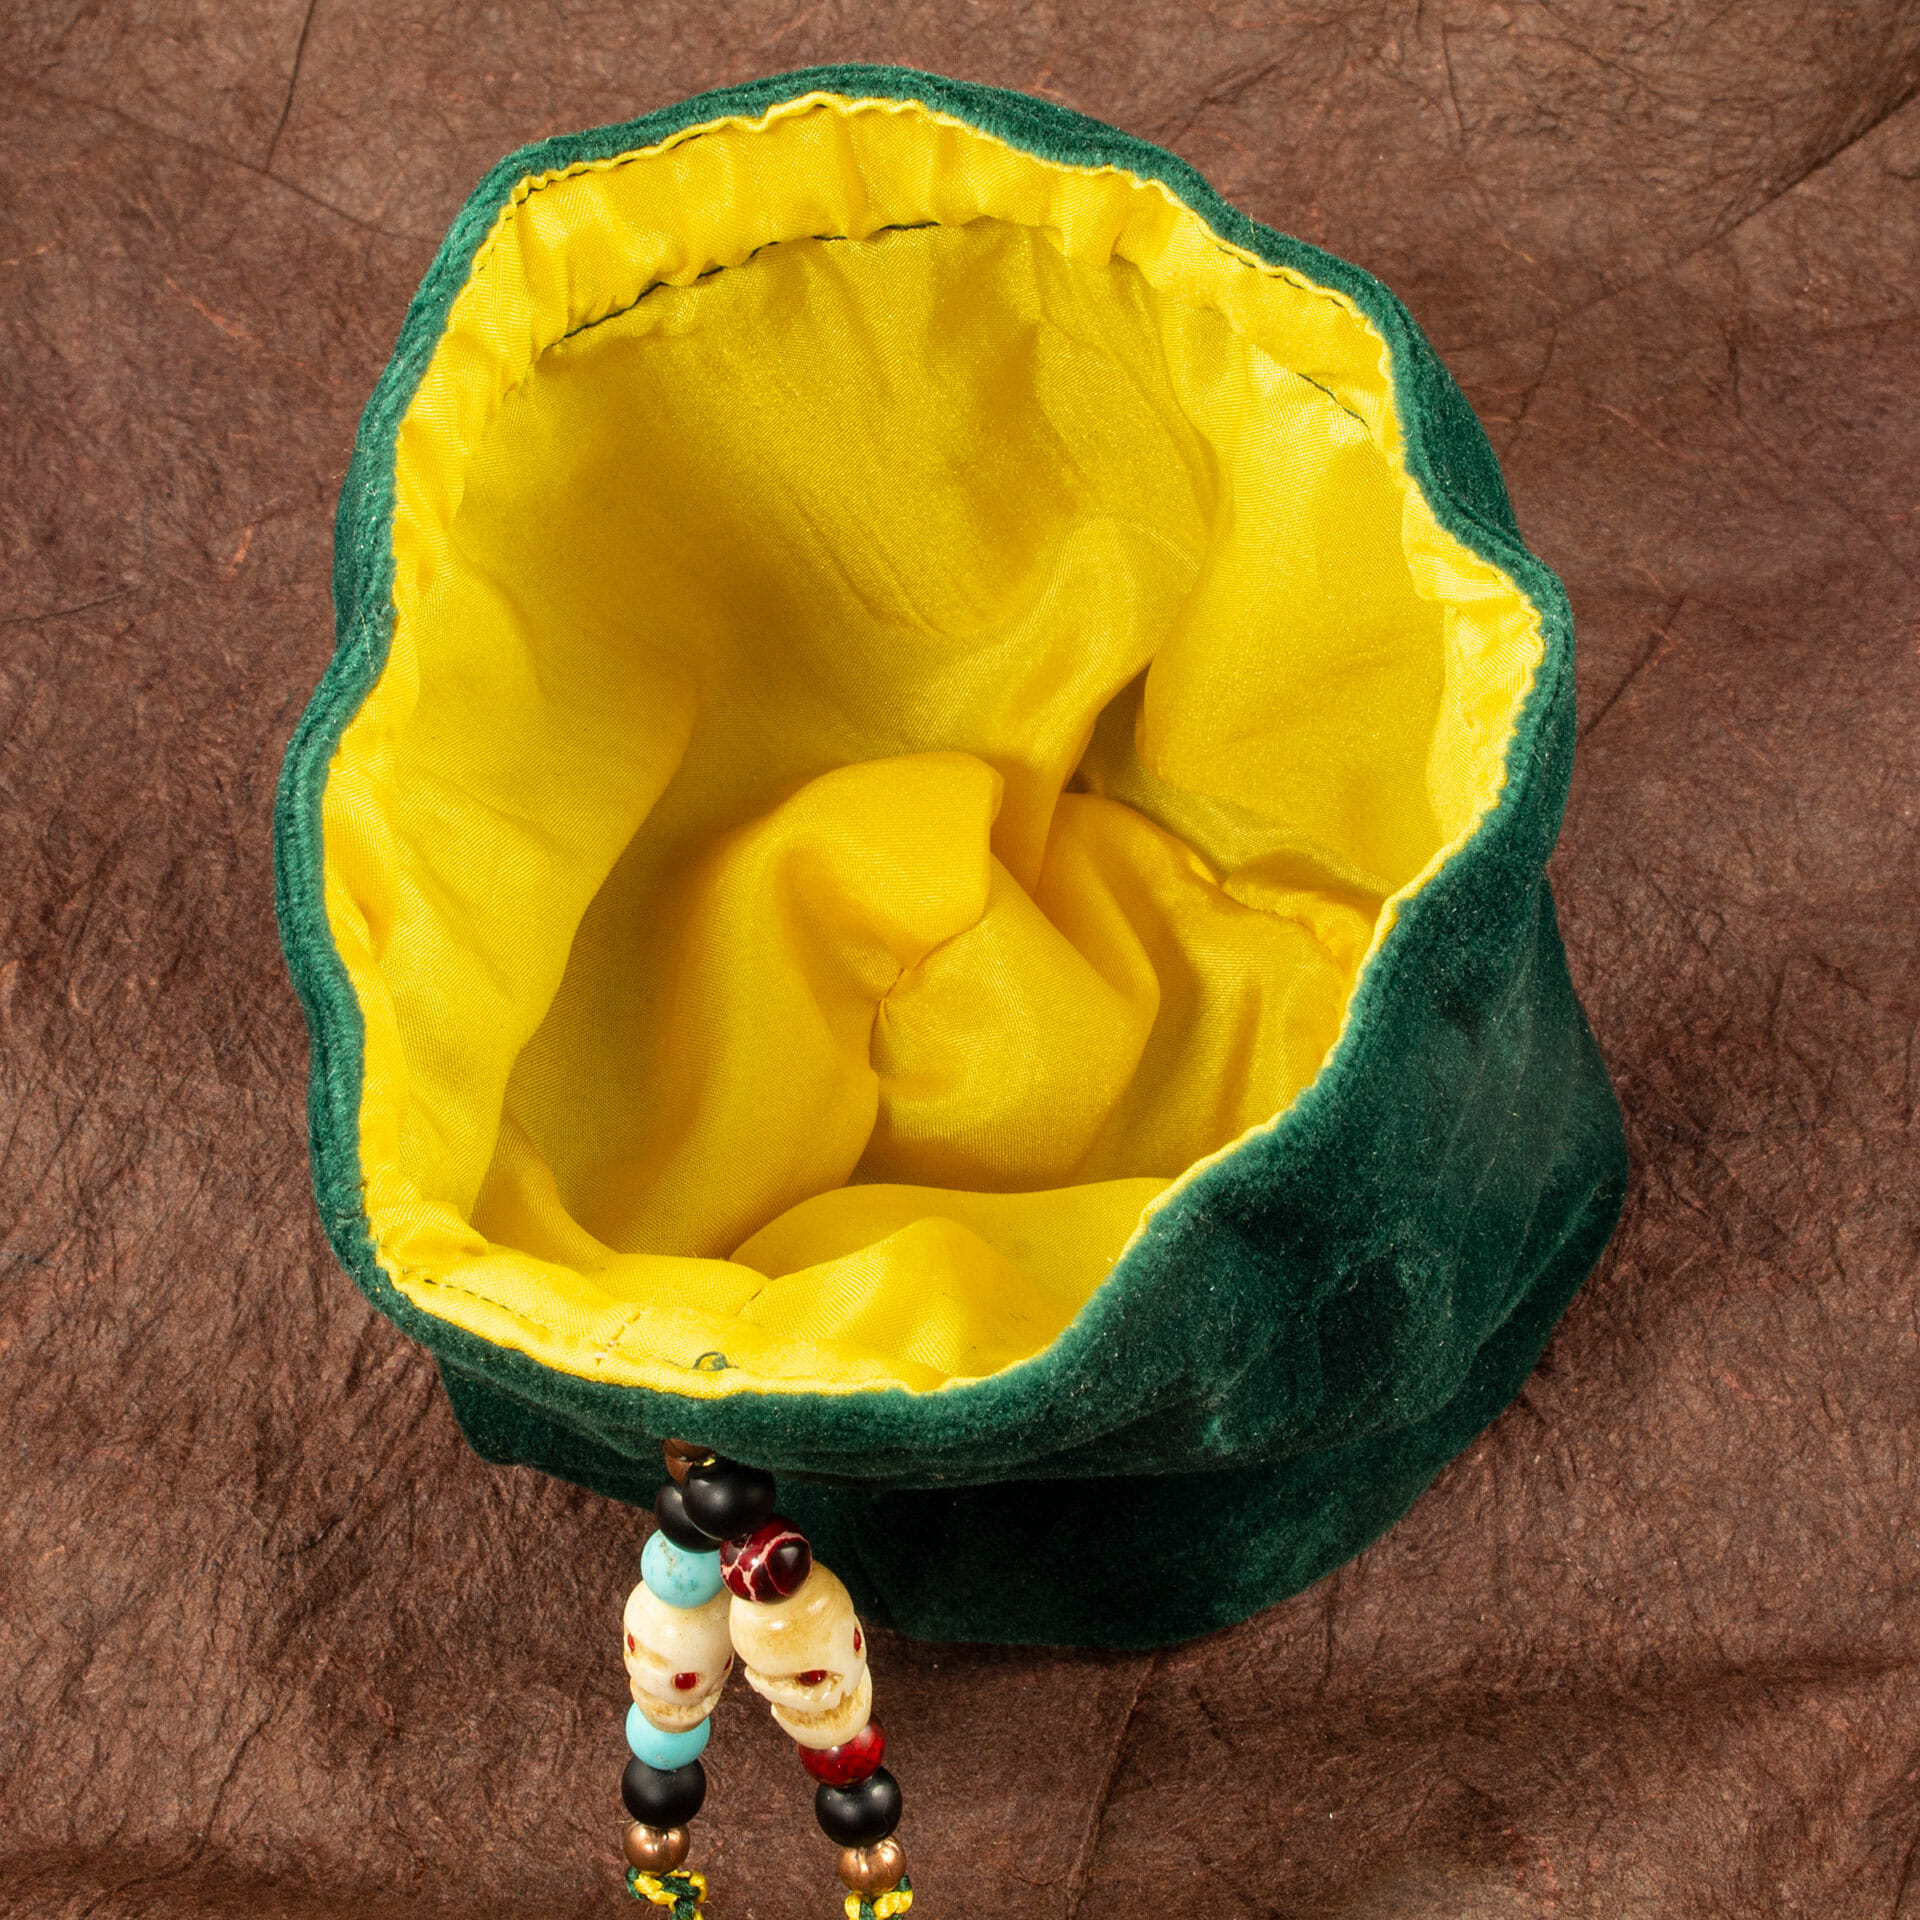
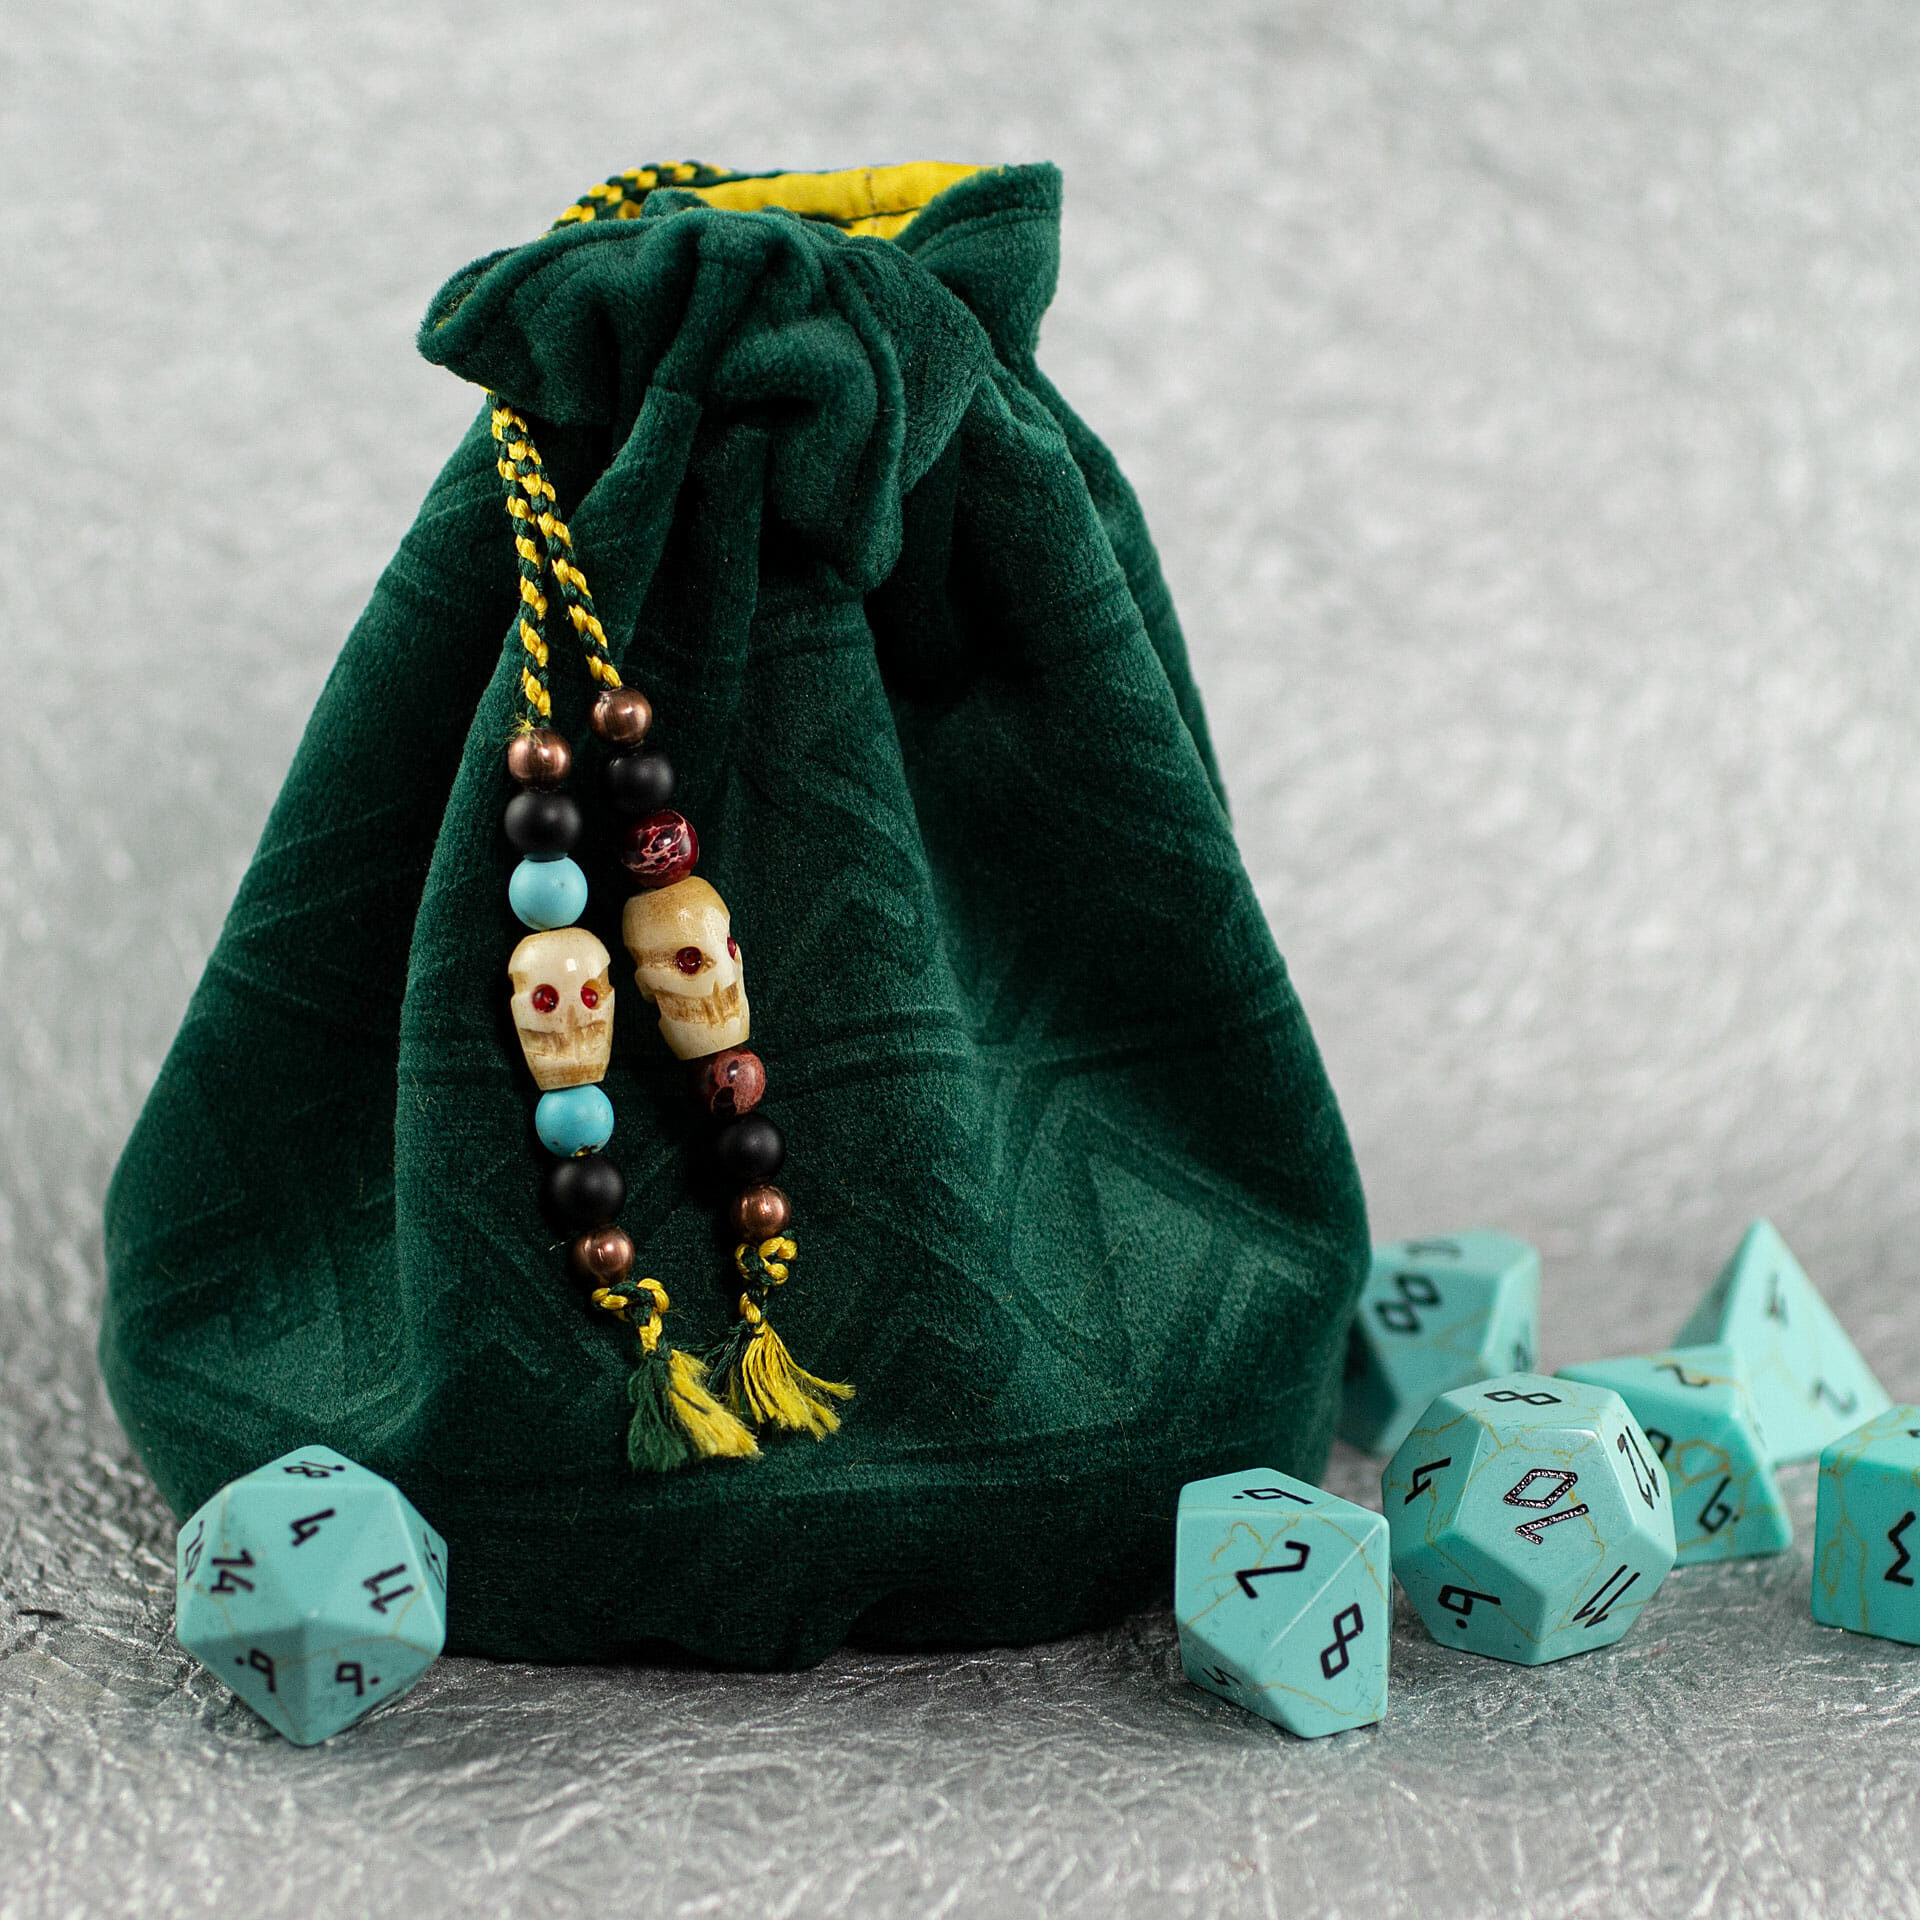
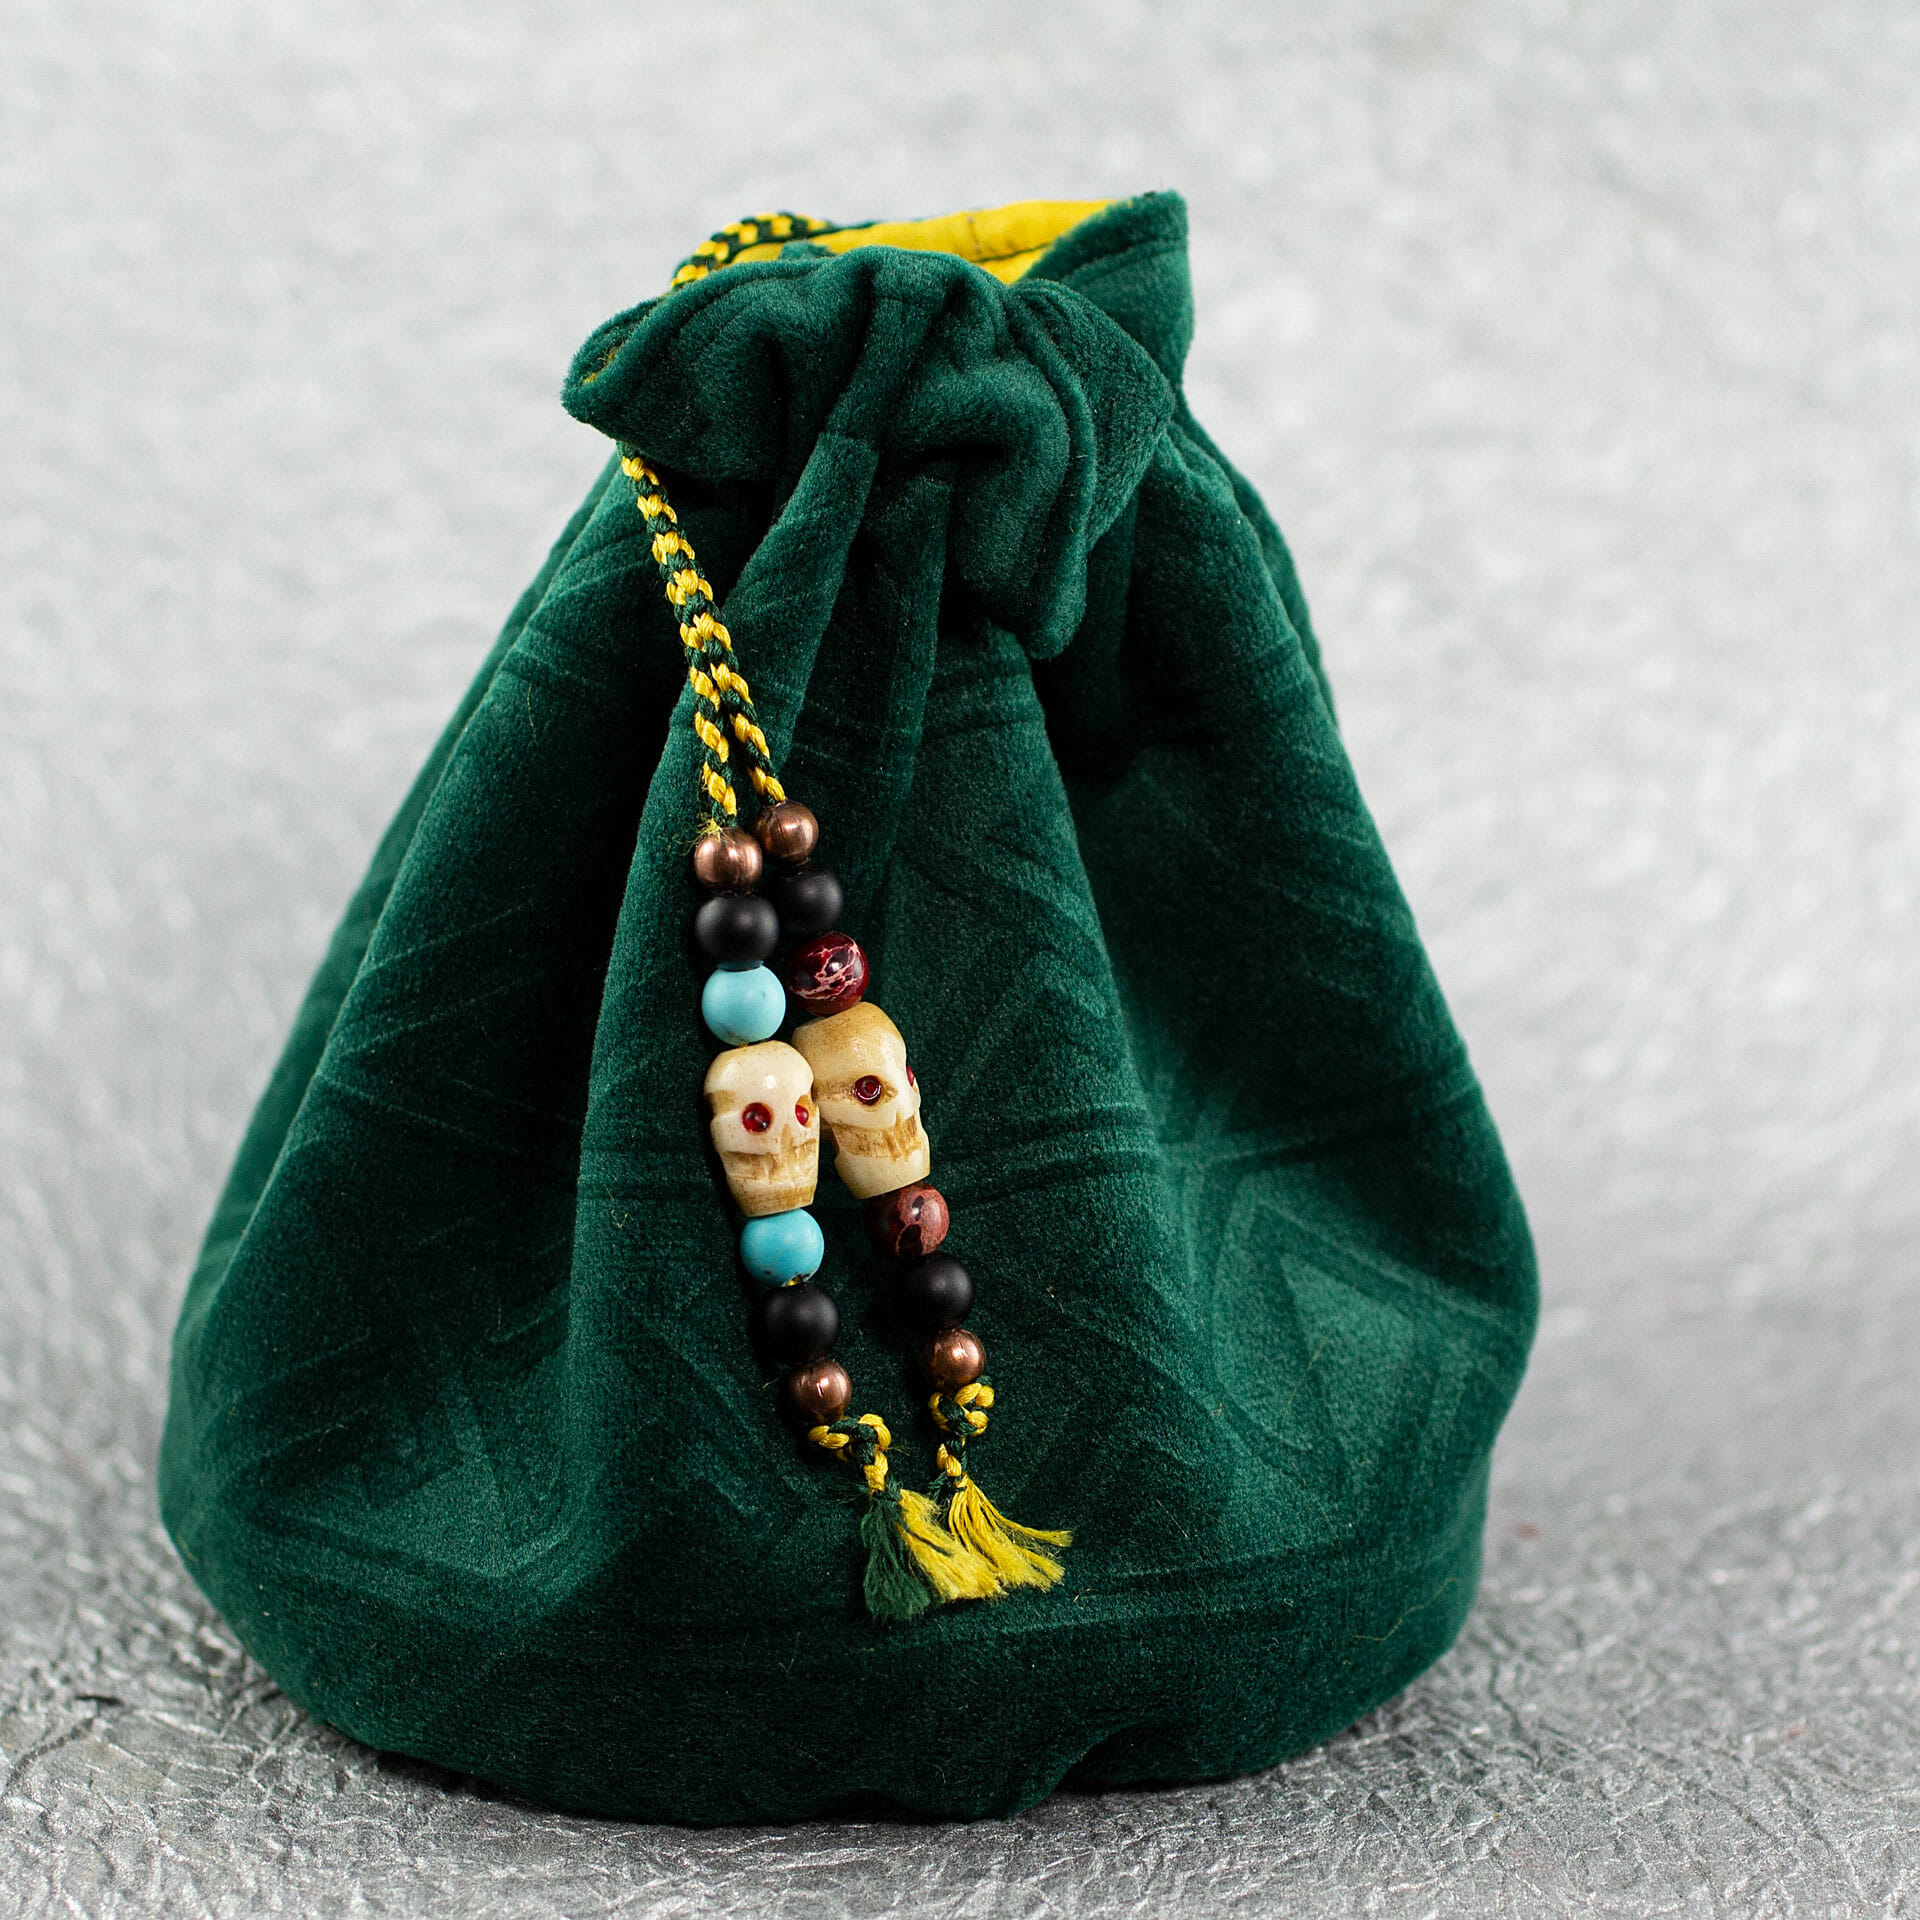
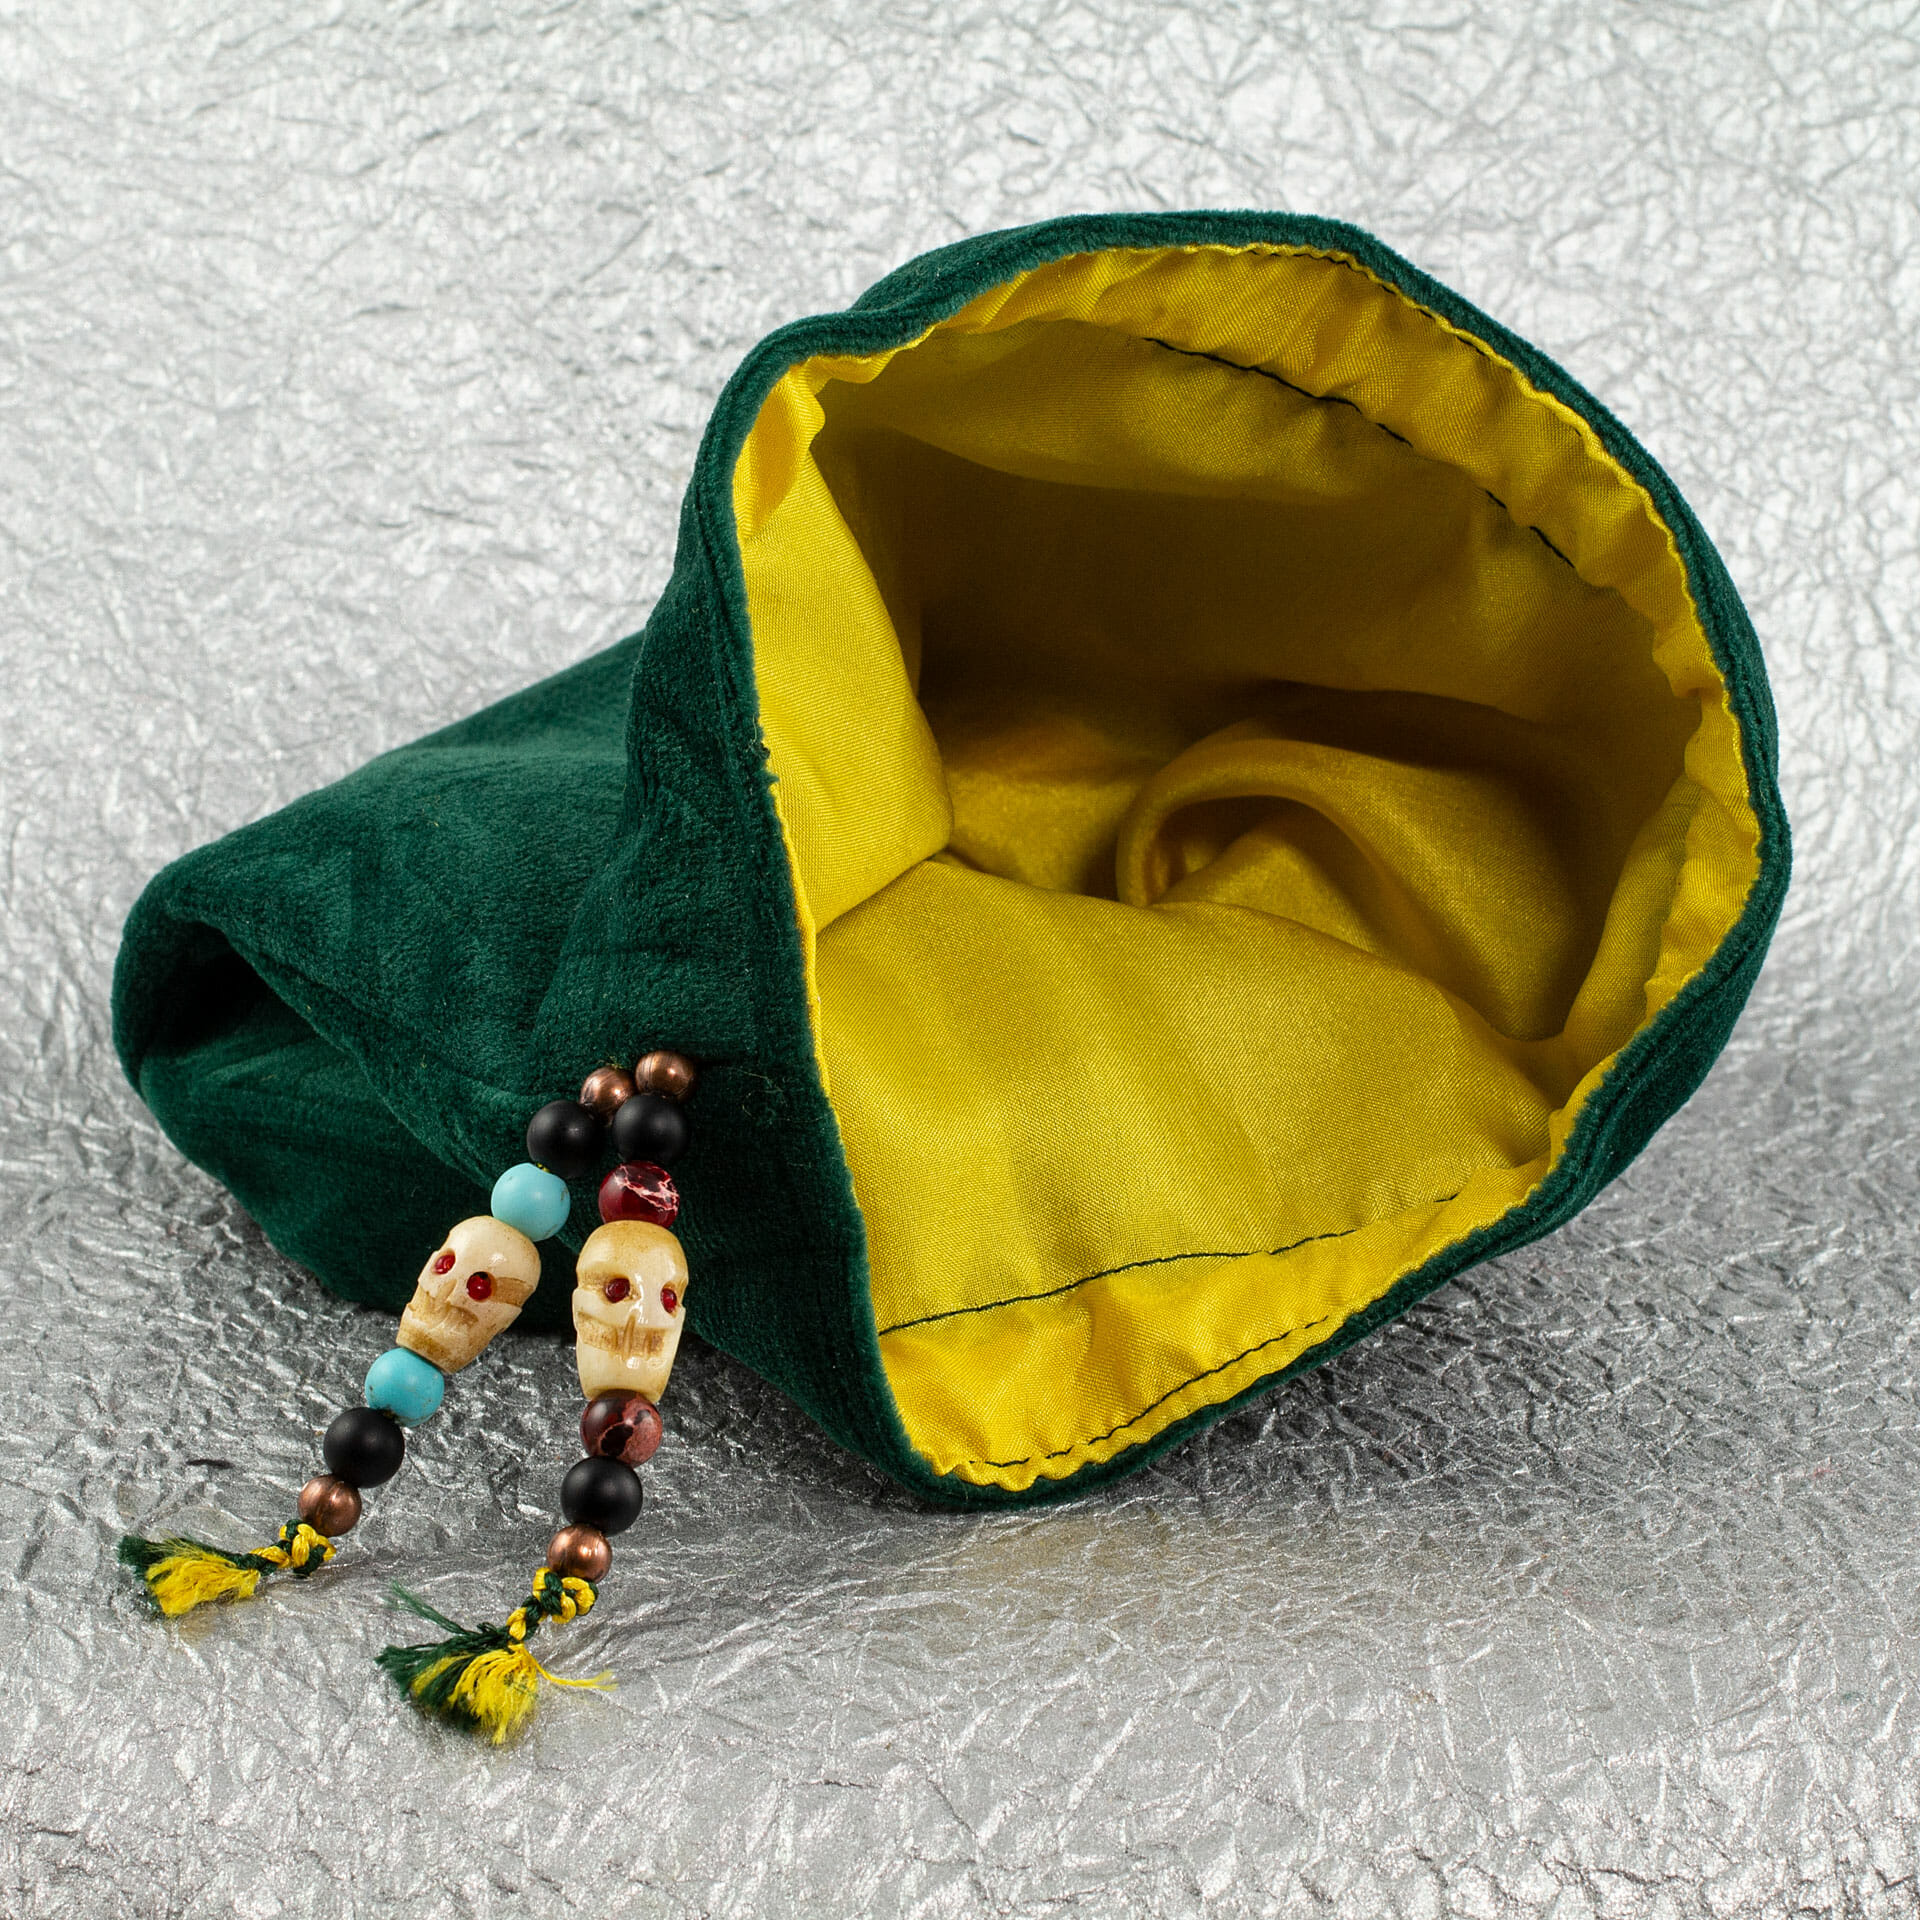
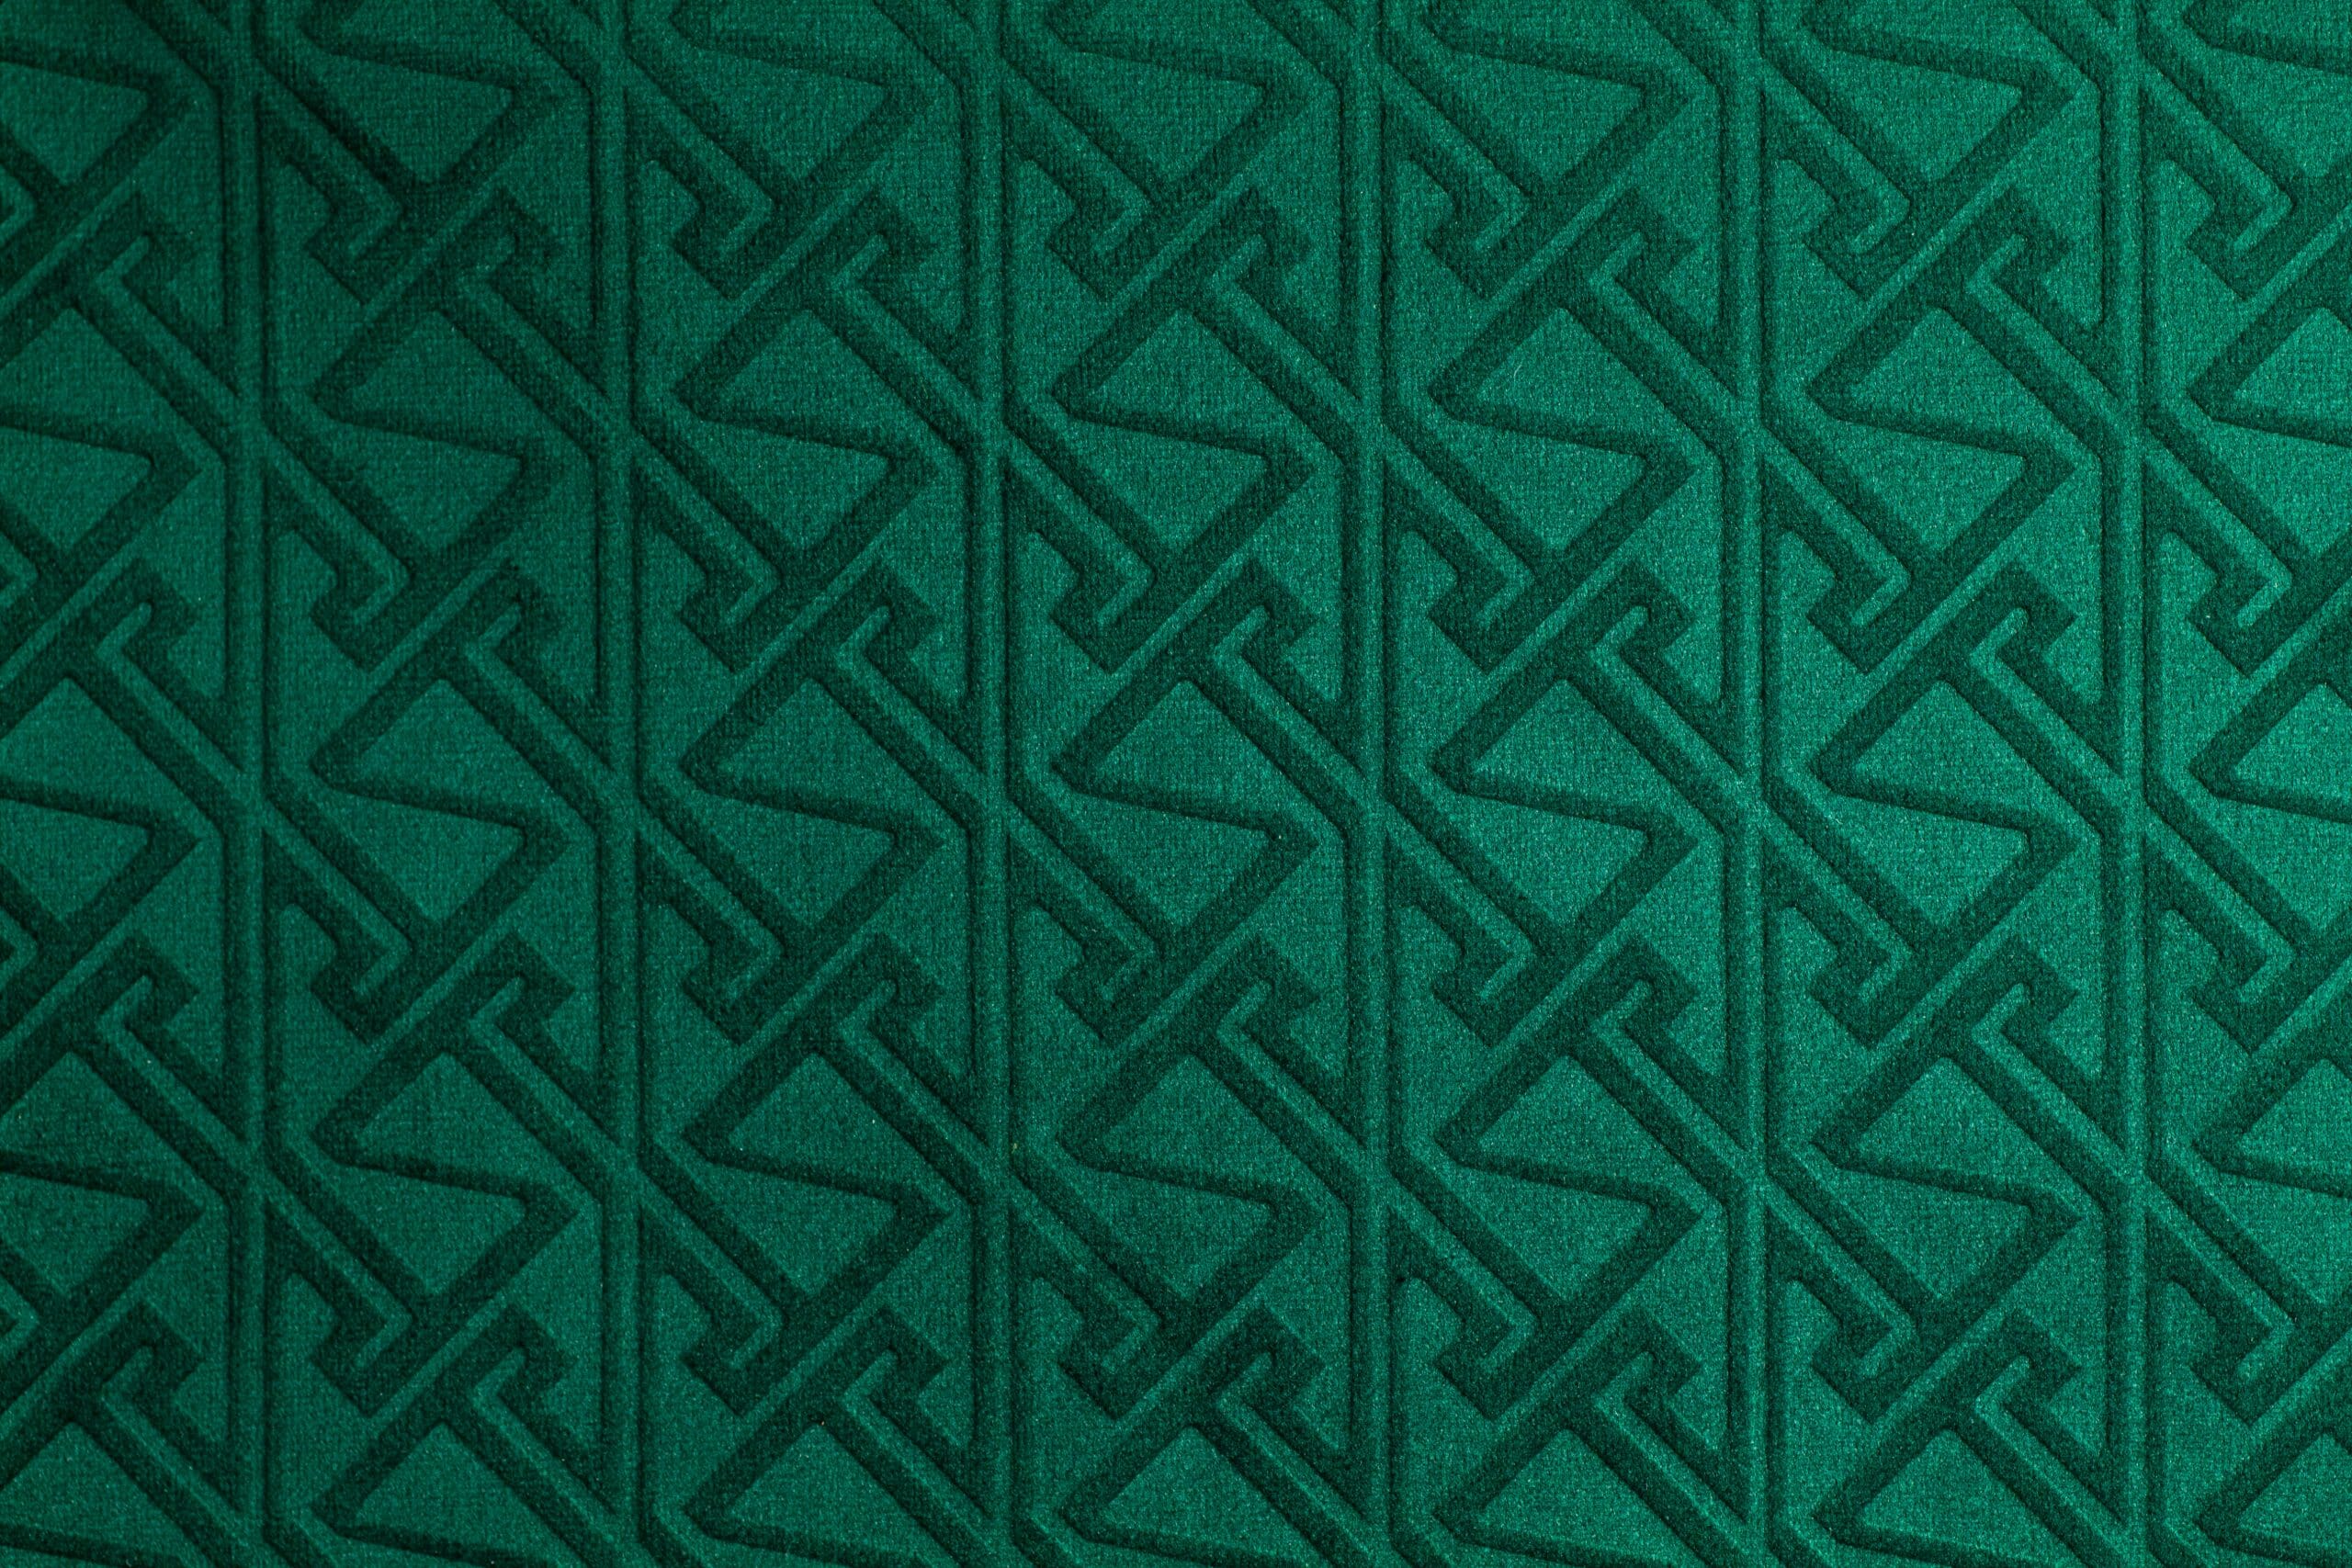
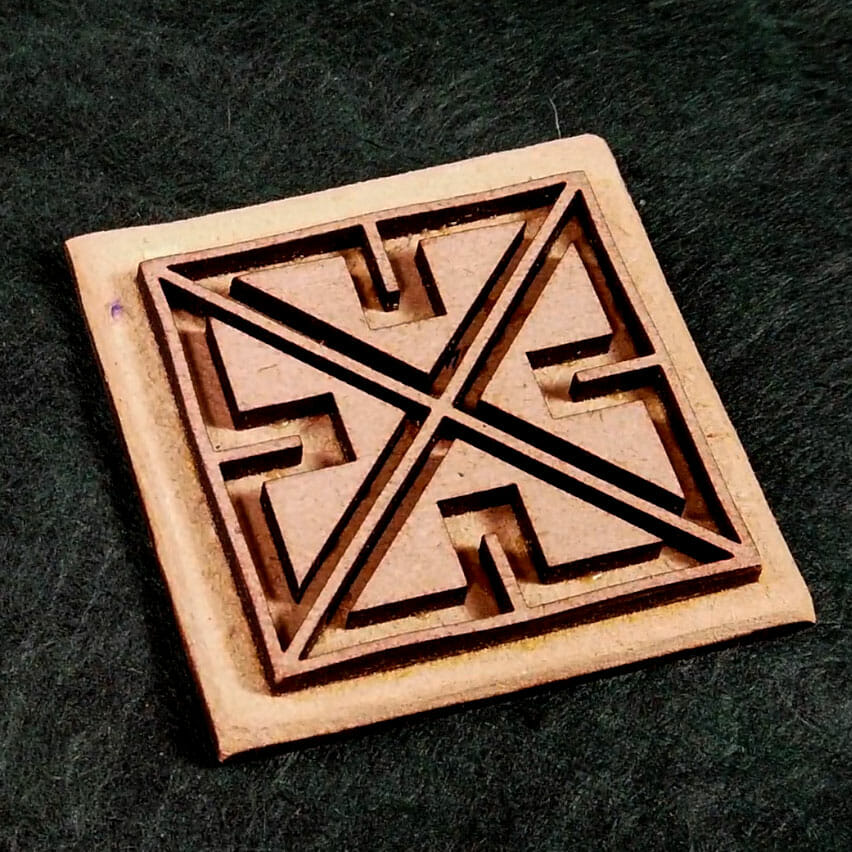
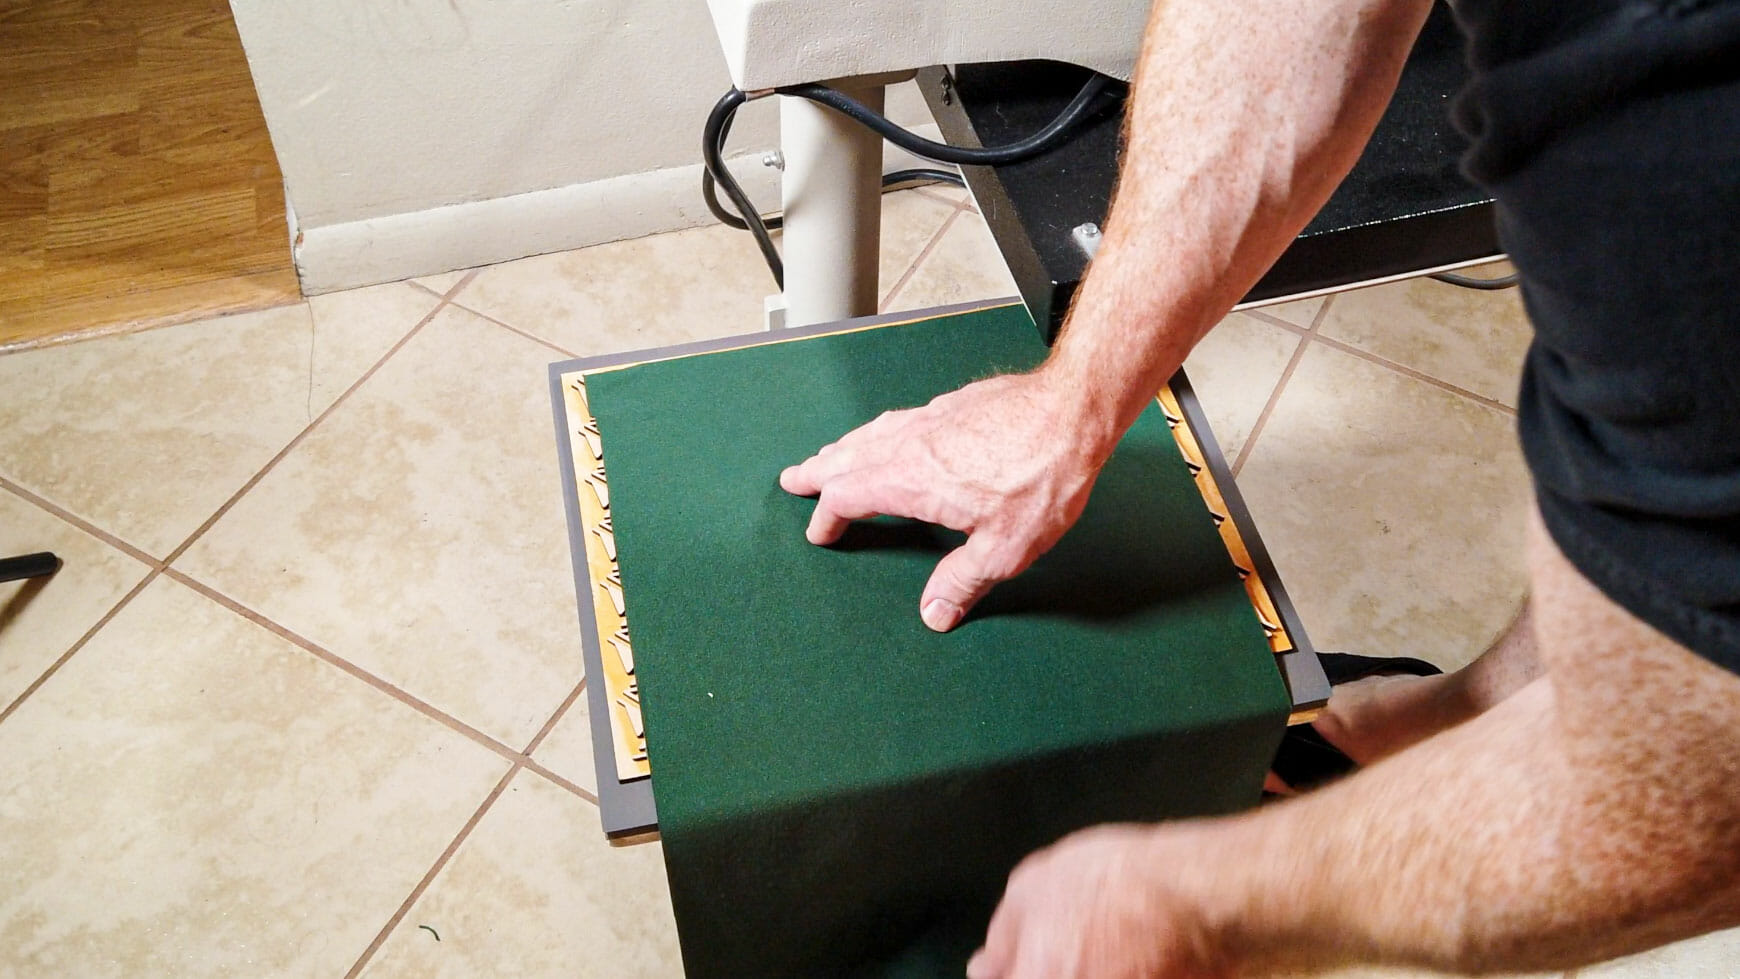
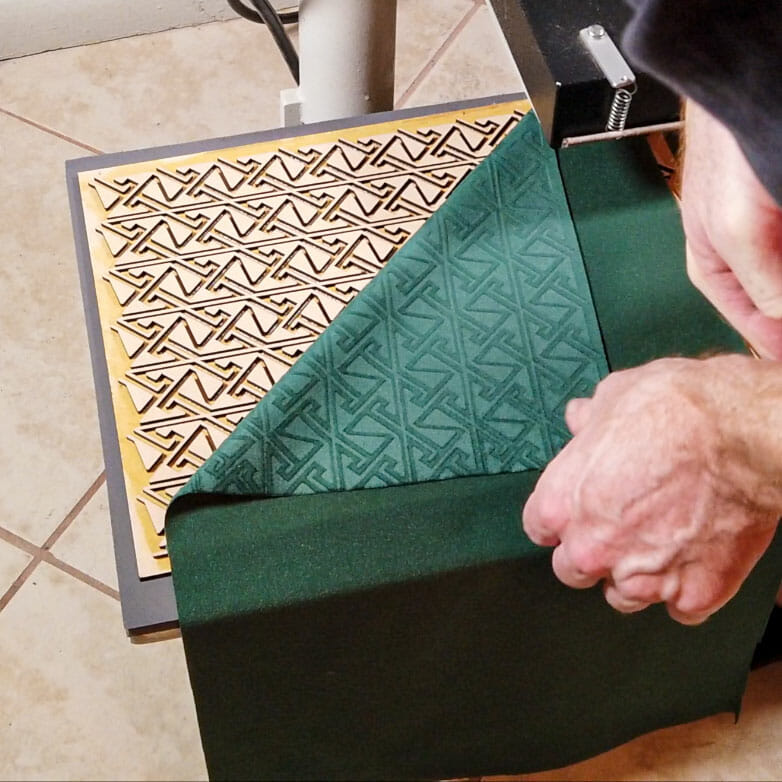
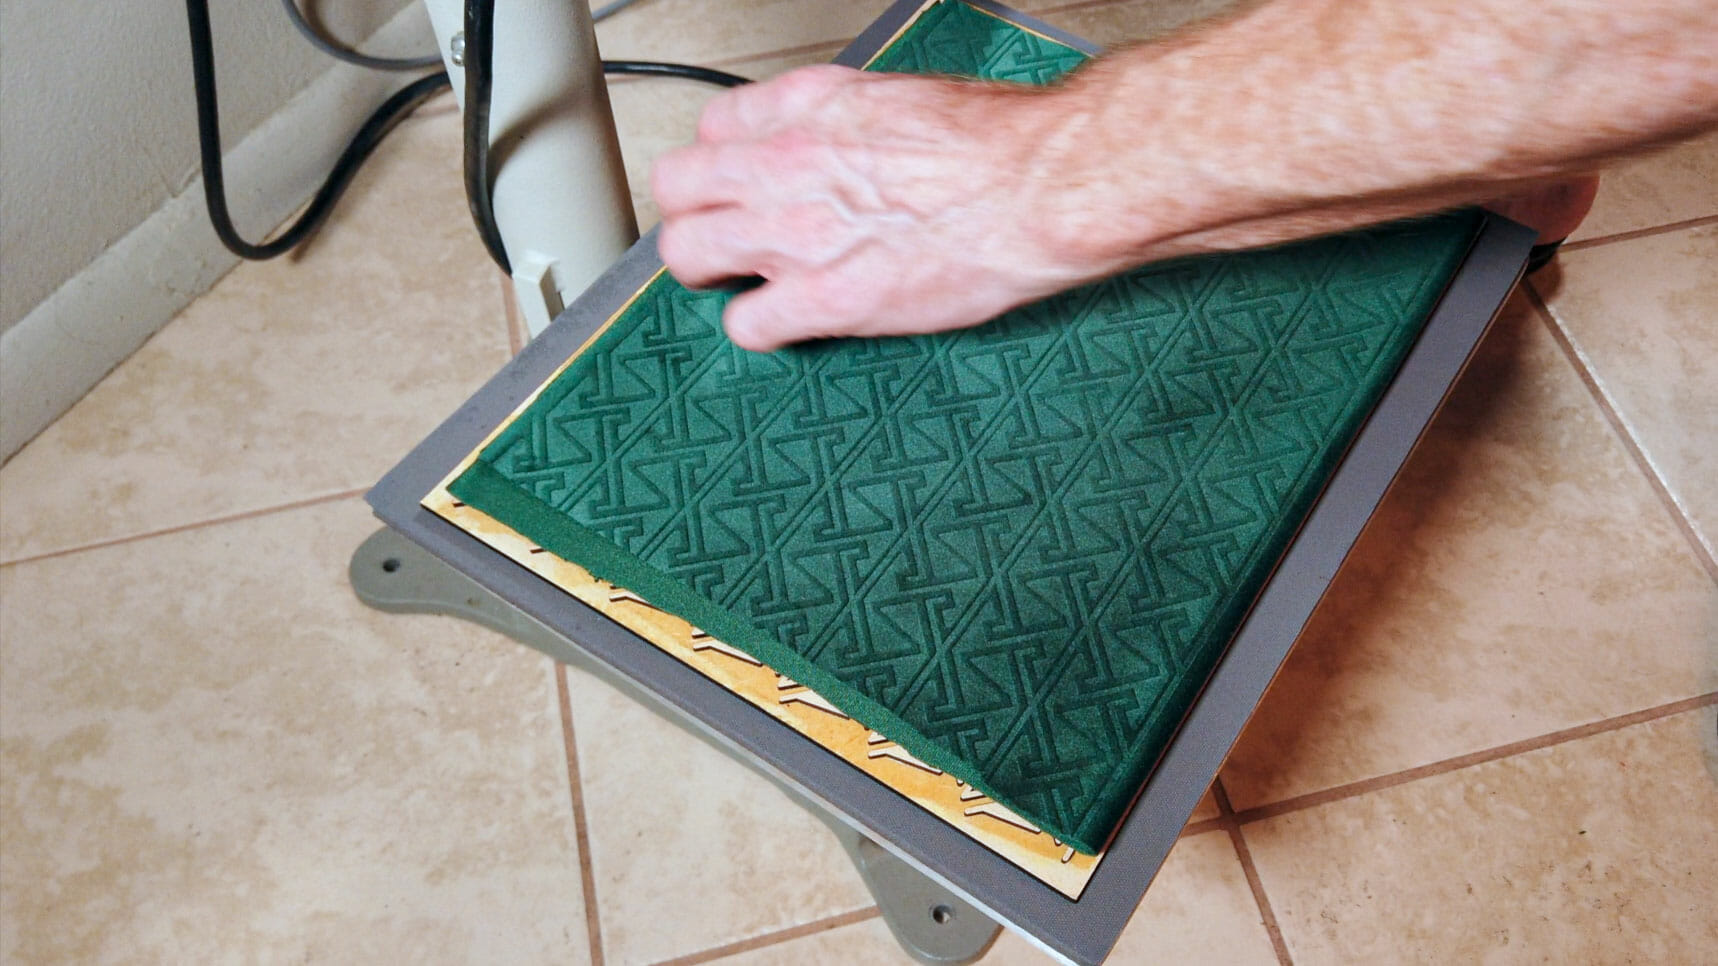
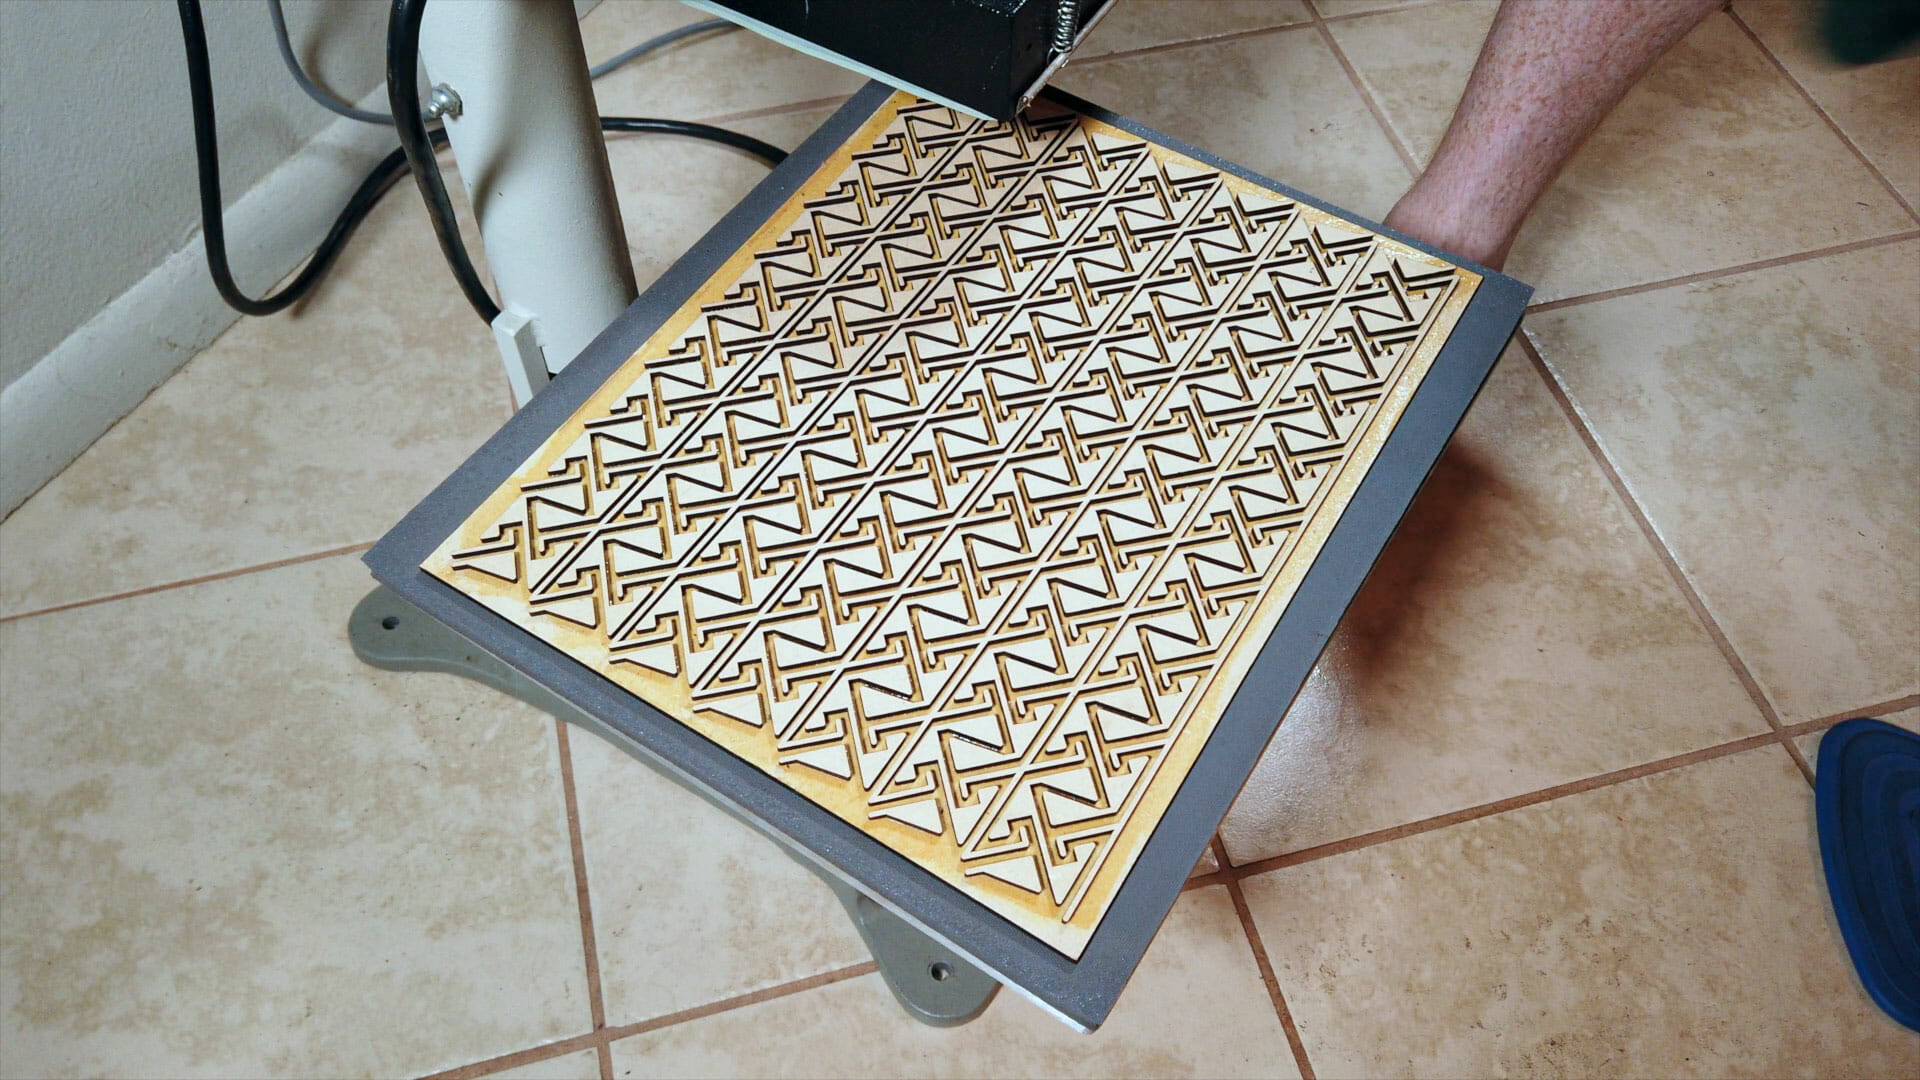
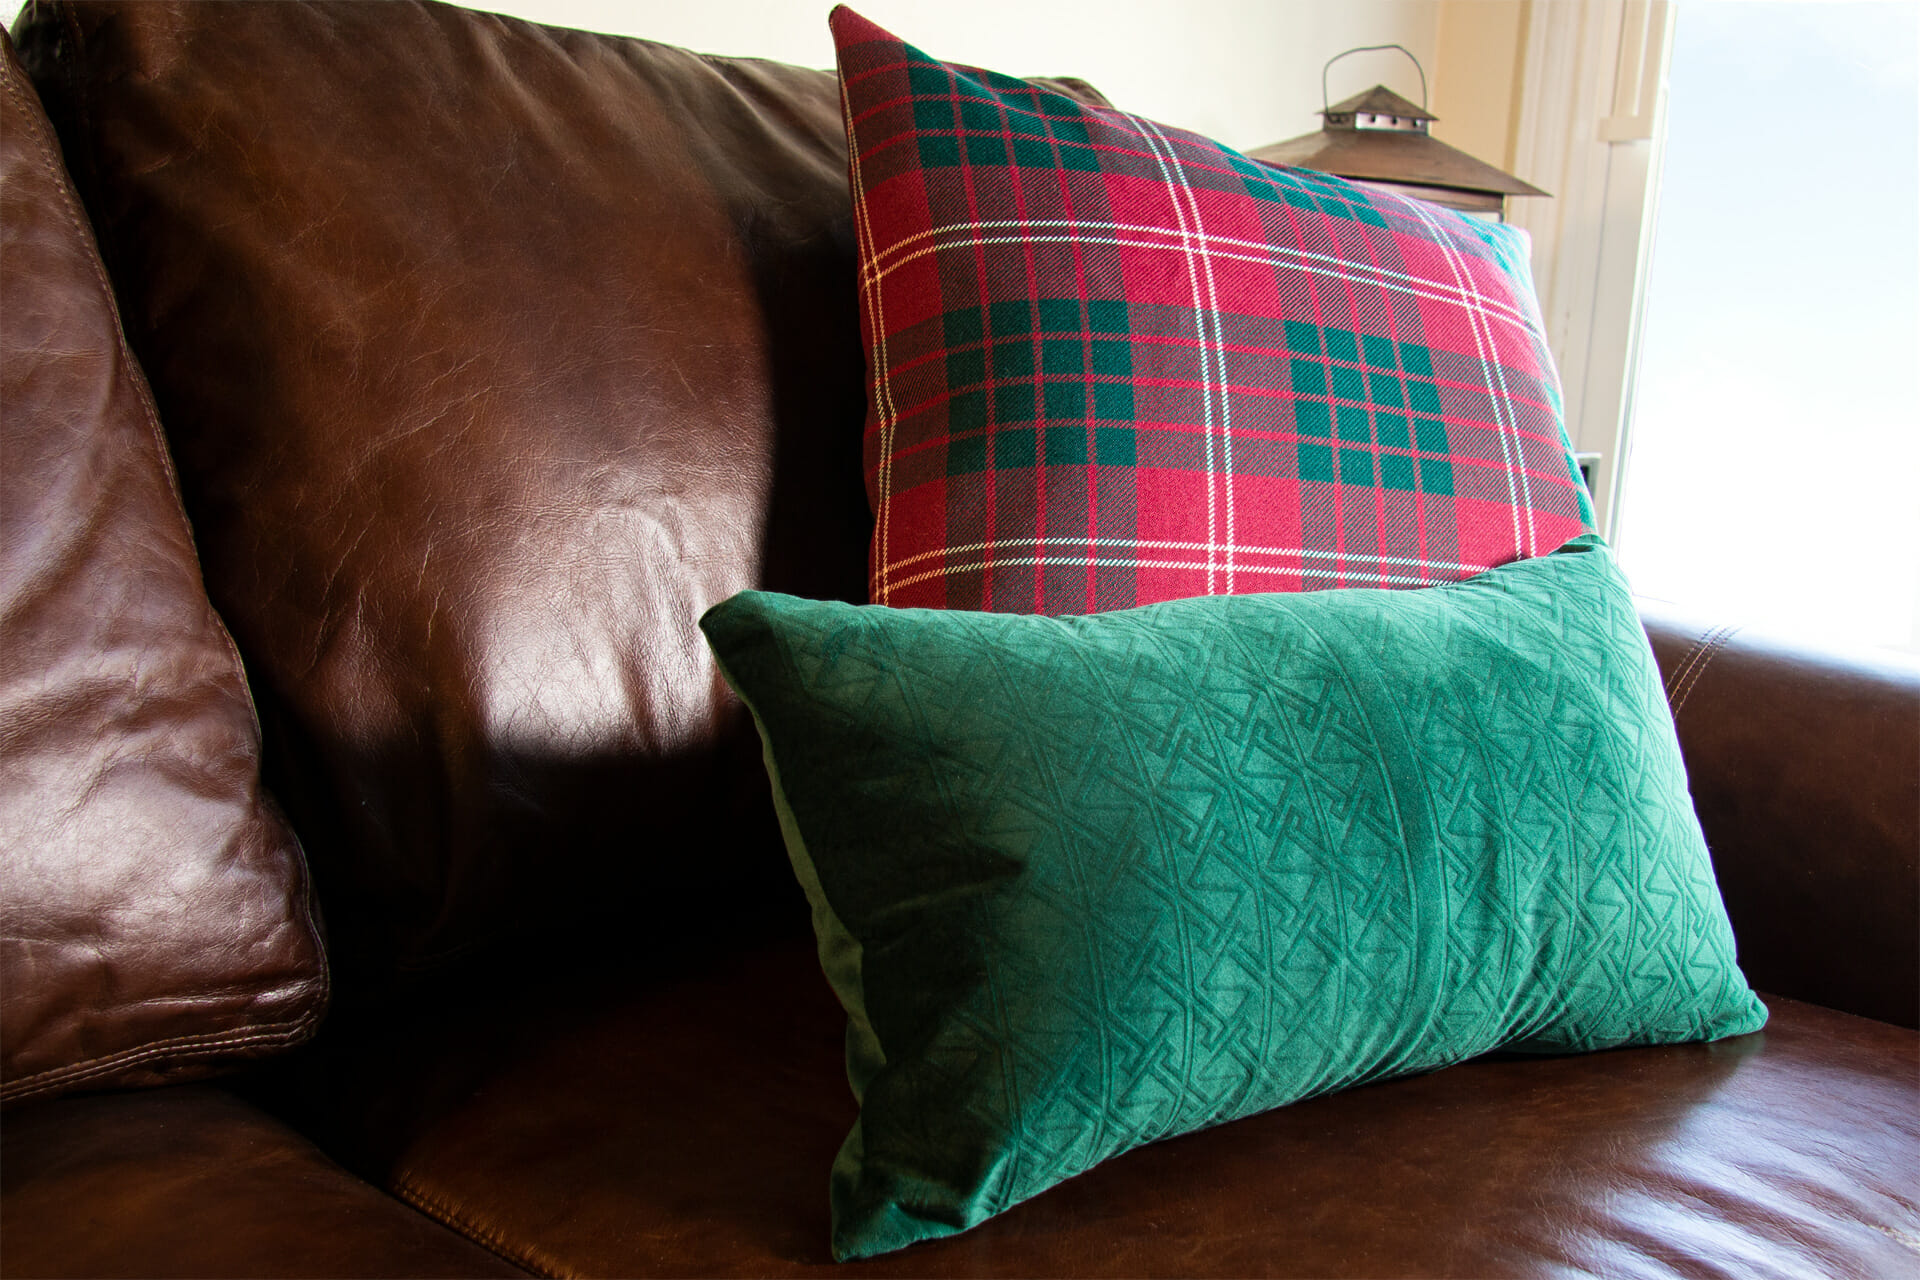
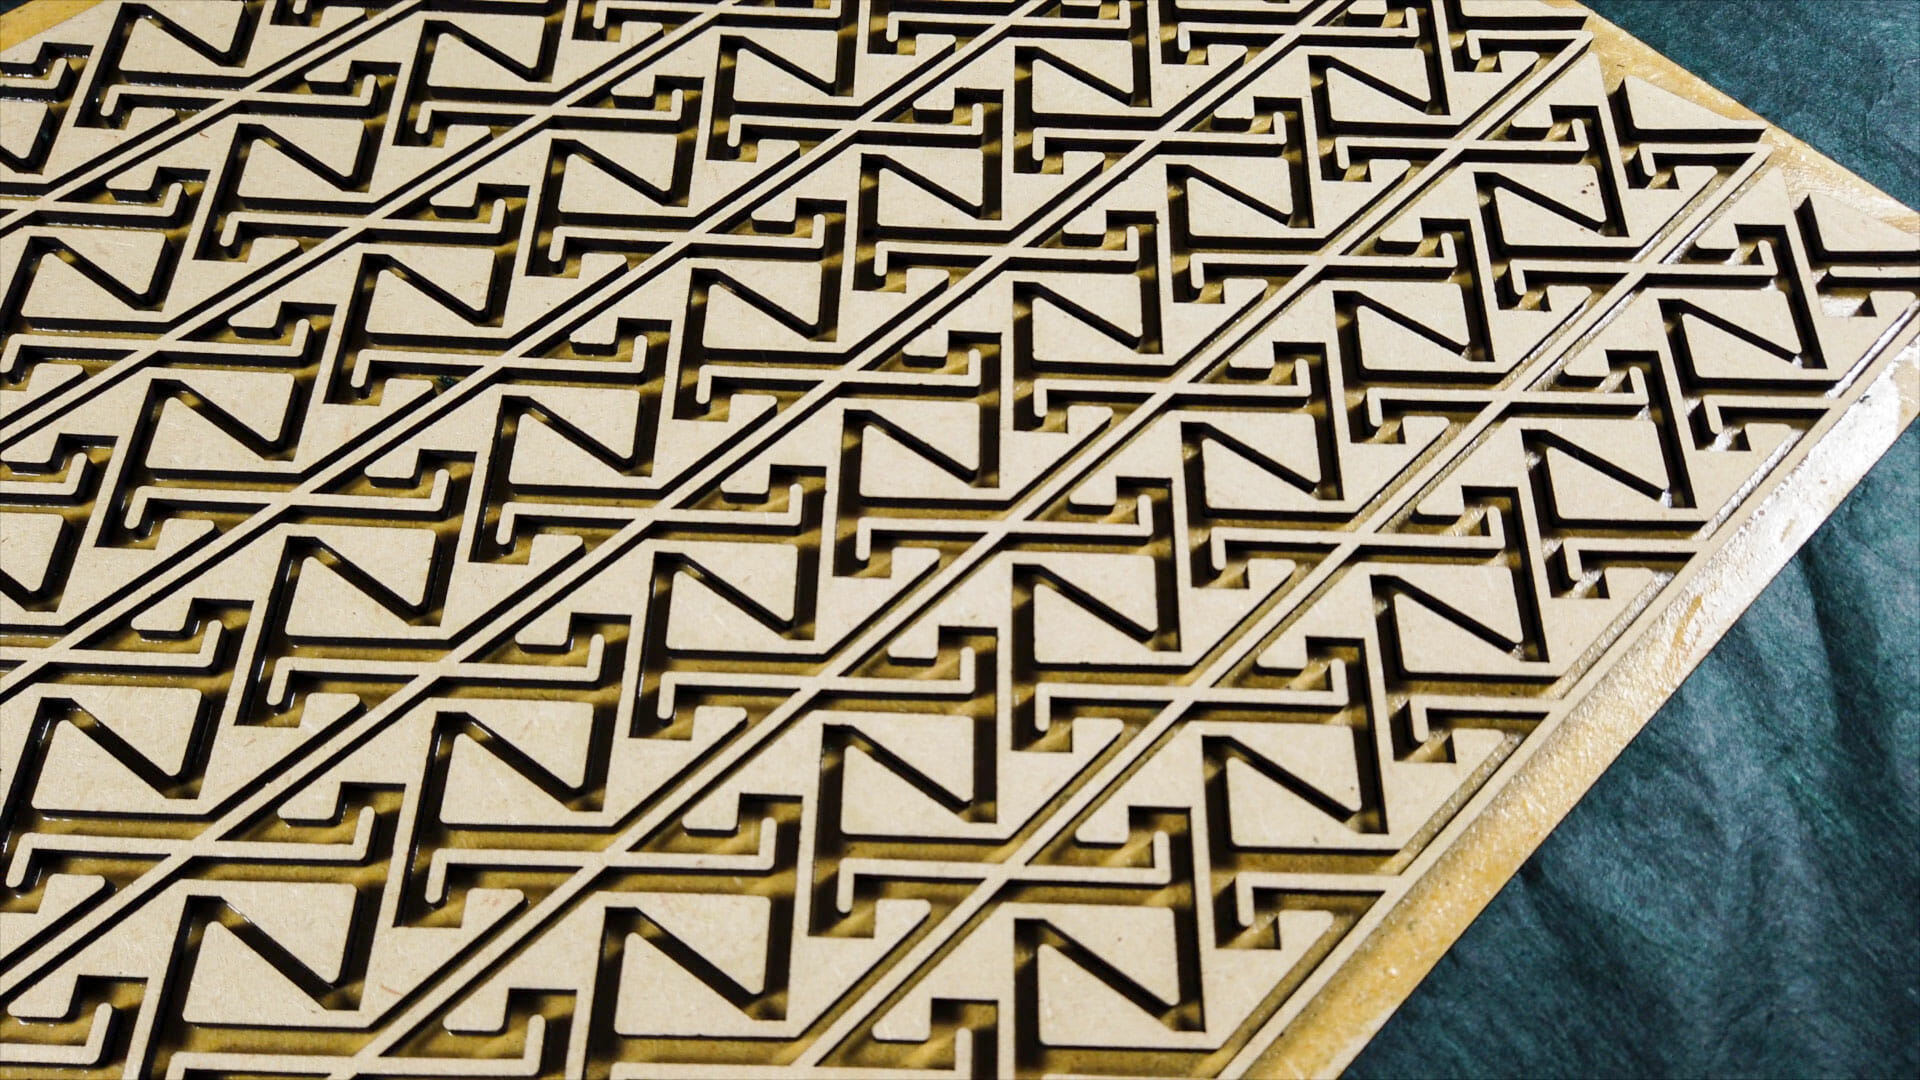
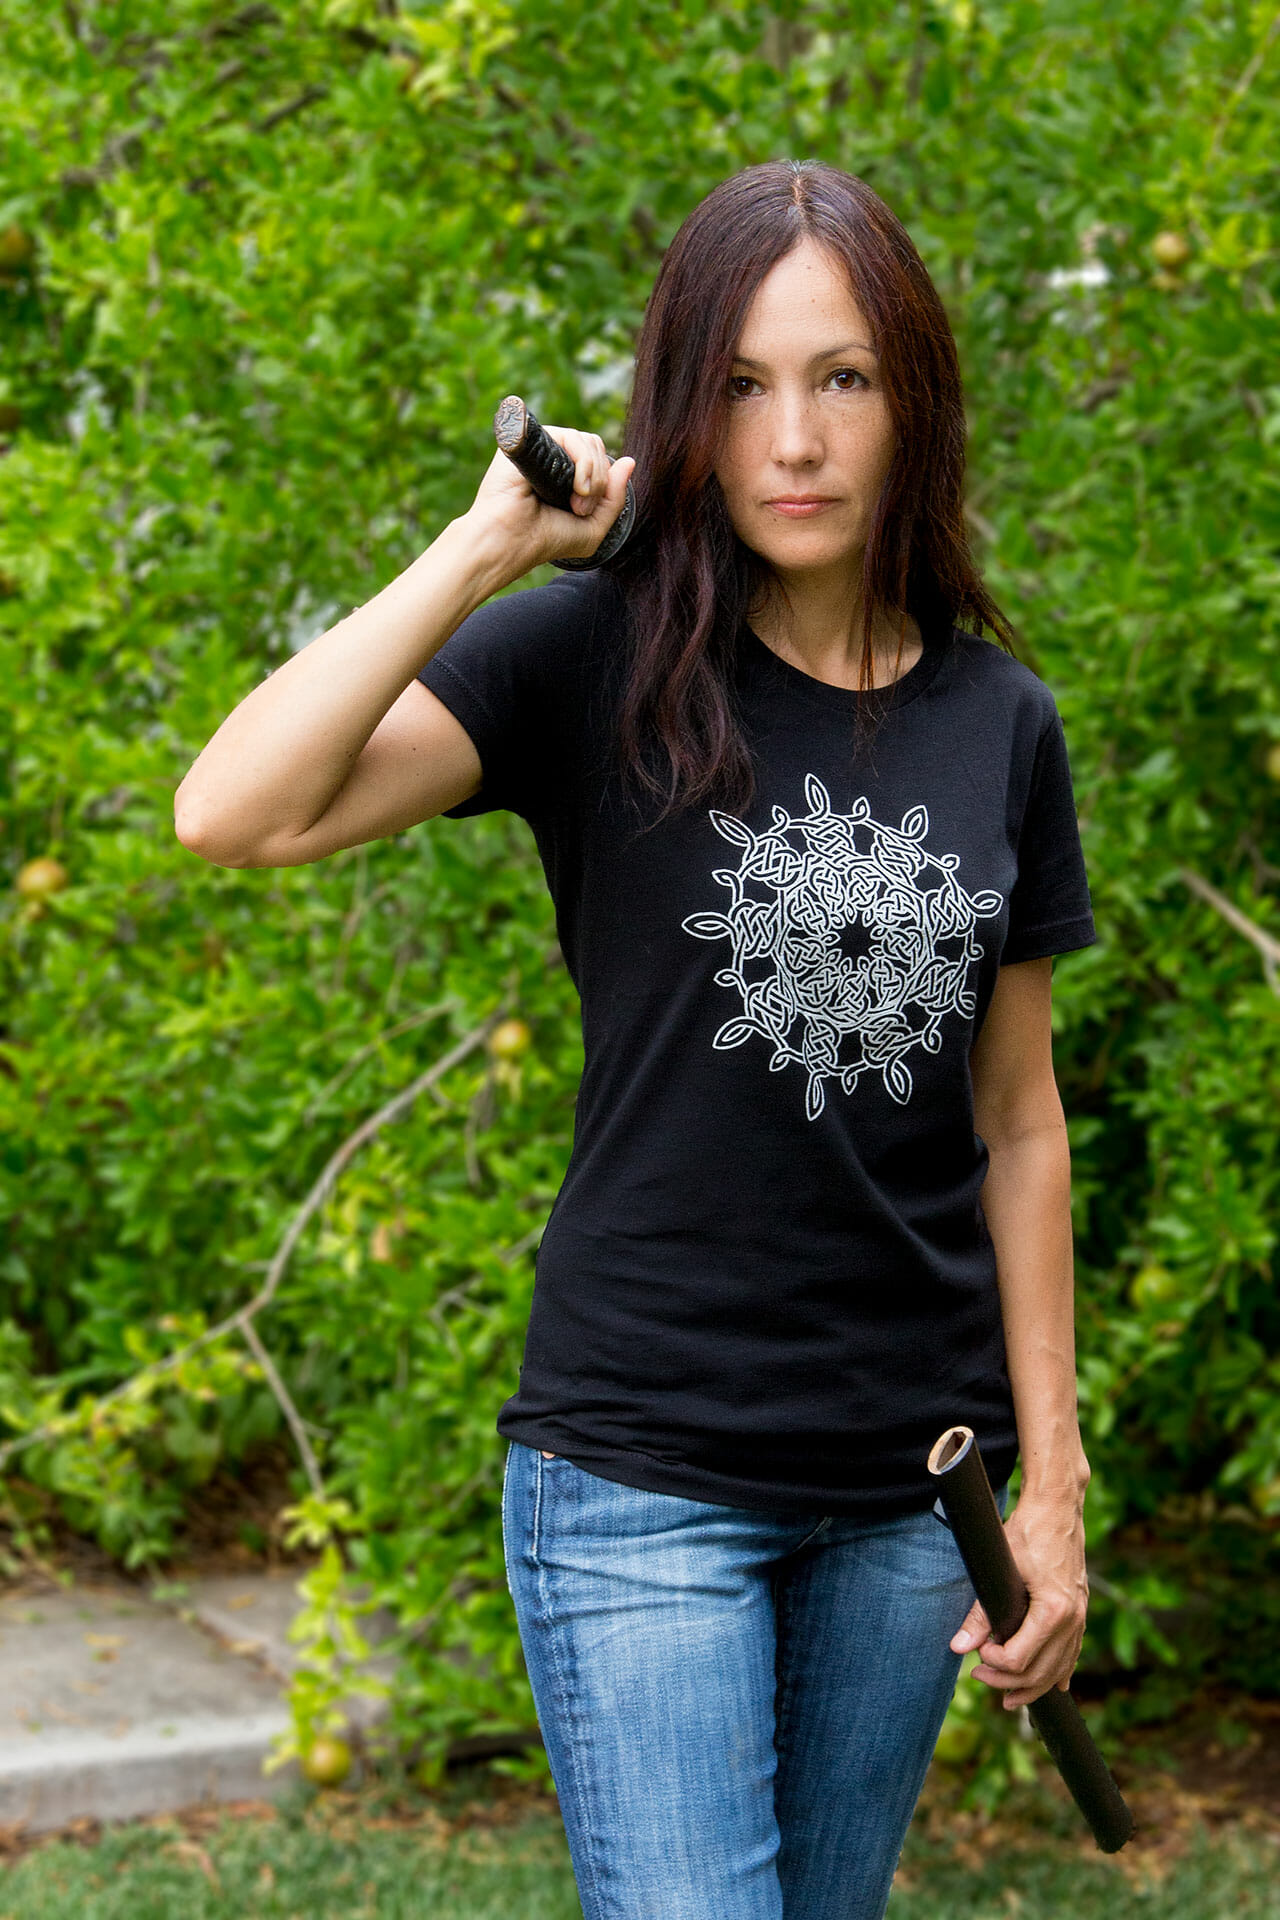
Purple Velvet Embossed Celtic Spirals Dice Bag

Purple Velvet Dice Bag

I made another dice bag with a new embossed velvet design.  Some incremental improvements to the process for making the embossing plate: I switched to using 3M 468MP Adhesive Transfer Tape for the glue-up.  It seems every bit as solid as the wood glue and, was a lot less hassle.  More of the details are covered in the short update video below.

The kumihimo drawstring for this bag was done with glow floss for one of the colors and purple for the other.  The glow from the floss is noticeable in the dark but, not especially bright.

By comparison, the 3D resin printed glow-in-the-dark skull beads are quite bright, especially after charging up with a UV lamp for 30 seconds or so.  I used the Siraya Tech Craft resin for those.

[Amazon Associates links benefit a local arts organization.]

Drawstring Bag of Many Projects

Drawstring Bag 2

I have a fair amount of custom-embossed Celtic key pattern velvet left from the pillow project.  I was thinking some of it might make a cool drawstring bag.  I may have gotten a little carried away with the details:

  • Silk-lined round-bottom bag
  • A new Celtic knotwork ring design for a laser-engraved faux-leather bottom
  • Kumihimo braided drawstring
  • Customized skull beads
  • Second set of skull beads from scratch

There is a separate post with the design files for the floss separator I made for this, in case it is of use to anyone else.

It was a lot of fun and, I’m happy with the result.  Of course, I shot video of every step of the construction of both versions of the bag.

Floss Separator

Floss Separator
Floss Separator
Floss Separator

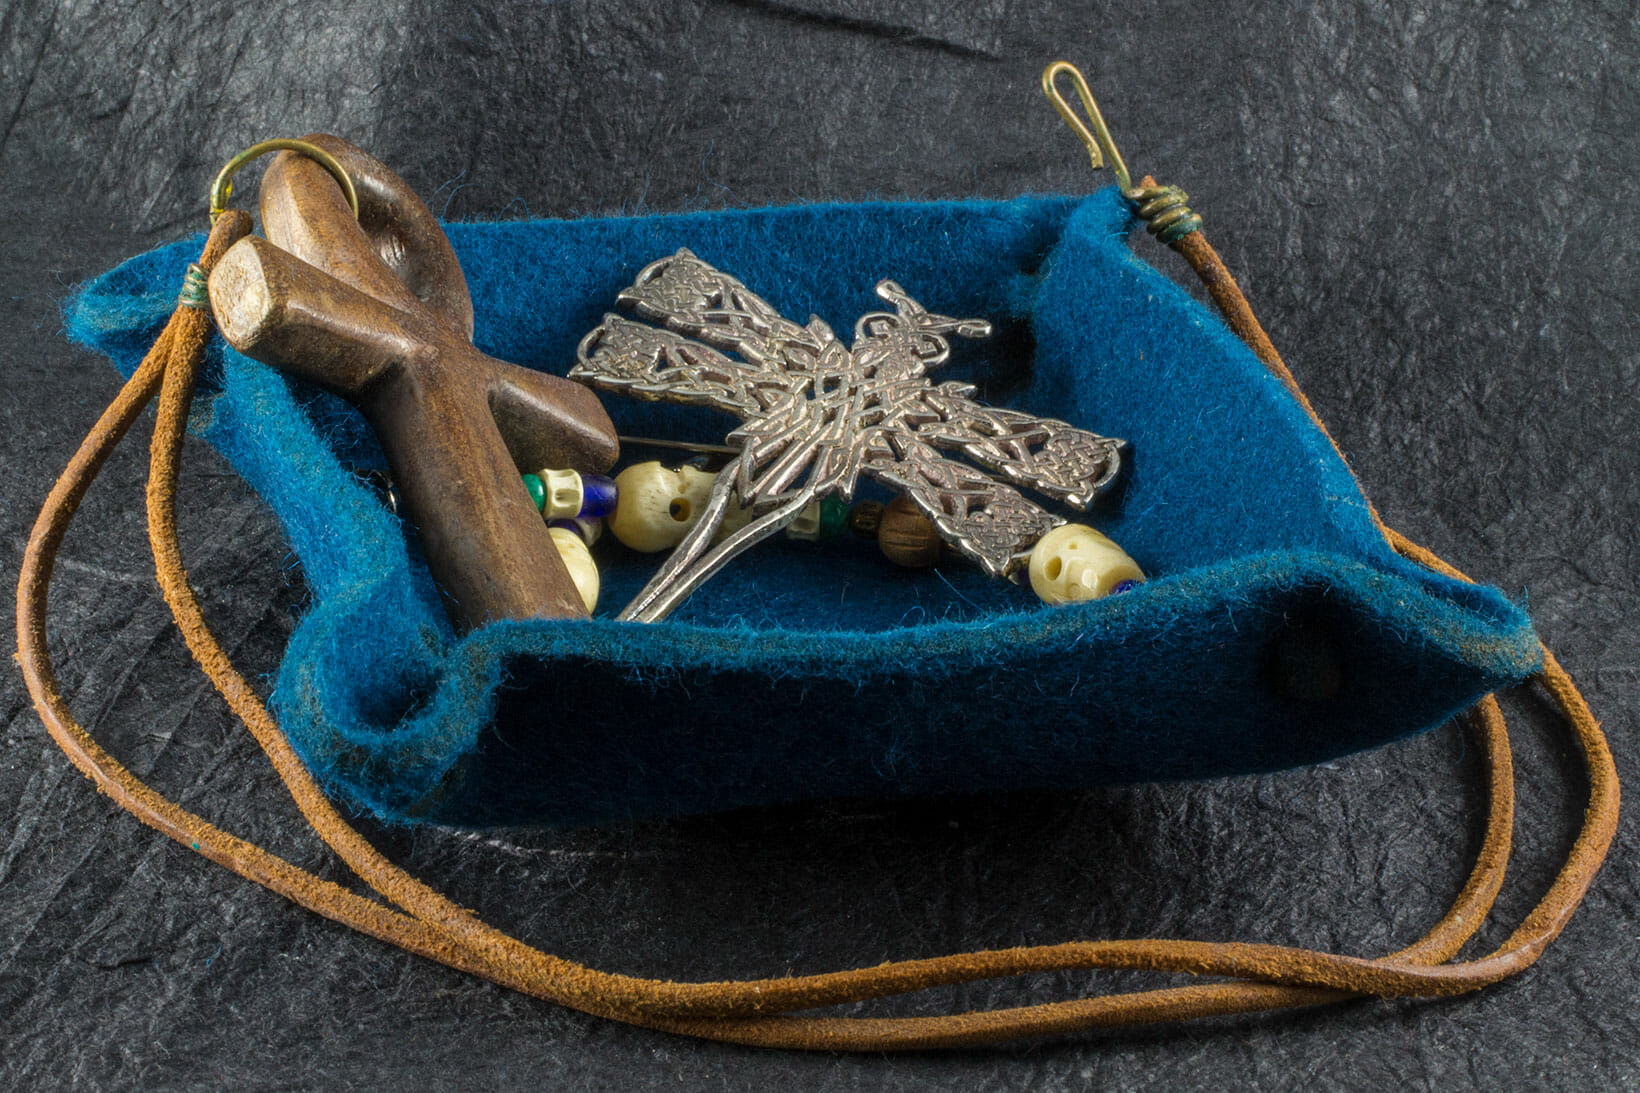
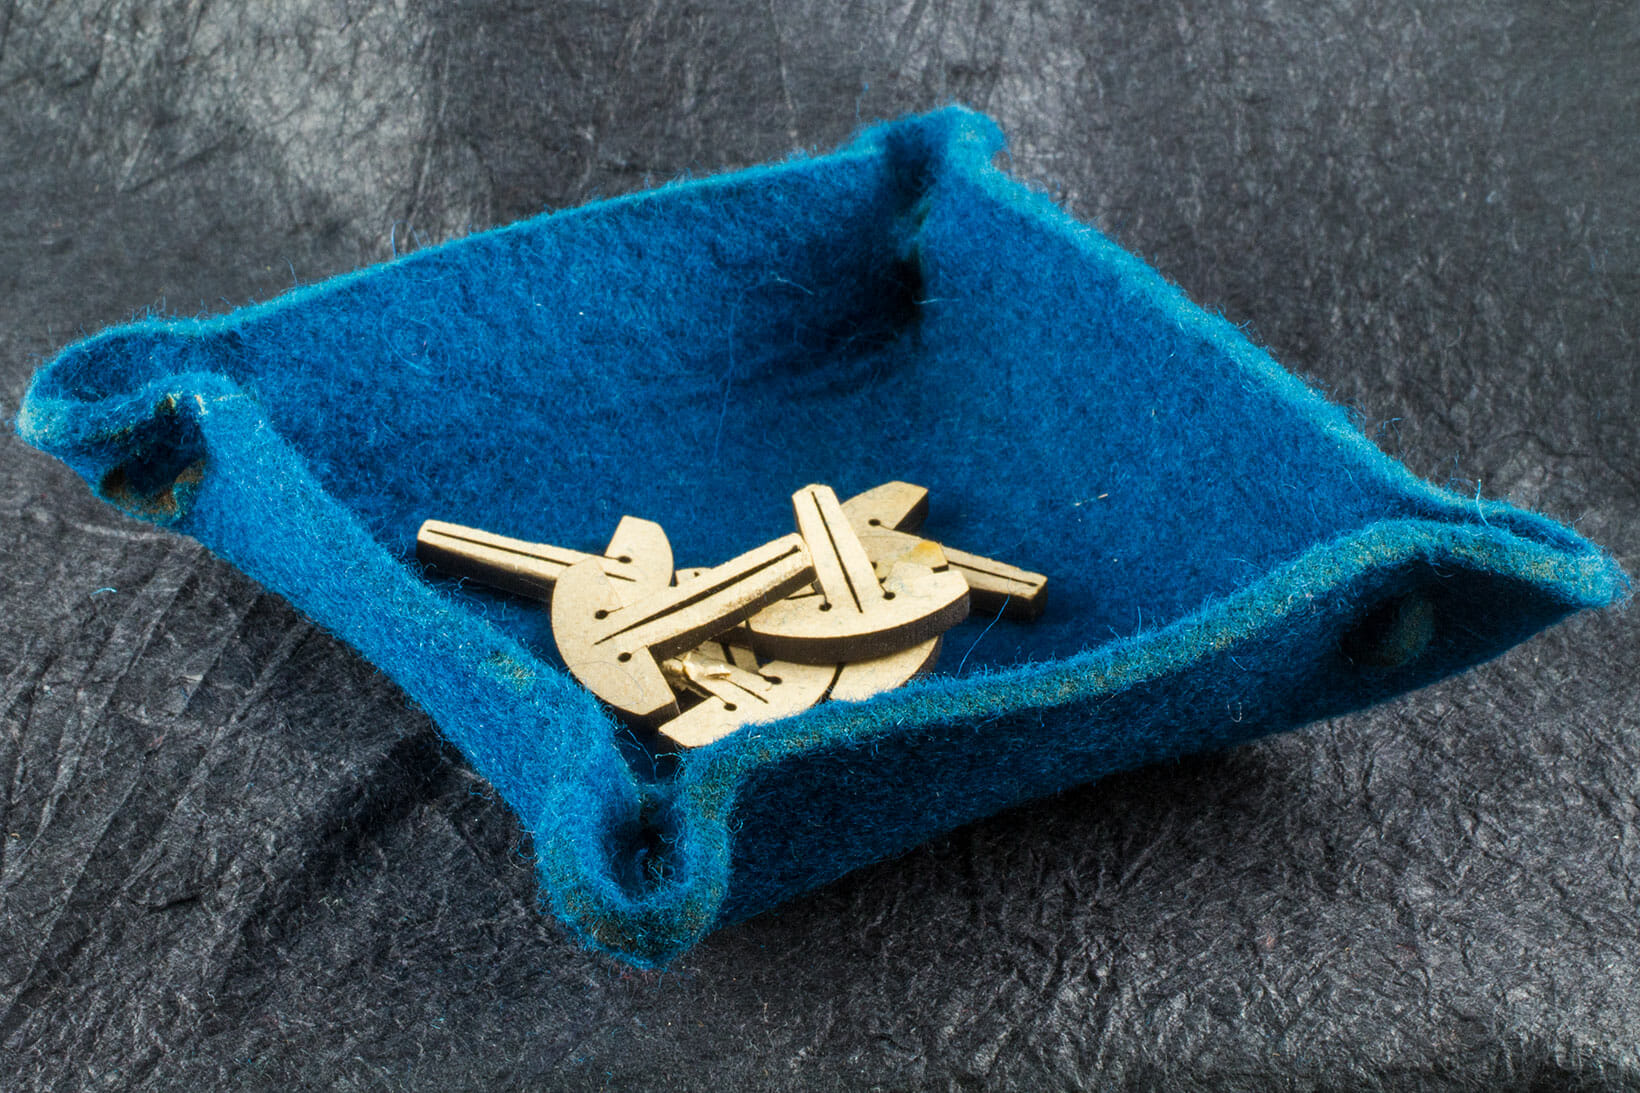
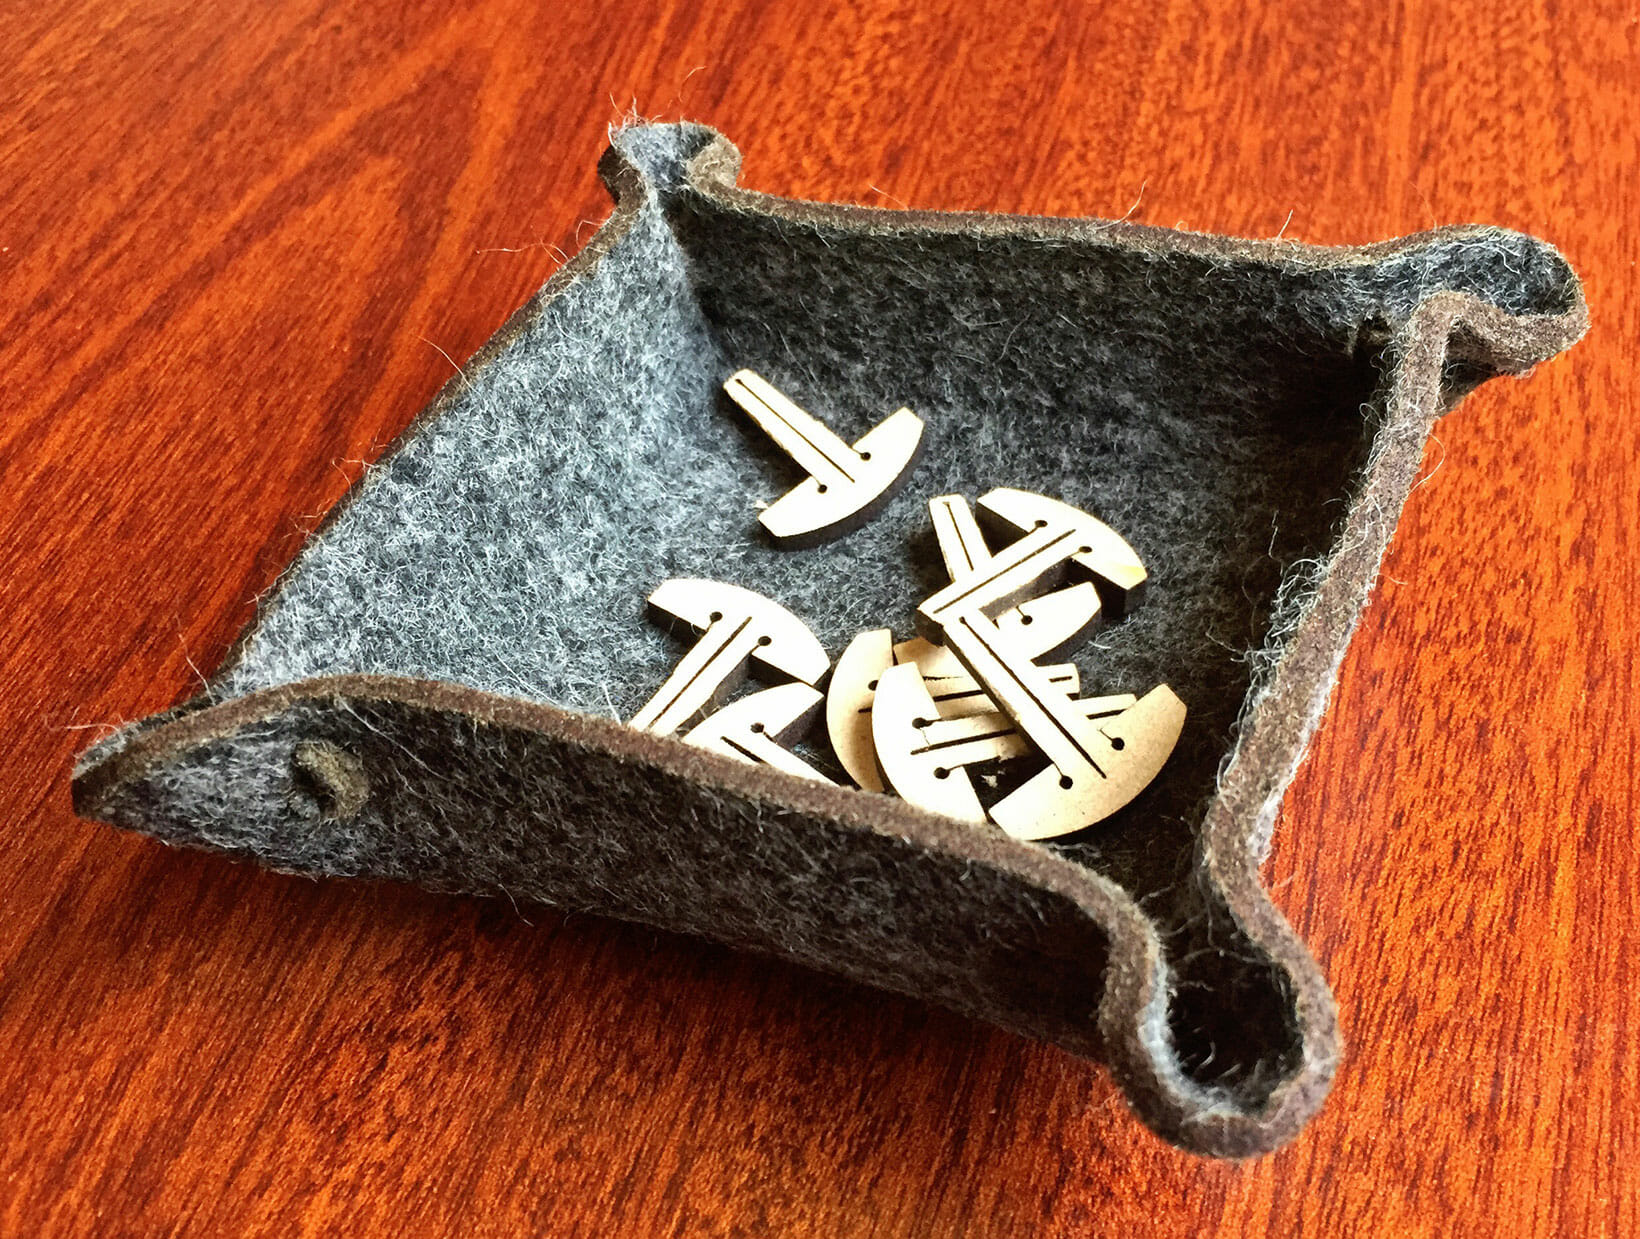
This is a quick, simple tool to assist when separating skeins of kumihimo (or embroidery) floss into working clusters with the desired number of strands.  The upright is a sandwich of a piece of EVA foam between two pieces of 1/4″ stock (MDF here but, something like Baltic birch ply or acrylic should work, too).  The EVA is sliced with a razor blade in the middle of each channel.  Then, just glue it all together with wood glue.  Some clamping is likely required while it dries.

Floss separator, clamped for glue to dry

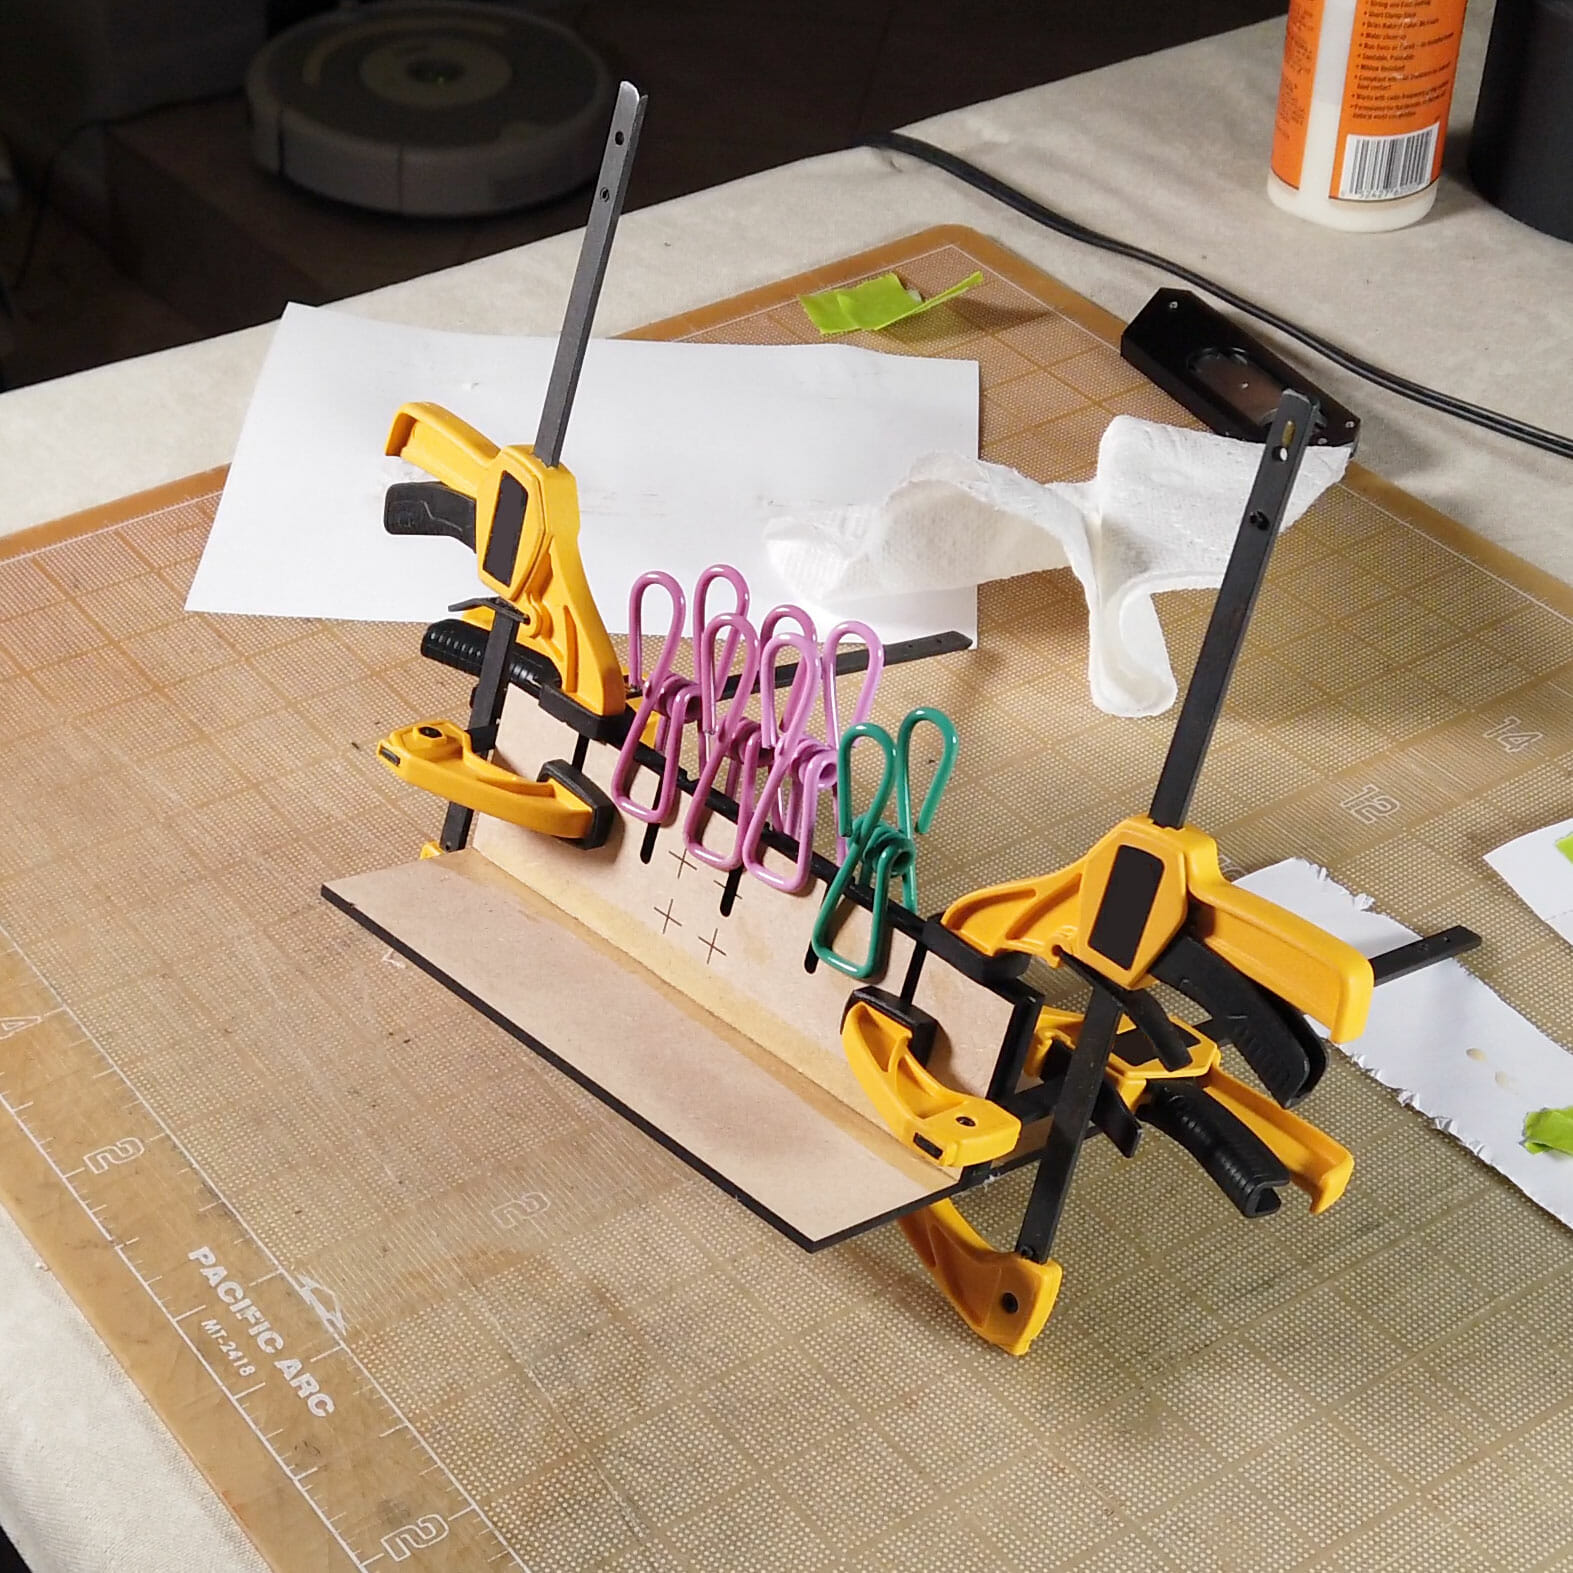
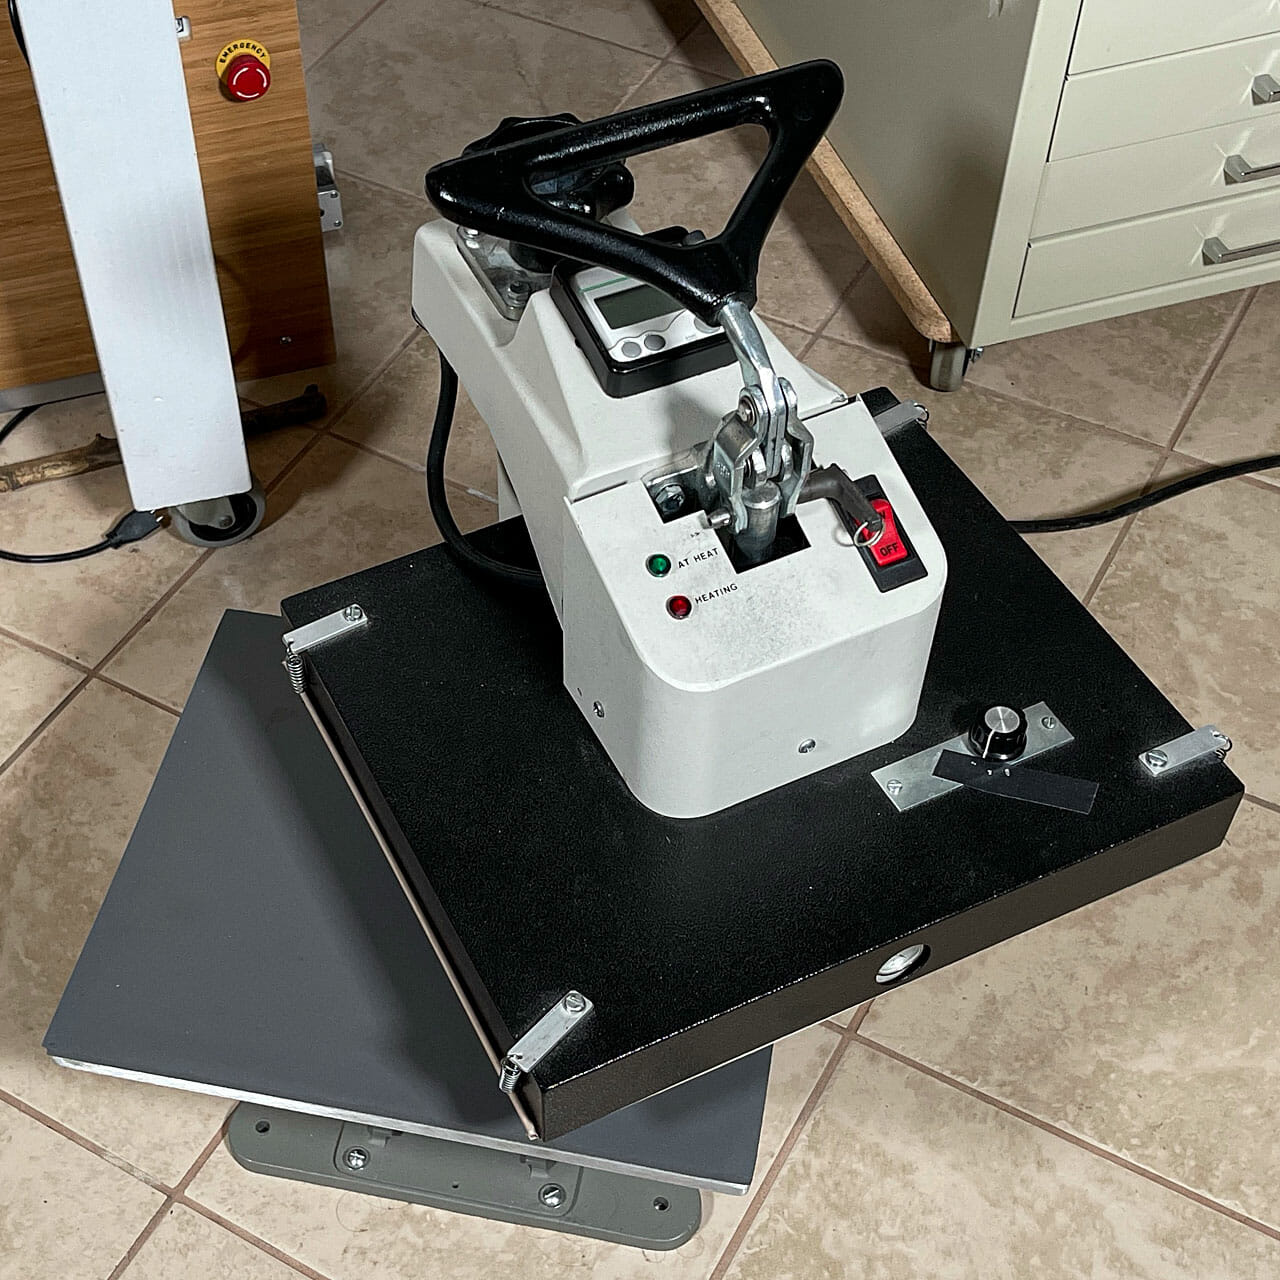
It is probably best to clamp it down to a table when using.  Knot the end of the skein/bundle of strands and, slip it into the cut in the EVA.  That should keep the end in place while you separate the full length.

Floss Separator Design Files

These files are for personal, non-commercial use only.  Note that, by referencing these, you are agreeing to release any variations you create under identical terms.

Attribution-Creative Commons NonCommercial-ShareAlikeFloss Separator 1/4″ Stock Cut File (SVG)

Floss Separator EVA Foam Cut File (SVG)

Celtic Key Pattern Embossed Velvet

Celtic Key Pattern Embossed Velvet

With a new couch on the way last year, I came up with a plan to create some unique thematic throw pillows to go on it. In addition to one made from a fine wool Crawford clan tartan, I envisioned one of a forest green velvet embossed with one of my key pattern designs.

I figured that some combination of heat, pressure and a rigid die/stamp/form would give me what I wanted. I tracked down some (100% polyester upholstery) velvet, ordered samples and, made a test form on the laser from 1/8″ thick MDF. I cut a key square and, experimented using my old heat press.

After some experimenting (on purple velvet, while waiting on the green), I was able to find an approach that works. I set the pressure on the heat press by putting in a single sheet of 1/8″ MDF, tightening down until it touched the board, then adding another quarter turn. The range of pressure that works is pretty narrow. Too little pressure and the resulting design is faint. Too much pressure and, you emboss the edges of the form’s base, too.

The form goes on the bottom platen, facing up. The velvet goes on the form, facing down. I mist the back of the velvet lightly with a little water so there will be a little steam (but not enough to spot the fabric).

The optimal heat seems to be about 400º F for about 15 seconds.

I broke out my vintage Elna Supermatic sewing machine and, turned some of it into a pillow. I did several extra pieces. So, look for it in future projects.

There is a full video walk-through of making the forms and the embossing and, a separate video showing off the sewing machine and making the pillow.

Quest Battery Pouch

Quest Battery Pouch

Something I noticed pretty quickly with my new Oculus Quest VR headset is that it slips forward very easily, especially during the sort of very active games I got it to play.  It is pretty front-heavy.  So, some ballast on the back strap helps quite a bit.

I taped a battery pack I had on-hand to the back strap with gaffer tape to confirm that it helped with the issue.  I decided I really wanted something a little more elegant, though.  So, I designed and made this battery ballast pouch.

If you want to make one of these, the files are all linked below, along with instructions and a build video.

Instructions / Fabrication Notes

There are two pattern files: one for cutting the pouch from the faux leather and, one for the rigidity insert.

The purple square is where you would put any graphic you wanted on the flap.  You could actually use all of the horizontal space to the edges of the flap, if you wanted.  Anything farther towards the body (down) will bend over the top of the battery, though.

For engraving the JPP Saddle Collection faux leather on the Glowforge, I used 1000 speed, 30 power and 225 LPI.  You are on your own for figuring out settings for other equipment.

Everything else in the pattern is cut using 245 speed and 60 power.

I cut the 1/8″ acrylic for the rigidity insert with the usual Proofgrade settings on the Glowforge.

Design Files

These files are for personal, non-commercial use only. If you want to produce these to sell or for other business use, please contact me to arrange for licensing terms.  Also note that, by referencing these, you are agreeing to release any variations you create under identical terms.

Attribution-Creative Commons NonCommercial-ShareAlike

Quest Battery Pouch Pattern SVG

Quest Battery Pouch Rigidity Insert Pattern SVG

Resources

I know not everyone has a laser cutter but, many communities have maker spaces where you can get access to tools like laser cutters and, assistance learning to use them for free or, for a small fee or donation. Support your local communities, learn new skills and make new friends!

Find a maker space near you.

As I mention in the video, the Saddle Collection faux leather cuts great with a craft knife, screw punch, etc.  So, you could absolutely do this without any fancy equipment.

Of course, if you really want your own laser, feel free to use my Glowforge referral code to purchase your own. Glowforge will give you a discount off their posted price and, I will get a credit kickback to help defray the cost of materials for future projects. Your support is always appreciated.

Amazon referral links for some parts and incidentals defray IT and hosting costs for a local arts organization (Arizona Aikido):

Anker PowerCore Slim 1000PD Power Bank (rechargeable battery)

Magnetic Charging Cable

Screw Punch

“Saddle Collection” Faux / Vegan Leather

Industrial adhesive-backed Velcro

Industrial Velcro in Larger Rolls

Large Blunt Needles for saddle stitching

Waxed Cotton Cord for stitching

Silver Snowflake Celtic Knotwork T-Shirt

Silver Snowflake Celtic Knotwork Unisex T-Shirt

During the holidays last year, I was looking through some of my old Celtic knotwork designs.  I came upon the original pencil sketch of my 1992 Snowflake design and, decided to print it in silver on some really nice black 100% cotton heavyweight T-shirts to give as gifts to family and friends.  They came out great and, were a big hit.

Special thanks to my good friend and wonderful, highly photogenic model, Tanya, for showing off the women’s fitted shirt for the photo!

Of course, I printed more than I needed and, have some extra shirts, both in a standard unisex T and, a fitted women’s T.  So, those are up in the online shop, if you want to grab one.  There are limited quantities on-hand but, I can easily print more, if there is enough demand.

No-Sew Felt Tray

Laser-Cut No-Sew Felt Tray

I wanted to make something to contain my work hold-down pins for the laser cutter. I had seen some simple felt trays that were formed from squares with the corners pinched and sewn together. It seemed like a no-sew technique might work well for that and, it did!

For assembly, I push a pair of small 5″ needle-nose pliers through the slit and, pull the mushroom-shaped tabs through.  If you want more guidance, I made a quick video showing production and assembly.


Update: I made another felt tray in “peacock” blue.  The edges did not char evenly, which looked a little odd.  Light application of a fine sanding sponge removed most of the edge char.


If you would like to make your own no-sew felt tray, you can use the pattern linked below. I am releasing this under a Creative Commons license.  You are free to use and modify this pattern for non-commercial purposes.  If you make changes to the pattern, you are encouraged to release your changes back to the community.

If you want to do something else with it (like make and sell felt trays), please contact me for separate licensing terms.