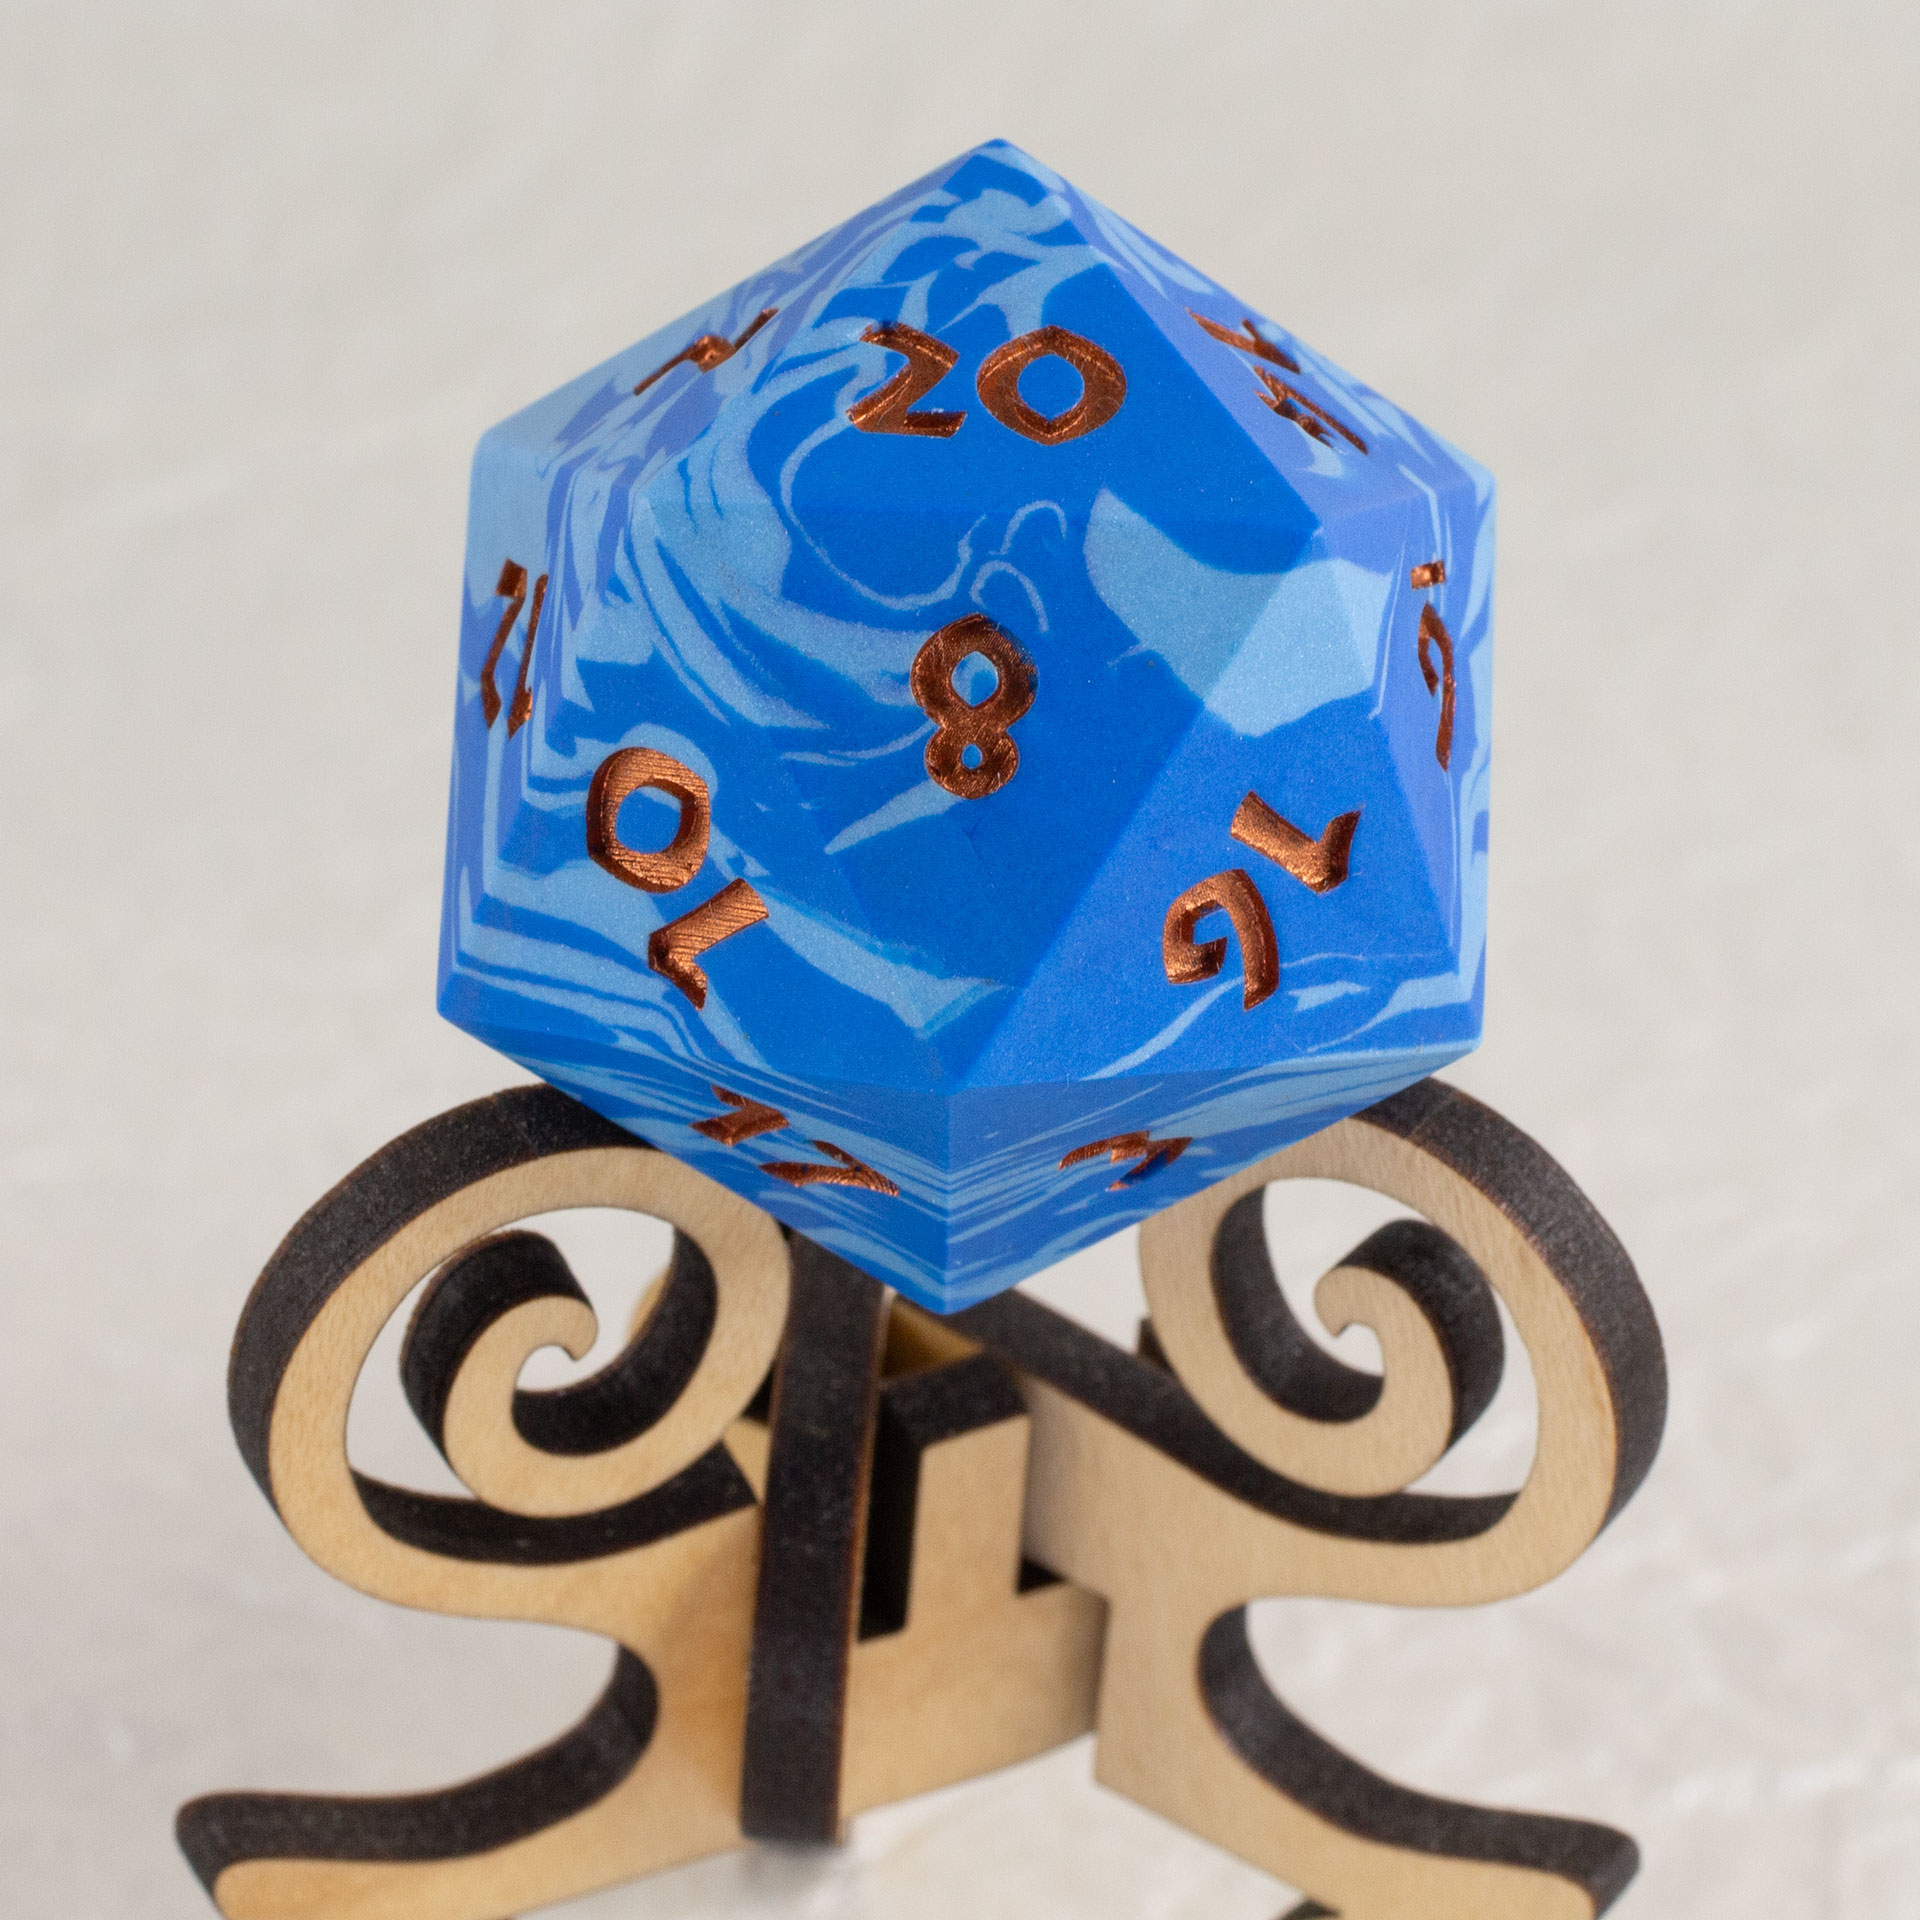
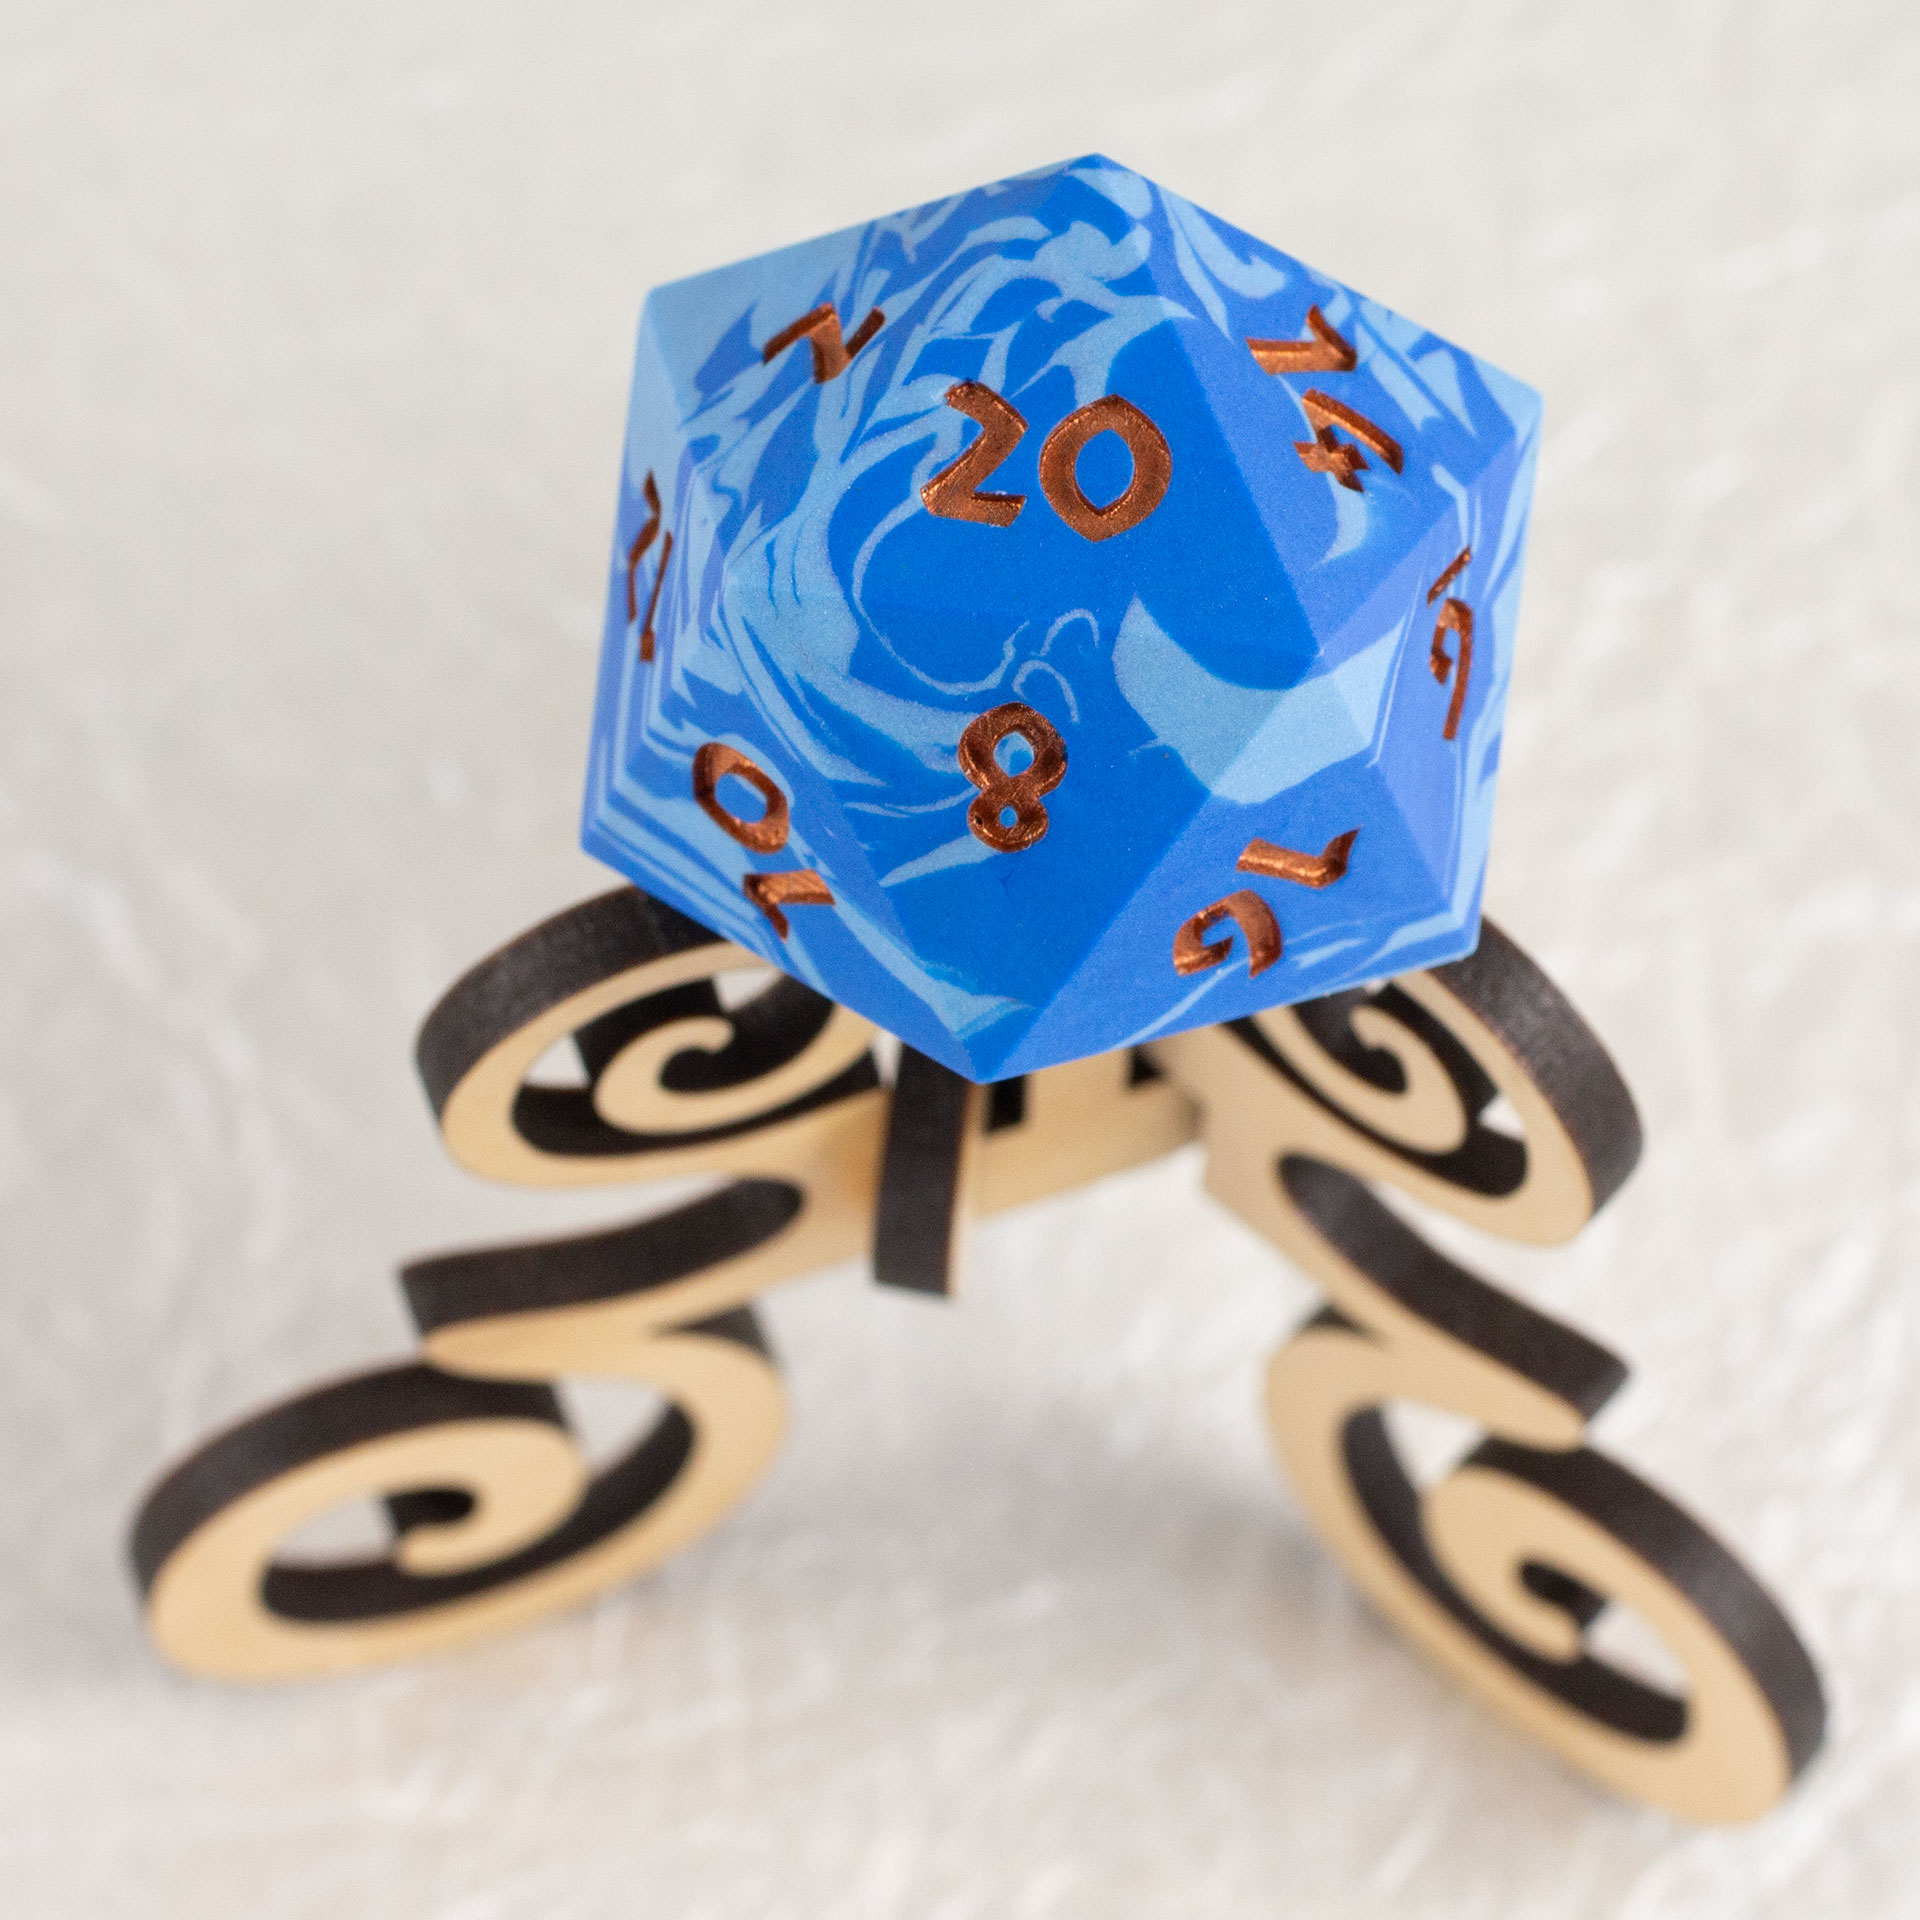
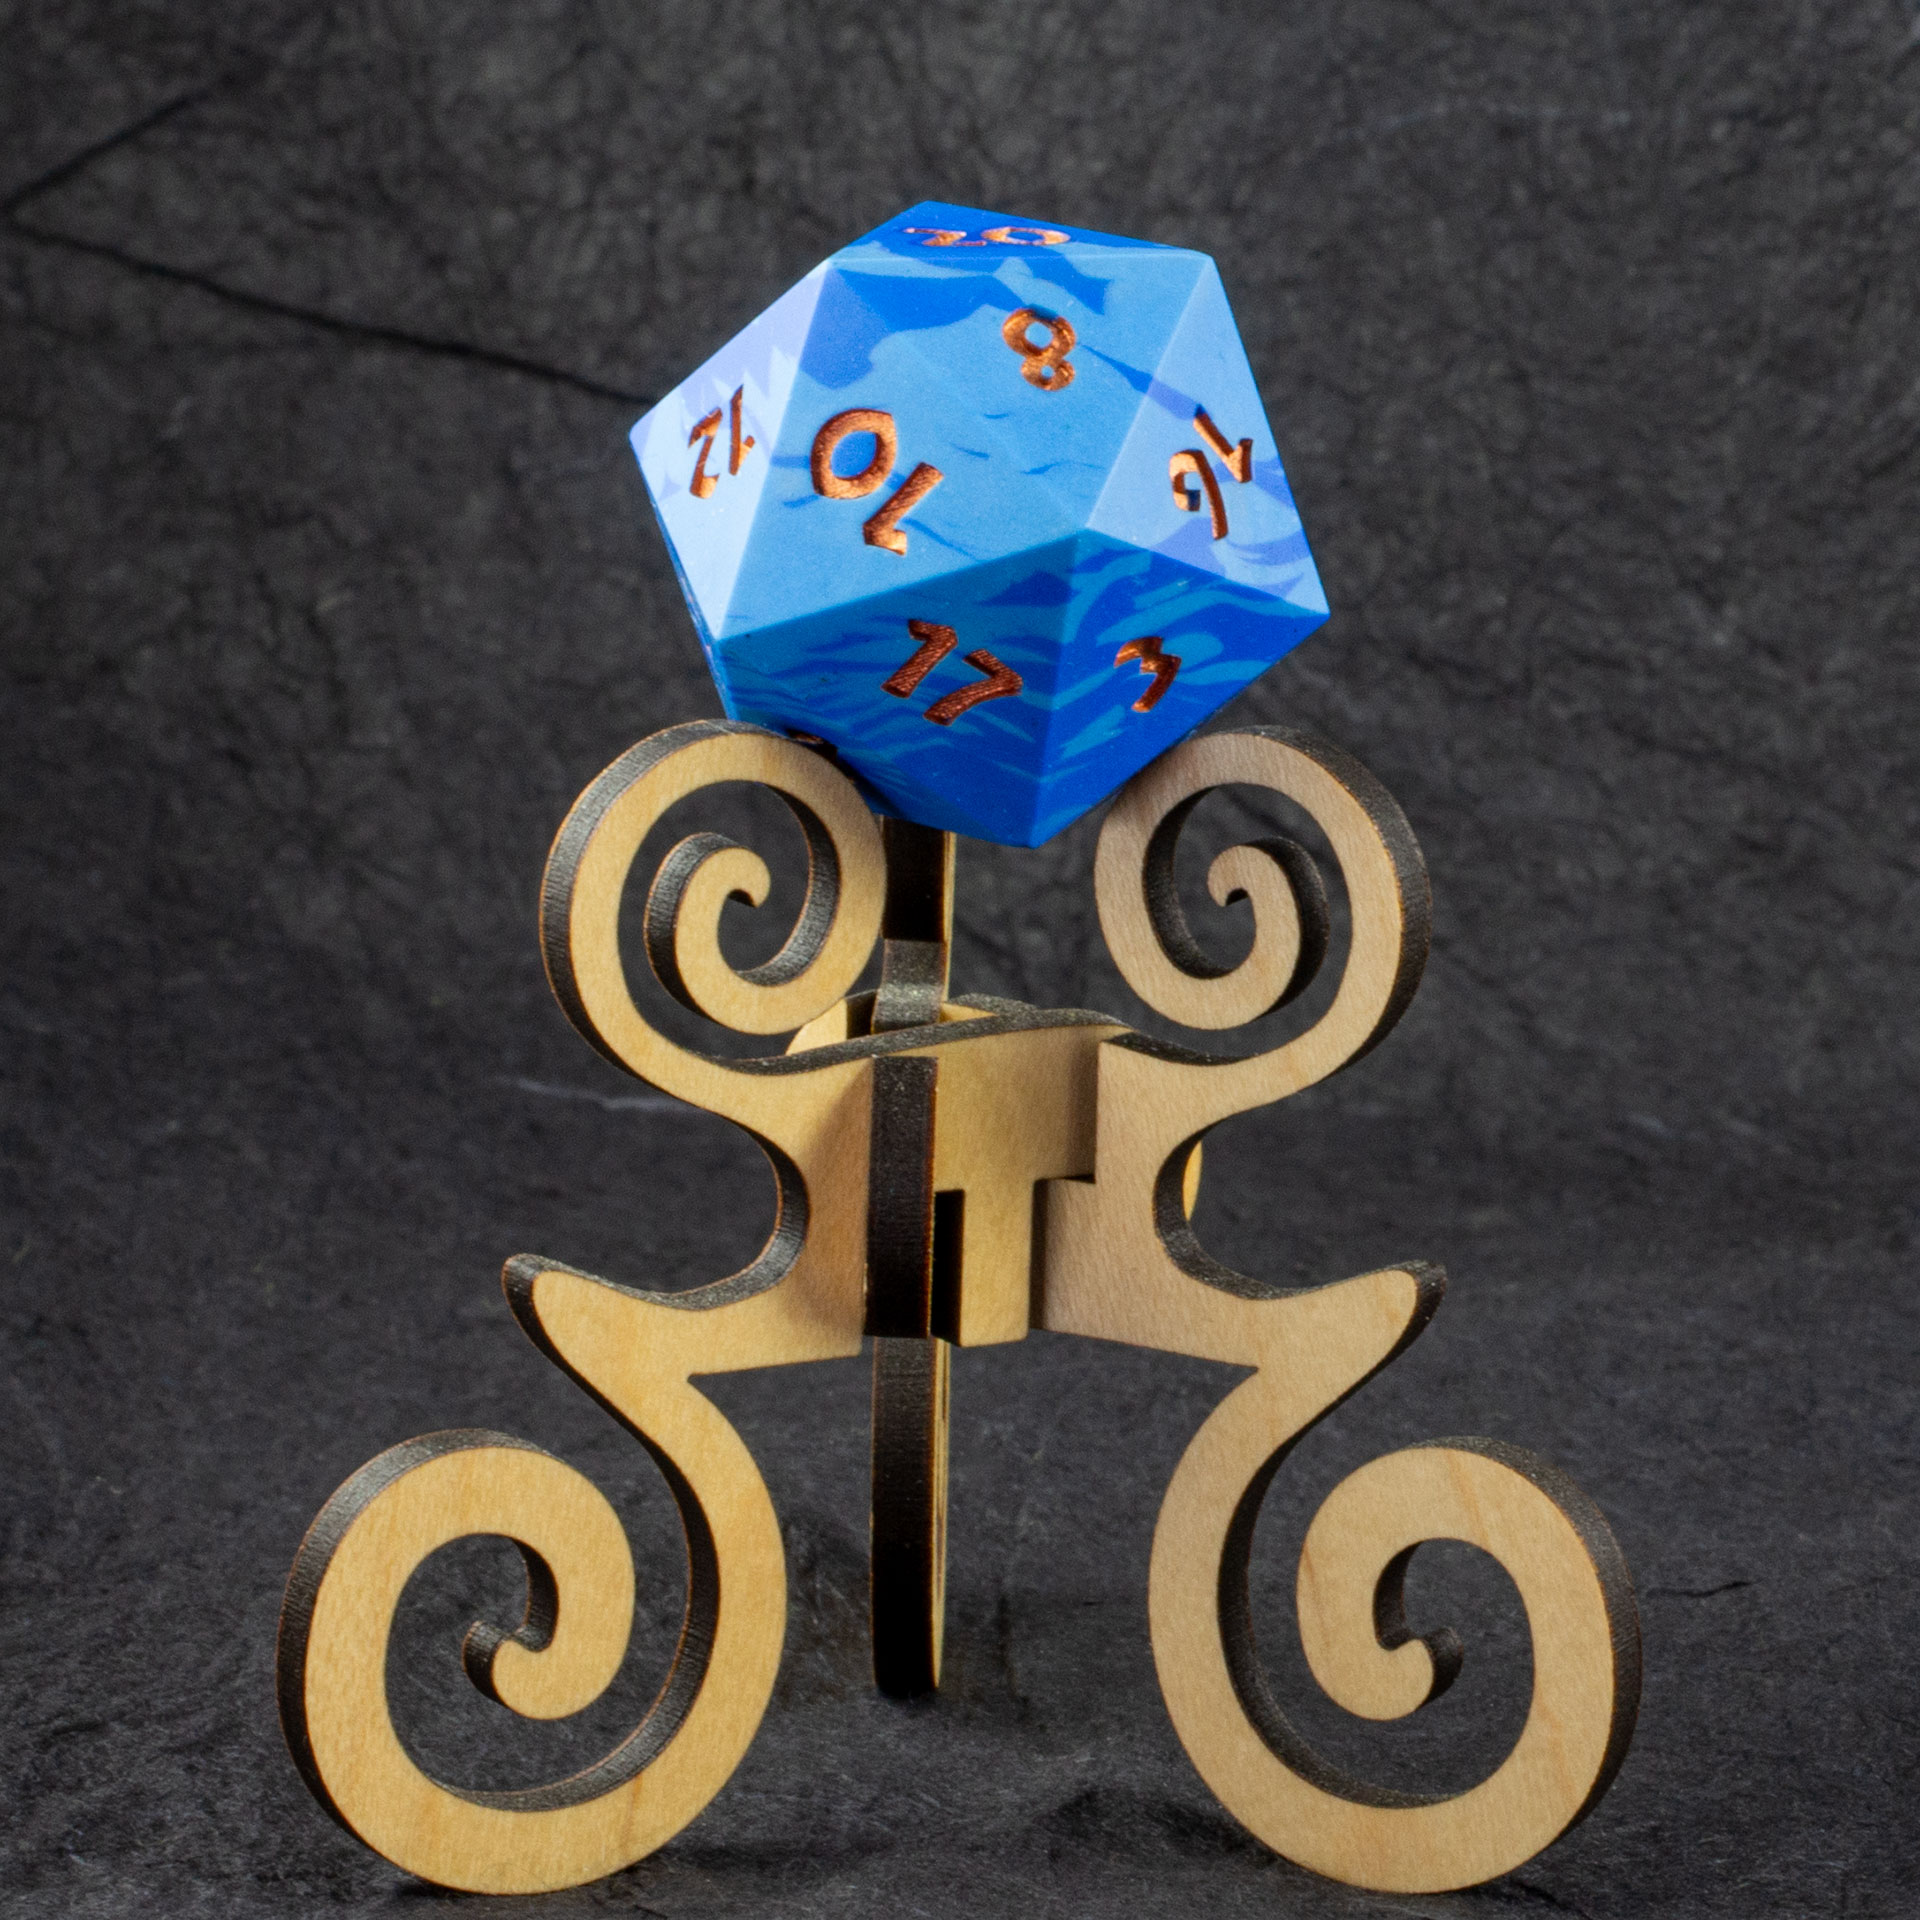
42mm Jesmonite chonk in two shades of blue swirled together, the numbers painted in with metallic copper, sitting on an oak stand.
42mm Jesmonite chonk in two shades of blue swirled together, the numbers painted in with metallic copper, sitting on an oak stand.
42mm Jesmonite chonk in two shades of blue swirled together, the numbers painted in with metallic copper, sitting on an oak stand.
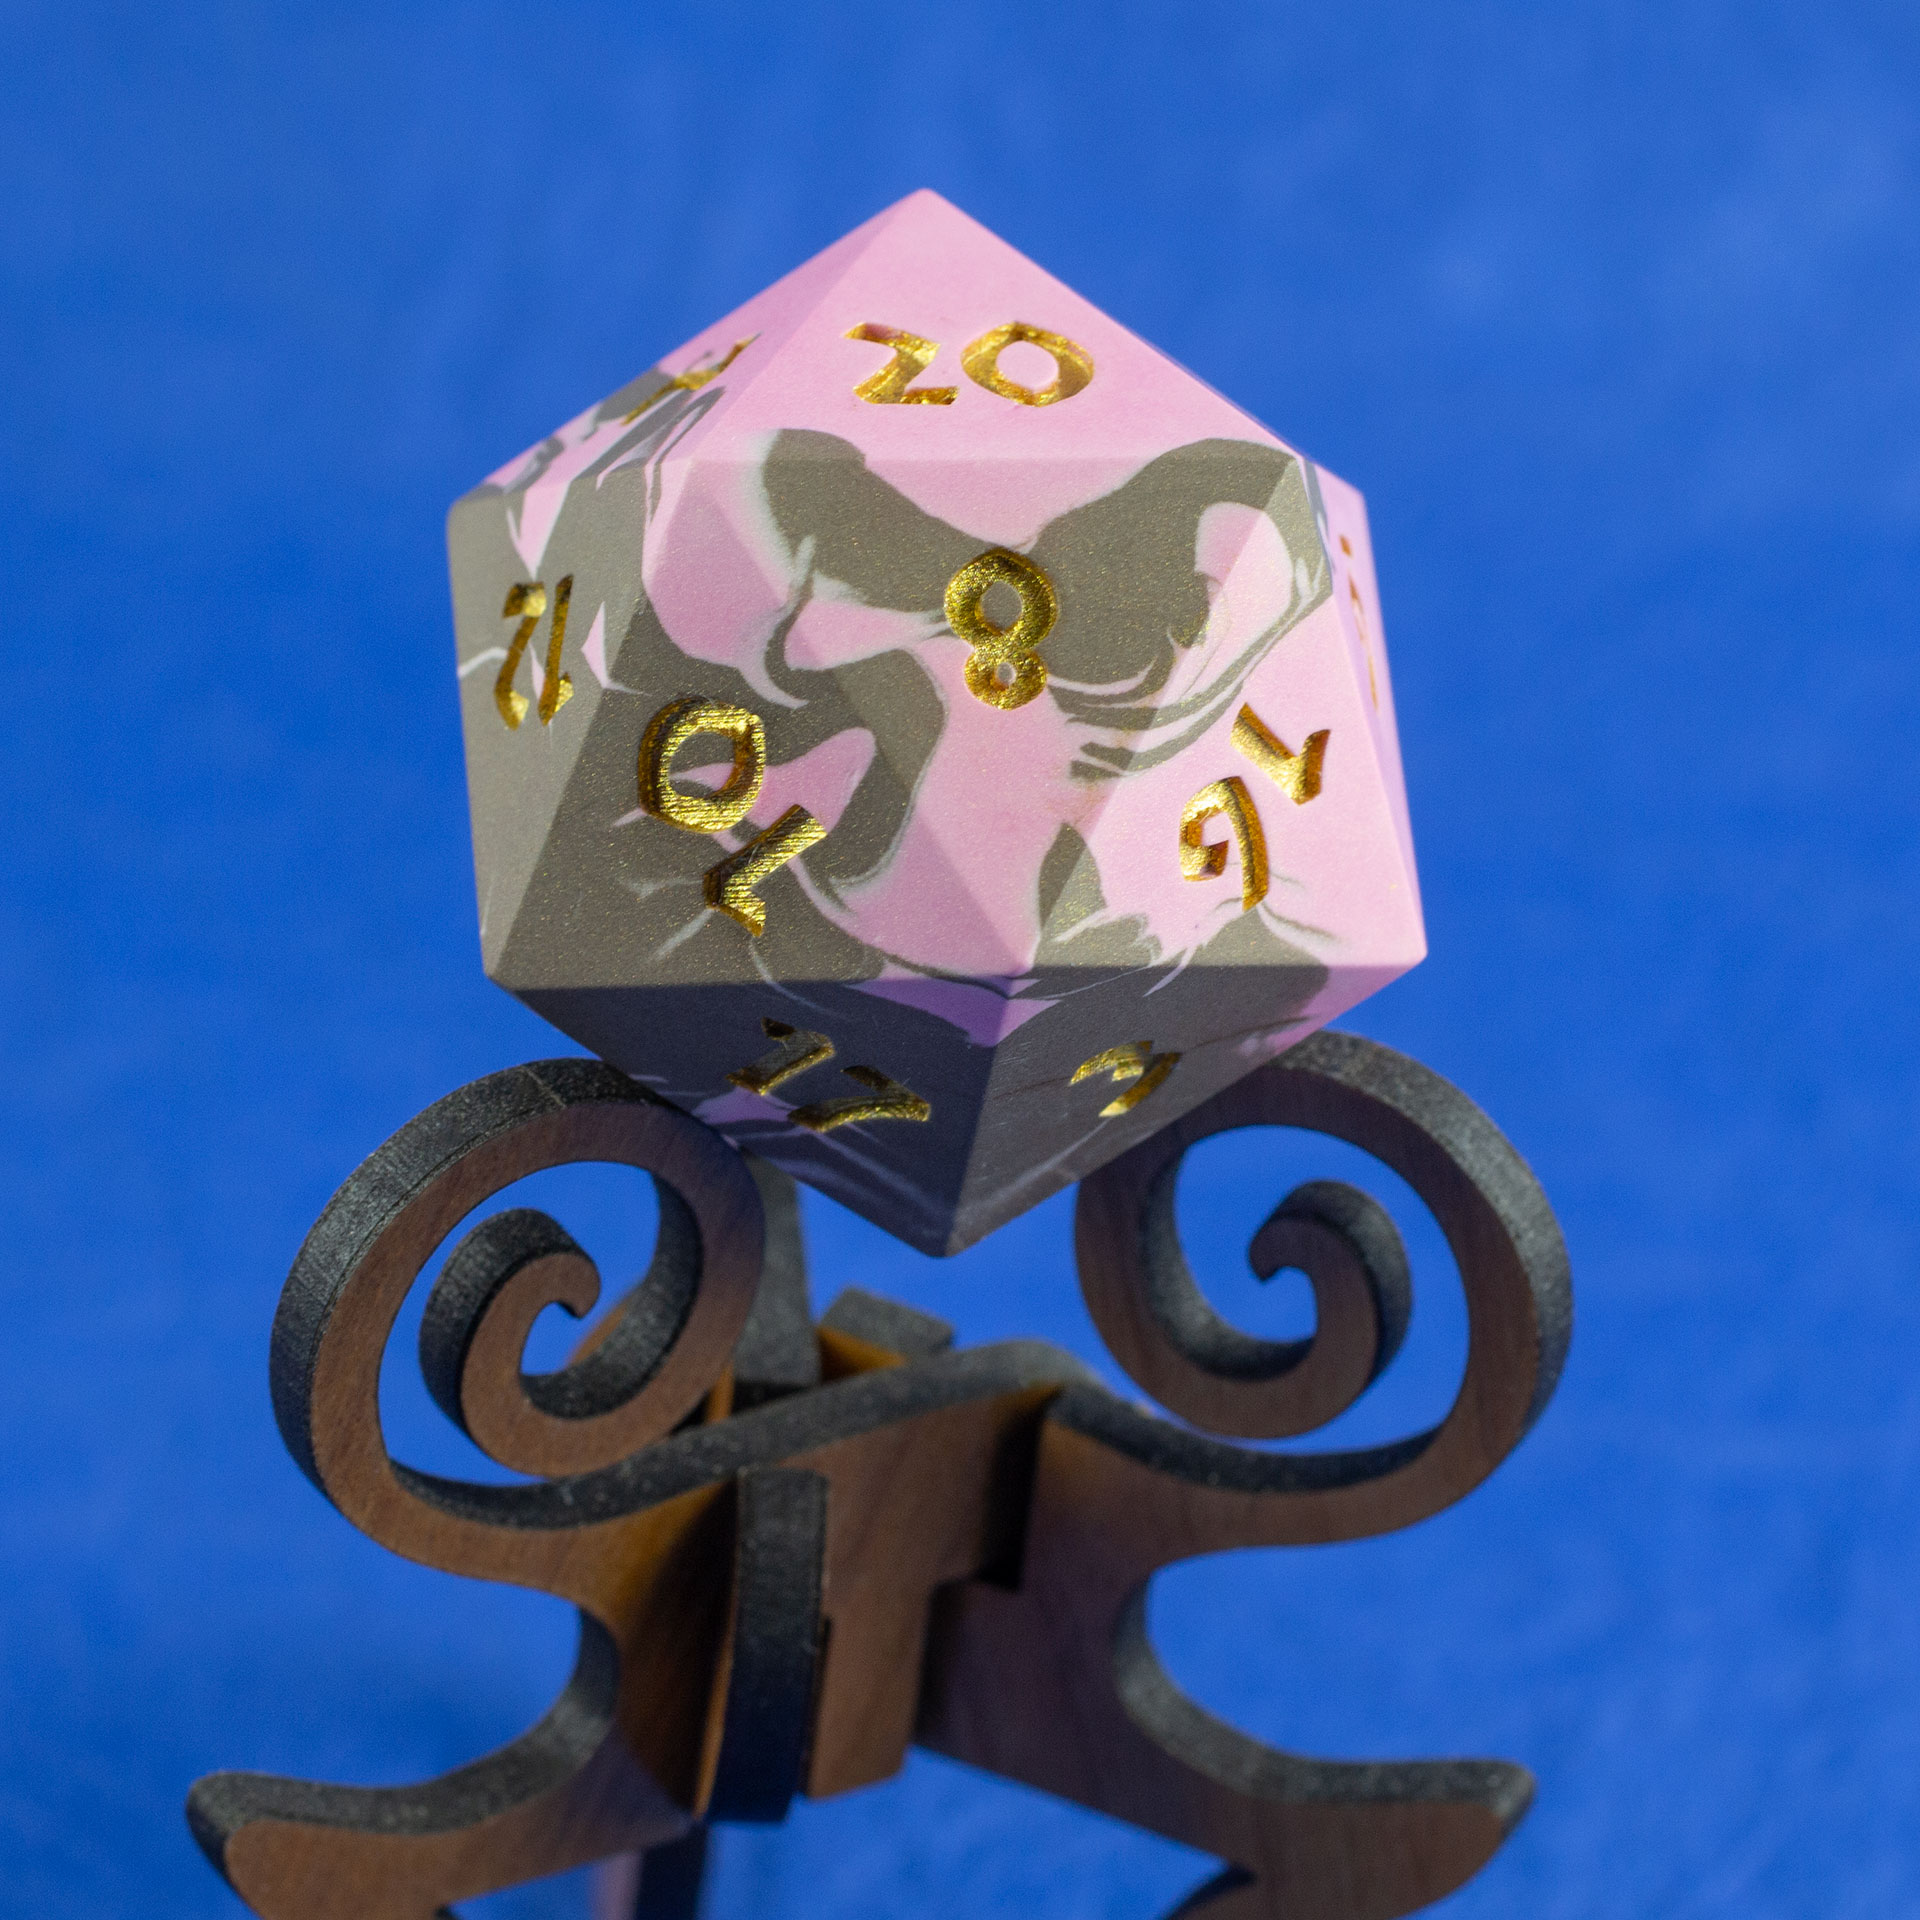
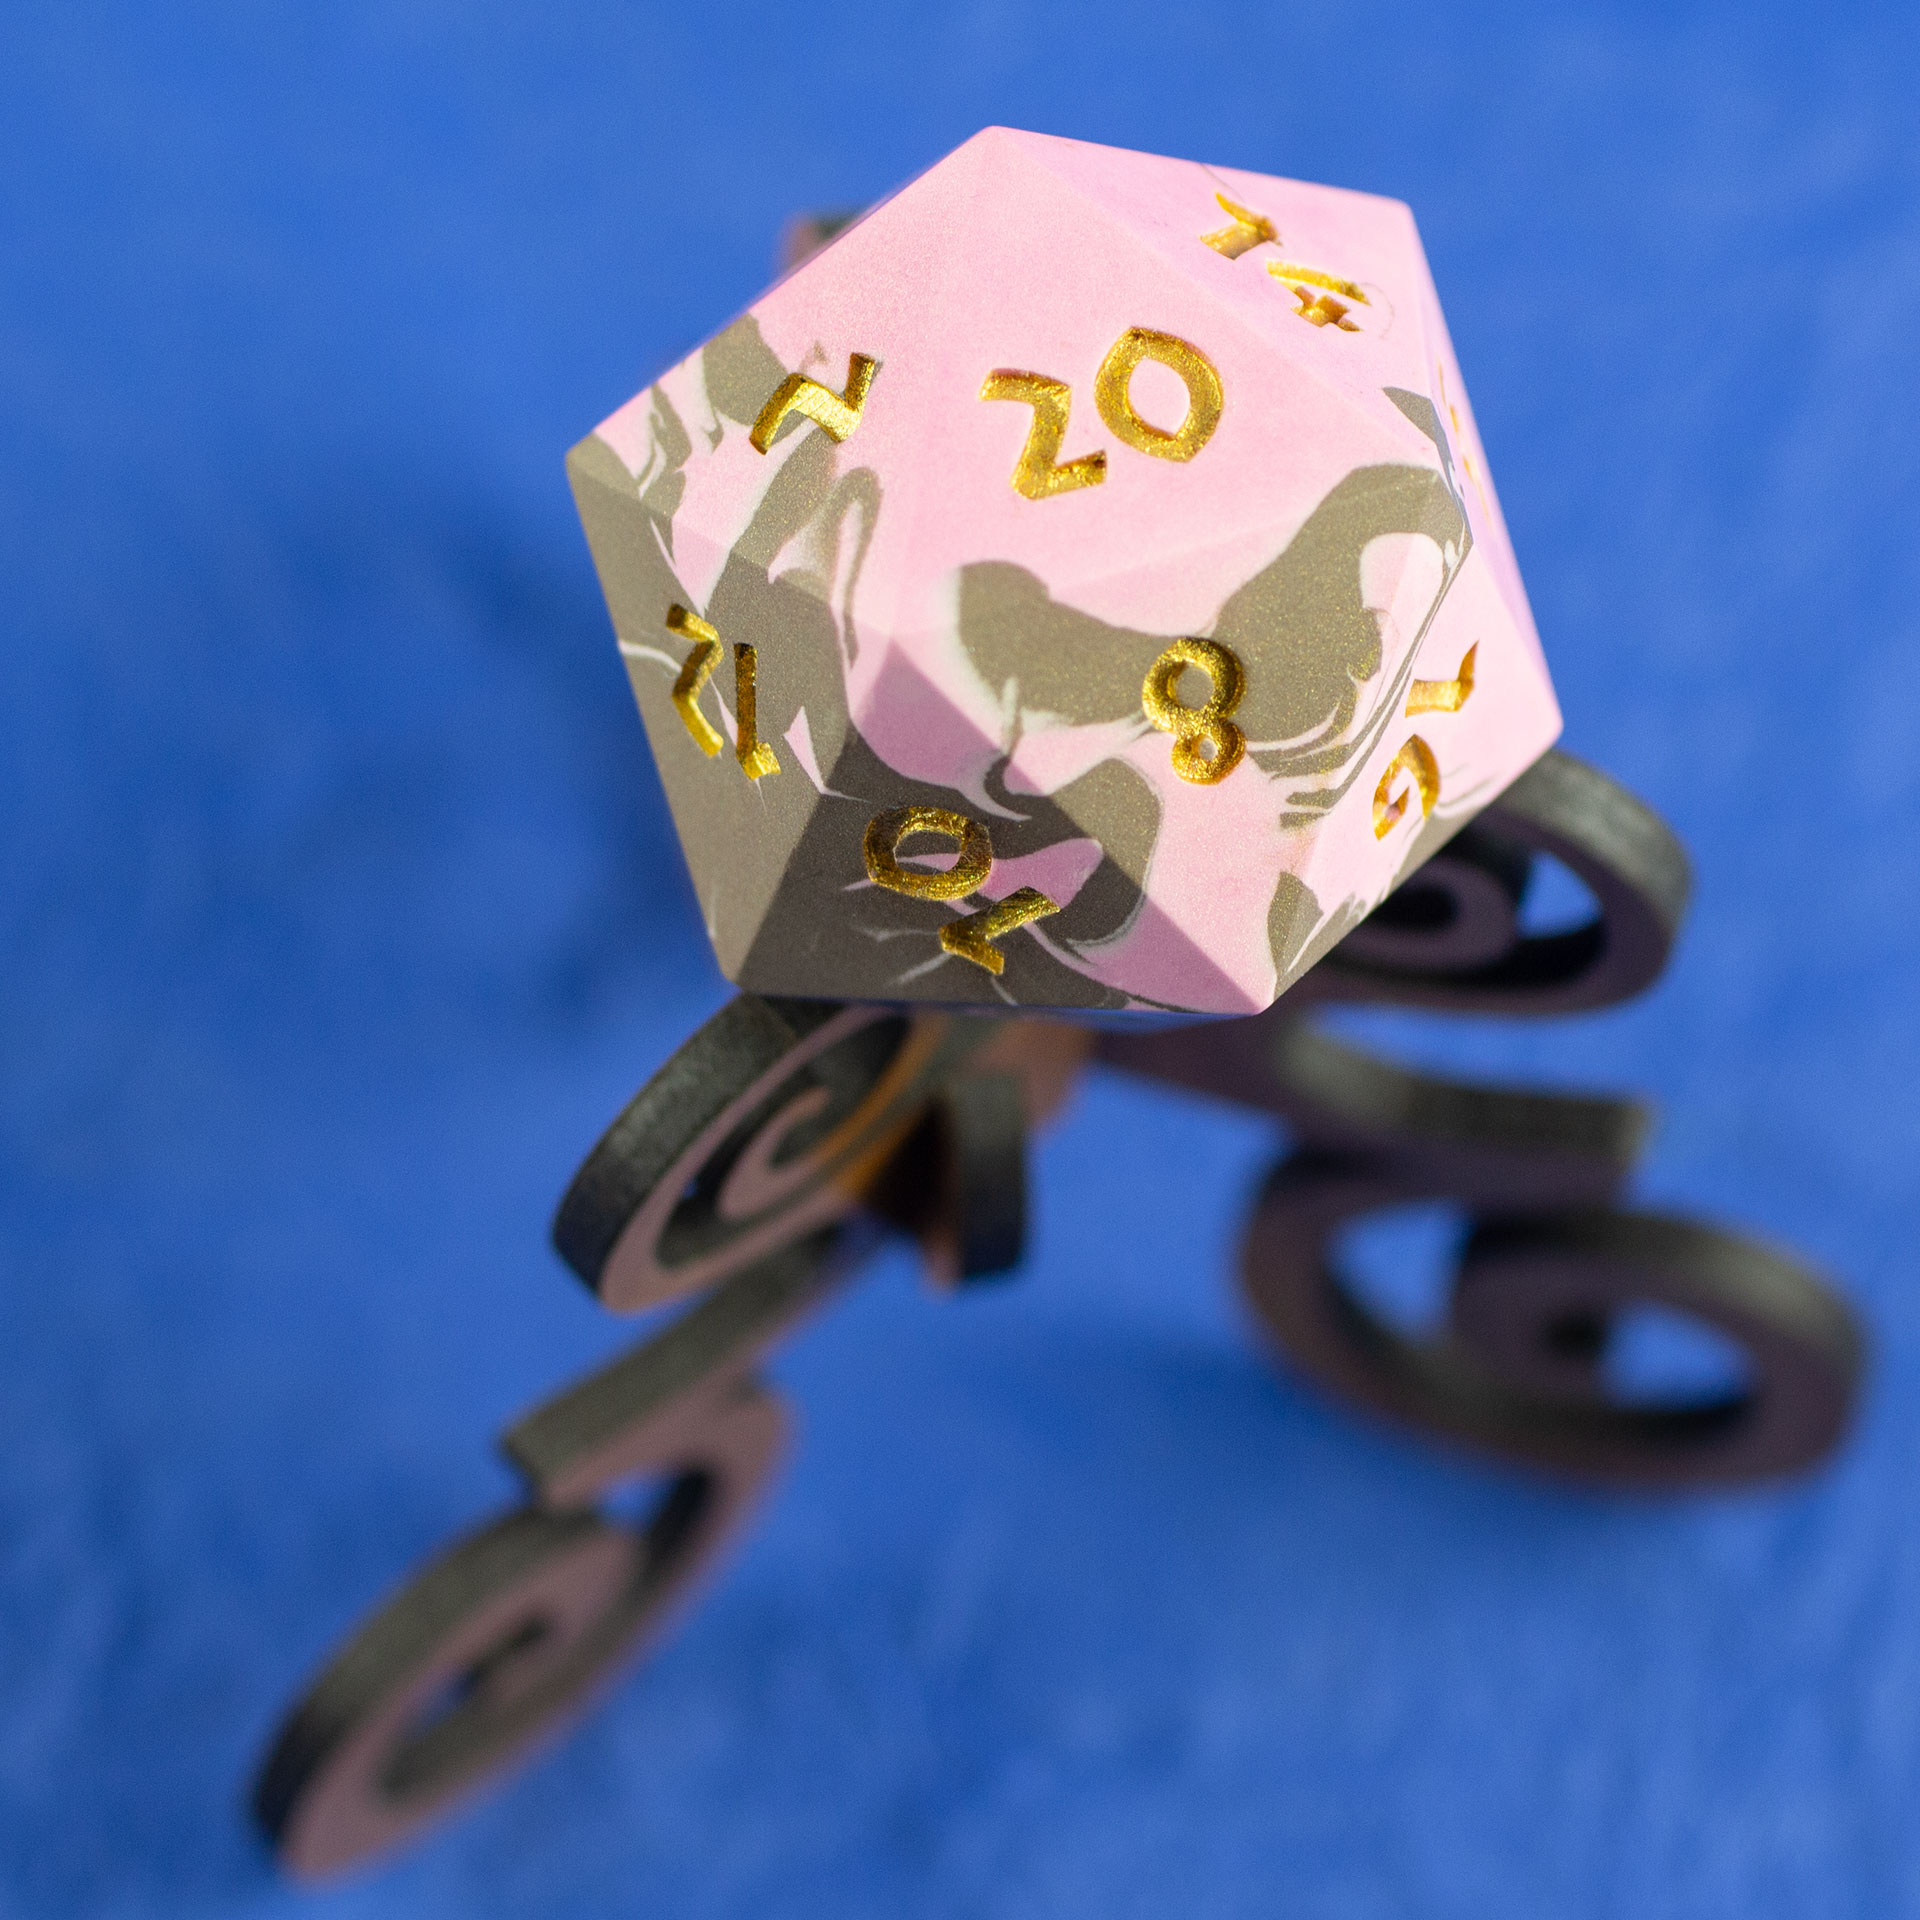
42mm Jesmonite chonk in pink and brown swirled together, the numbers painted in with metallic gold, sitting on a purpleheart stand.
42mm Jesmonite chonk in pink and brown swirled together, the numbers painted in with metallic gold, sitting on a purpleheart stand.
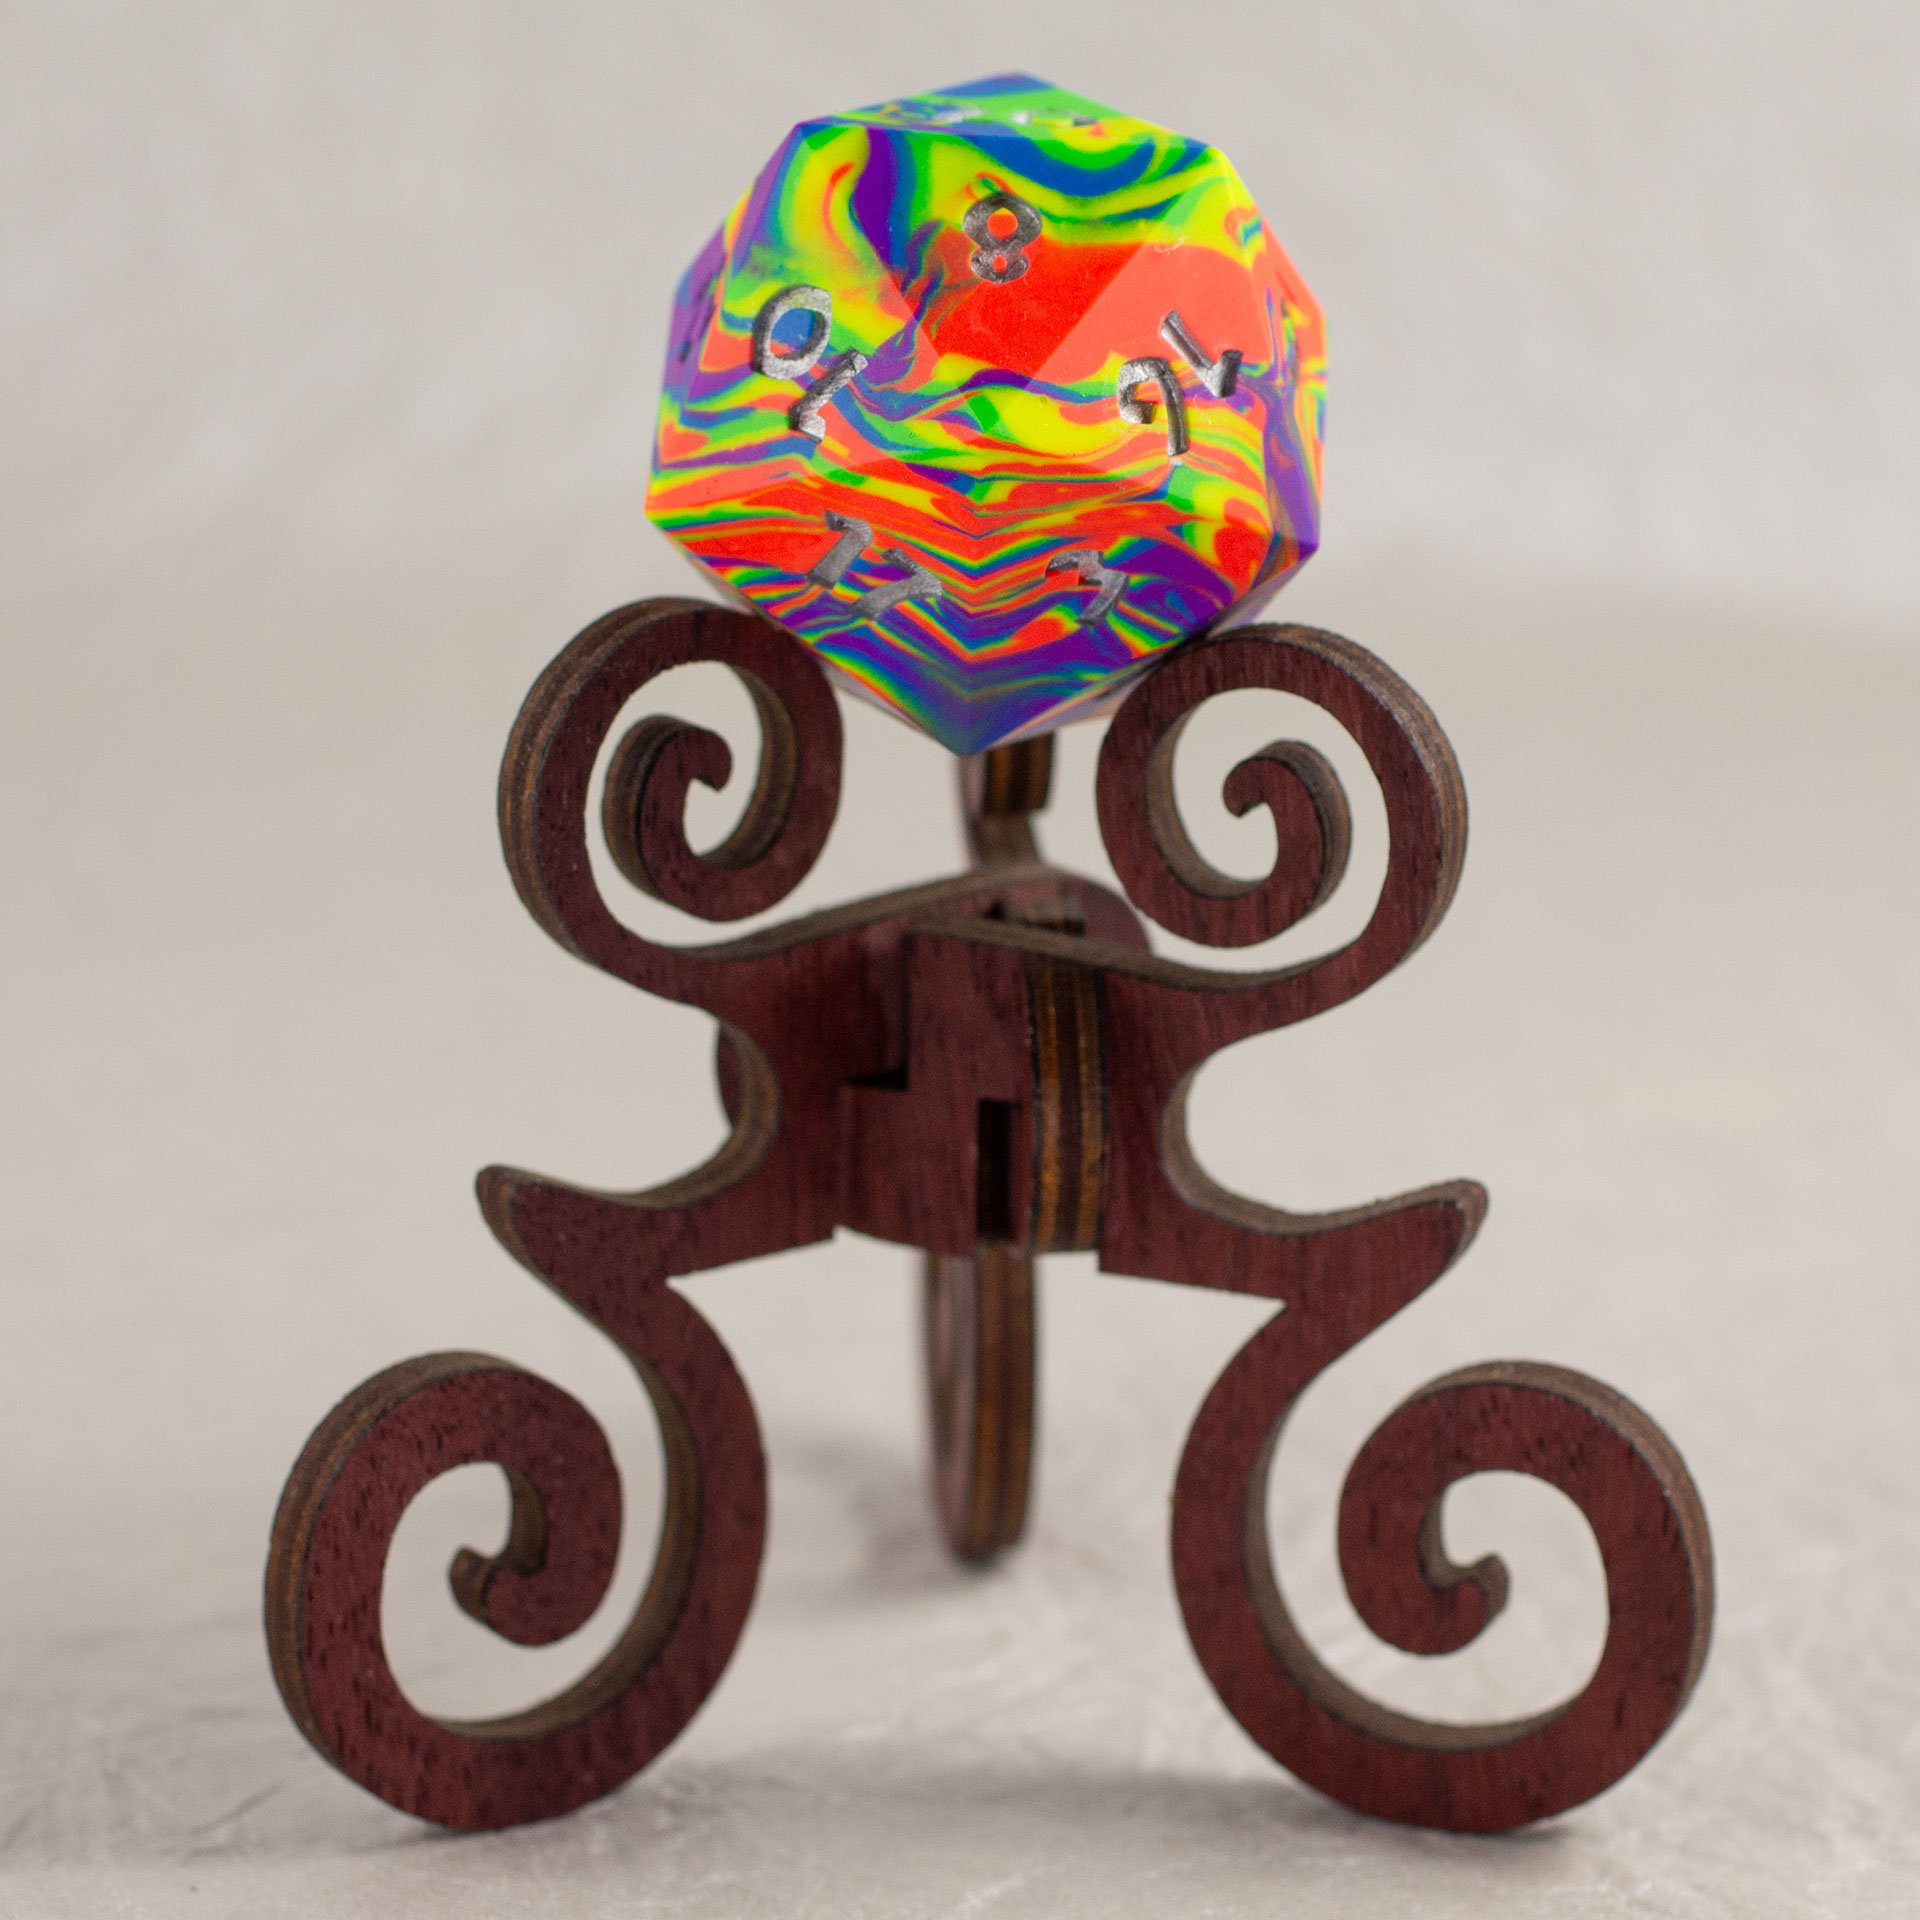
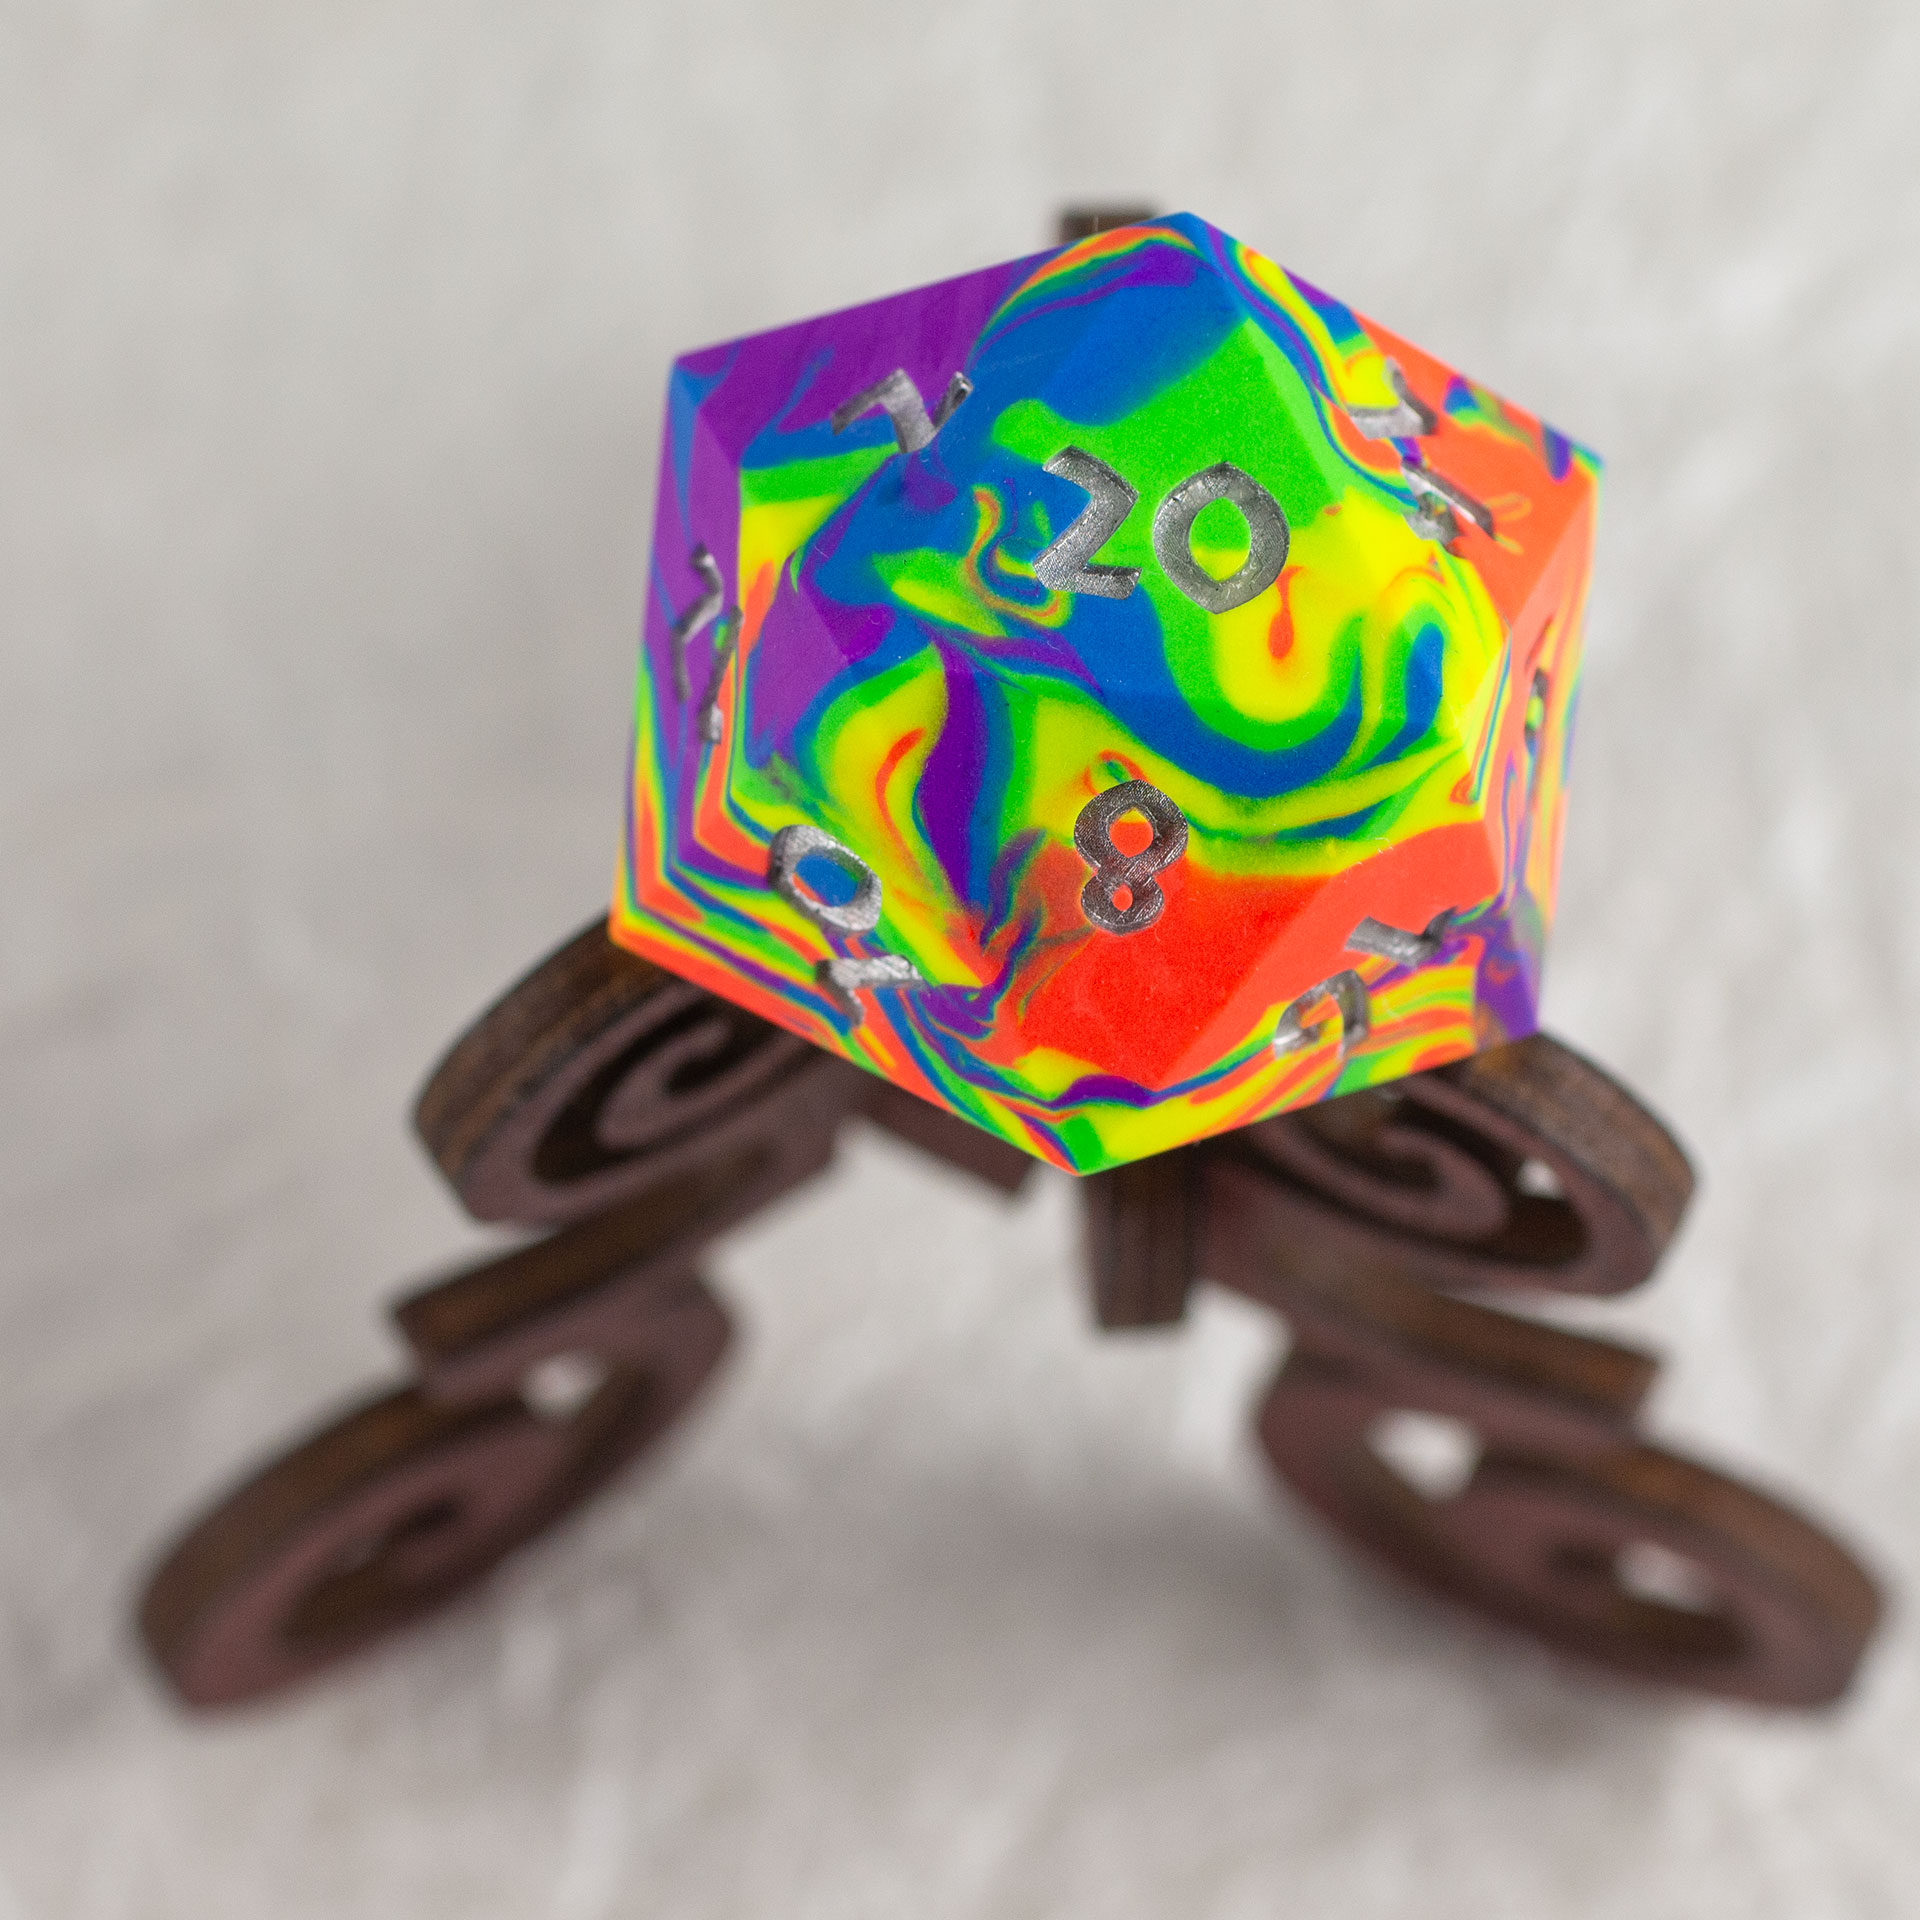
42mm Jesmonite chonk in a rainbow of orange, yellow, green, blue, and purple, swirled together, the numbers painted in with metallic silver, sitting on a purpleheart stand.
42mm Jesmonite chonk in a rainbow of orange, yellow, green, blue, and purple, swirled together, the numbers painted in with metallic silver, sitting on a purpleheart stand.
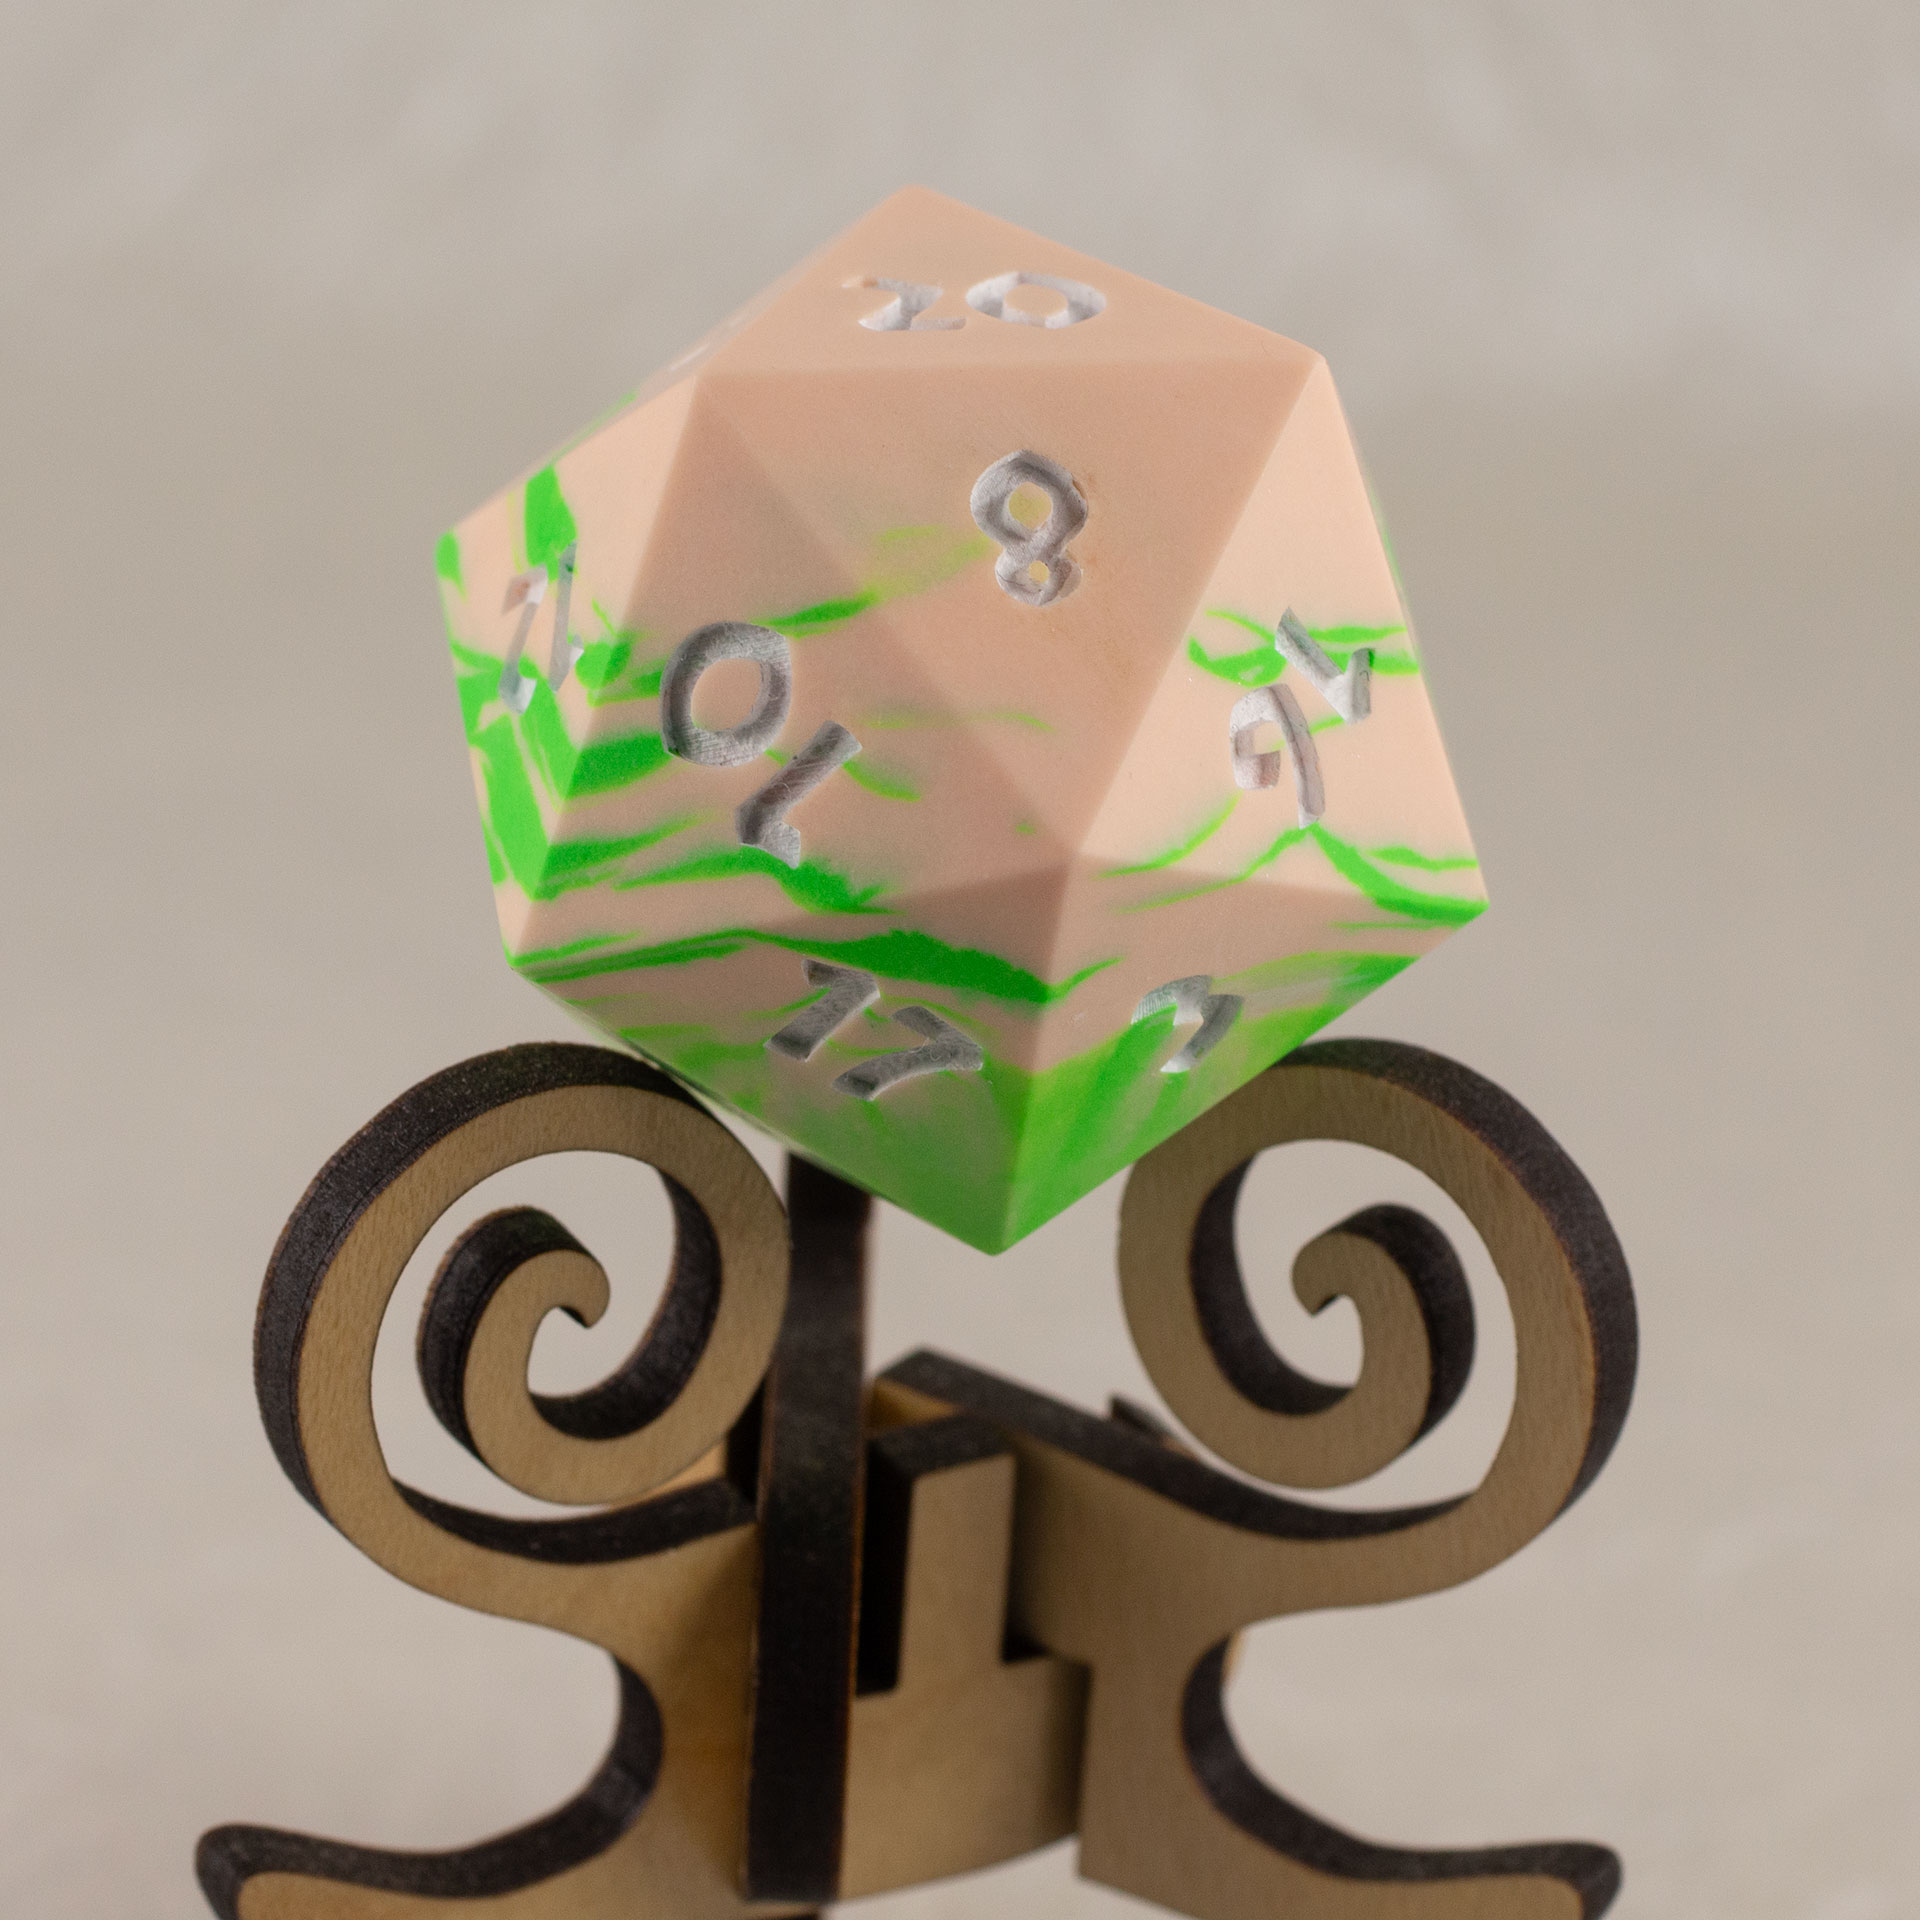
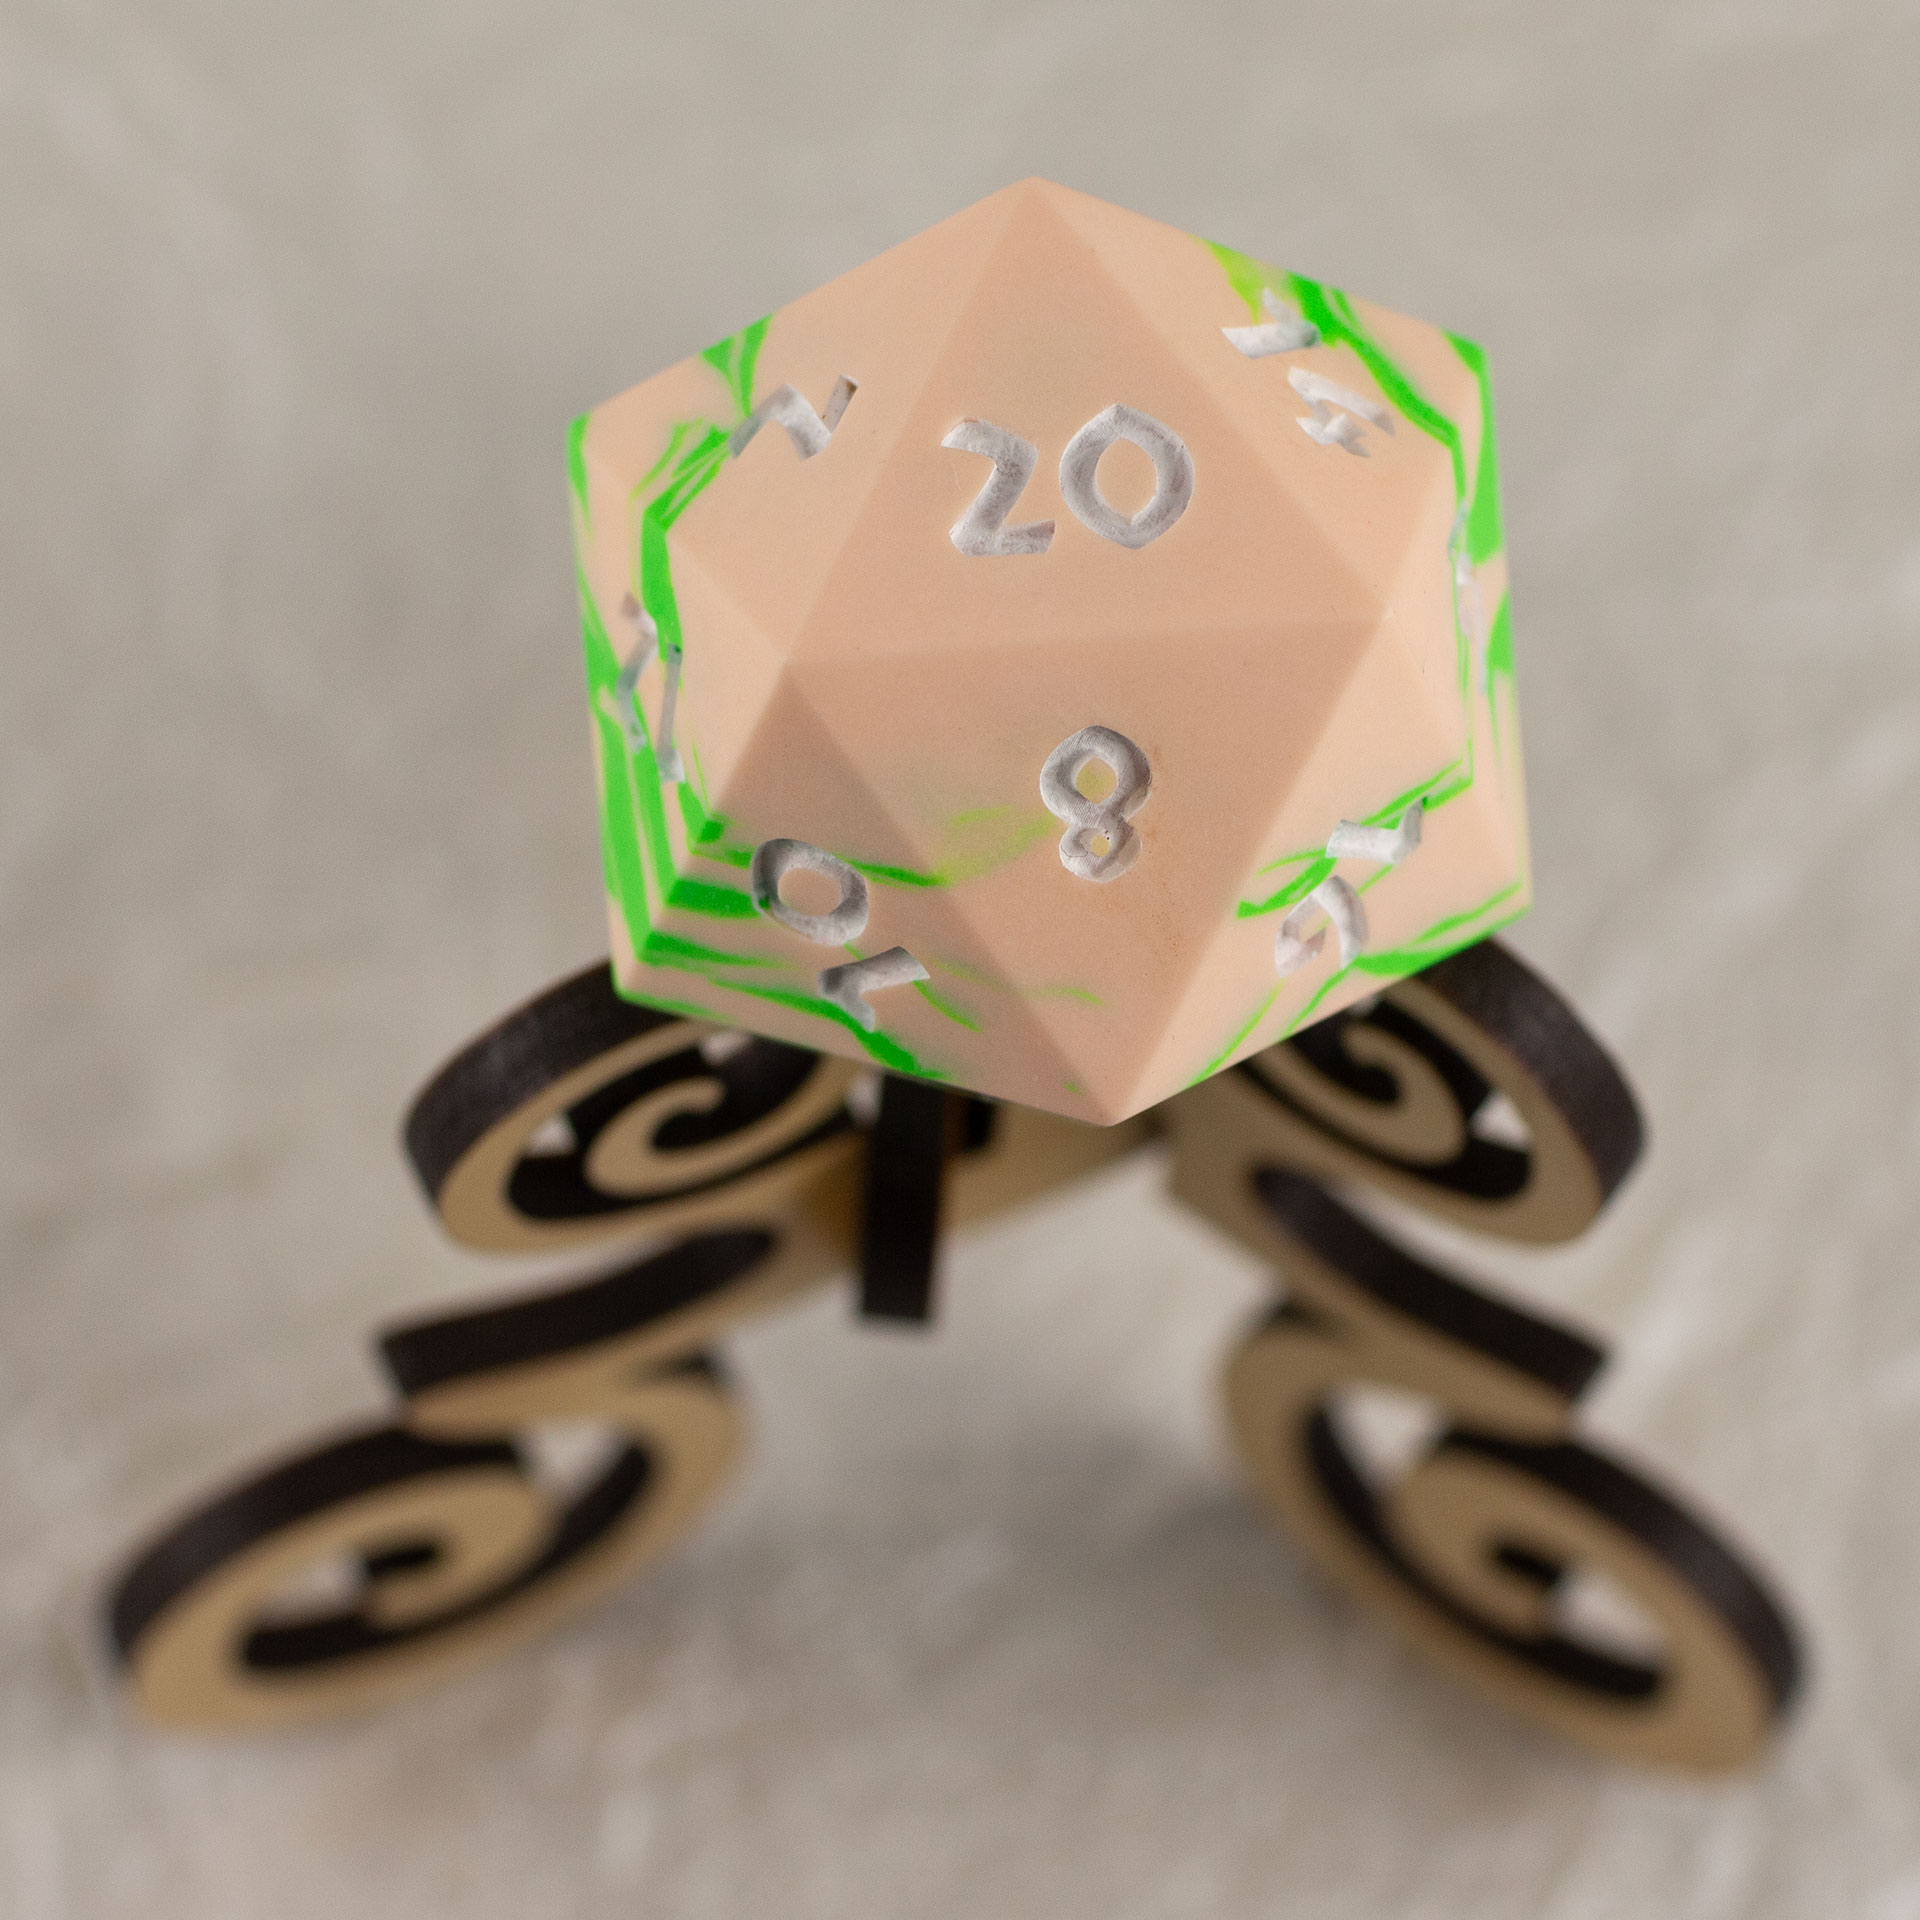
42mm Jesmonite chonk in peach and bright green swirled together, the numbers painted in with white, sitting on an oak stand.
42mm Jesmonite chonk in peach and bright green swirled together, the numbers painted in with white, sitting on an oak stand.
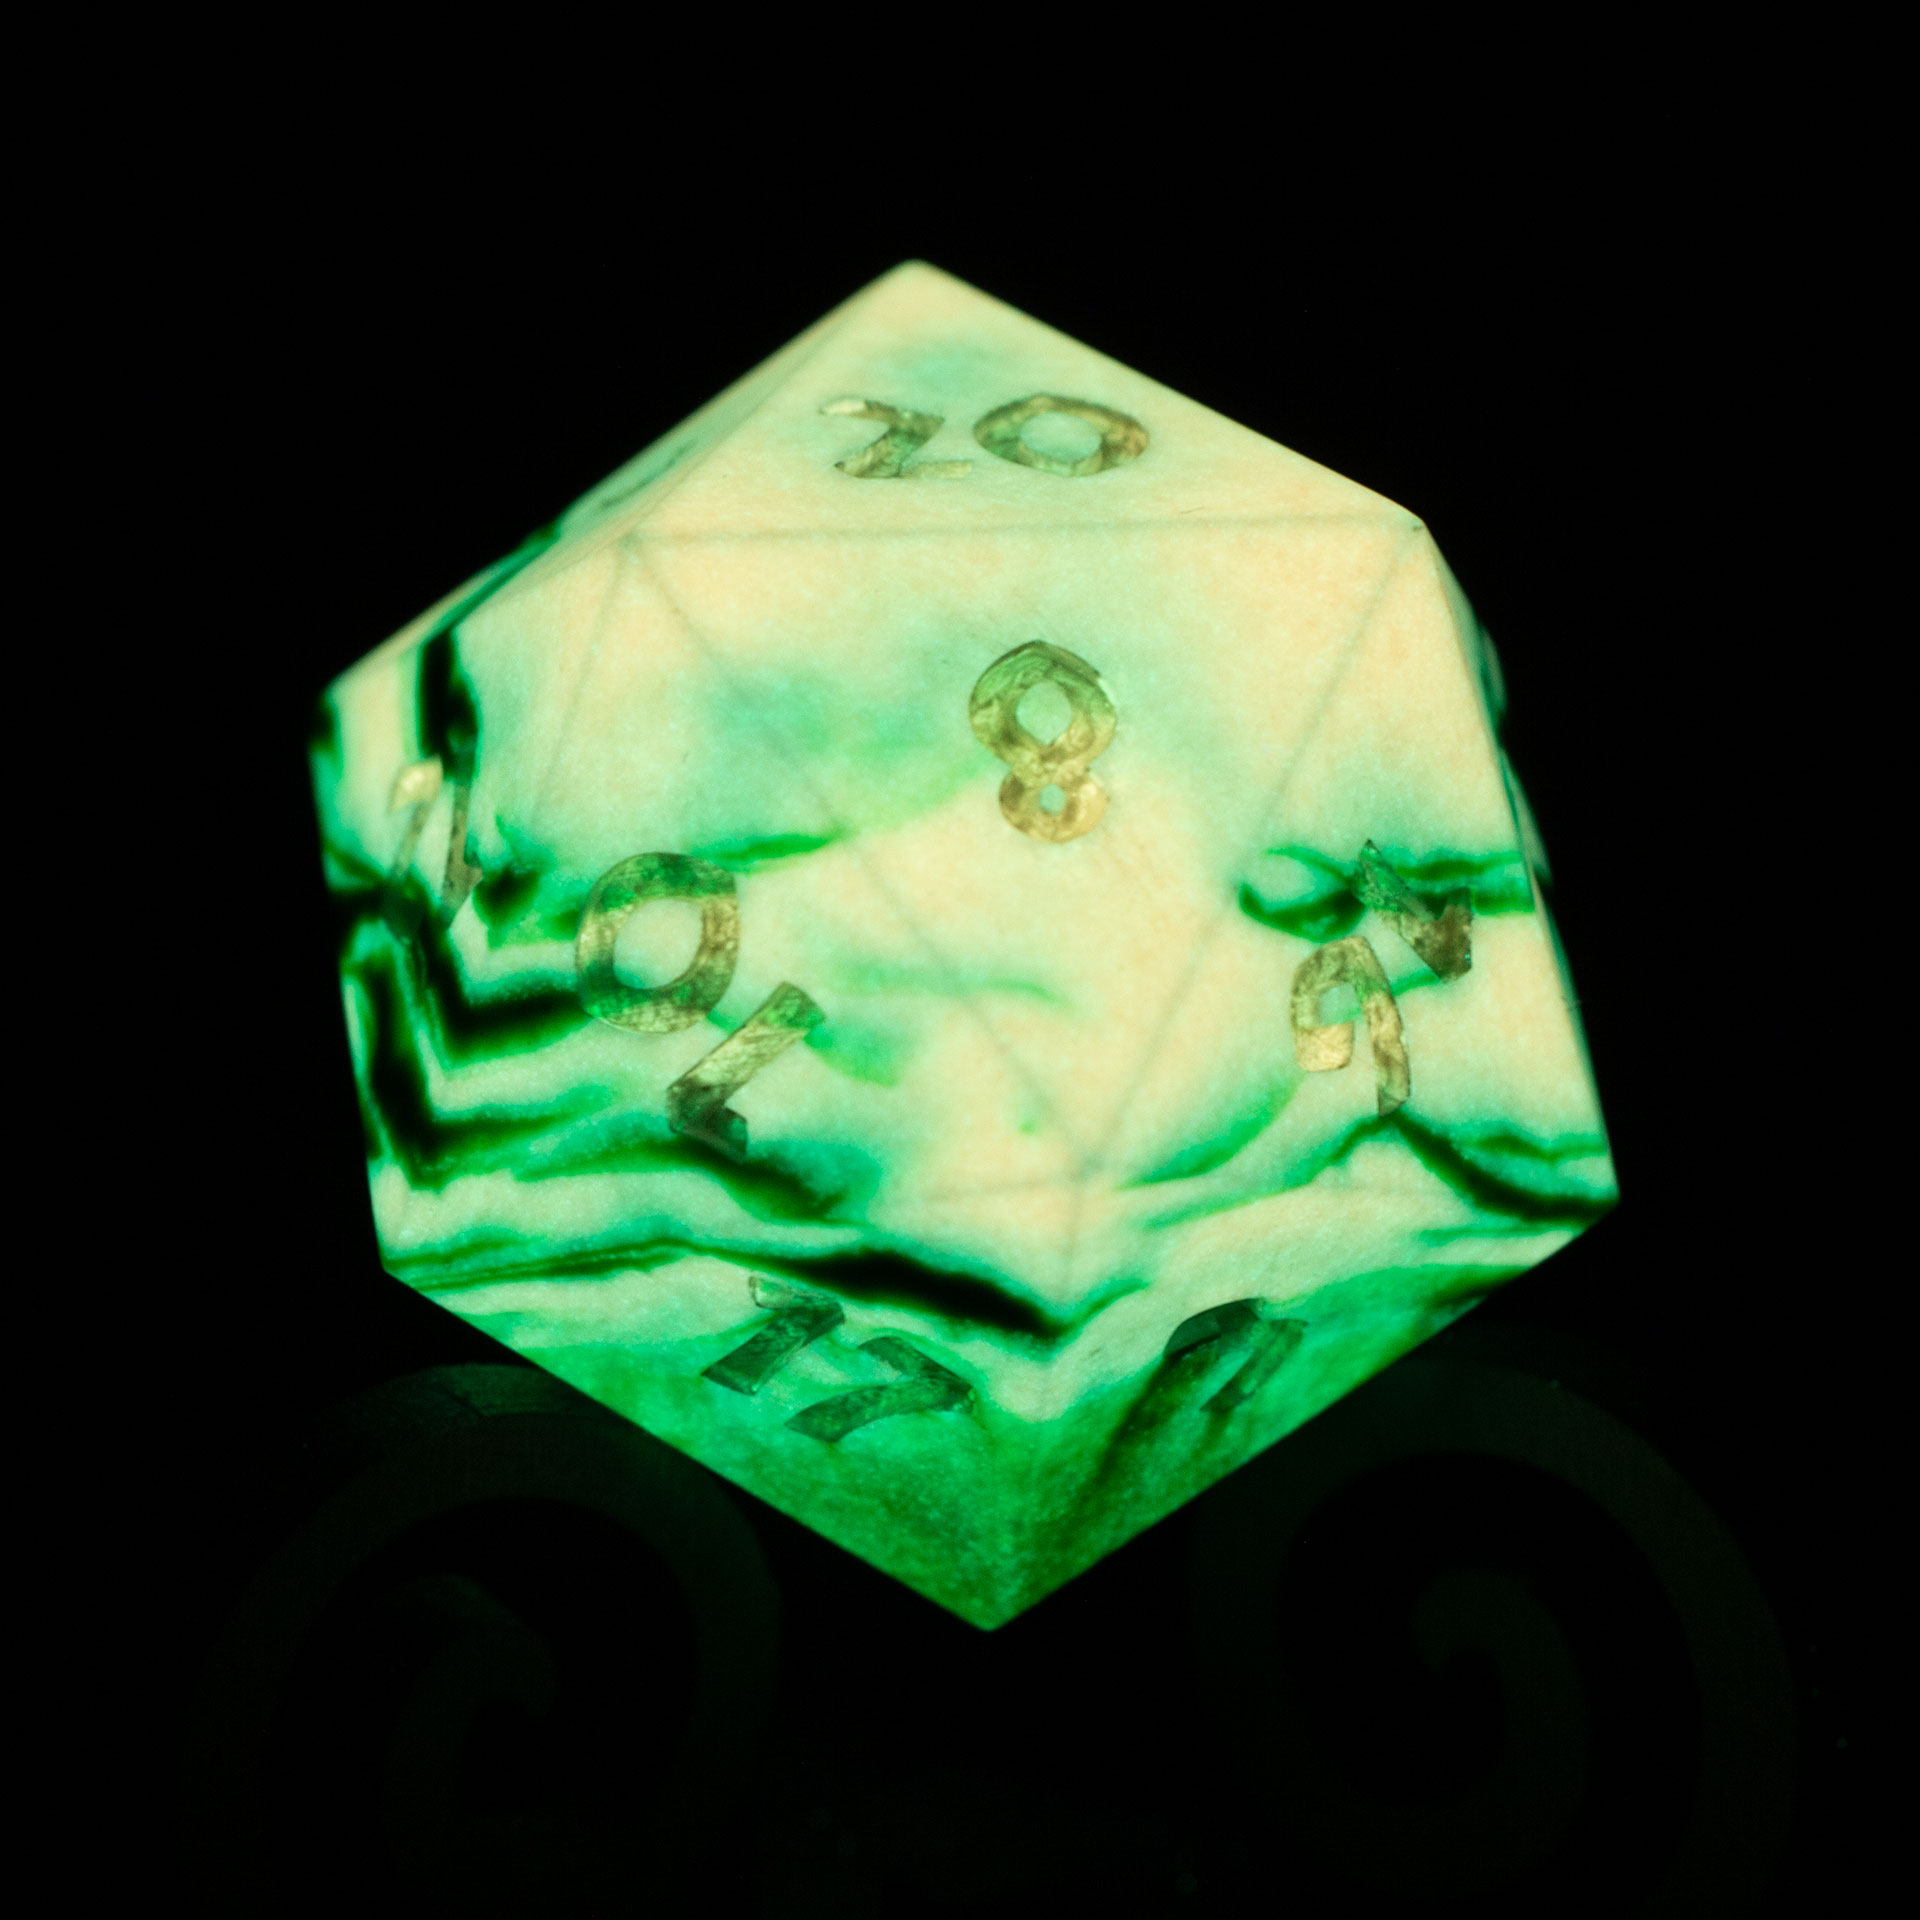
42mm Jesmonite 20-sided die glowing in the dark with an organic stripey pattern of dark green and glowing orange.
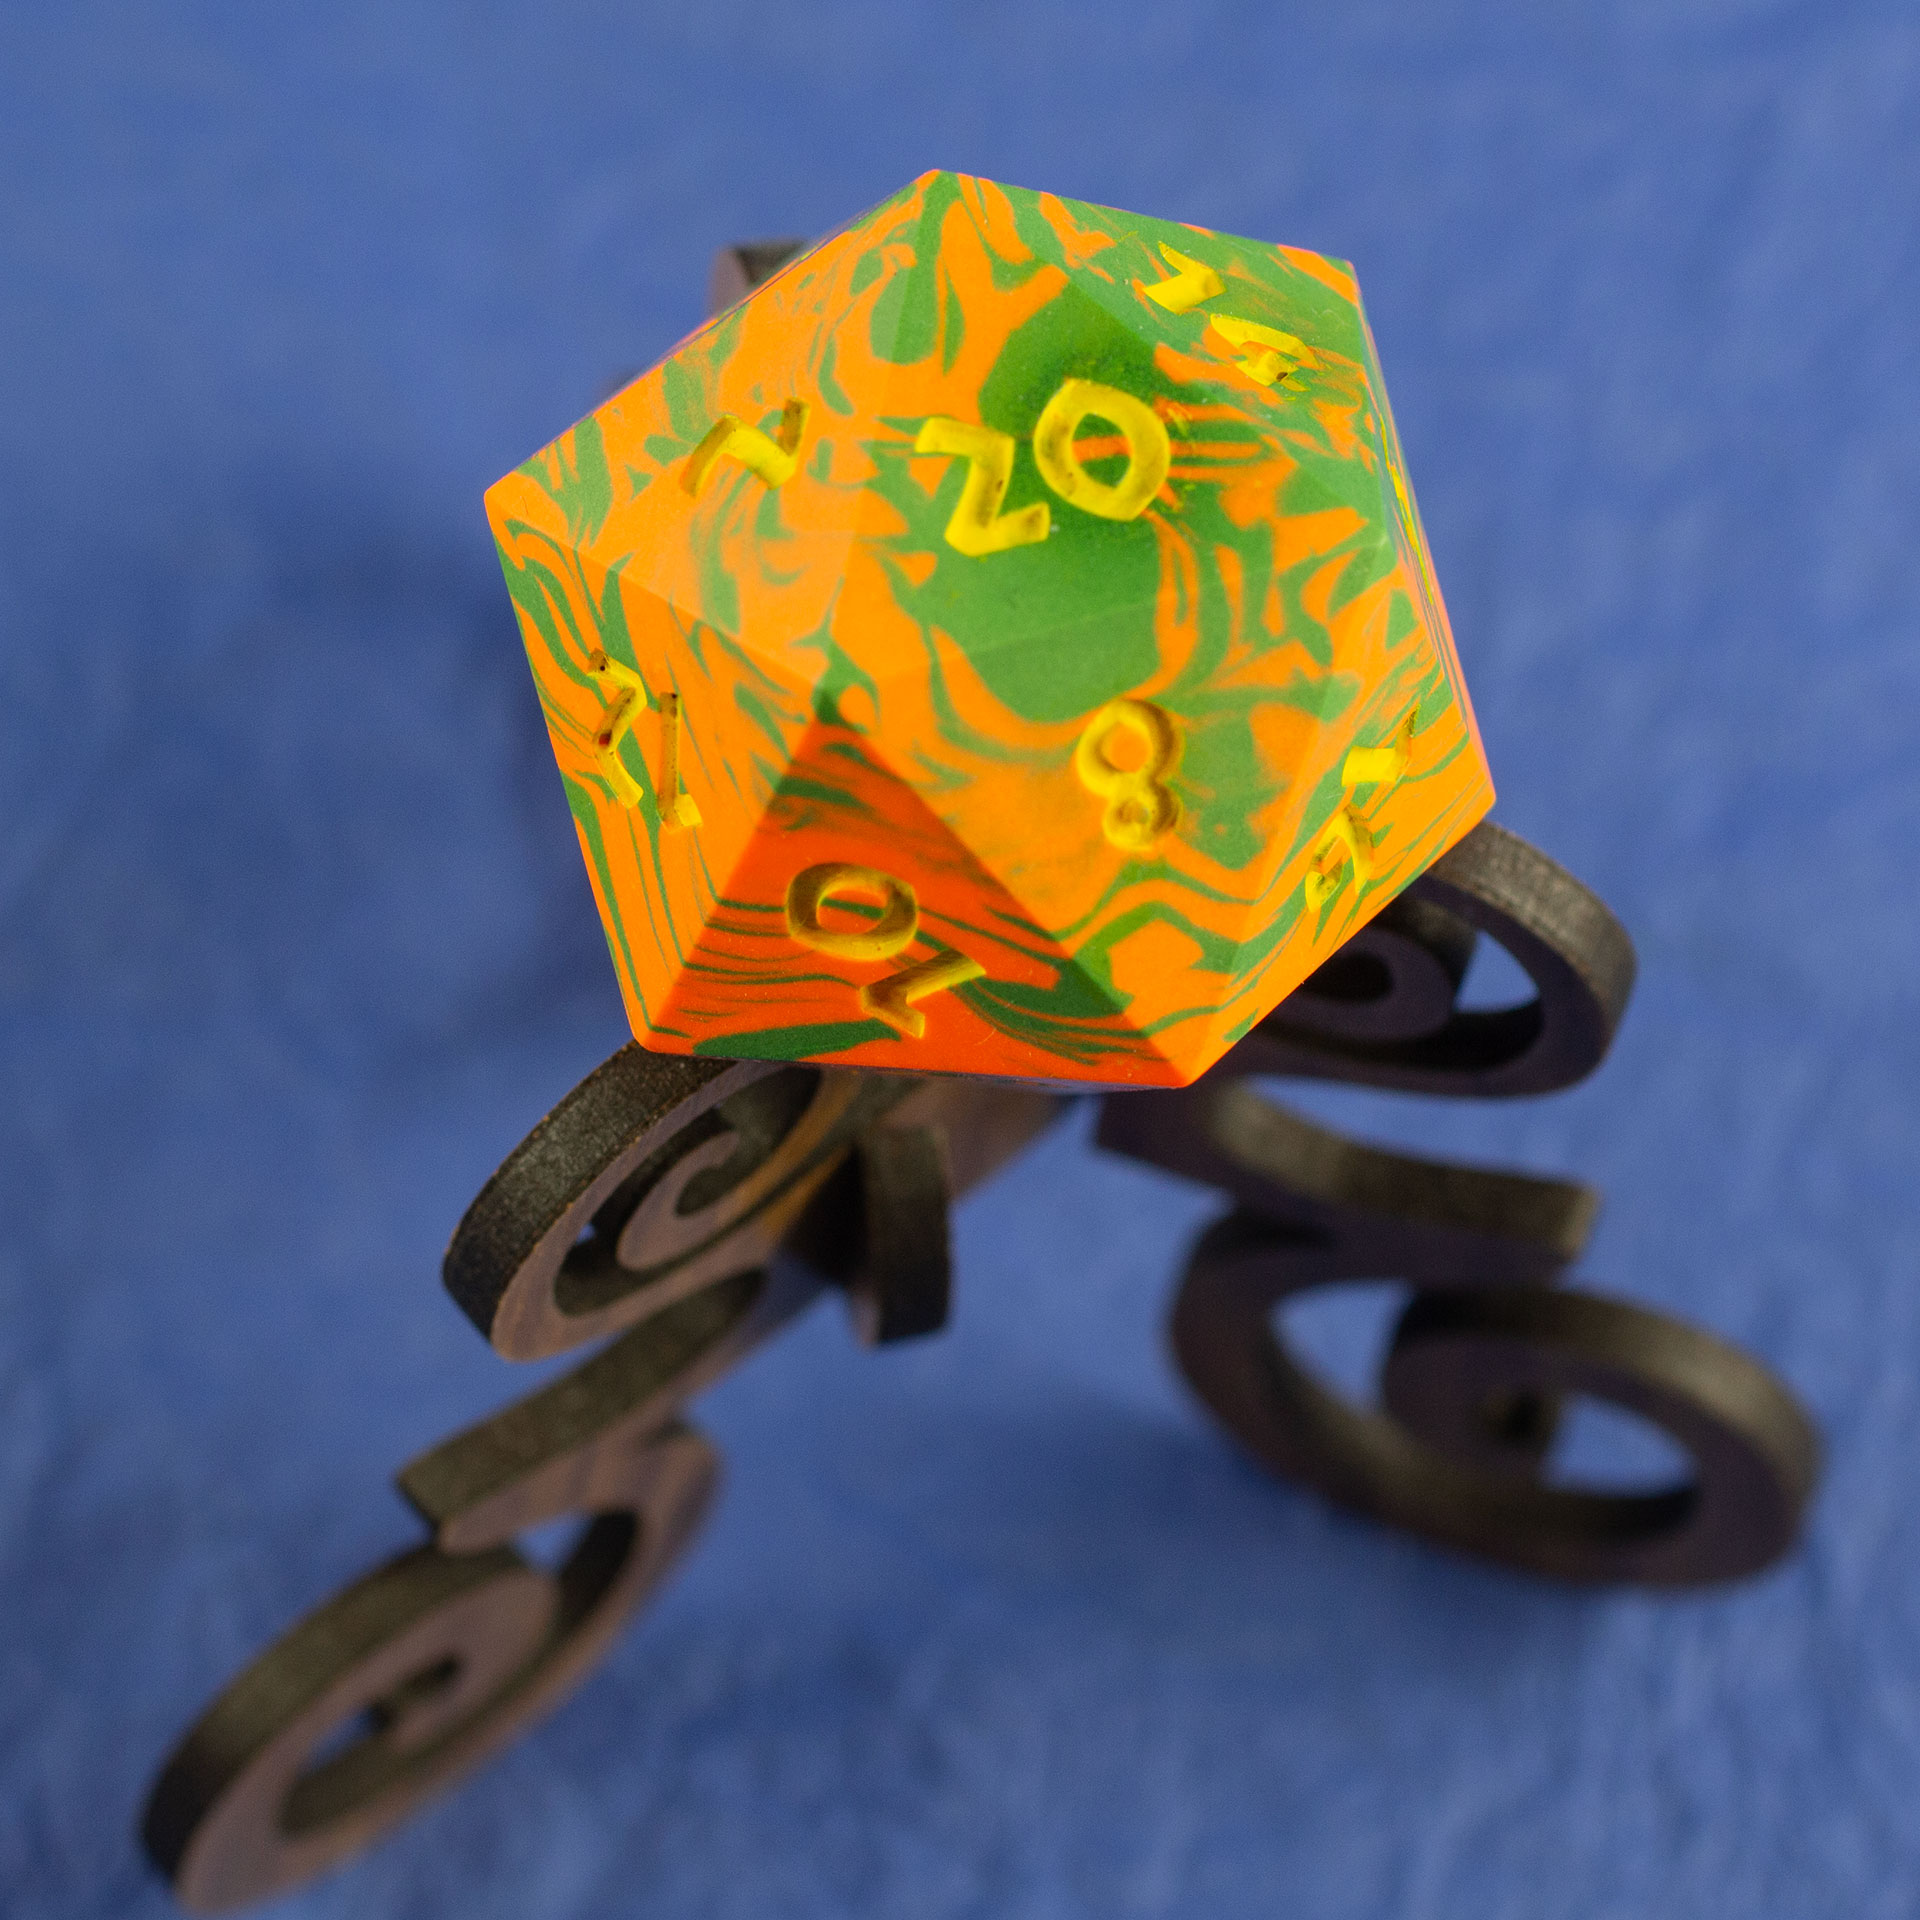
Top view of a green and orange 42mm Jesmonite 20-sided die with the numbers painted in yellow on a walnut stand.
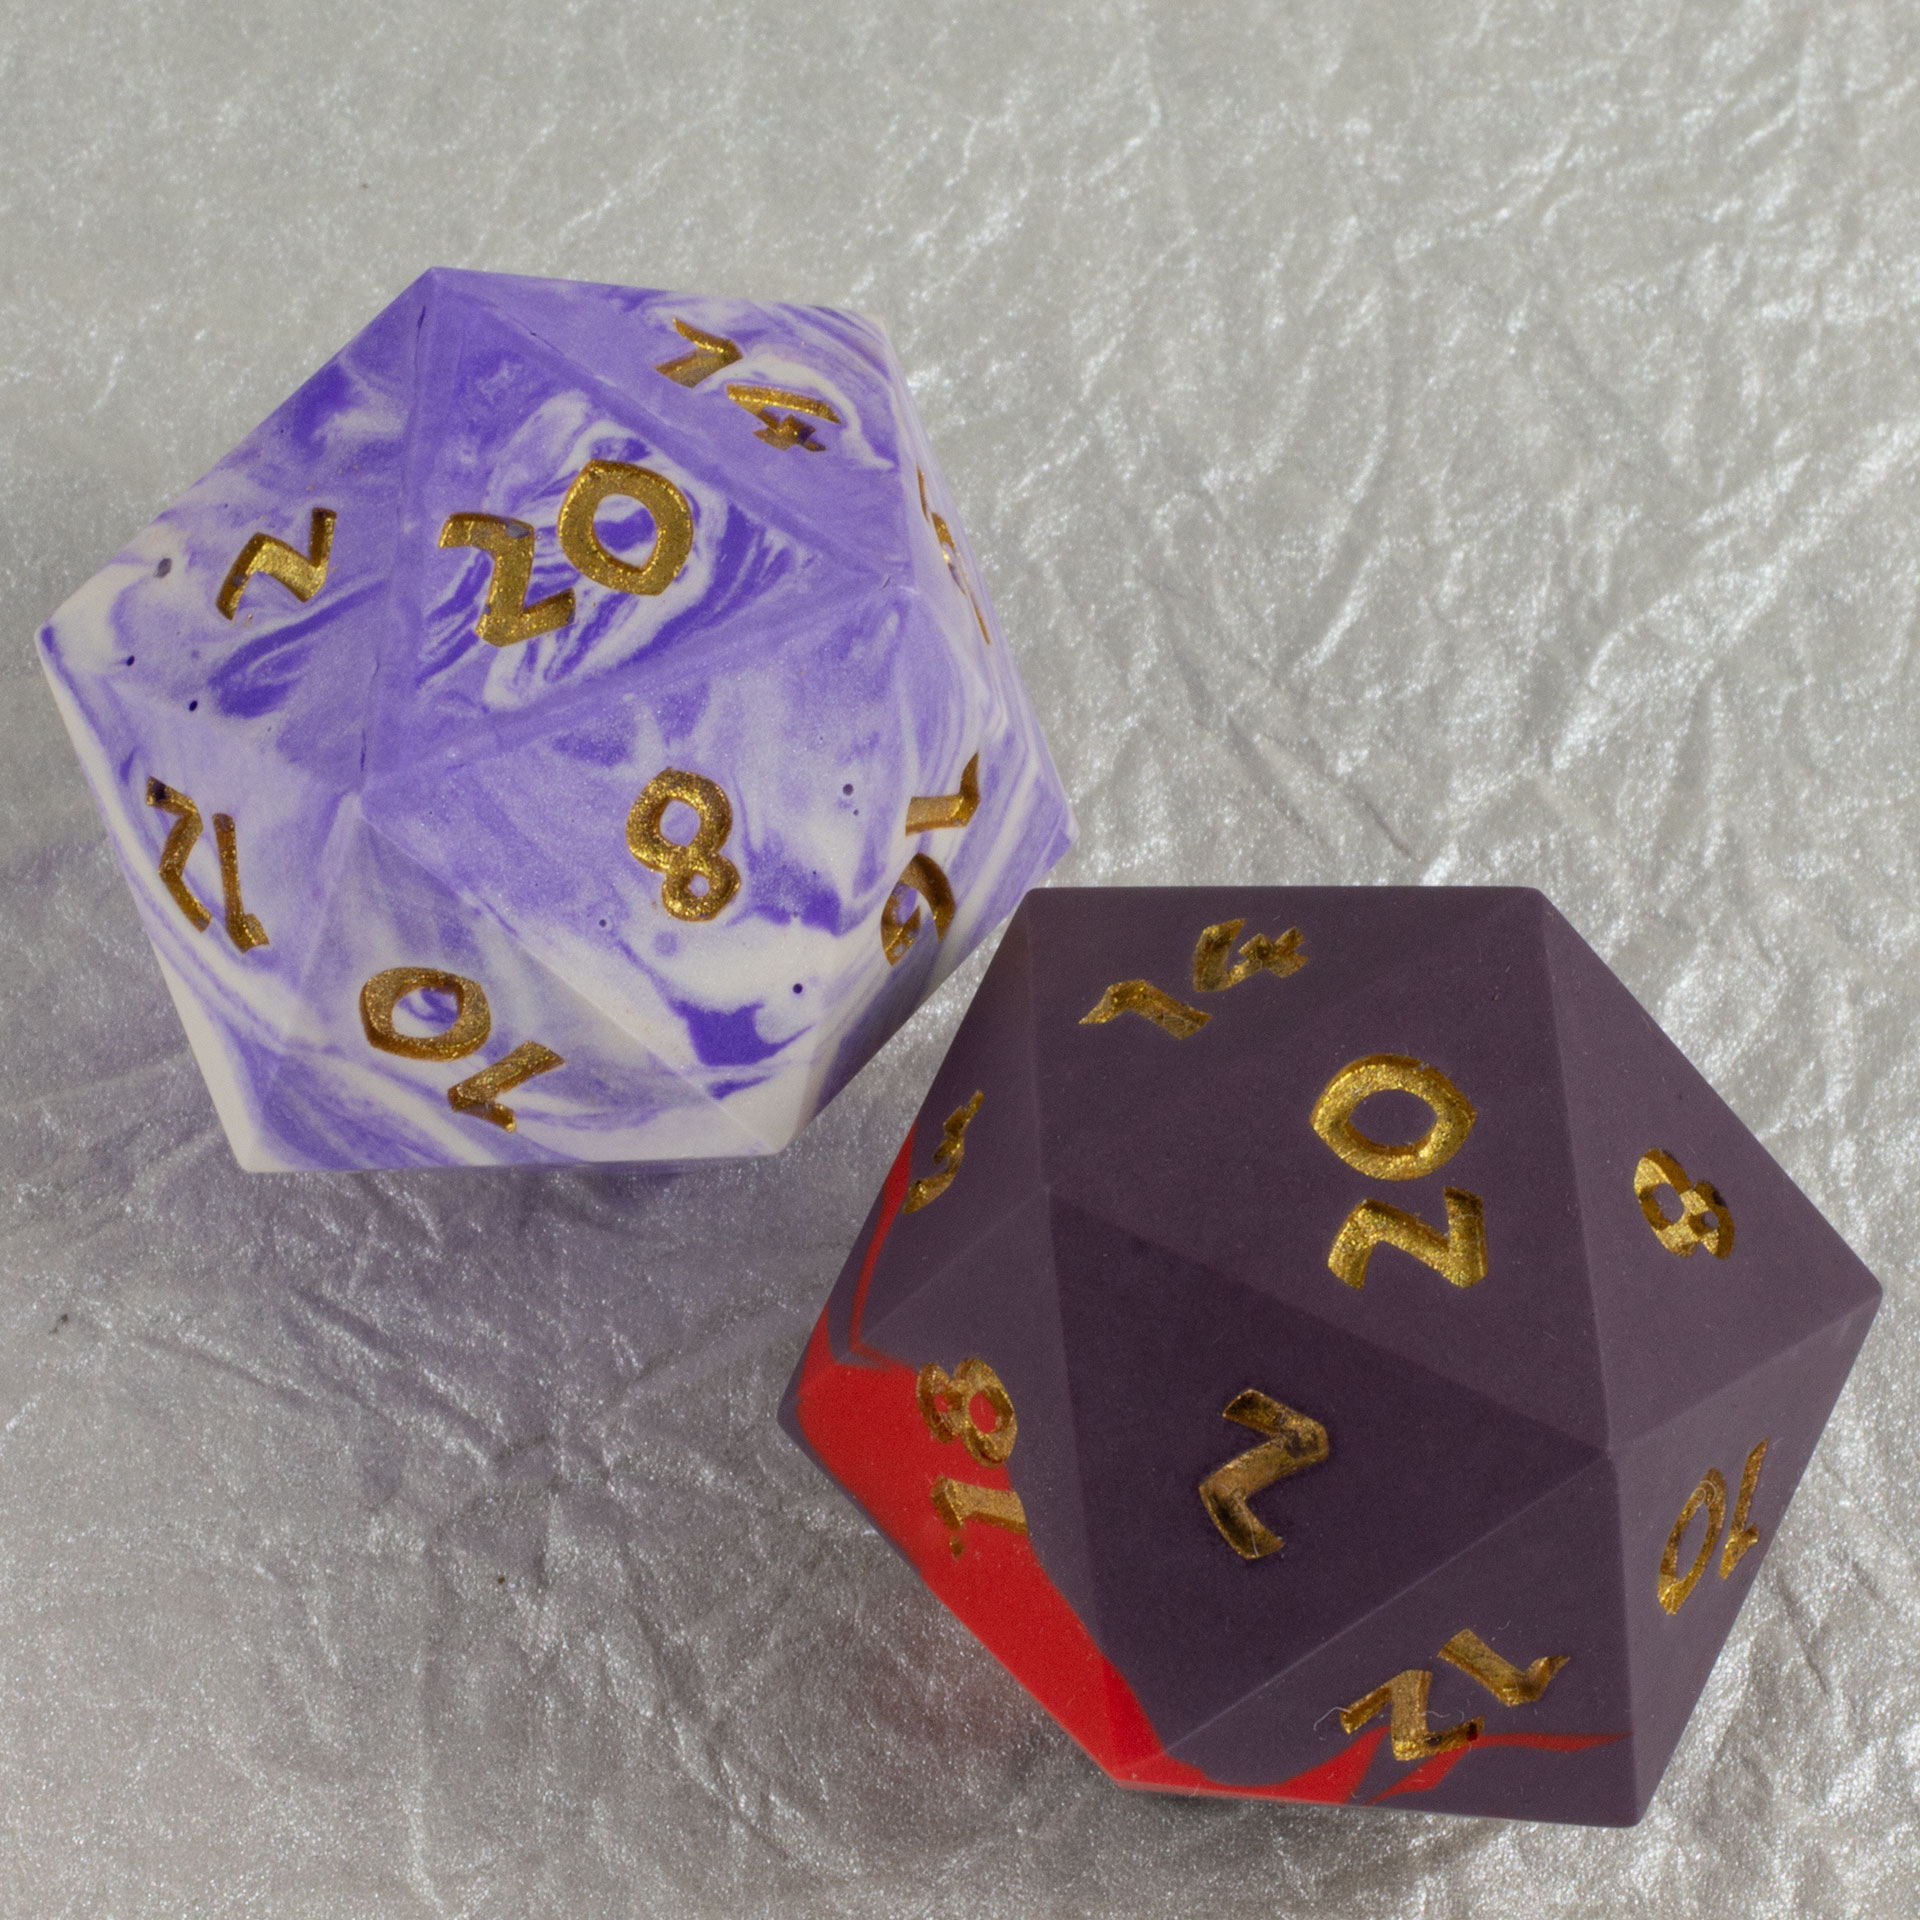
Two 42mm Jesmonite chonks. One is lavender and white with the numbers painted metallic gold. The other is mostly a dark purple with a little bit of red swirled in, also with metallic gold numbers.
I kept thinking I wanted to get a little more experience with mold making and casting. I have nieces, nephews, and friends who are all playing various tabletop roleplaying games (TTRPGs) like Dungeons & Dragons regularly. Dice would make great gifts for all of those people. I have also been enjoying the work of some of the resin artists I have found making dice. I didn’t really want to do a bunch of resin casting in my home studio, but had become aware of some less-toxic stone-based “eco resin” casting materials like Jesmonite.
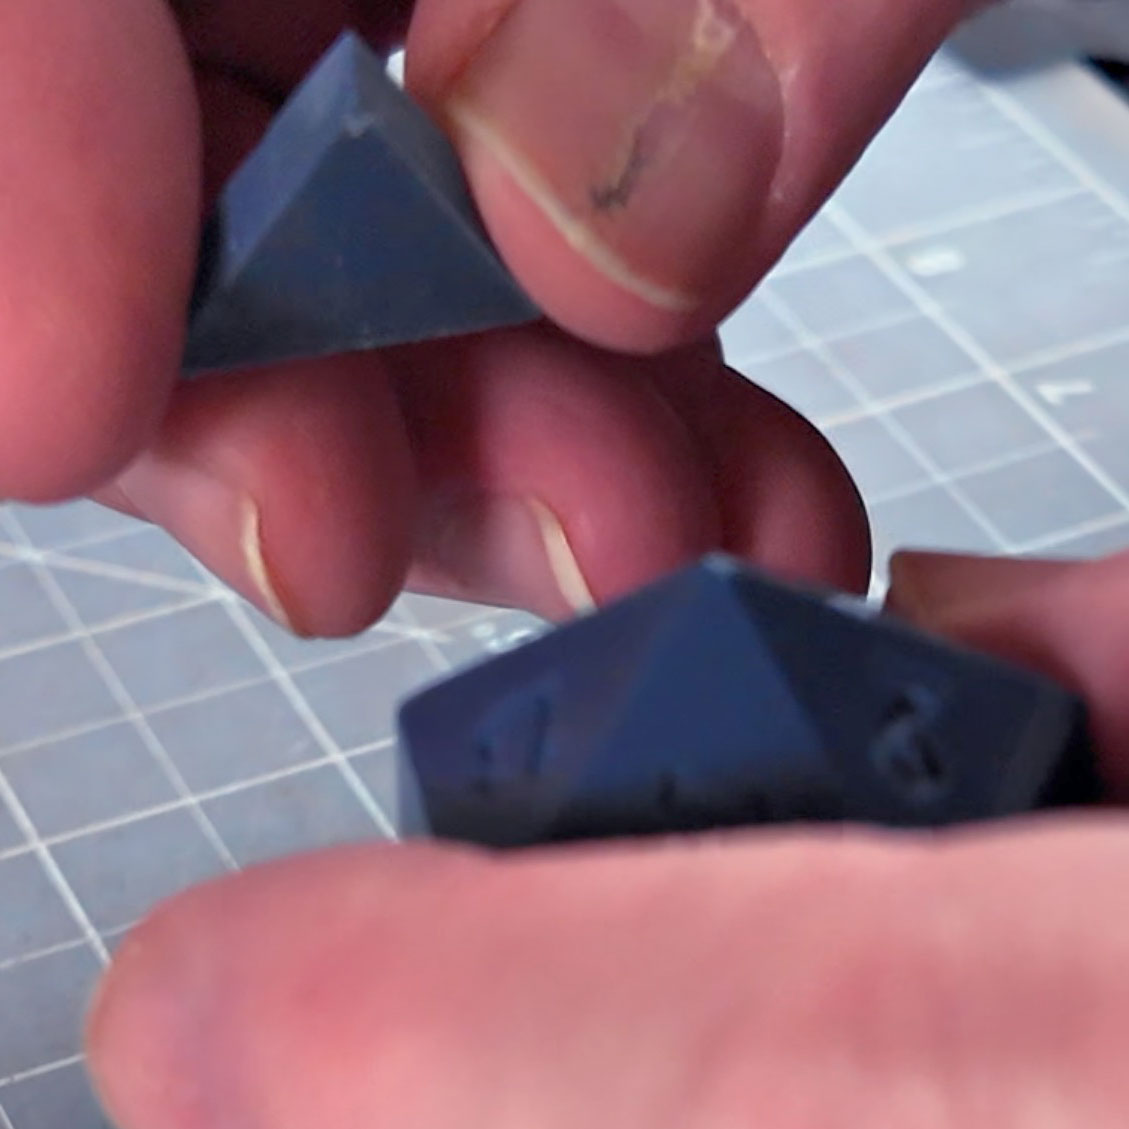
Back in March, I started working on making a big 42mm 20-sided die (a D20, in TTRPG parlance). I modeled it in Blender with a font I like (and have properly licensed), and set about 3D printing one from which to make molds. Although I have been knocking out all sorts of perfect models on my resin printer, there were some issues with getting my Anycubic machine to produce a flawless D20. At first, it was mechanical. It took me a bit to realize the plate had worked itself loose in a way apparently isn’t expected, then a bit to get it fixed correctly. Minor issues after that were eventually resolved by choosing the right resin.
From that print and a printed mold form, I made silicone molds, eventually coming up with a slightly-modified cap mold style that seems to work pretty well.
Triangular plate that attaches to one side of the 20-sided die to elevate it for the modified cap mold.
Modified cap mold for a 20-sided die.
I cast a bunch of dice in Jesmonite, playing with various mixing and pouring techniques, different pigments, and various approaches to keeping bubbles and voids from ruining the casts. I mostly settled on using an old dental vibration table, some tapping and stretching of the filled molds, and a pressure pot for the later.
I have been painting in the numbers with acrylic paint, and finishing by polishing with bees’ wax.
There are a lot more finished dice than I am showing in this post. I haven’t managed to photograph all of them yet. I may add more in the future.
Once I had some big dice, I decided I needed to make some cool gift boxes for them. That’s for another post, though.
I made a video walking through the journey of getting some finished Jemonite chonks:
You can also watch some of them spin in the demo short:
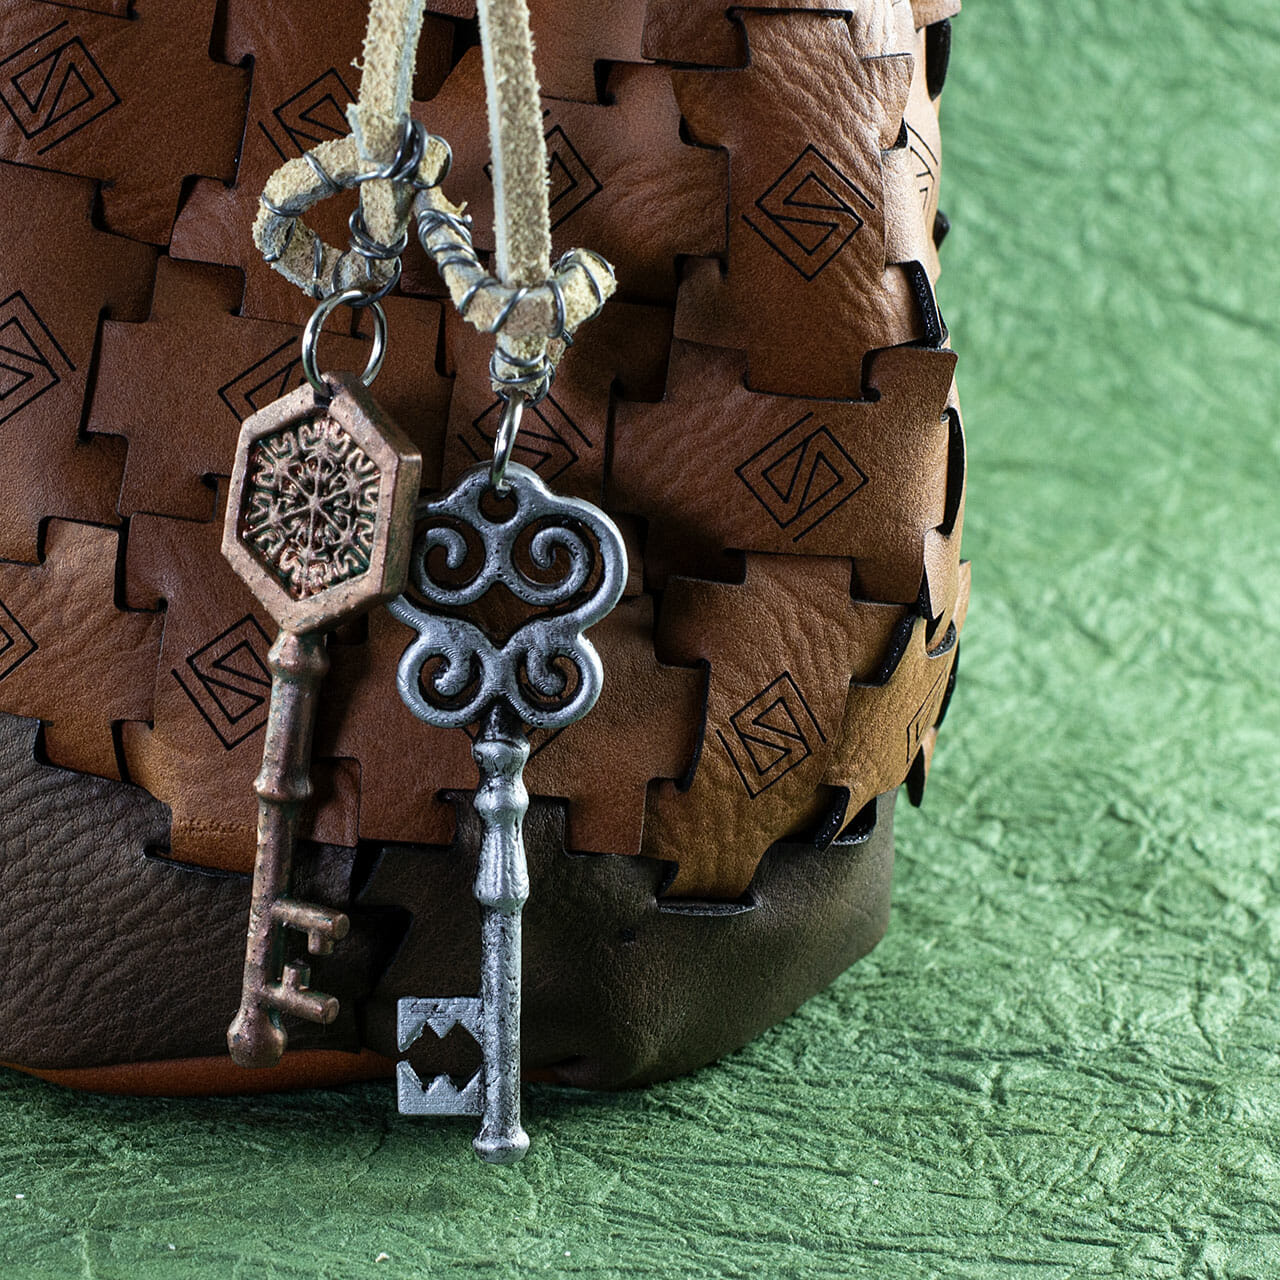
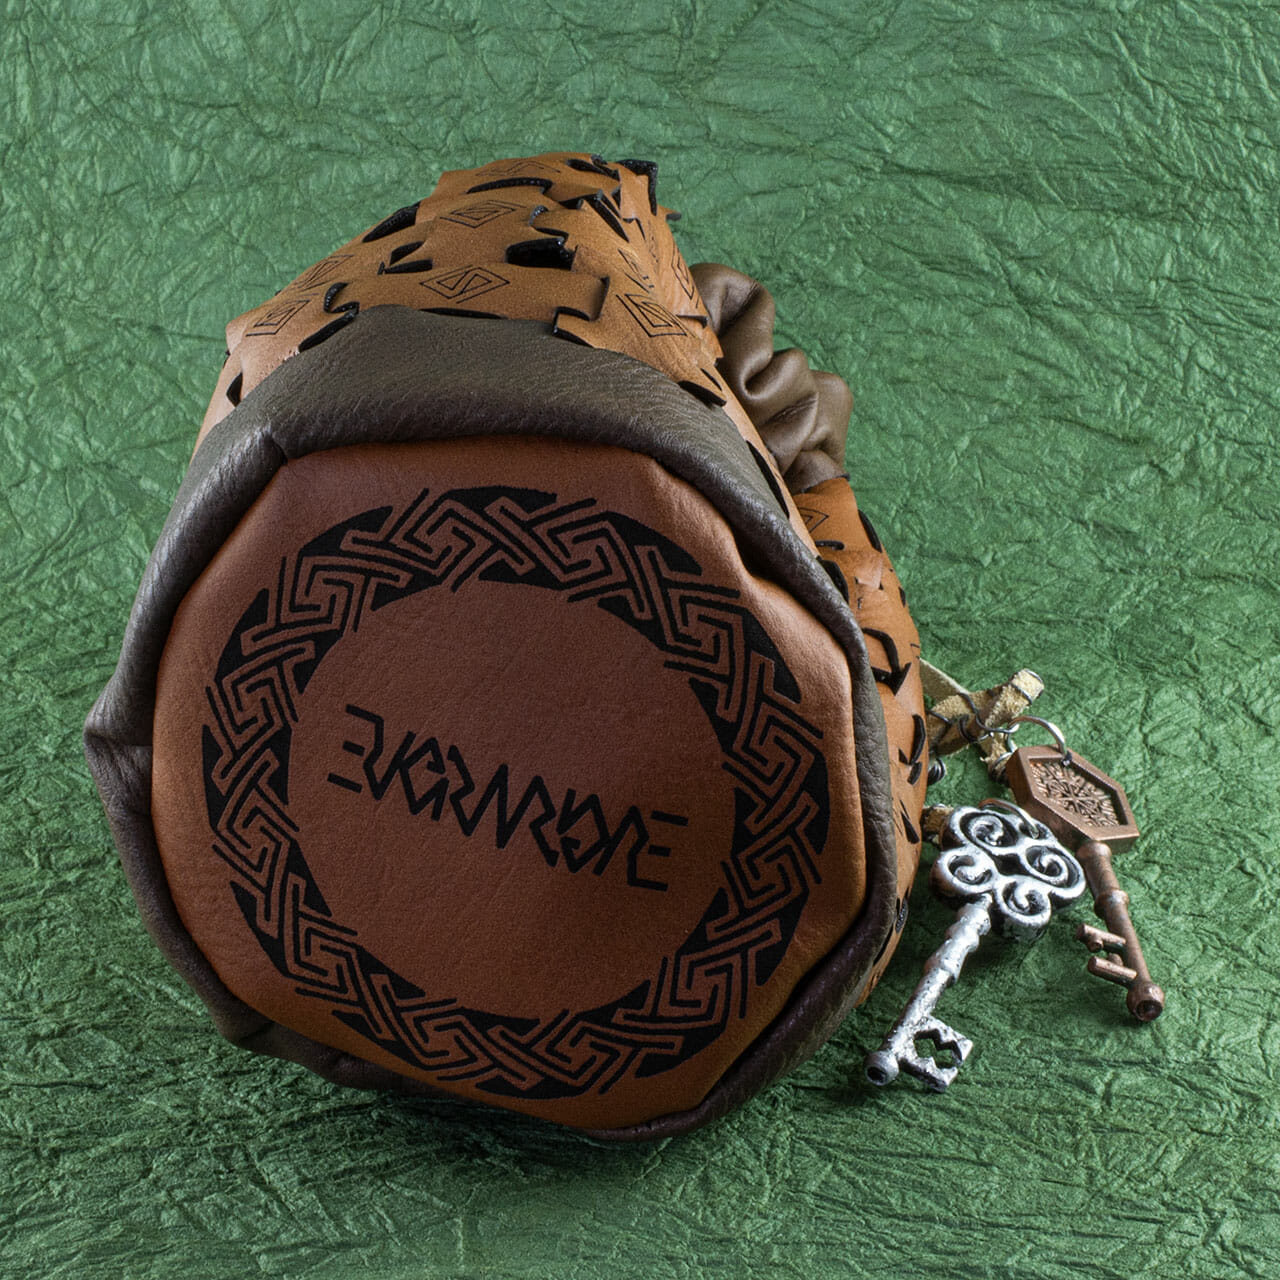
This scrap (faux) leather bag with a Celtic key theme is an initial exploration of a technique for using small scraps of leather or similar material leftover from other projects. I thought the tiles would be fun with a minimal Celtic key pattern motif in the center of each, then leaned into the theme with a circular key pattern ring on the bottom and, some 3D printed key, sculpted in Nomad Sculpt.
The SVG for the “leather locker” tile is linked below. You will likely want to adjust the slot height to match the thick ness of the material you are using. Let me know if you use it to make anything interesting!
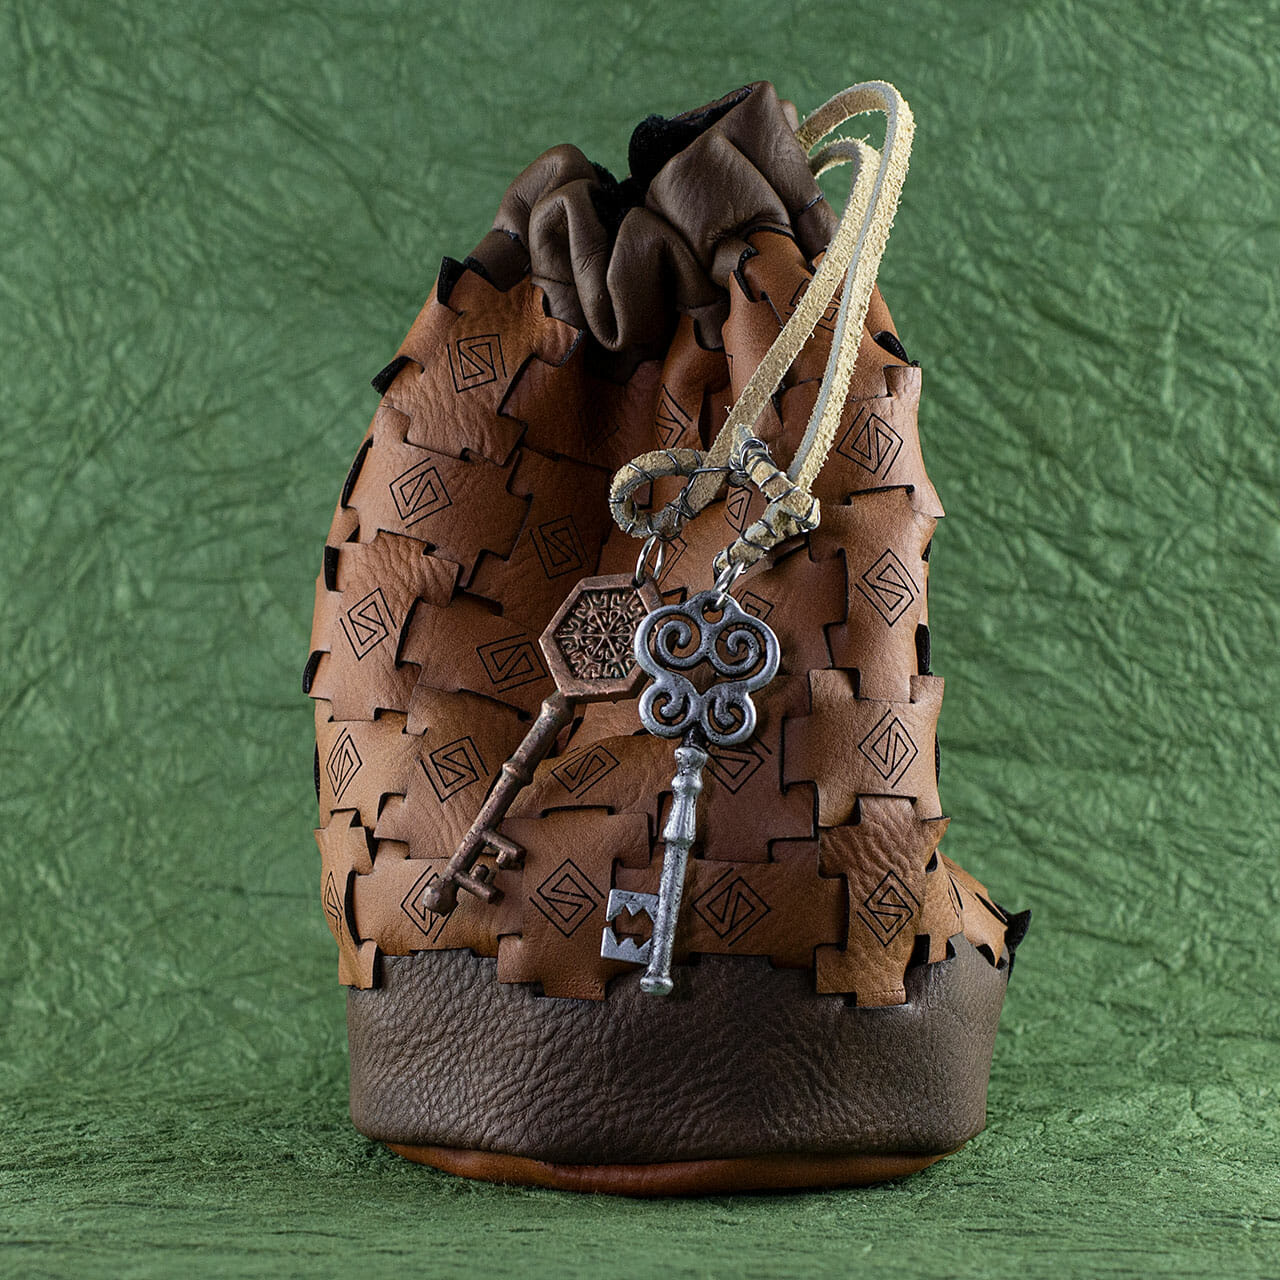
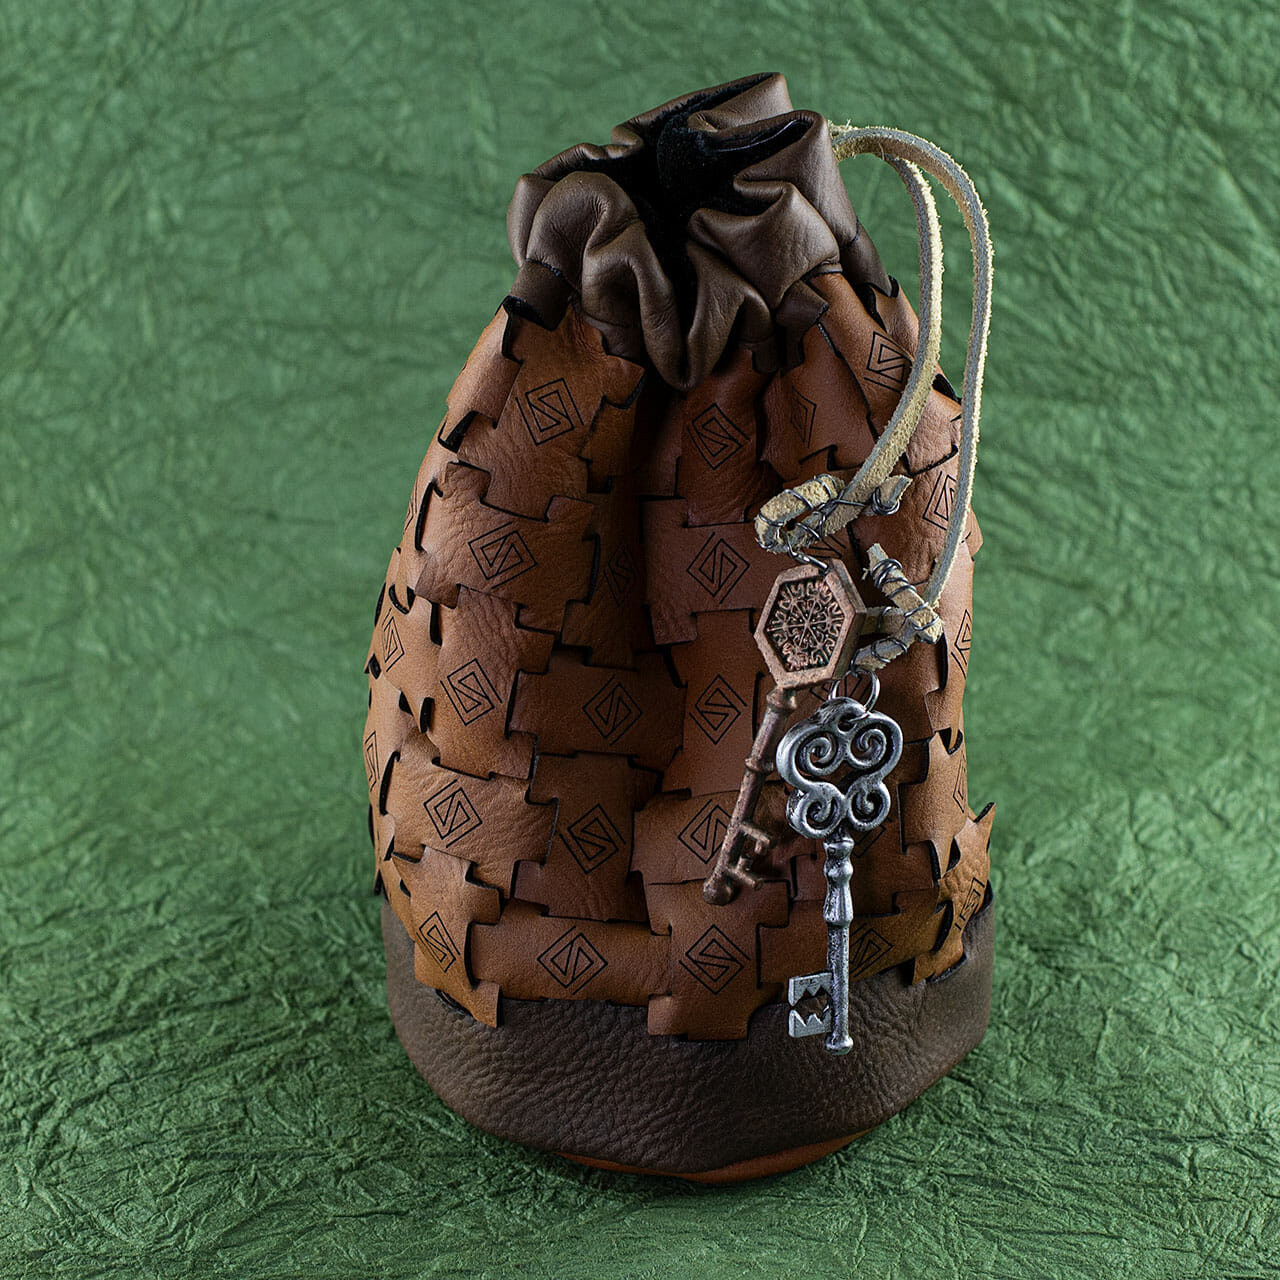
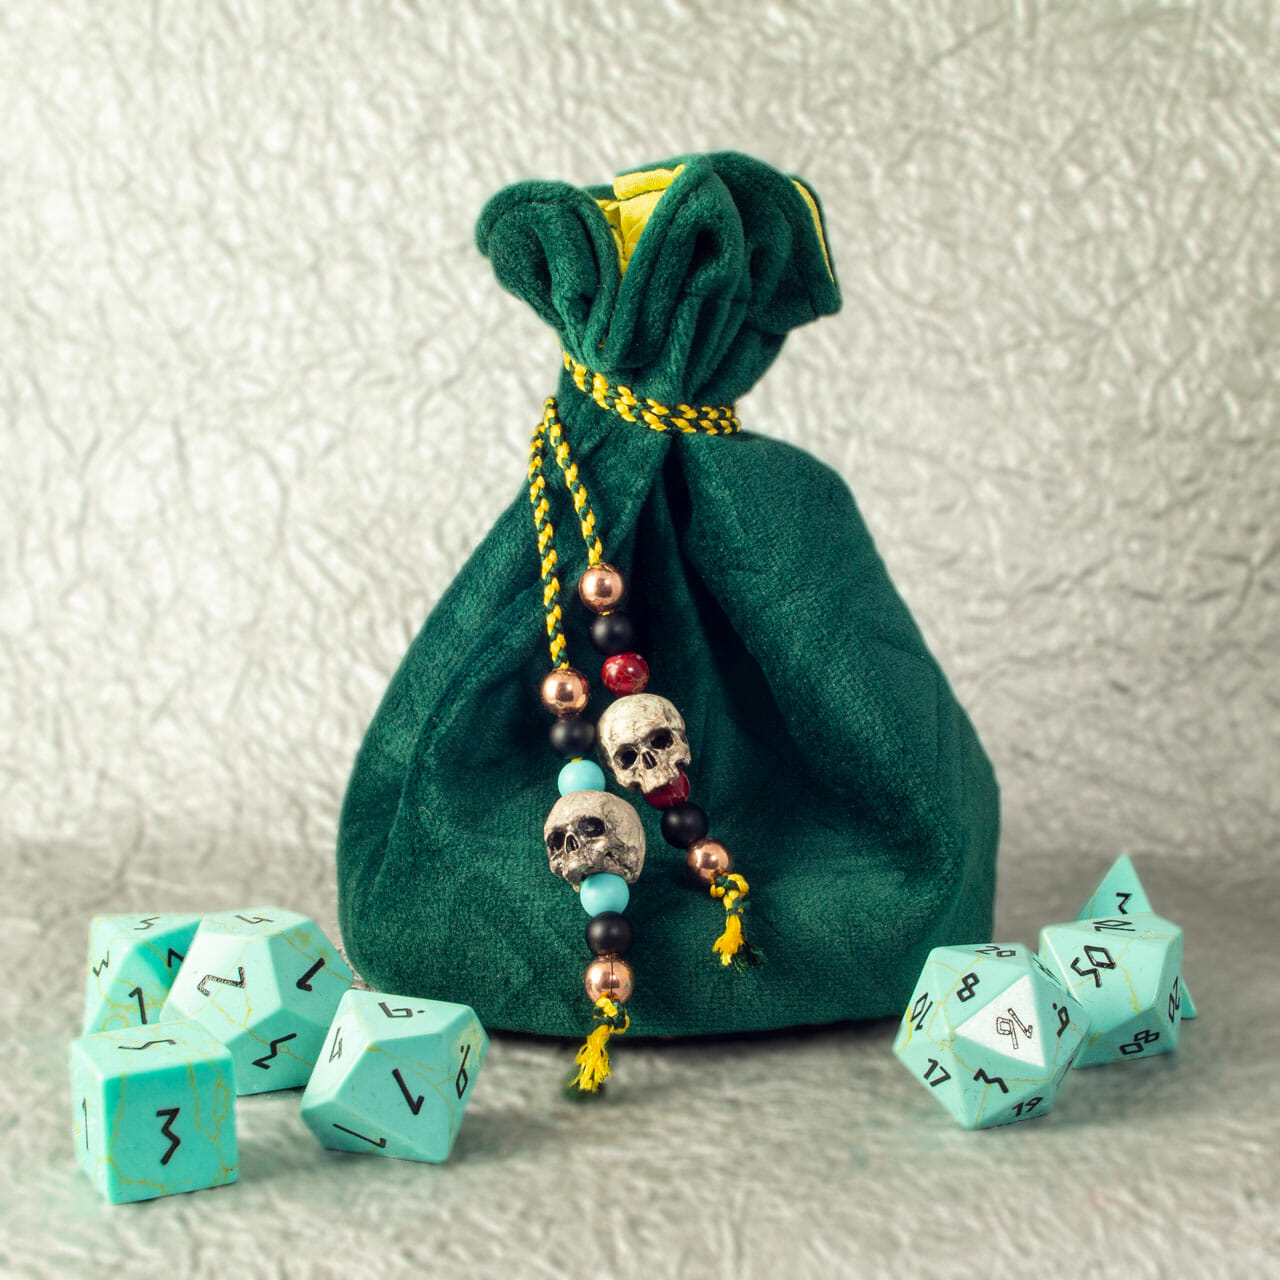
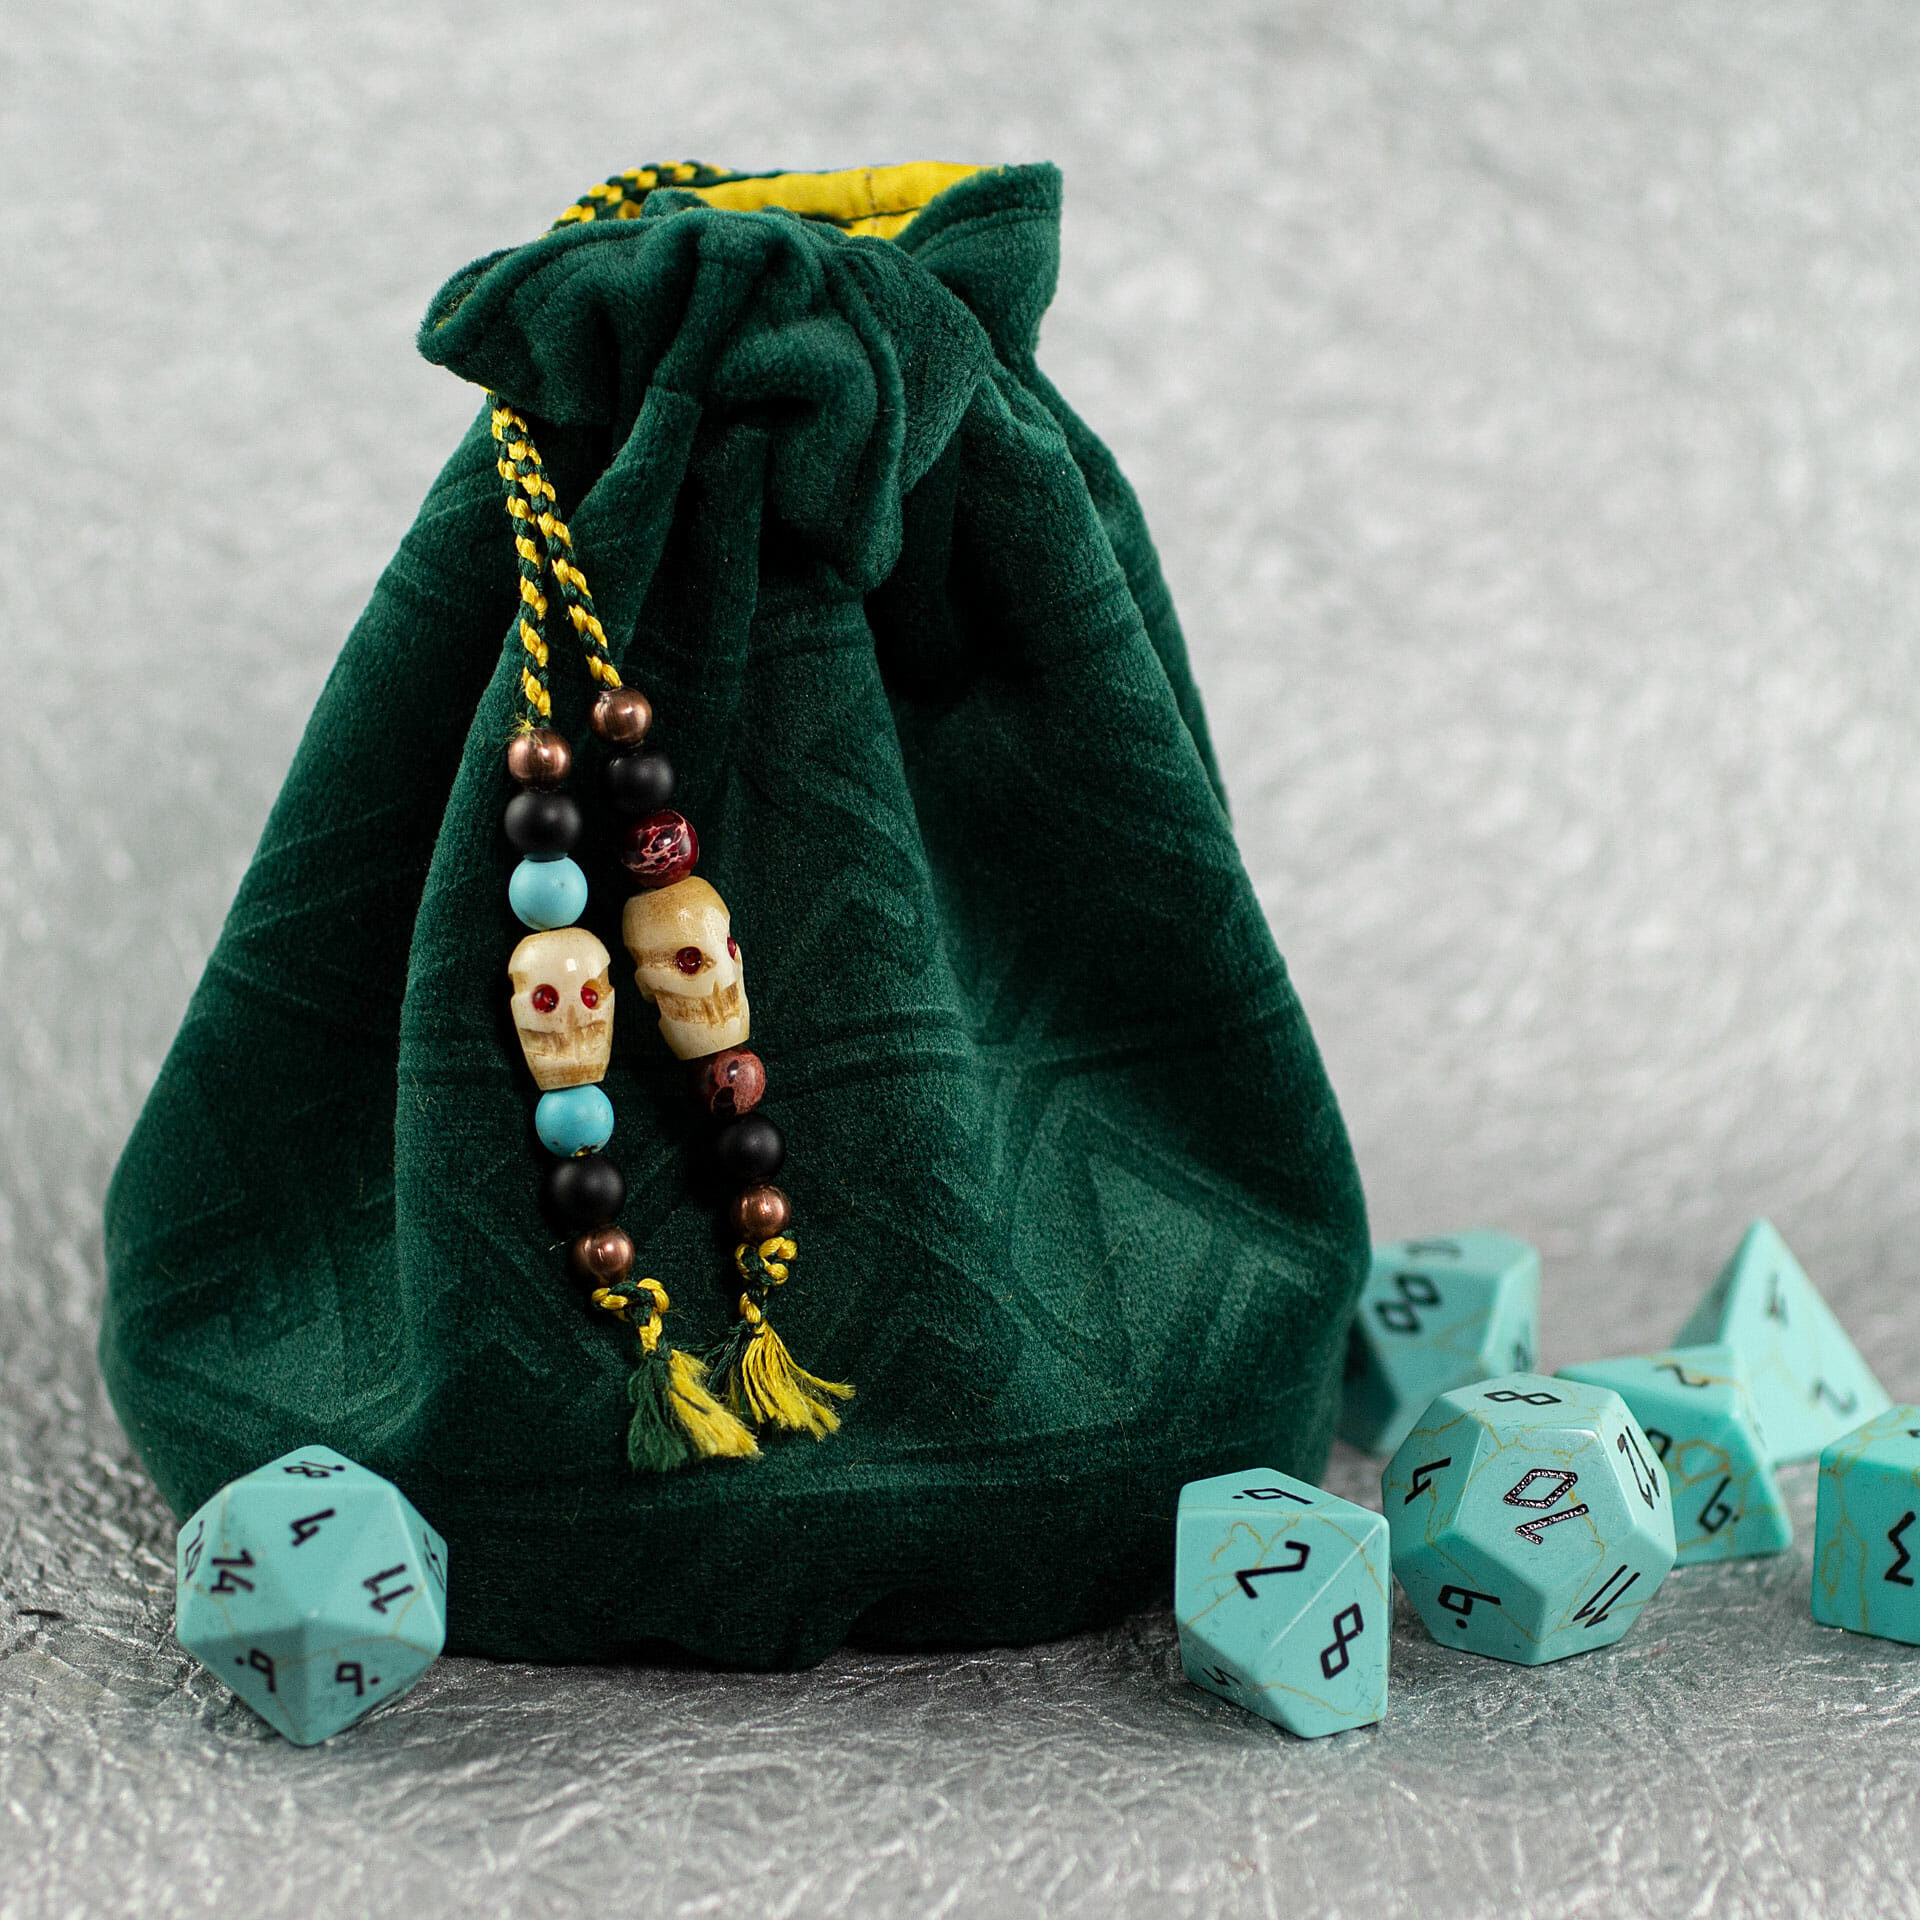
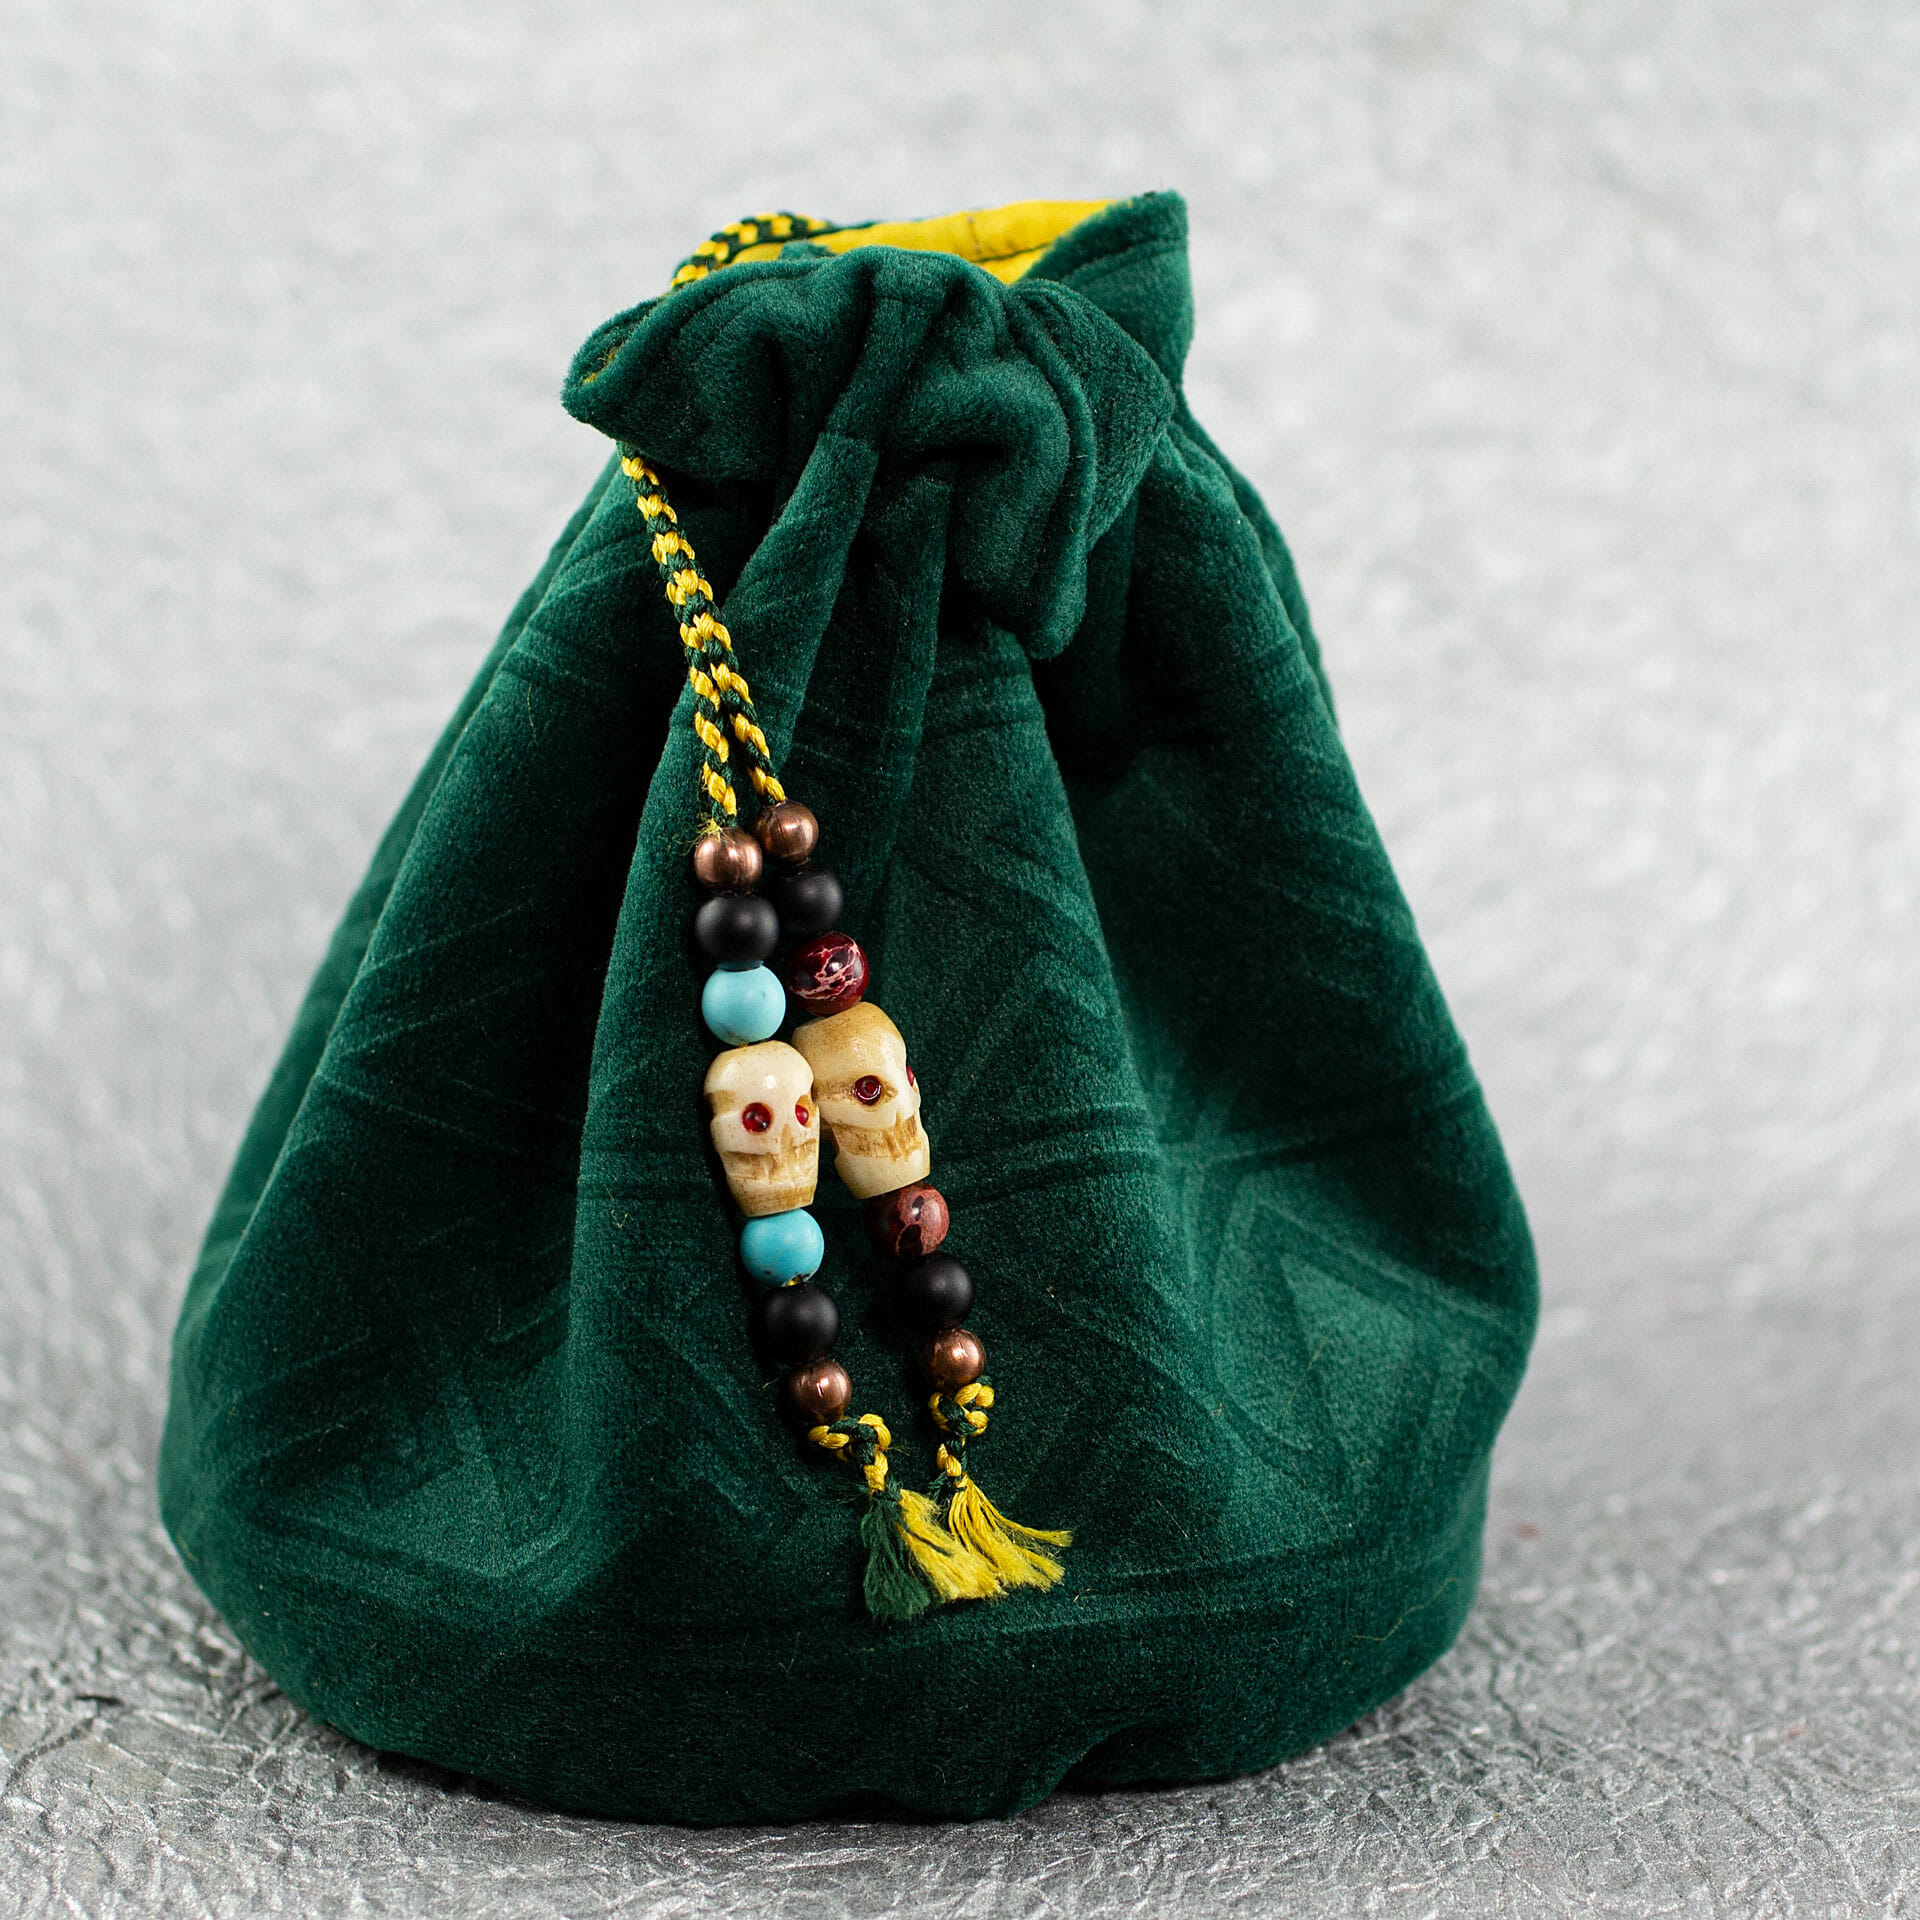
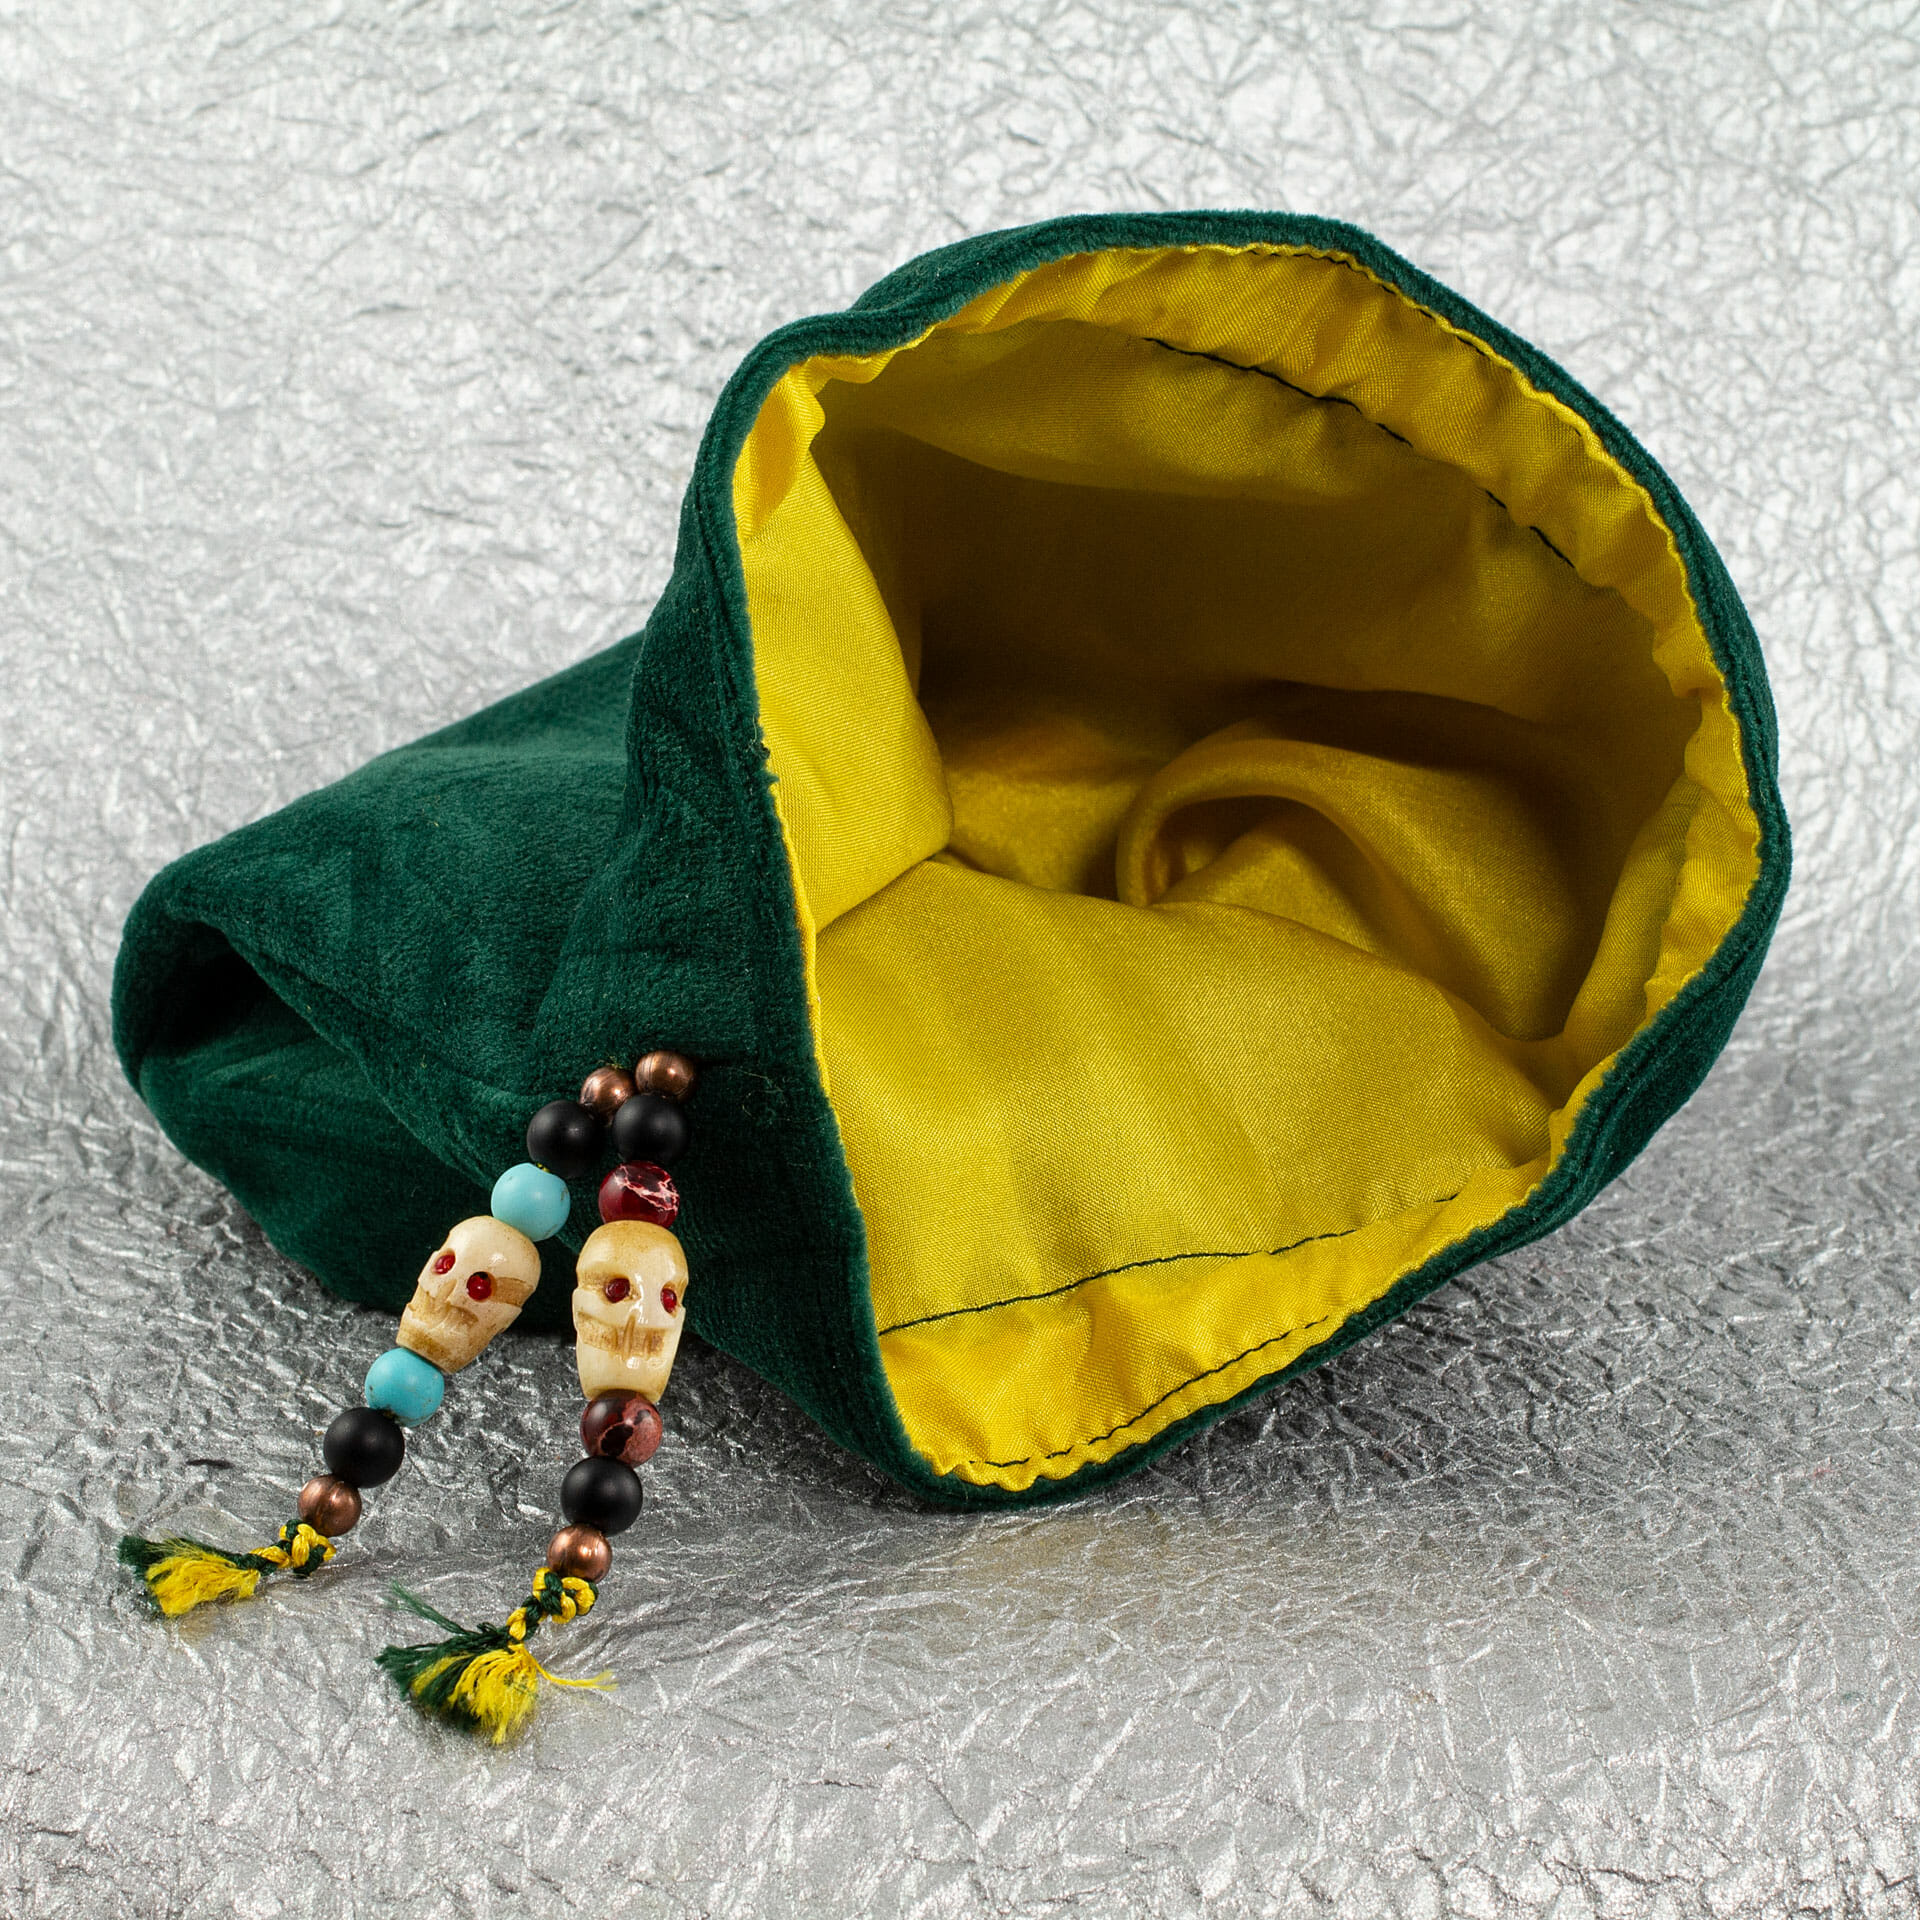
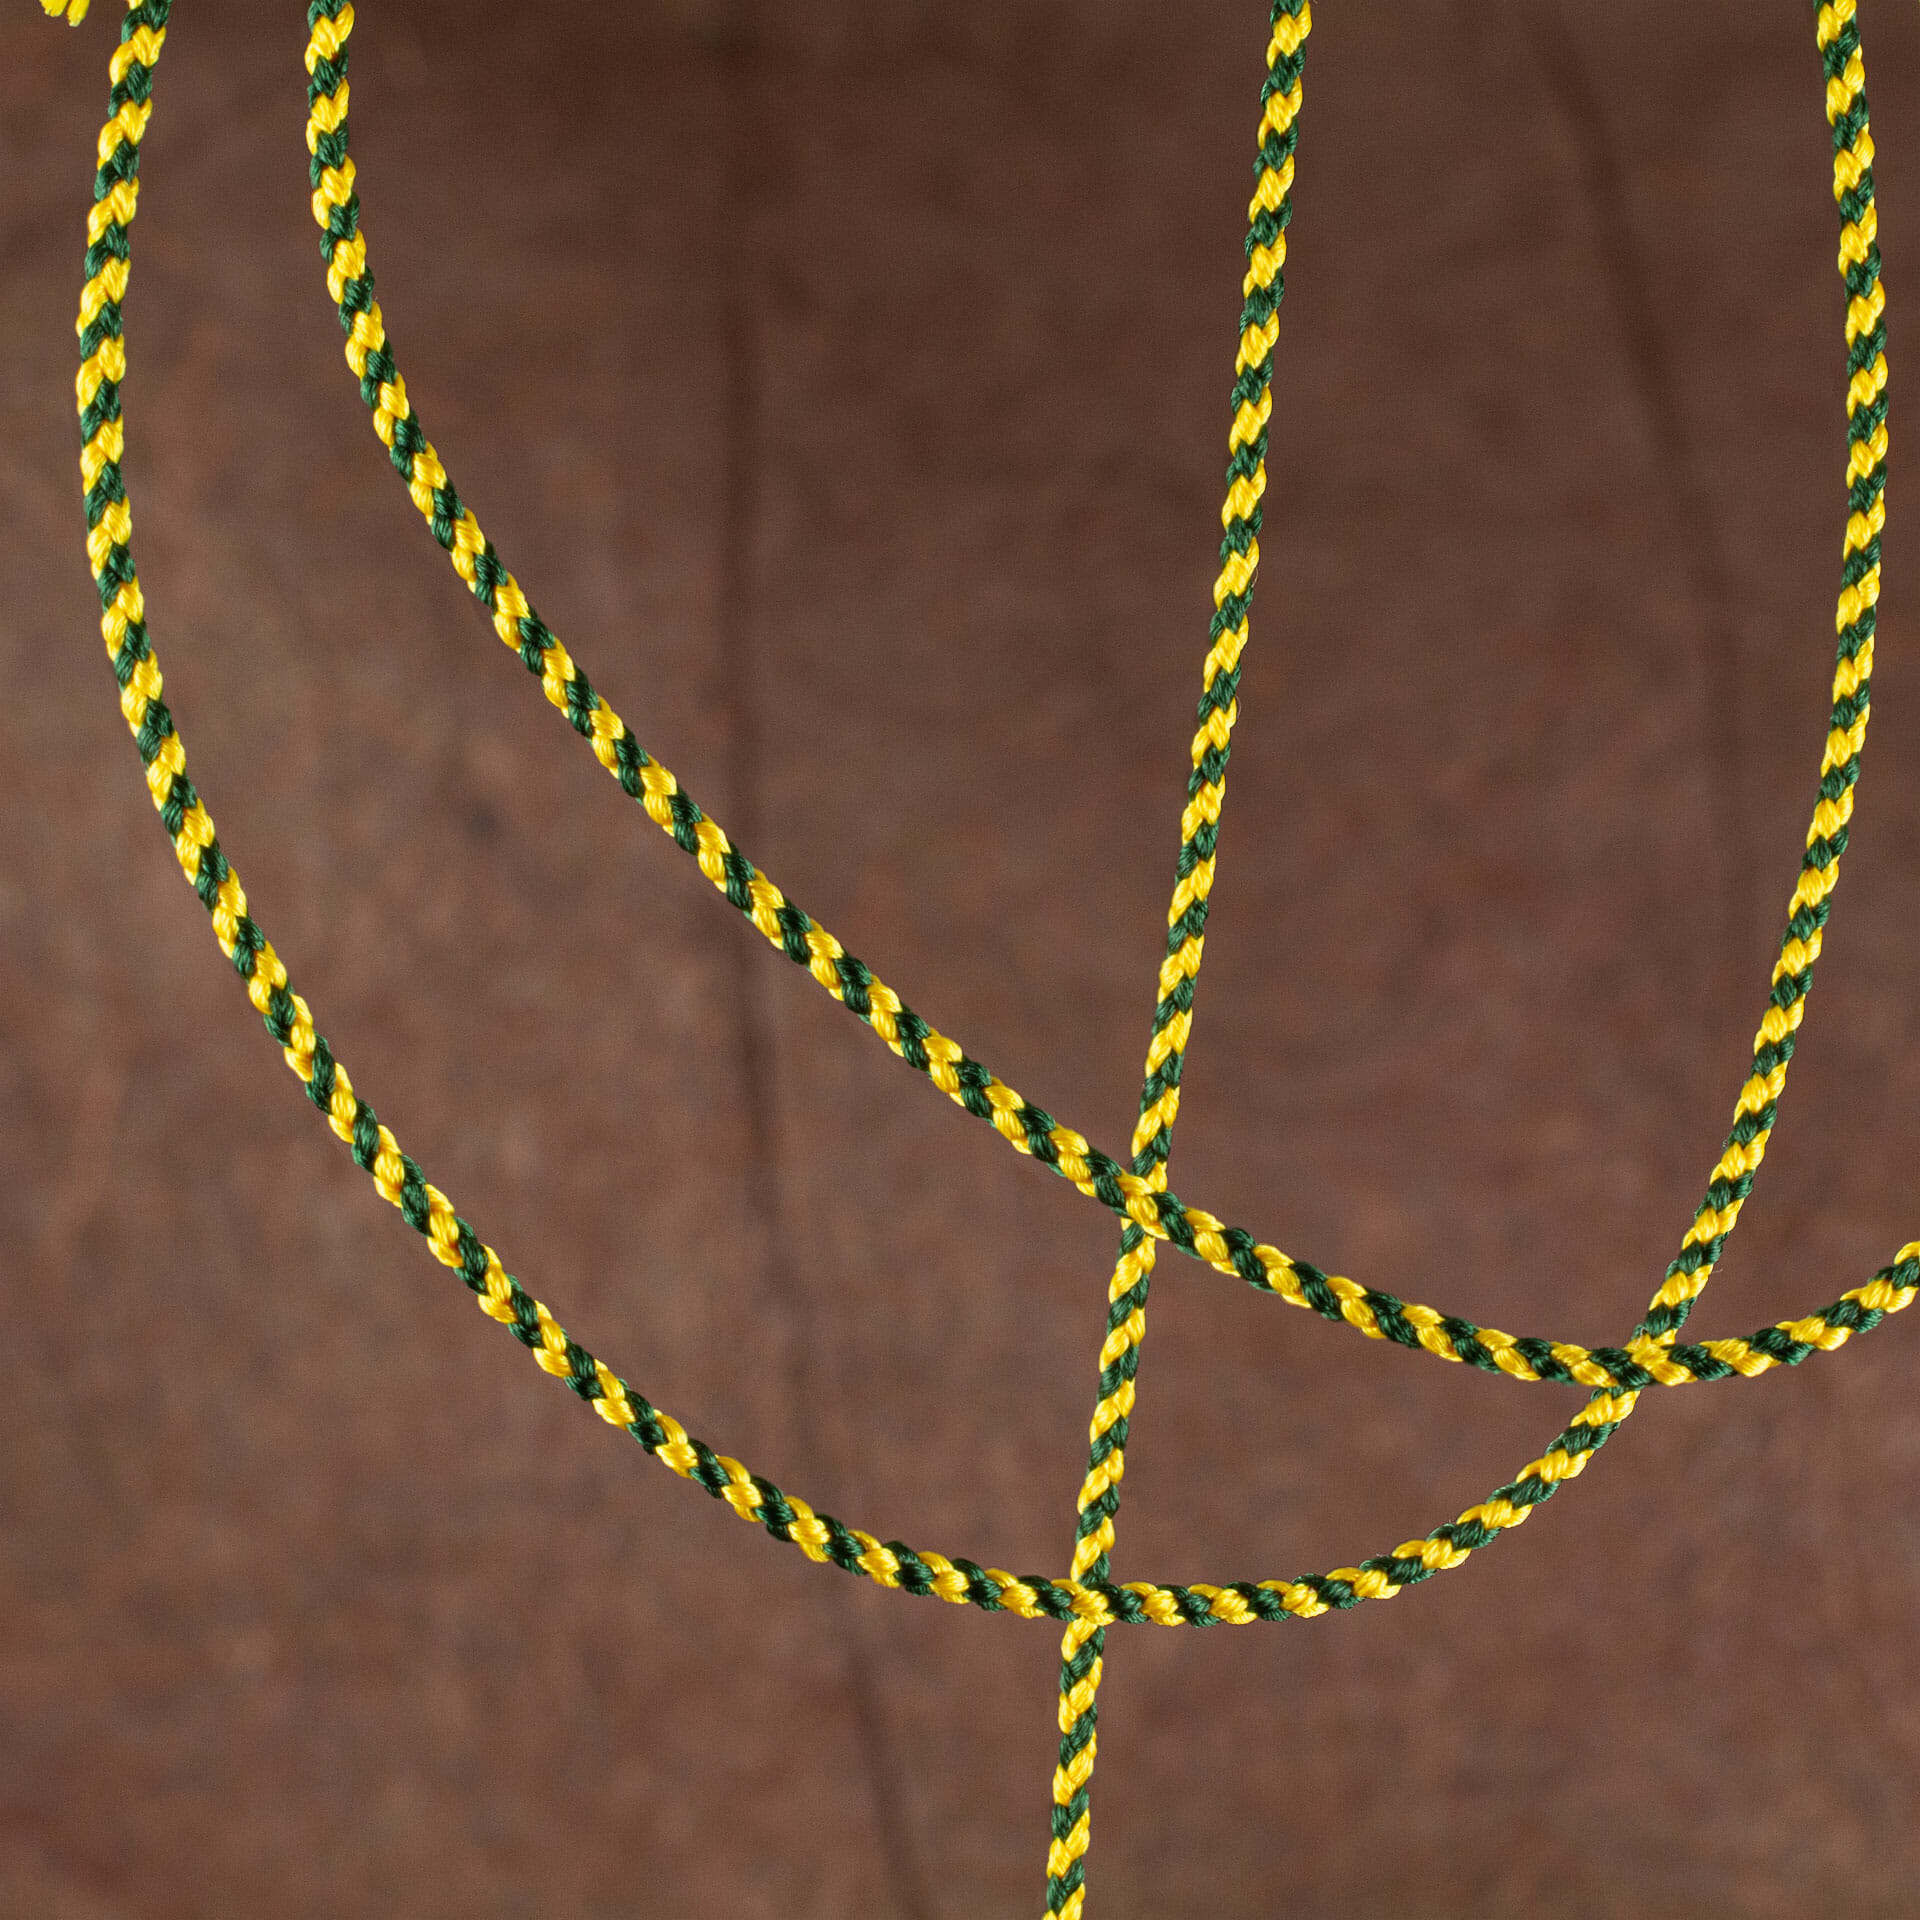
Drawstring Key Bag
Drawstring Key Bag
Drawstring Key Bag
3D-Printed Keys
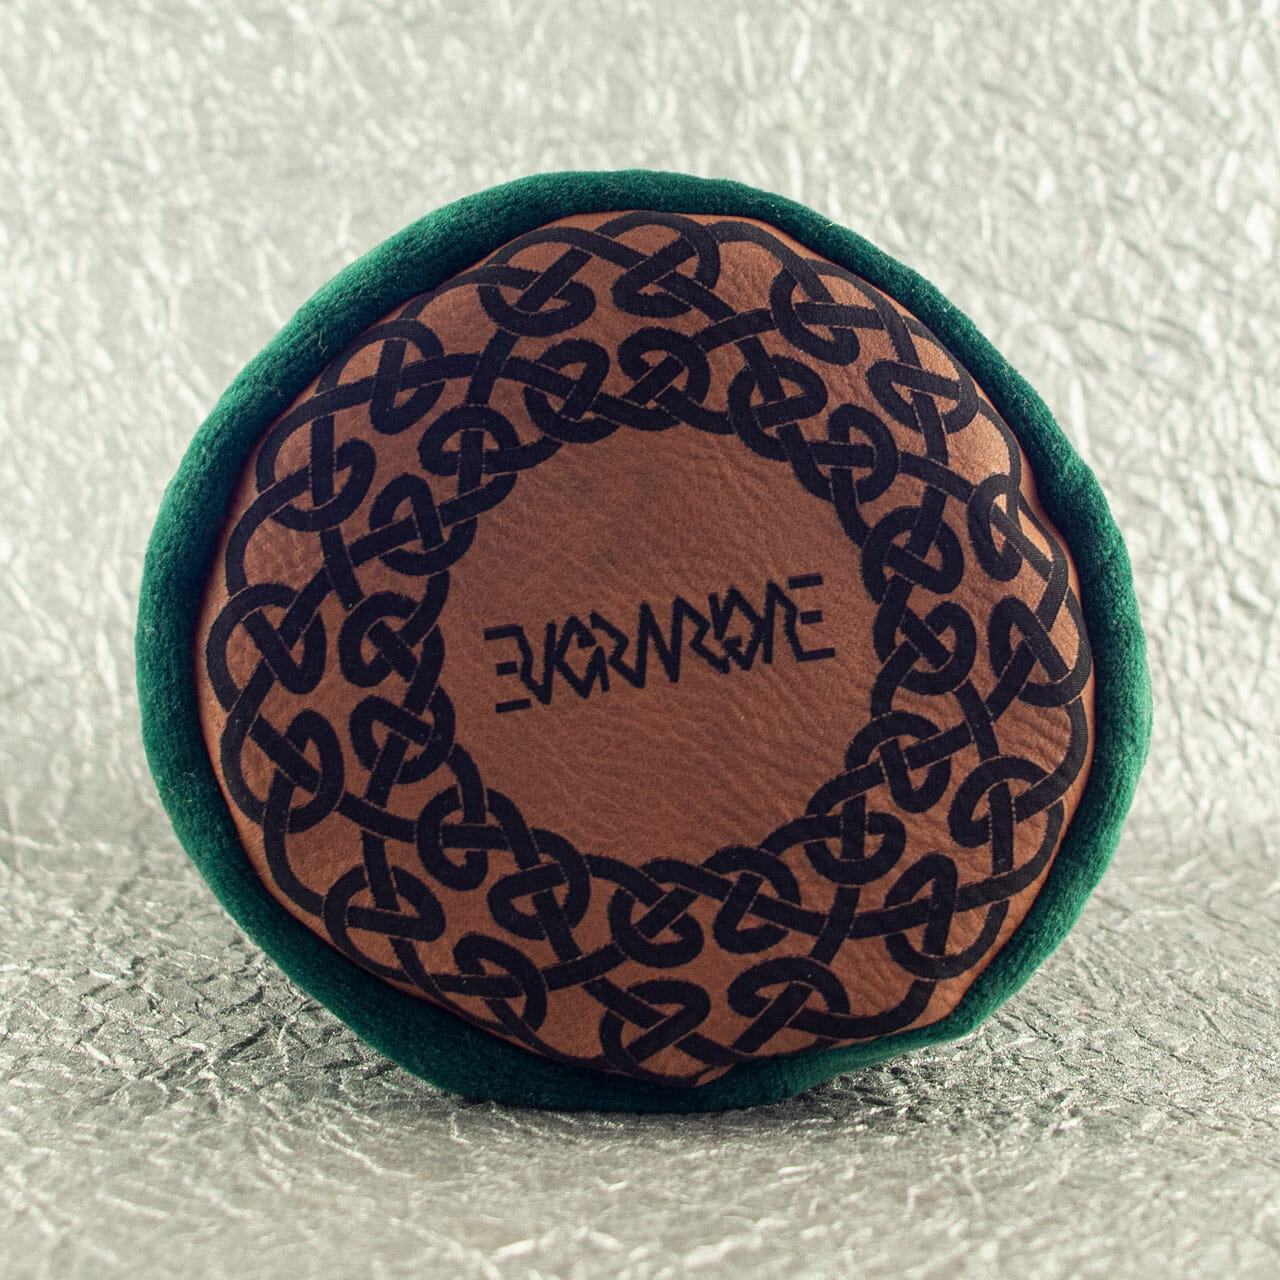
Key Bag bottom with circular Celtic key pattern and Evermore ambigram
Copper Key Render
Silver key render
This file is for personal, non-commercial use only. Note that, by referencing these, you are agreeing to release any variations you create under identical terms.
I have a fair amount of custom-embossed Celtic key pattern velvet left from the pillow project. I was thinking some of it might make a cool drawstring bag. I may have gotten a little carried away with the details:
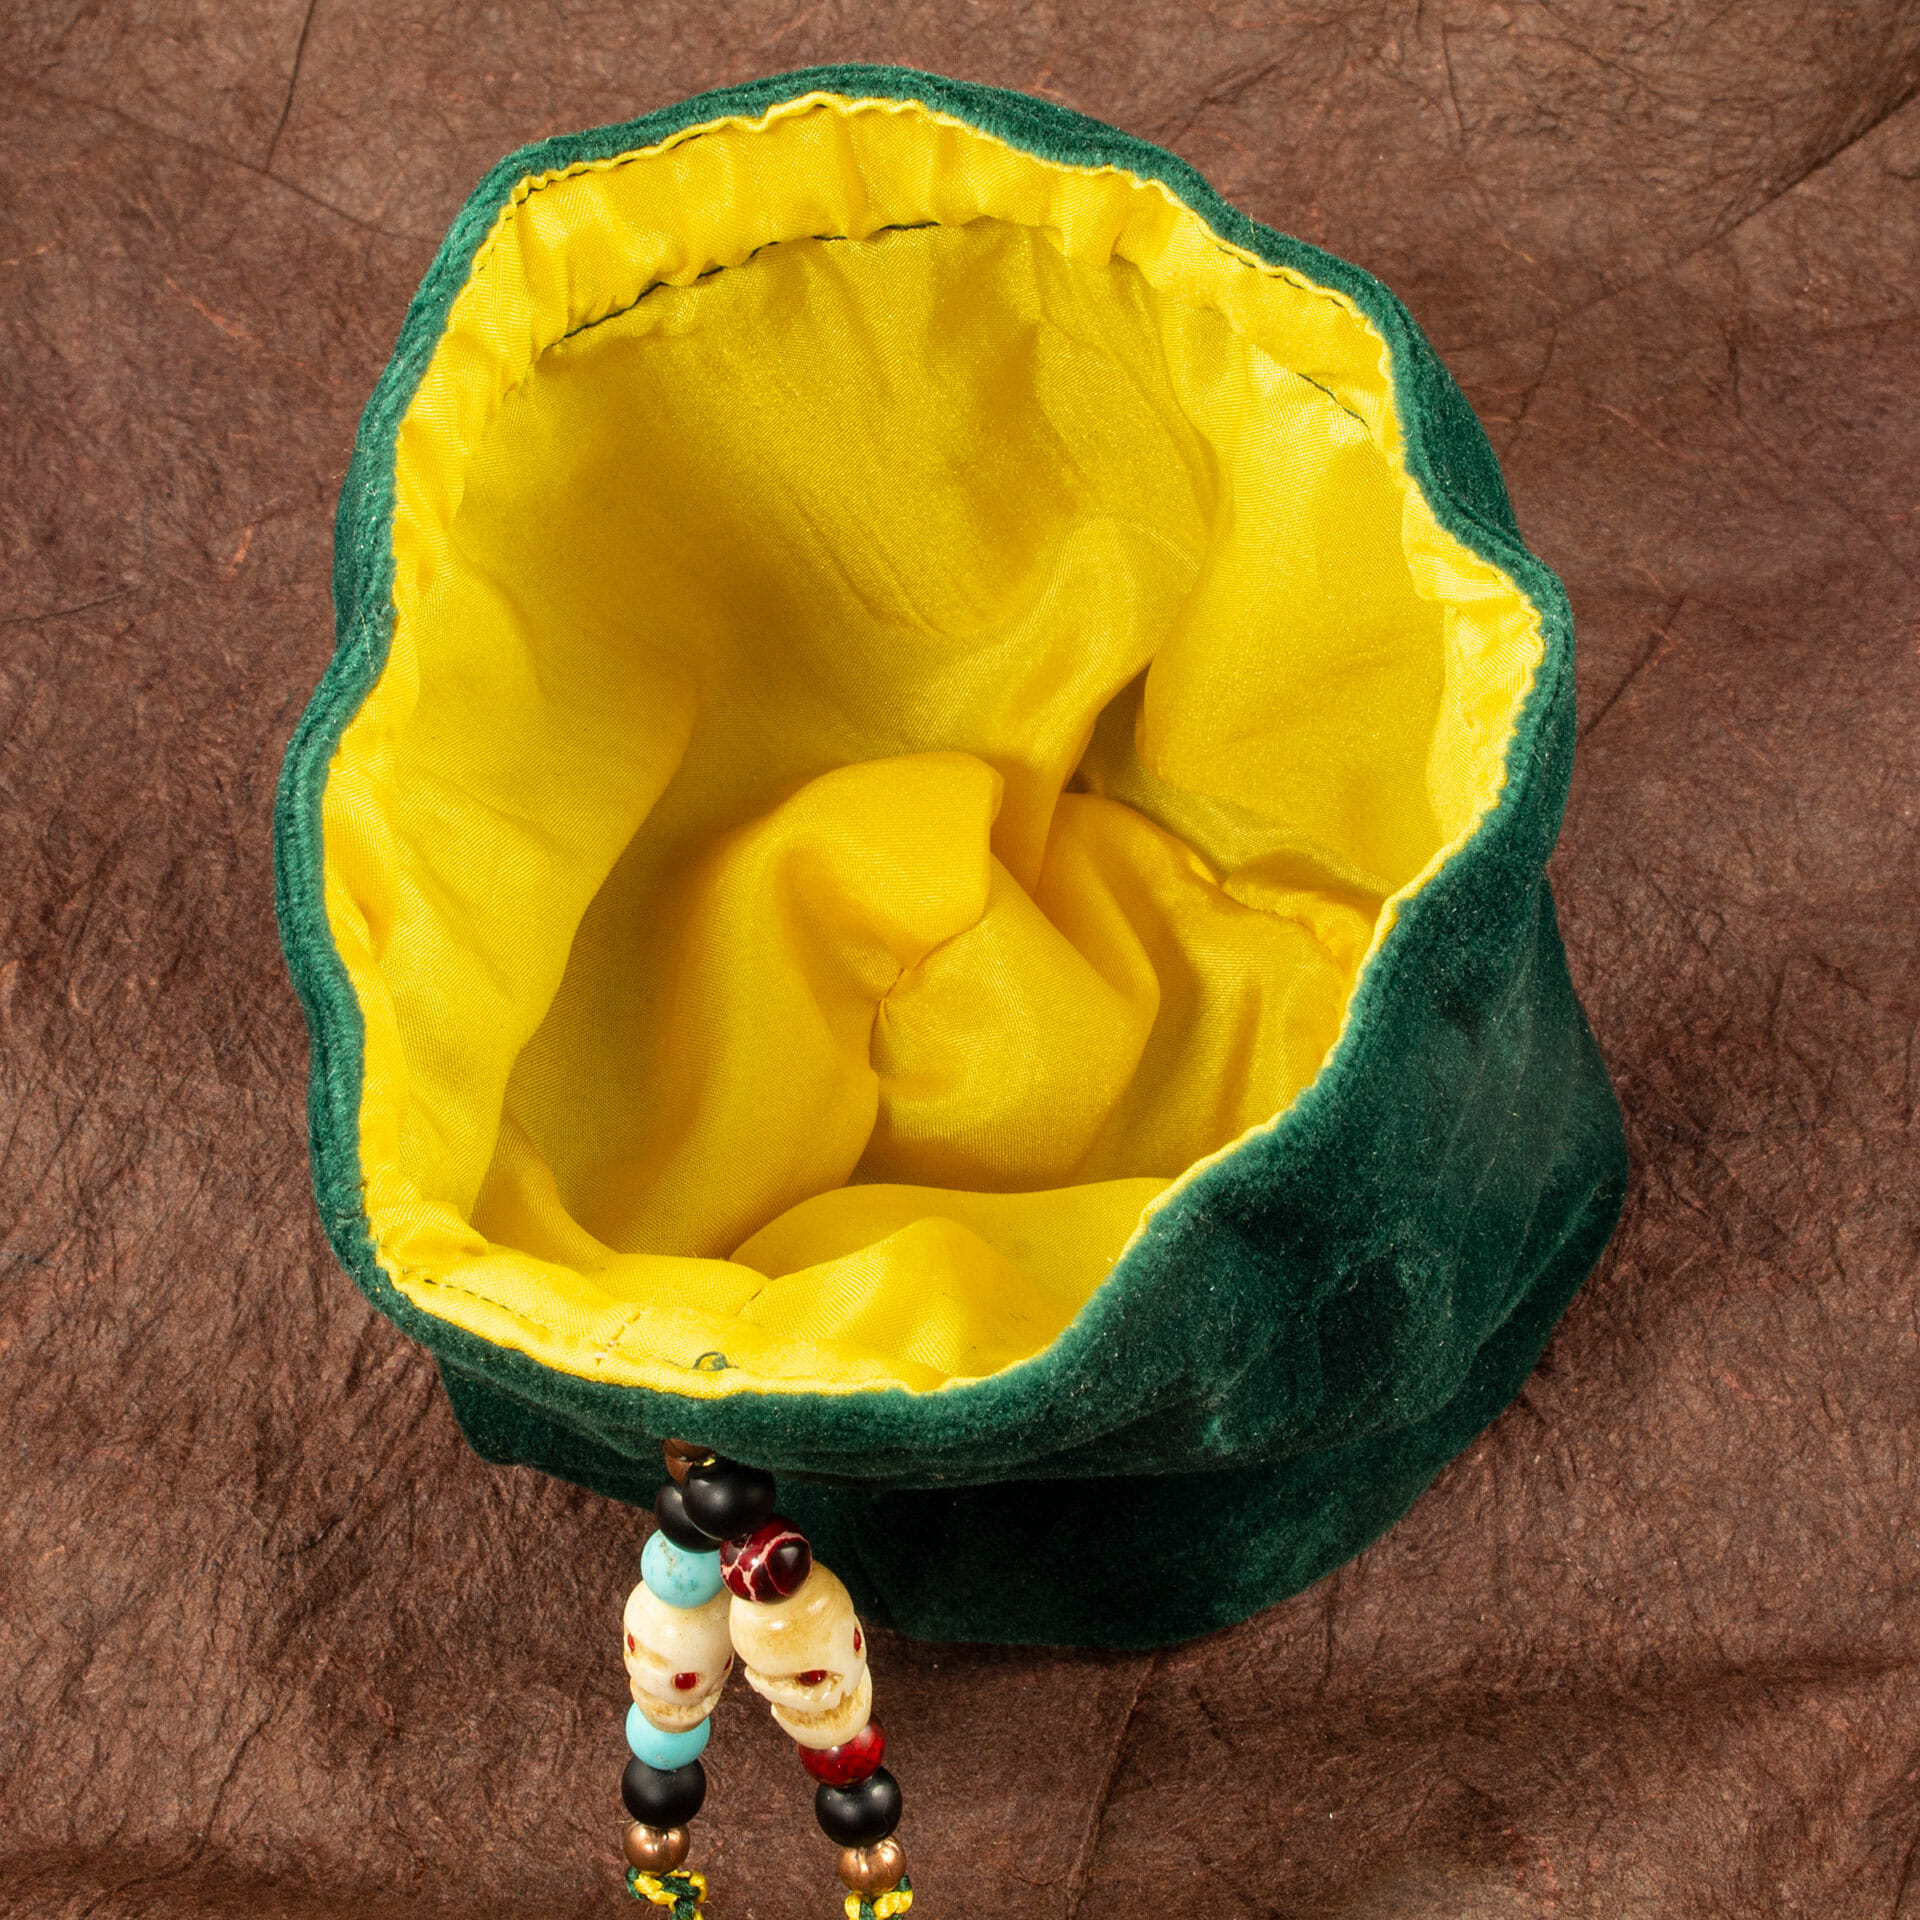
Silk-lined round-bottom bag
A new Celtic knotwork ring design for a laser-engraved faux-leather bottom
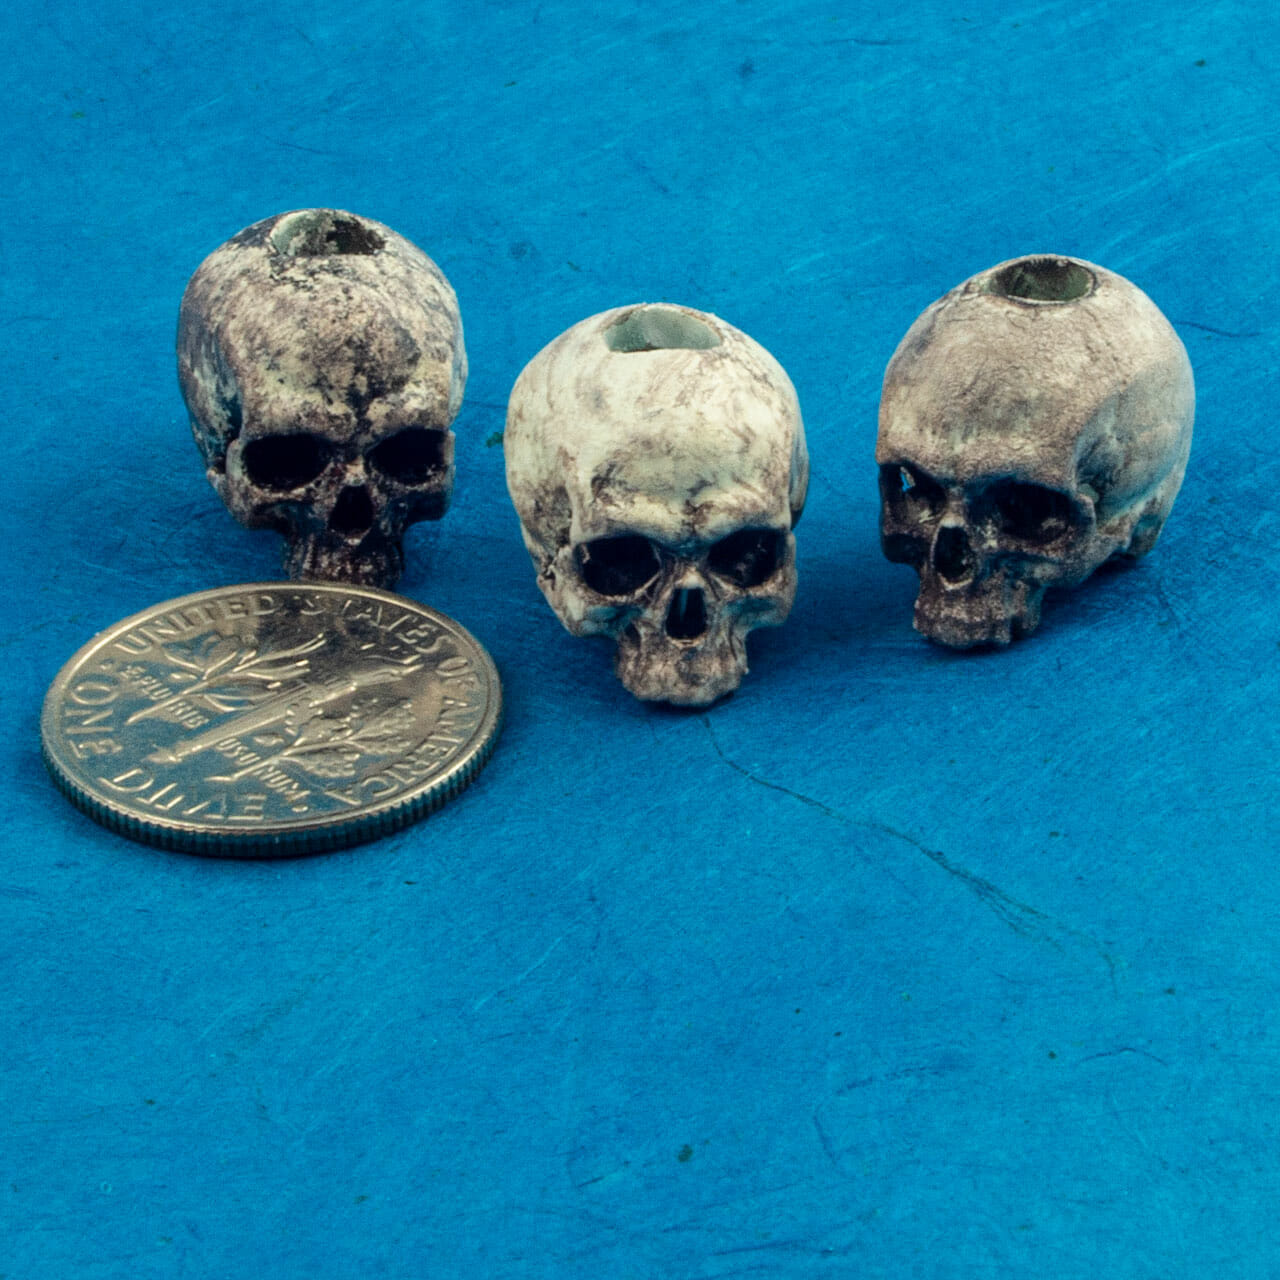
I used some hand-carved cow bone skull beads in a recent (forthcoming) project. I like the look there but, they are pretty rough. Someone was showing me some tiny hand-carved wooden skull beads and, I wondered if I could come up with some relatively easy way to produce some more detailed skull beads. My under-used SLA resin printer seemed like a good option.
I created a remix of a full skull model by Arminas Didziokas. I used MeshMixer to remove the lower jaw, make it solid and, put a hole through it. I printed a few at different sizes to get a feel for what would be best.
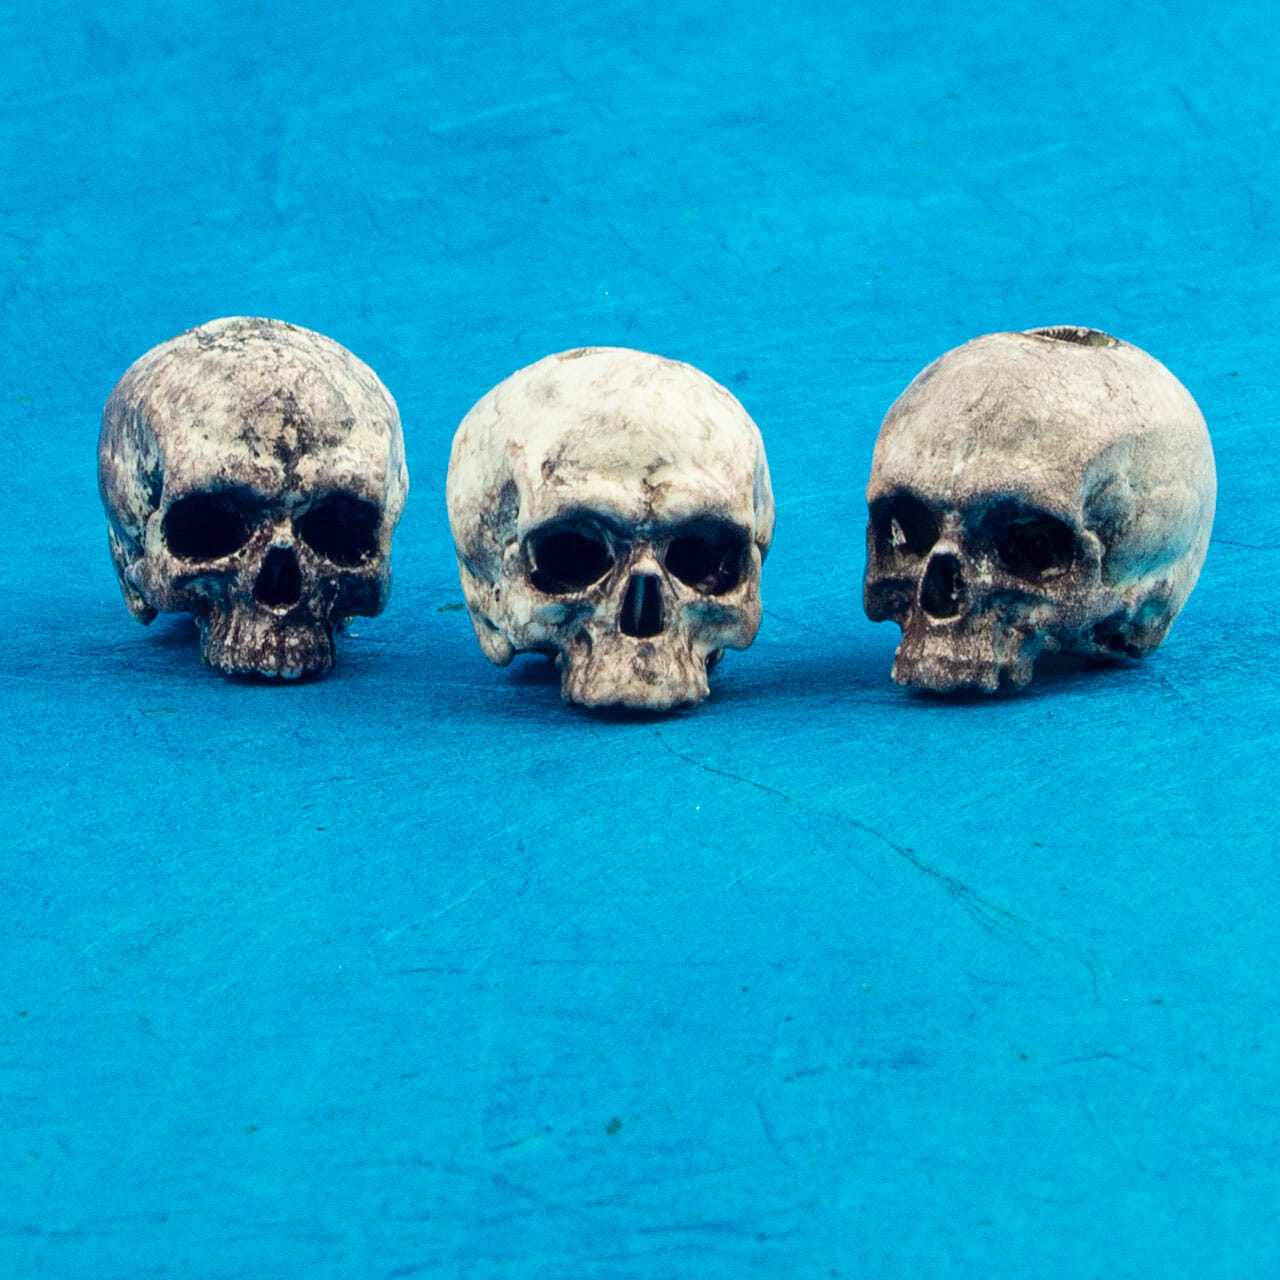
After curing, I primed them with Montana Cans white primer. When that was dry, I dug out my old Aztek 3000S airbrush and gave them a coat of something more of an aged bone color. Next, I did a simple dark brown wash on two of them them and, a black wash on the other. They then got a light coat of matte polyurethane to protect the paint.
The holes probably need to be somewhere around .5-1mm smaller and, my painting technique needs some work. It was challenging getting the wash to stay everywhere I wanted it and, the highlights got muddier than I would prefer. Overall, though, I think they look pretty good.
Another possibility for future attempts would be to use the 3D prints to cast these in something else.
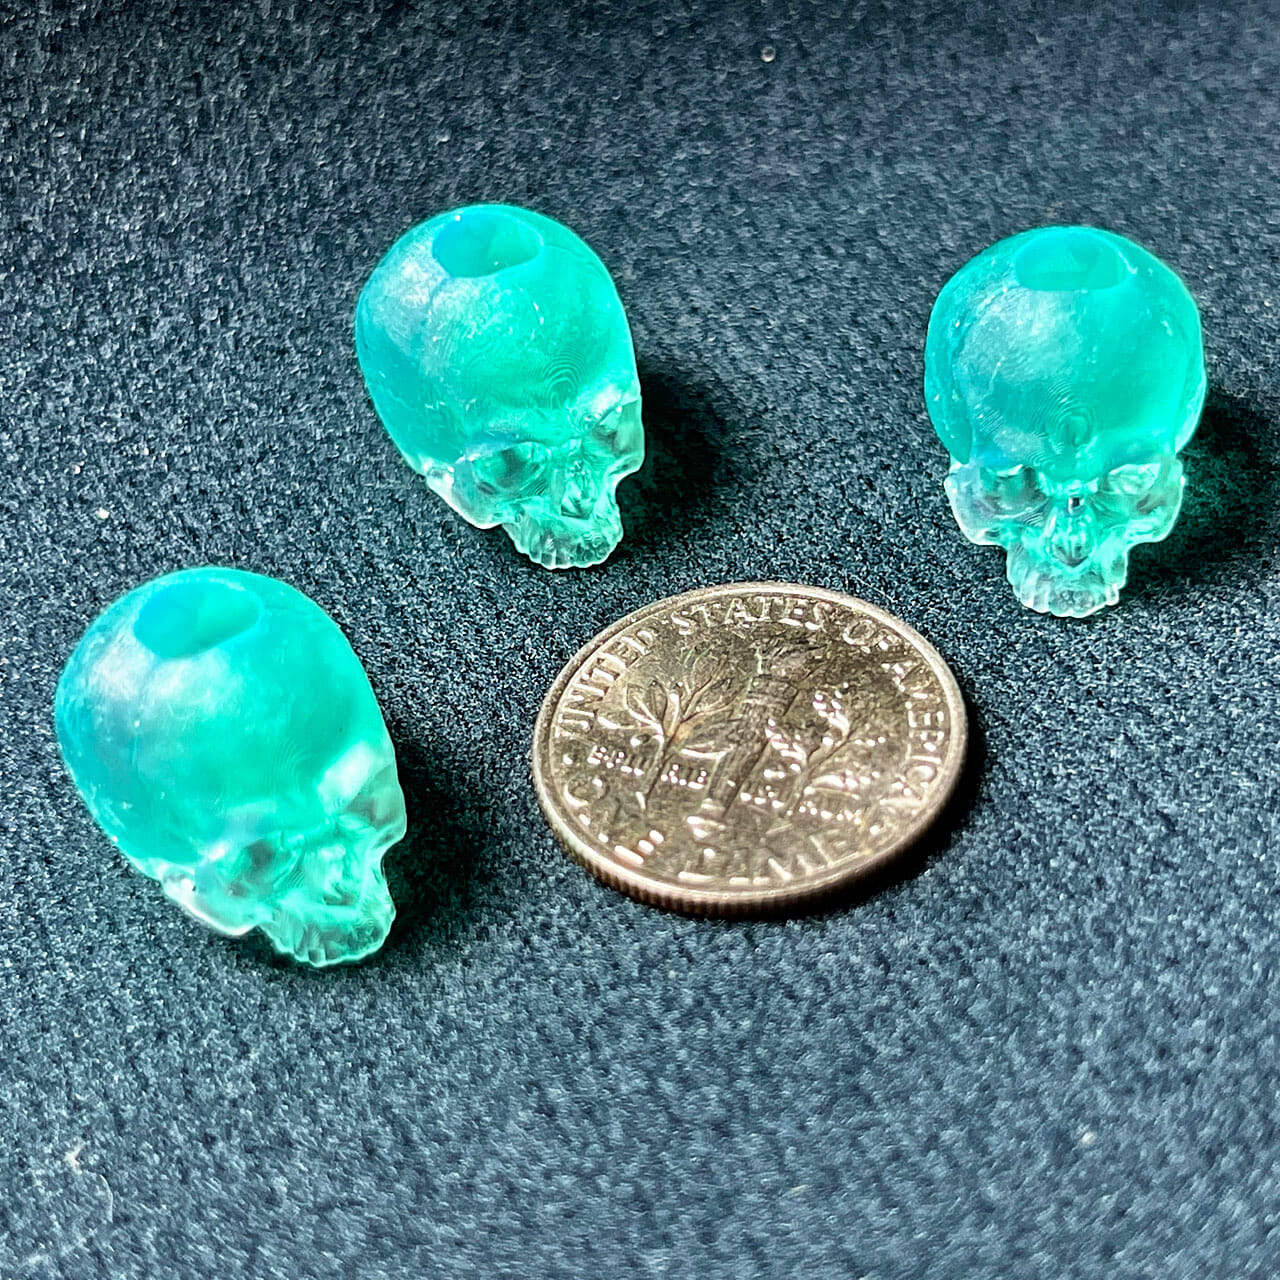
Note the dime in the scale pic. These are a little under 1cm wide.
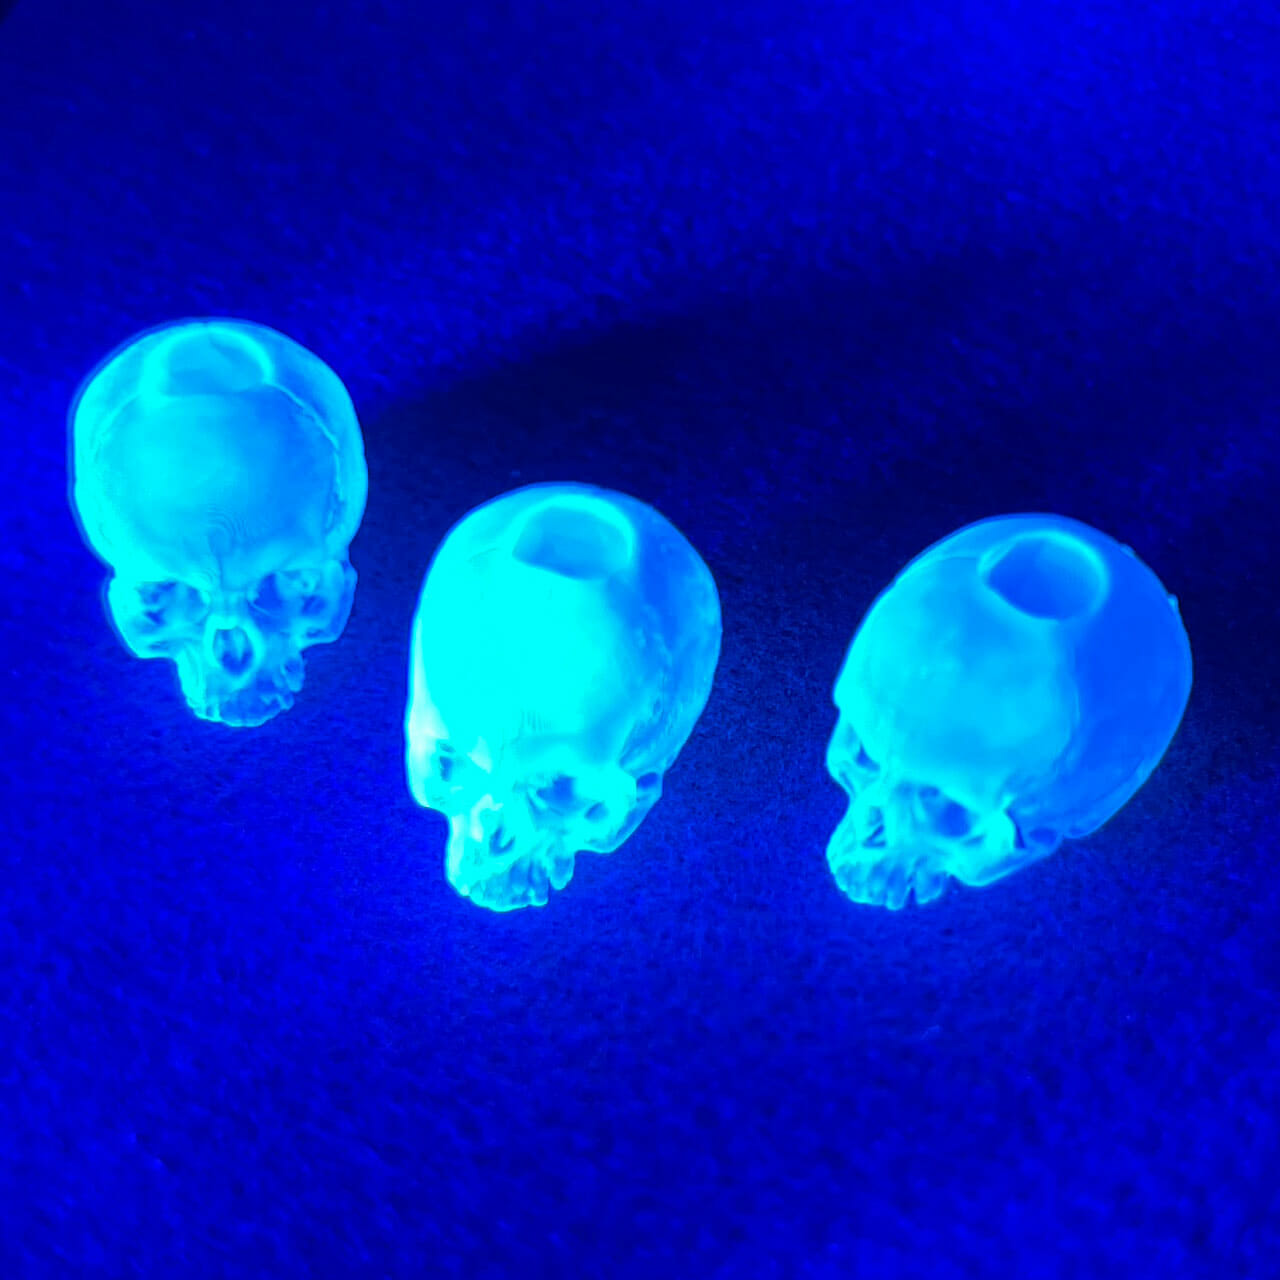
3D SLA resin printed skull beads being UV cured.
3D SLA resin printed skull beads after curing.
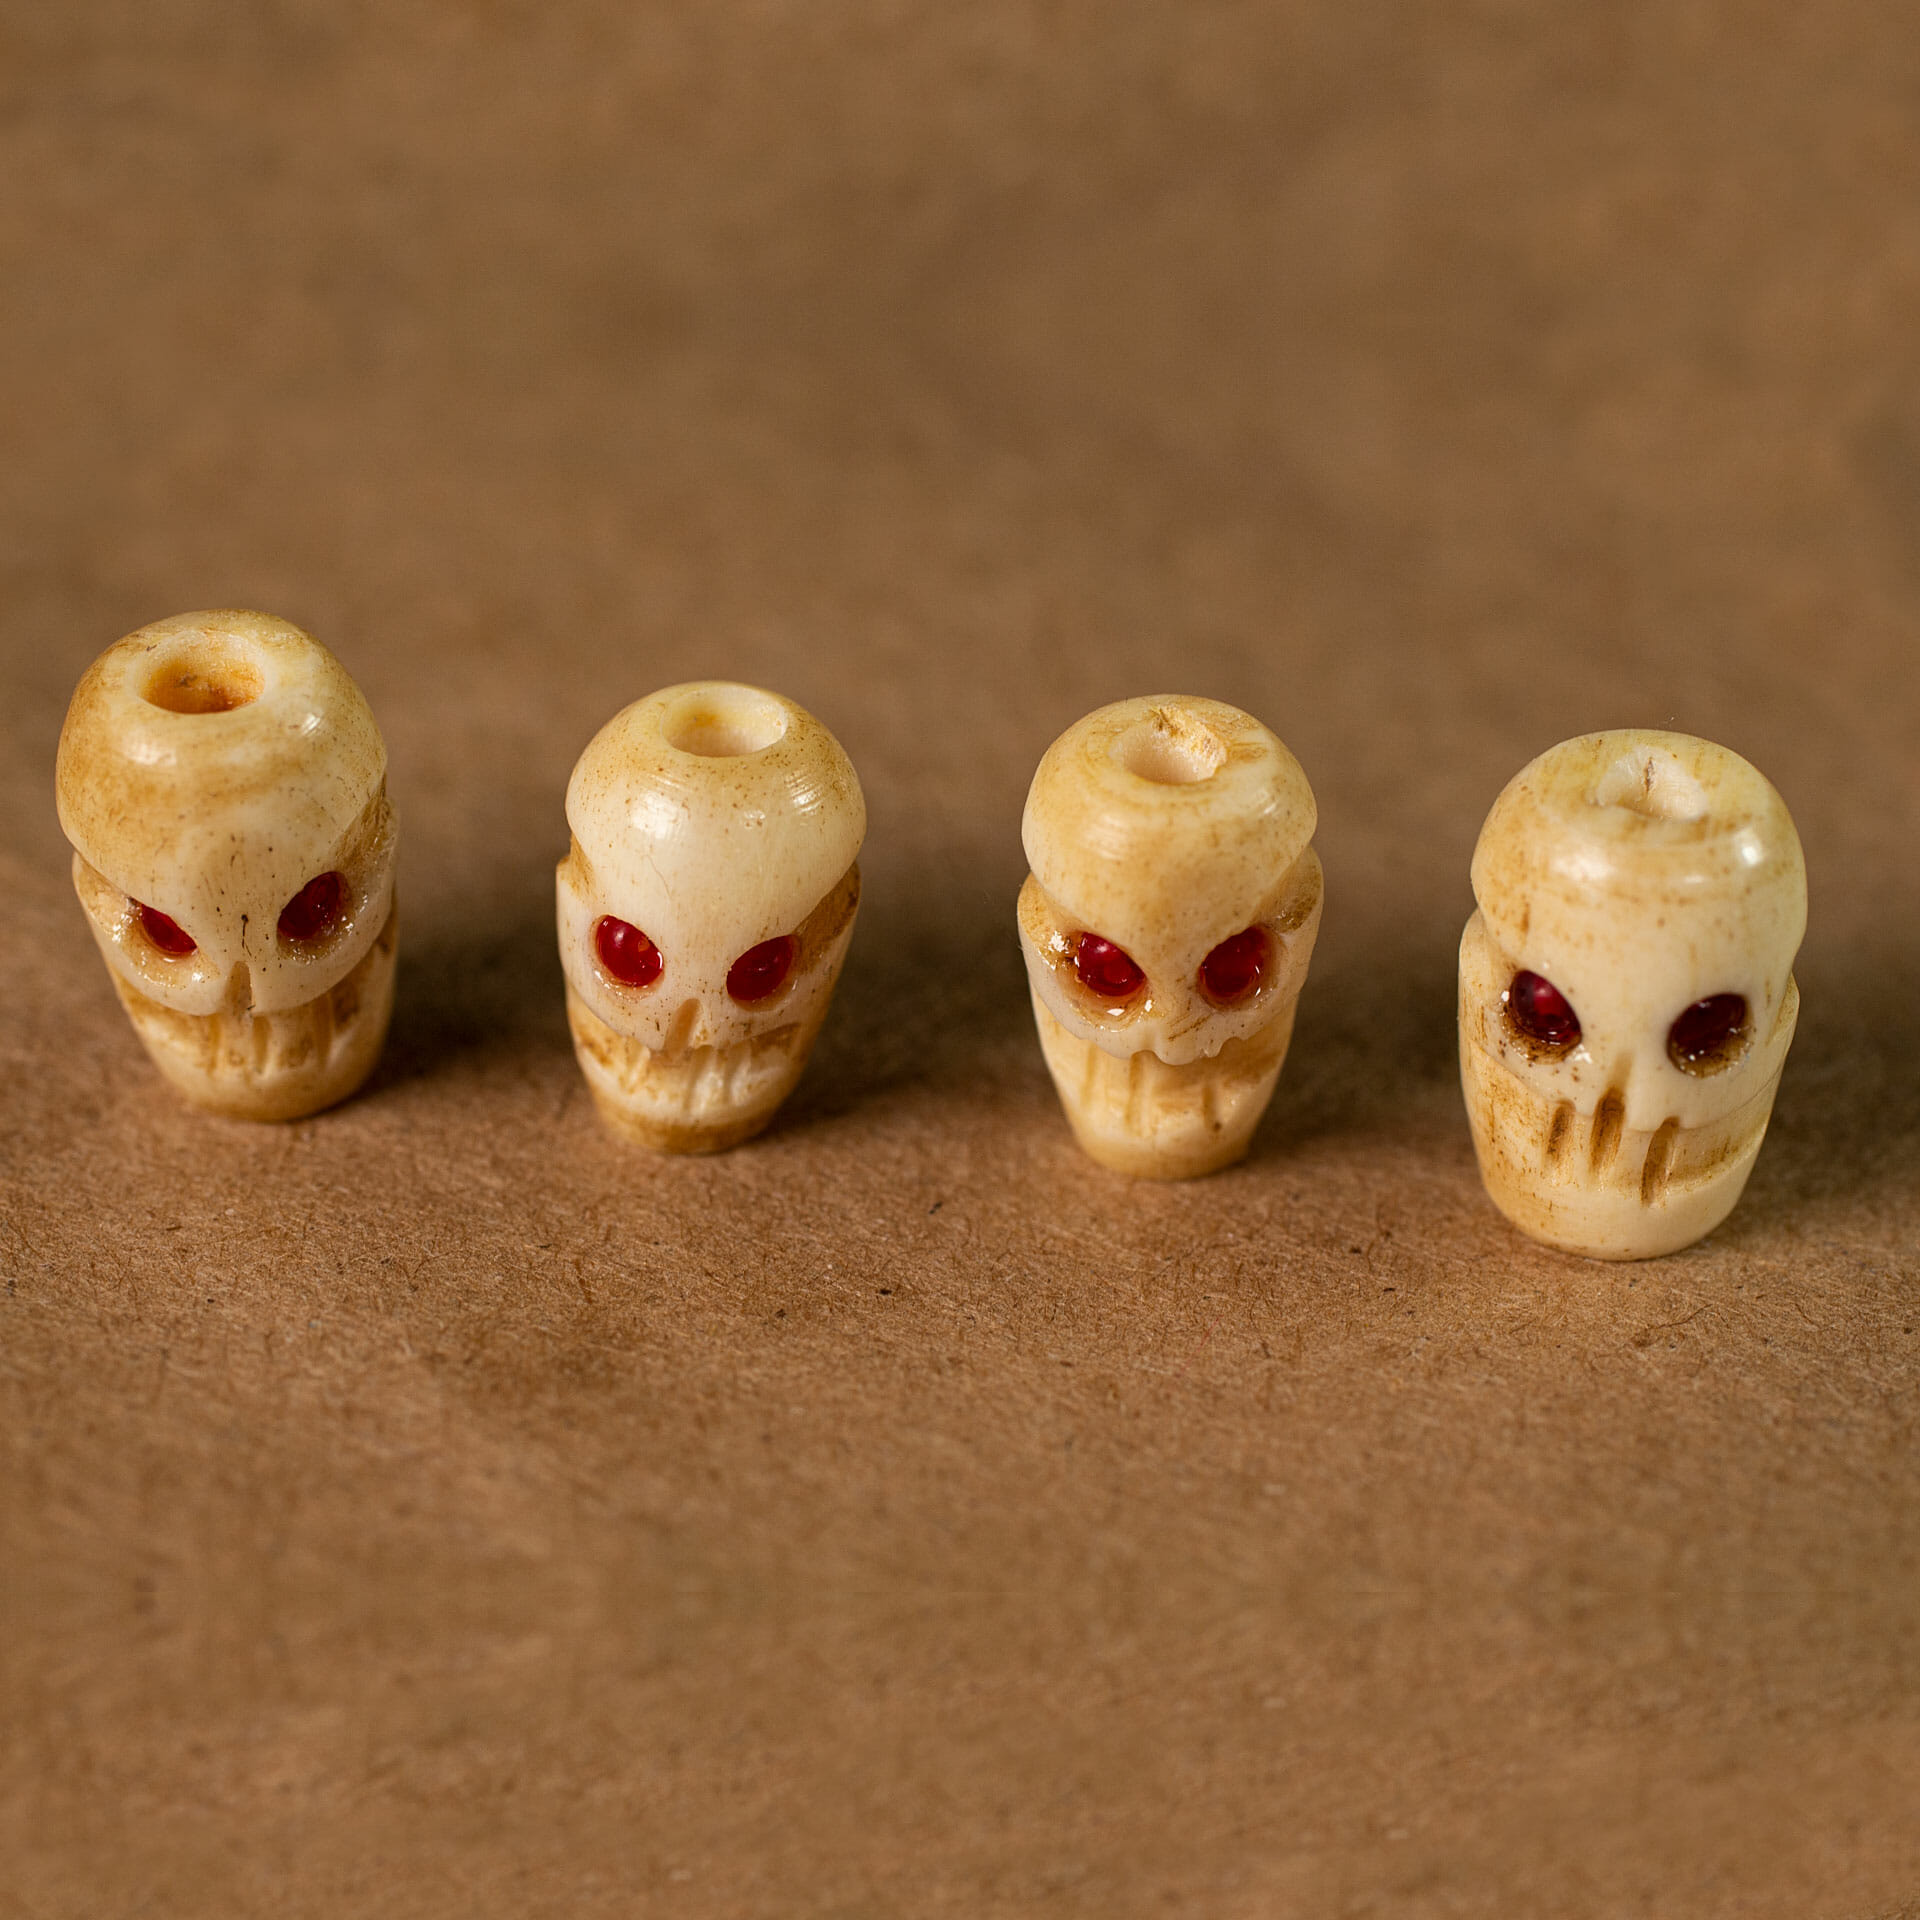
Painted 3D SLA resin printed skull beads.
Painted 3D SLA resin printed skull beads.
Painted 3D SLA resin printed skull beads.
3D SLA resin printed skull beads sprayed with Montana Cans primer.


