Floss Separator

Floss Separator
Floss Separator
Floss Separator

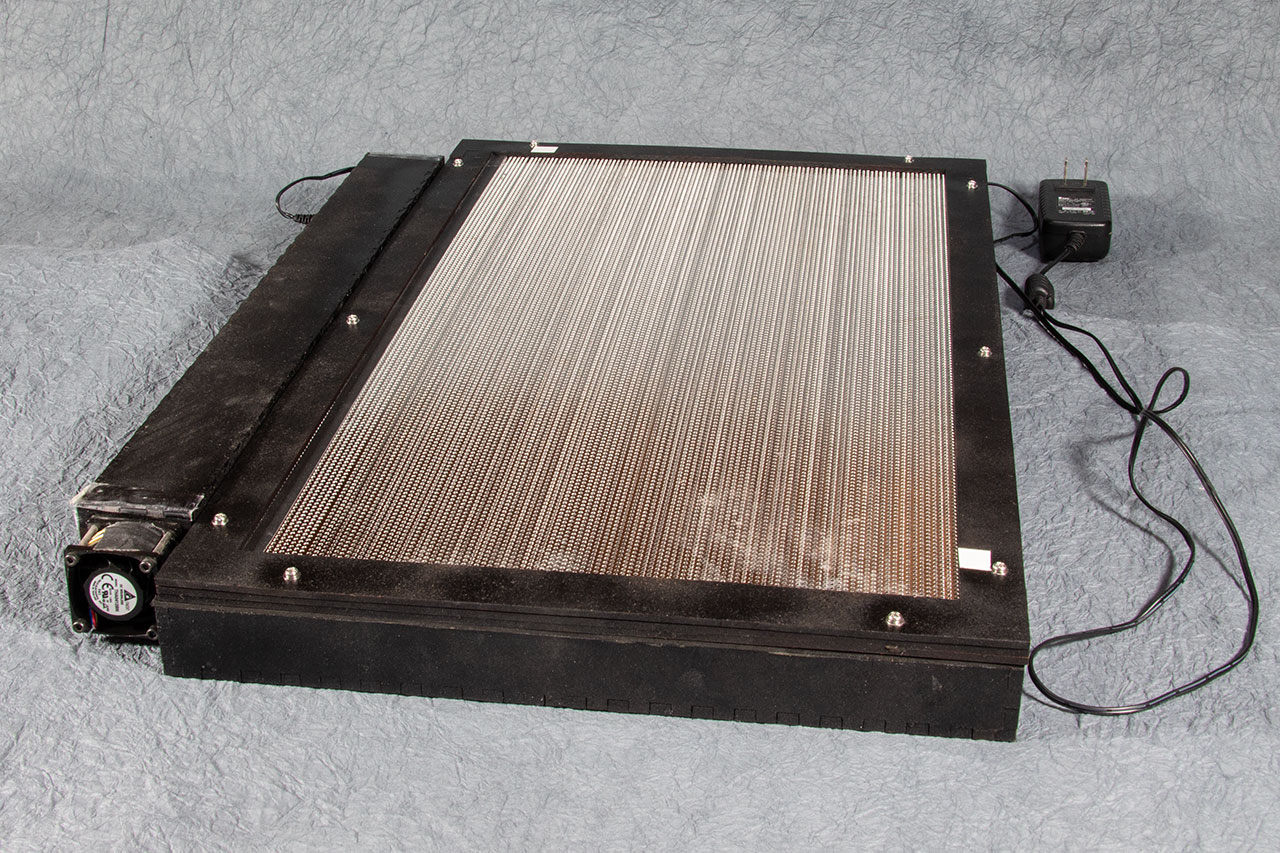
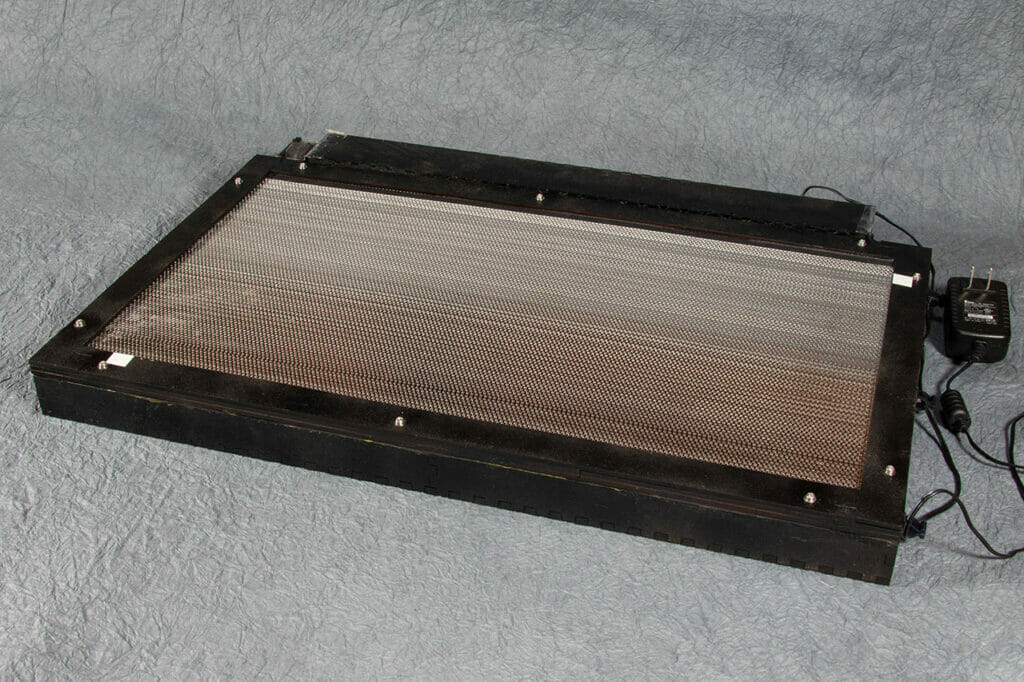
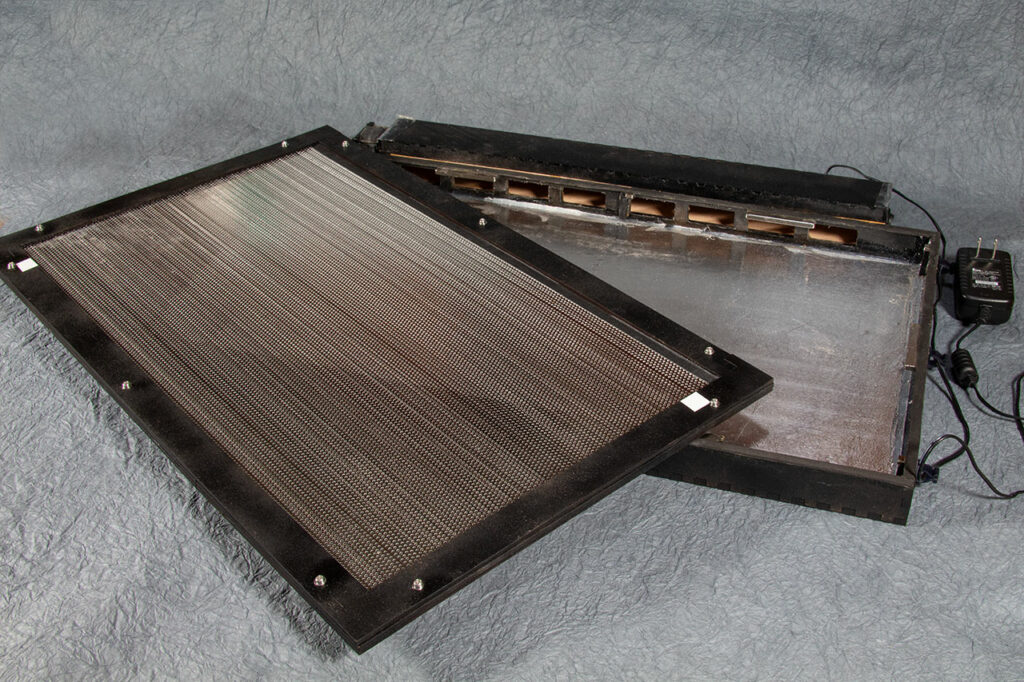
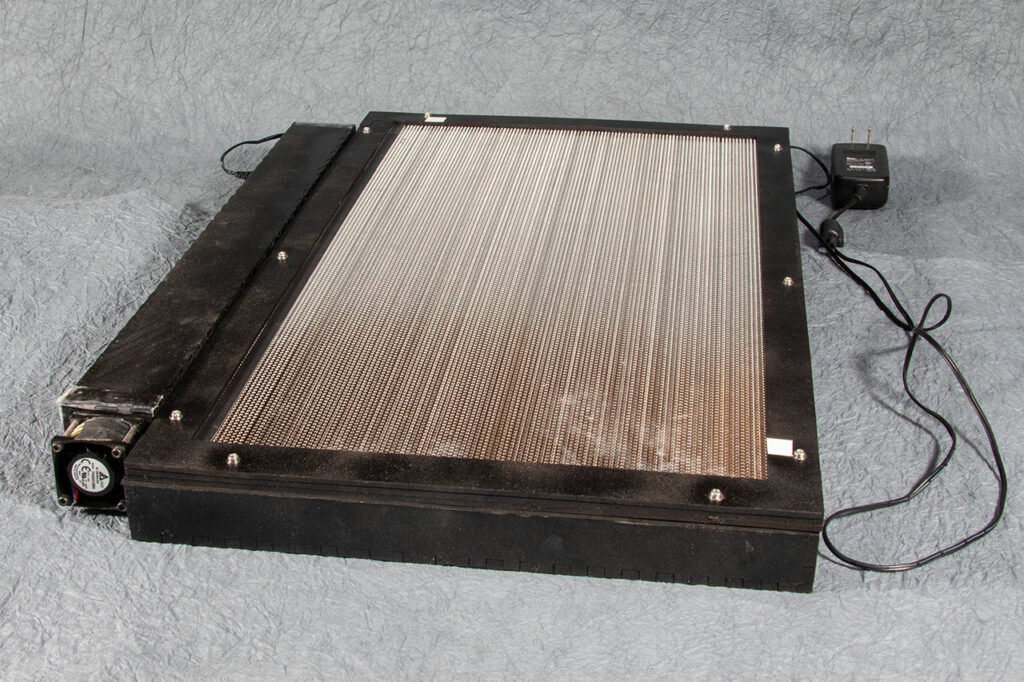
This is a quick, simple tool to assist when separating skeins of kumihimo (or embroidery) floss into working clusters with the desired number of strands.  The upright is a sandwich of a piece of EVA foam between two pieces of 1/4″ stock (MDF here but, something like Baltic birch ply or acrylic should work, too).  The EVA is sliced with a razor blade in the middle of each channel.  Then, just glue it all together with wood glue.  Some clamping is likely required while it dries.

Floss separator, clamped for glue to dry

It is probably best to clamp it down to a table when using.  Knot the end of the skein/bundle of strands and, slip it into the cut in the EVA.  That should keep the end in place while you separate the full length.

Floss Separator Design Files

These files are for personal, non-commercial use only.  Note that, by referencing these, you are agreeing to release any variations you create under identical terms.

Attribution-Creative Commons NonCommercial-ShareAlikeFloss Separator 1/4″ Stock Cut File (SVG)

Floss Separator EVA Foam Cut File (SVG)

Viking Longship Design on Hardcover Notebooks

Viking Longship Design on Hardcover Notebooks

I finished a new Viking Longship design for the vegan/faux leather hardcover notebook jackets!

Celtic Key Pattern Embossed Velvet

Celtic Key Pattern Embossed Velvet

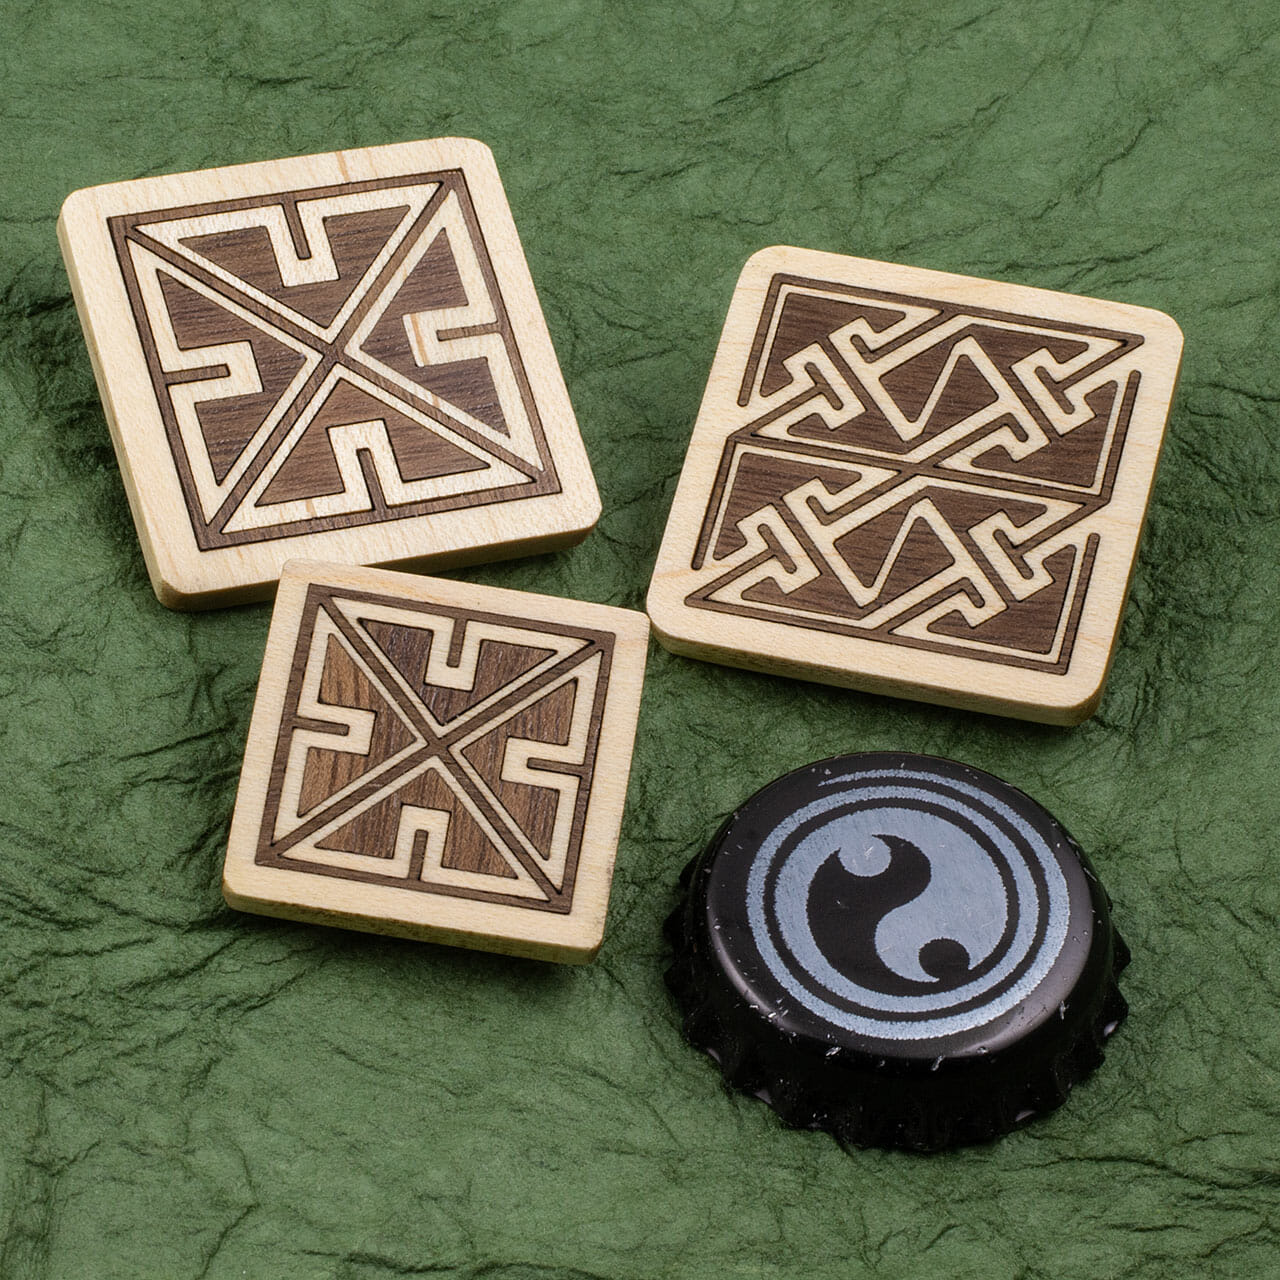
With a new couch on the way last year, I came up with a plan to create some unique thematic throw pillows to go on it. In addition to one made from a fine wool Crawford clan tartan, I envisioned one of a forest green velvet embossed with one of my key pattern designs.

I figured that some combination of heat, pressure and a rigid die/stamp/form would give me what I wanted. I tracked down some (100% polyester upholstery) velvet, ordered samples and, made a test form on the laser from 1/8″ thick MDF. I cut a key square and, experimented using my old heat press.

After some experimenting (on purple velvet, while waiting on the green), I was able to find an approach that works. I set the pressure on the heat press by putting in a single sheet of 1/8″ MDF, tightening down until it touched the board, then adding another quarter turn. The range of pressure that works is pretty narrow. Too little pressure and the resulting design is faint. Too much pressure and, you emboss the edges of the form’s base, too.

The form goes on the bottom platen, facing up. The velvet goes on the form, facing down. I mist the back of the velvet lightly with a little water so there will be a little steam (but not enough to spot the fabric).

The optimal heat seems to be about 400º F for about 15 seconds.

I broke out my vintage Elna Supermatic sewing machine and, turned some of it into a pillow. I did several extra pieces. So, look for it in future projects.

There is a full video walk-through of making the forms and the embossing and, a separate video showing off the sewing machine and making the pillow.

Celtic Knotwork Journal

Celtic Snowflake Journals (4 Colors)

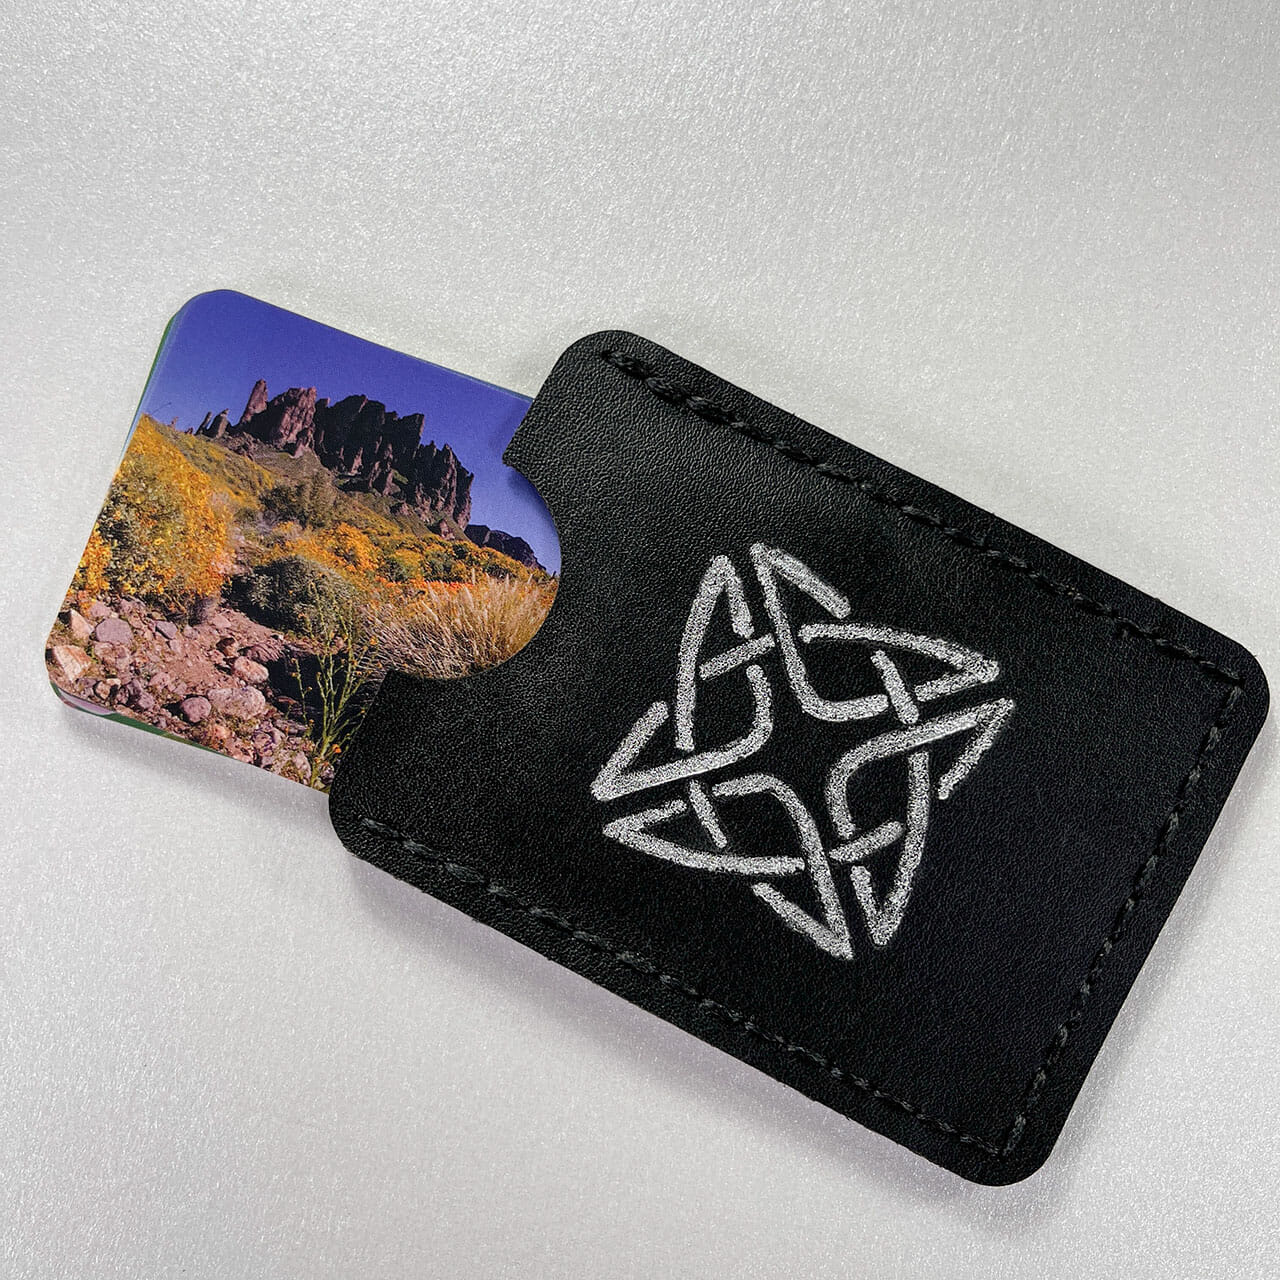
These journal covers are engraved with my Snowflake Celtic knotwork design (and a new corner piece I designed specifically for these).  These are laser-cut and engraved, then saddle stitched by hand (using the stitching pony I made recently).  These are made from a synthetic/vegan leather that looks and feel impressively like real leather.  I personalized a few of them.  These slip onto the Baron Fig Vanguard notebooks, which can be easily swapped as notebooks are filled.

I also made some packaging for them.  The Ice Gold cover stock laser engraves in a nice metallic gold for the design and ambigram logo.

Update: These are now available in the shop!

Skull Beads

Skull Beads

I used some hand-carved cow bone skull beads in a recent (forthcoming) project. I like the look there but, they are pretty rough.  Someone was showing me some tiny hand-carved wooden skull beads and, I wondered if I could come up with some relatively easy way to produce some more detailed skull beads.  My under-used SLA resin printer seemed like a good option.

I created a remix of a full skull model by Arminas Didziokas.  I used MeshMixer to remove the lower jaw, make it solid and, put a hole through it.  I printed a few at different sizes to get a feel for what would be best.

After curing, I primed them with Montana Cans white primer.  When that was dry, I dug out my old Aztek 3000S airbrush and gave them a coat of something more of an aged bone color.  Next, I did a simple dark brown wash on two of them them and, a black wash on the other.  They then got a light coat of matte polyurethane to protect the paint.

The holes probably need to be somewhere around .5-1mm smaller and, my painting technique needs some work.  It was challenging getting the wash to stay everywhere I wanted it and, the highlights got muddier than I would prefer.  Overall, though, I think they look pretty good.

Another possibility for future attempts would be to use the 3D prints to cast these in something else.

Note the dime in the scale pic.  These are a little under 1cm wide.

Make a Stitching Pony

Stitching pony cam clamp and body close up

My first attempt at saddle stitching on a project made the value of a stitching pony immediately clear to me for that. They also seem to be pretty useful for softly clamping other small things on which one is working. Commercially-made stitching ponies are not particularly expensive or hard to find. I was thinking about the springiness of plywood and, how easy it might be to make something with a simple cam clamp. I gave it a try and, this worked out even better than I expected. I was actually a bit sloppy building this because I assumed it was going to be a prototype I threw away. It works great and, seems to be everything I need for now, though.

Design Files

These files are for personal, non-commercial use only. If you want to produce these to sell or for other business use, please contact me to arrange for licensing terms.  Also note that, by referencing these, you are agreeing to release any variations you create under identical terms.

Attribution-Creative Commons NonCommercial-ShareAlike

Evermore Studio Stitching Pony Plans (SVG)

Resources

You could cut this with a scroll saw, jig saw or hack saw pretty easily.  Of course, if you don’t have one and, really want your own laser, feel free to use my Glowforge referral code to purchase your own. Glowforge will give you a discount off their posted price and, I will get a credit kickback to help defray the cost of materials for future projects. Your support is always appreciated.

You are almost certainly better off buying your Baltic birch plywood from a local supplier. You can get little boxes of it online but, it is generally twice the price.

1/4″ Baltic Birch Plywood (Amazon)

1/8″ Baltic Birch Plywood (Amazon)

1/4″ Baltic Birch Plywood (Woodworkers Source)

Here is the cam clamp I used. Anything similar should work. This uses a standard quarter-twenty bolt. So, it should be possible to replace with a longer one, if desired.

Cam Clamps (Amazon)

Wood Glue (Amazon)

I used this leather because it was handy but, any soft vegetable-tanned medium-weight leather should work.

Medium Natural Leather (Glowforge)

Table Vise (Amazon) if you don’t already have one.

Of course, you can also just buy a stitching pony for a similar amount:

Stitching Pony (Amazon)

Note that I am not recommending that particular stitching pony.  I haven’t tried it.  I am just pointing out that you can buy one ready-made.

Amazon referral links for some parts and incidentals defray IT and hosting costs for a local arts organization (Arizona Aikido).

Small Inlaid Celtic Key Pattern Box

Small Inlaid Celtic Key Pattern Box

I did another small maple and cherry box inlaid with the same Celtic key pattern as the long box I posted recently. For this one, I designed the box body parametrically, entirely in Fusion 360. I can put in the material thickness or, even, alter the dimensions of the box and, everything will adjust automatically. The lid on this one is just friction-fit (no magnets) and, I did not flock the interior. 12-sided die (D12) for scale.