ESP32 Ad Blocker with Case

I made a proxying ad blocker with an ESP32-S2 TFT Feather board and a custom laser-cut acrylic case!
Continue reading
I made a proxying ad blocker with an ESP32-S2 TFT Feather board and a custom laser-cut acrylic case!
Continue reading
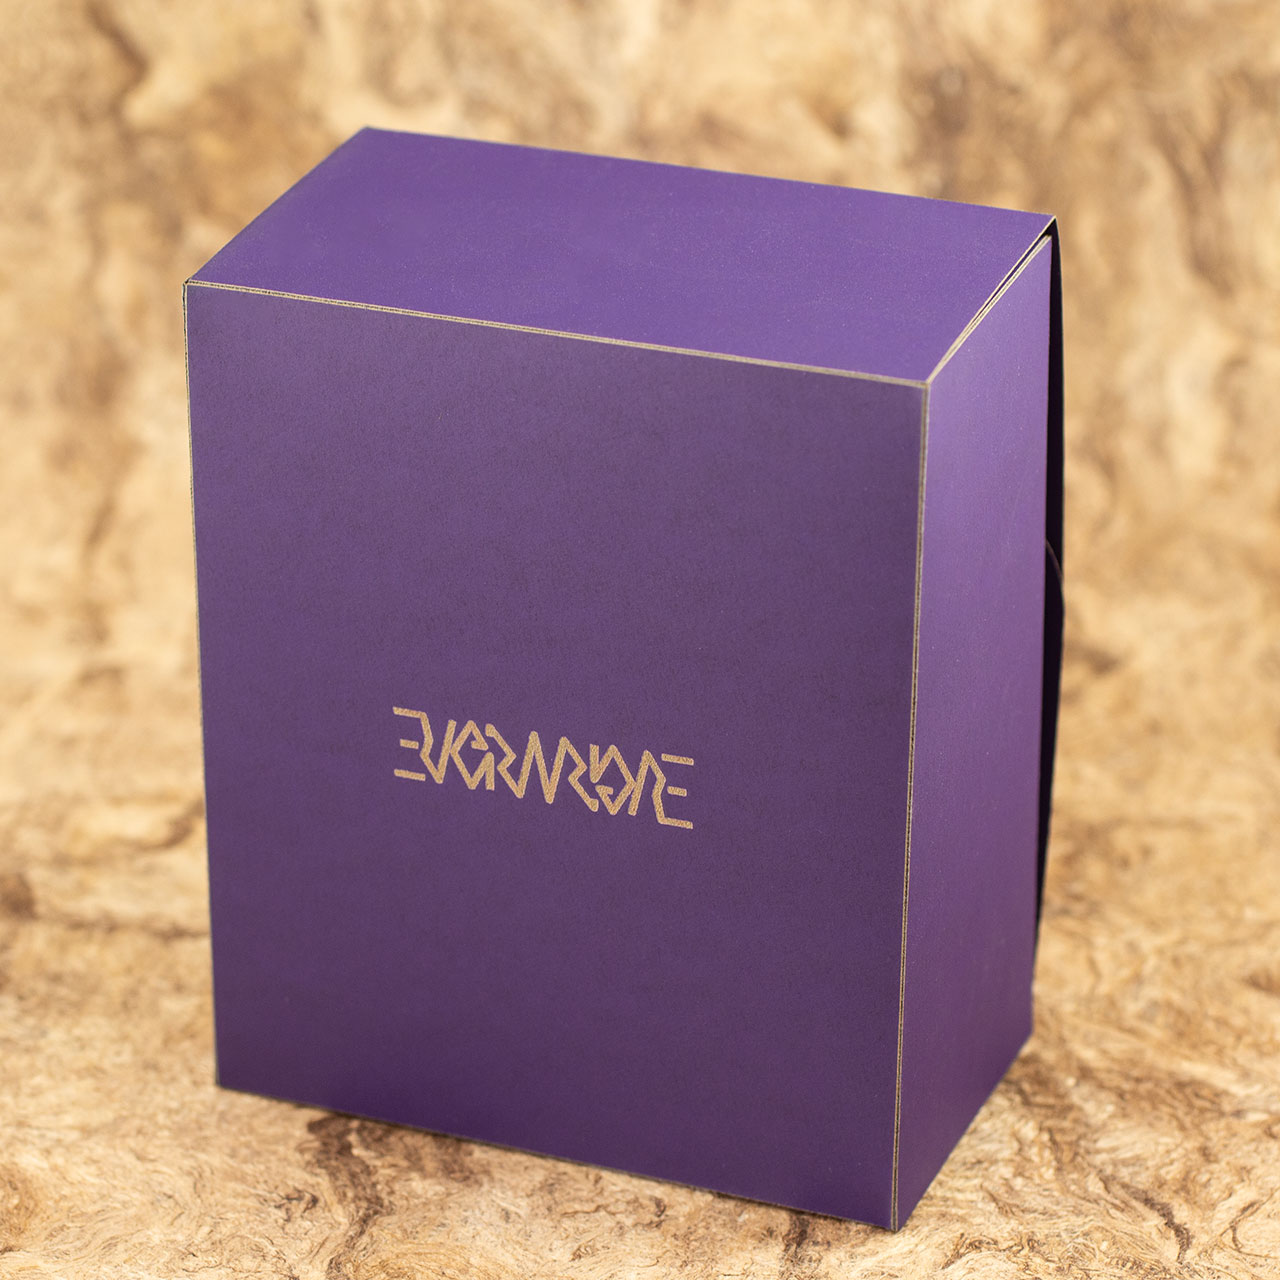
I made an XOXO rubber stamp to share at this year’s XOXO Festival!
Continue reading
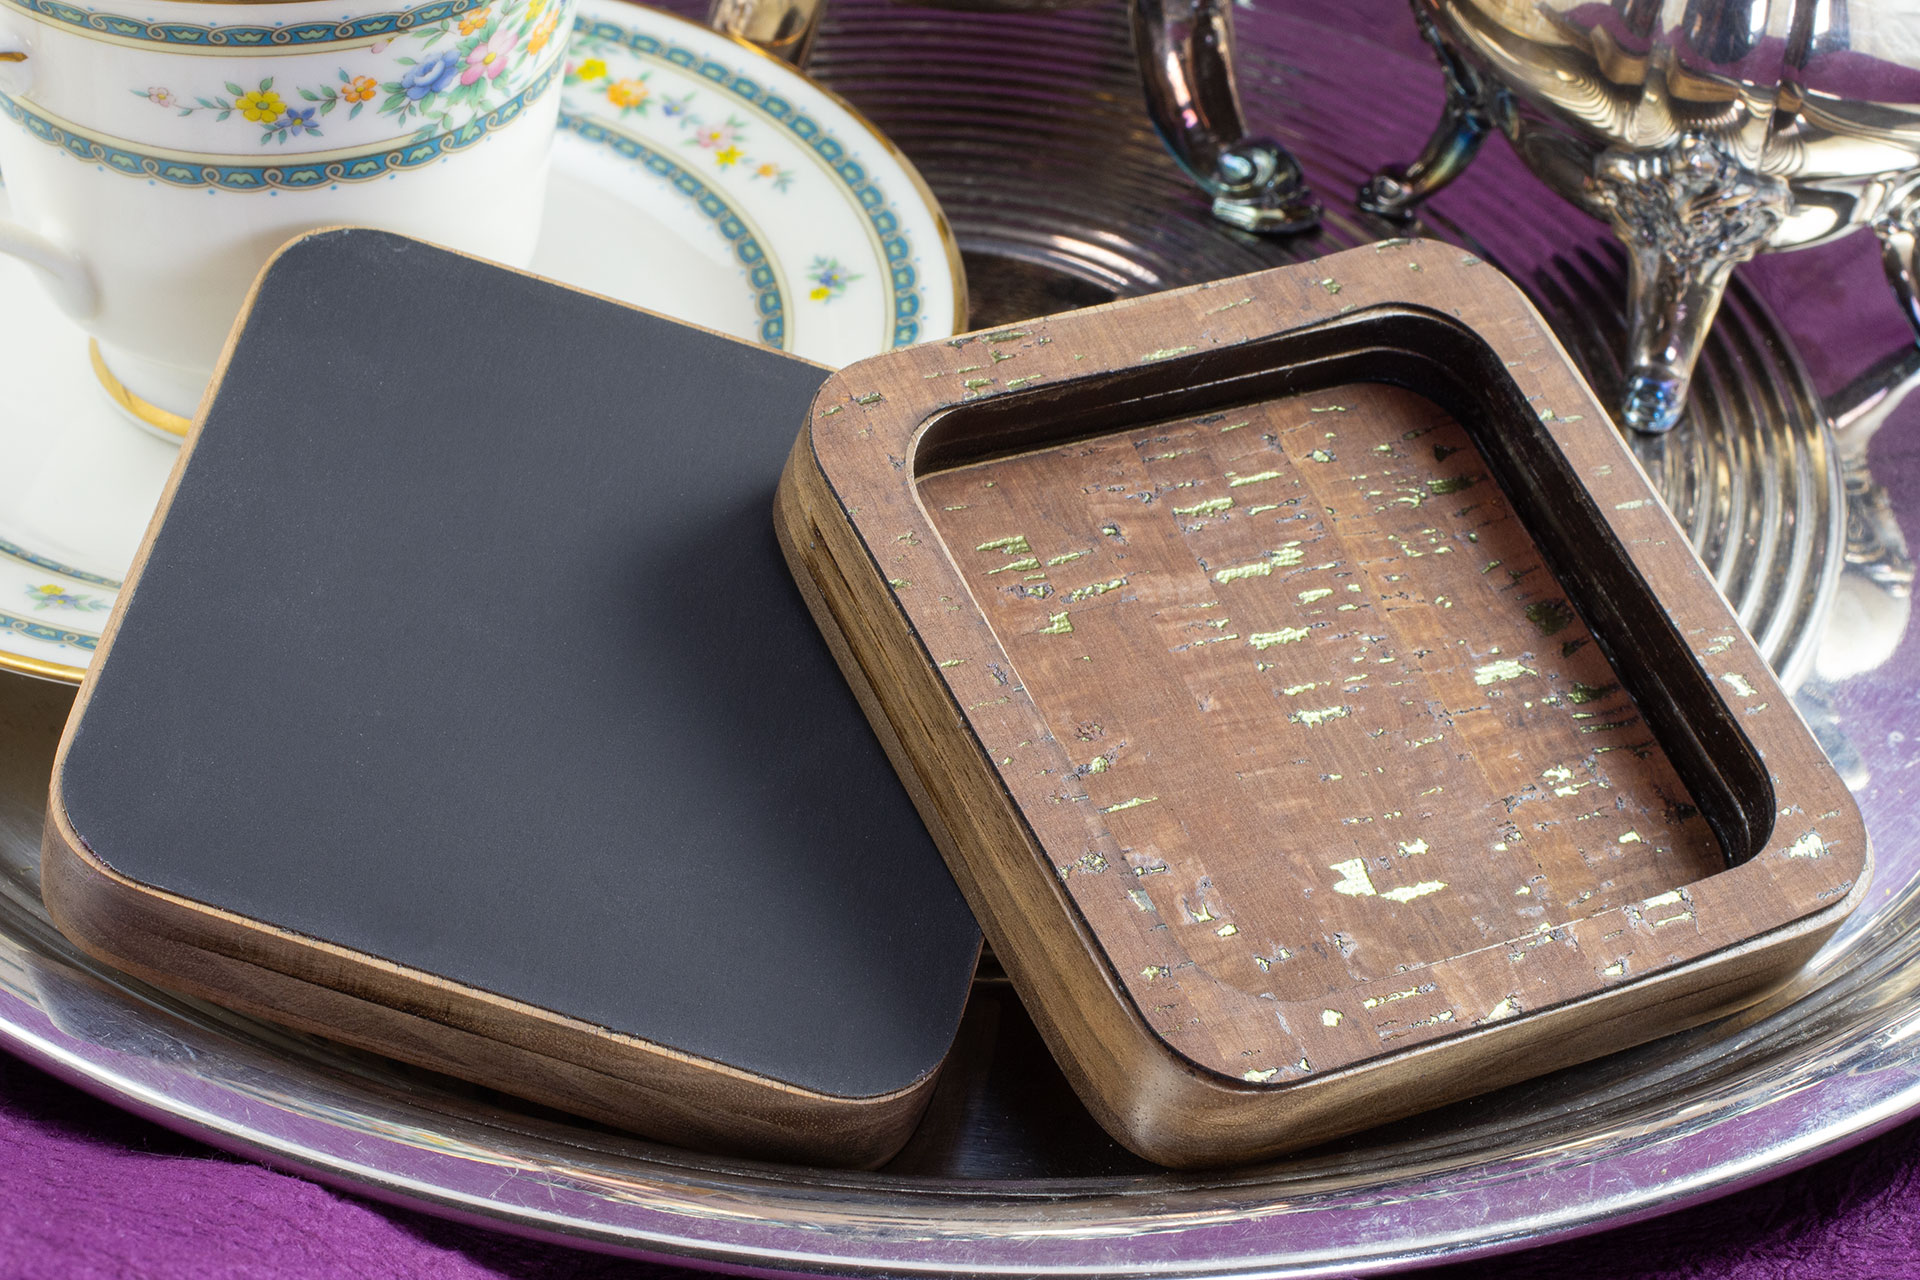
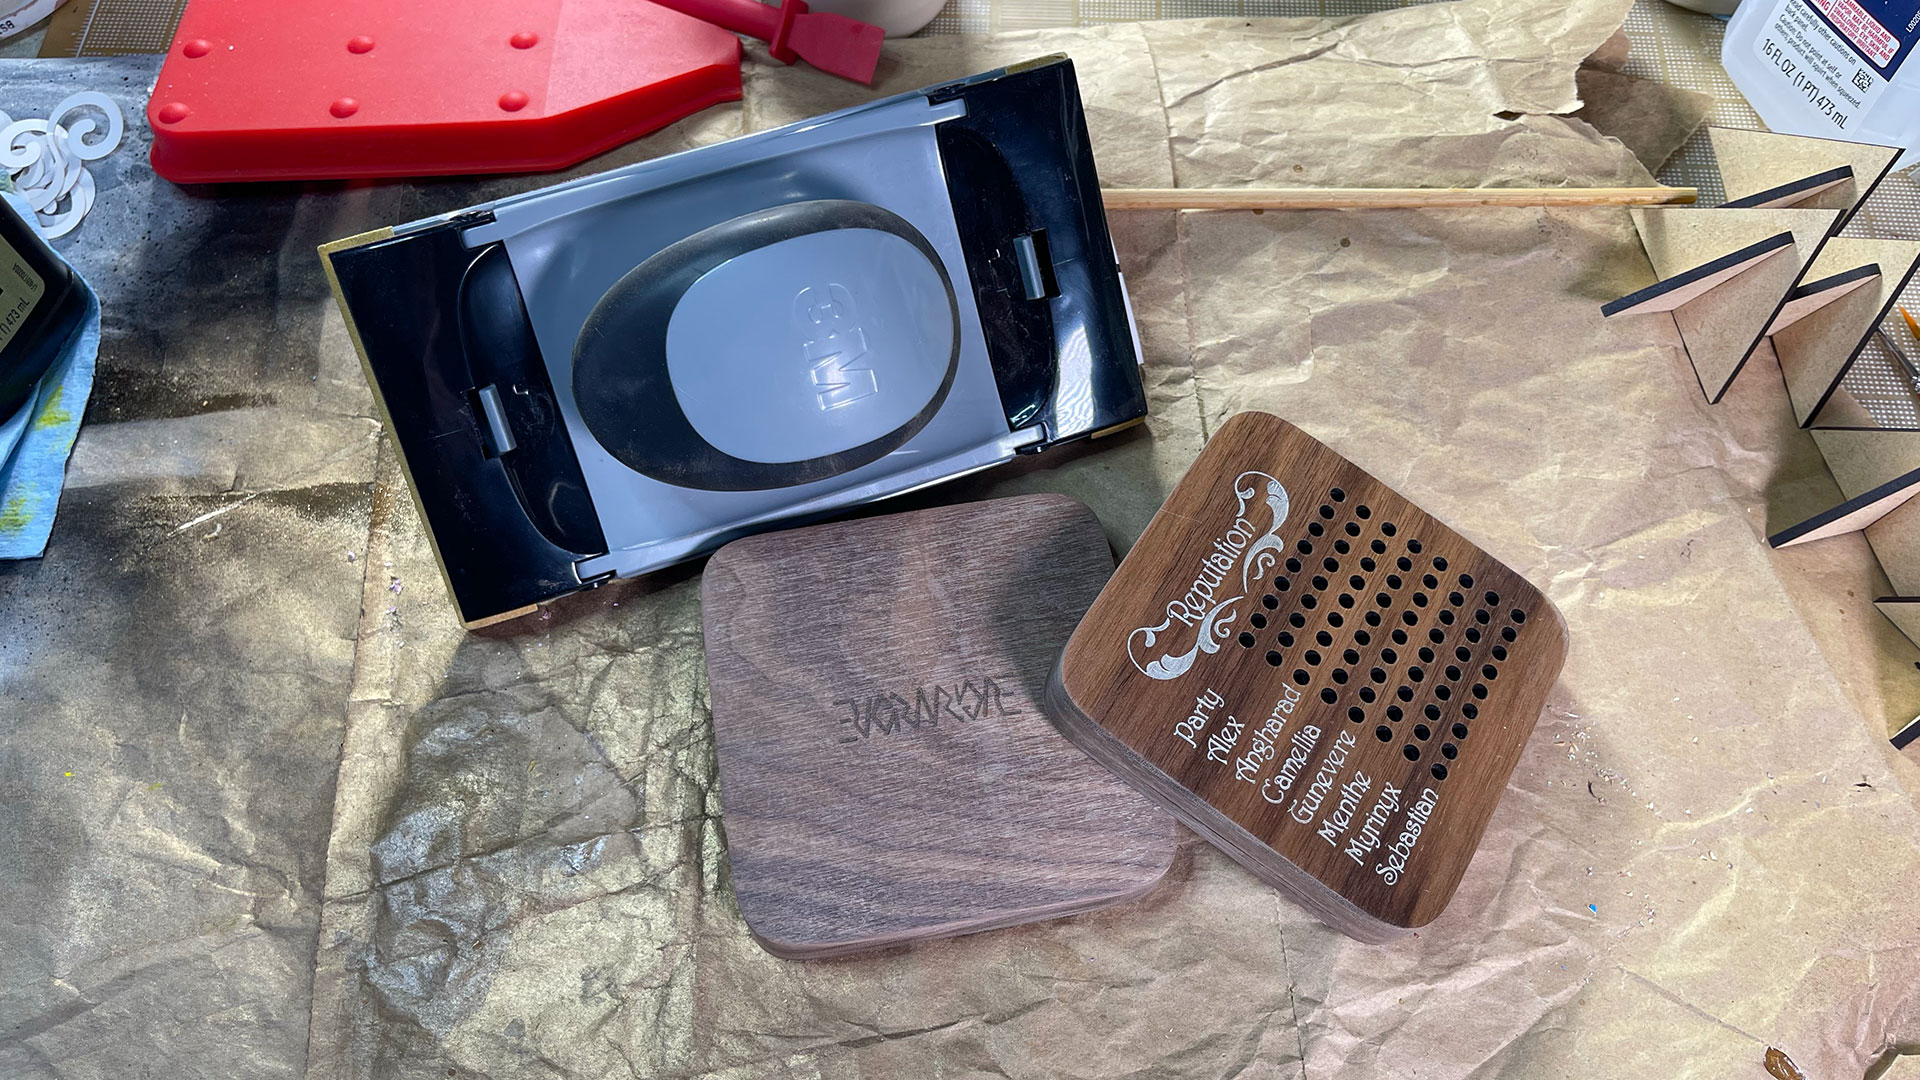
Hardwood ply deck boxes for M:tG (and similar games) with glowing engravings of a Celtic key pattern panel and personalization, made in 2022.
Continue reading
Cracked bronze glow-in-the-dark reliquary (dice stand) I made to go with a D20 chonk by False Life Dice for a giveaway.
Continue reading
Small laser-cut polyhedra in different materials, some lit from within, inspired by paper craft.
Continue reading
One of my TTRPG dice reliquaries painted with a faux copper patina finish, used to display beautiful resin art from @DiceOfTheSeeker.
Continue reading


I made a small dice pouch prototype from custom-printed Celtic spirals fabric, faux leather and braided kumihimo cord.
Continue reading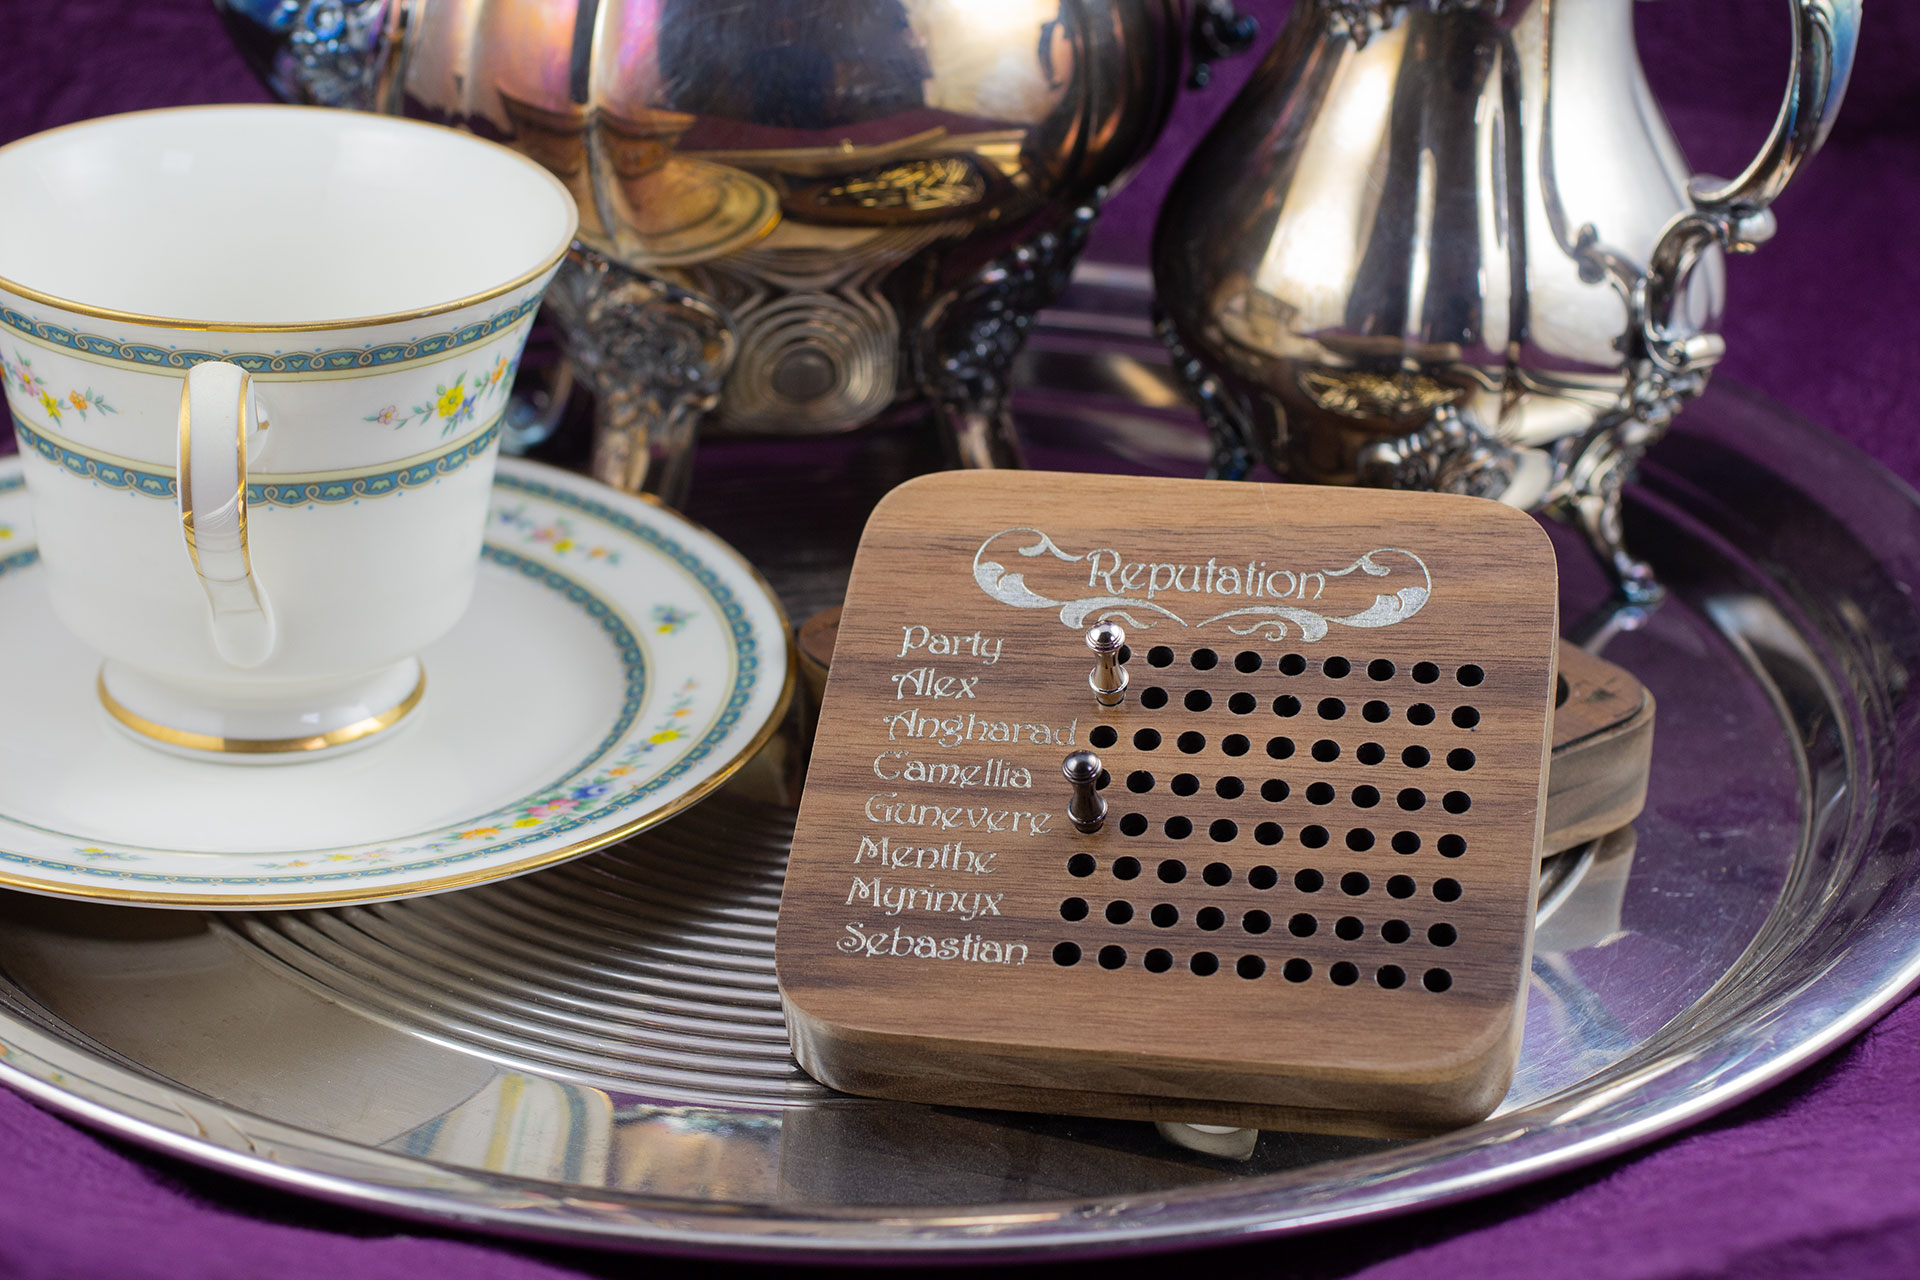