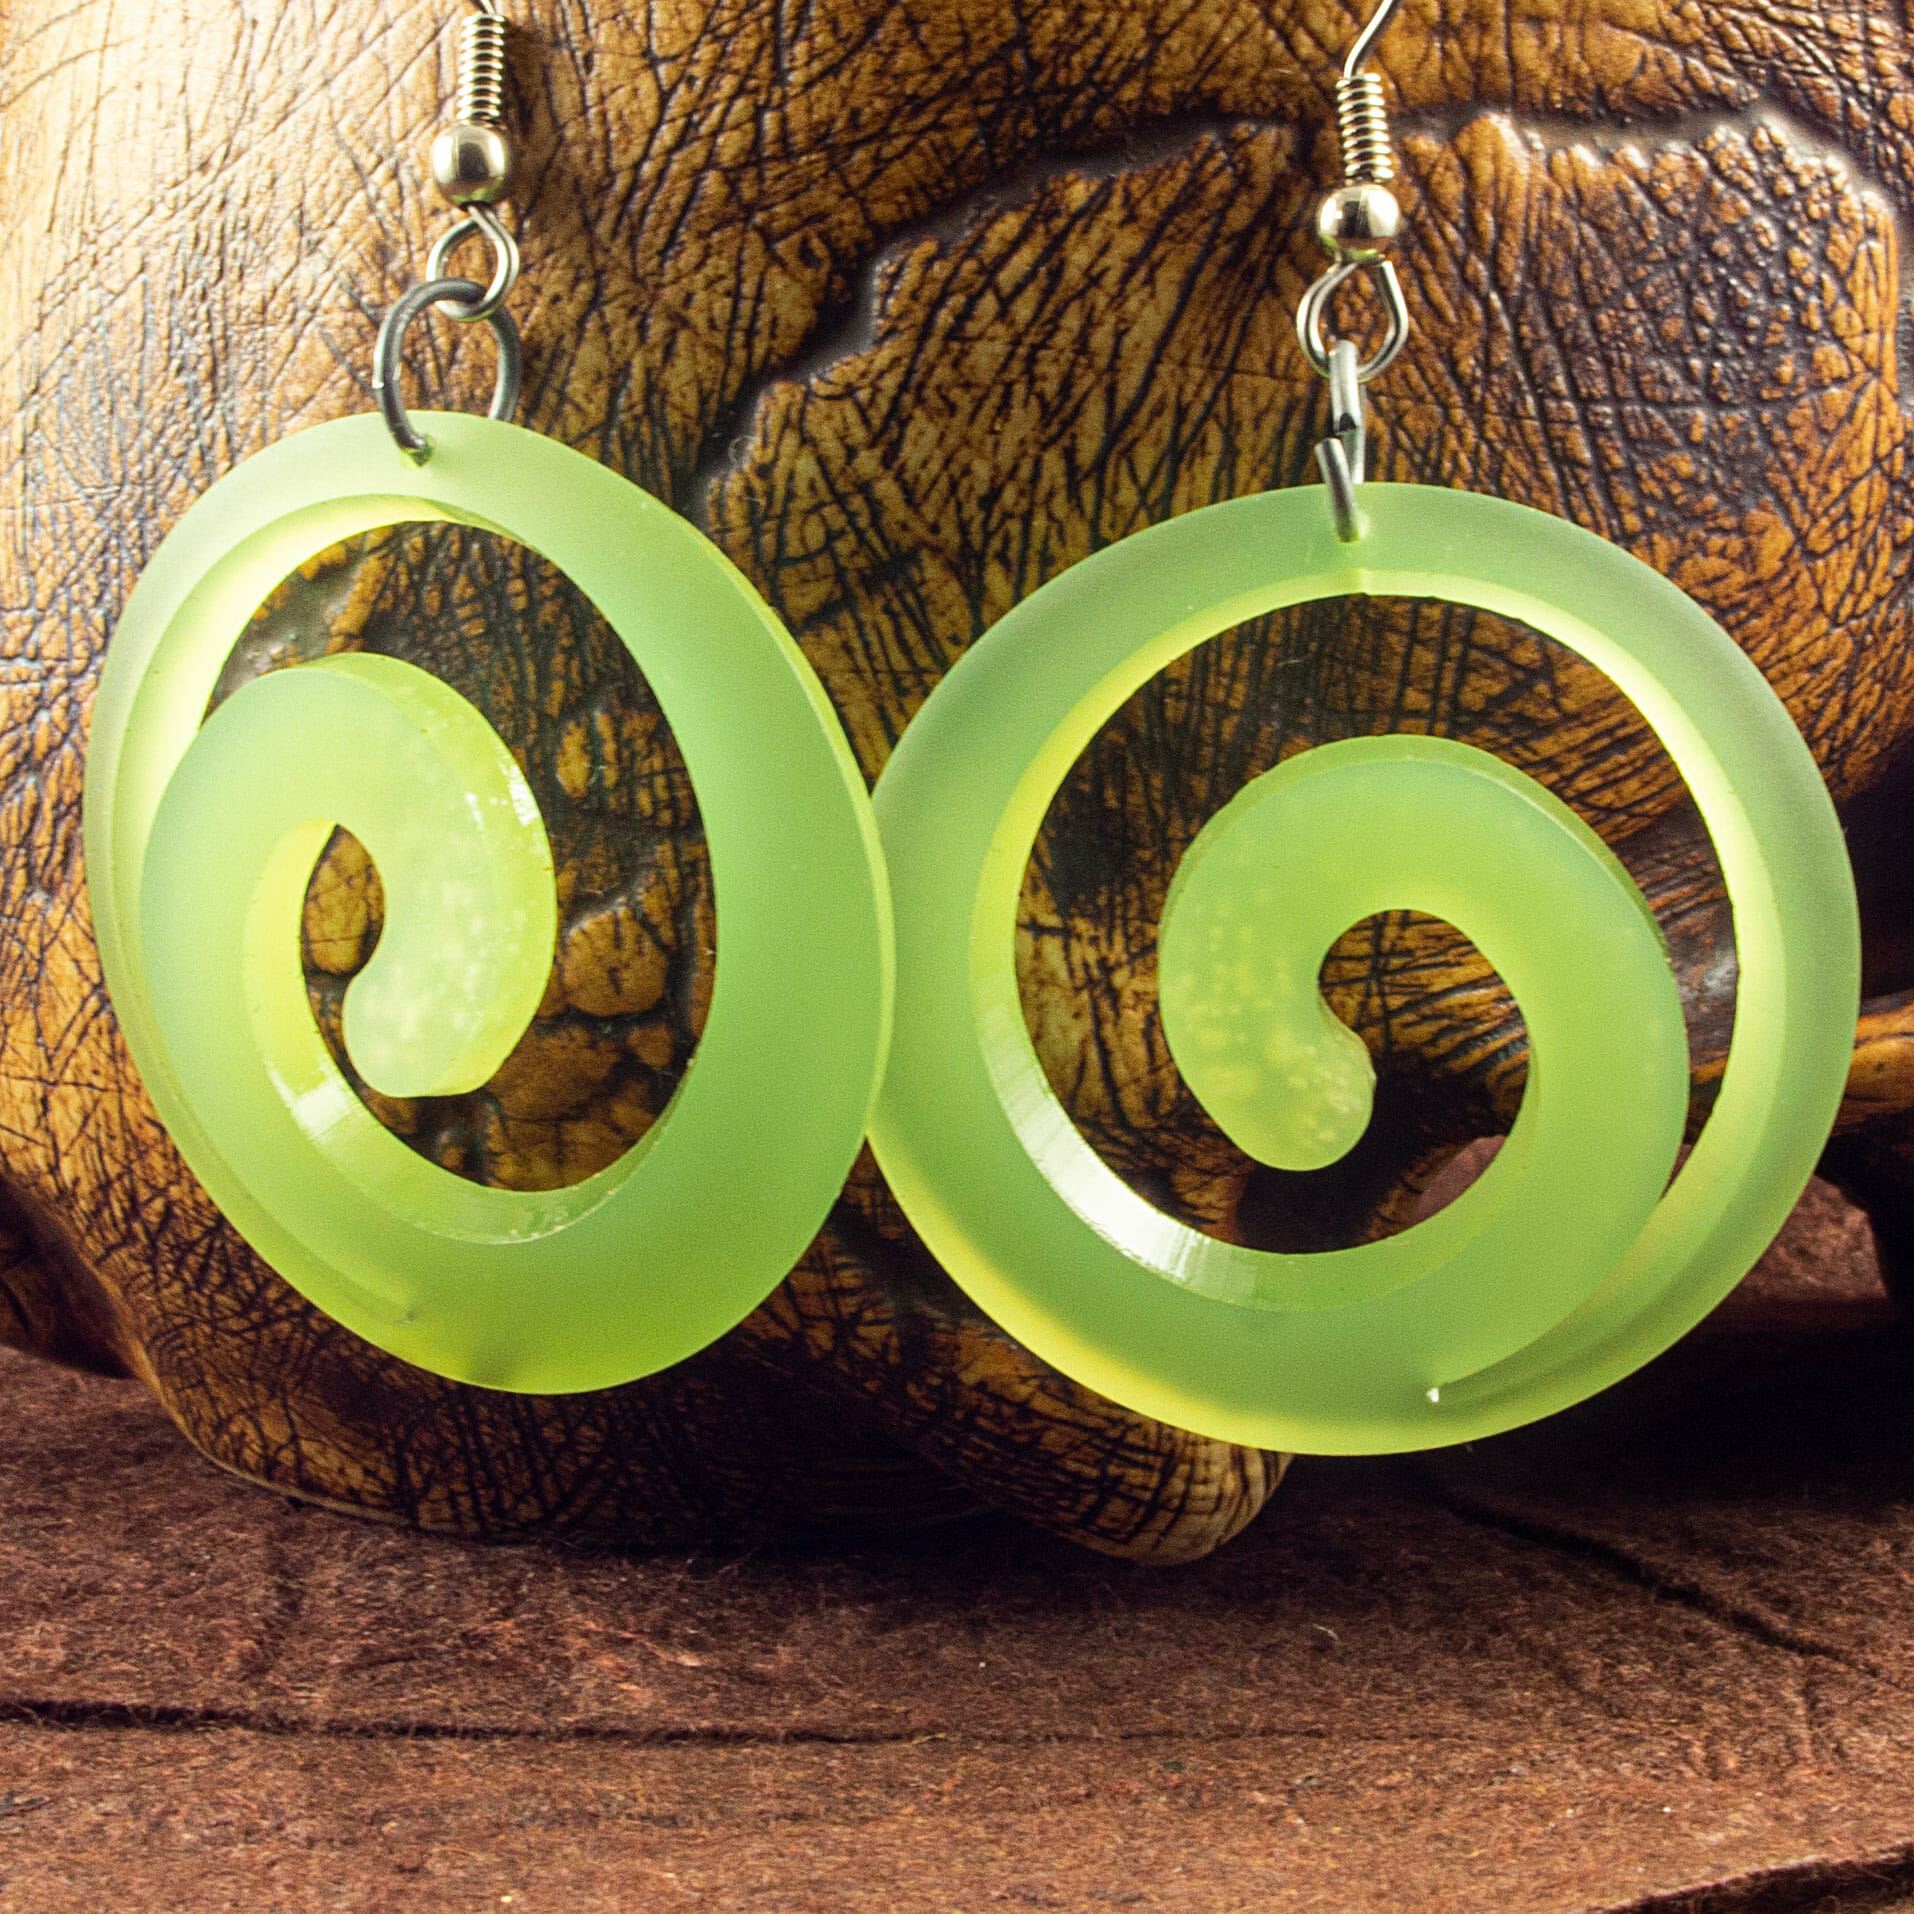
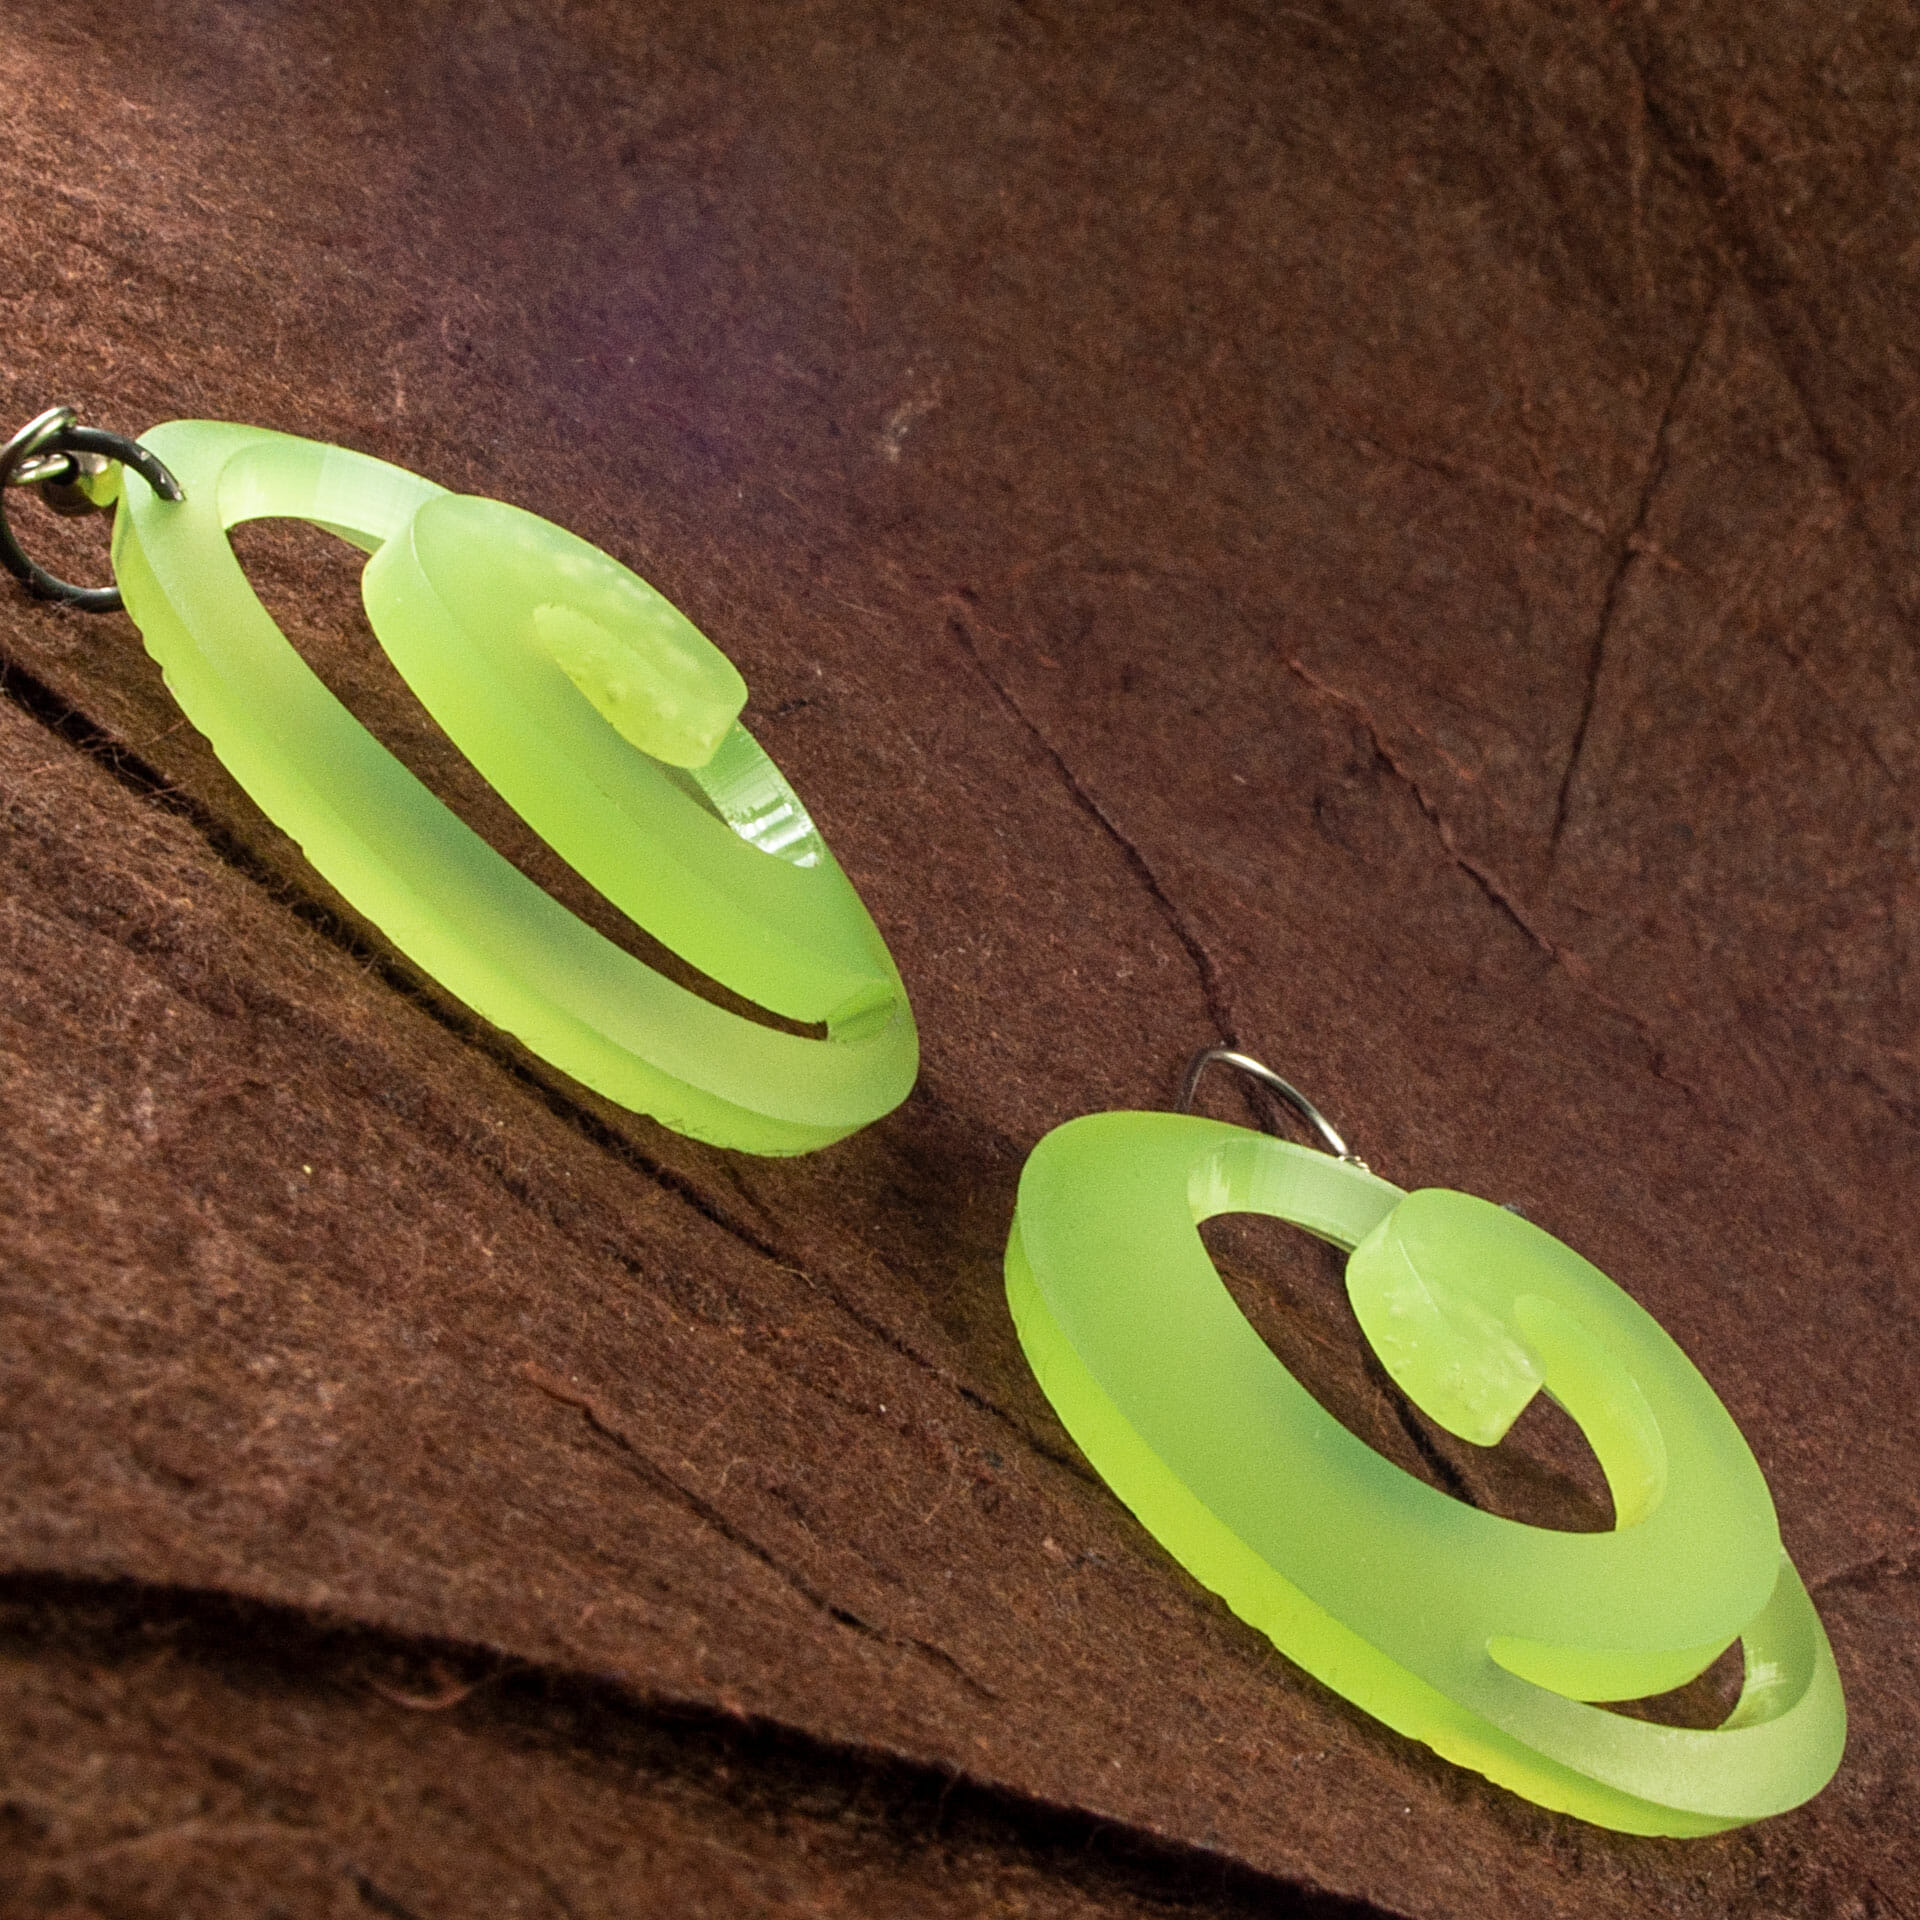
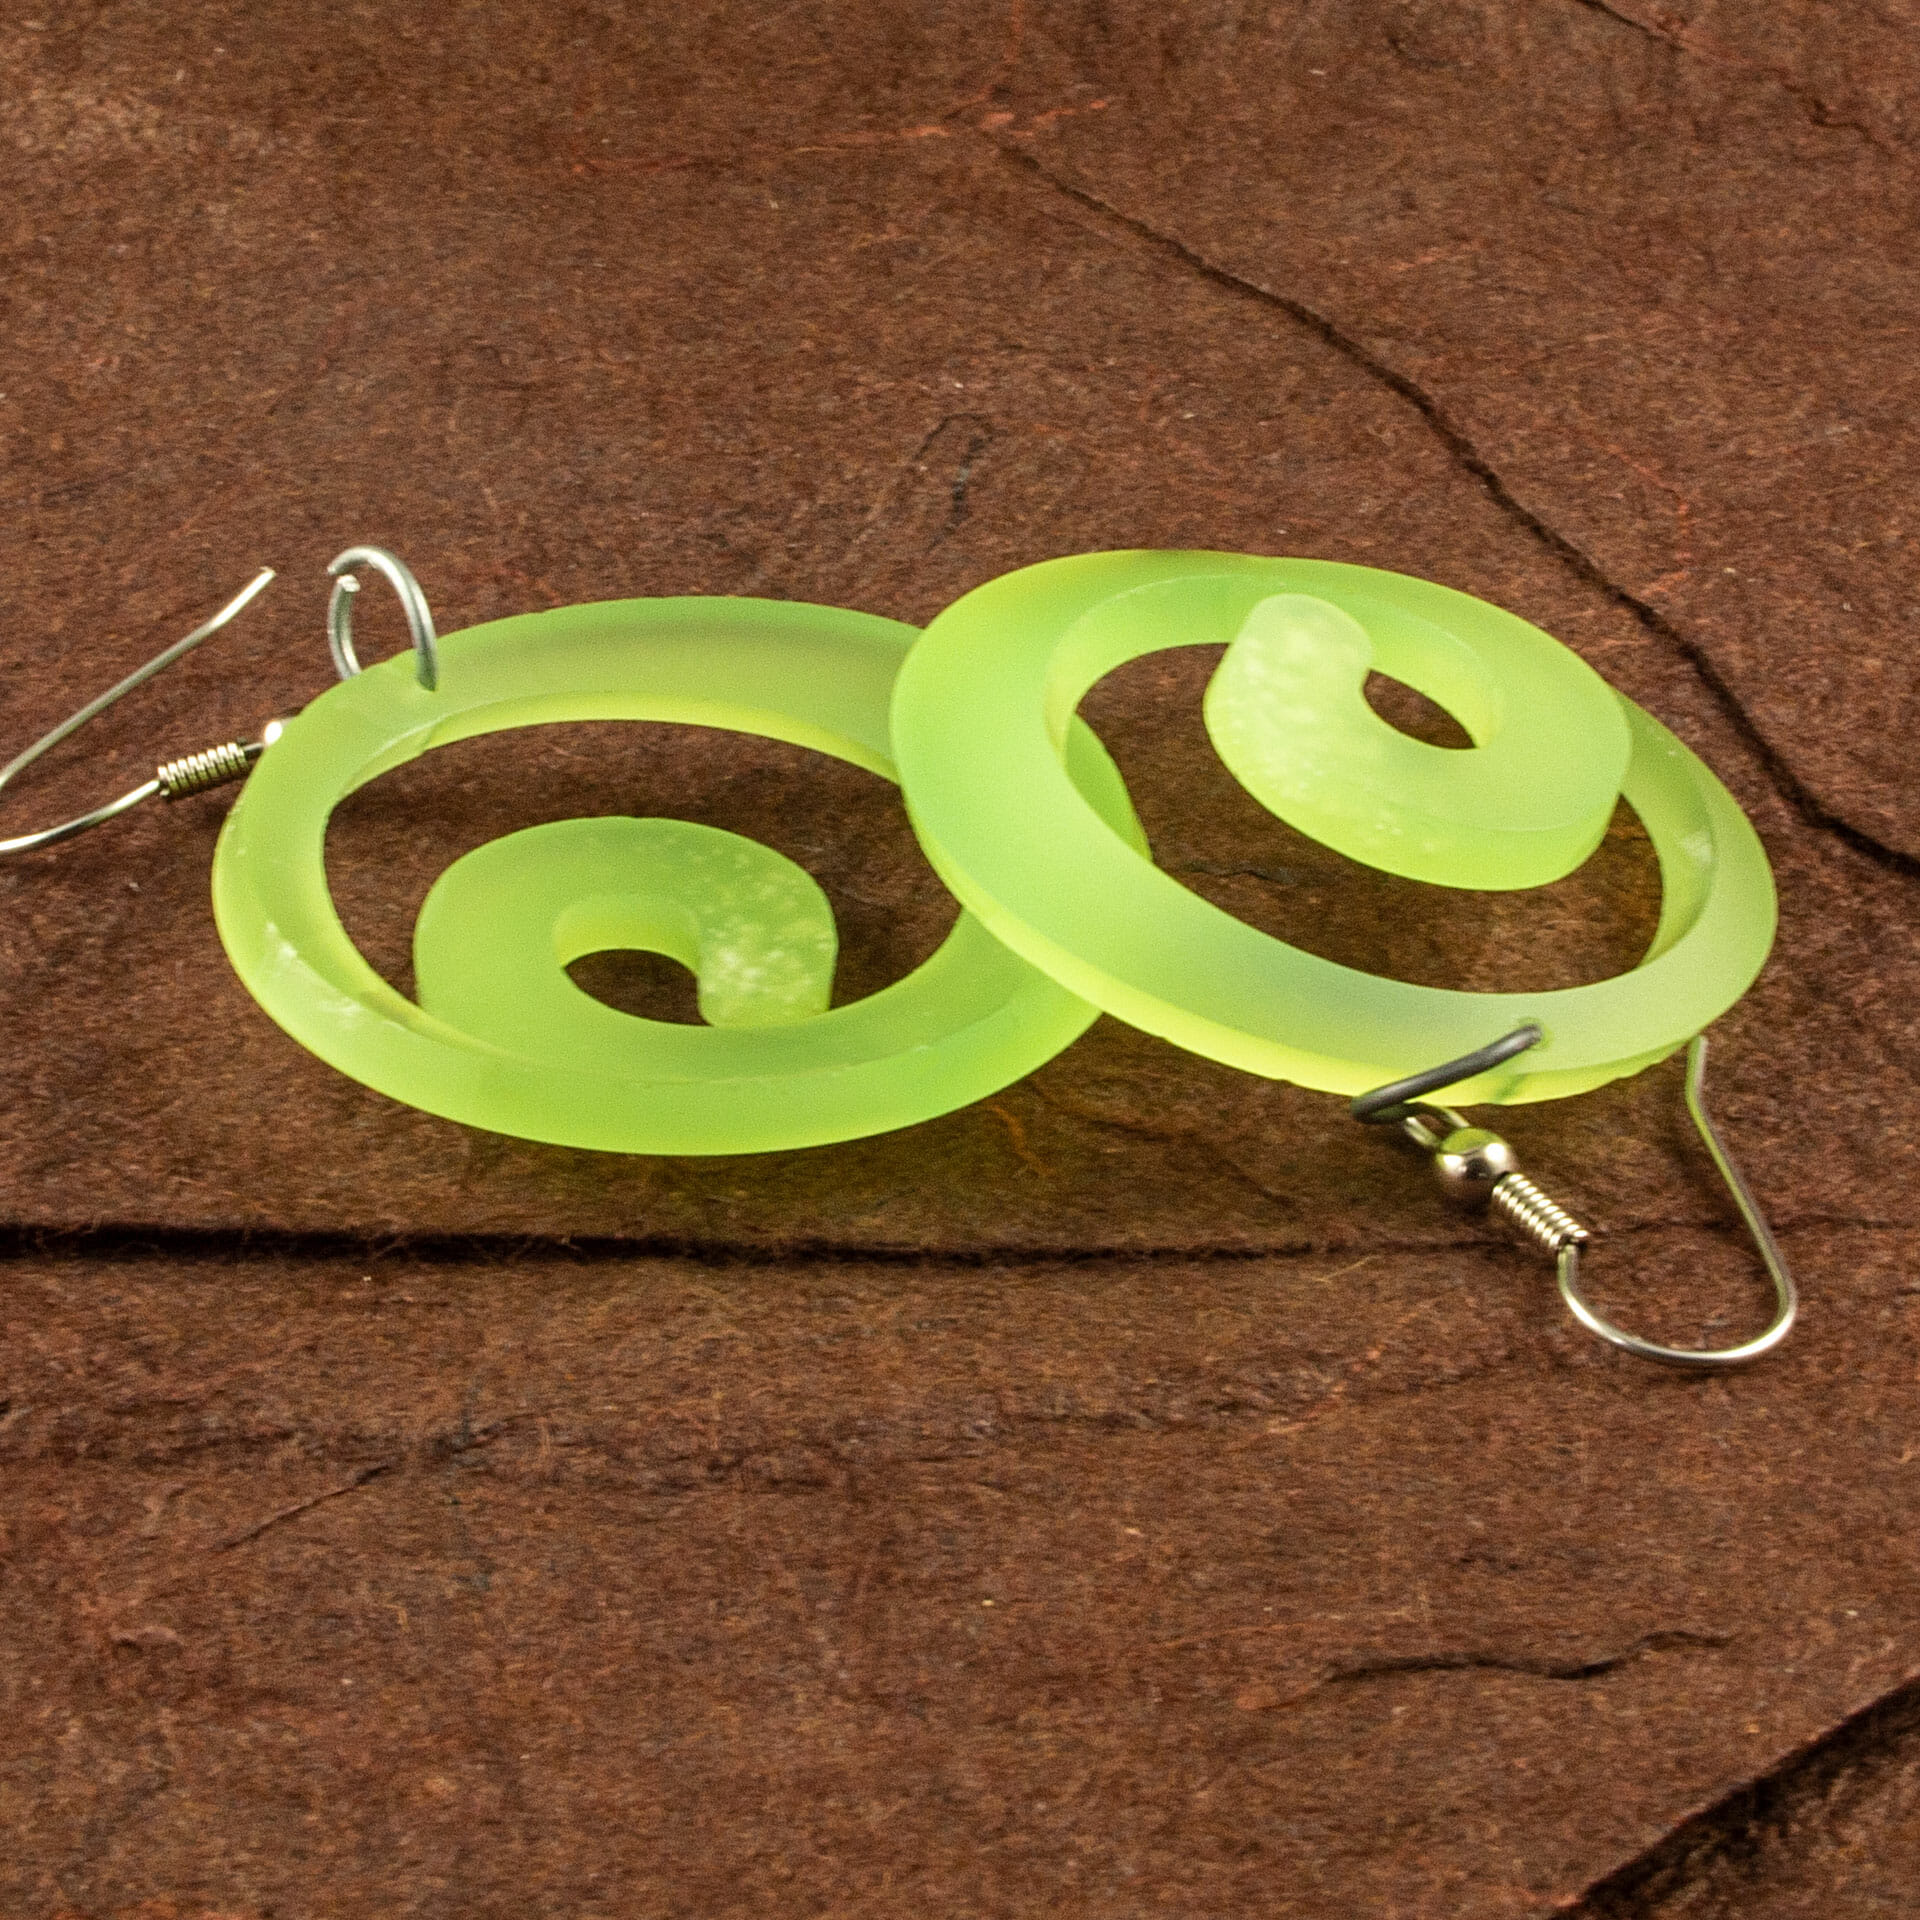
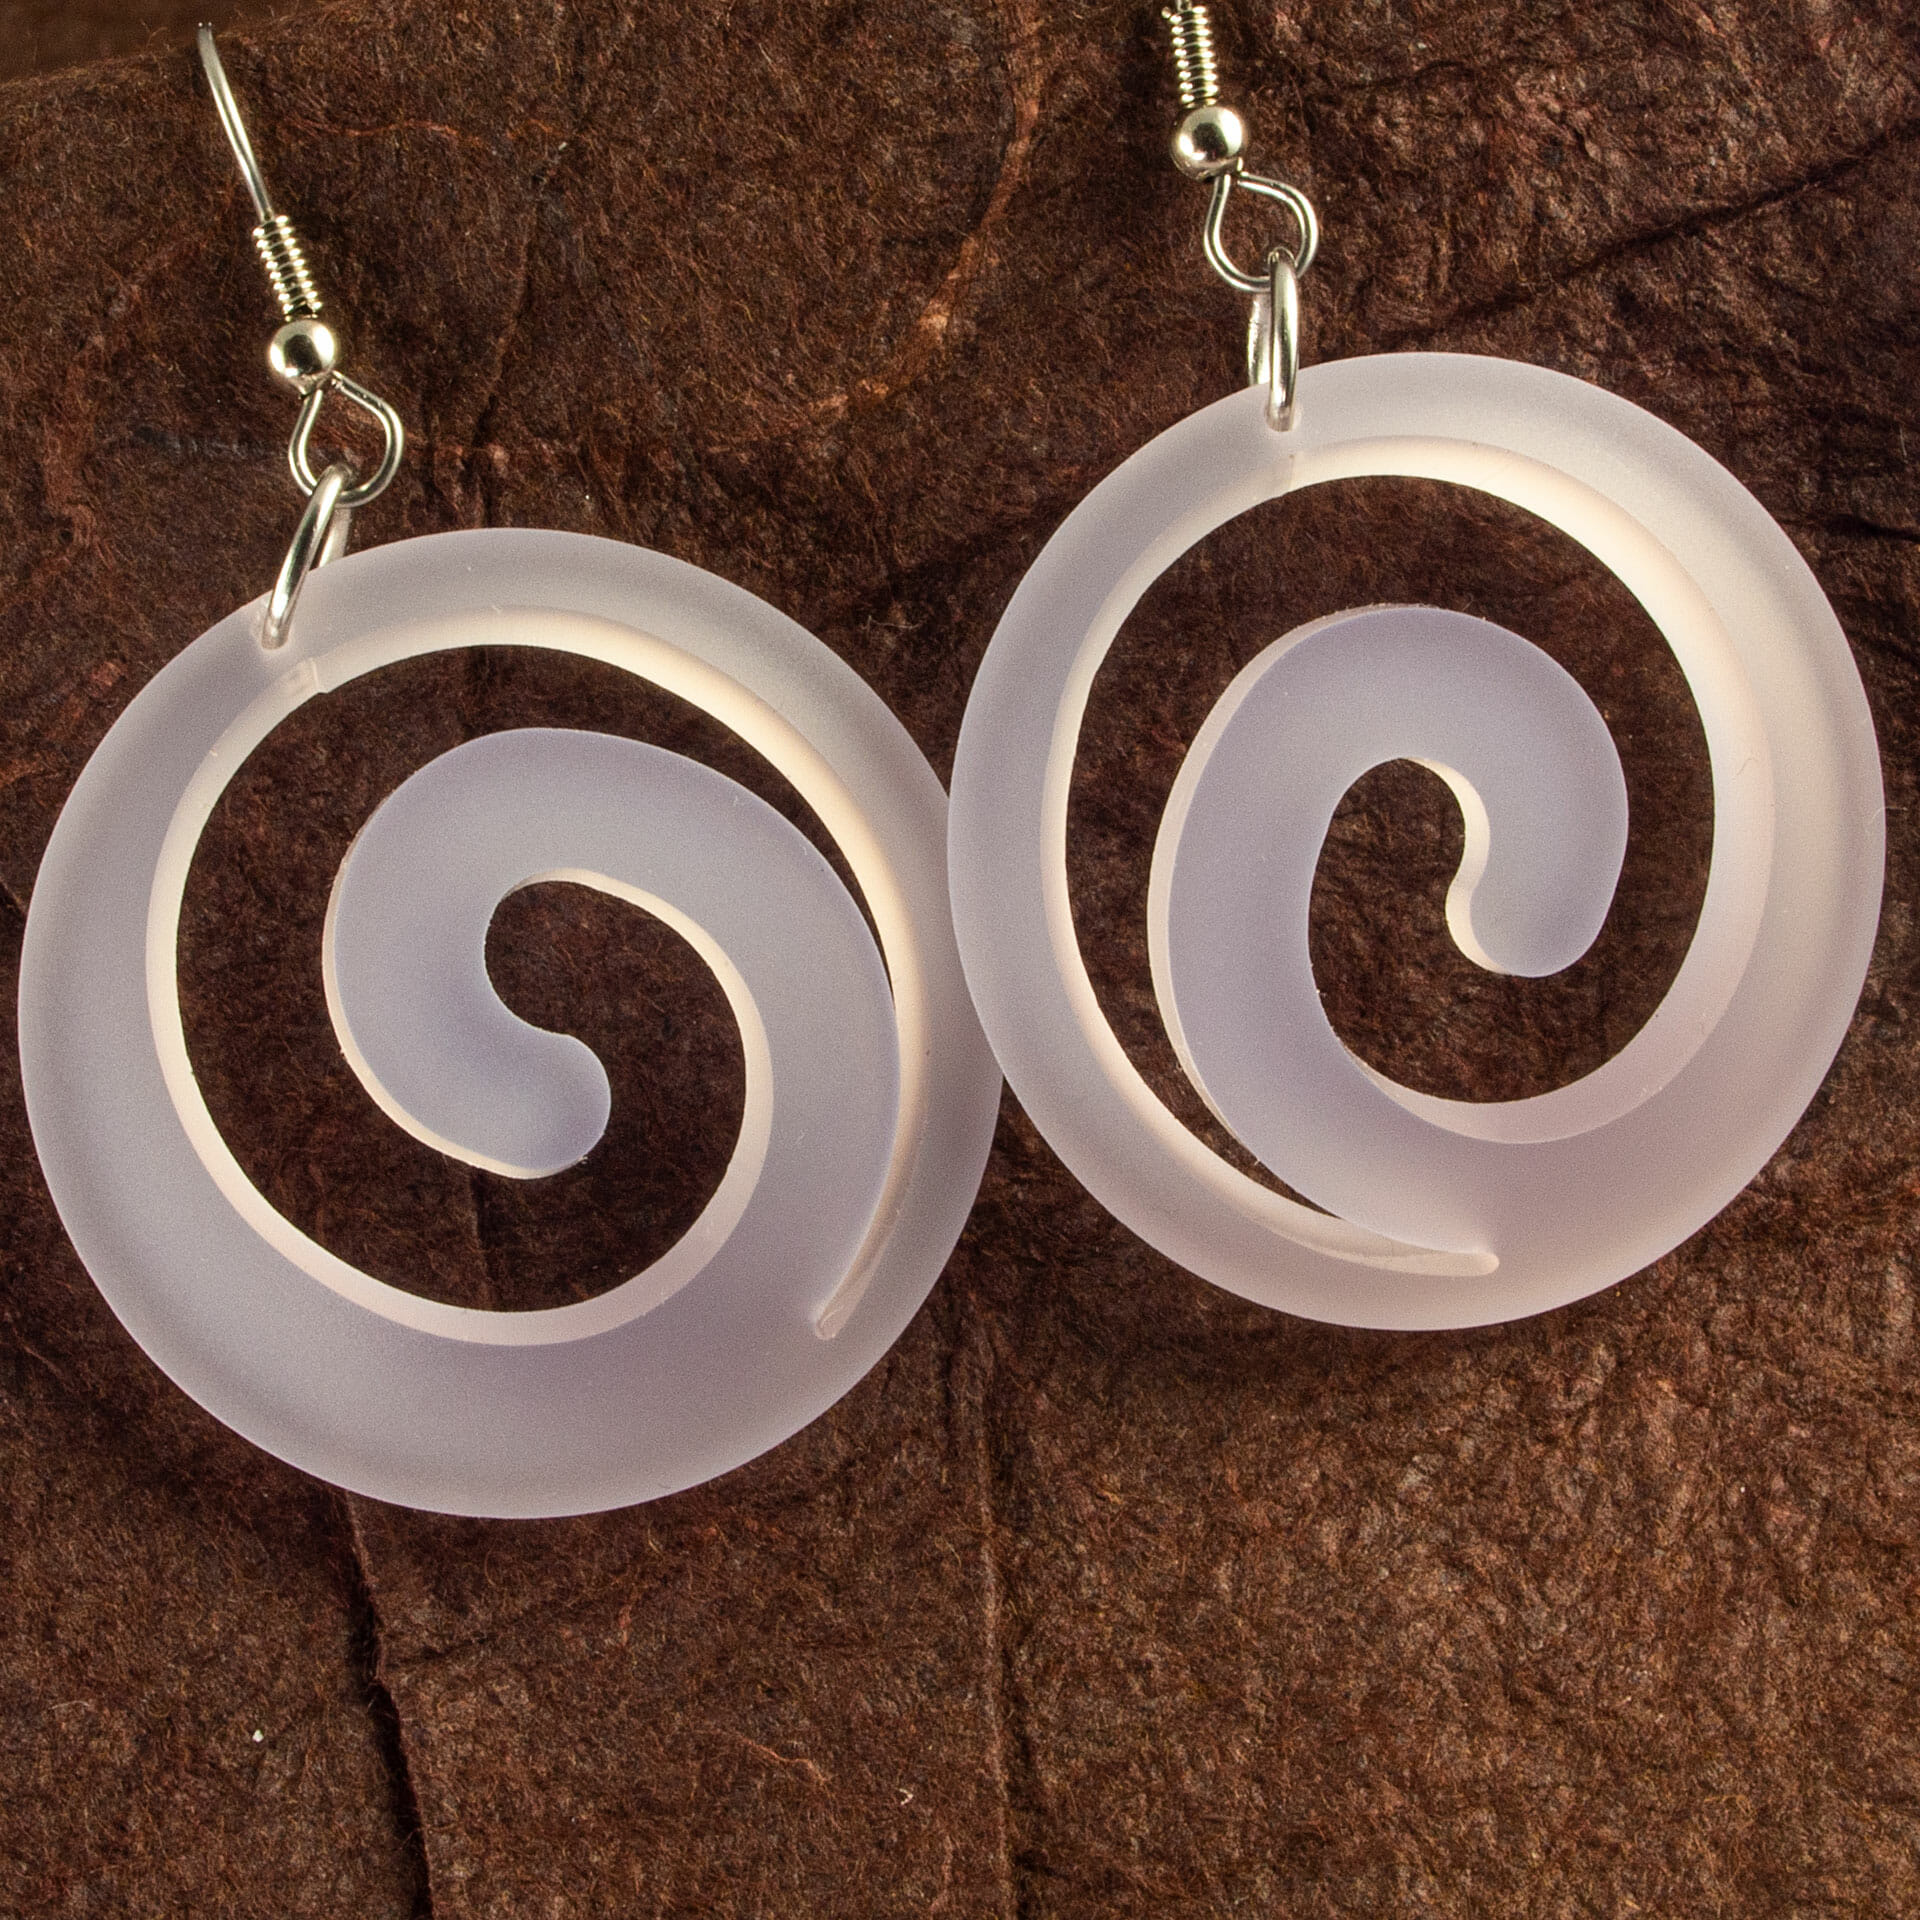
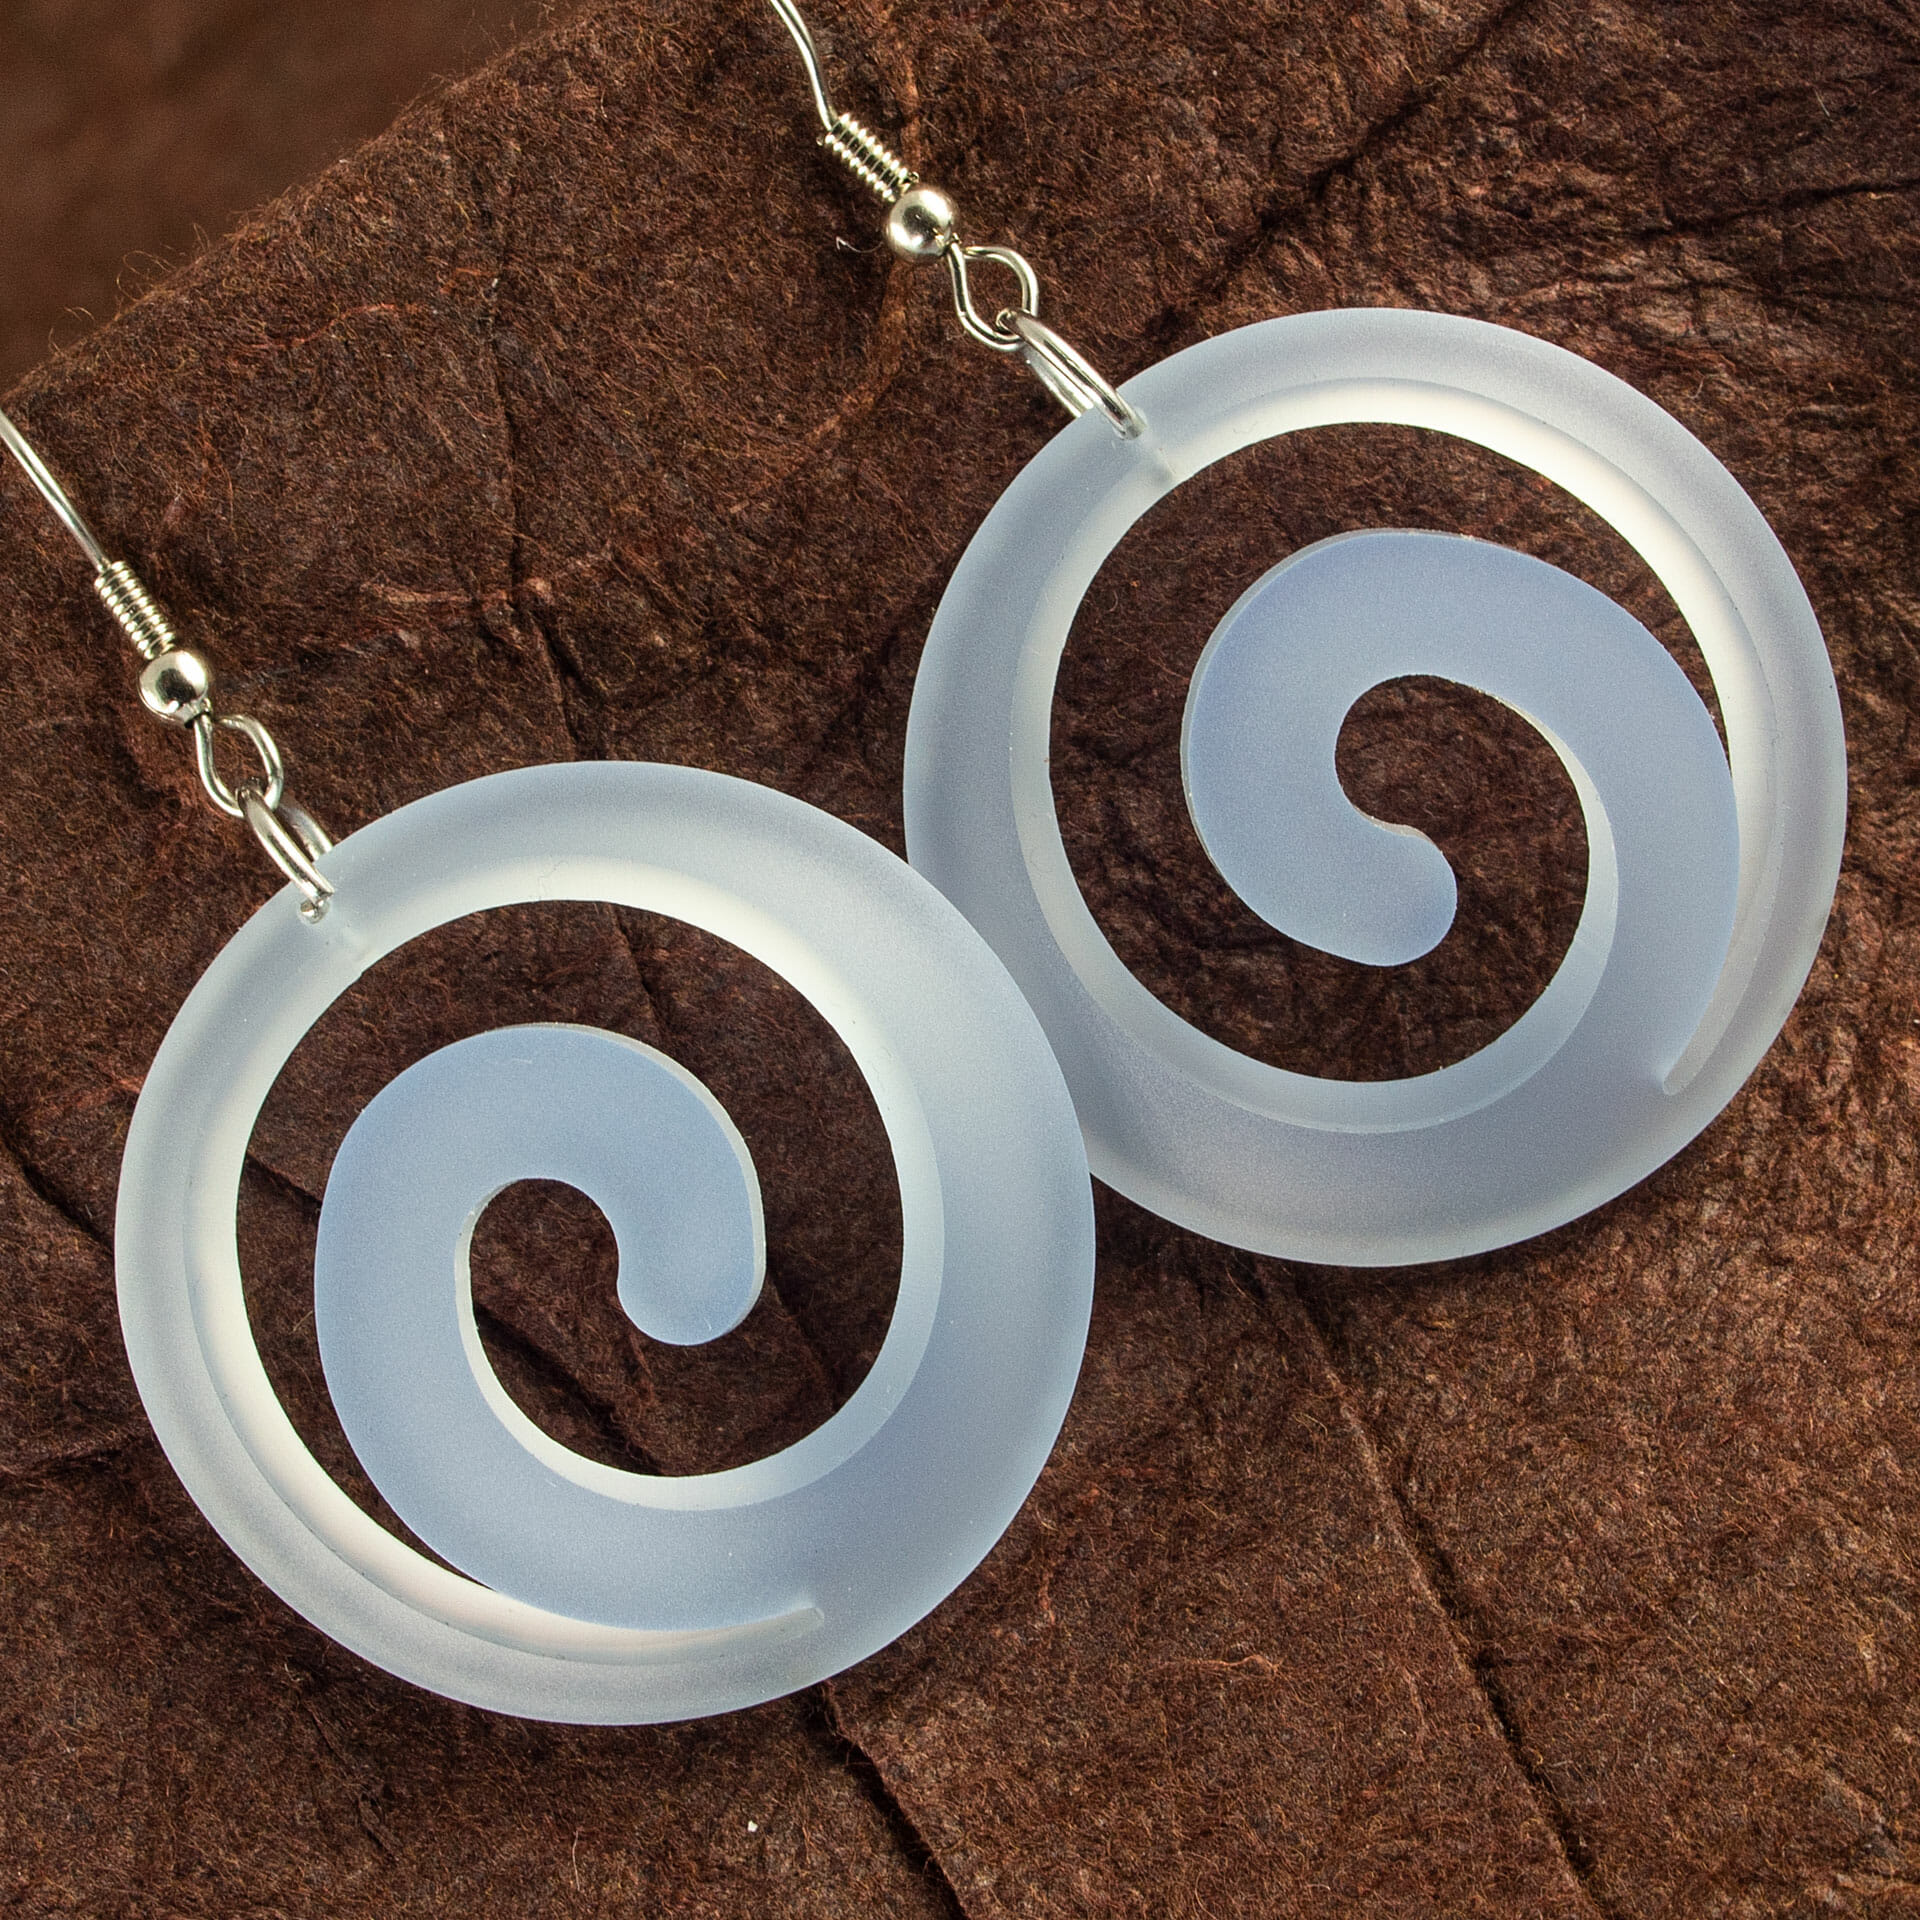
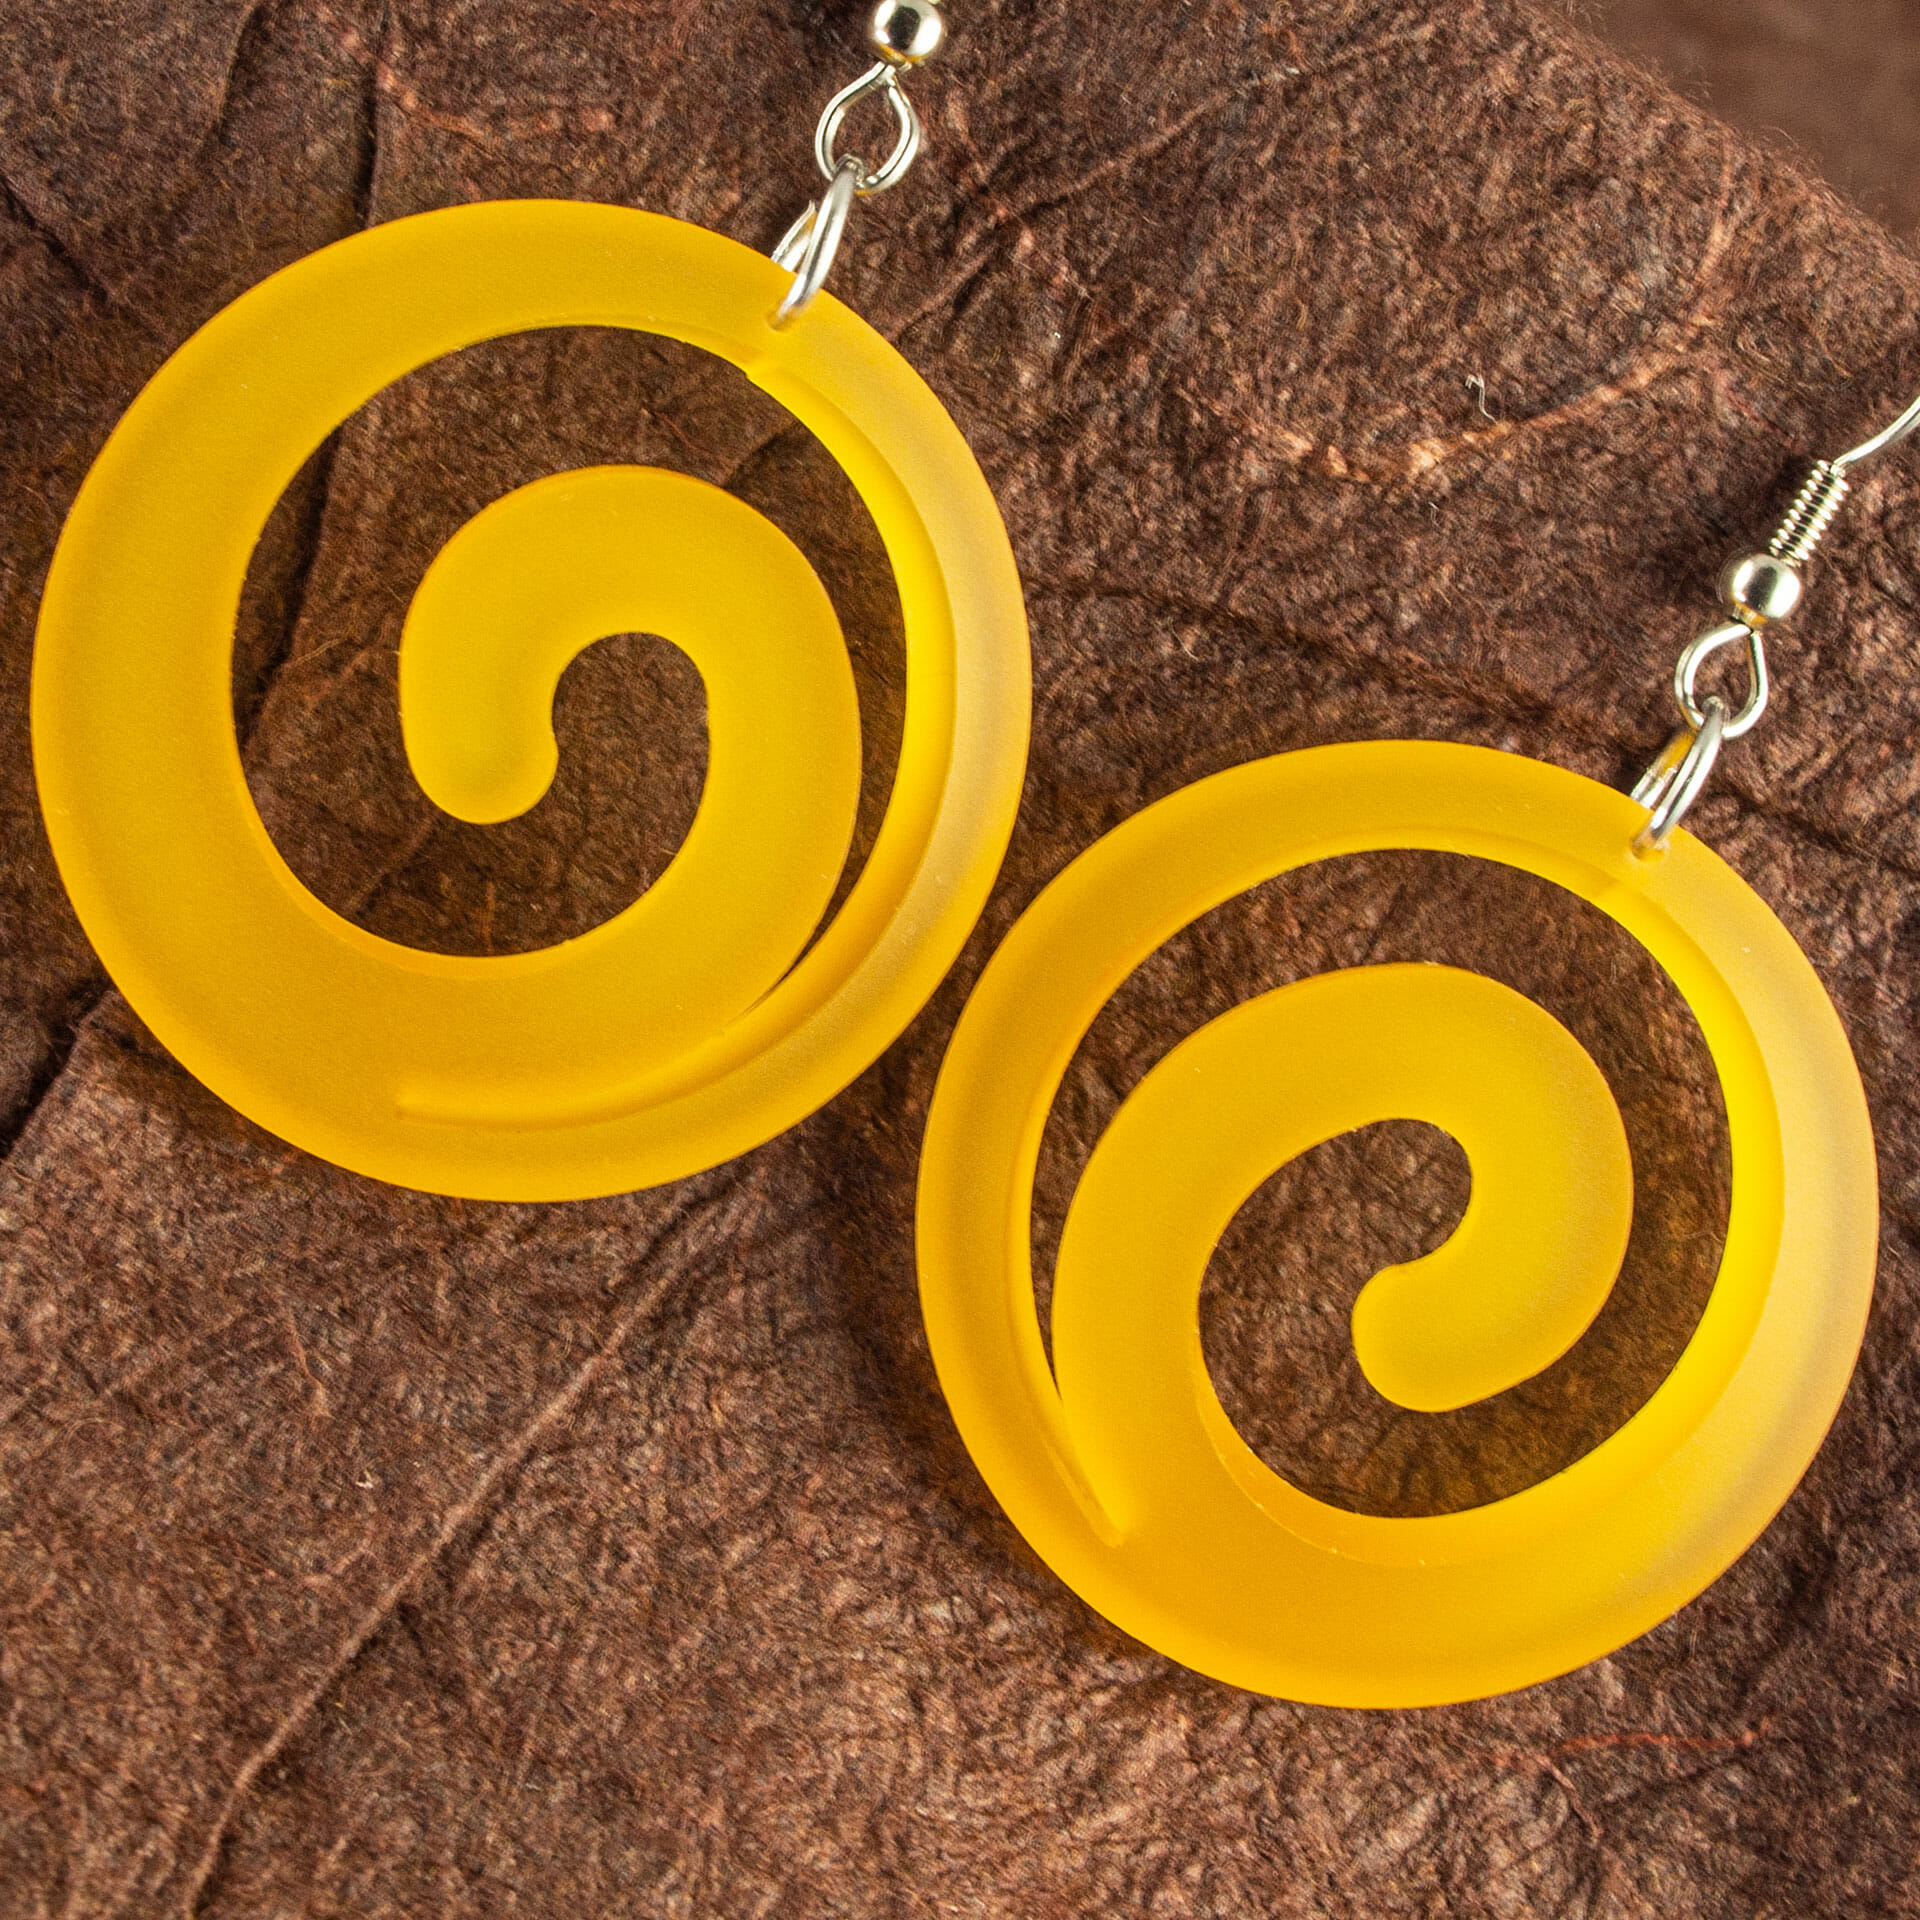
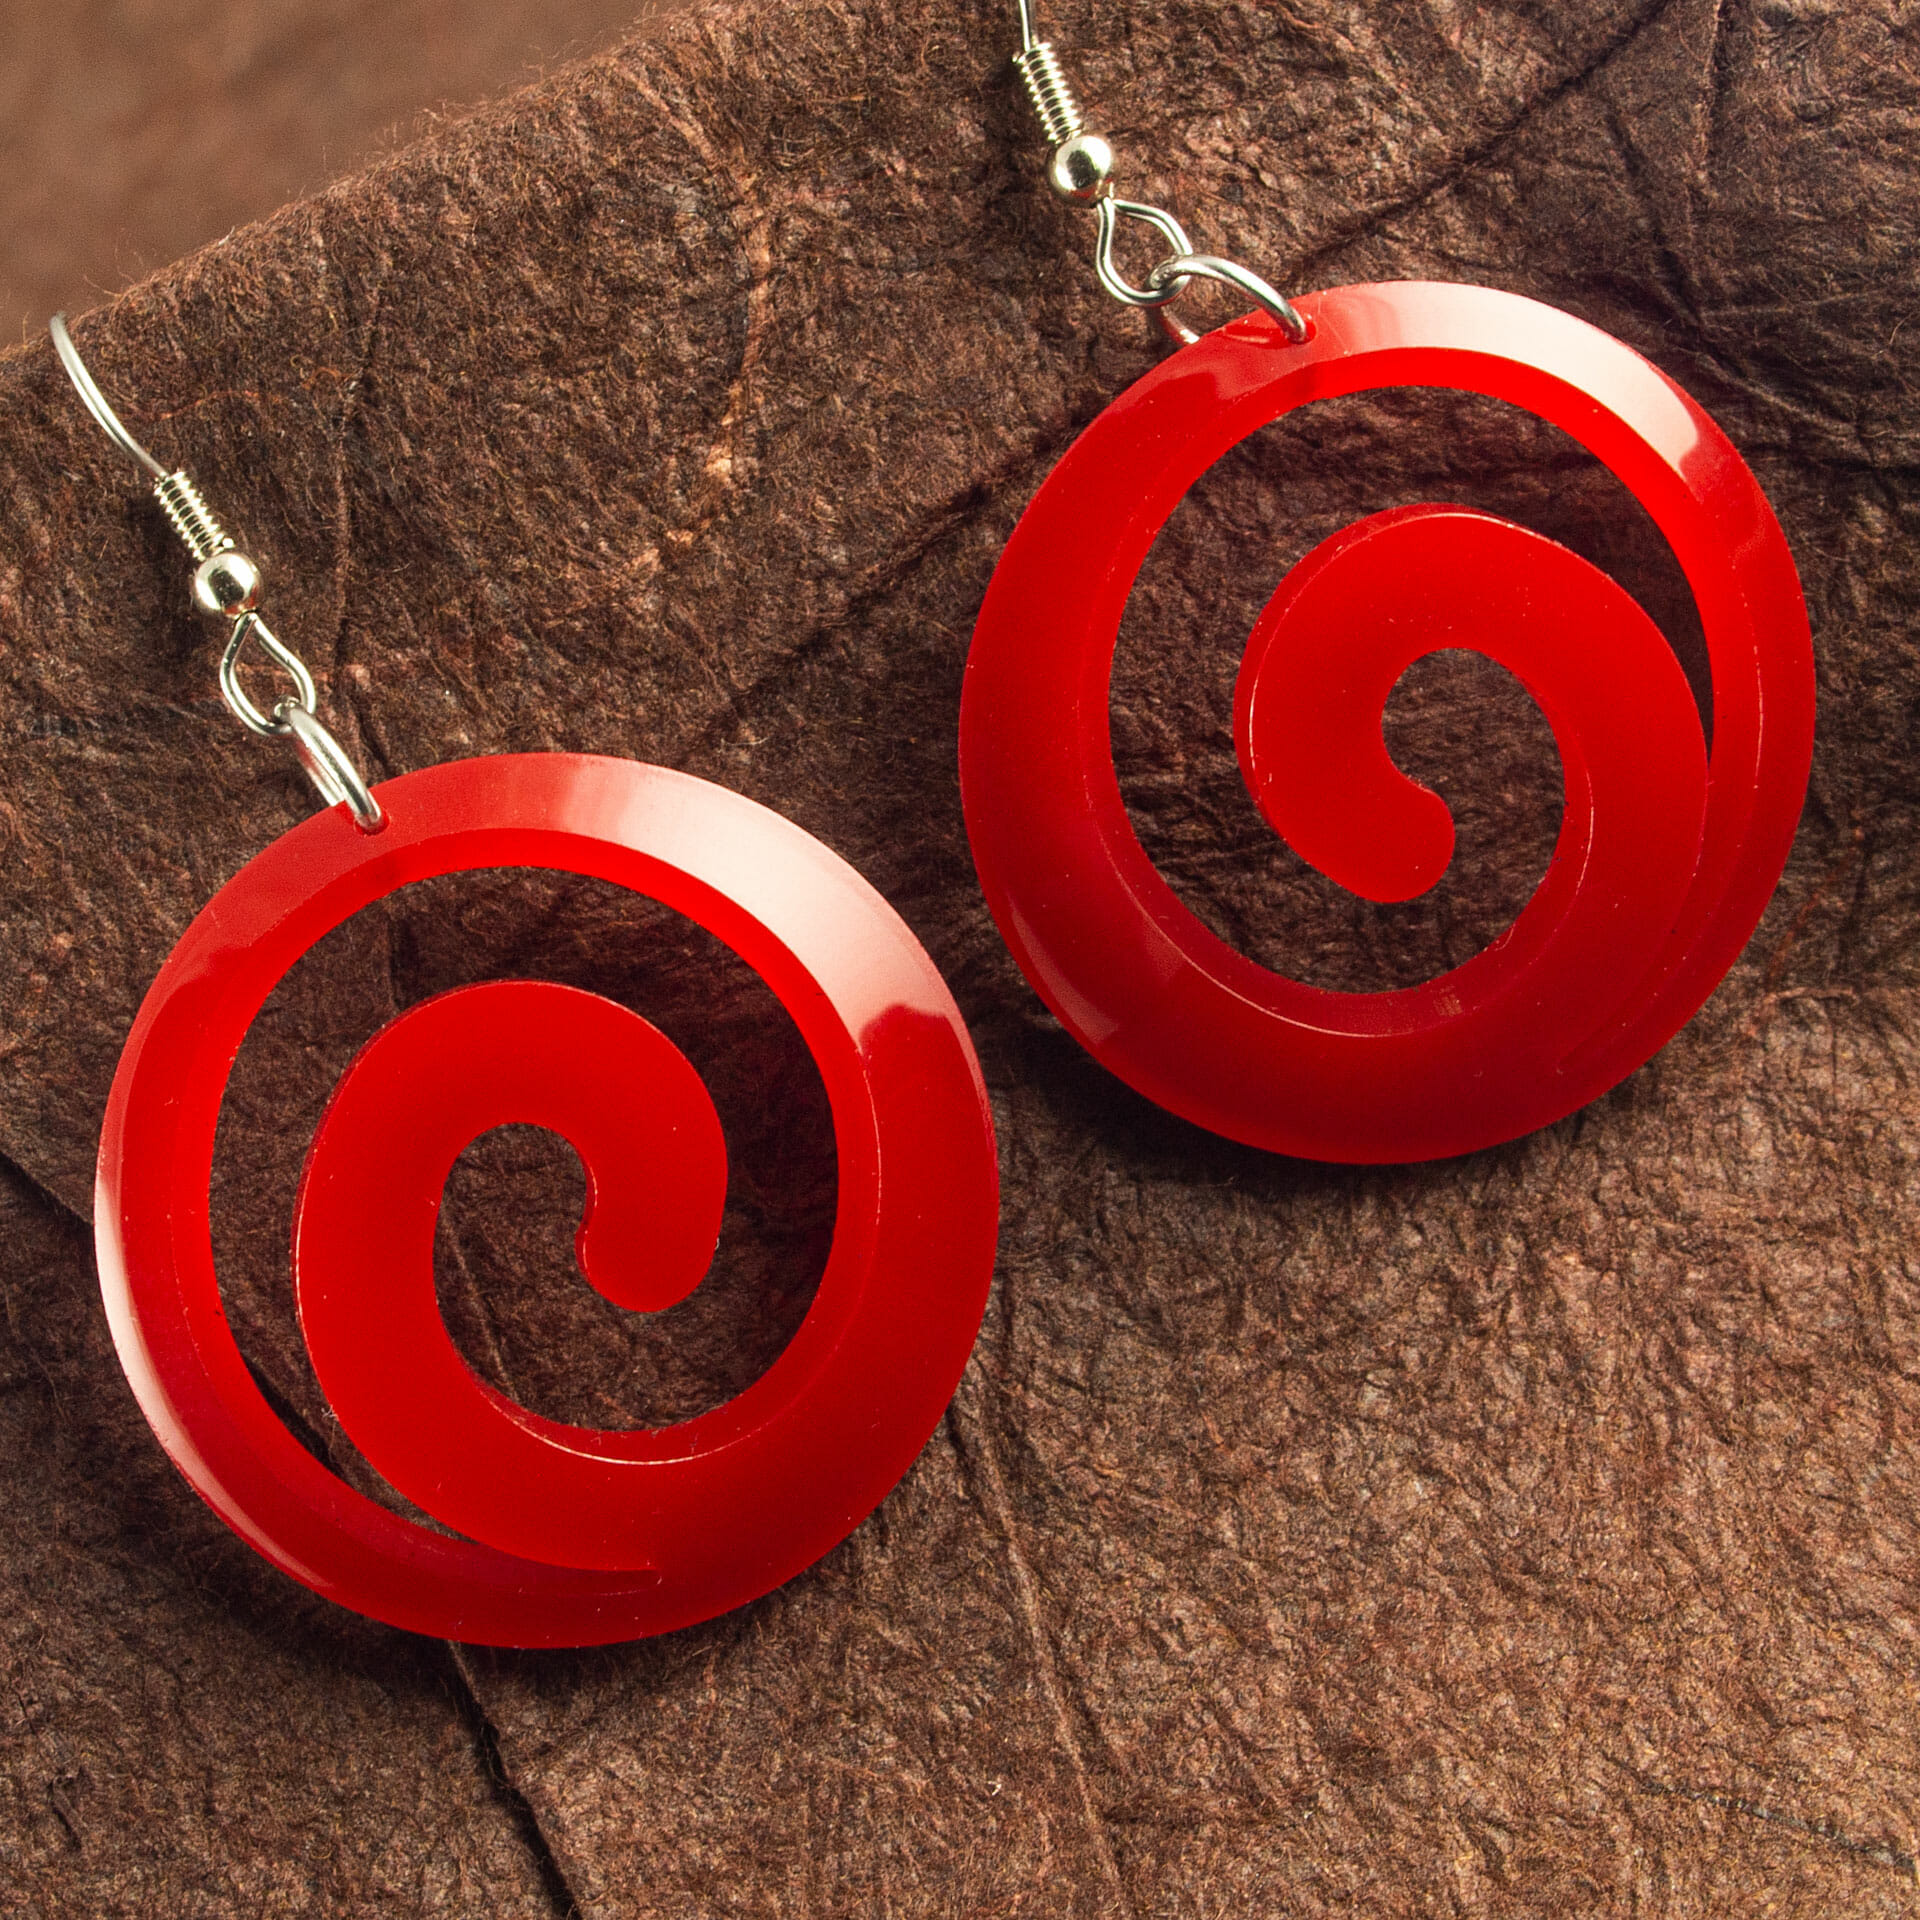
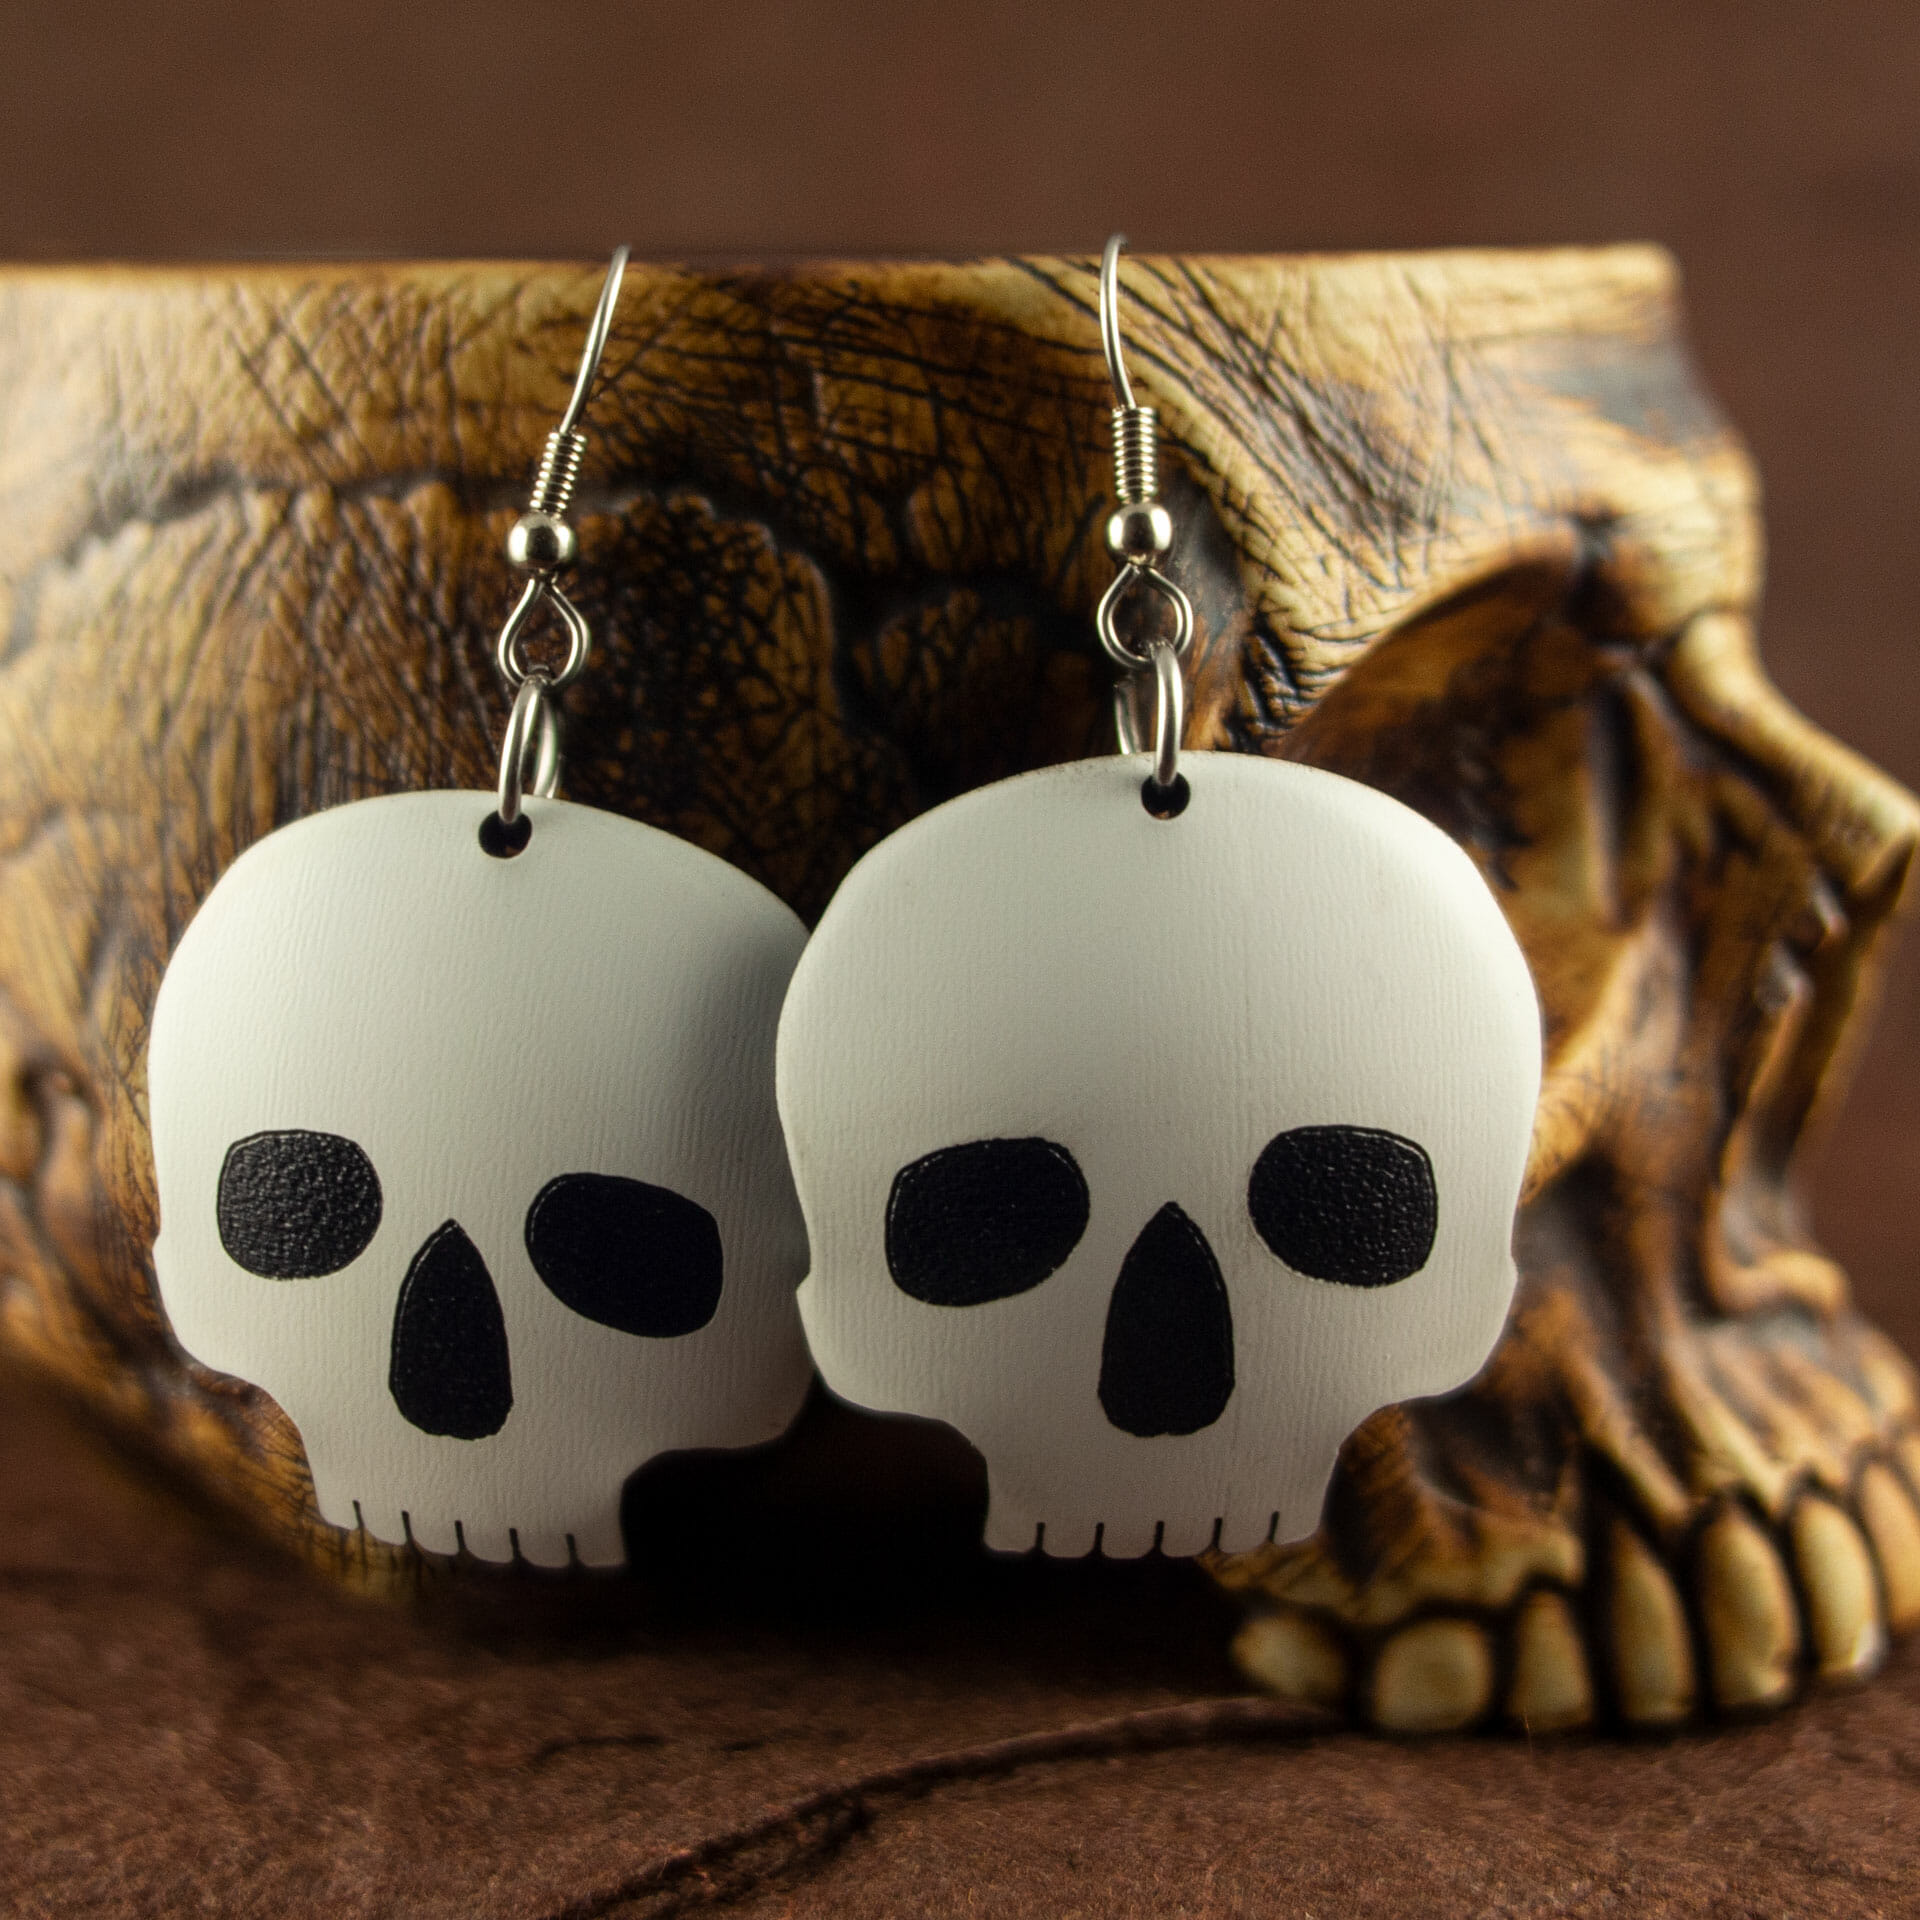
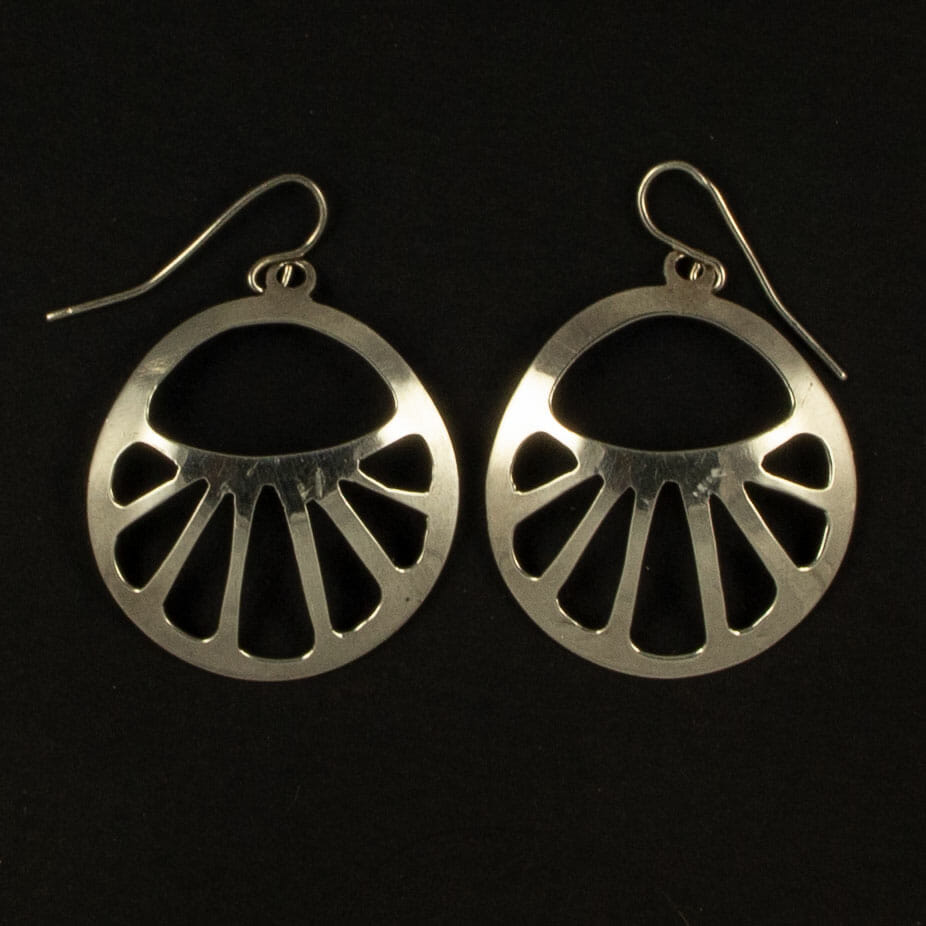
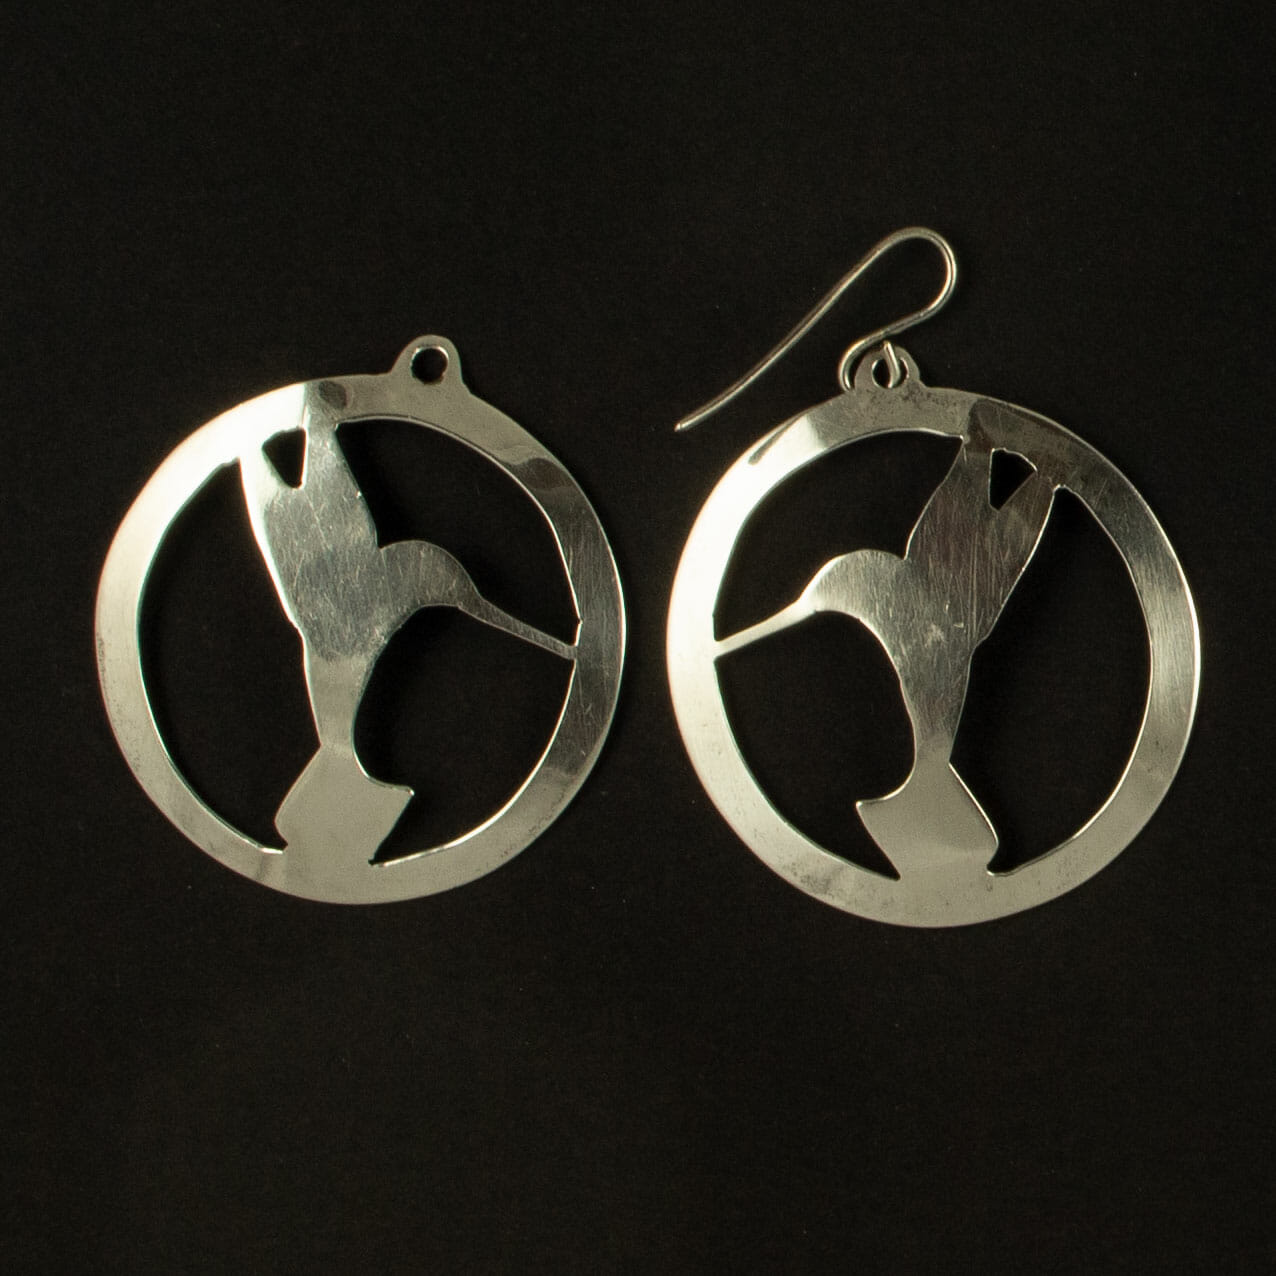
Adding Dimension to Laser-Cut Acrylic Earrings

Translucent Orange Dished Acrylic Spiral Earrings

I am seeing a lot of interesting laser-cut acrylic earrings in the forums and on social media right now.  There is a range of interesting and intricate designs.  They are, however, all quite flat.  I wasn’t sure if people just hadn’t thought of heat-shaping them or, if there was some extra challenge in doing so.  I have done some heat-shaping on other acrylic projects (like the VR Headset Wall Mount and the Paper Towel Roll Holder) and, thought I would give some simple heat dishing a go.

Long ago, my grandfather showed me how he was doing silver piercedwork jewelry and, I later did something similar with hand-cut paper earrings I was making.  A wooden dishing or dapping block is great for this sort of thing.

If you are curious or, want to give it a try, I made a quick (3 minute) video showing how I produced these dished/domed acrylic spiral earrings and skull earrings (it is October, after all).

TL;DW (too long; didn’t watch): heat gun on low, moving constantly with the center over the outer edge (to avoid overheating the center), about an inch away, for 30-40 seconds. When the acrylic starts to droop, apply pressure to hold in the desired shape. Then, allow to cool for about 40-60 seconds to re-solidify.

Drawstring Bag of Many Projects

Drawstring Bag 2

I have a fair amount of custom-embossed Celtic key pattern velvet left from the pillow project.  I was thinking some of it might make a cool drawstring bag.  I may have gotten a little carried away with the details:

  • Silk-lined round-bottom bag
  • A new Celtic knotwork ring design for a laser-engraved faux-leather bottom
  • Kumihimo braided drawstring
  • Customized skull beads
  • Second set of skull beads from scratch

There is a separate post with the design files for the floss separator I made for this, in case it is of use to anyone else.

It was a lot of fun and, I’m happy with the result.  Of course, I shot video of every step of the construction of both versions of the bag.

Floss Separator

Floss Separator
Floss Separator
Floss Separator

This is a quick, simple tool to assist when separating skeins of kumihimo (or embroidery) floss into working clusters with the desired number of strands.  The upright is a sandwich of a piece of EVA foam between two pieces of 1/4″ stock (MDF here but, something like Baltic birch ply or acrylic should work, too).  The EVA is sliced with a razor blade in the middle of each channel.  Then, just glue it all together with wood glue.  Some clamping is likely required while it dries.

Floss separator, clamped for glue to dry

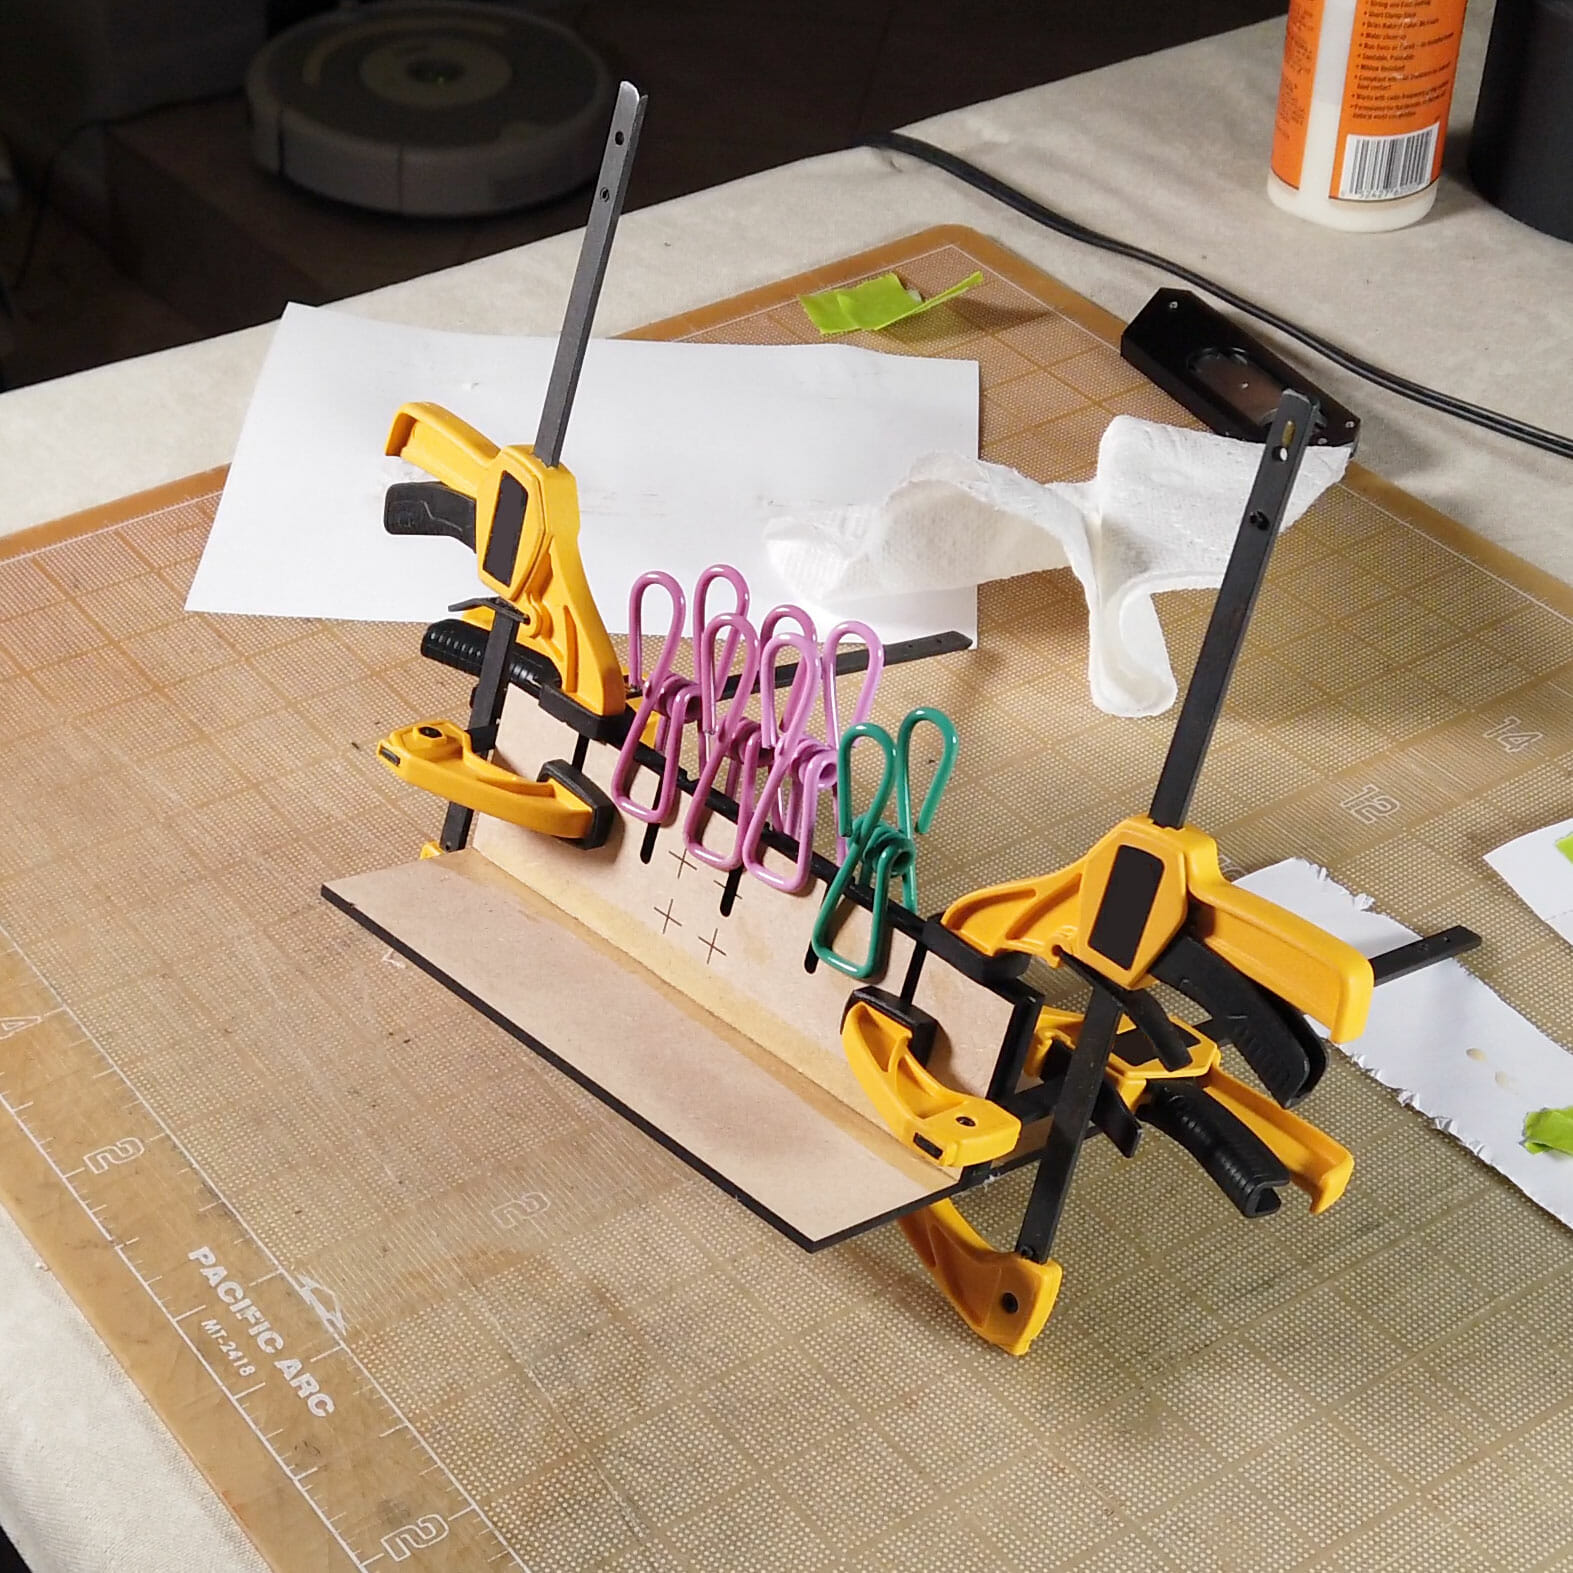
It is probably best to clamp it down to a table when using.  Knot the end of the skein/bundle of strands and, slip it into the cut in the EVA.  That should keep the end in place while you separate the full length.

Floss Separator Design Files

These files are for personal, non-commercial use only.  Note that, by referencing these, you are agreeing to release any variations you create under identical terms.

Attribution-Creative Commons NonCommercial-ShareAlikeFloss Separator 1/4″ Stock Cut File (SVG)

Floss Separator EVA Foam Cut File (SVG)