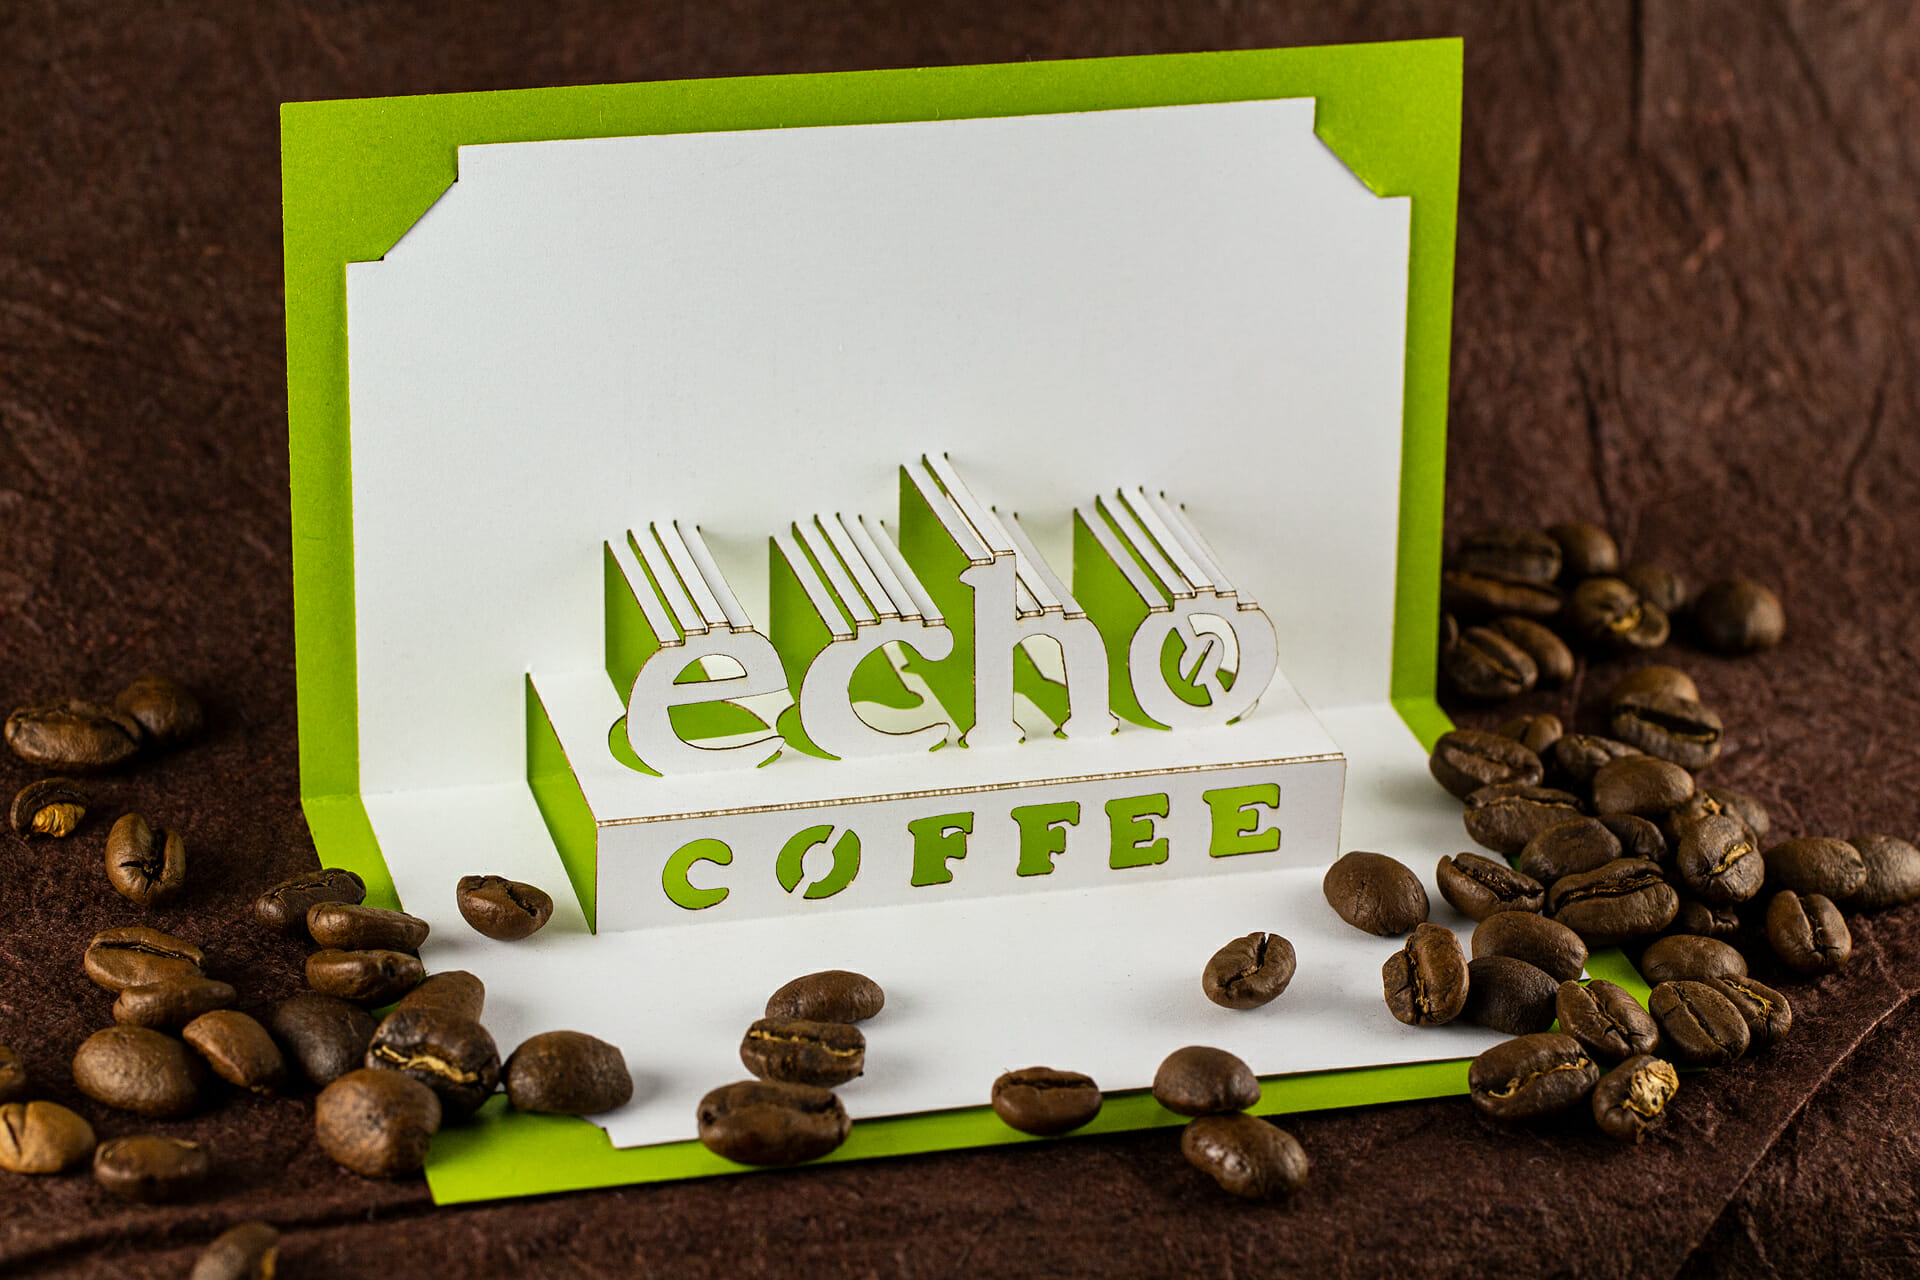
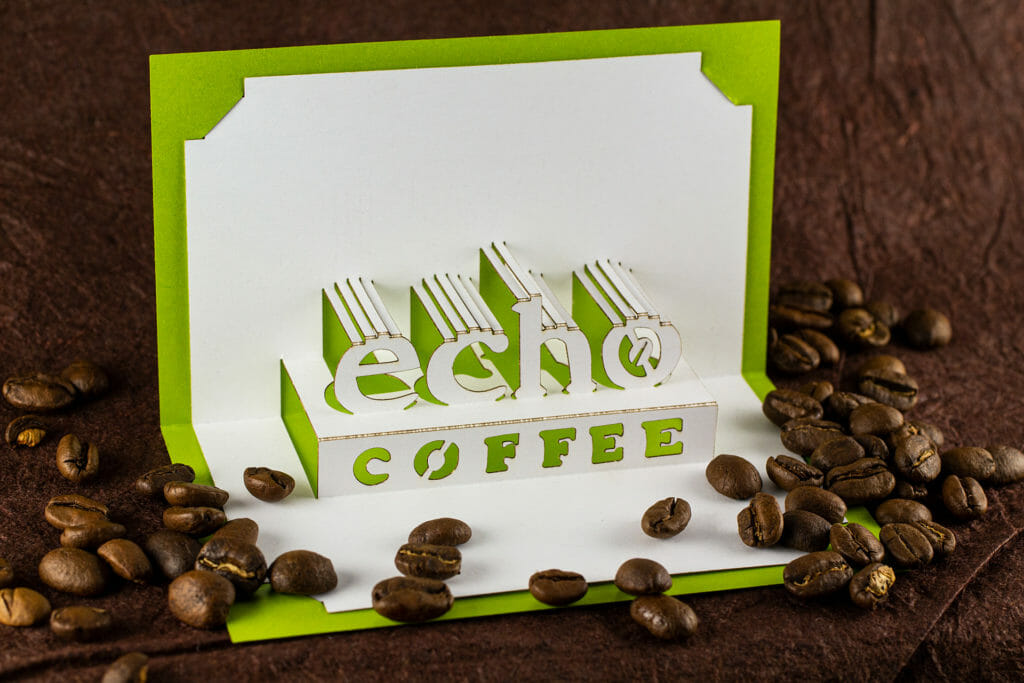
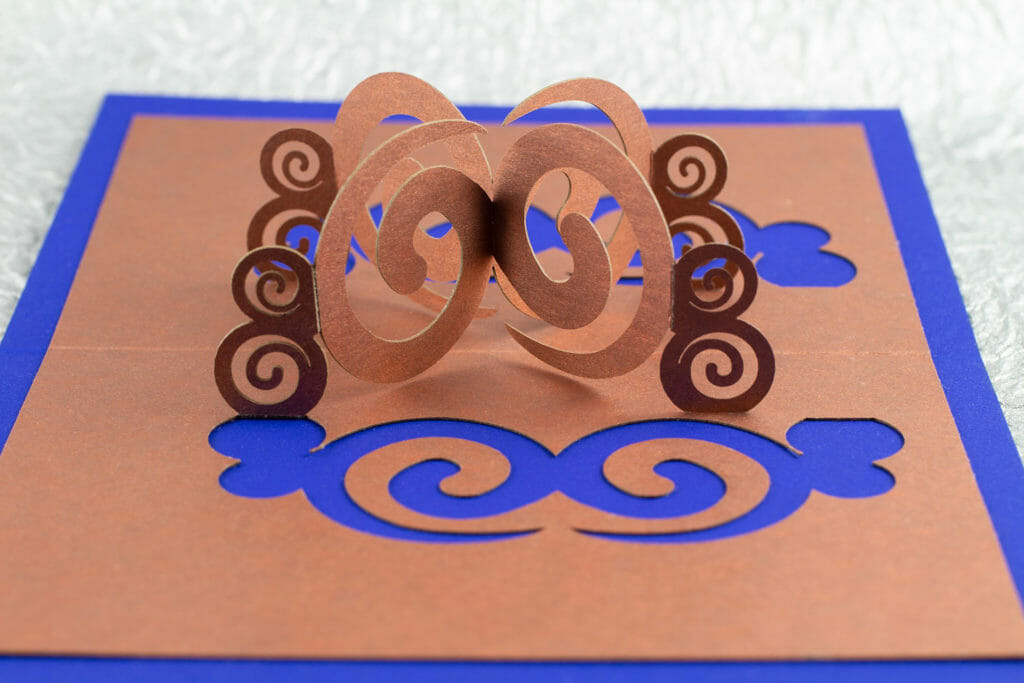
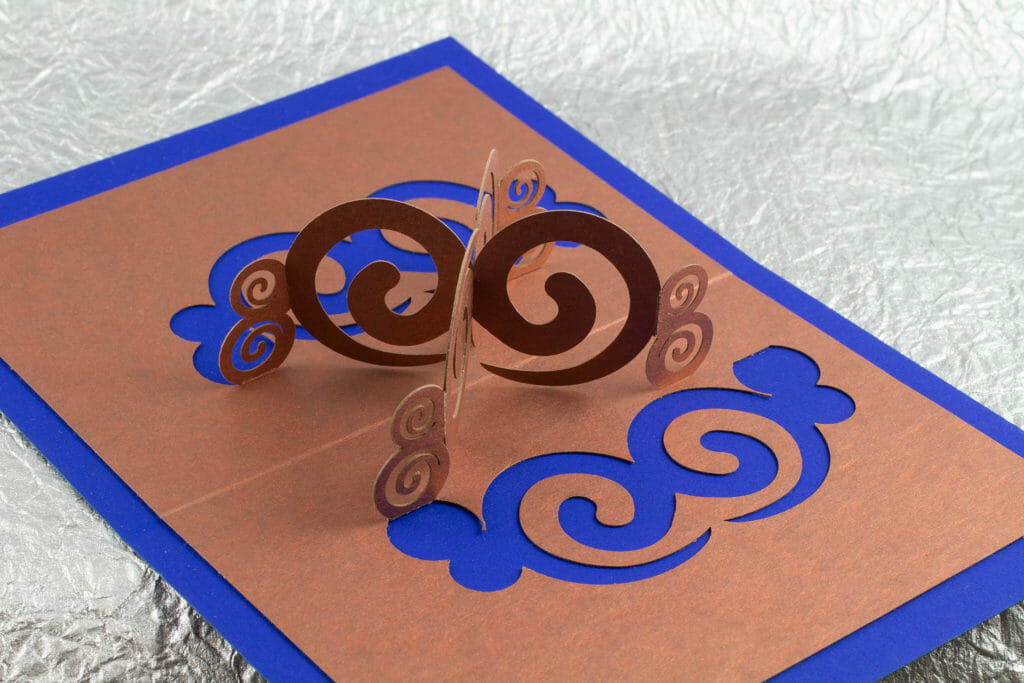
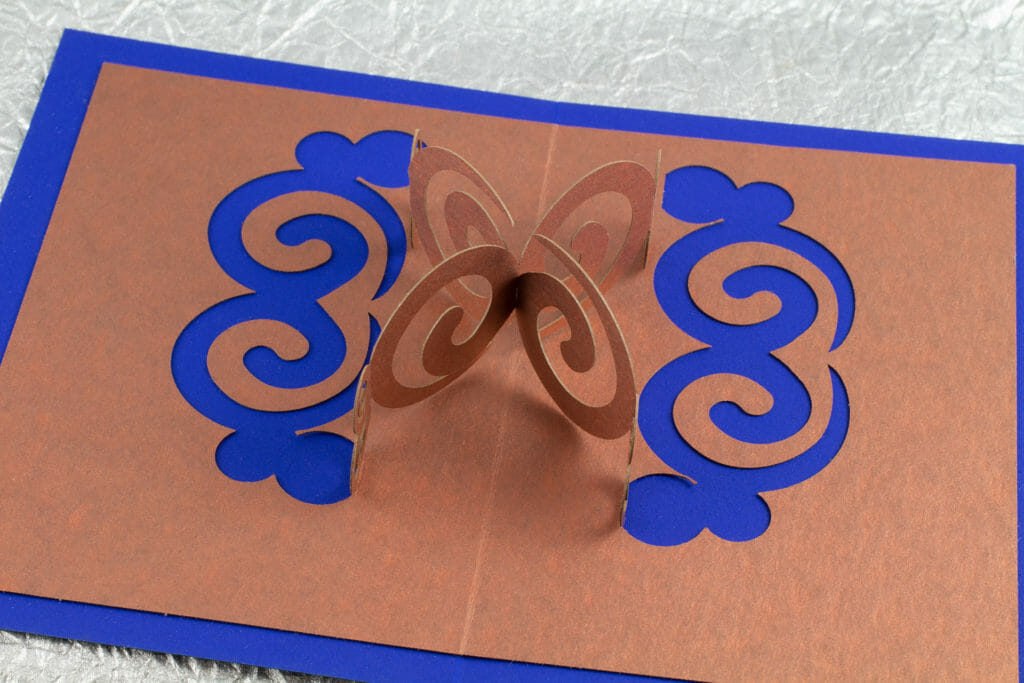
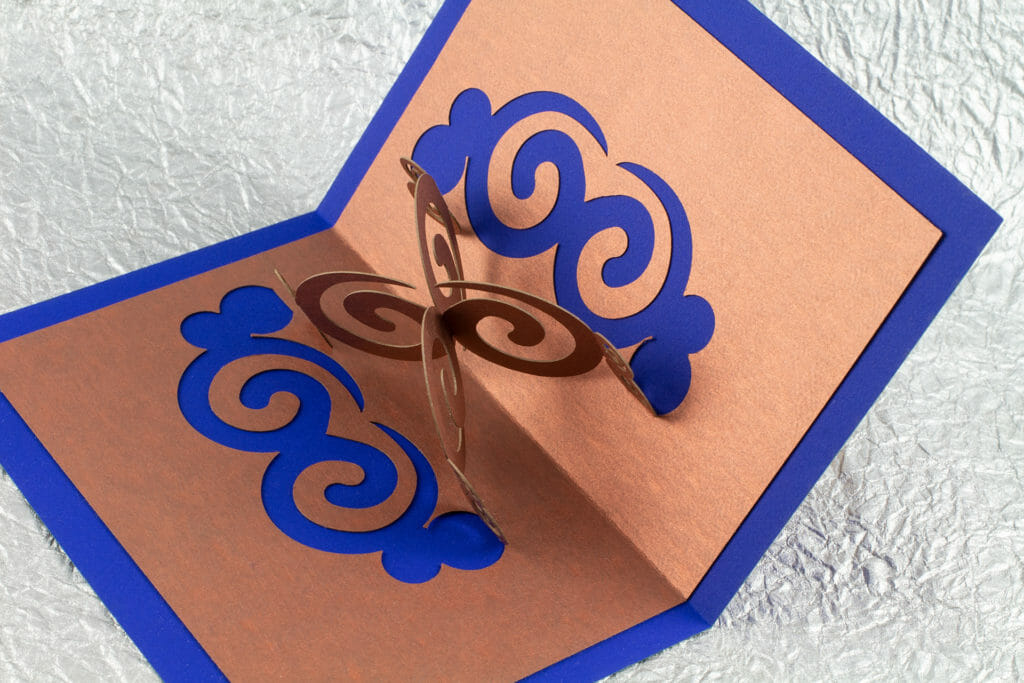
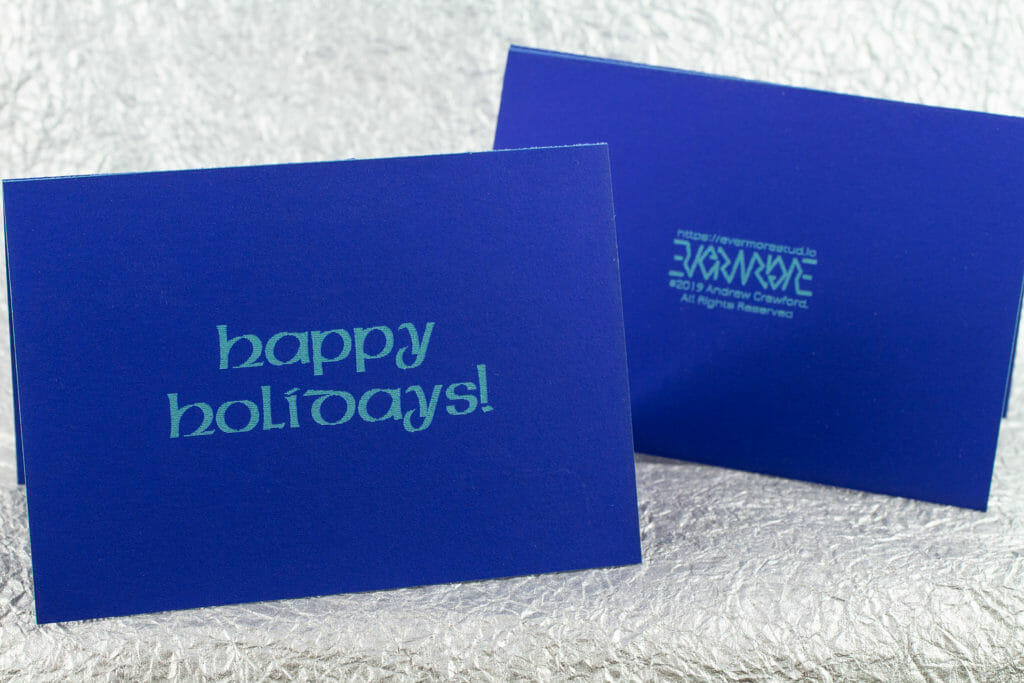
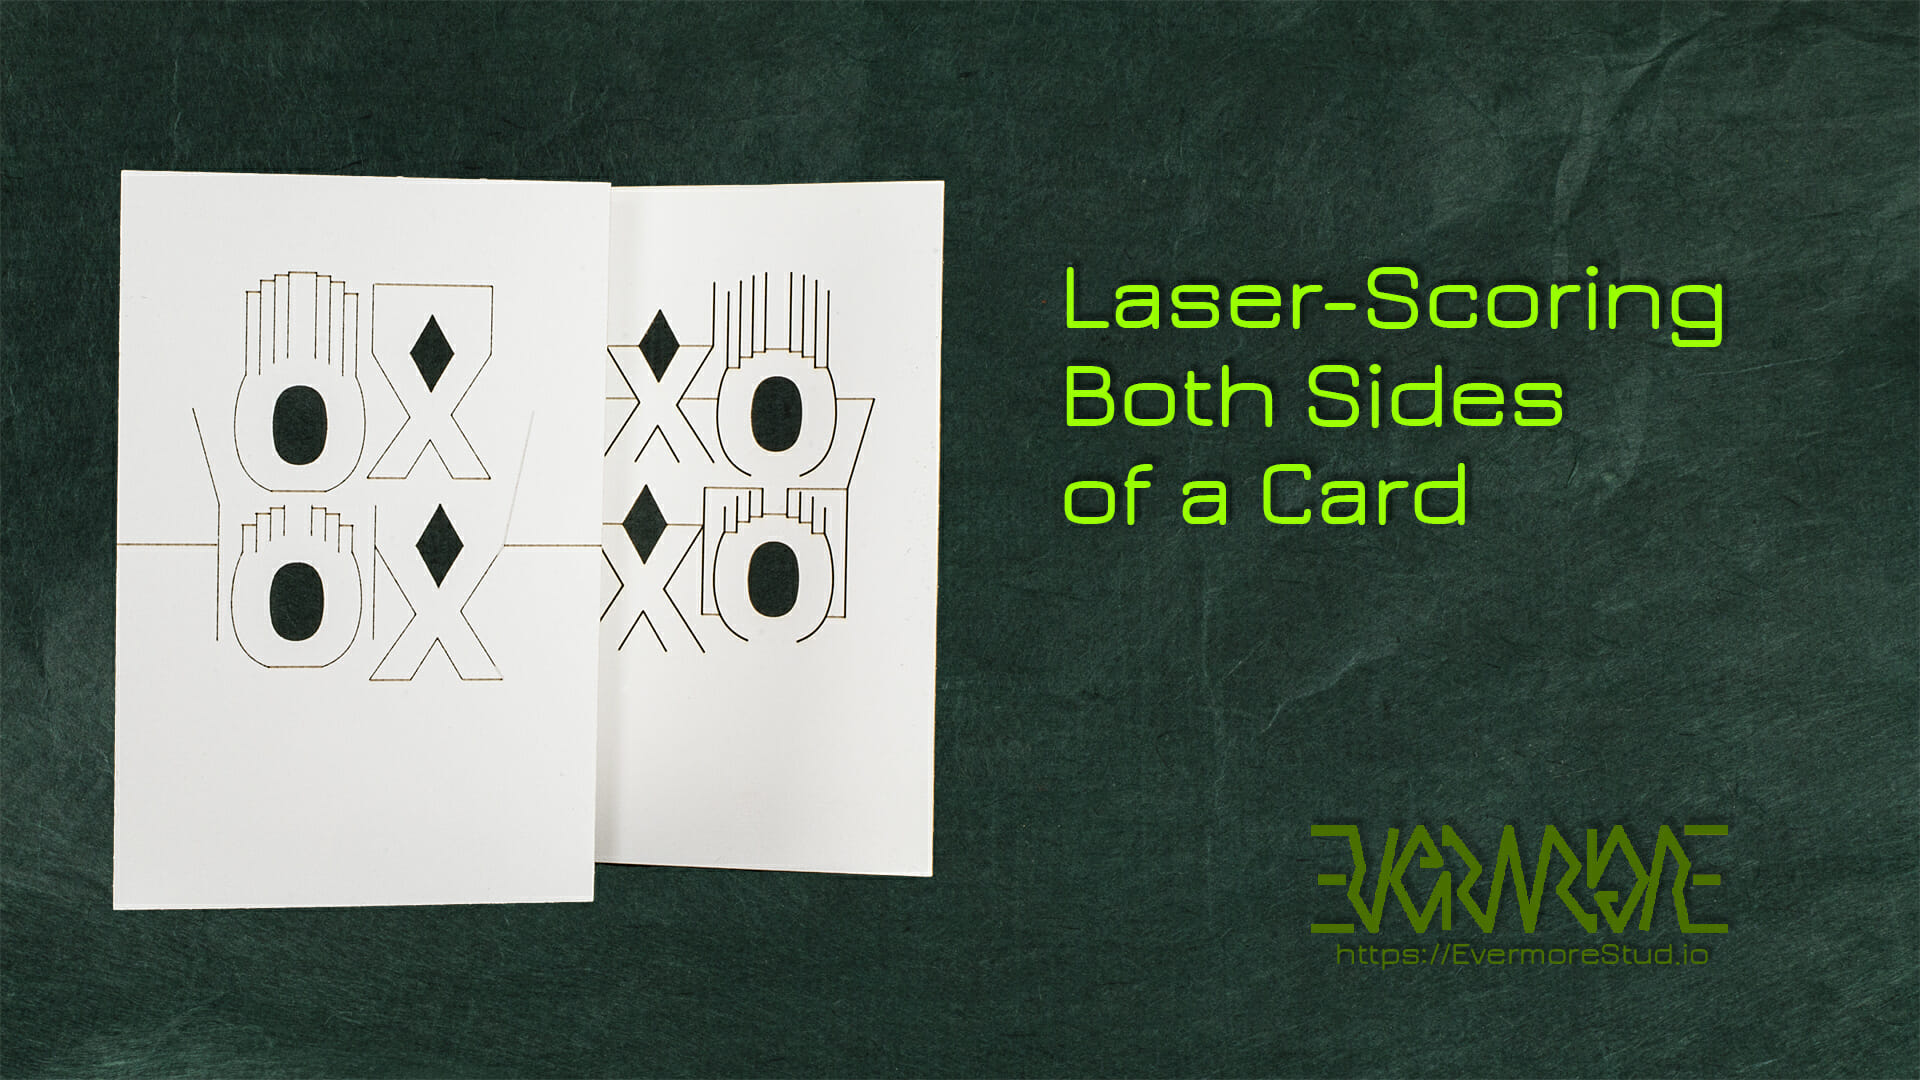
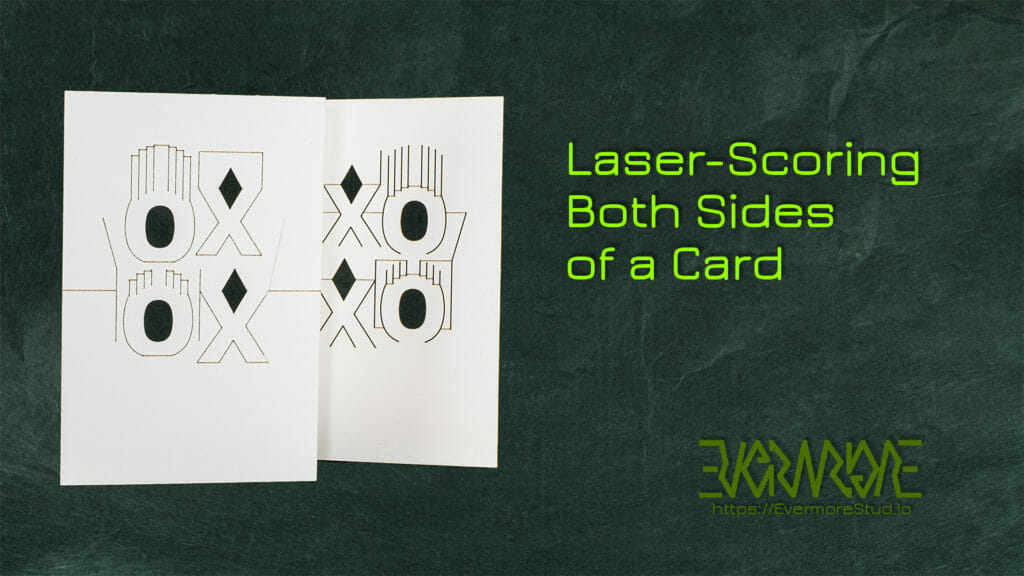
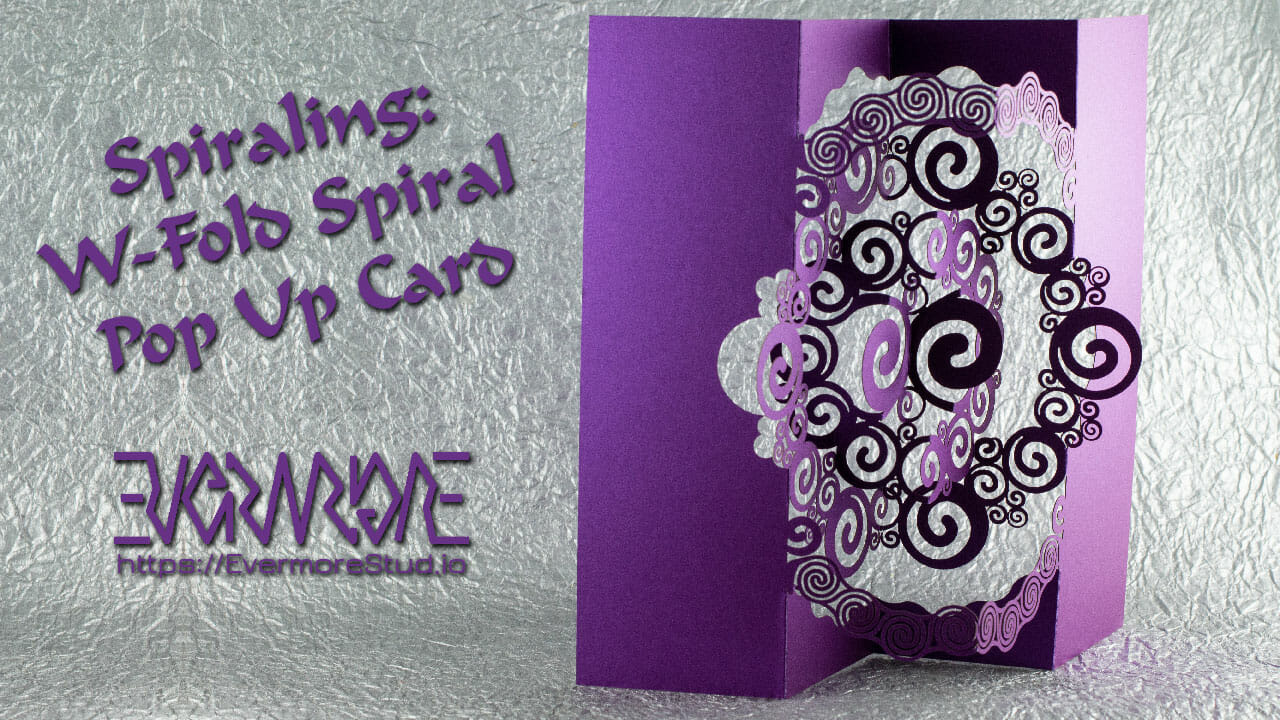
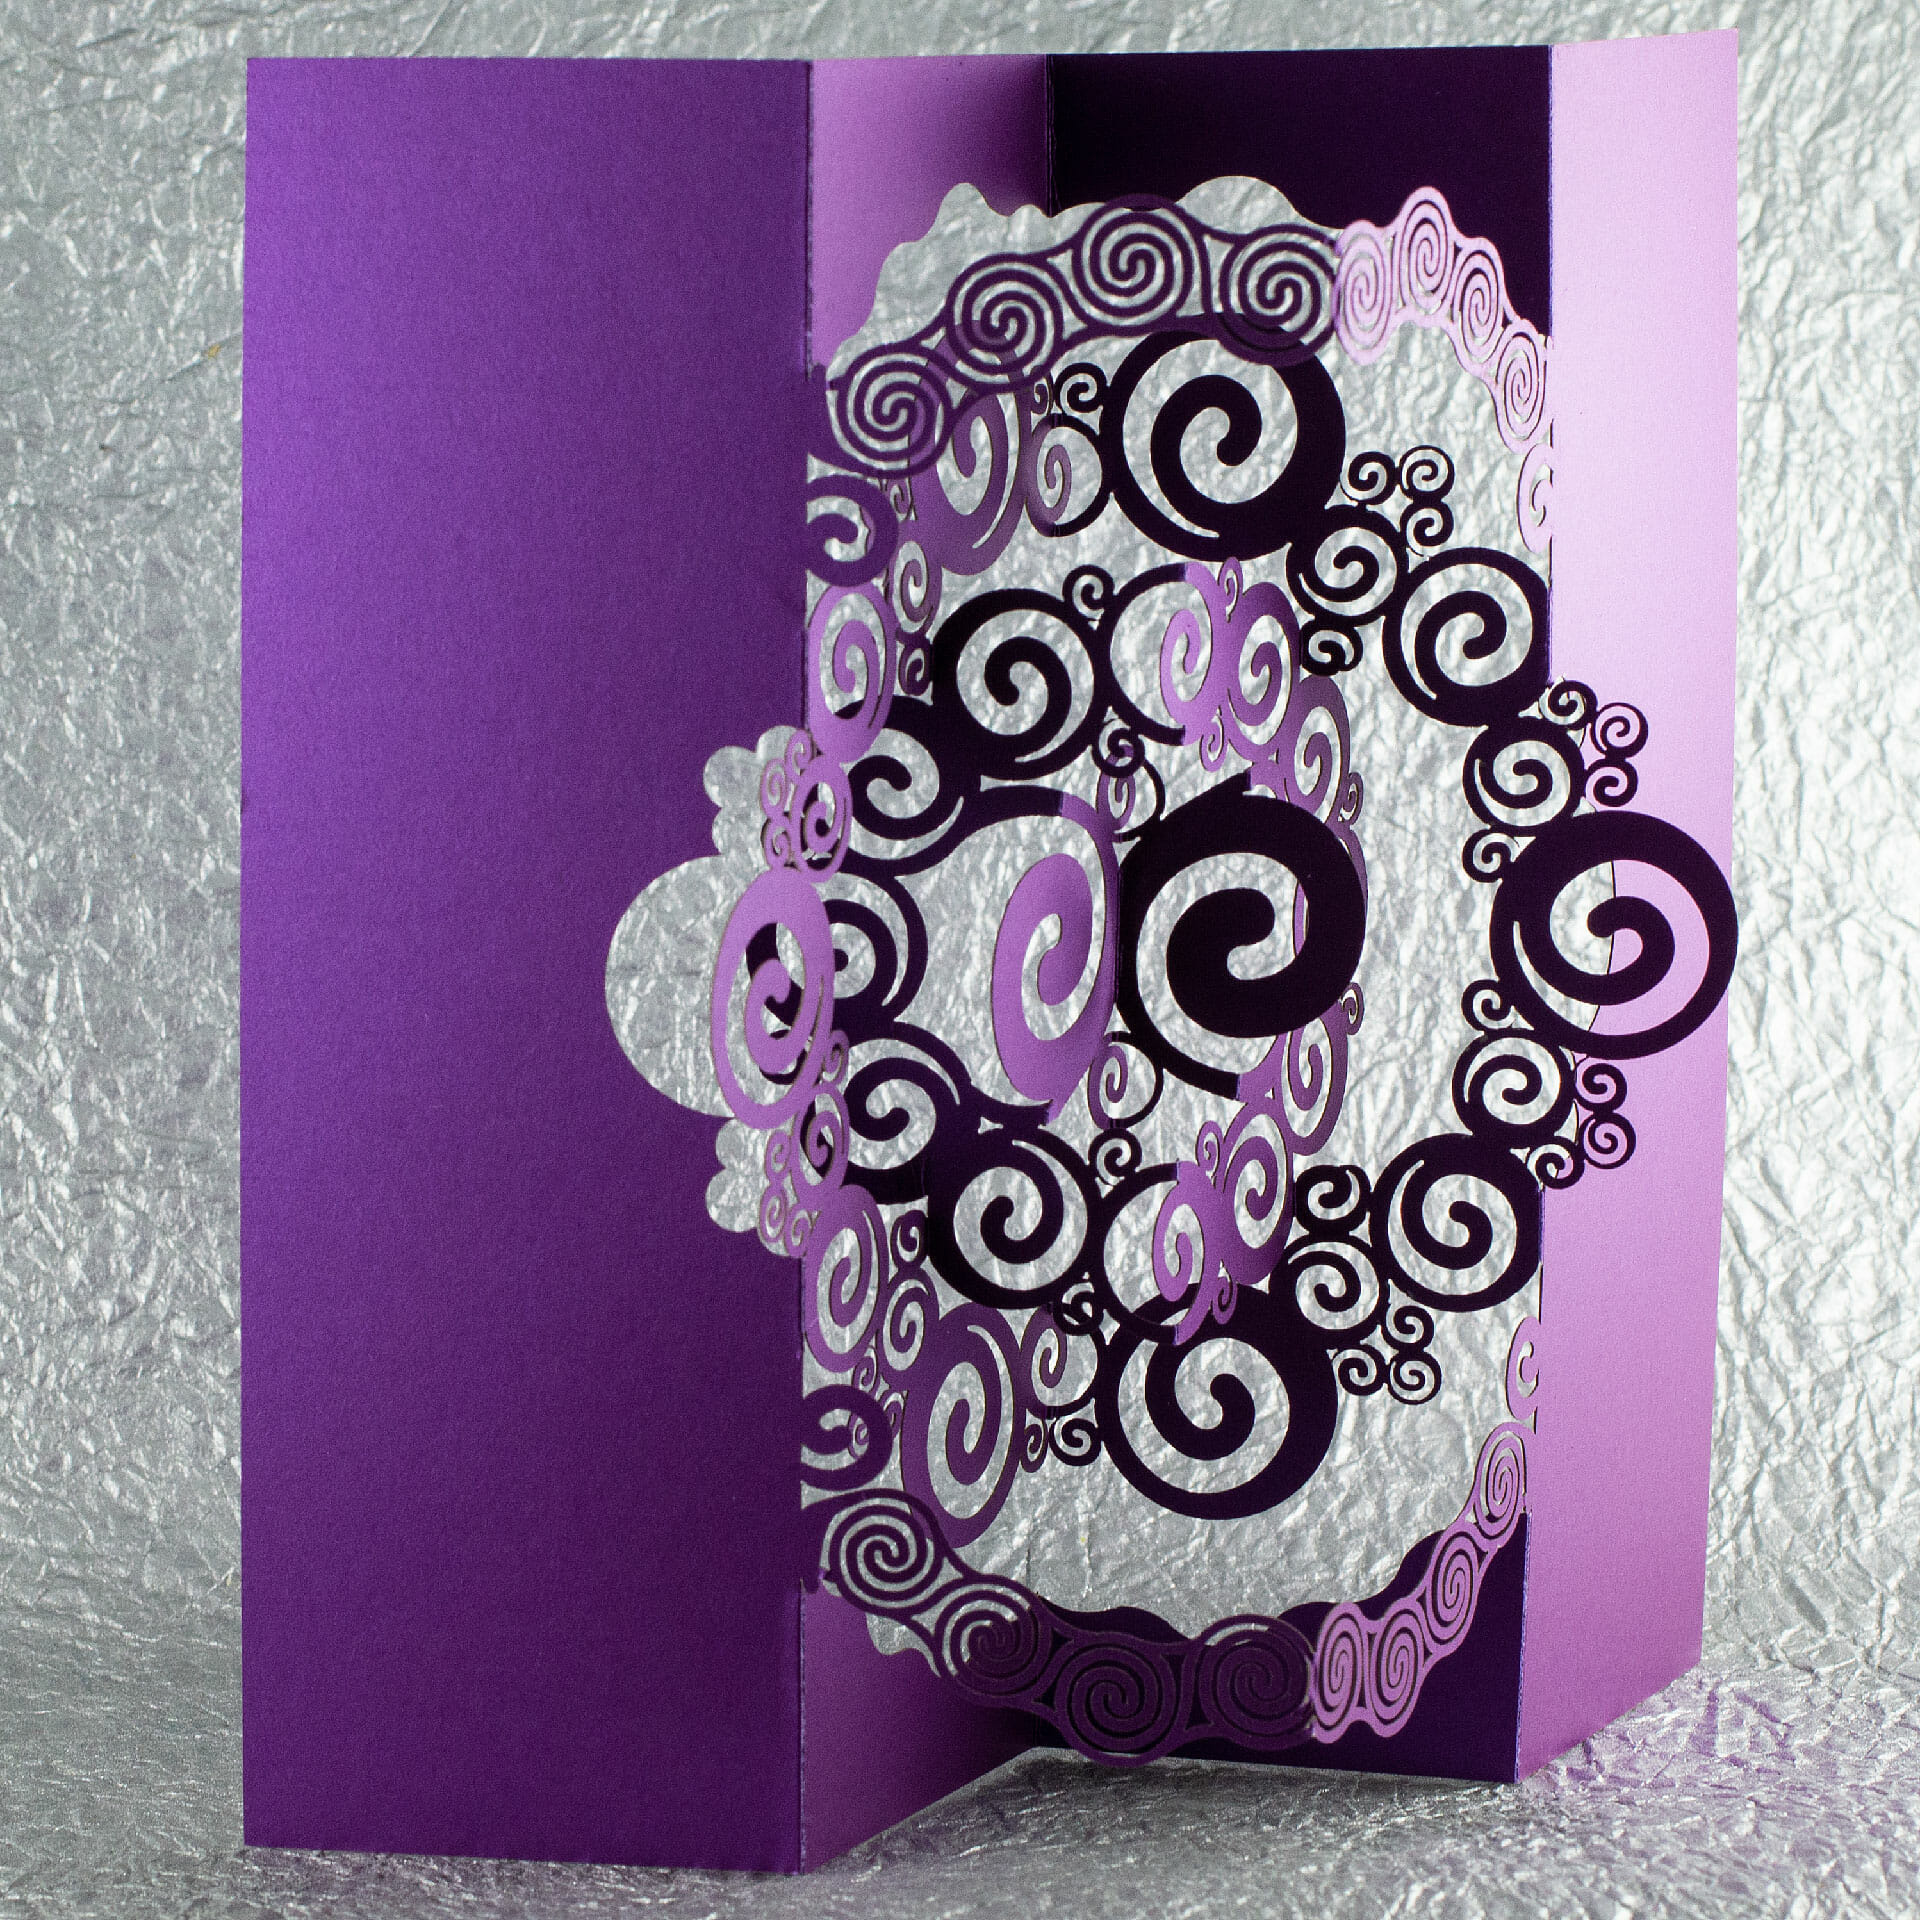
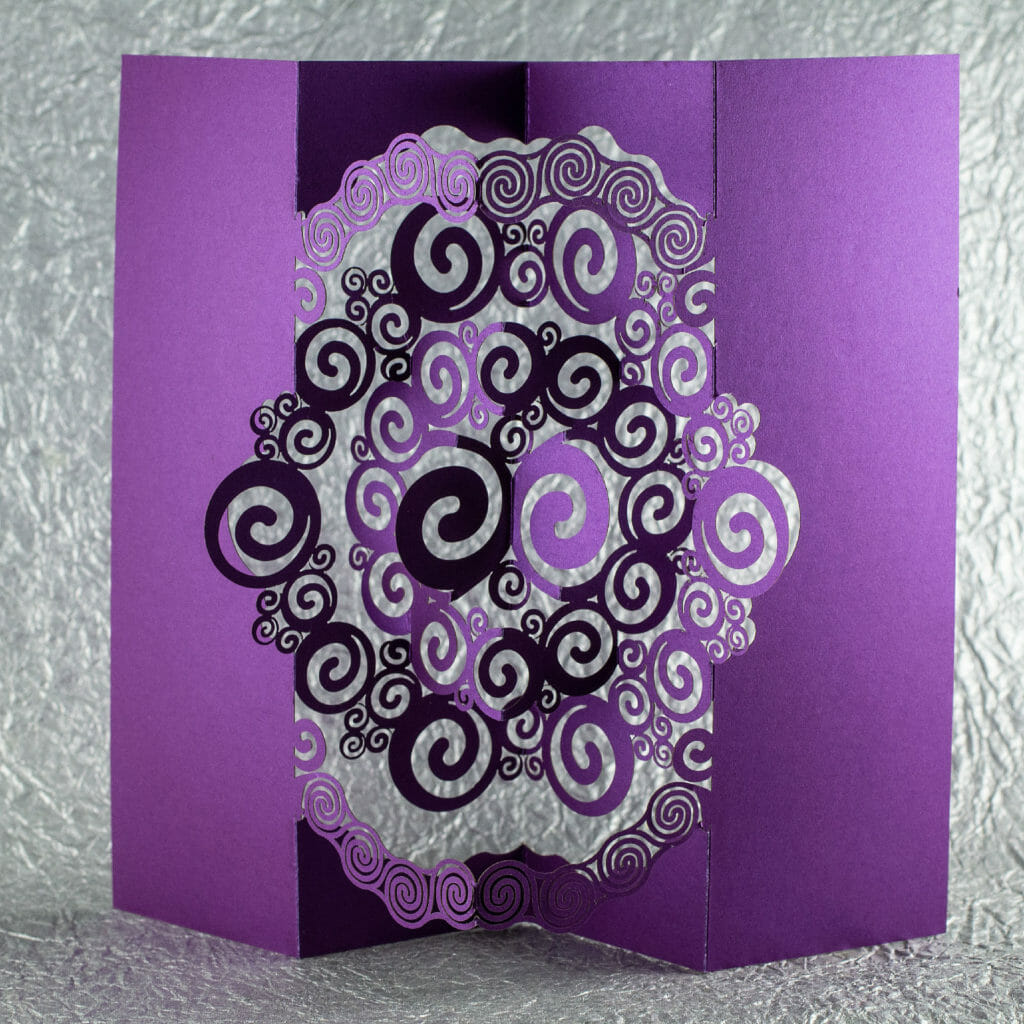
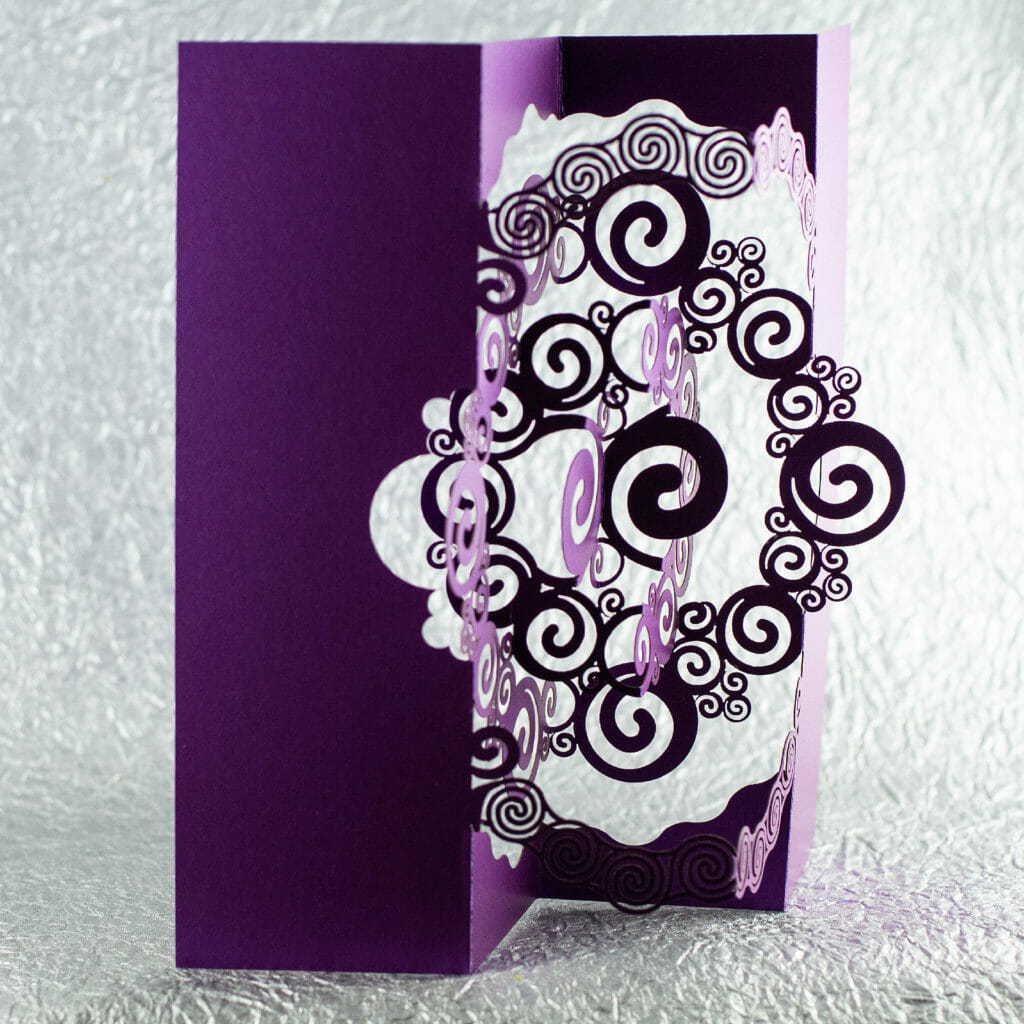
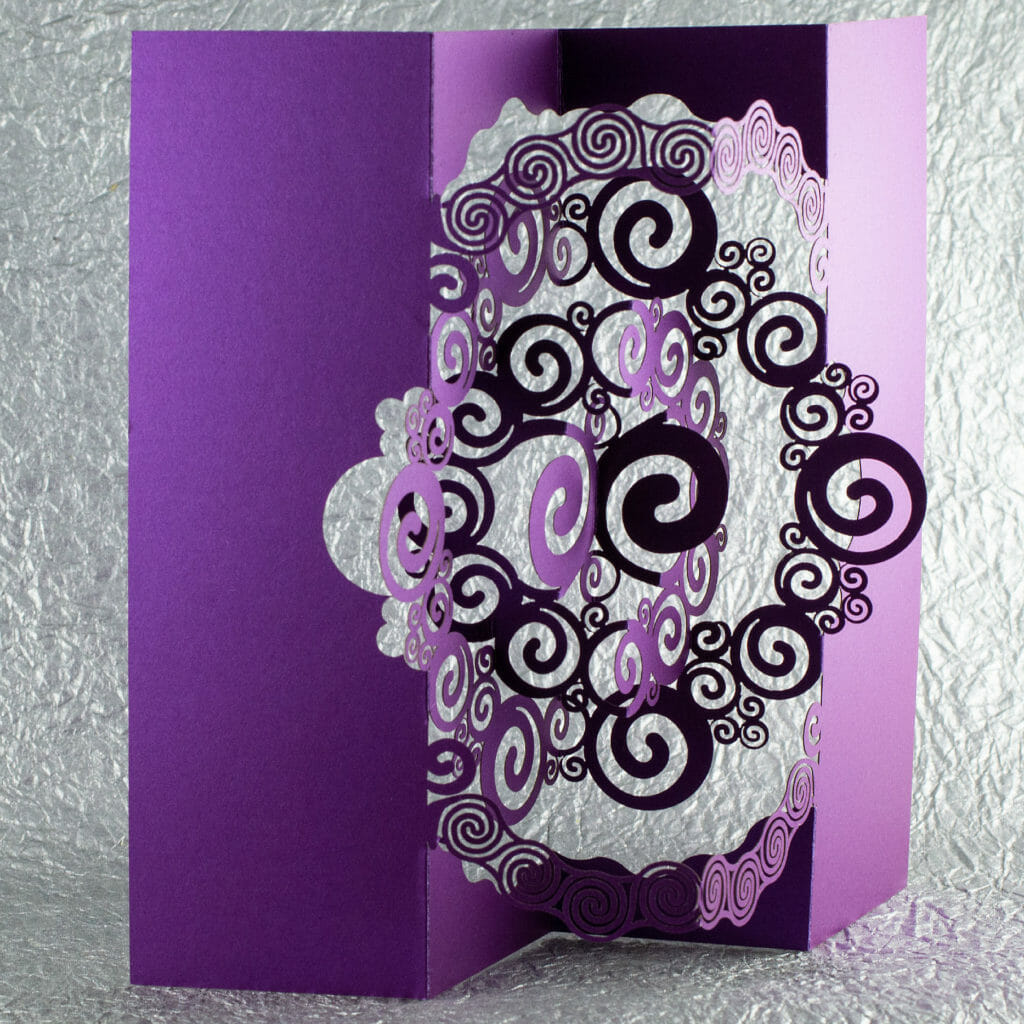
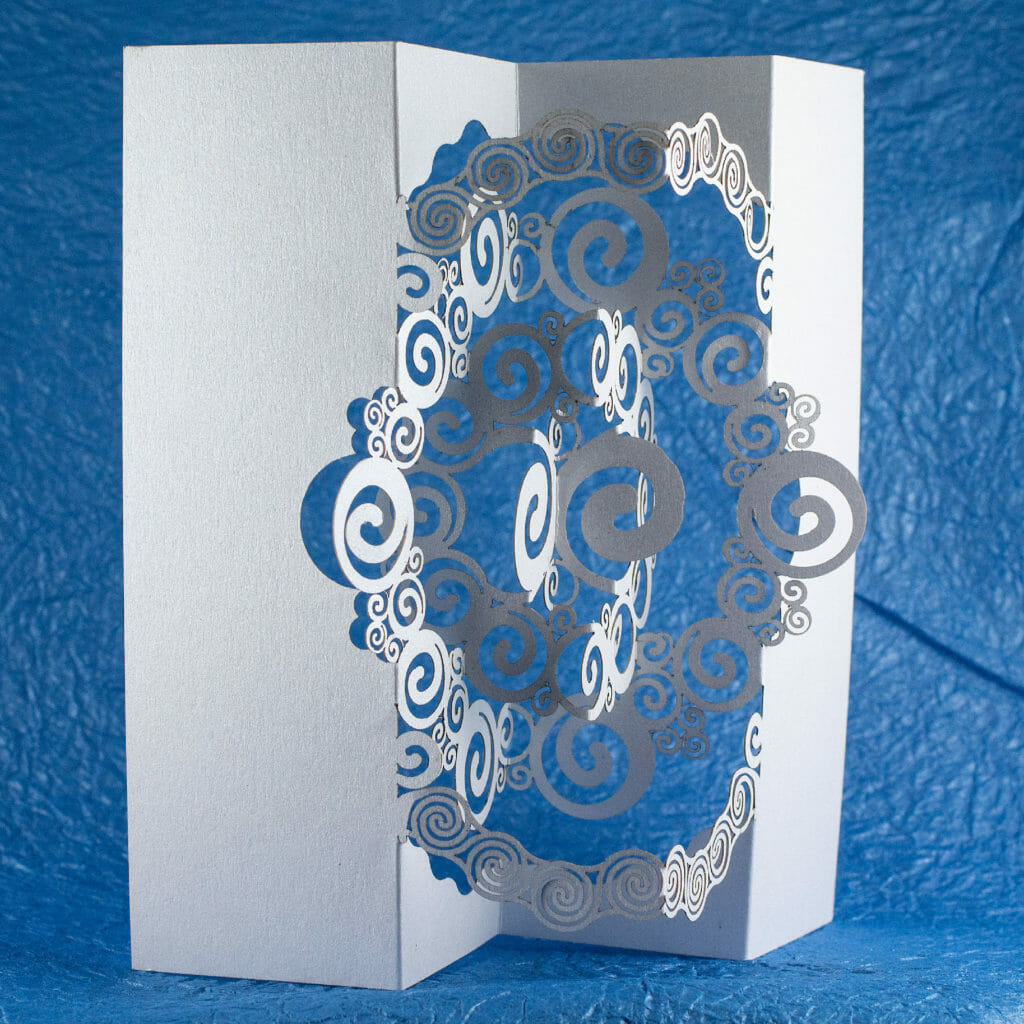
I sent this w-fold kirigami/origamic architecture pop up card out for the 2018-2019 holiday season. I was inspired by the interplay of layers popping in alternate directions in some of Ingrid Siliakus’ designs.
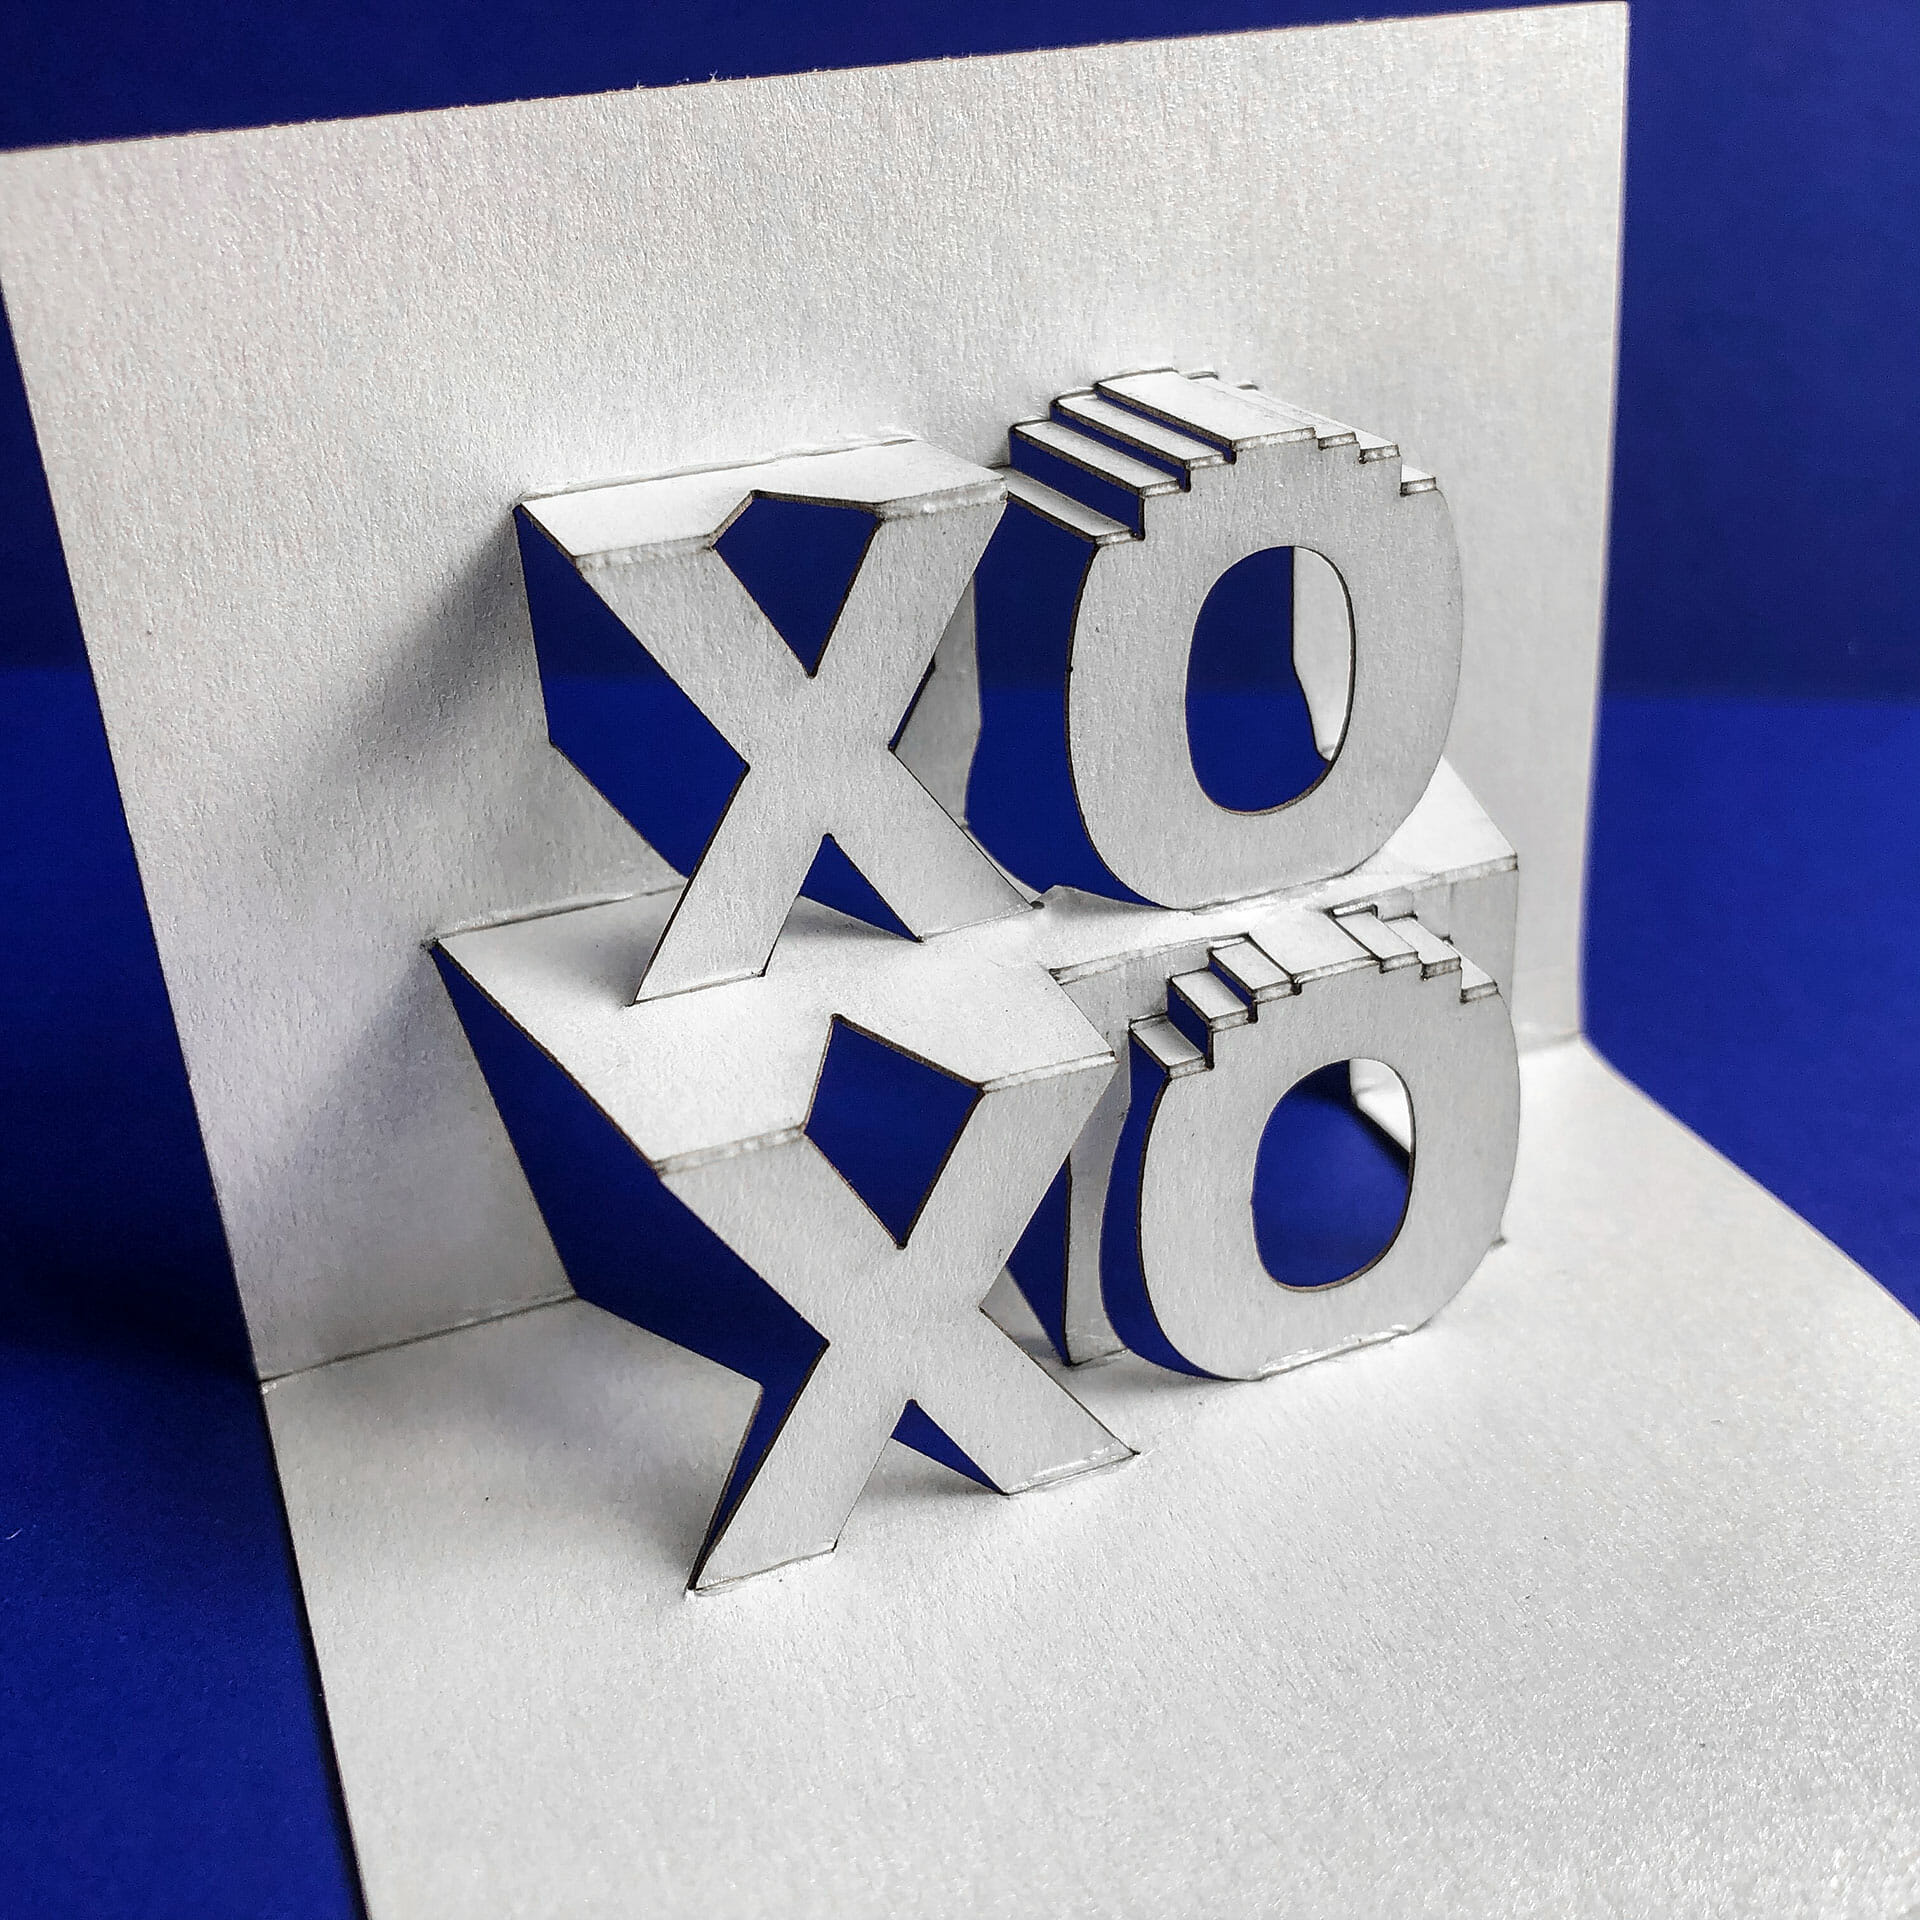
XOXO 2019 Origamic Architecture / Kirigami Pop Up Card
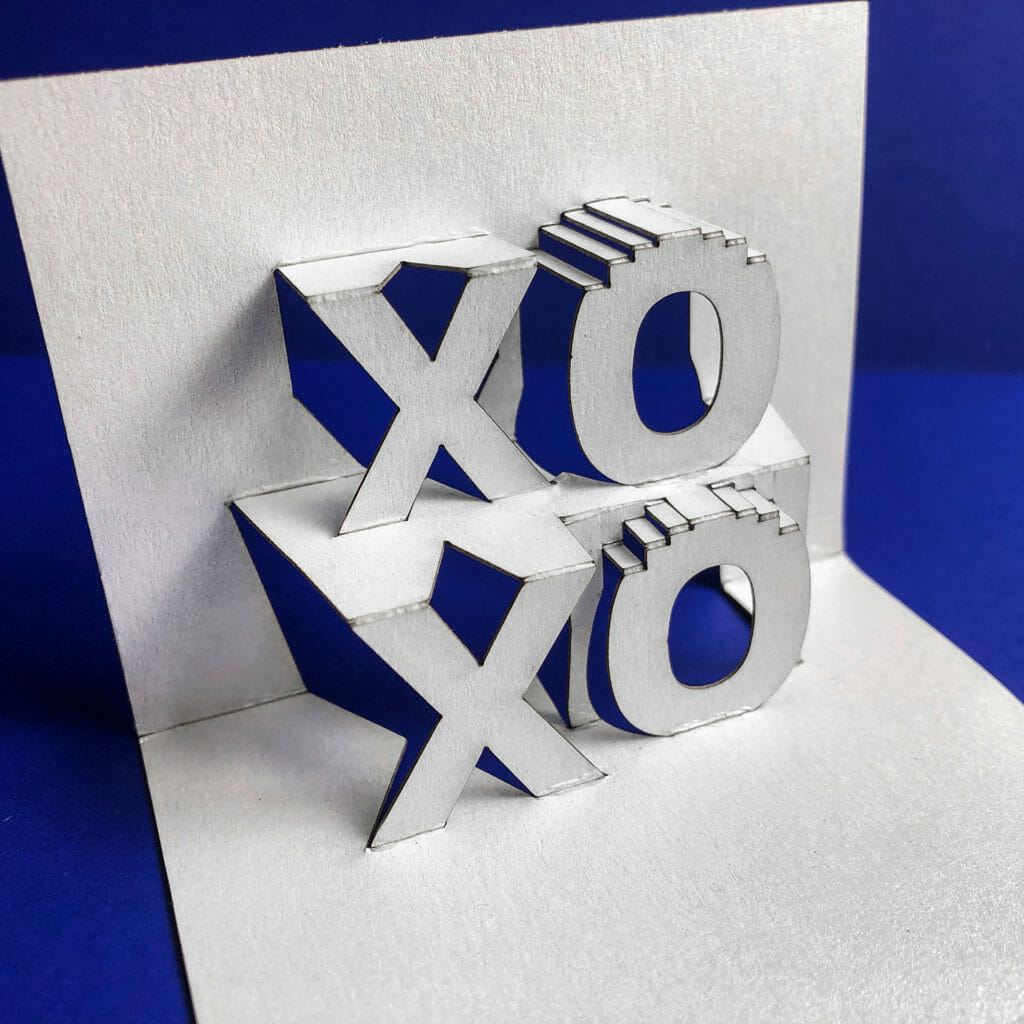
I designed this in honor of the 2019 XOXO Fest! Turning a simple sheet of paper into a pop up card is fun and, I encourage you to try it.
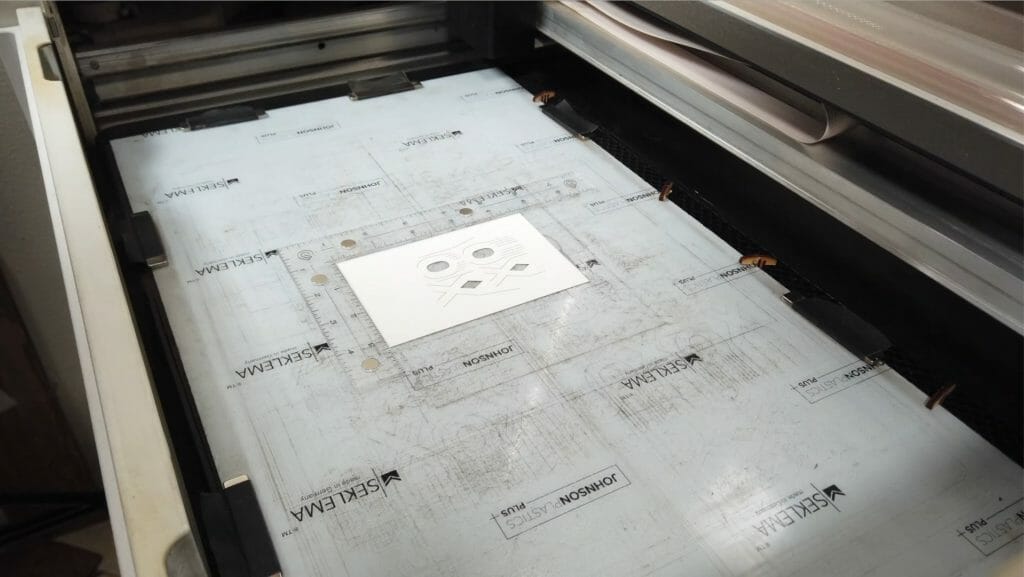
If you have a laser cutter or a CNC cutting machine (or “craft cutter”), you can load the SVG file below into your software and, use that to cut out the card. If you can adjust the power or depth and pressure of your cuts to only cut halfway through, you can also cut the mountain fold lines with your machine.
You can also do it entirely by hand! Download and print the pattern on a piece of card stock. If you want to keep the front of your card pretty, reverse the pattern and, you’ll be cutting from the back side. Just remember to score your fold lines on the correct side.
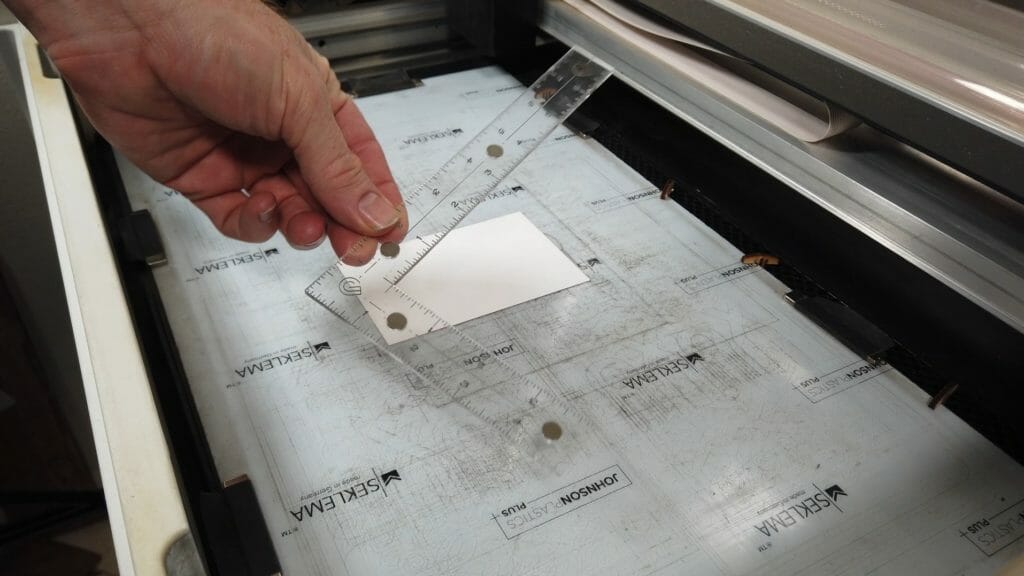
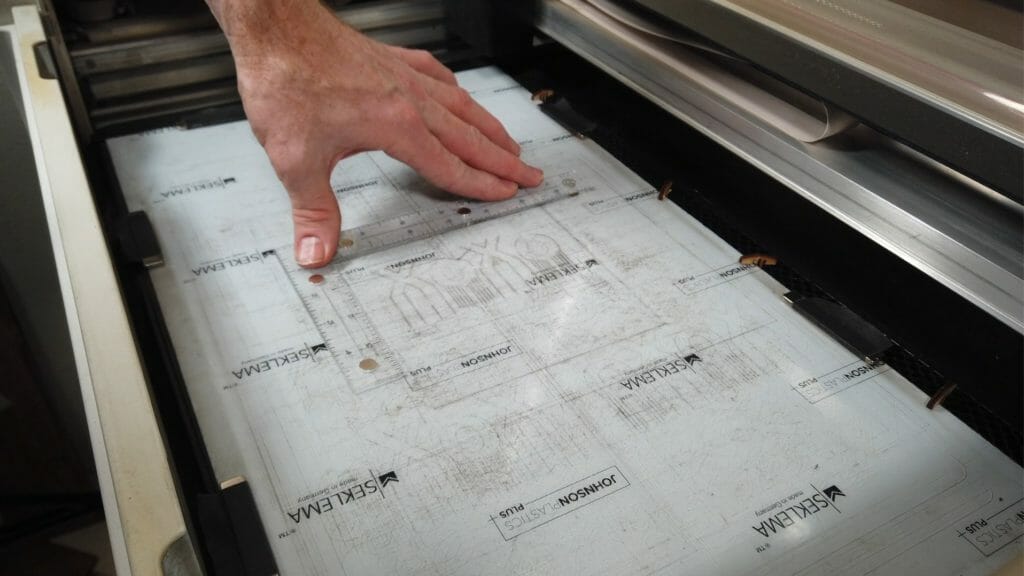
You can also tape a printed pattern to a piece of card stock and, use a straight pin to poke a small hole at each junction of lines. You can then remove the pattern and, use a ruler to score and cut your piece. You can also use this approach with the pin to help make your valley fold score lines on the reverse.
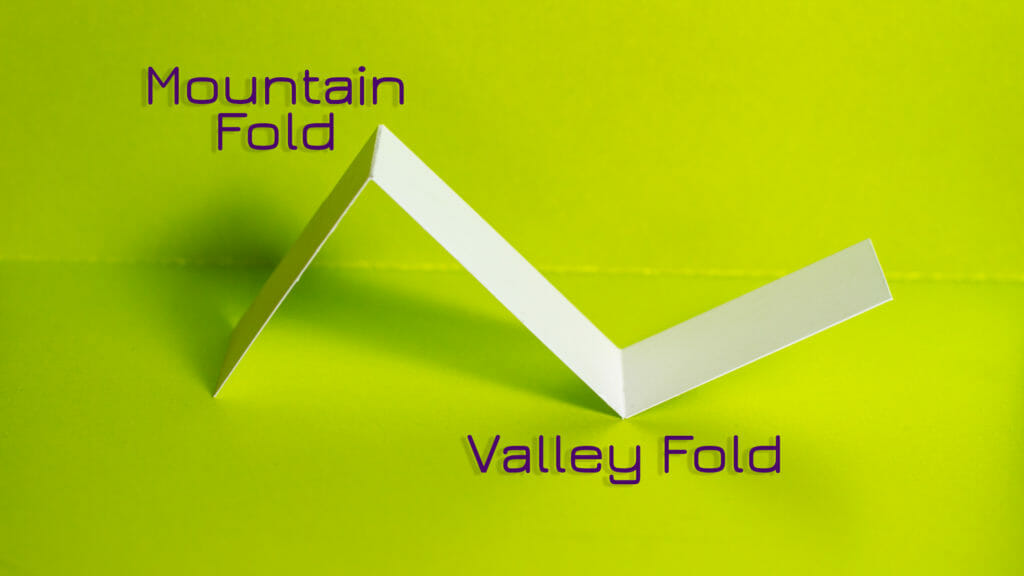
The paper will tend to fold away from a score line. By scoring mountain folds on the front and valley folds on the back, you will make the card easier to fold.
Here is a video walkthrough of cutting a card by hand:
Glowforge Settings
Score: speed 500 / power 9
Cut: speed 250 / power 36
Fast Cut (card outline): speed 500 / power 69
Check out the whole XOXO 2019 zine
Got the bug? Make a Flower Pop Up Card
Related: 2015 XOXO Pop Up Card
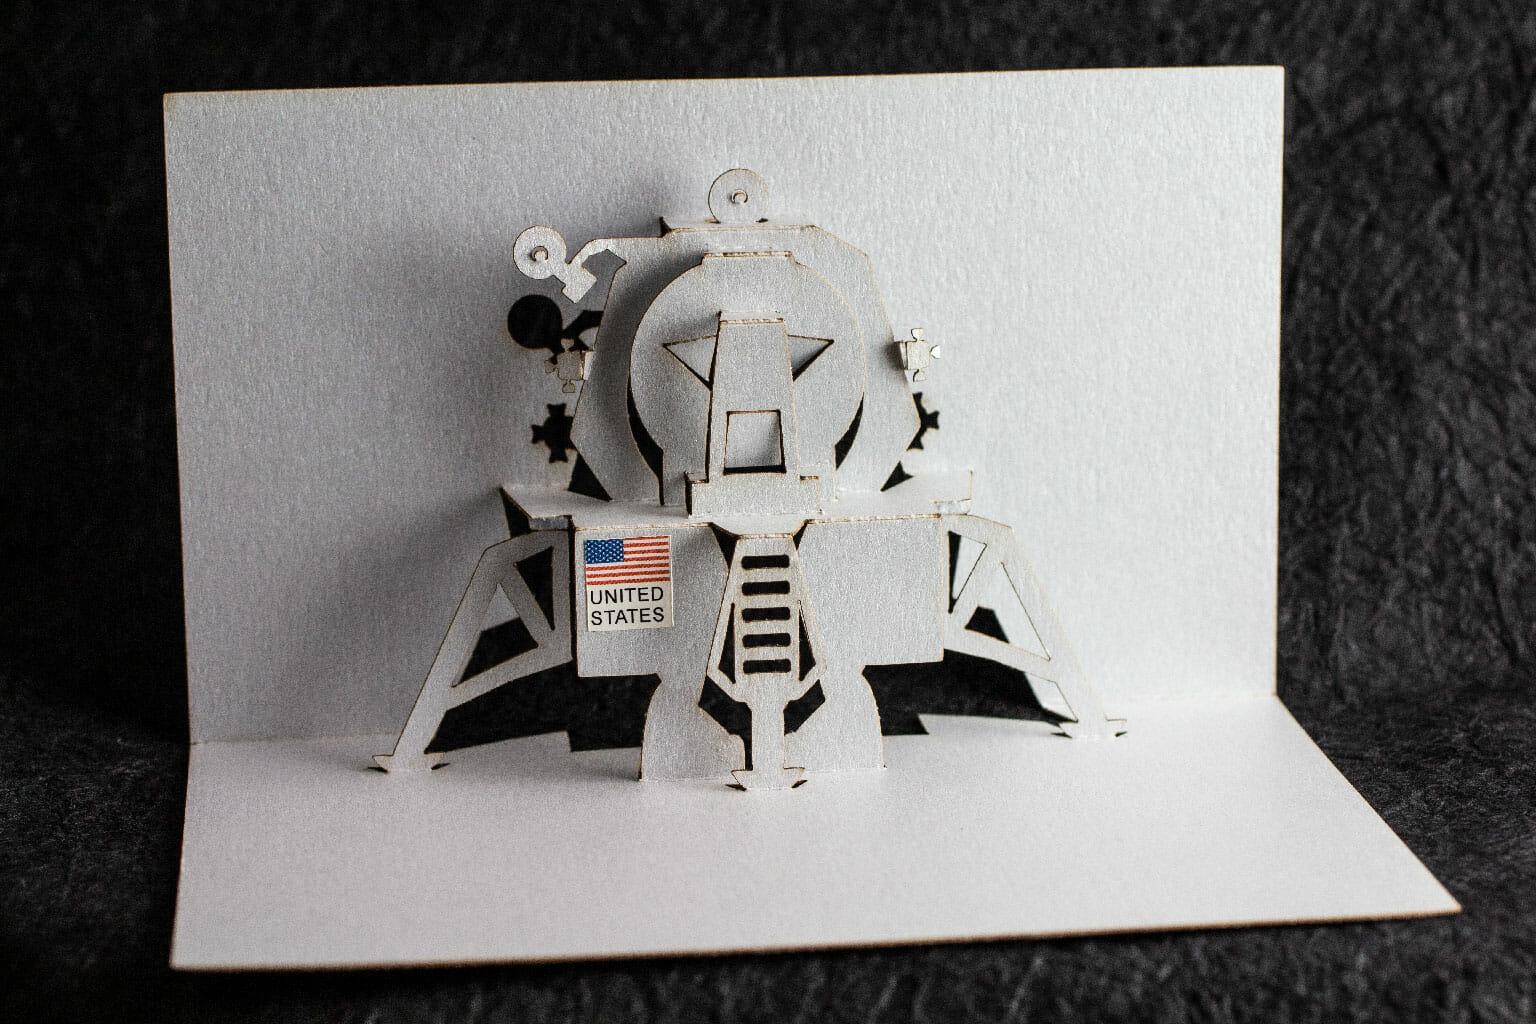
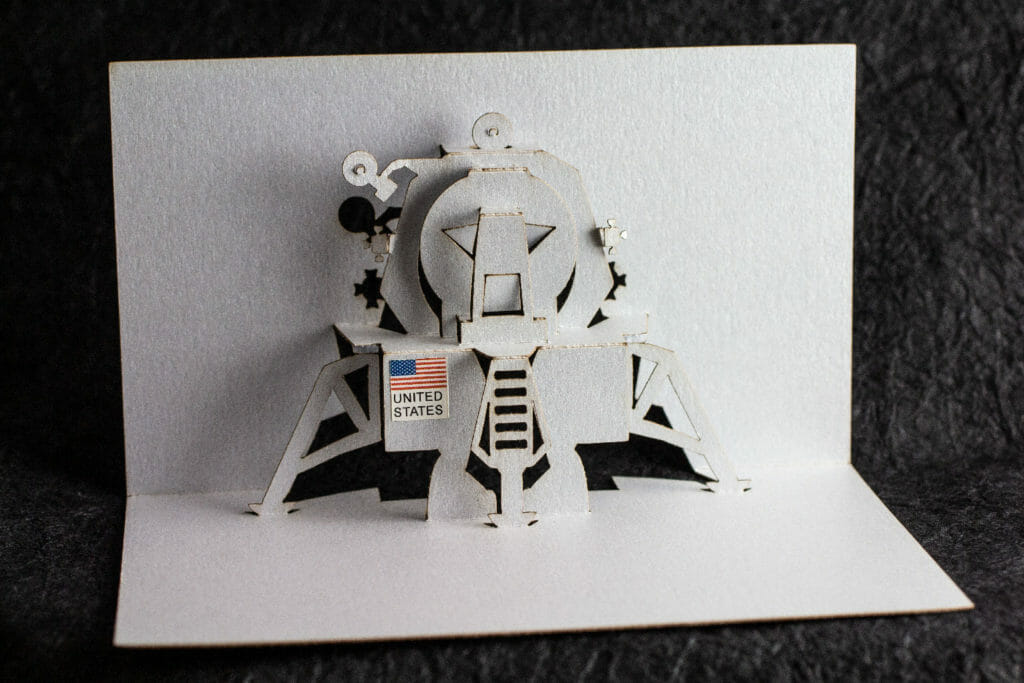
Lunar Lander Pop Up Card
Phoenix Pop Up Card Build Video
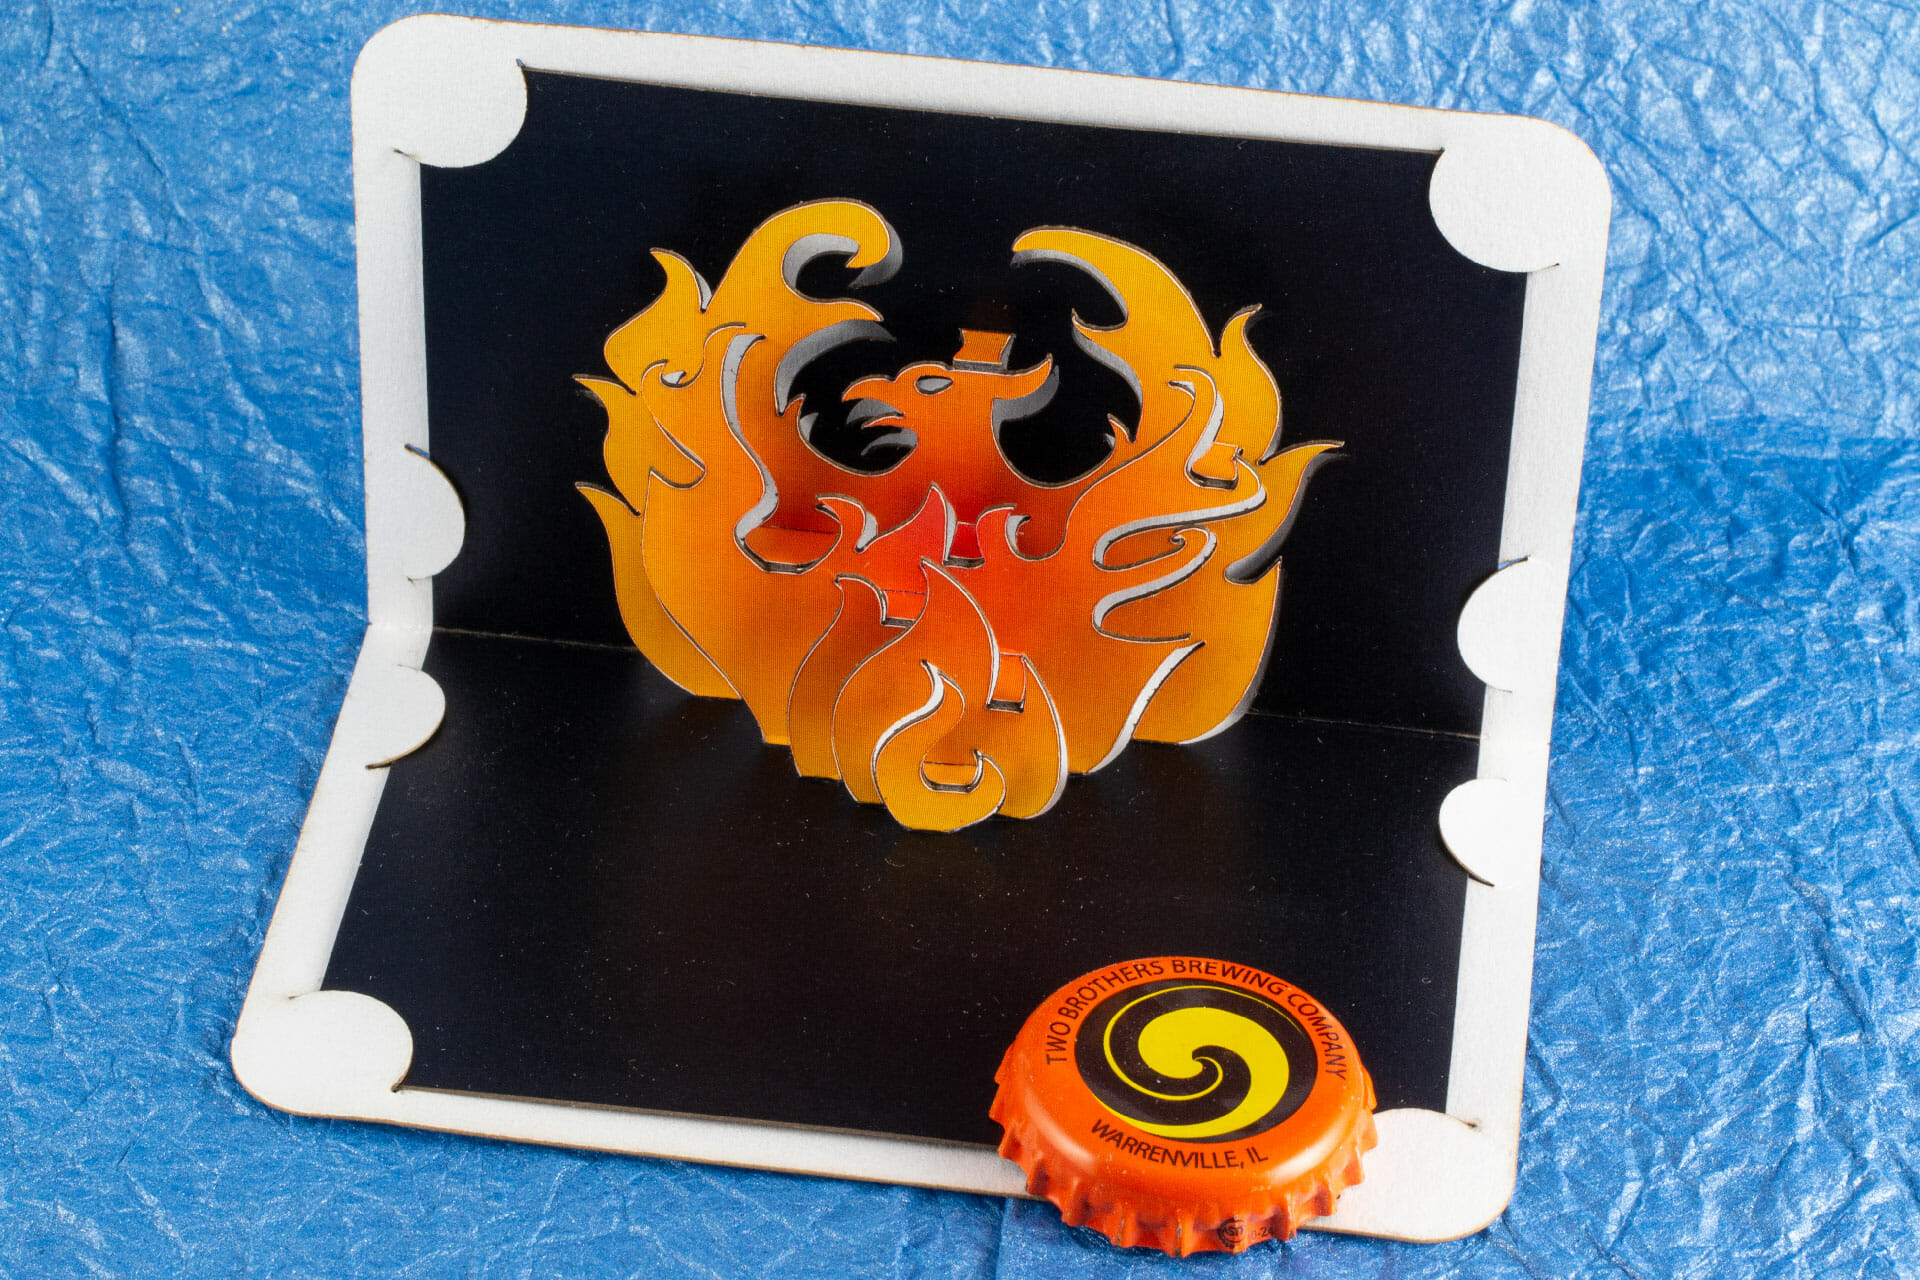
Phoenix Pop Up Card
Westward Ho Origamic Architecture Pop Up Card
There have been a lot of changes in downtown Phoenix in the last few years. A lot of history remains. I thought it would be fun to make a pop up design of a local building or two. So, I had a go at the Westward Ho.
The Westward Ho is a landmark of downtown Phoenix. The hotel with office space and restaurants was built in 1928 and, remained the tallest building in Arizona until 1960. The steel tower and antenna were added in 1949 to broadcast the first television station in Phoenix. The building was converted to housing for the elderly and mobility-impaired in 1980.
Keyboard.io Logo Twisted Crest Pop Up Card
Another one of the twisted-crest style origamic architecture pop up cards I did early last year. This is modeled on the logo for Keyboard.io, which makes a really great heirloom-grade ergonomic keyboard (the Model 01). This one was done on the new Glowforge, which made some of the finer details a lot easier.
Twisted-Crest Celtic Spiral Pop Up Card
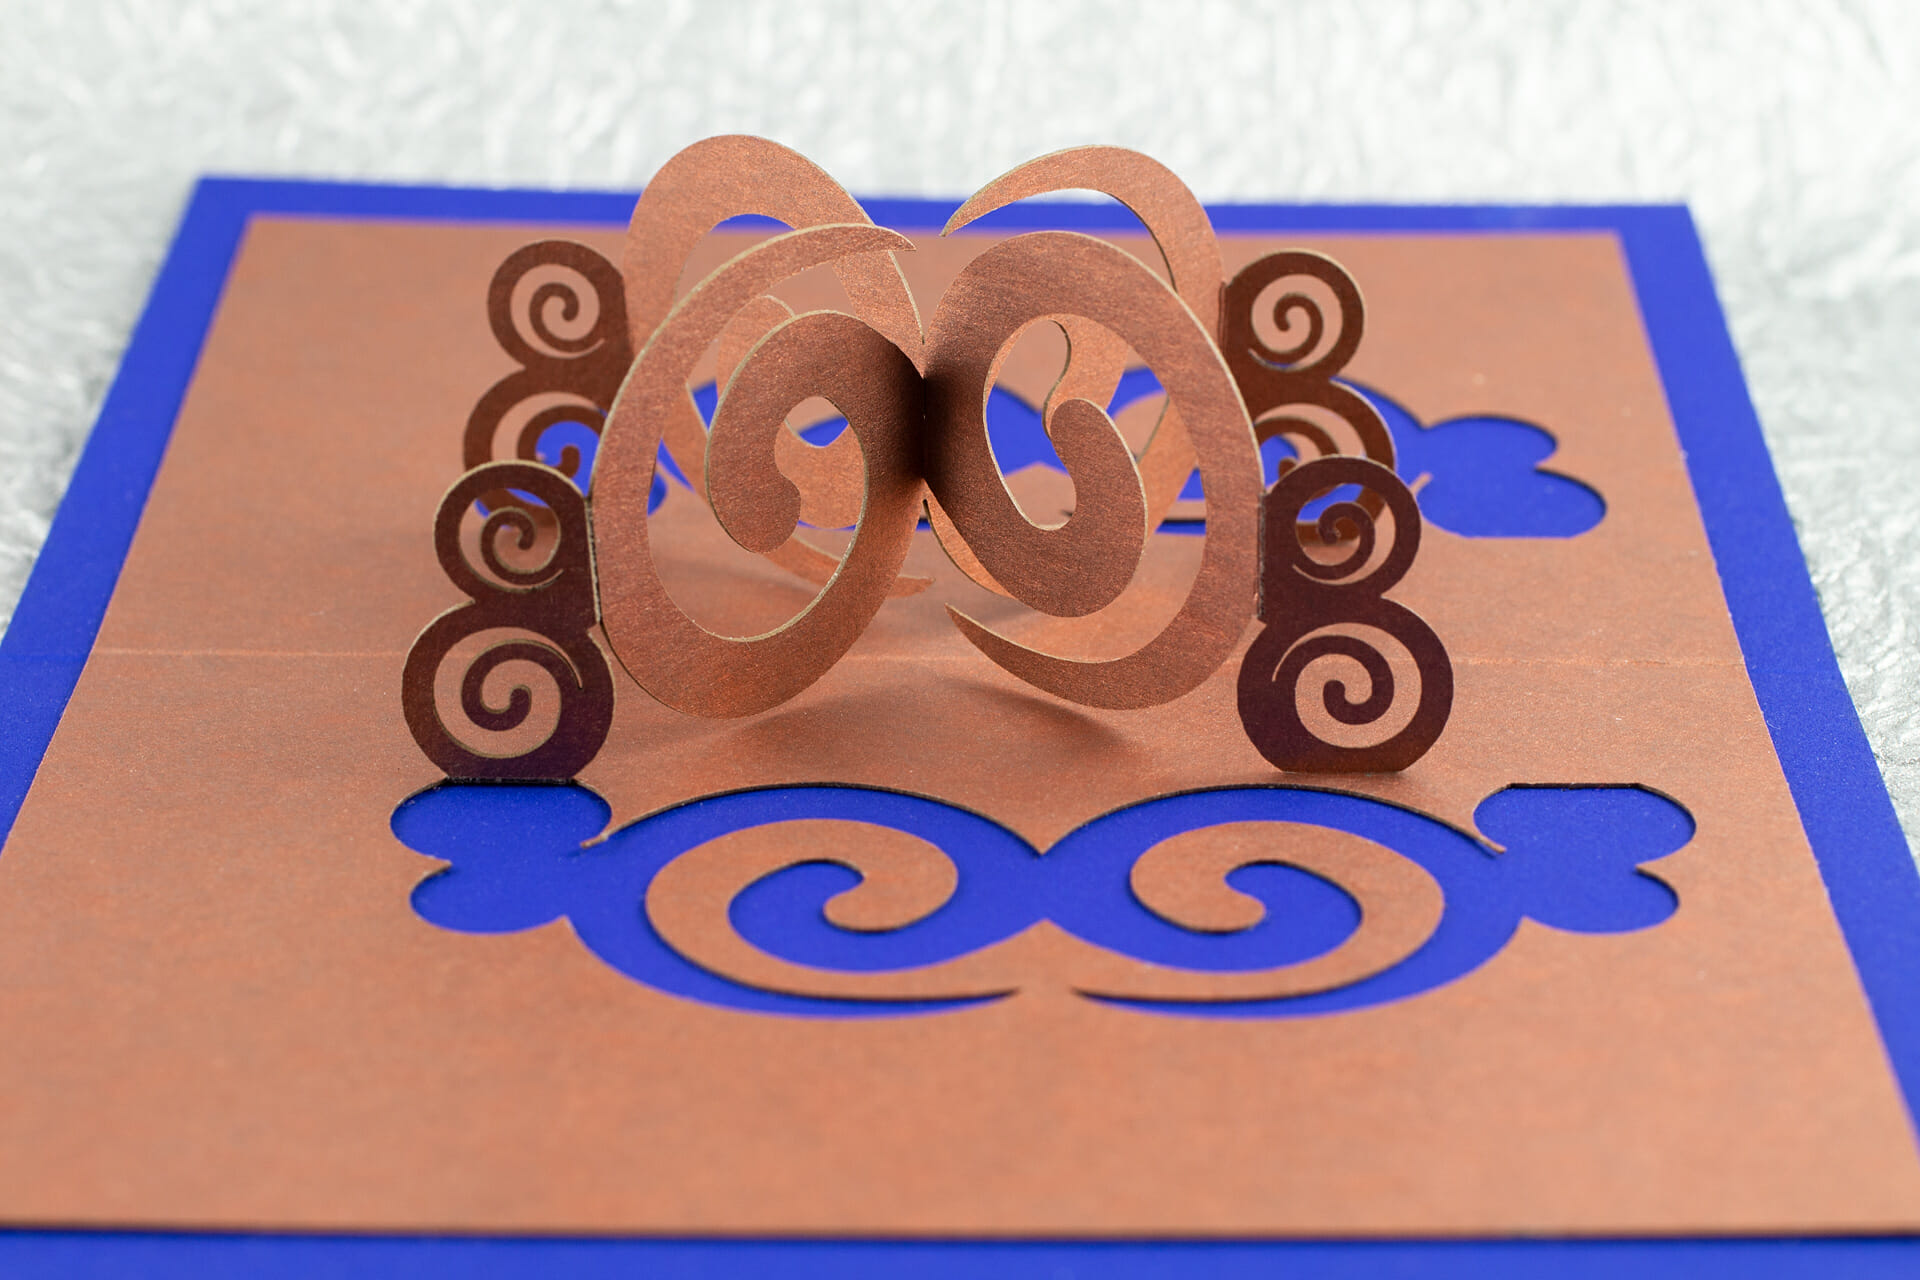
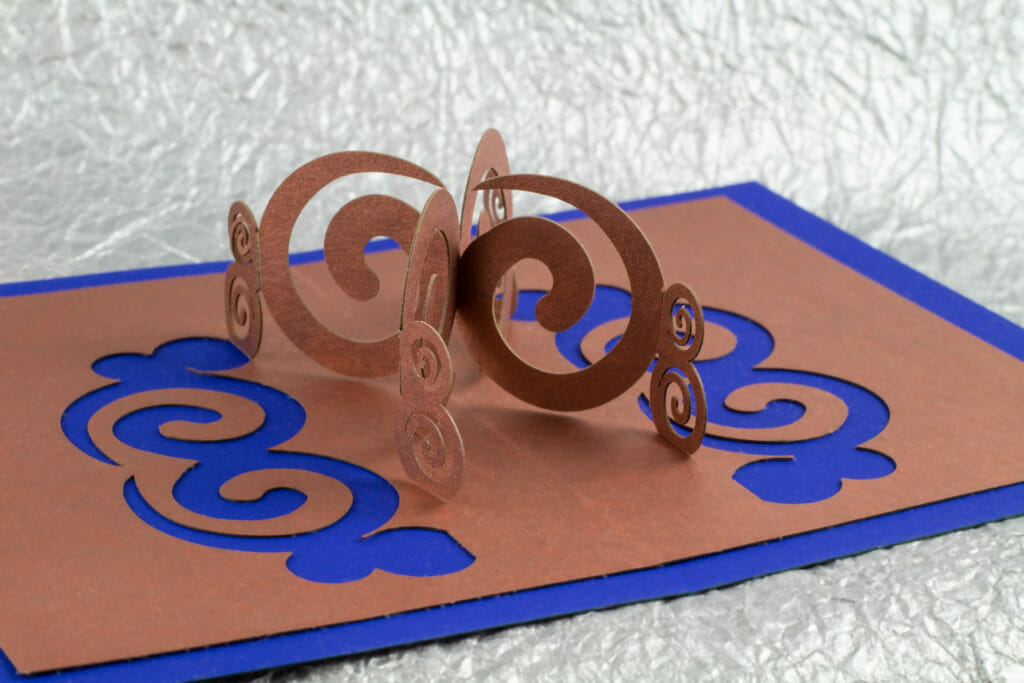
Celtic spiral twisted-crest style pop up card for the 2017 holiday season.
Continue readingMake a 180º Open Twisted Crest OA/Kirigami Pop UP Card
I have been having fun making these 180º open twisted crest style origamic architecture pop up cards. This is a clever technique and, I wanted to invite you to join in the fun. This post includes patterns for my new Flower Crest design, suitable for production on a laser cutter, a craft CNC cutter or, by hand.
Most people will have to actually make one of these cards or watch the folding video to get how it works. I originally spotted this technique used for several patterns in Keiko Nakazawa’s 2006 book 3D Pop-Up Greeting Cards (link in the resources section below) and, abstracted it to make my own designs. Rather than gluing to backing cards, I prefer to develop other approaches like what I have done here.
Machine Settings
Settings for your cutting machine, whether CNC or laser, will vary depending on your machine, the specific paper stock you are using and other factors.
The paper I used for my cards was 0.014″ thick 105lb cover stock.
On the Glowforge, I used a speed of 500 and power of 72 for the cut lines and a power of 18 for the mountain fold lines. I scored the valley fold lines on the back by hand with a craft knife. If you are a Glowforge user, you likely have some experience dialing in settings for a particular material. I color-coded the file so that the GFUI will separate and order the operations on import.
27 July 2019 update: I’m seeing less smoke deposition with lower power and slower speed. I have switched to using 250 speed and 36 power.
My settings for each operation for the Gazelle cutter are in the MTC file as layer descriptions (D is depth setting on my adjustable blade holder, V is velocity and F is force). Those will probably be mostly useless unless you are also using a Gazelle cutter with an adjustable blade holder. If you are a craft cutter user, you are likely used to sorting out settings for a given stock. The layers are in the order you should cut them. The last two layers are the backing card (one score and the cuts).