Laser-Scoring Both Sides of a Card

Laser-scoring both sides of a card

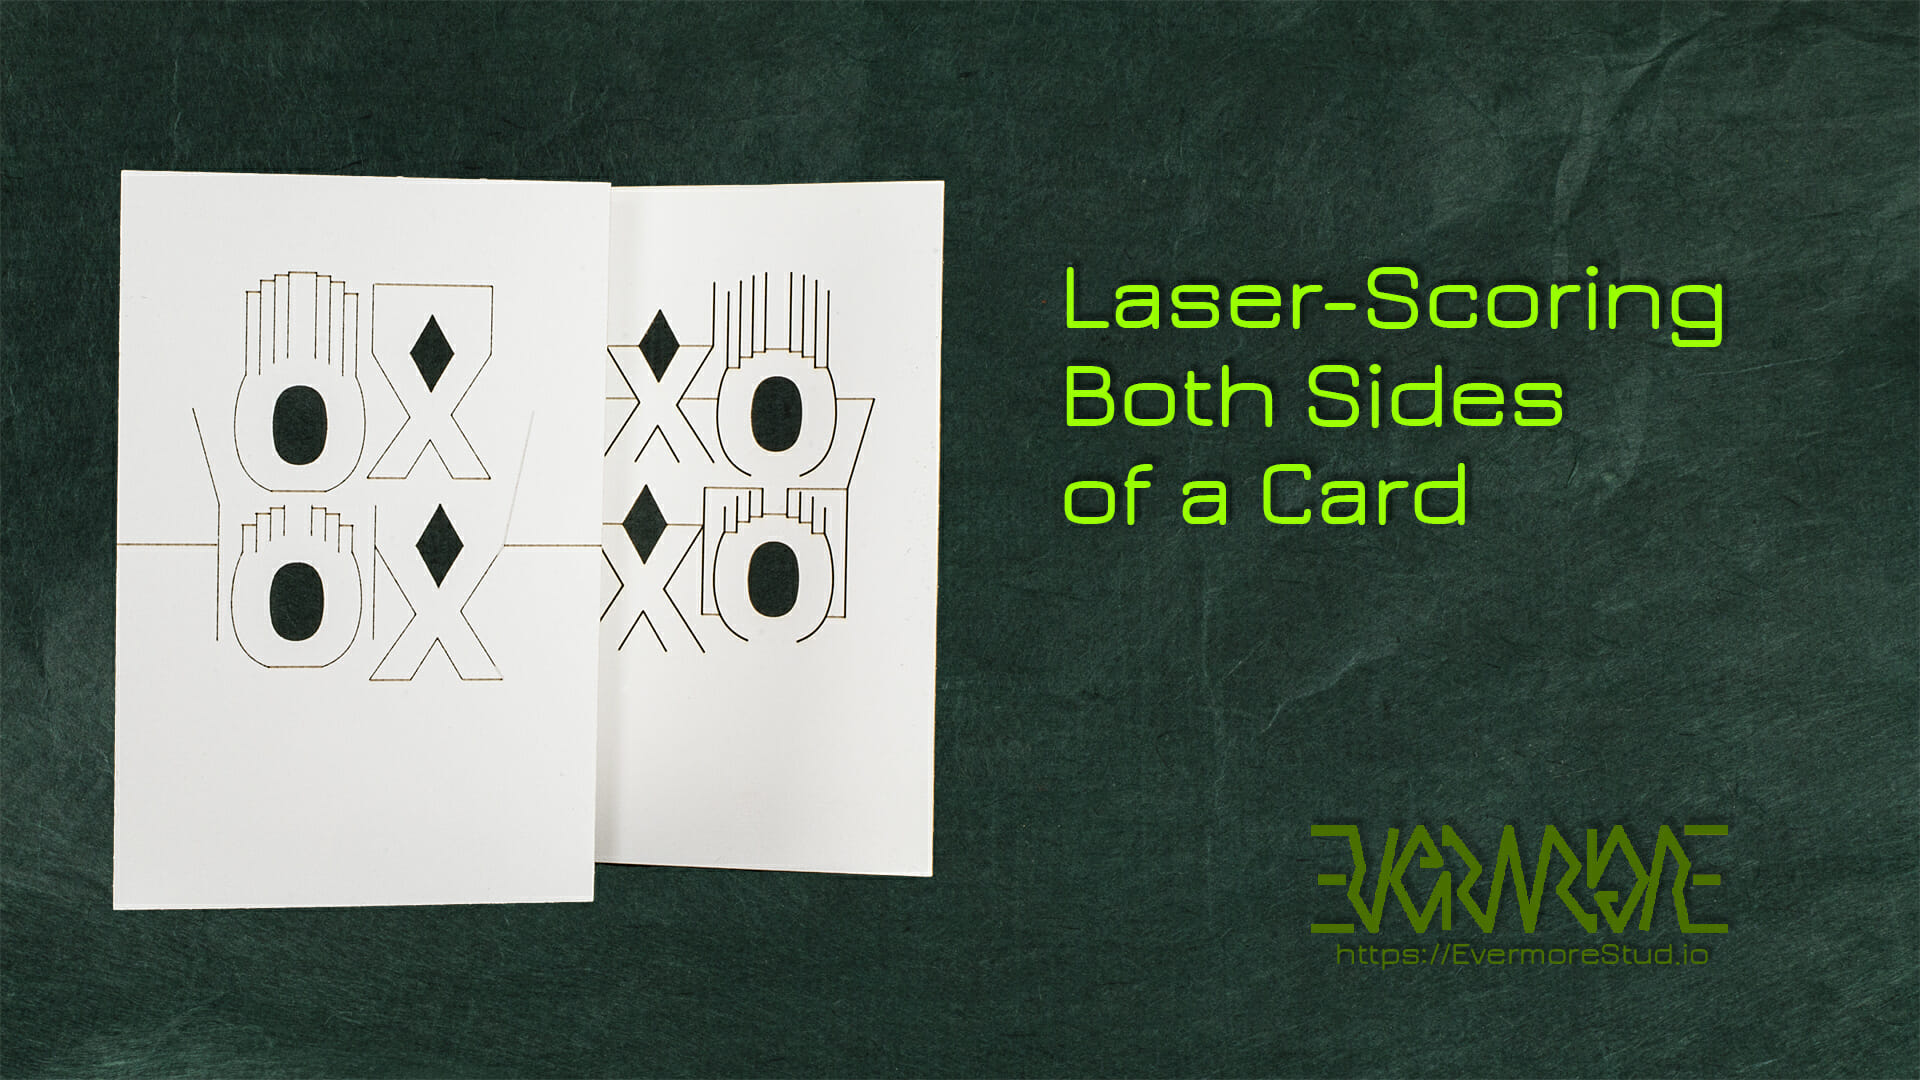
I have had several people ask me about this. So, I made a video showing how to score both sides of a piece of paper or card stock with precision alignment using the laser.

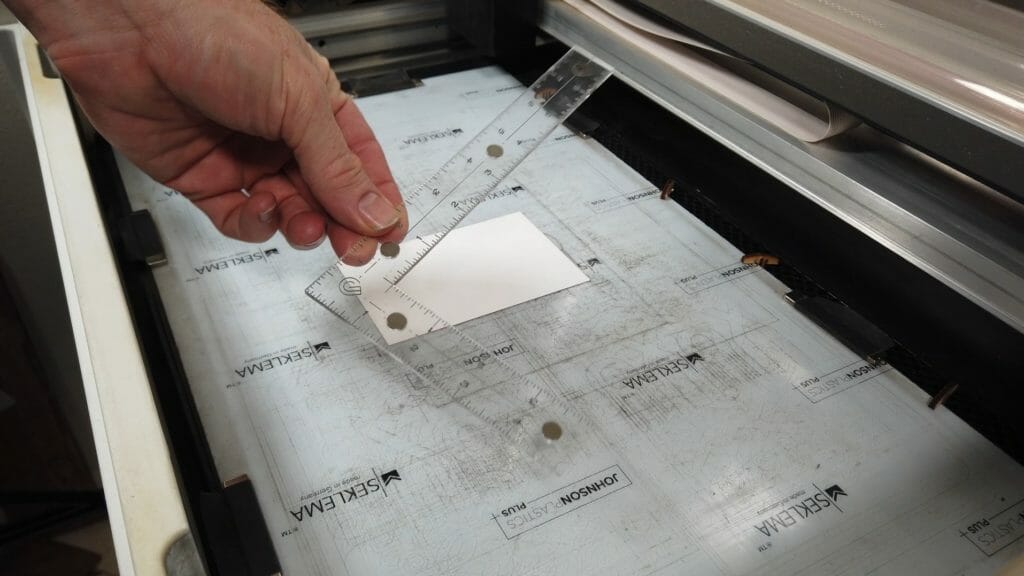
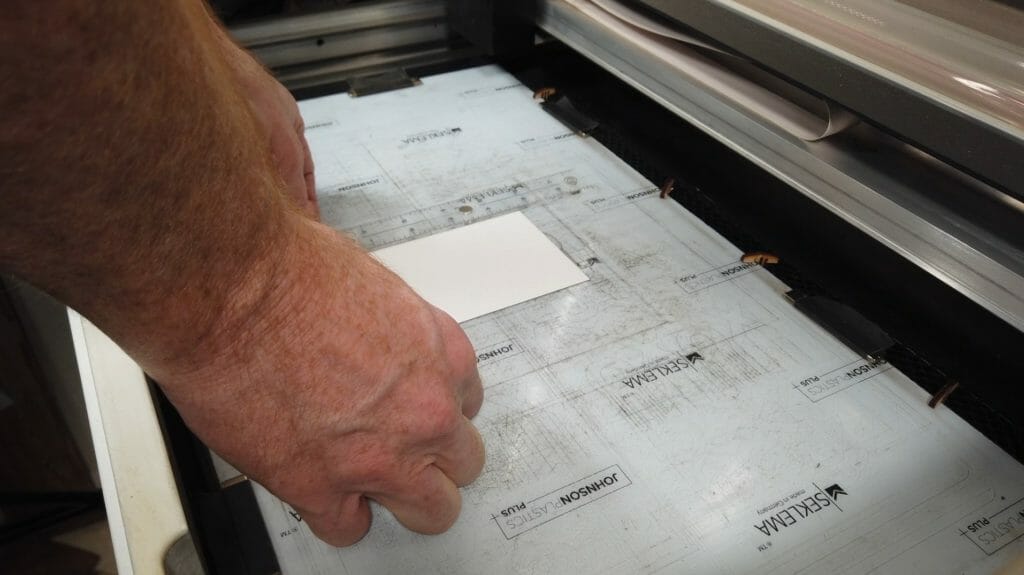
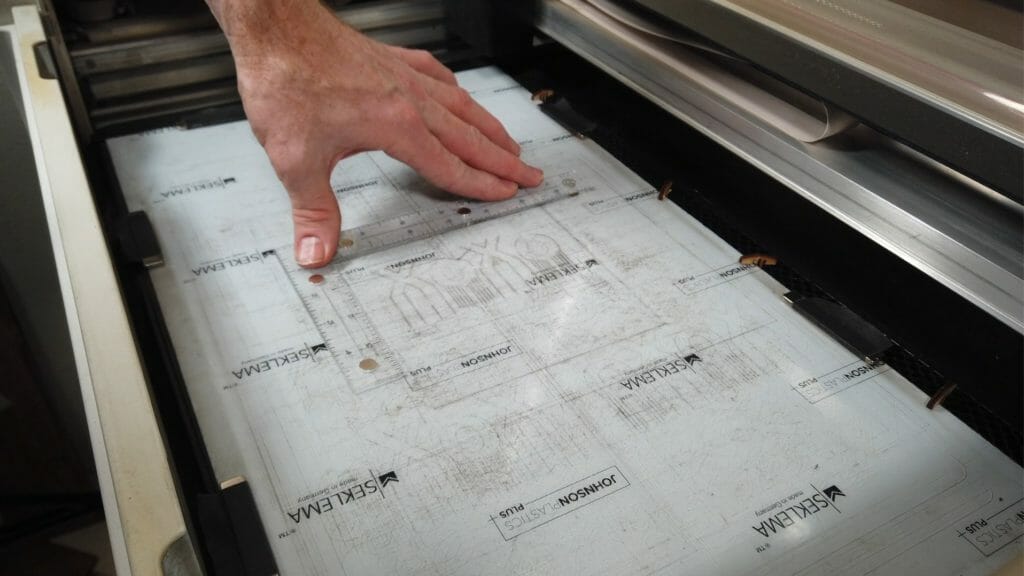
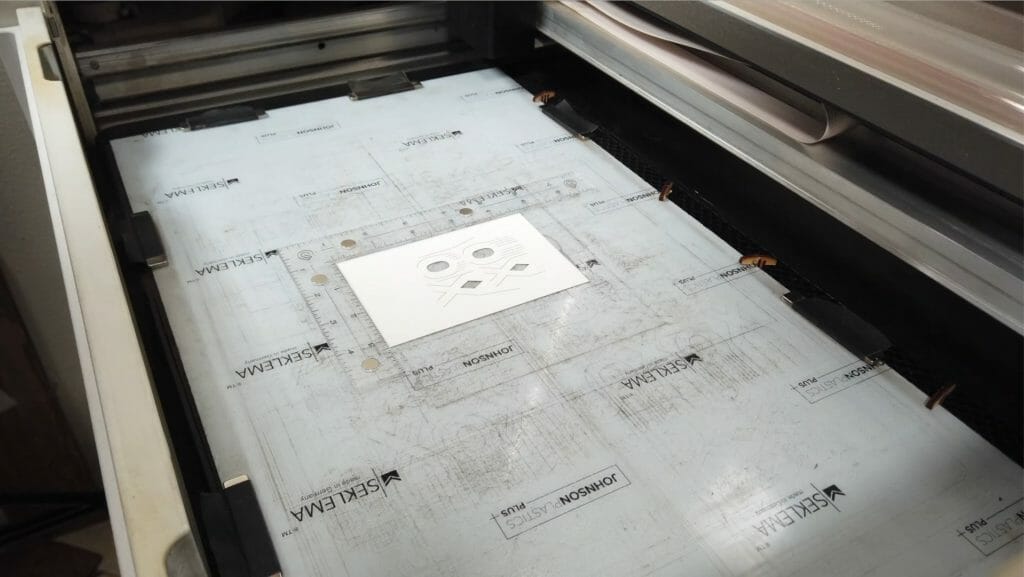
After cutting and scoring the front of the card, I cut an outline of the reversed card and, set up a simple right-angle jig to make it easy to put the cut cards in the same spot in the machine. I discuss several methods for work hold-down and, how to adjust for minor errors in the setup.

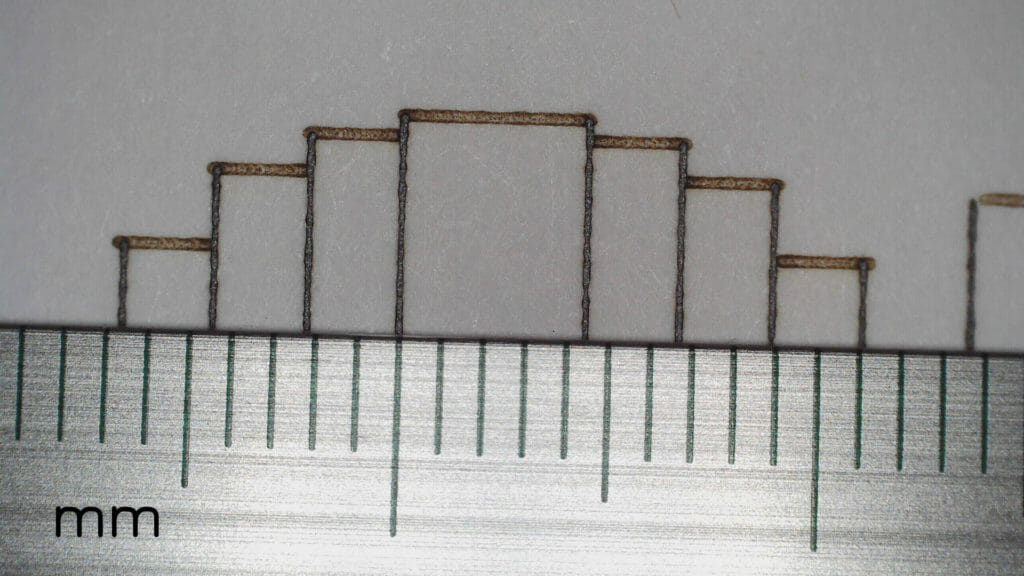
I am consistently able to get hair-line alignment using this approach.

While I am using a Glowforge here, this technique is essentially the same in other laser cutters.

Resources

2019 XOXO card

Glowforge Boot (for reducing tray movement)

Acrylic Square / Fiducial Alignment Ruler

(While this incorporates fiducial markings for a beta alignment feature you may not have (Snapmarks), we are NOT using that here. We just need a right angle piece that will stay put and, let us consistently put our cards in the same spot in the machine.)

Spray Adhesive

Seklema work hold-down mat

Amazon referral links for some parts and incidentals defray IT and hosting costs for a local arts organization (Arizona Aikido).

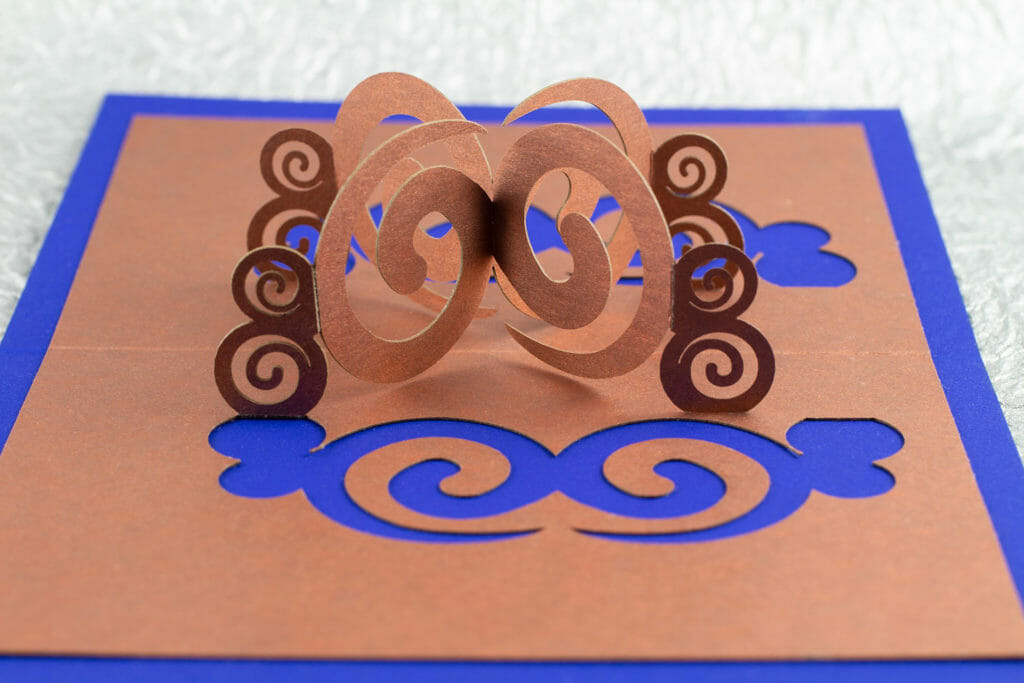
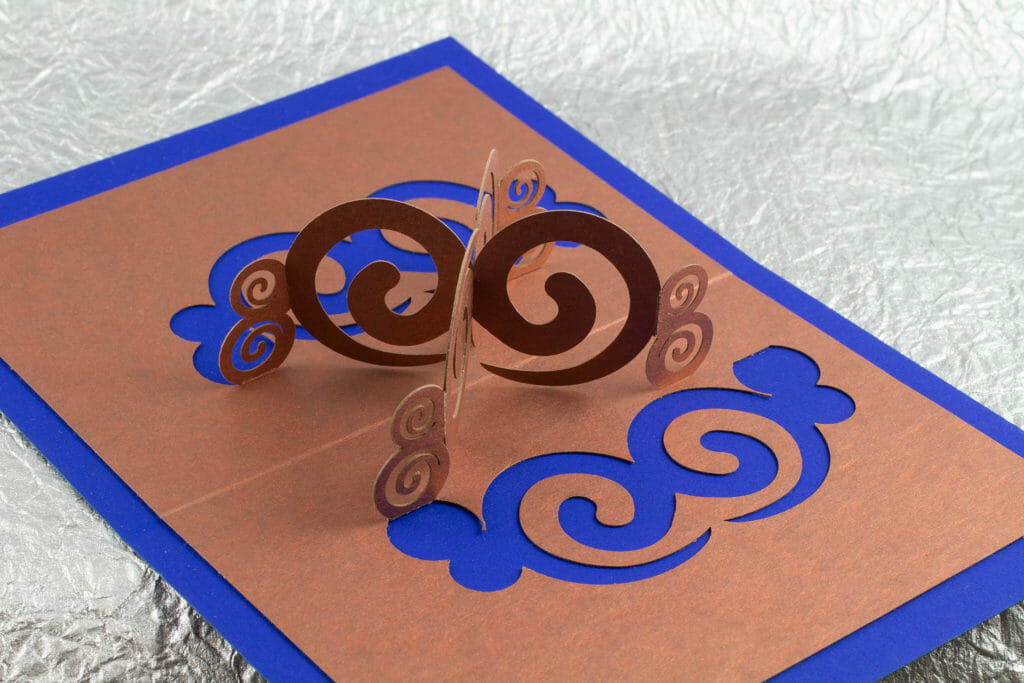
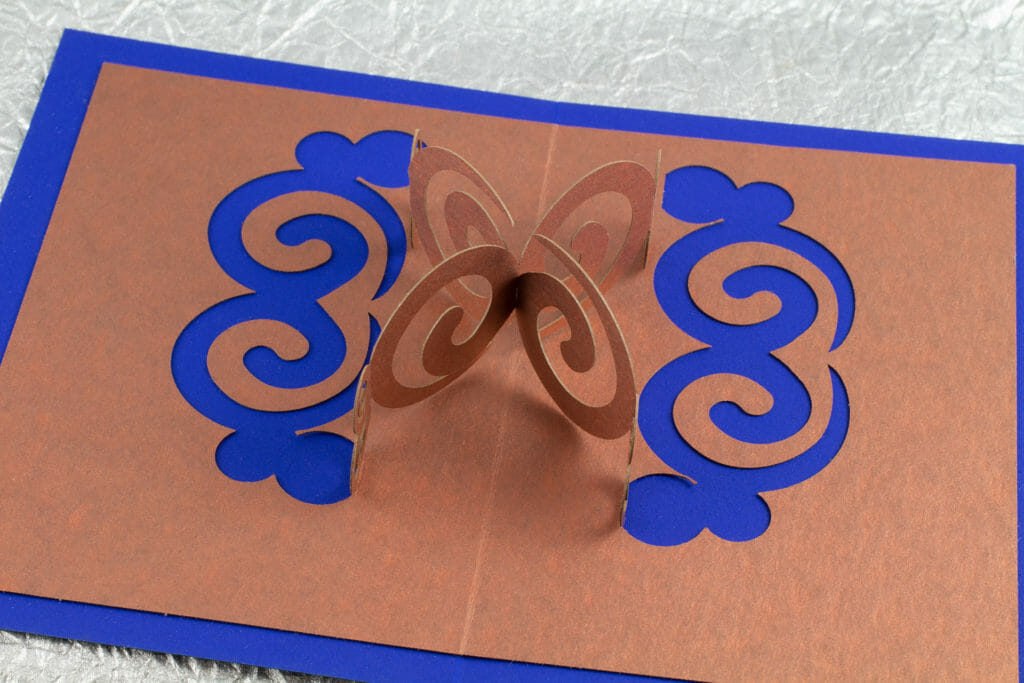
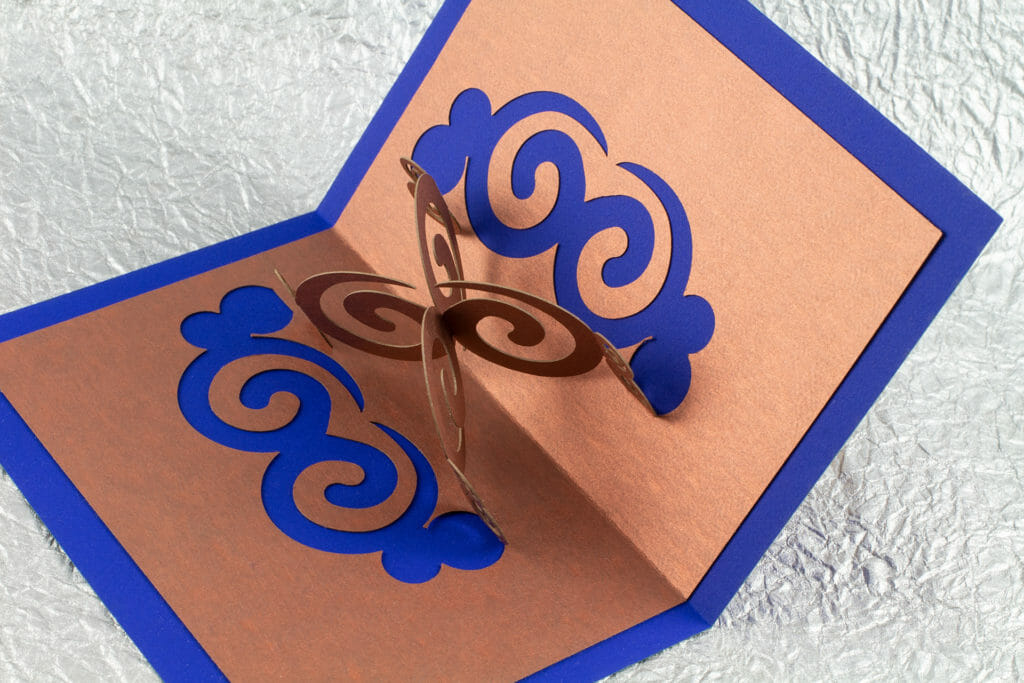
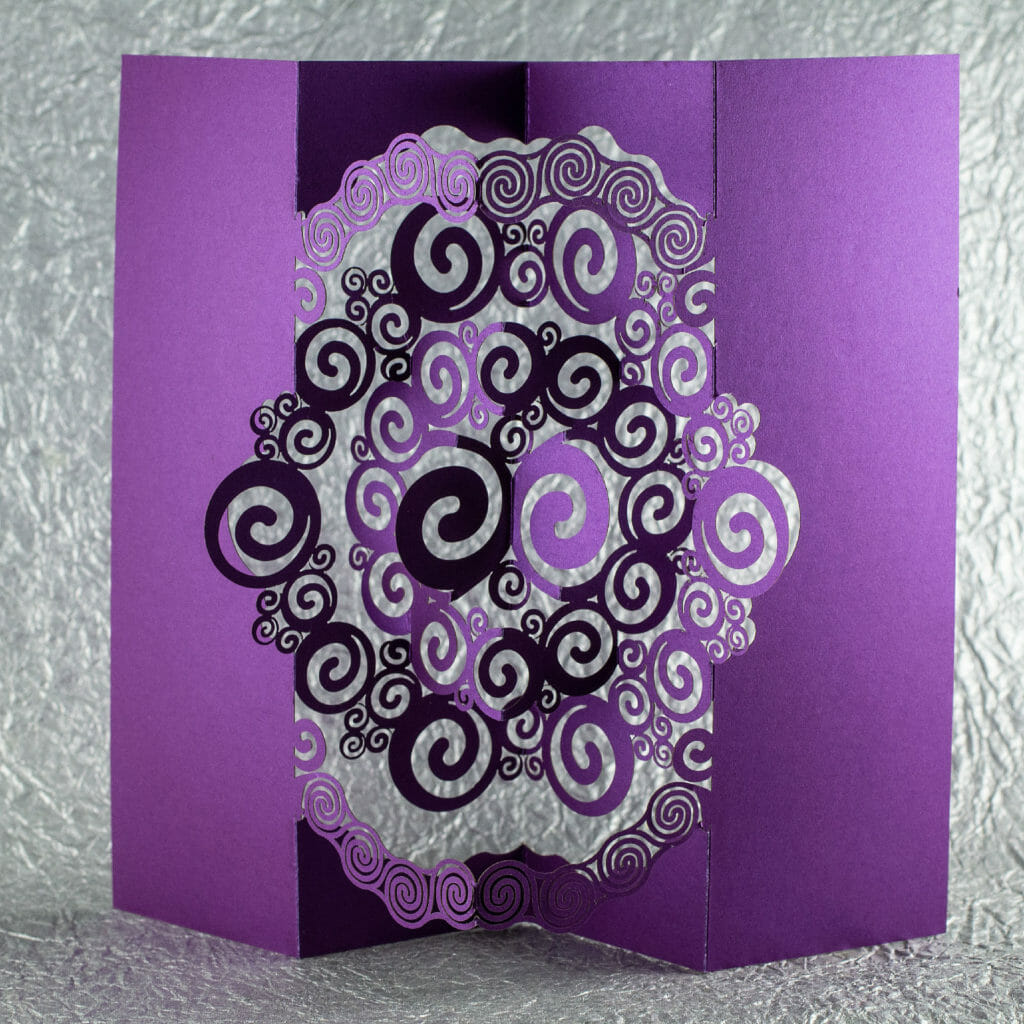
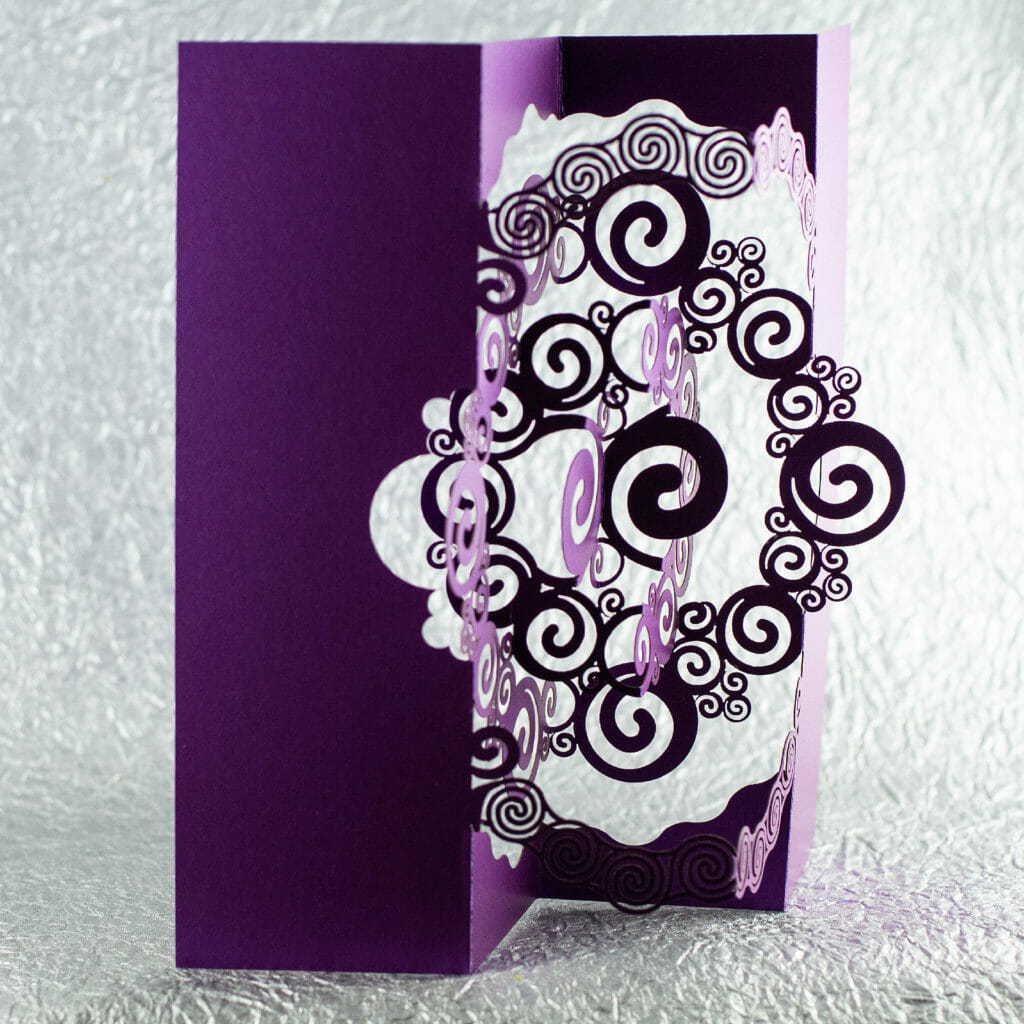
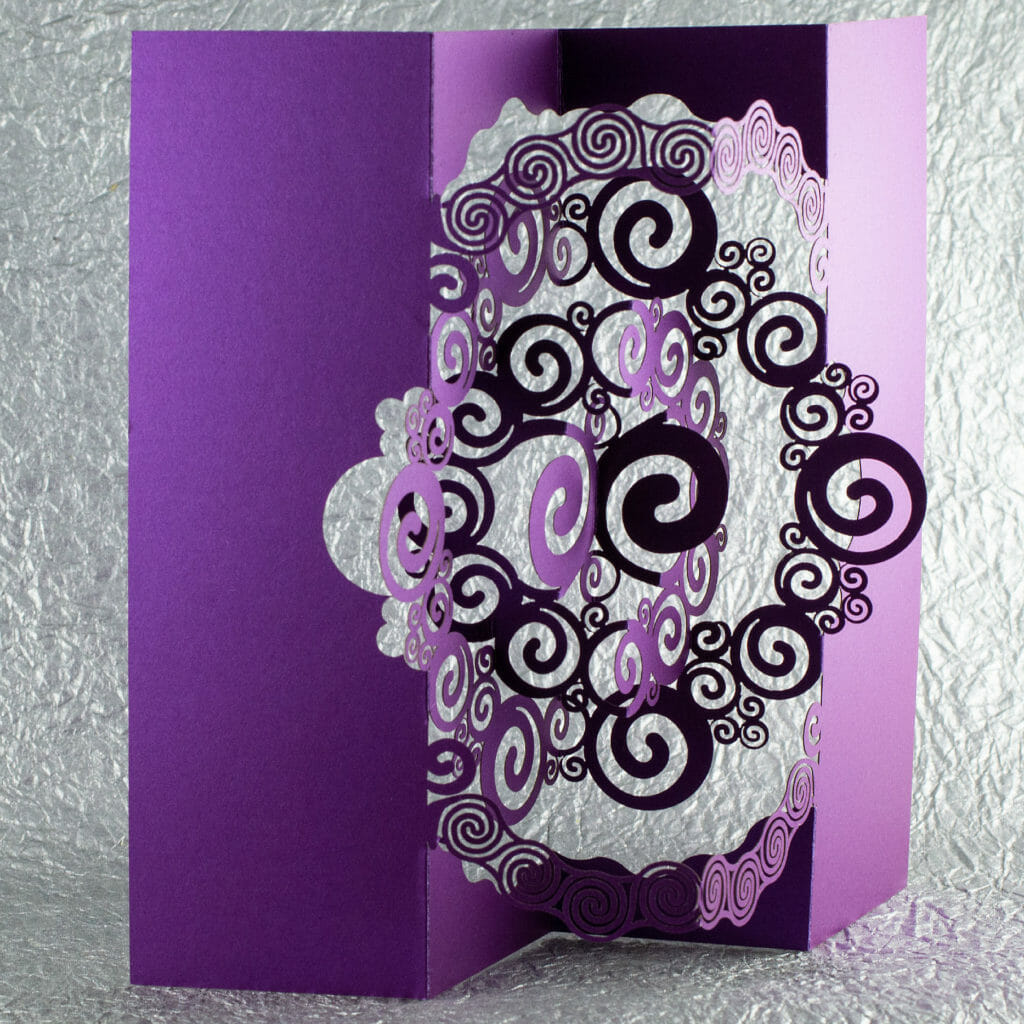
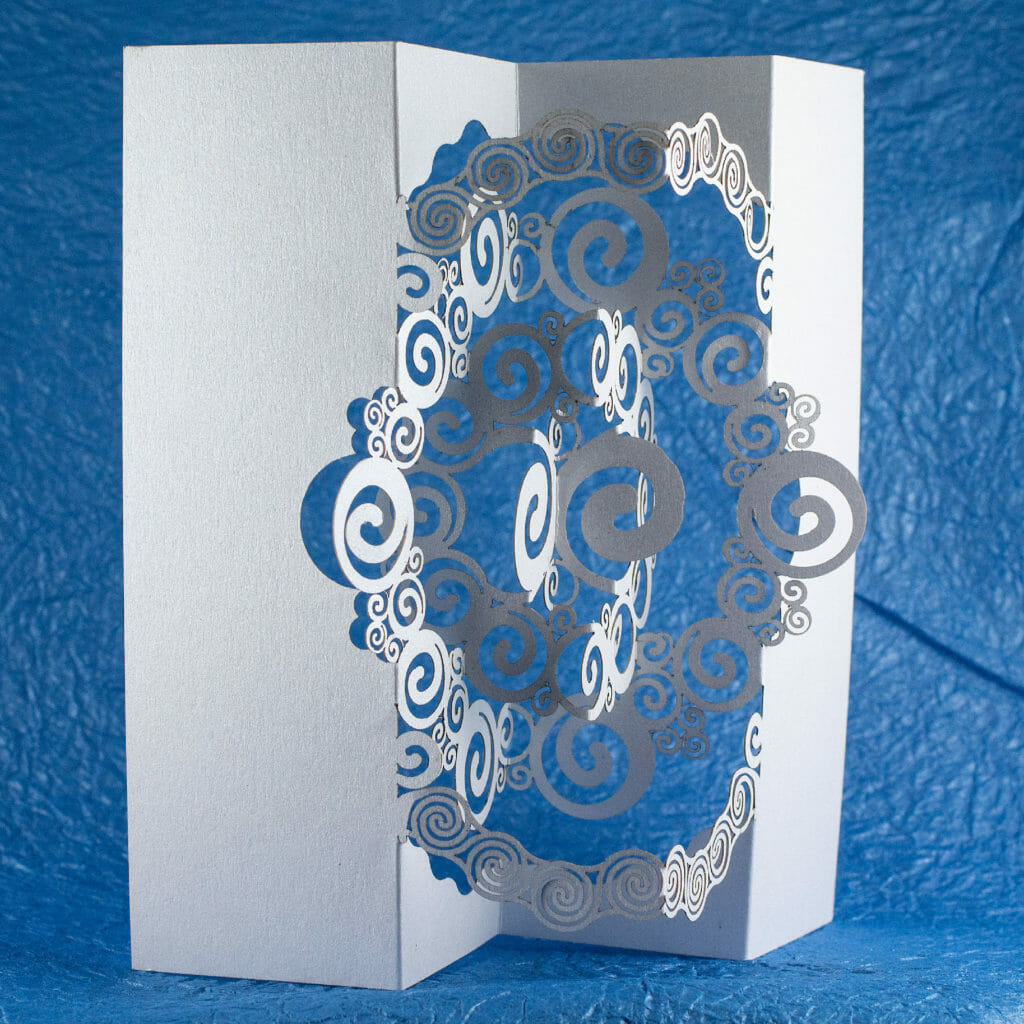
Spiraling Pop Up Card

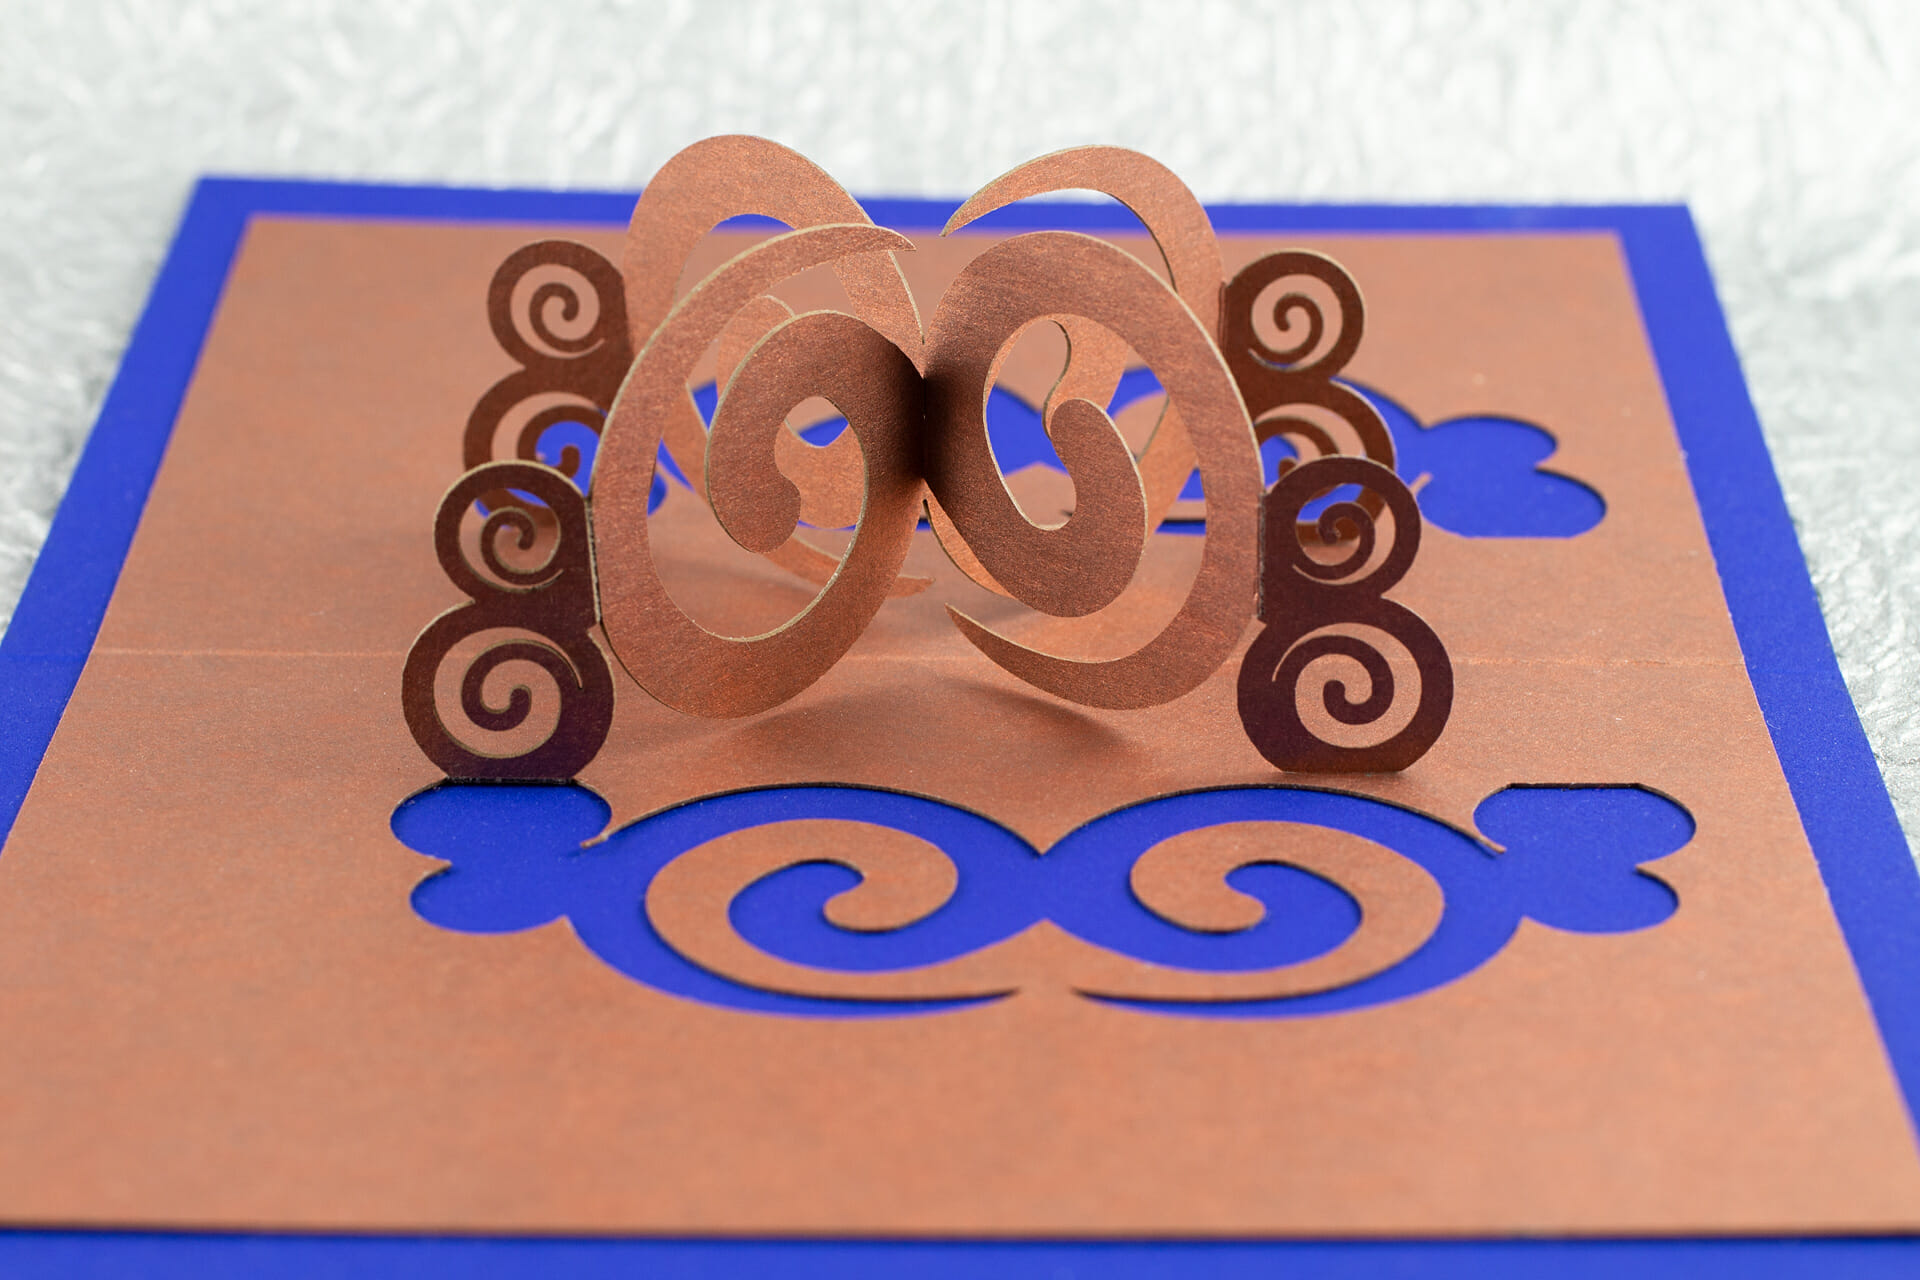
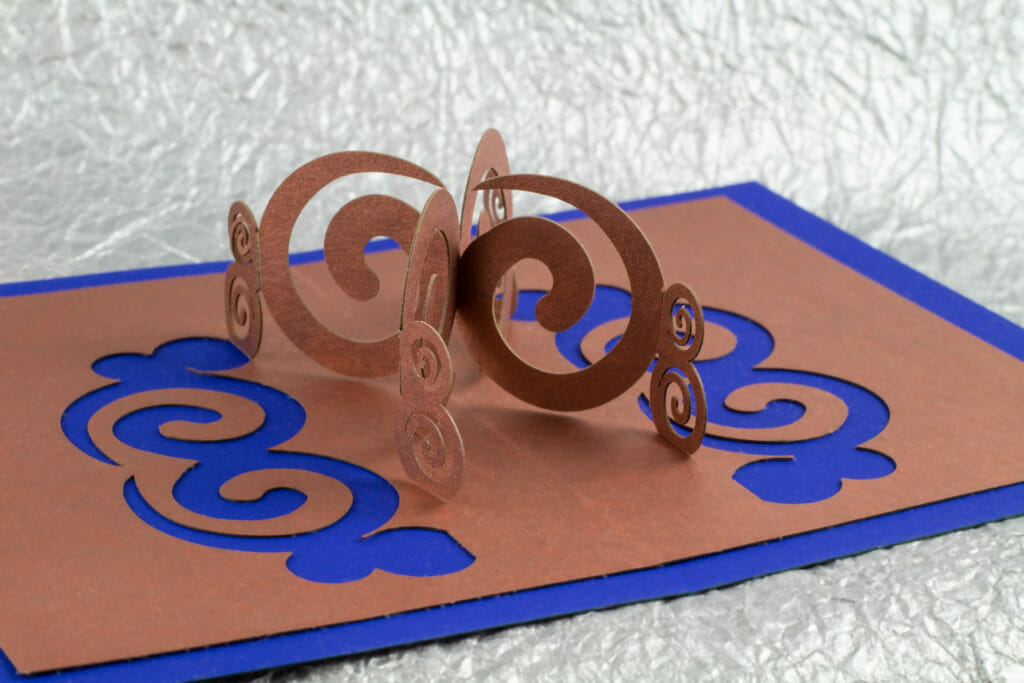
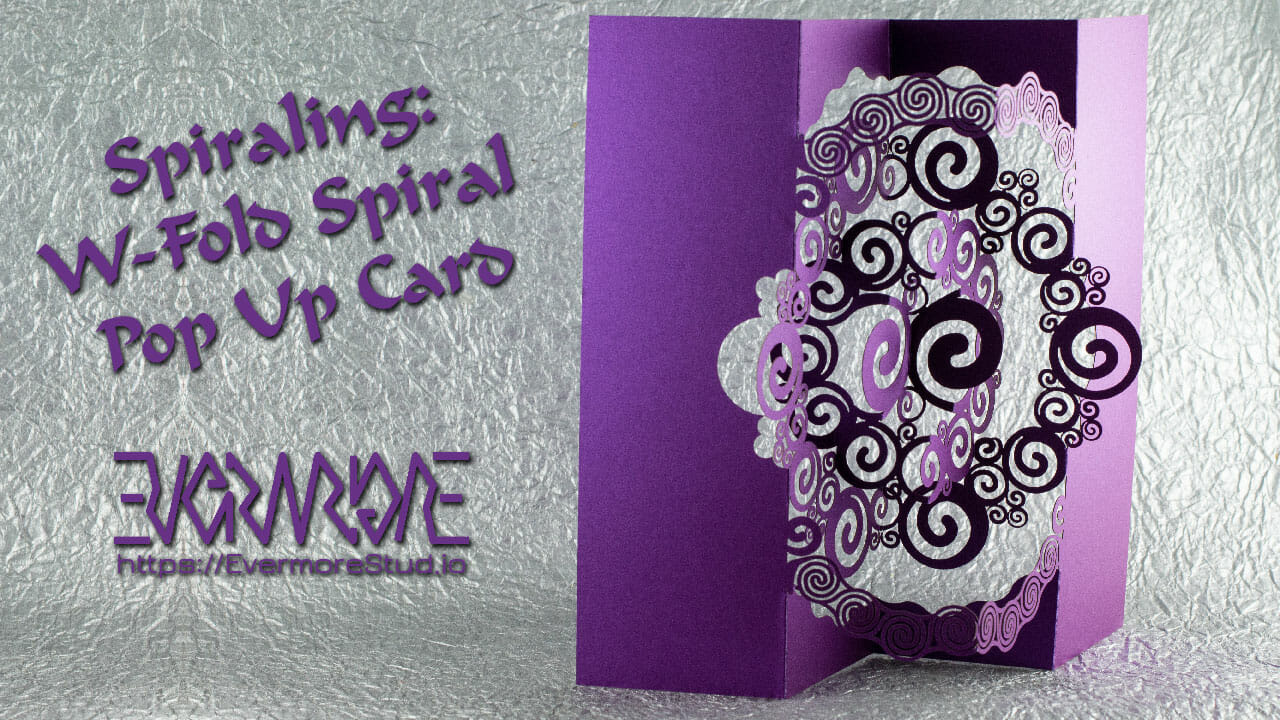
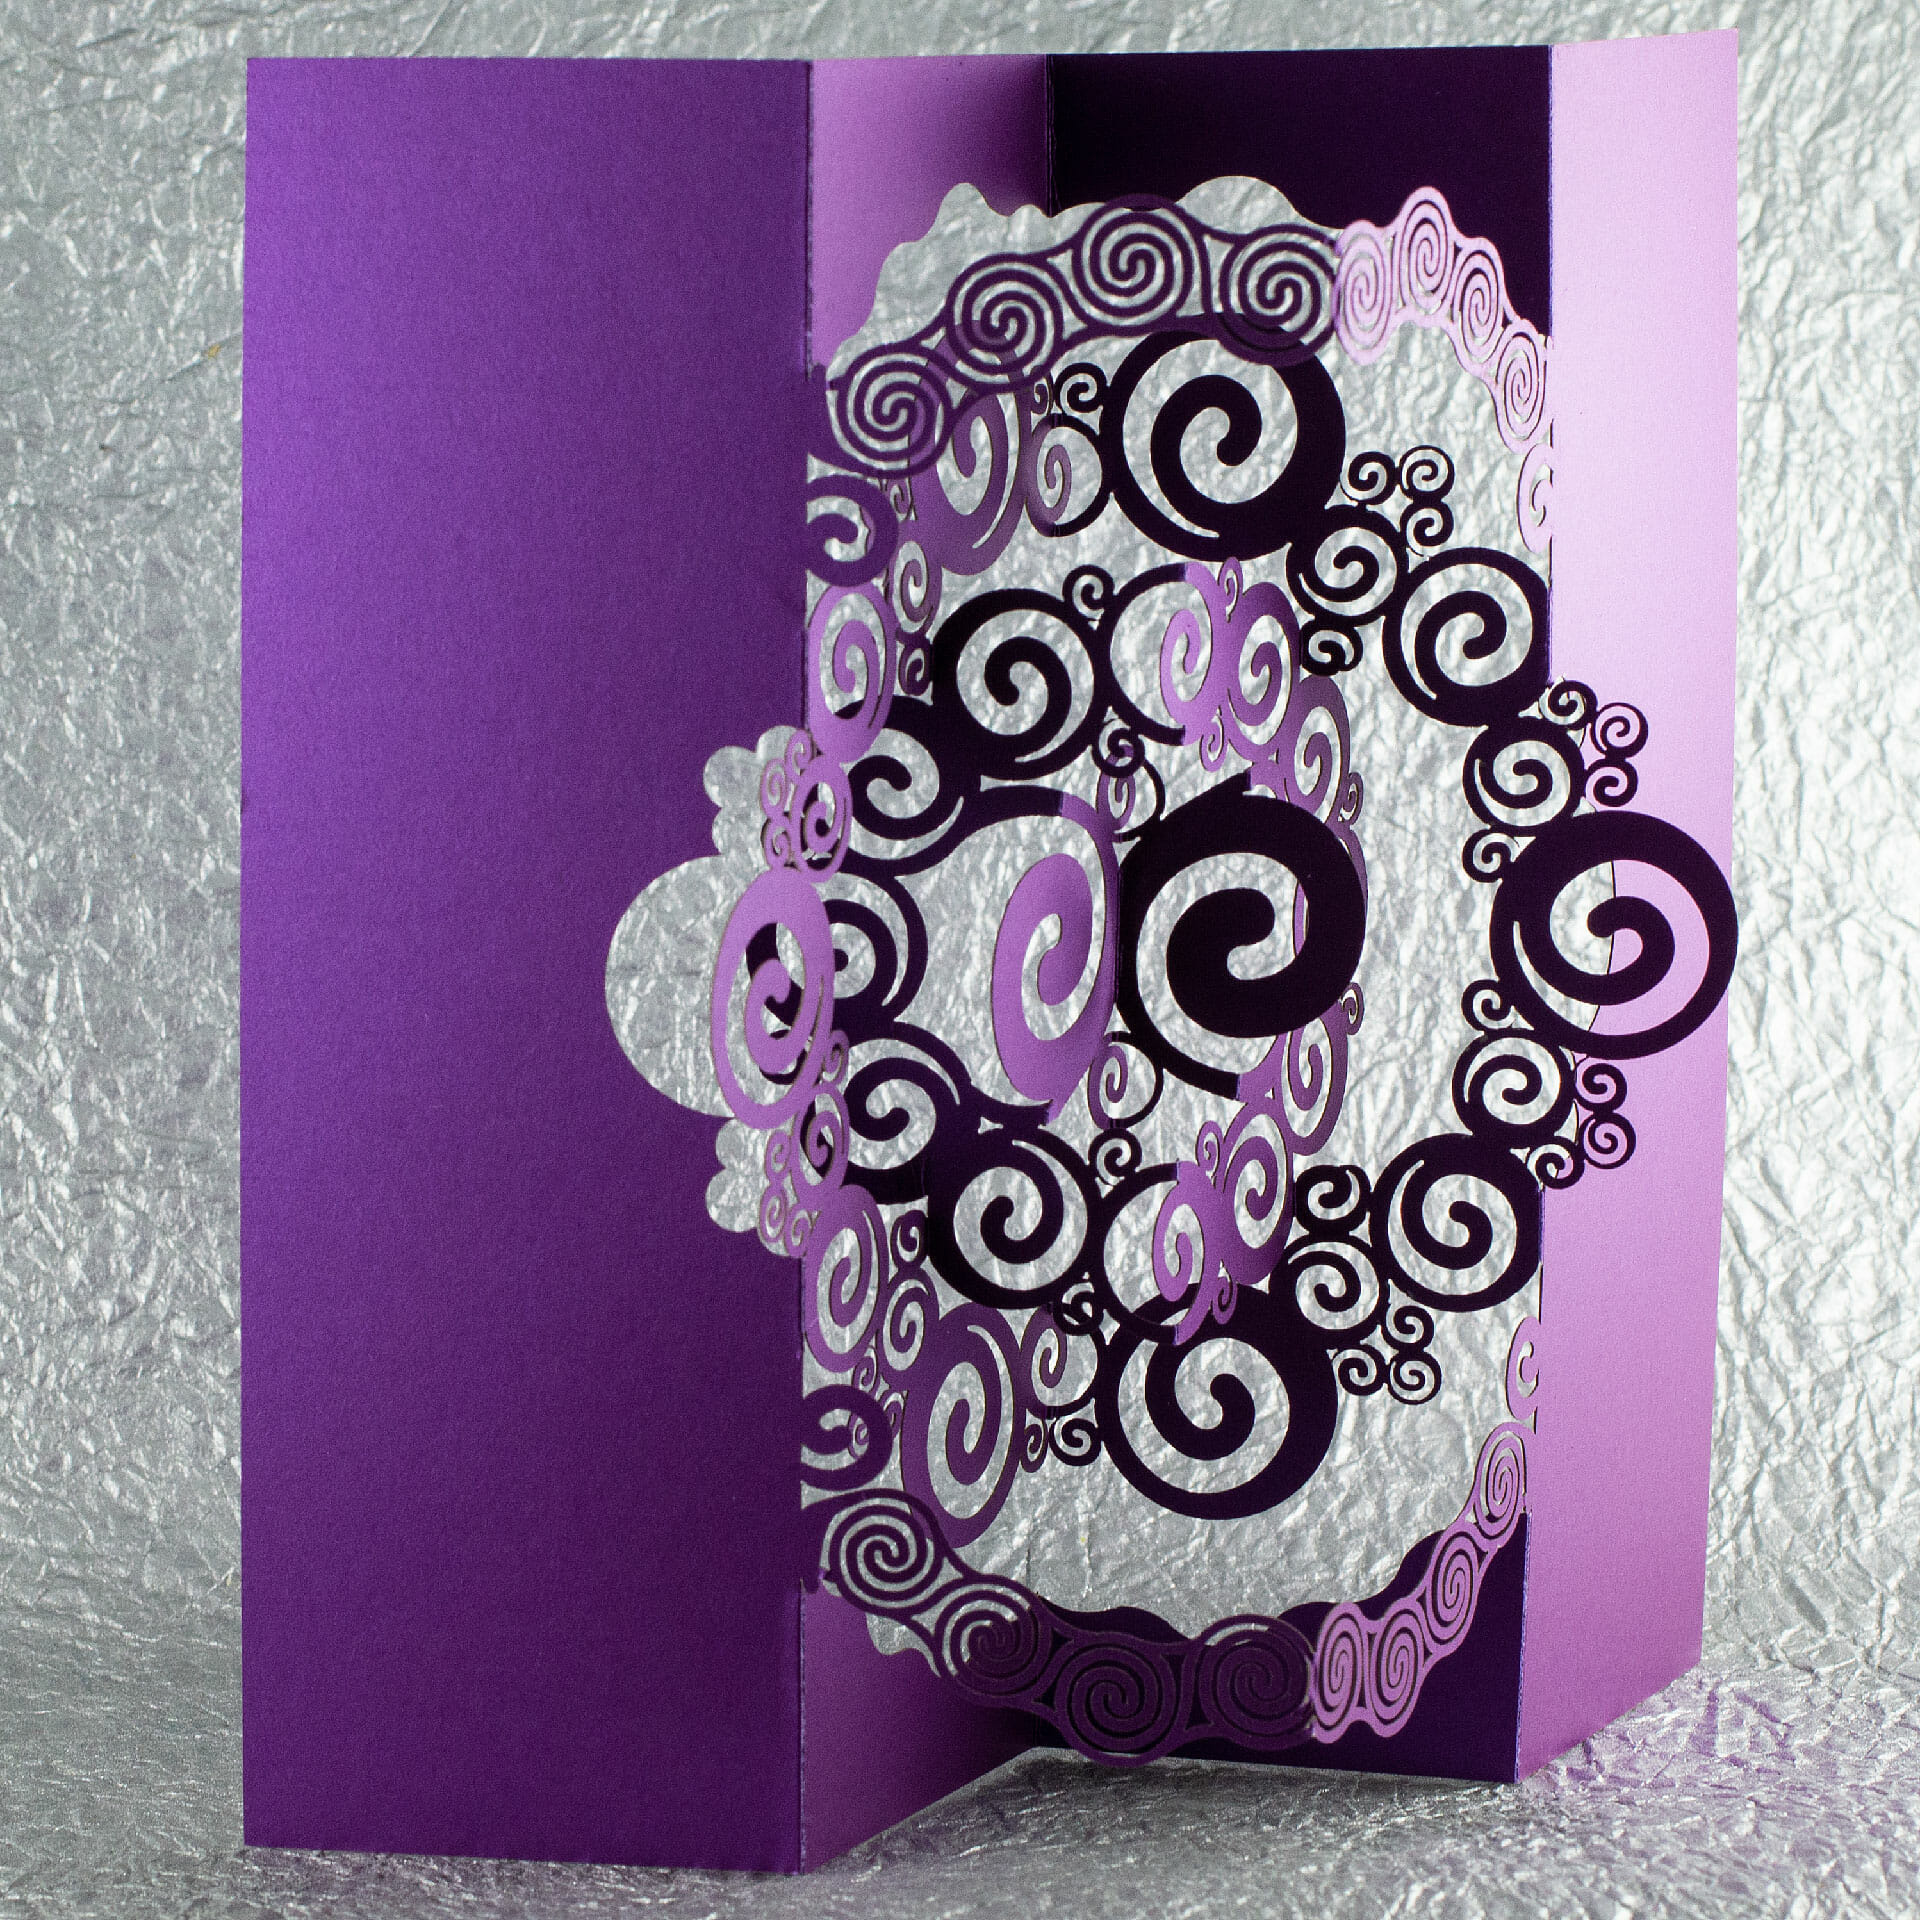
Spiraling (2018 Holiday OA/Kirigami Pop Up Card)

I sent this w-fold kirigami/origamic architecture pop up card out for the 2018-2019 holiday season.  I was inspired by the interplay of layers popping in alternate directions in some of Ingrid Siliakus’ designs.

XOXO 2019 Origamic Architecture / Kirigami Pop Up Card
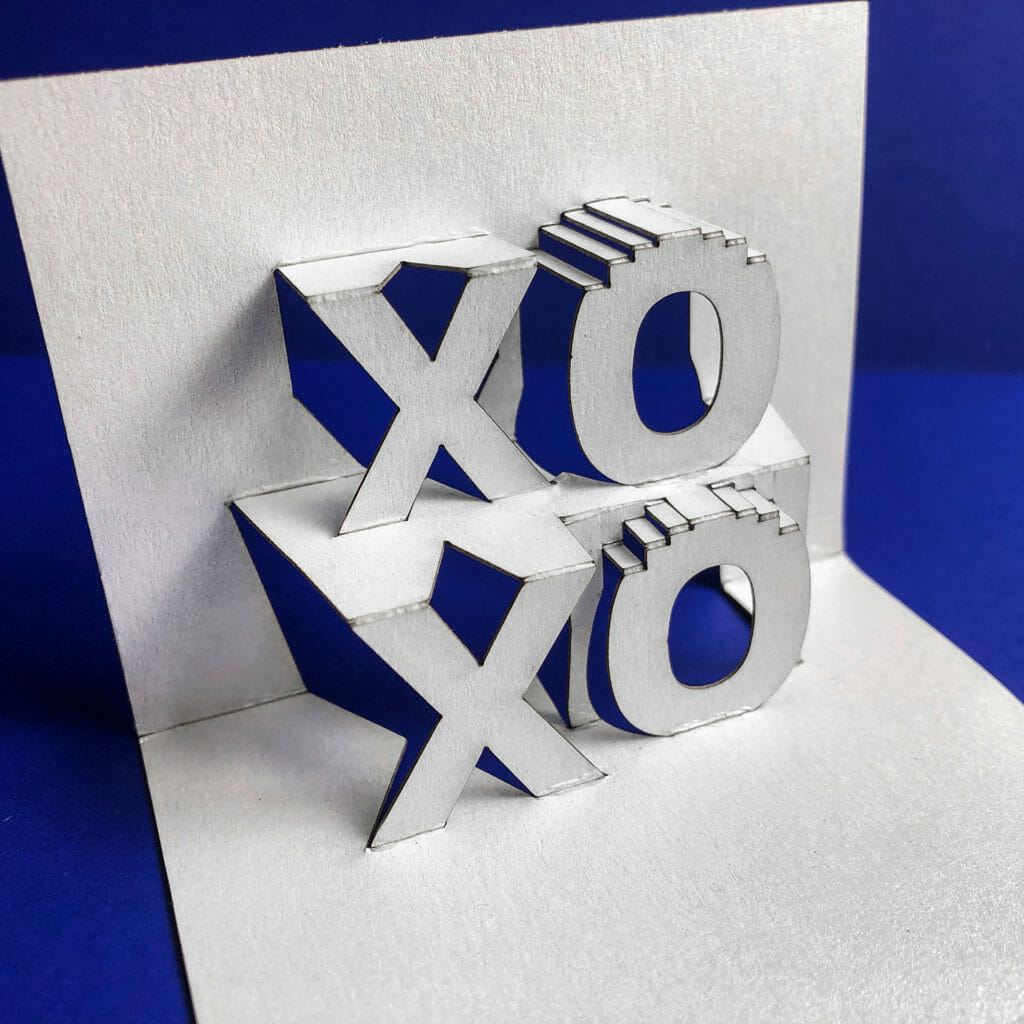
XOXO 2019 Origamic Architecture / Kirigami Pop Up Card
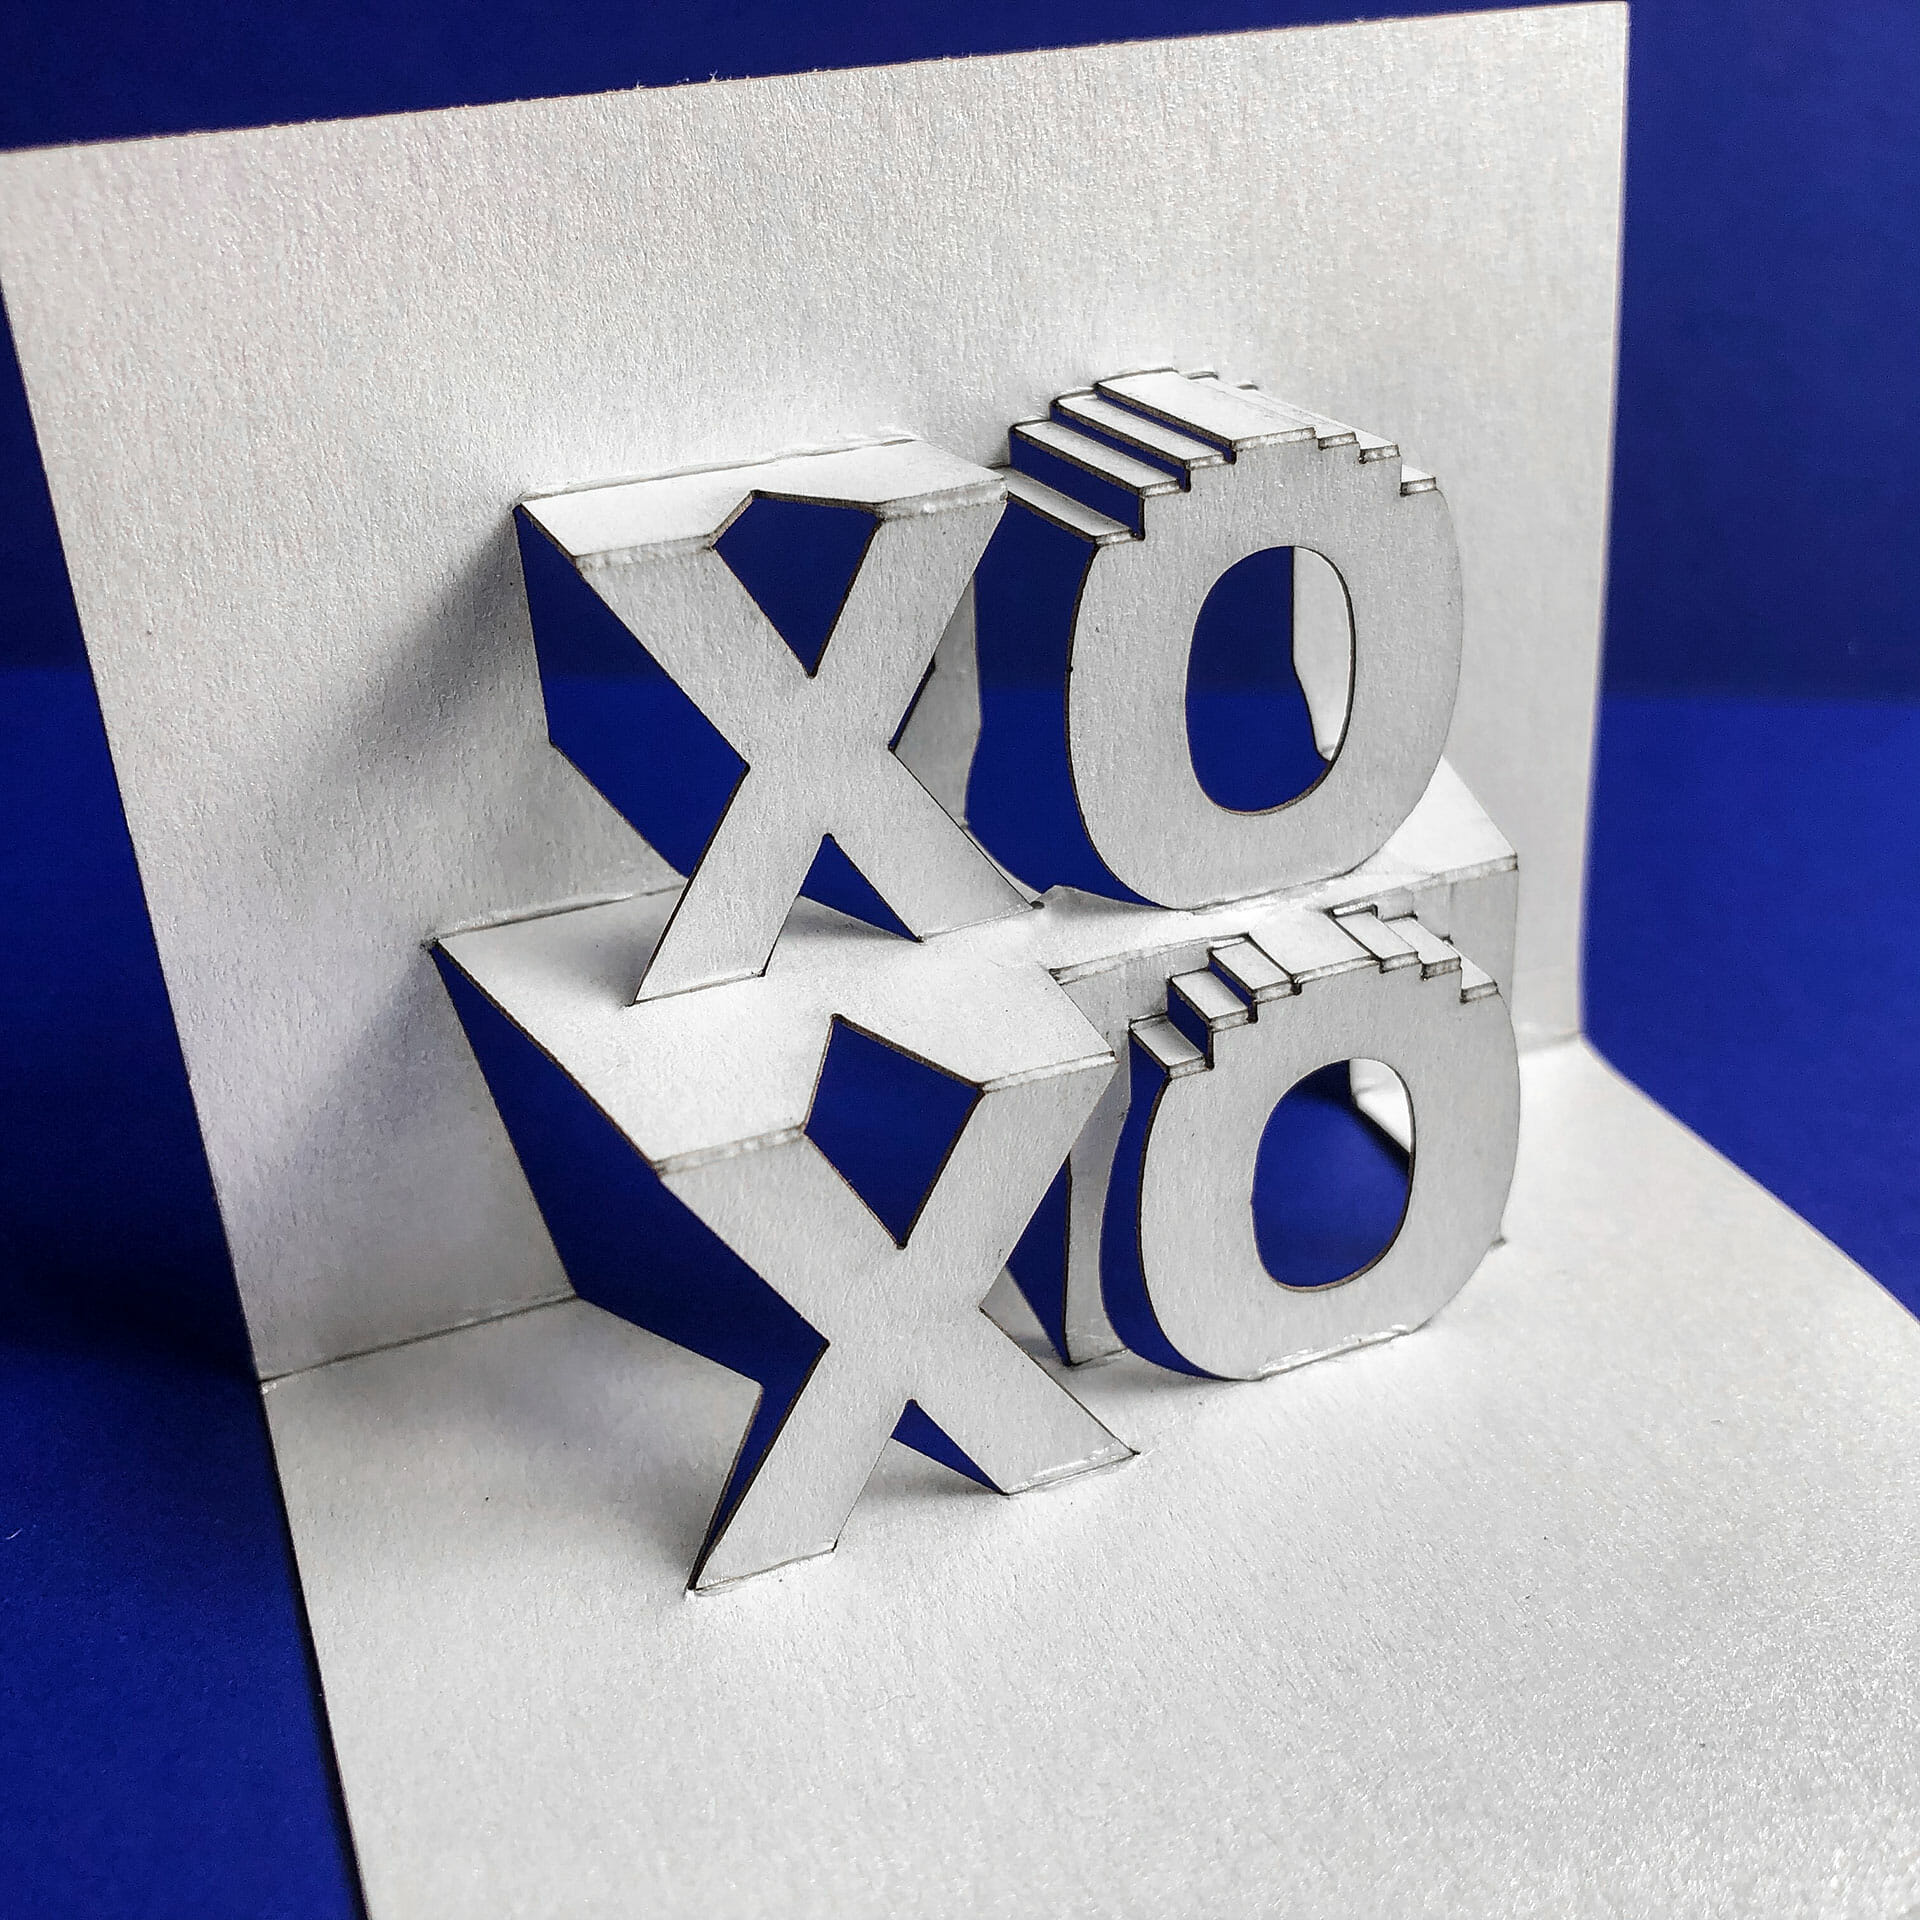
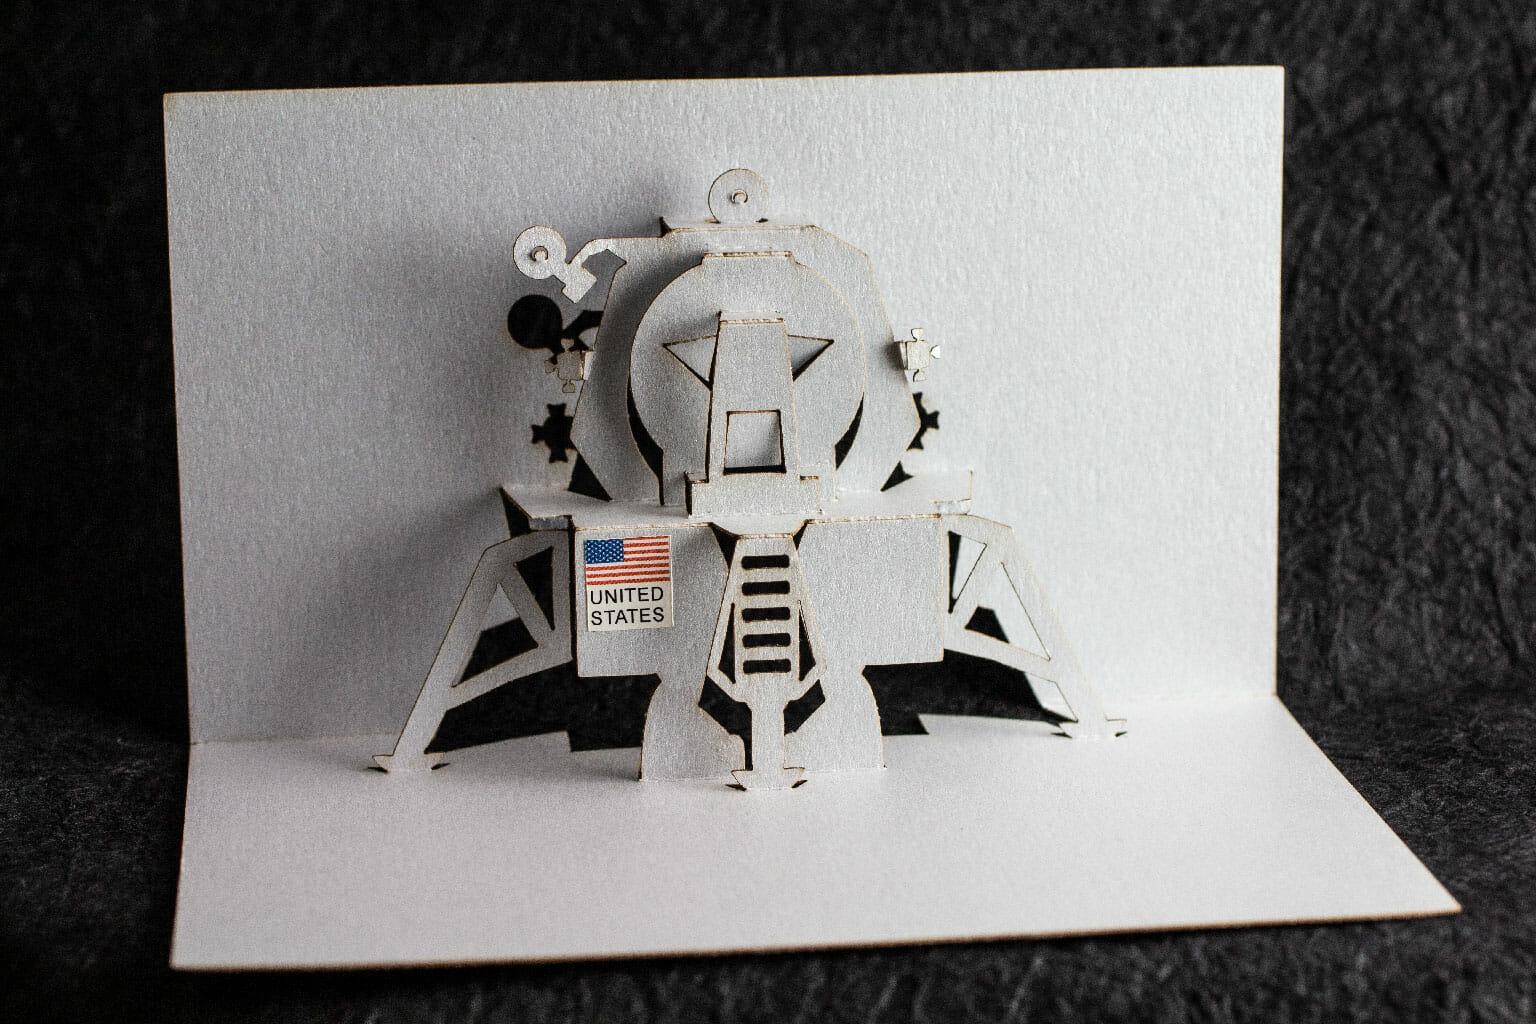
I designed this in honor of the 2019 XOXO Fest! Turning a simple sheet of paper into a pop up card is fun and, I encourage you to try it.

If you have a laser cutter or a CNC cutting machine (or “craft cutter”), you can load the SVG file below into your software and, use that to cut out the card.  If you can adjust the power or depth and pressure of your cuts to only cut halfway through, you can also cut the mountain fold lines with your machine.

You can also do it entirely by hand!  Download and print the pattern on a piece of card stock.  If you want to keep the front of your card pretty, reverse the pattern and, you’ll be cutting from the back side.  Just remember to score your fold lines on the correct side.

You can also tape a printed pattern to a piece of card stock and, use a straight pin to poke a small hole at each junction of lines.  You can then remove the pattern and, use a ruler to score and cut your piece.  You can also use this approach with the pin to help make your valley fold score lines on the reverse.

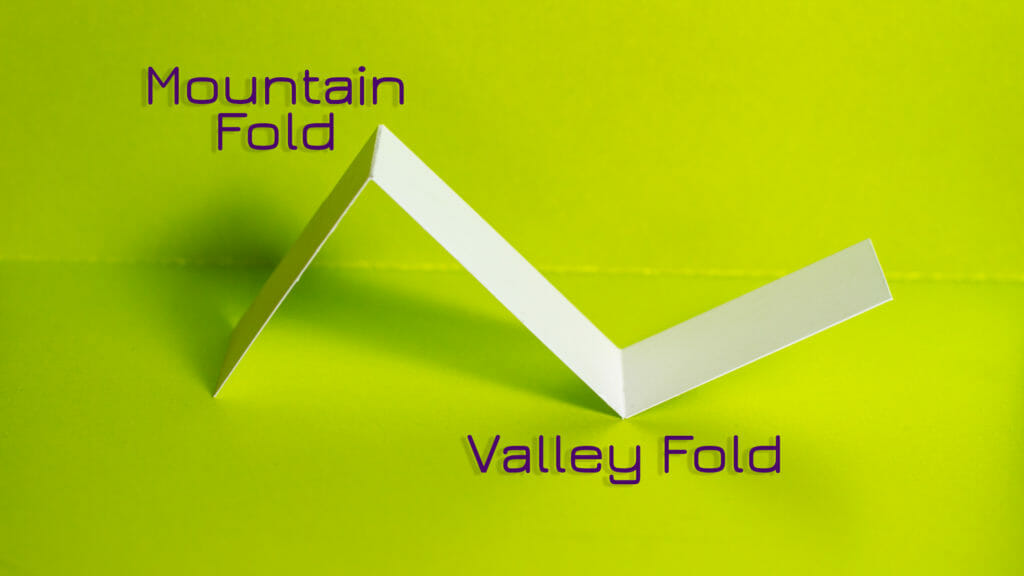
The paper will tend to fold away from a score line.  By scoring mountain folds on the front and valley folds on the back, you will make the card easier to fold.

Here is a video walkthrough of cutting a card by hand:

Glowforge Settings

Score: speed 500 / power 9

Cut: speed 250 / power 36

Fast Cut (card outline): speed 500 / power 69

Pattern Files

These files are for personal, non-commercial use only. If you want to produce these to sell or for other business use, please contact me to arrange for licensing terms.

Attribution-Creative Commons NonCommercial-ShareAlike

Right-click and “Save Link As”:

XOXO 2019 Pop Up Card Pattern SVG
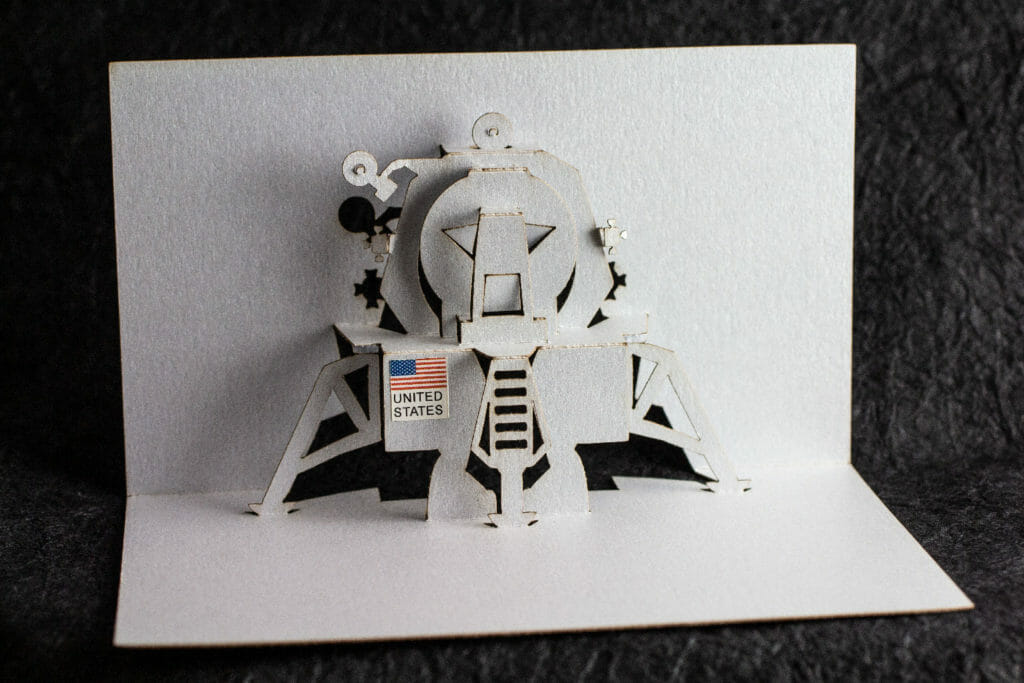
XOXO 2019 Pop Up Card PDF (original zine page with pattern)
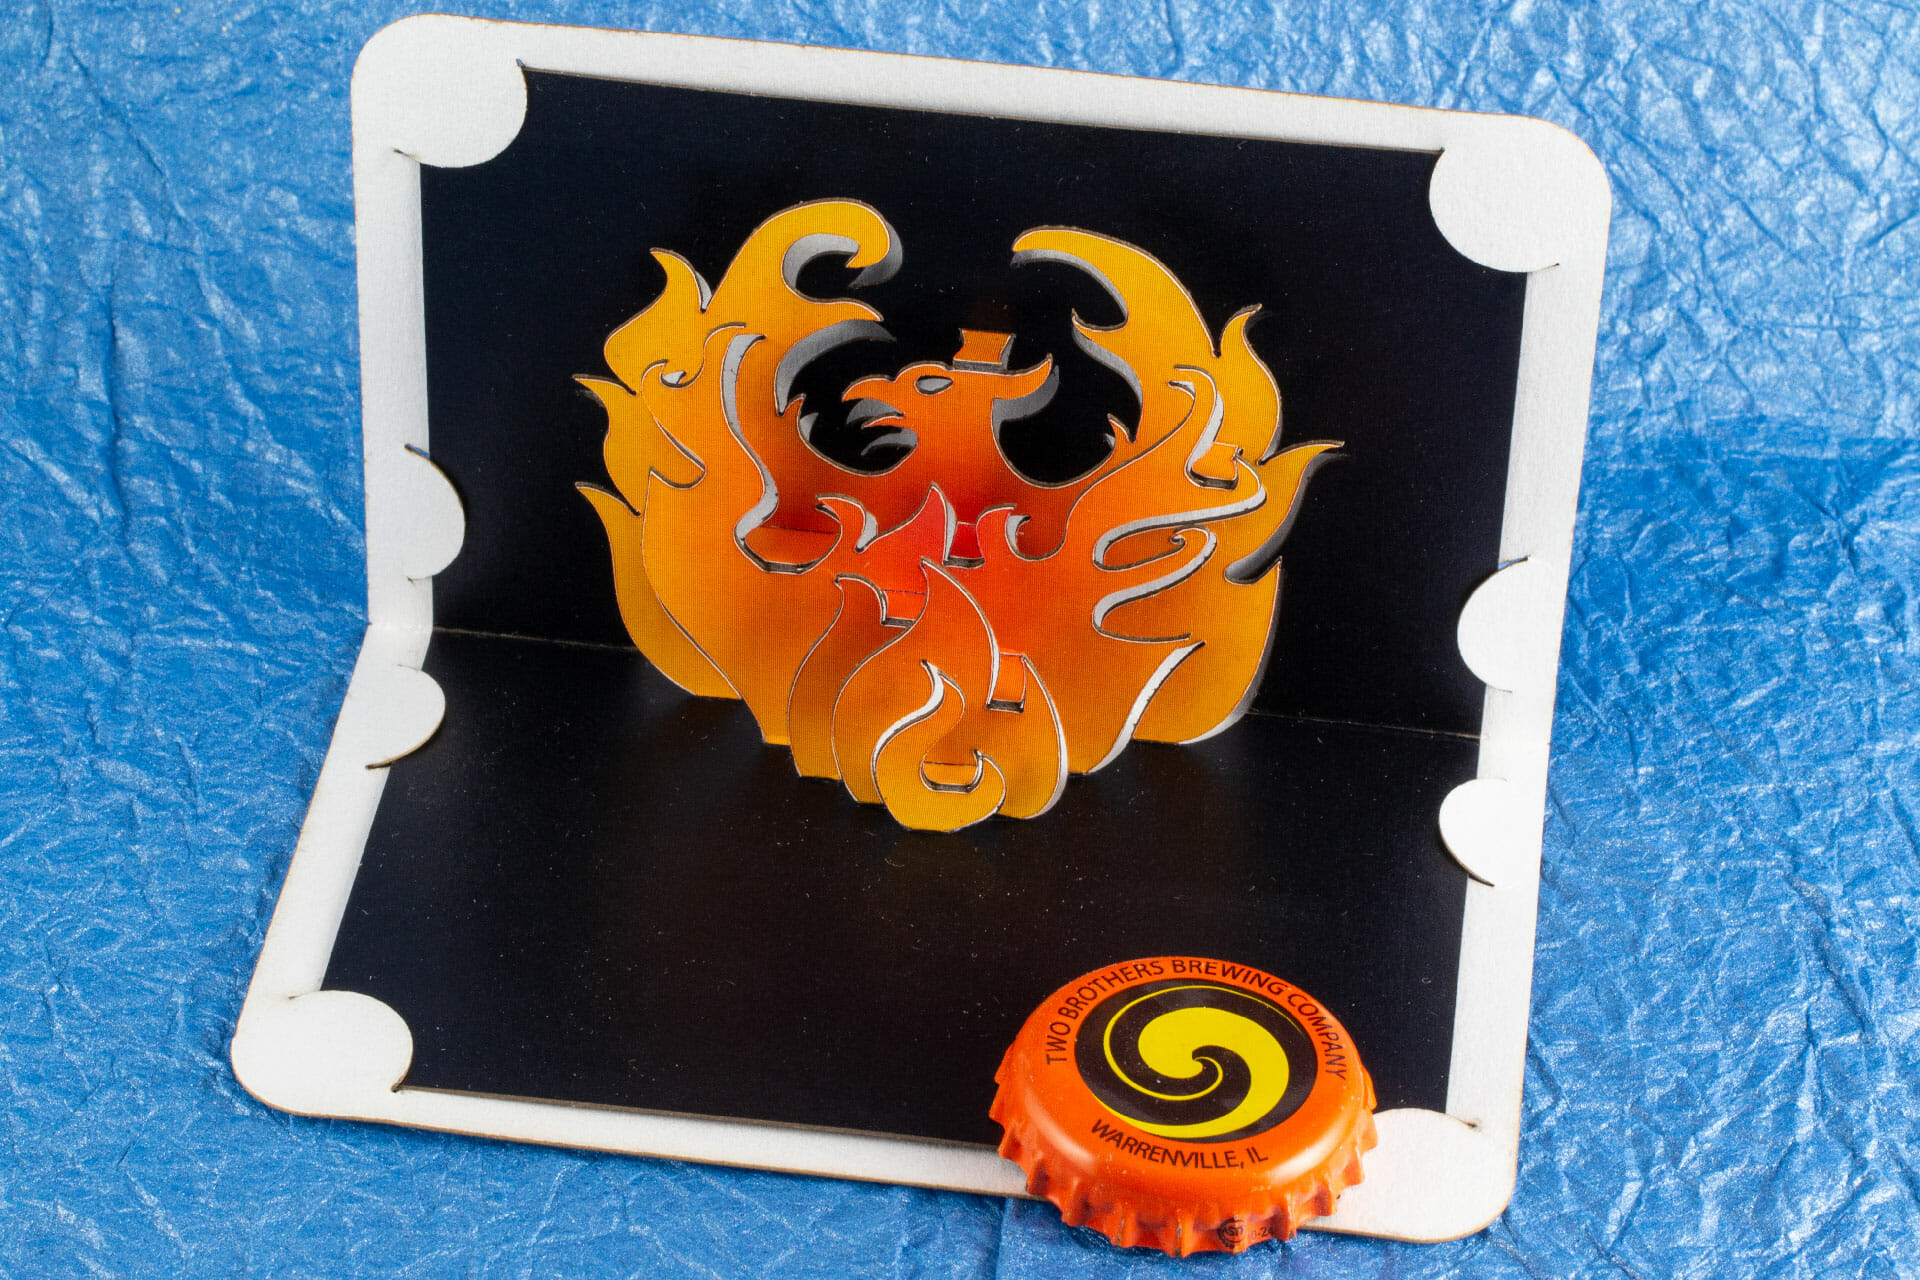
Phoenix Pop Up Card

Phoenix Pop Up Card by Andrew Crawford

My latest OA-style pop up card project is this little phoenix. After several experiments, I decided that a black background really helped to make the bird pop. I came up with an interesting approach to make that happen. The color is printed on a polyester sticker that goes on the stock, is cut, then weeded. The result is pretty spectacular.

Another great discovery was that the pearlescent stock I used for the backing cards engraves to a metallic gold. It’s better in person than in the photos. My original plan had been to stamp and emboss but, the engraving is perfect and easy.

The finished cards are 3.5″ by 2.25″ and, fit perfectly in some metallic black mini envelopes I found.

I made a few dozen of them to share.

Keyboard.io Logo Twisted Crest Pop Up Card

Keyboard.io Logo Crest OA

Another one of the twisted-crest style origamic architecture pop up cards I did early last year. This is modeled on the logo for Keyboard.io, which makes a really great heirloom-grade ergonomic keyboard (the Model 01). This one was done on the new Glowforge, which made some of the finer details a lot easier.

Keyboard.io Logo Crest OA
Keyboard.io logo 180-degree open twisted crest origamic architecture pop up card.
Keyboard.io Logo Crest OA
Keyboard.io logo 180-degree open twisted crest origamic architecture pop up card.