Networked USB Flash Drive

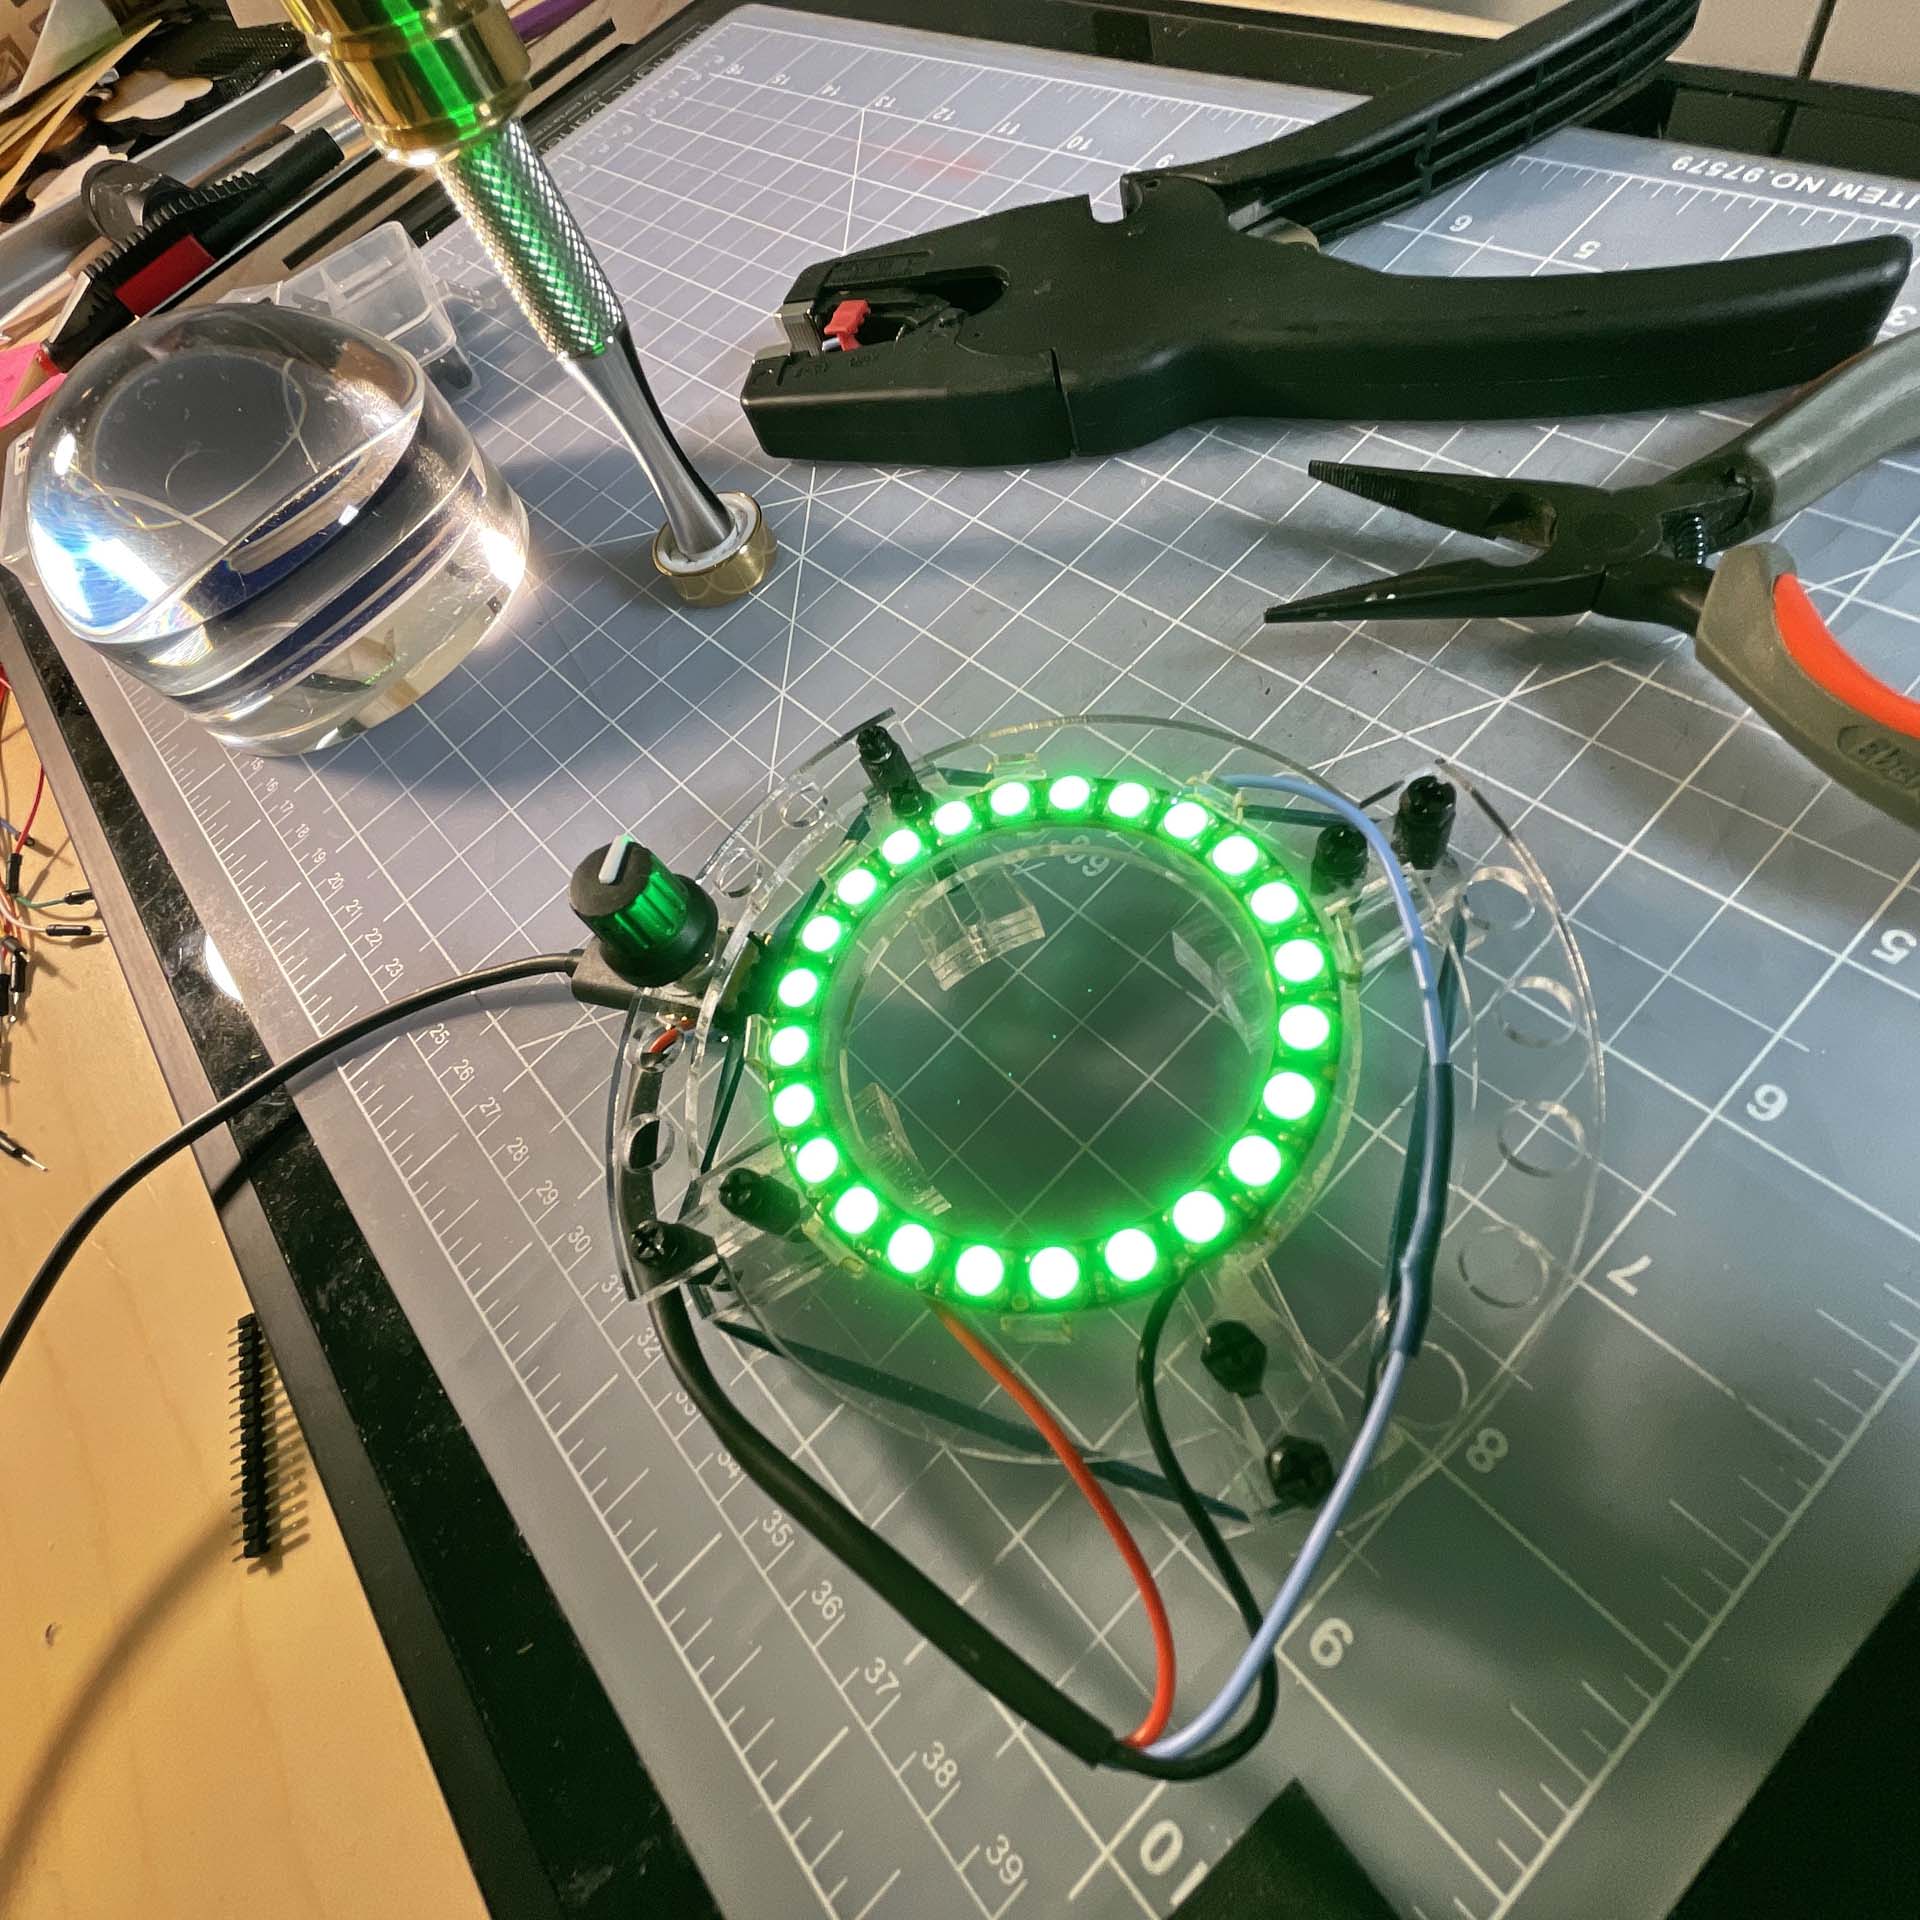
I turned a Raspberry Pi I had sitting around into a network-connected USB flash drive with a custom fabricated clear acrylic case.
Continue reading
I turned a Raspberry Pi I had sitting around into a network-connected USB flash drive with a custom fabricated clear acrylic case.
Continue reading
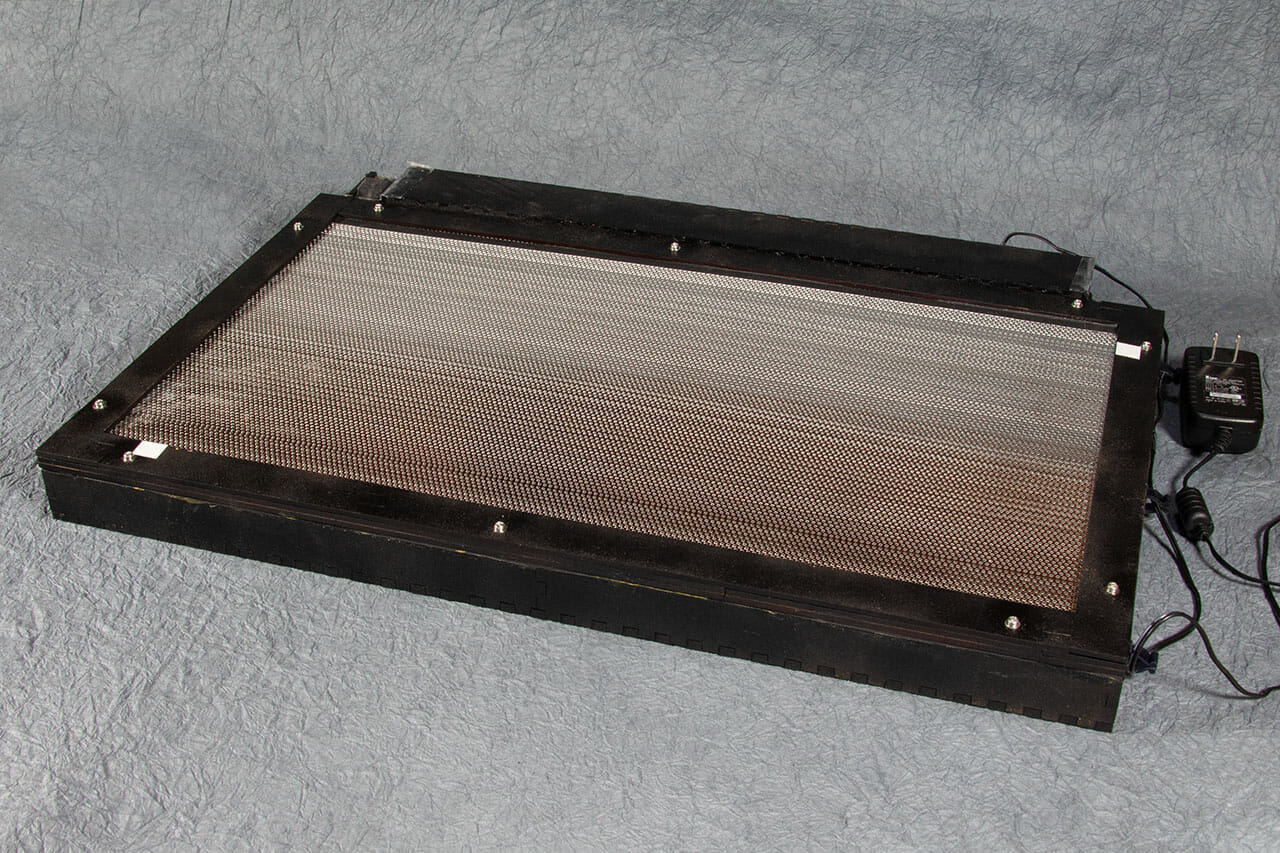

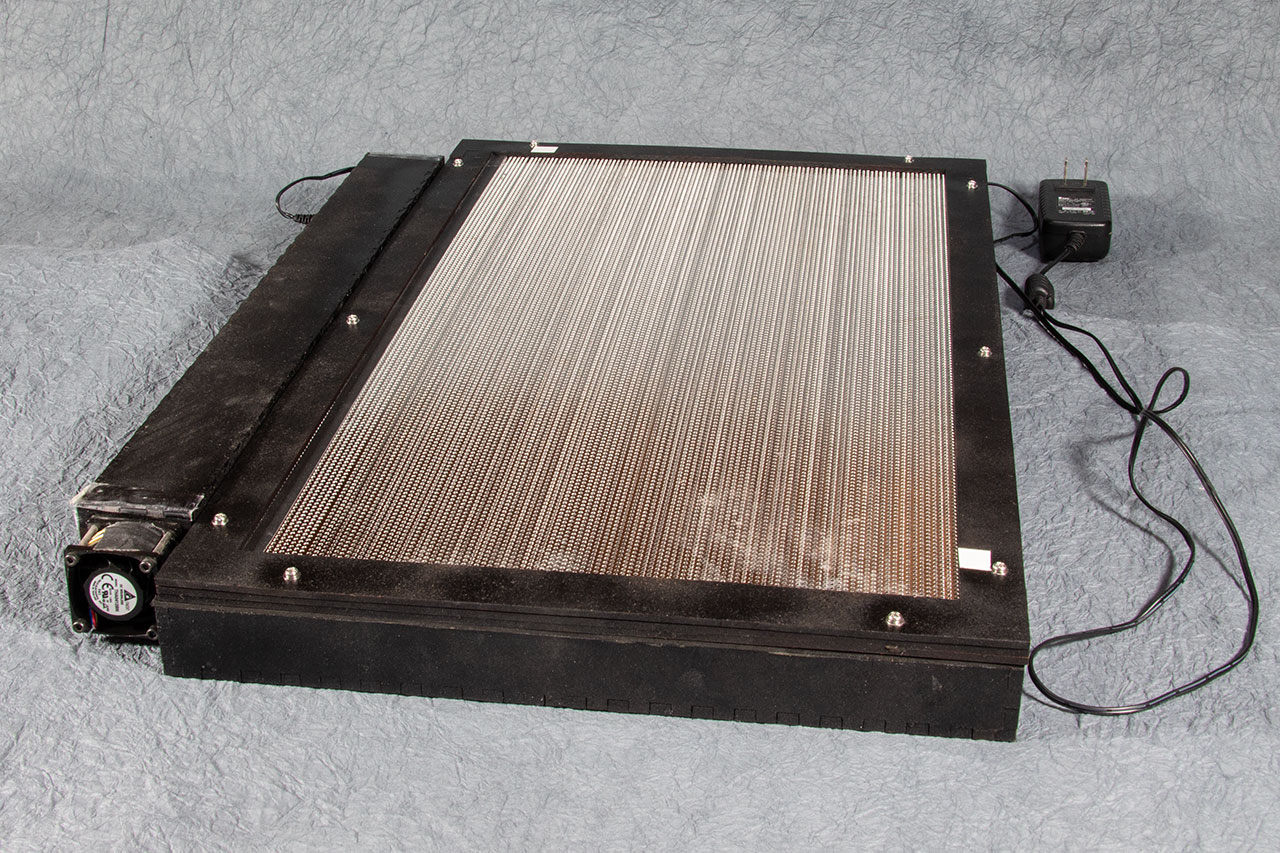
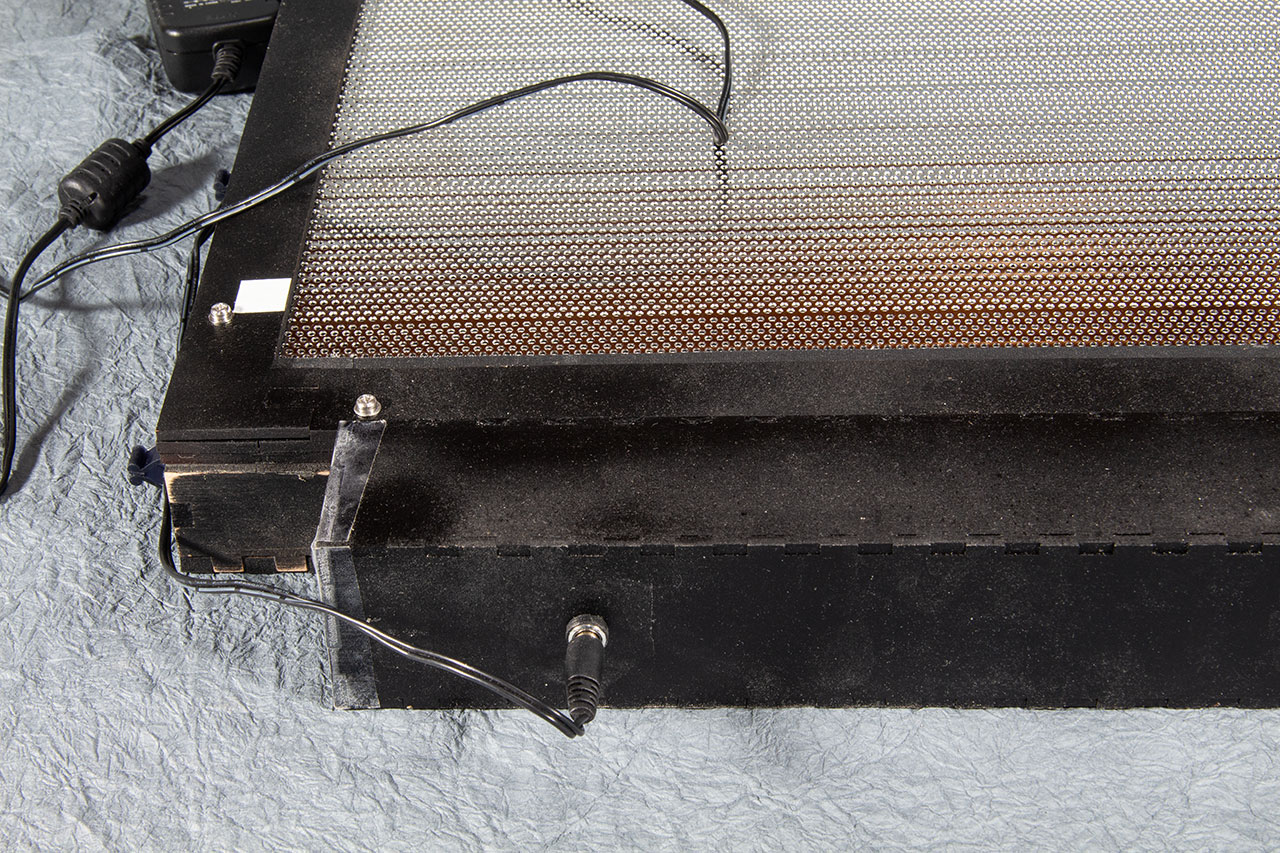

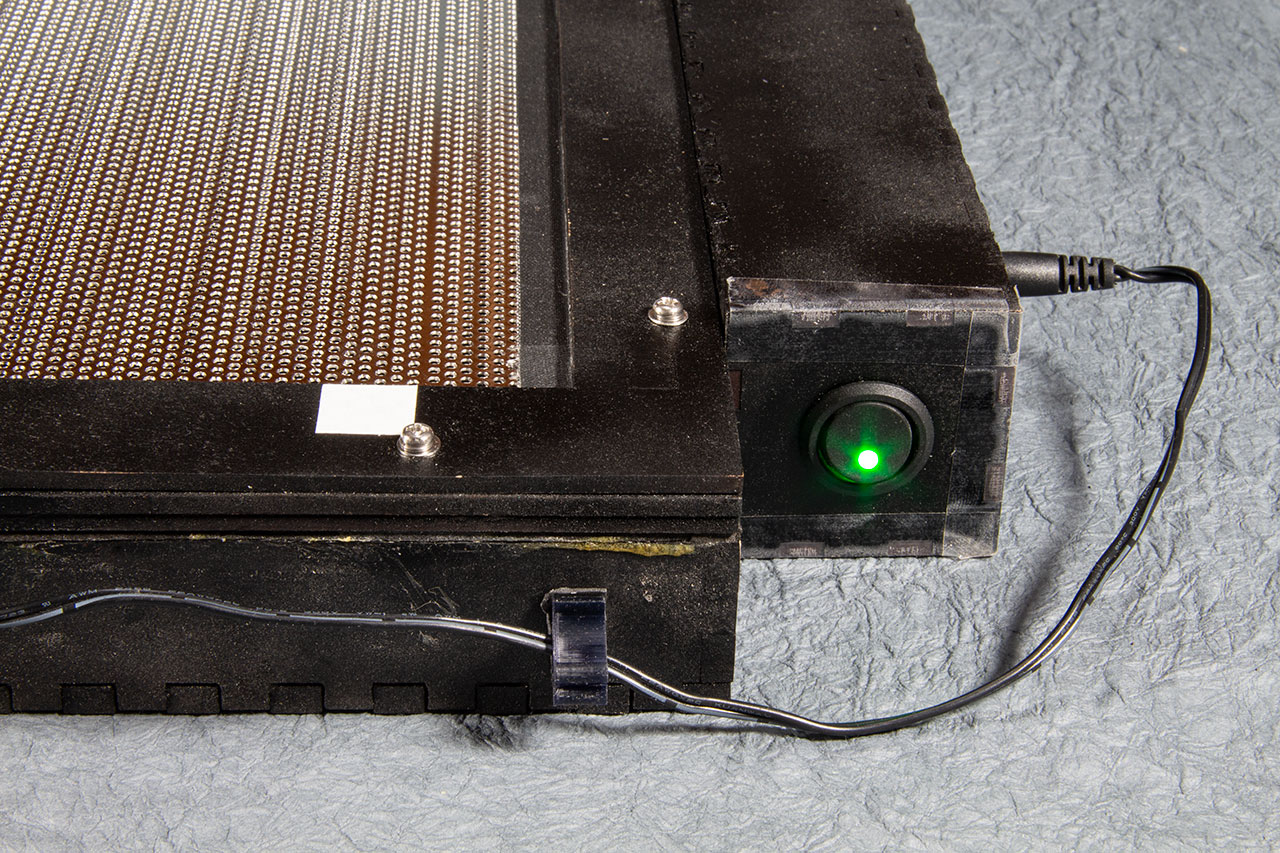

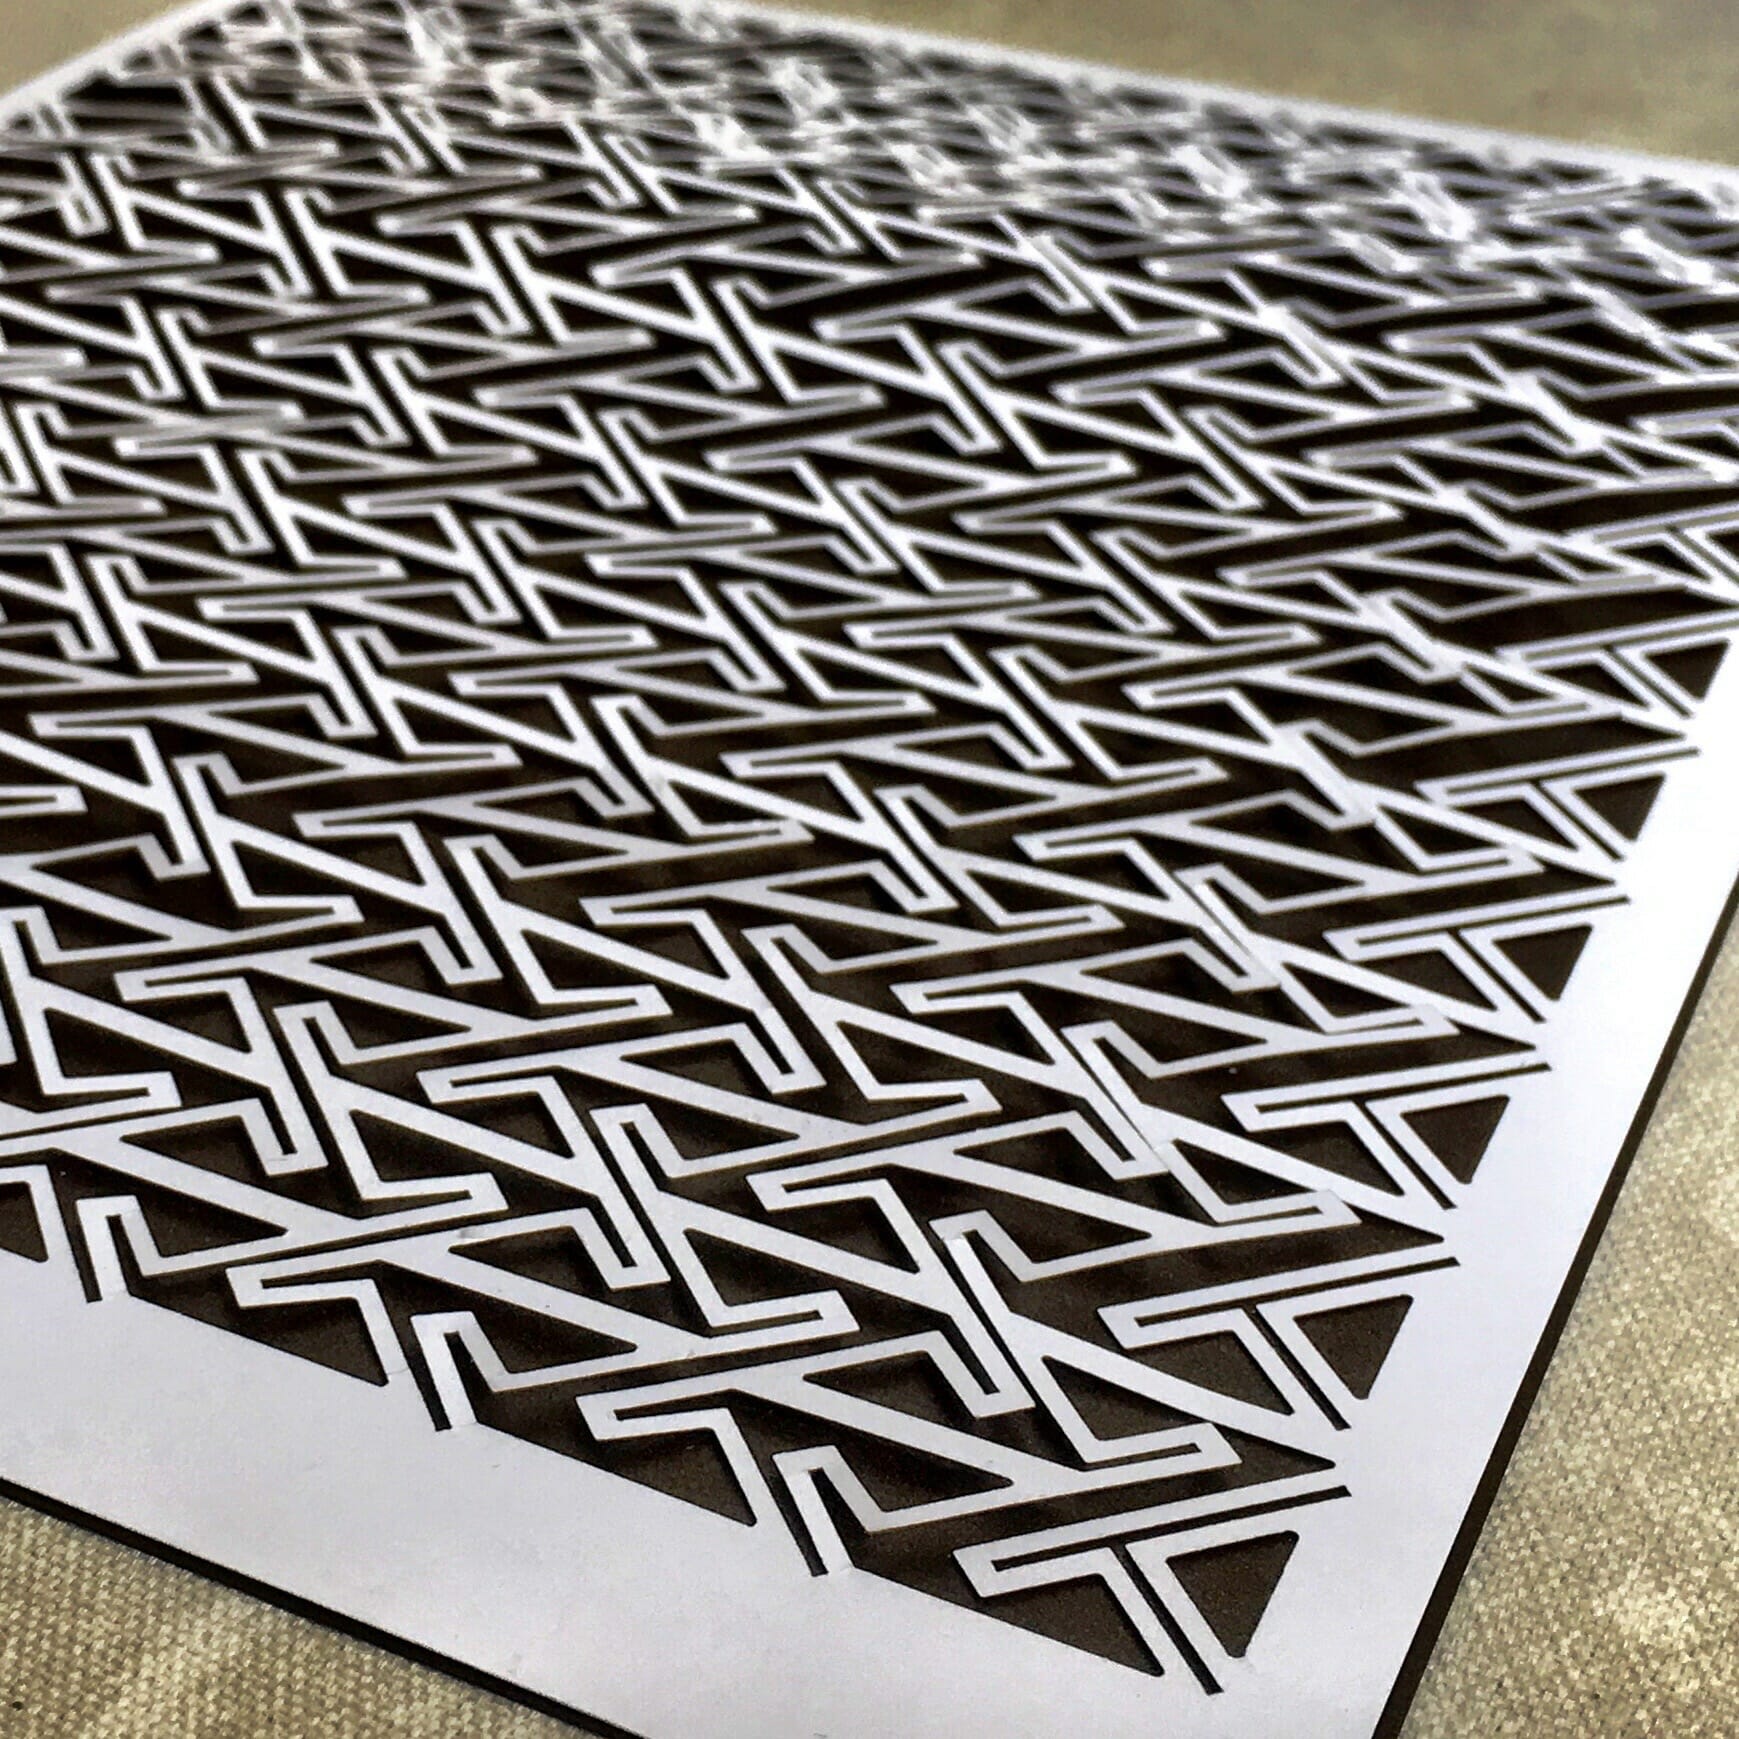
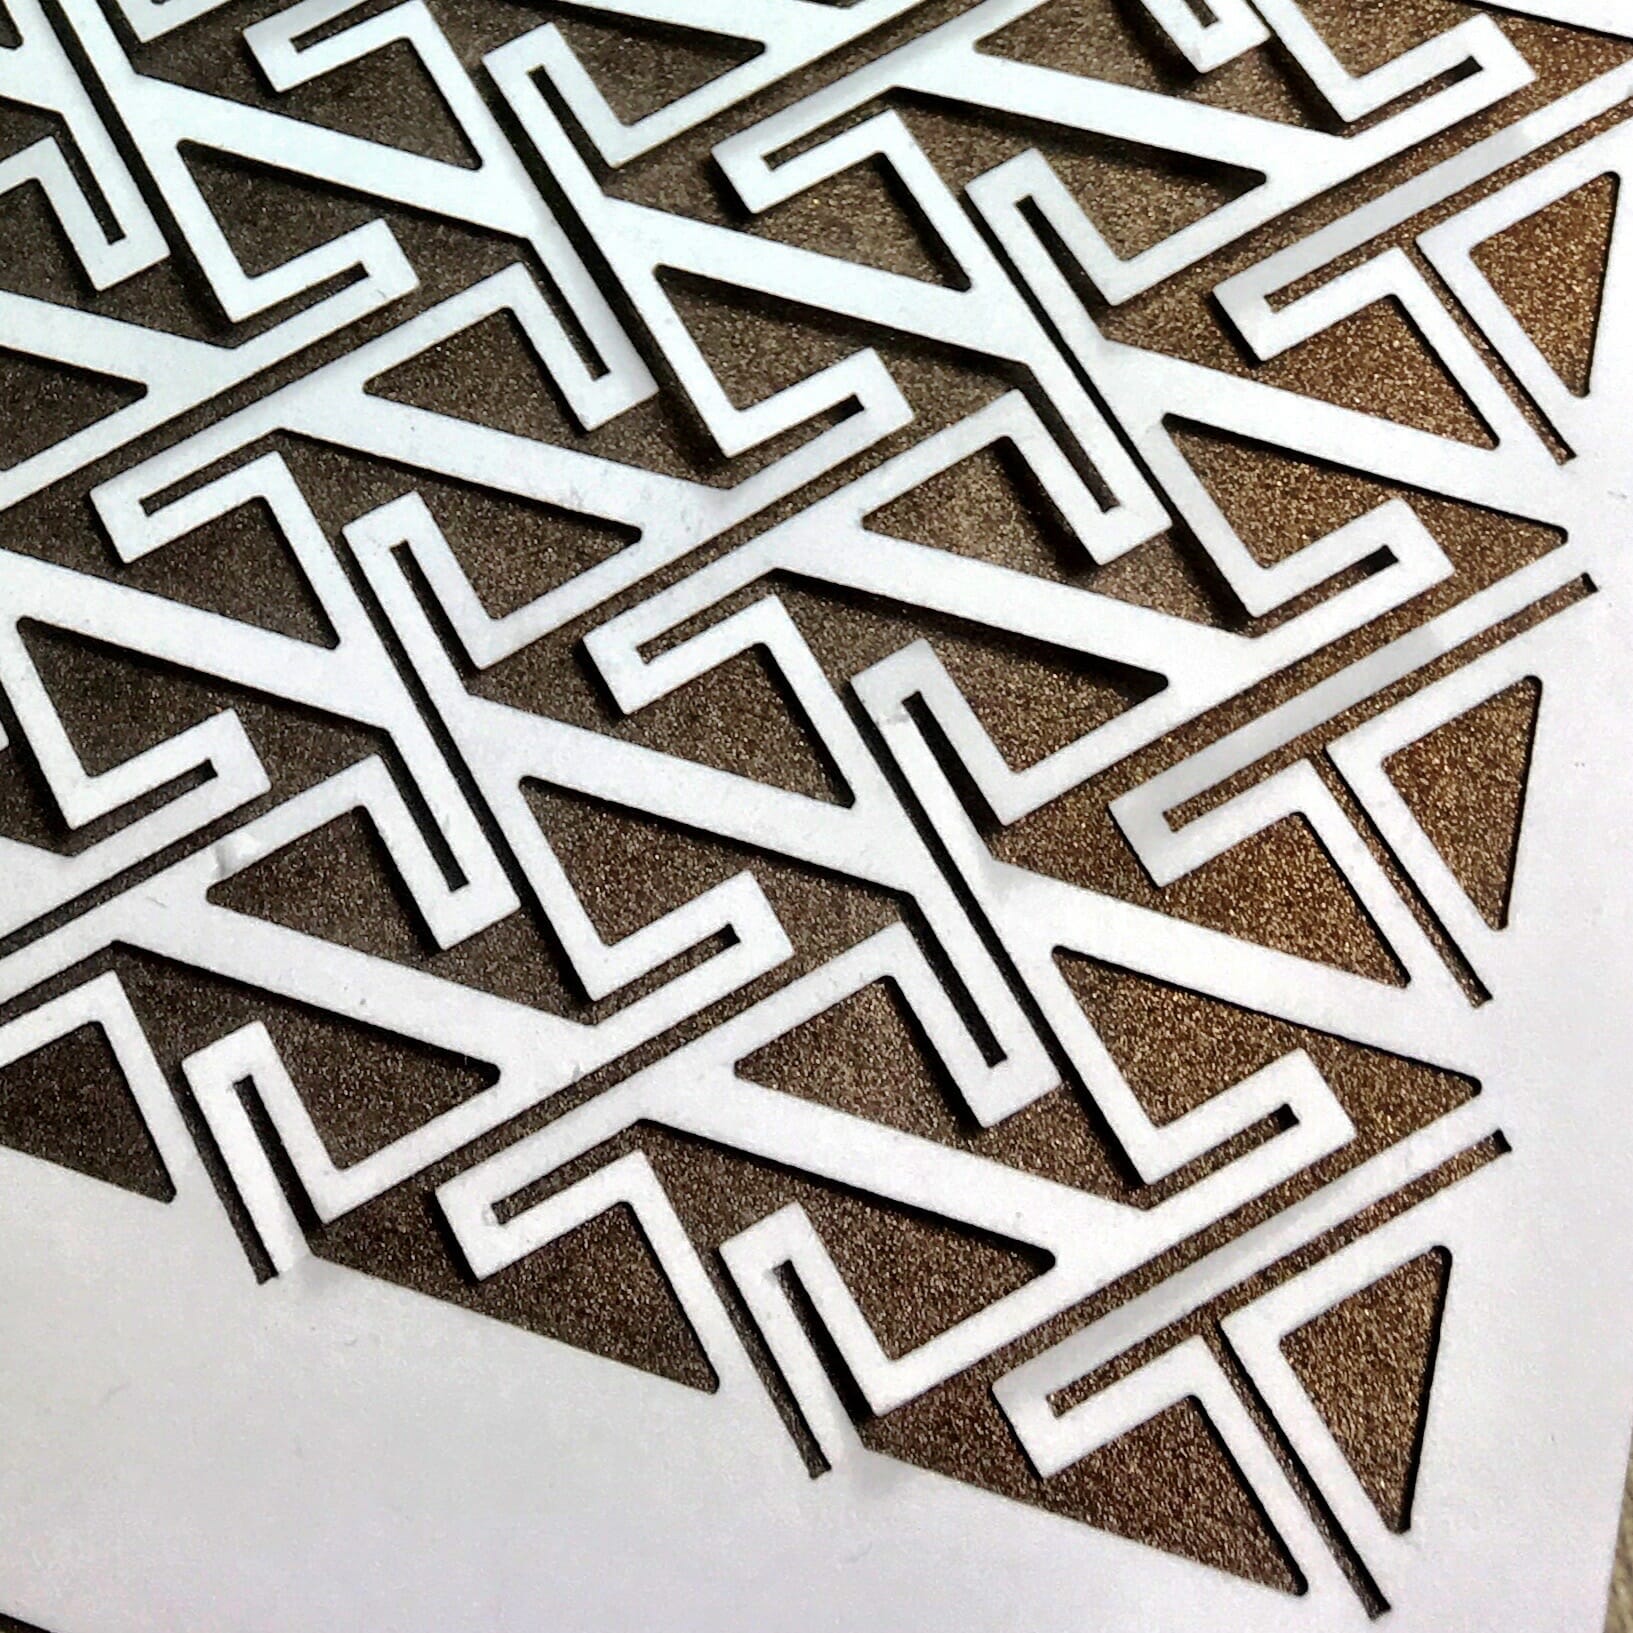
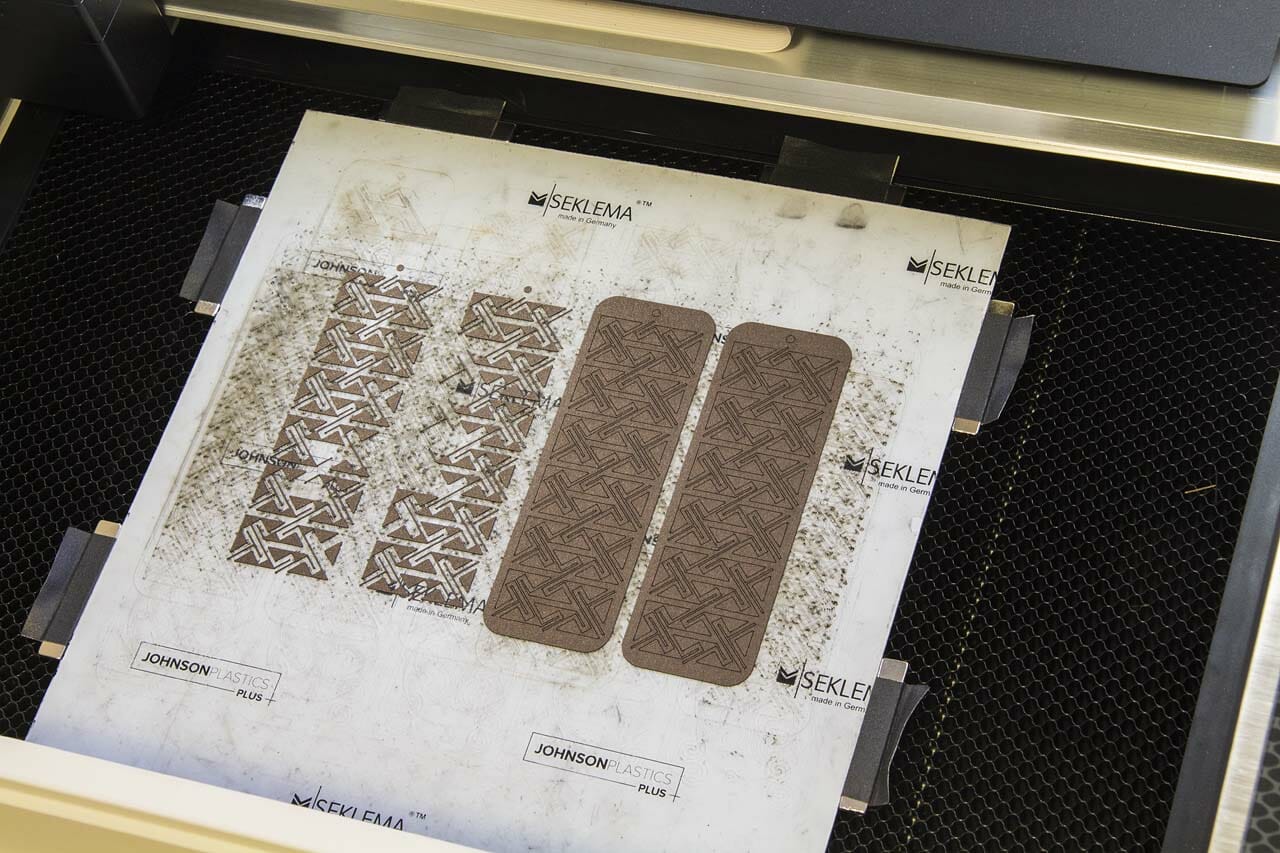
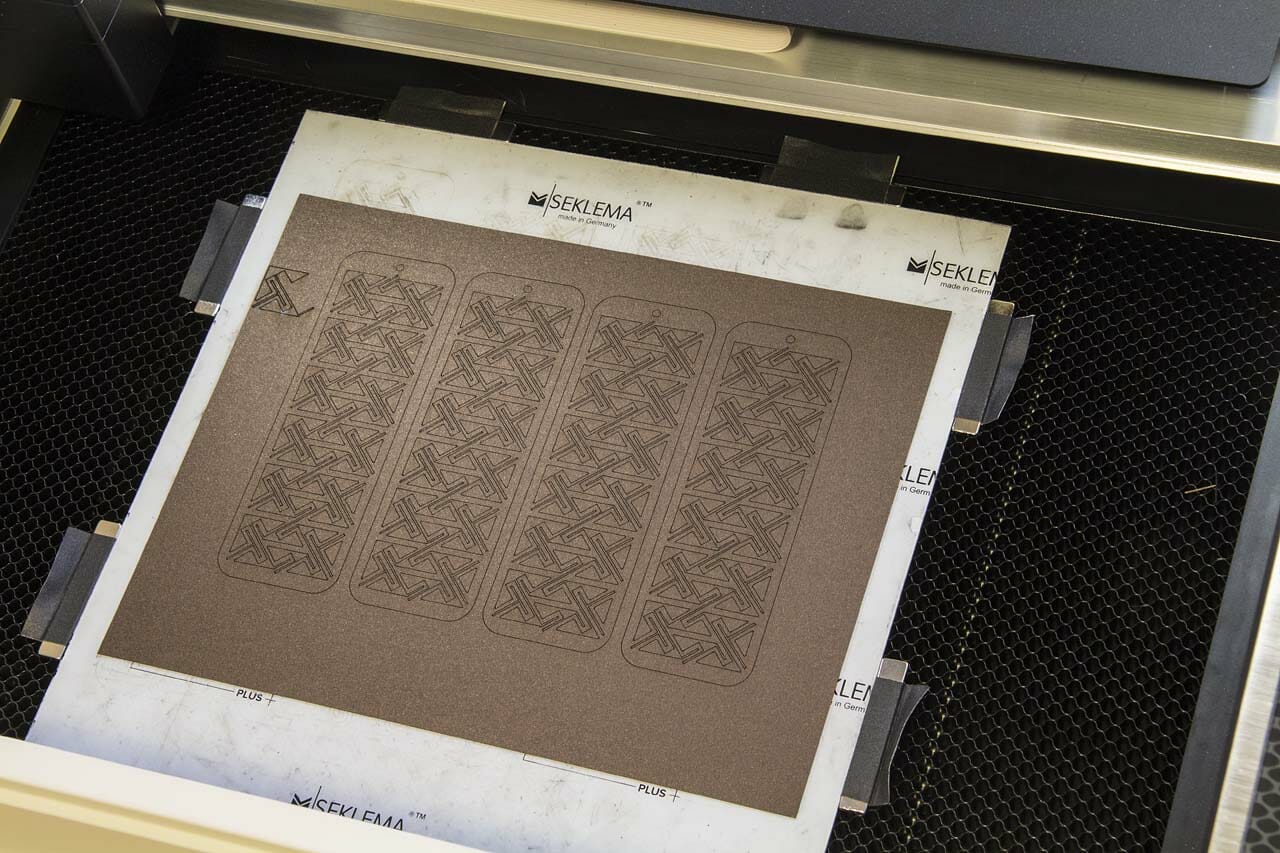
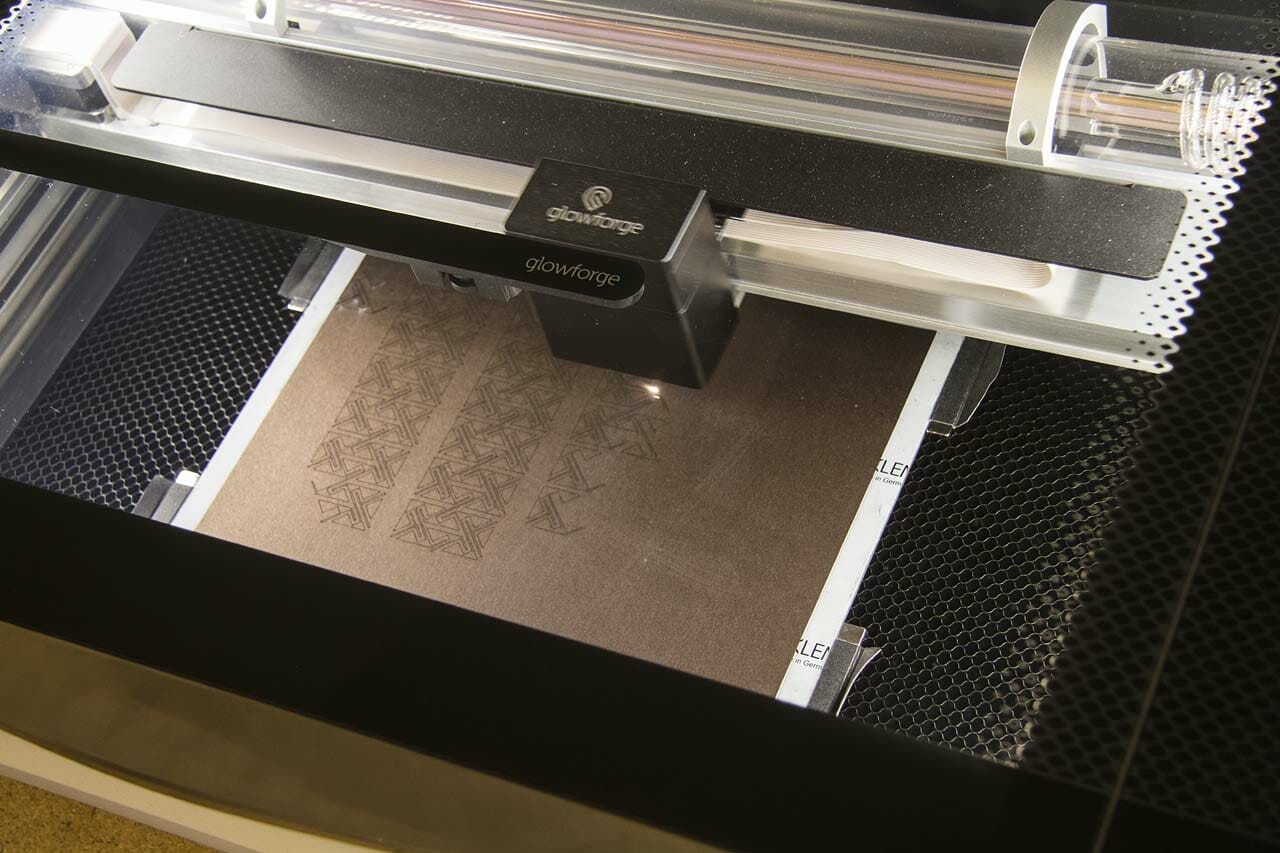
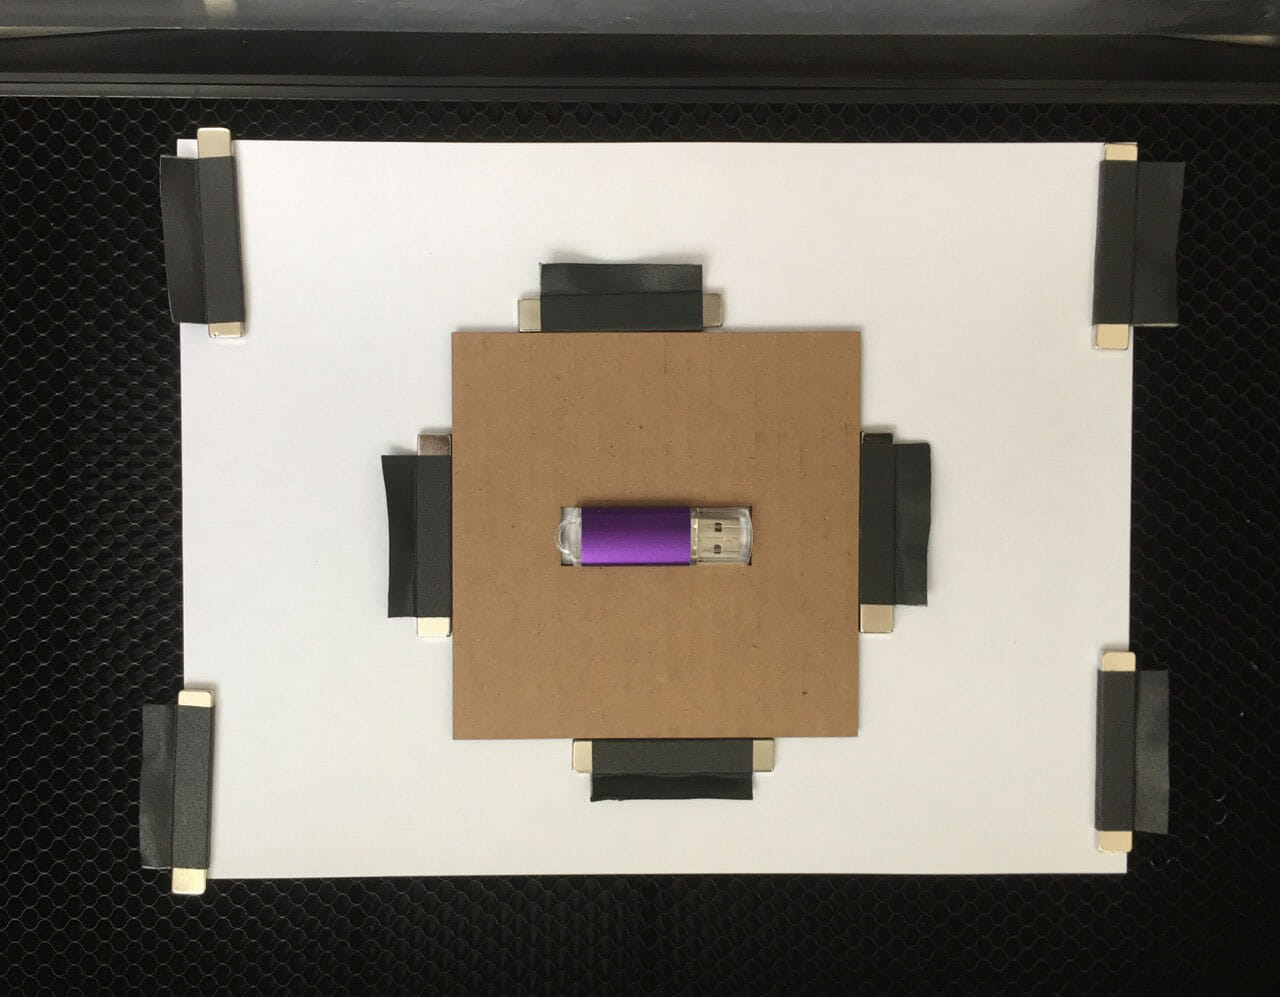
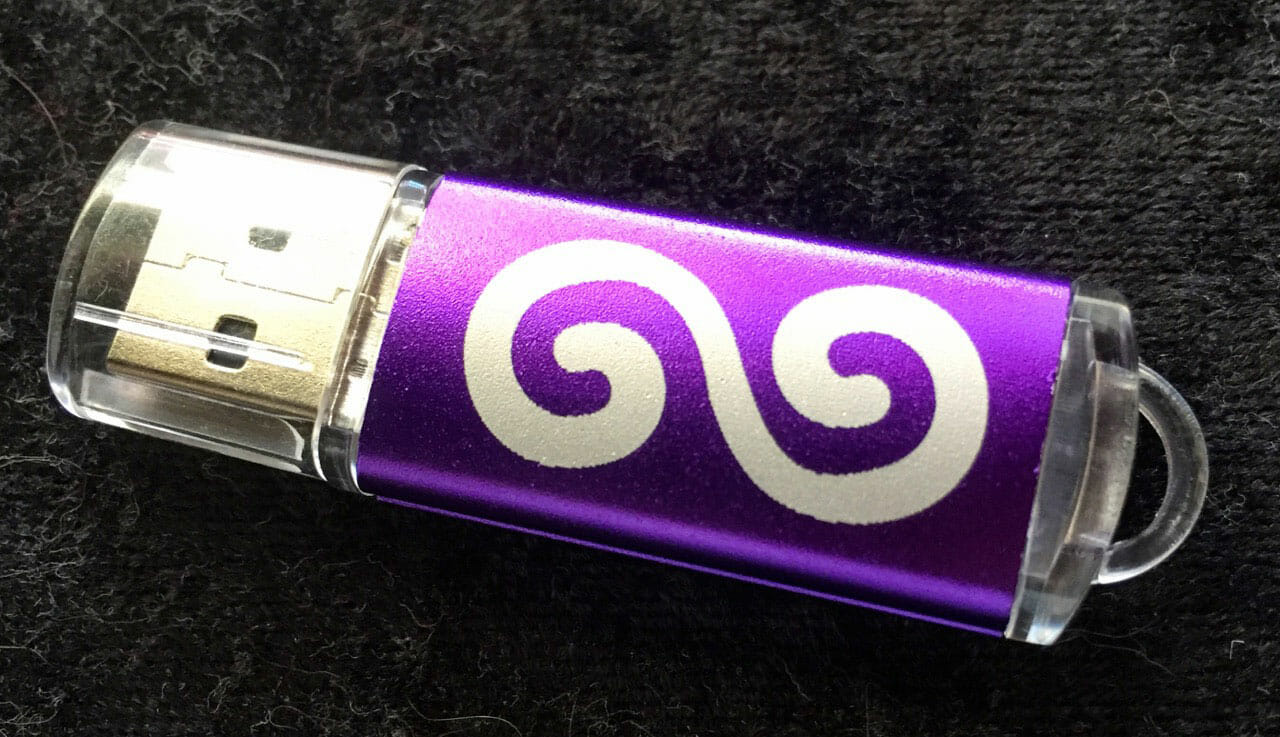
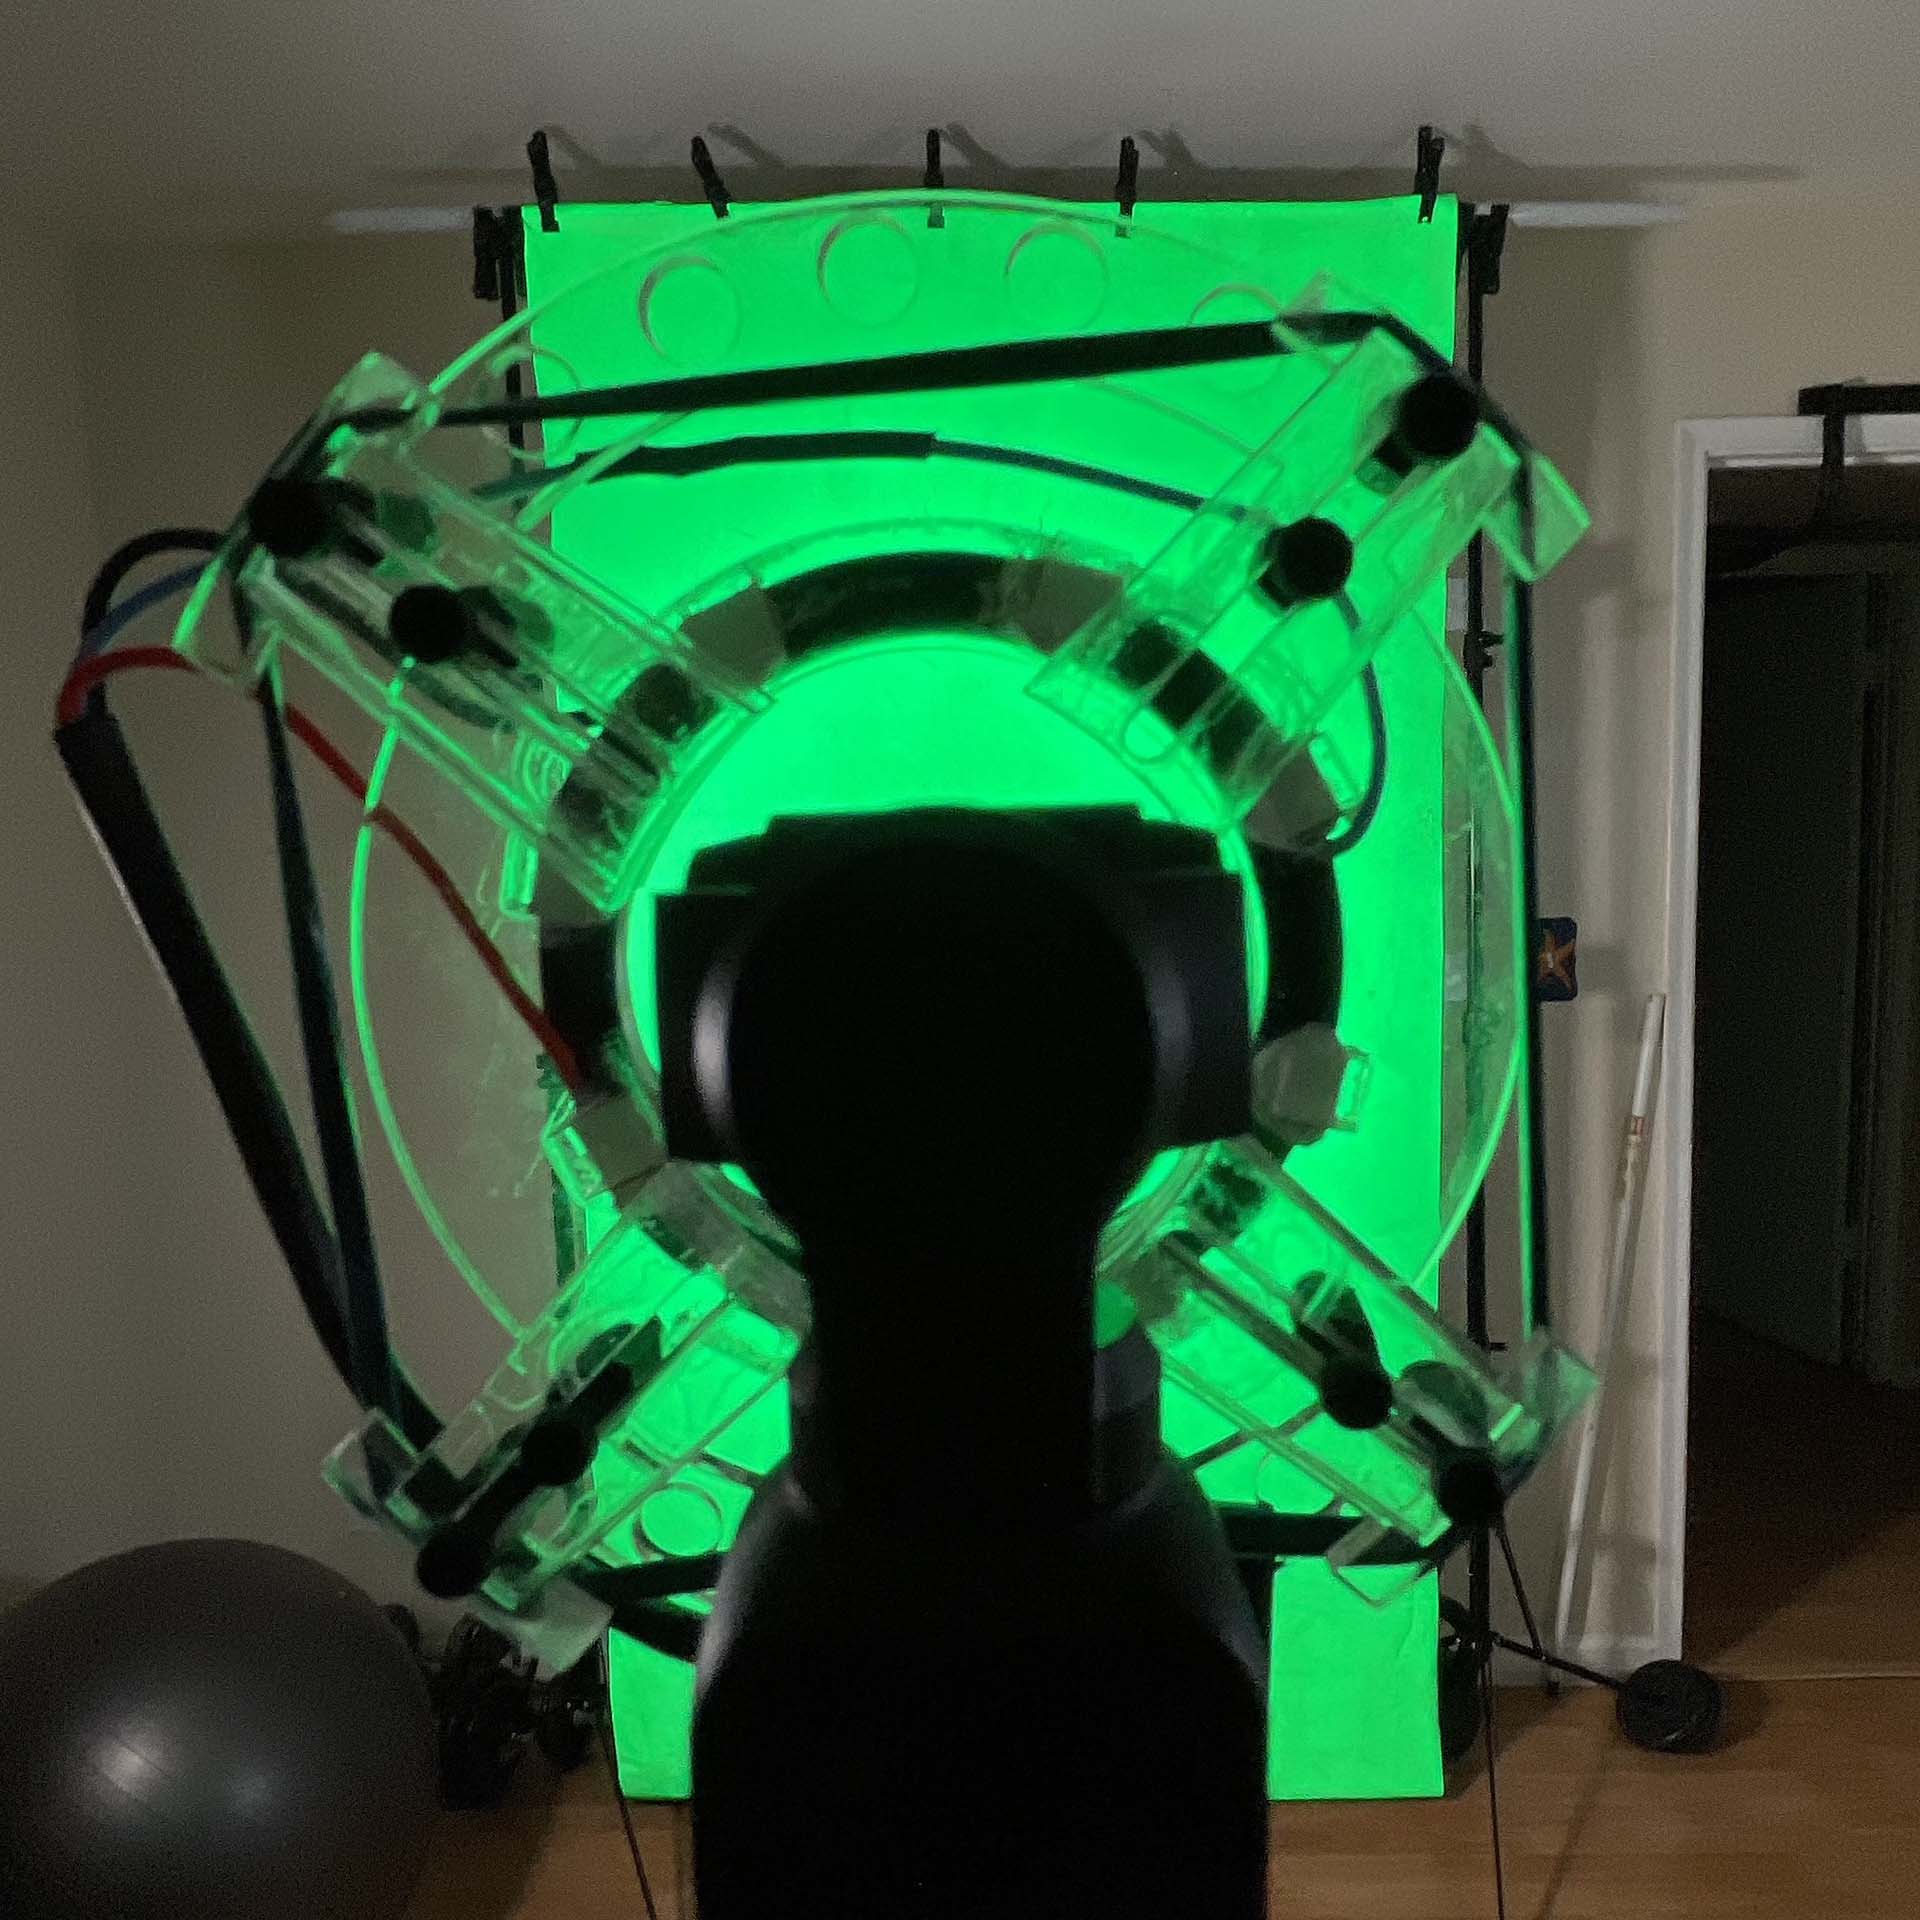
Experimenting with powder-coat-filled laser engraves on the Glowforge.
Continue reading


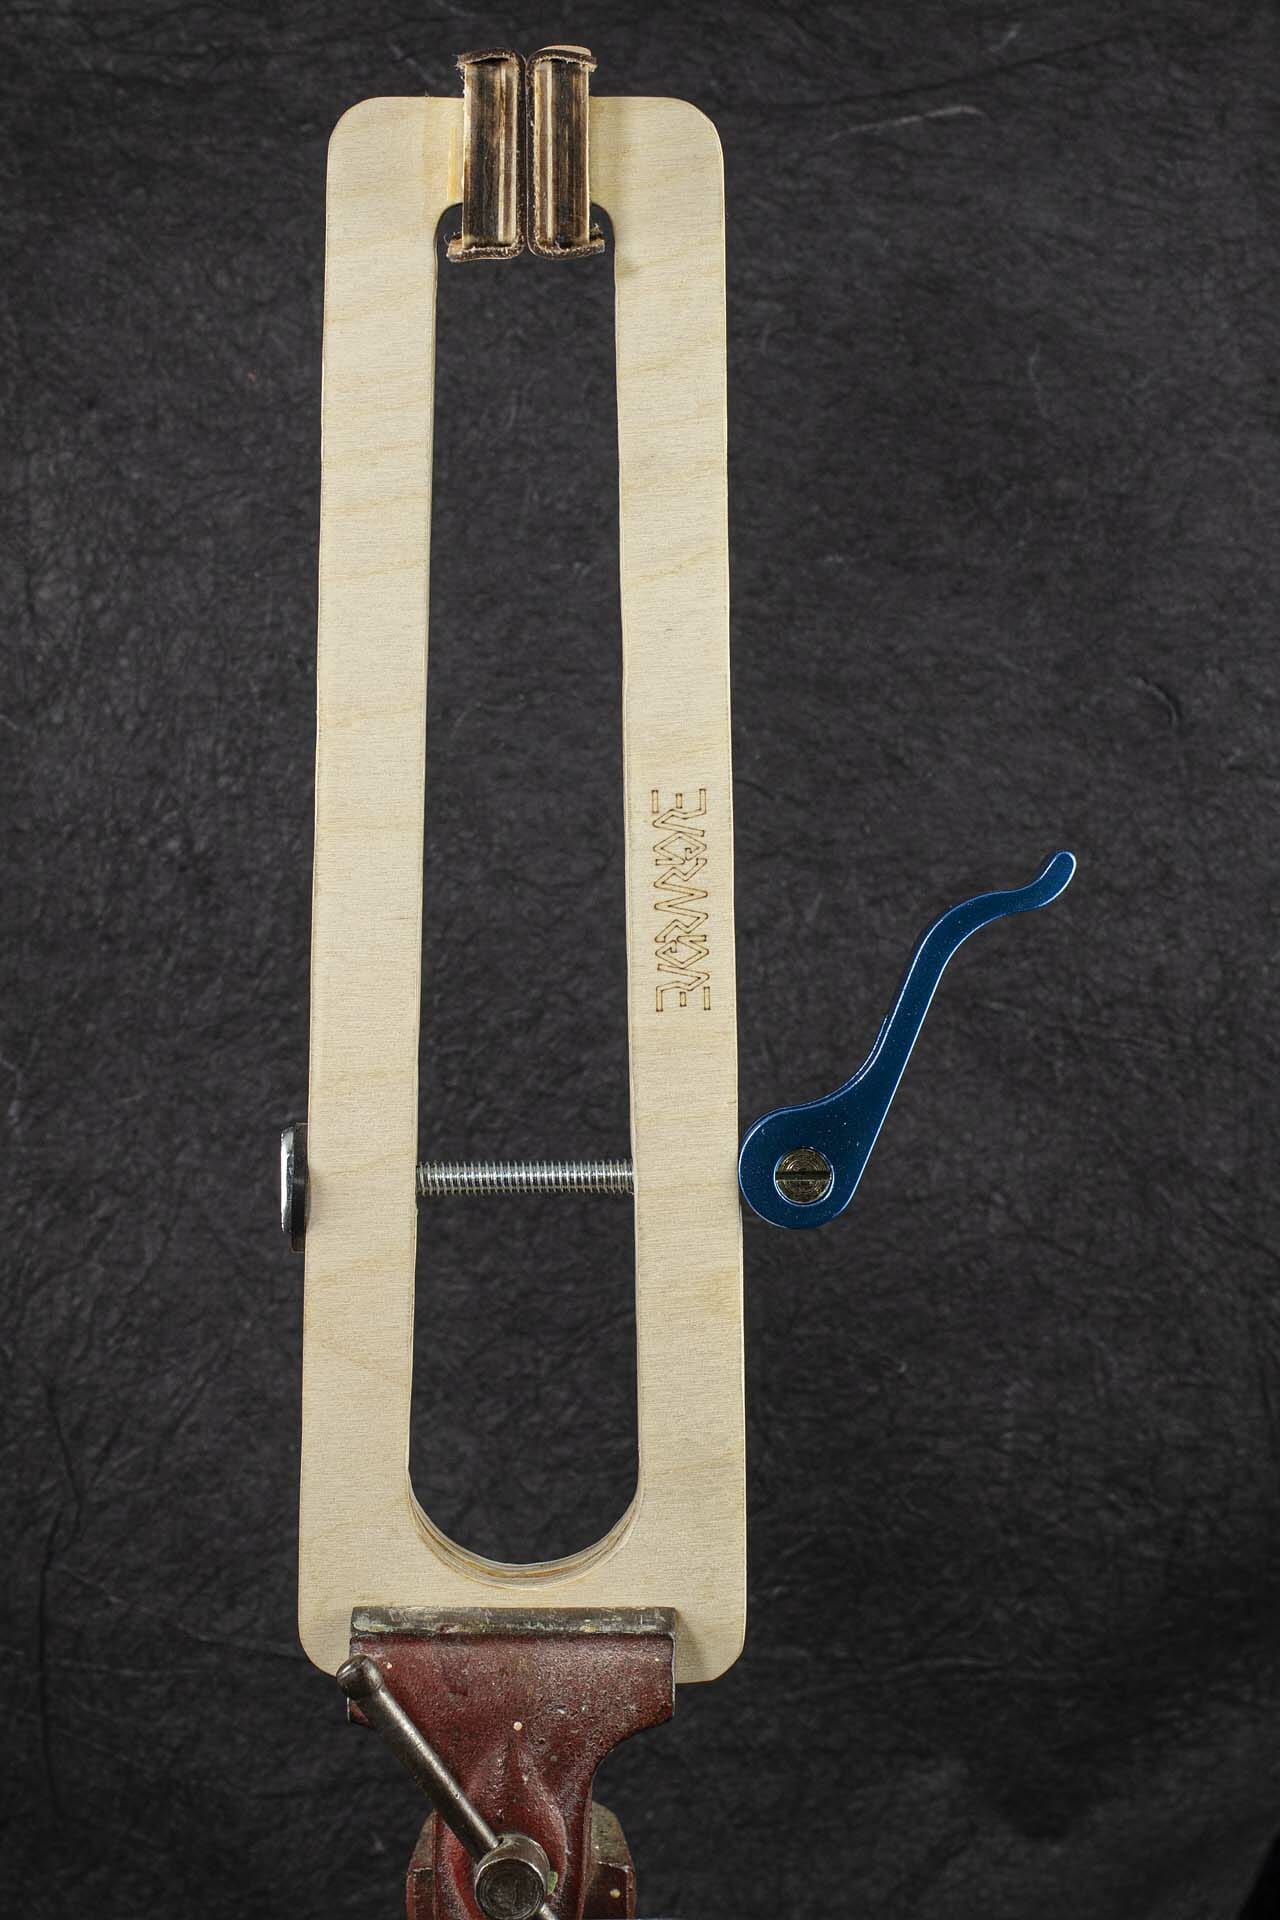
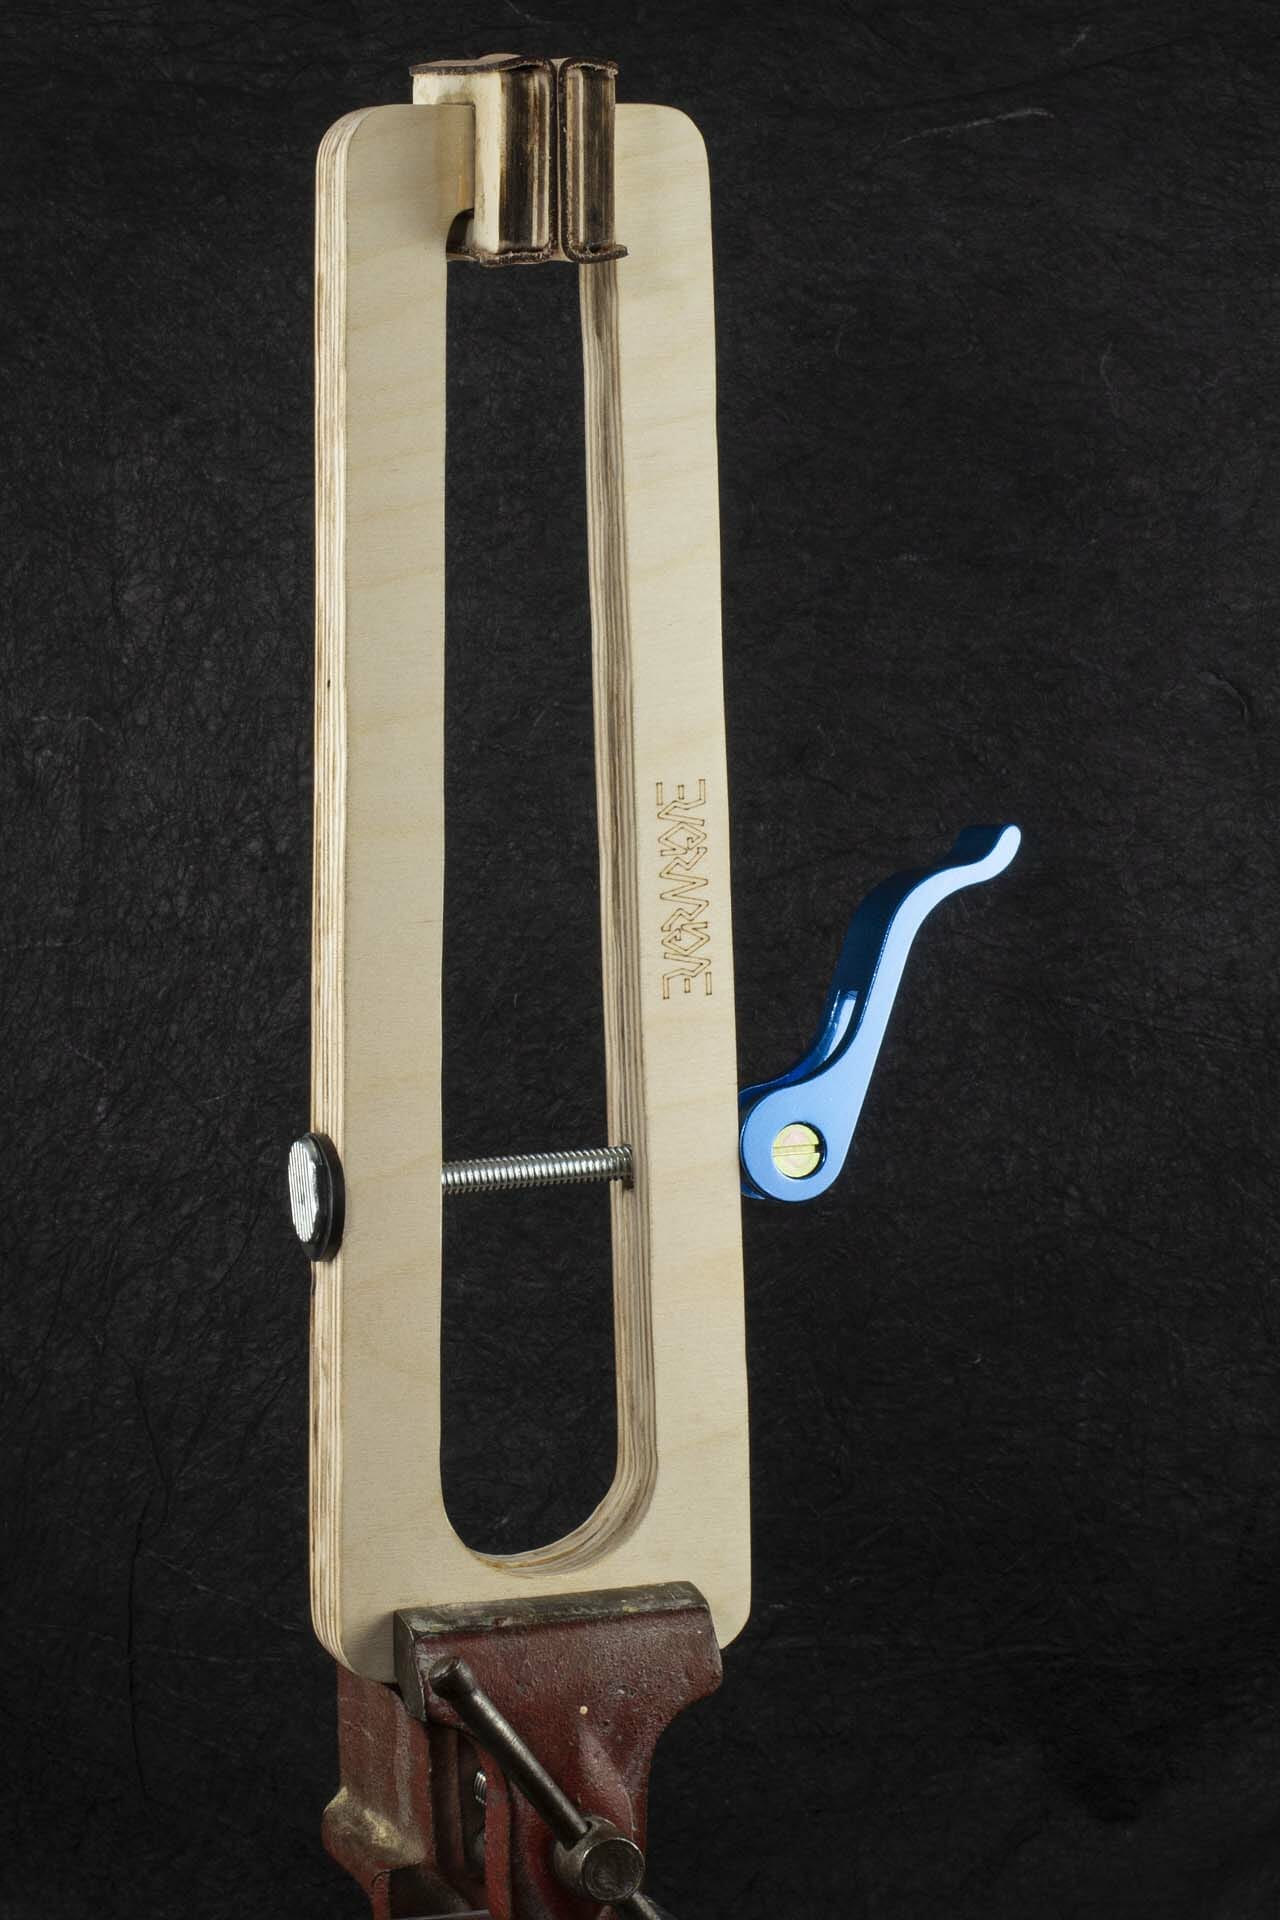
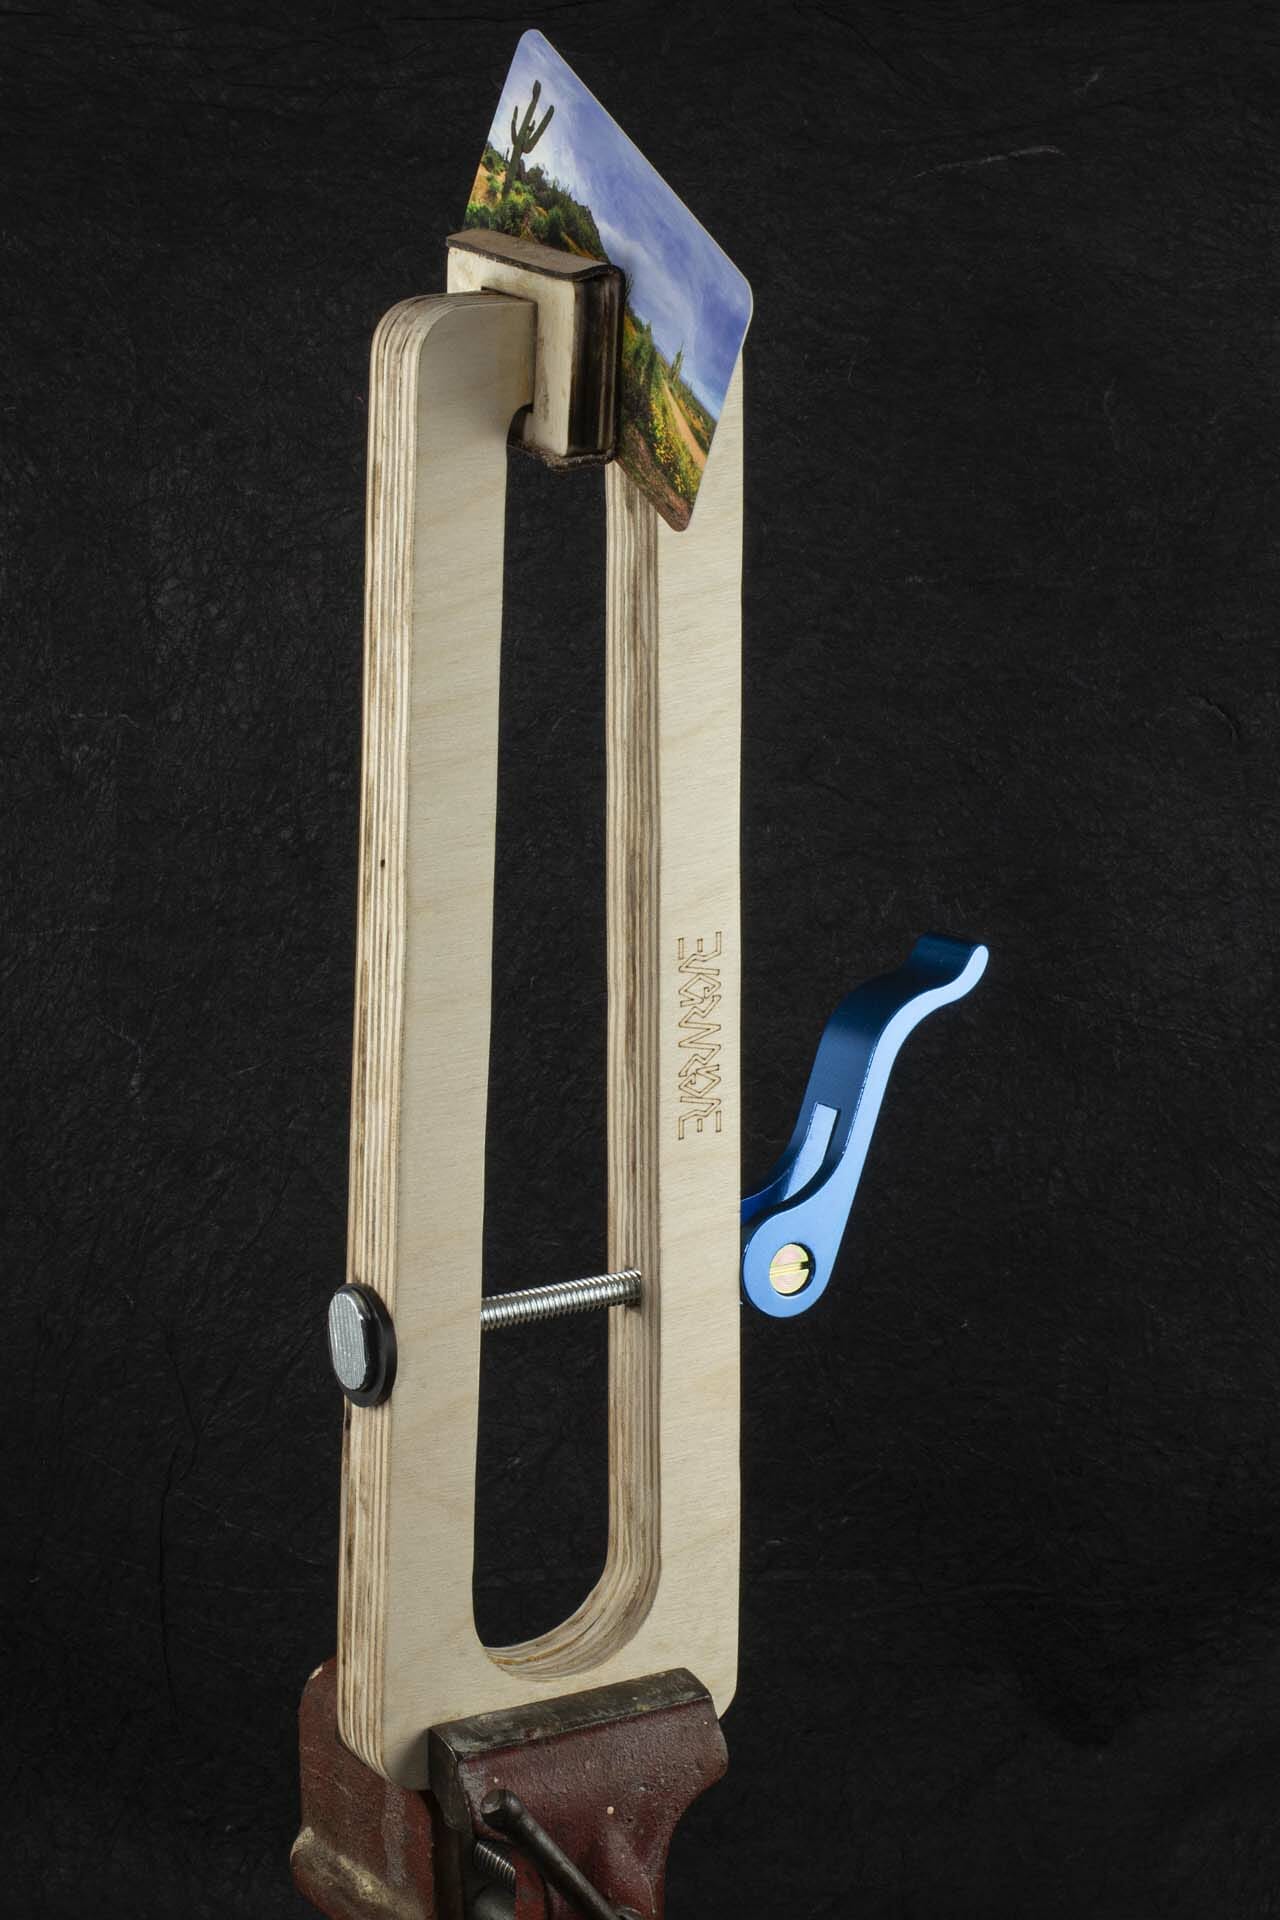
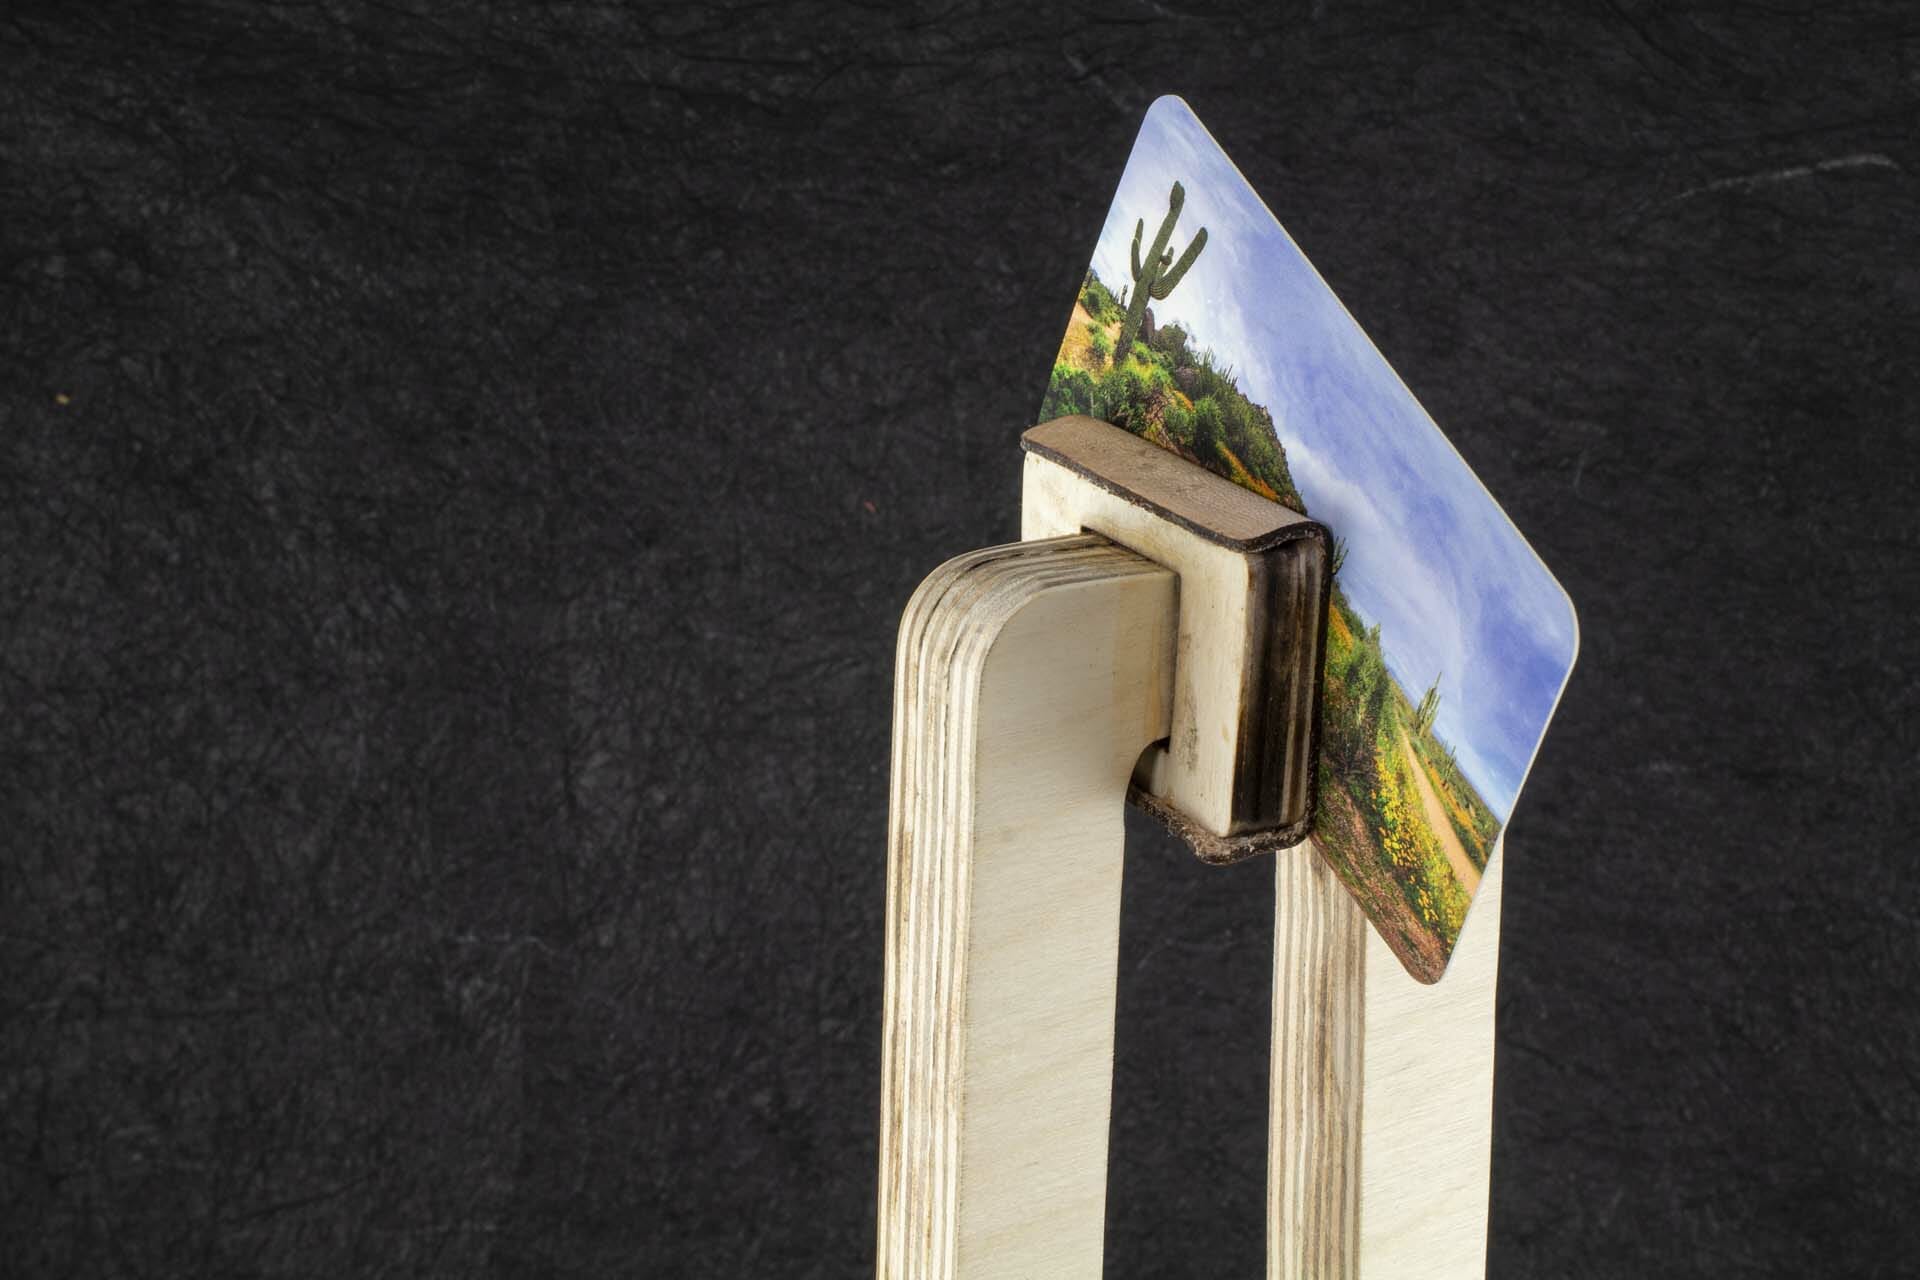
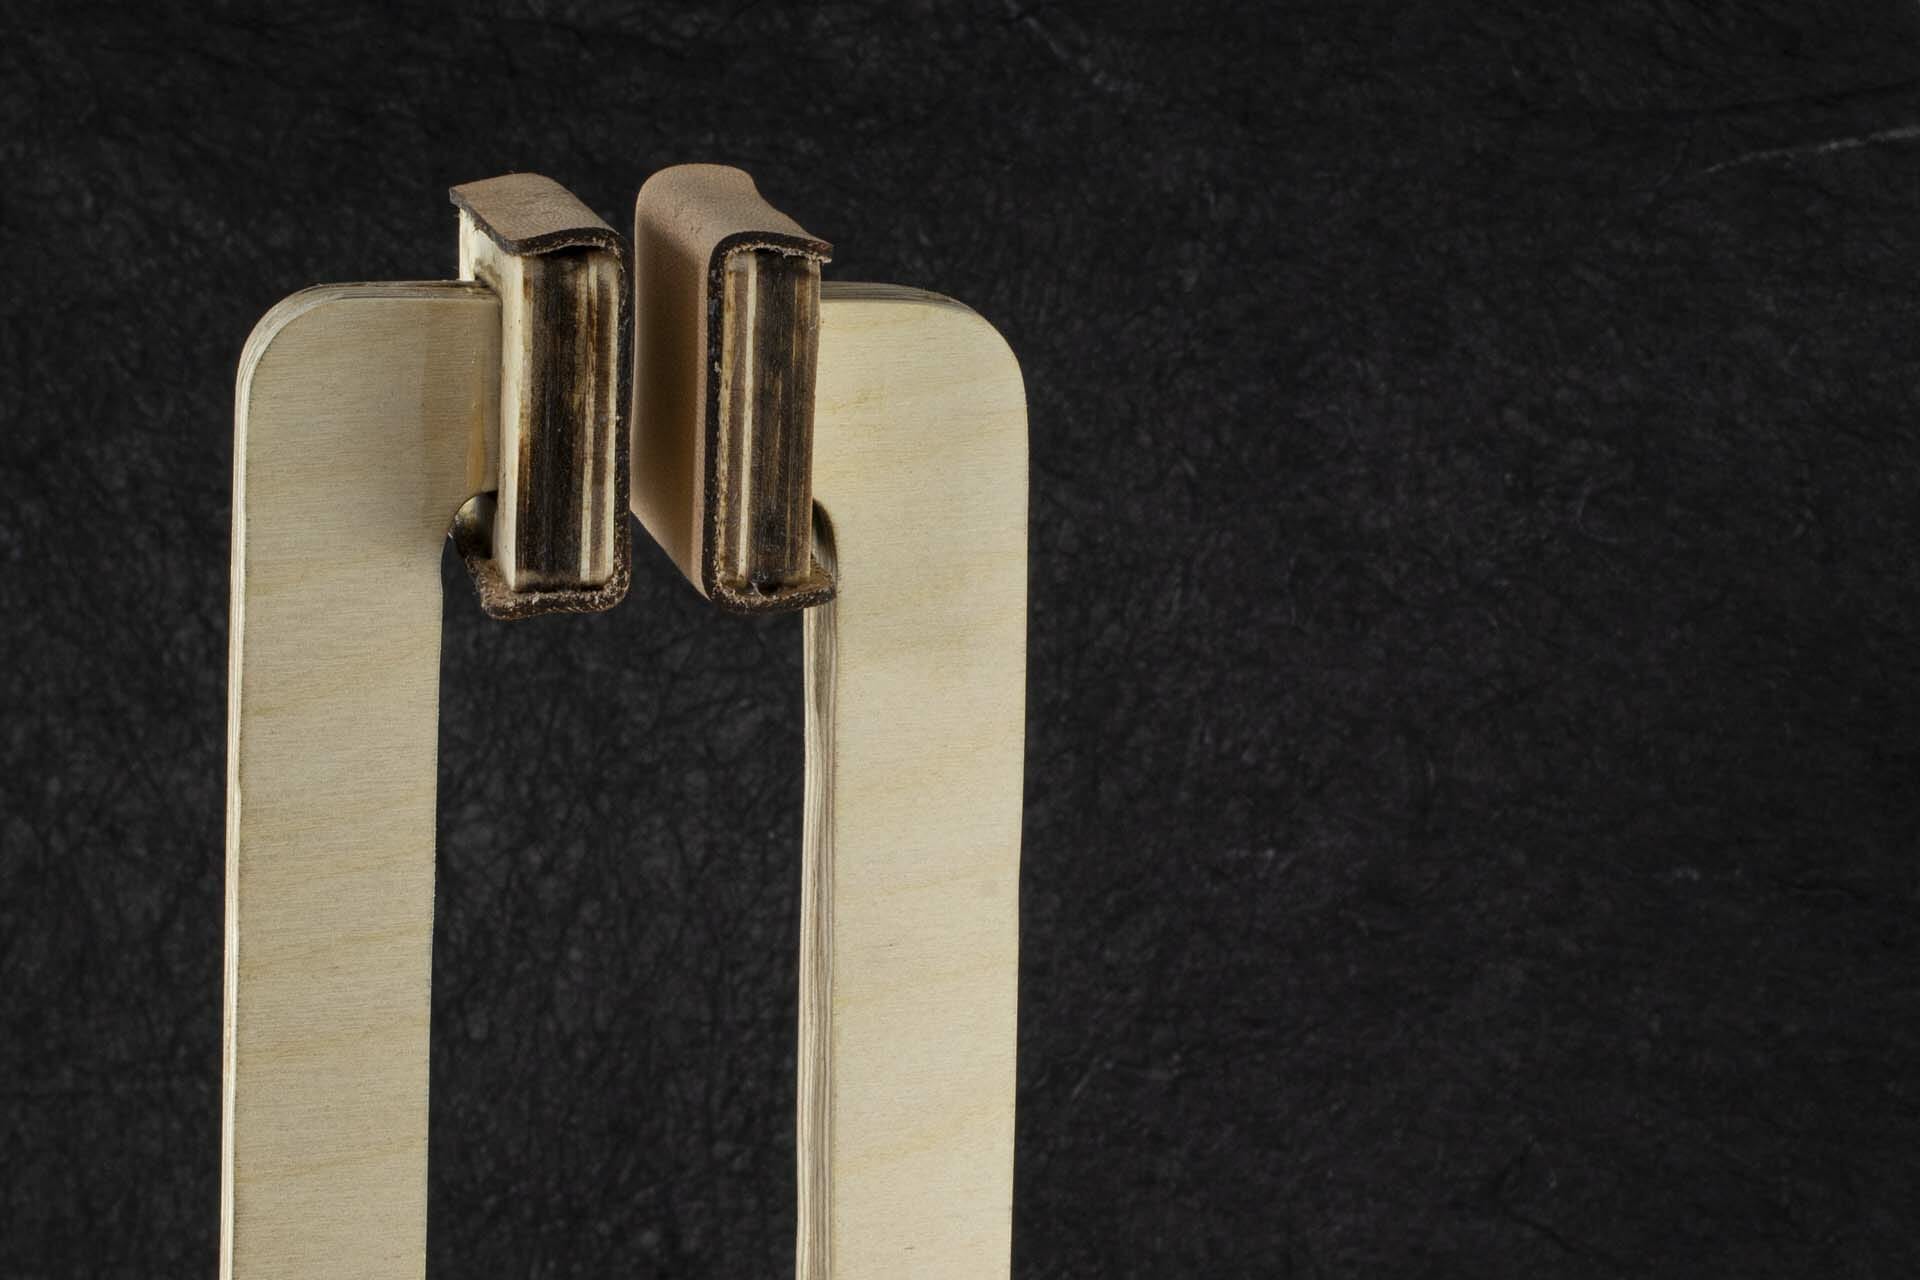
This is a quick, simple tool to assist when separating skeins of kumihimo (or embroidery) floss into working clusters with the desired number of strands. The upright is a sandwich of a piece of EVA foam between two pieces of 1/4″ stock (MDF here but, something like Baltic birch ply or acrylic should work, too). The EVA is sliced with a razor blade in the middle of each channel. Then, just glue it all together with wood glue. Some clamping is likely required while it dries.
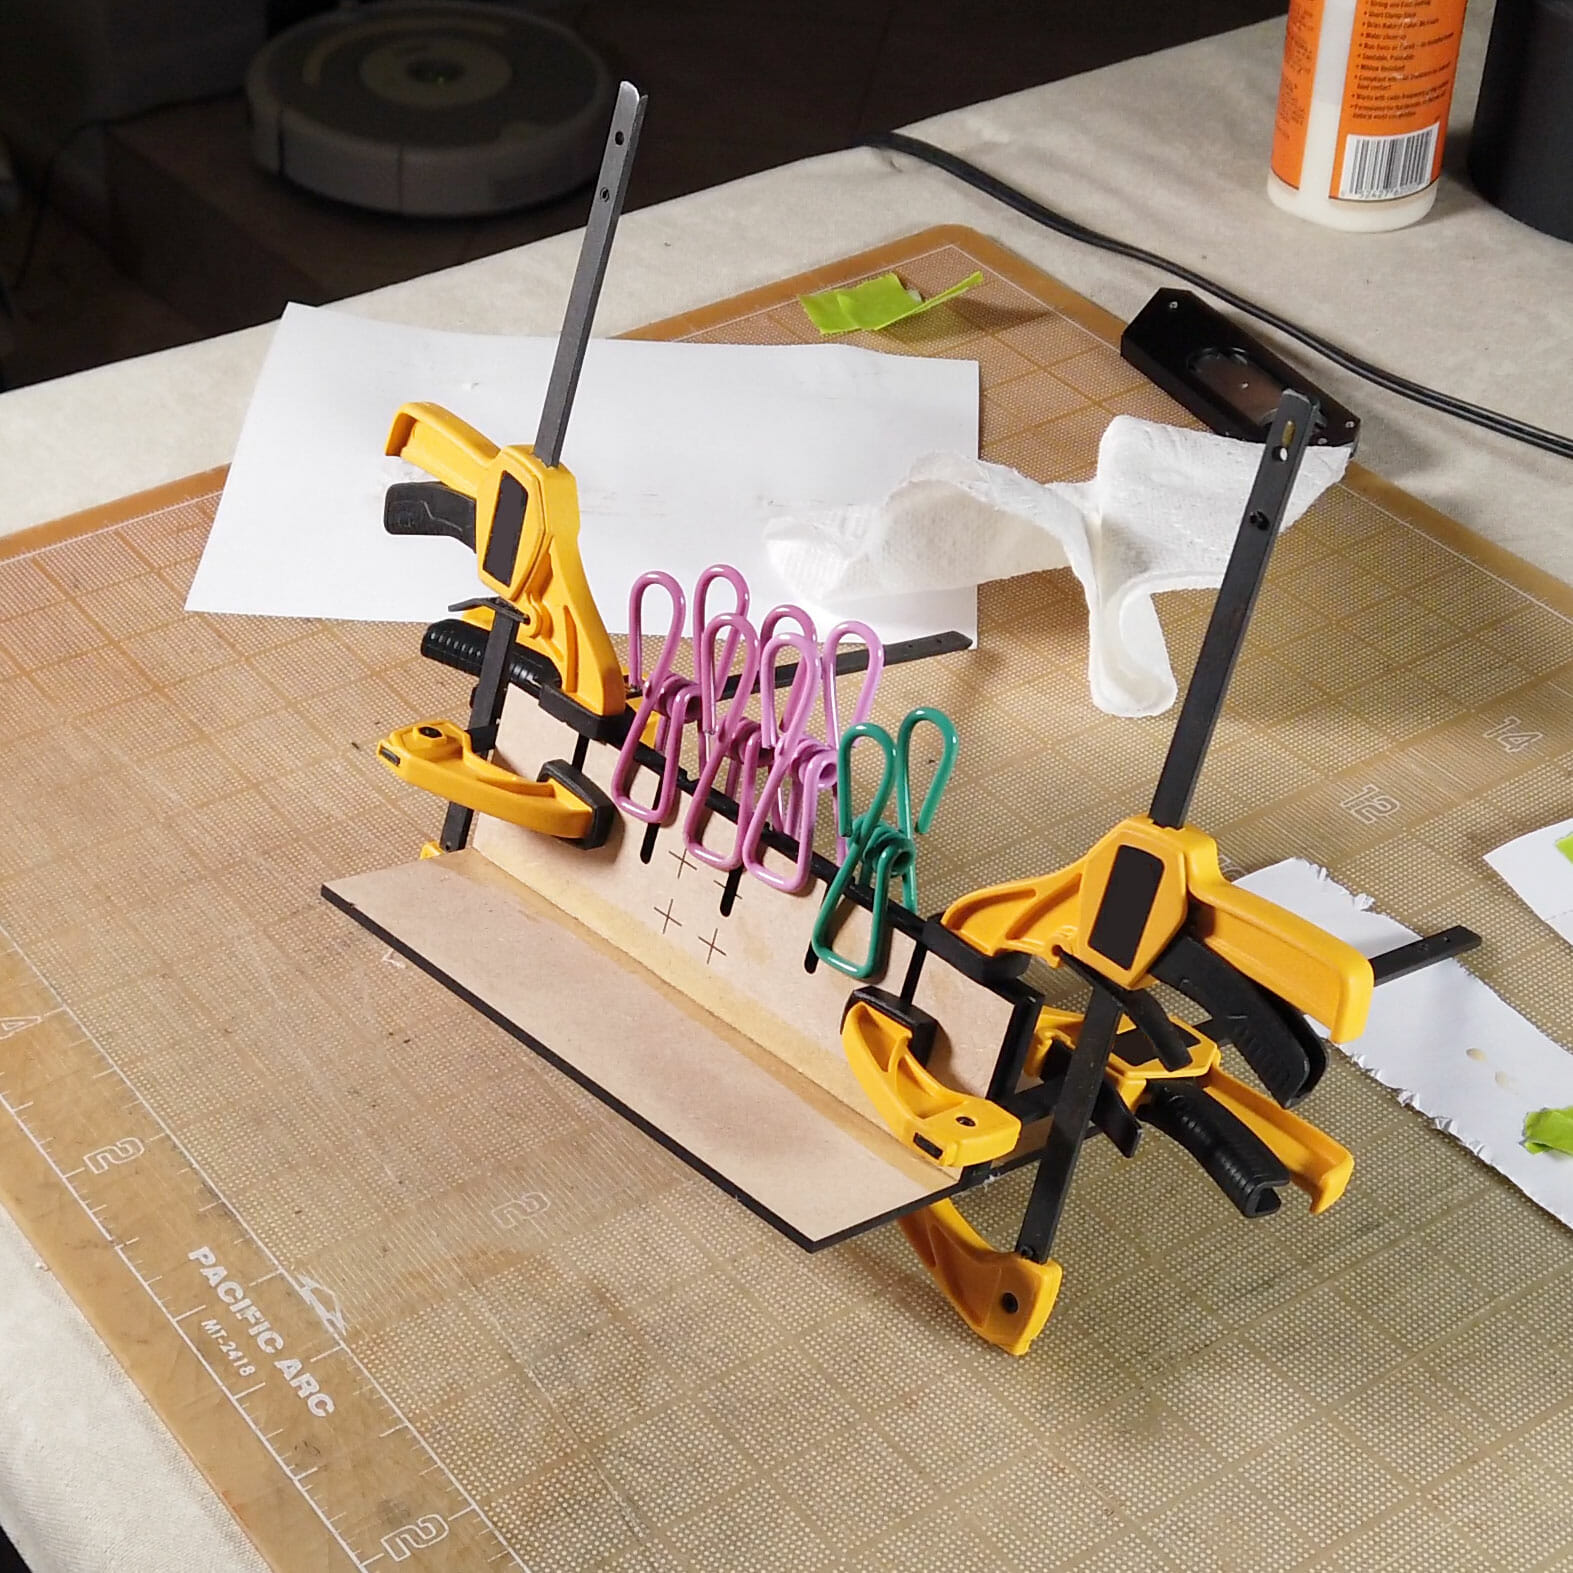
It is probably best to clamp it down to a table when using. Knot the end of the skein/bundle of strands and, slip it into the cut in the EVA. That should keep the end in place while you separate the full length.
These files are for personal, non-commercial use only. Note that, by referencing these, you are agreeing to release any variations you create under identical terms.


These files are for personal, non-commercial use only. If you want to produce these to sell or for other business use, please contact me to arrange for licensing terms. Also note that, by referencing these, you are agreeing to release any variations you create under identical terms.
![]()

Inexpensive, quick and easy new Glowforge table for the studio!
Continue reading
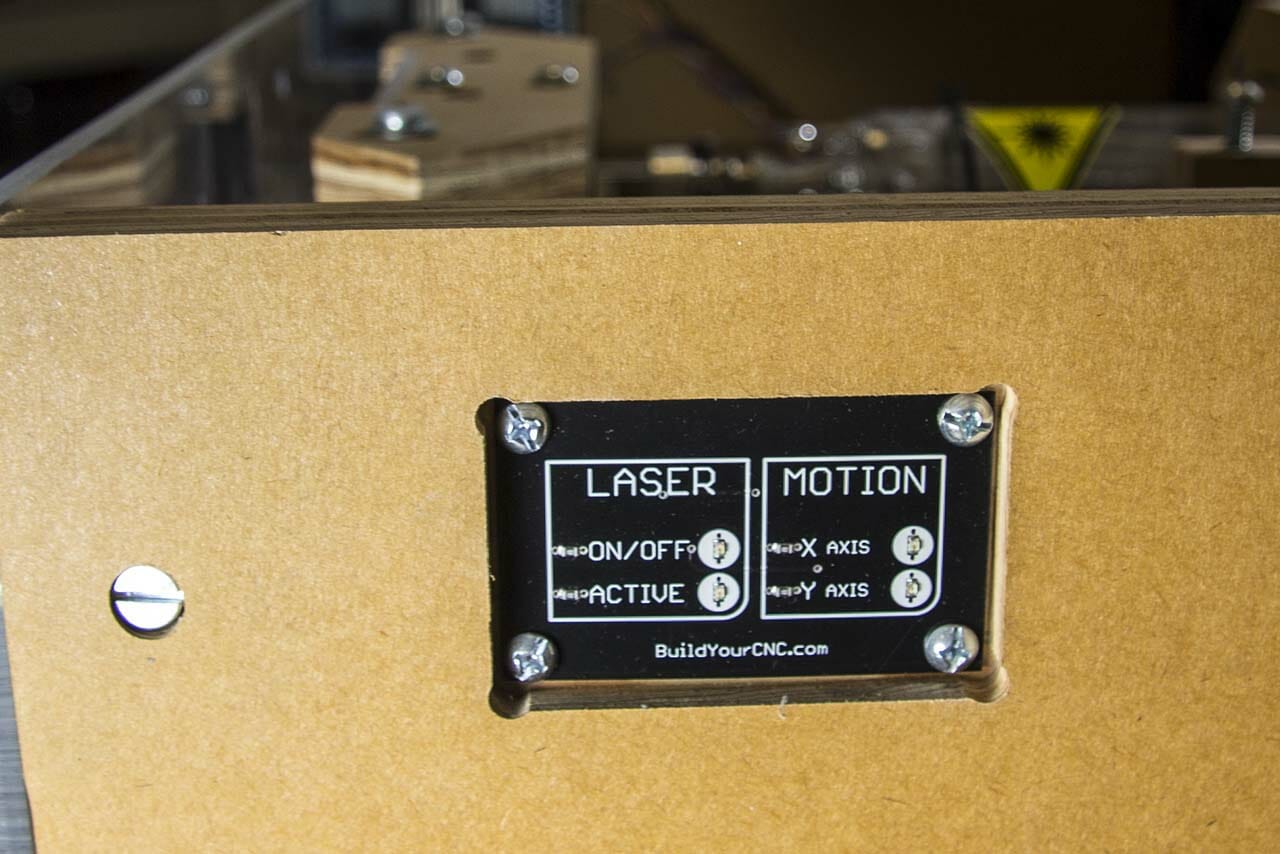
The Blacktooth laser started as a Kickstarter campaign in October of 2012 [1]. Behind it was a team that was already building other affordable CNC equipment, BuildYourCNC [2]. The Kickstarter campaign failed to get enough support but, they decided to proceed with the project and, generously, to honor the price offered to backers during the campaign.
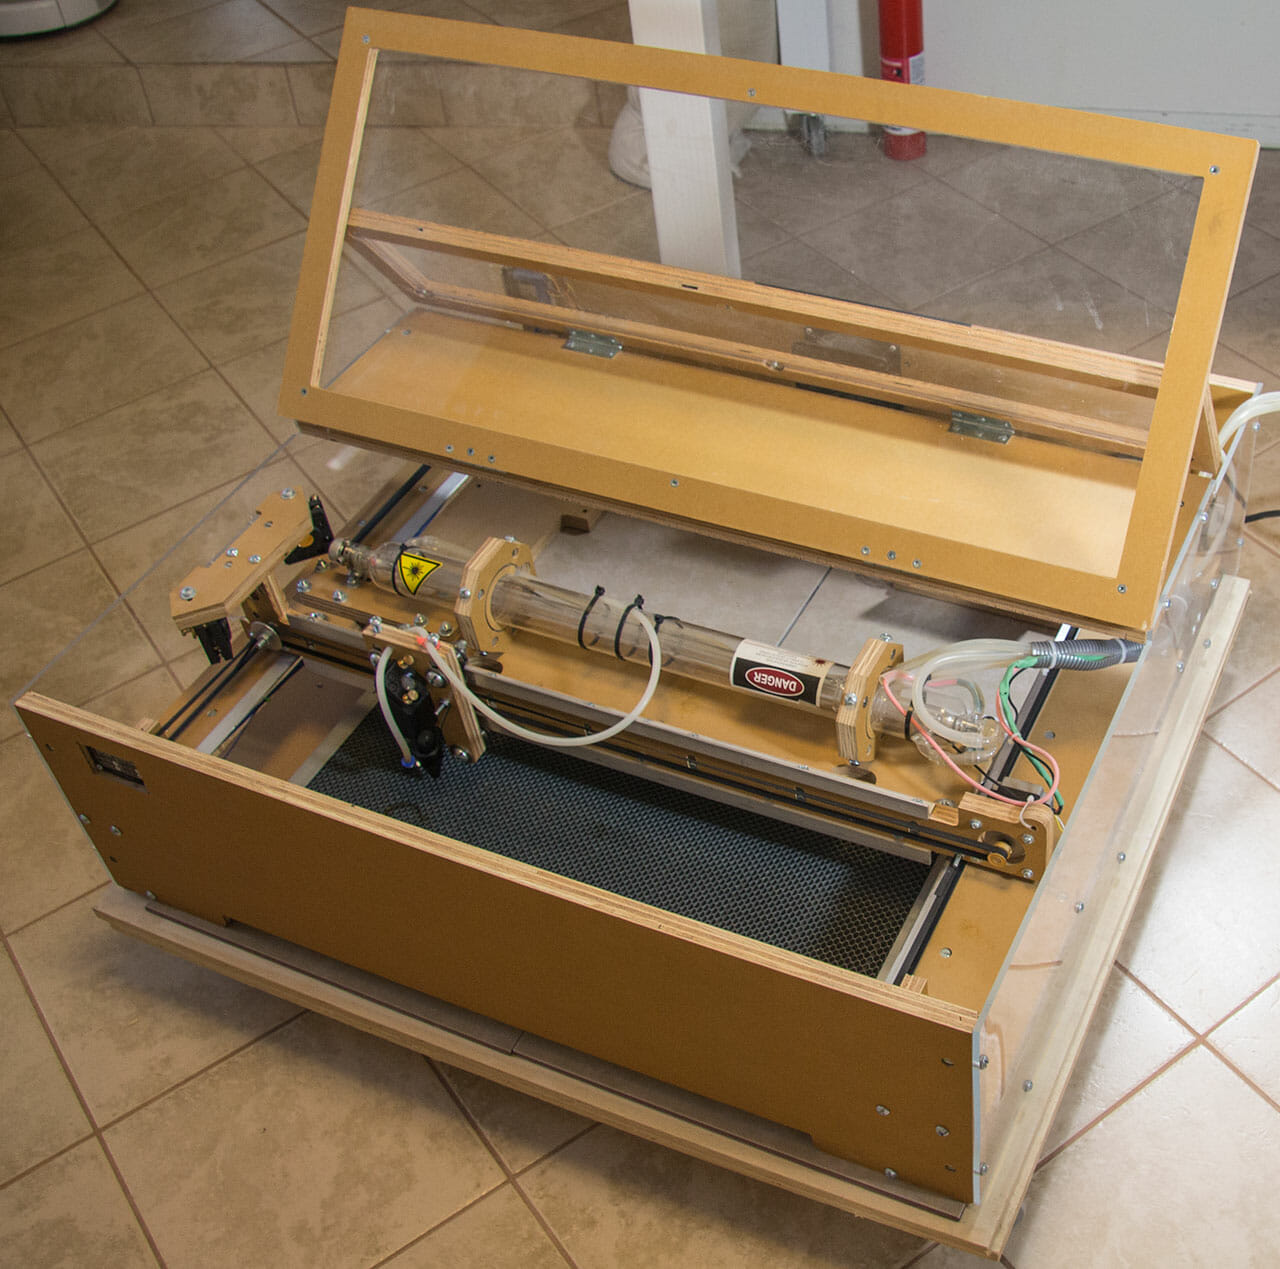
So, in April of 2013, my factory-assembled Blacktooth Laser Cutter arrived, well-wrapped, on a large wooden palette. Getting it set up and in any way operational took me awhile.
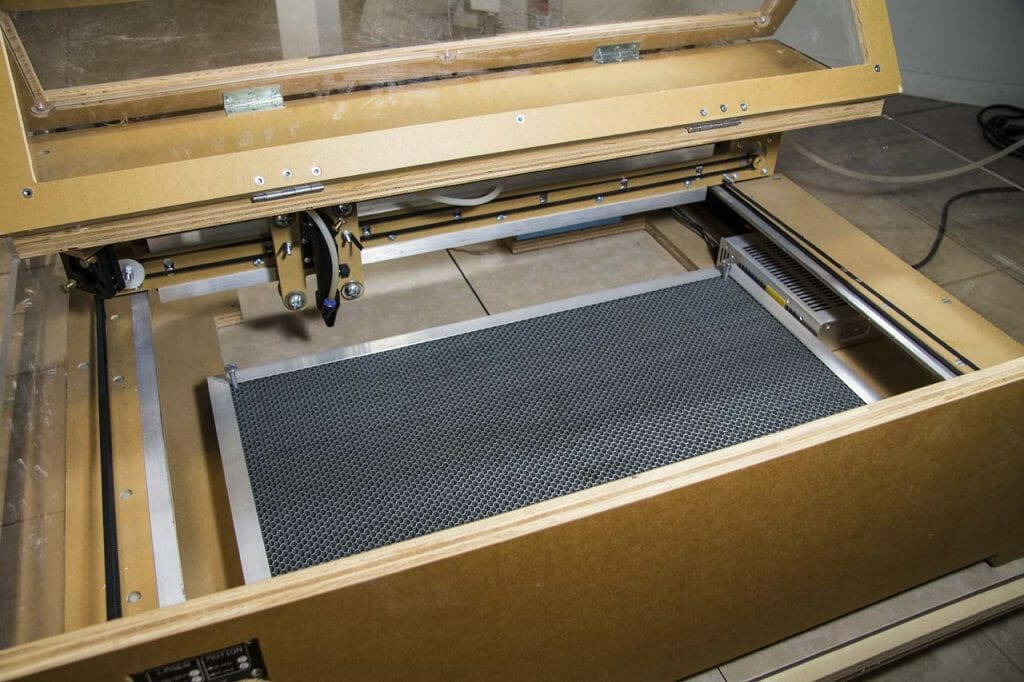
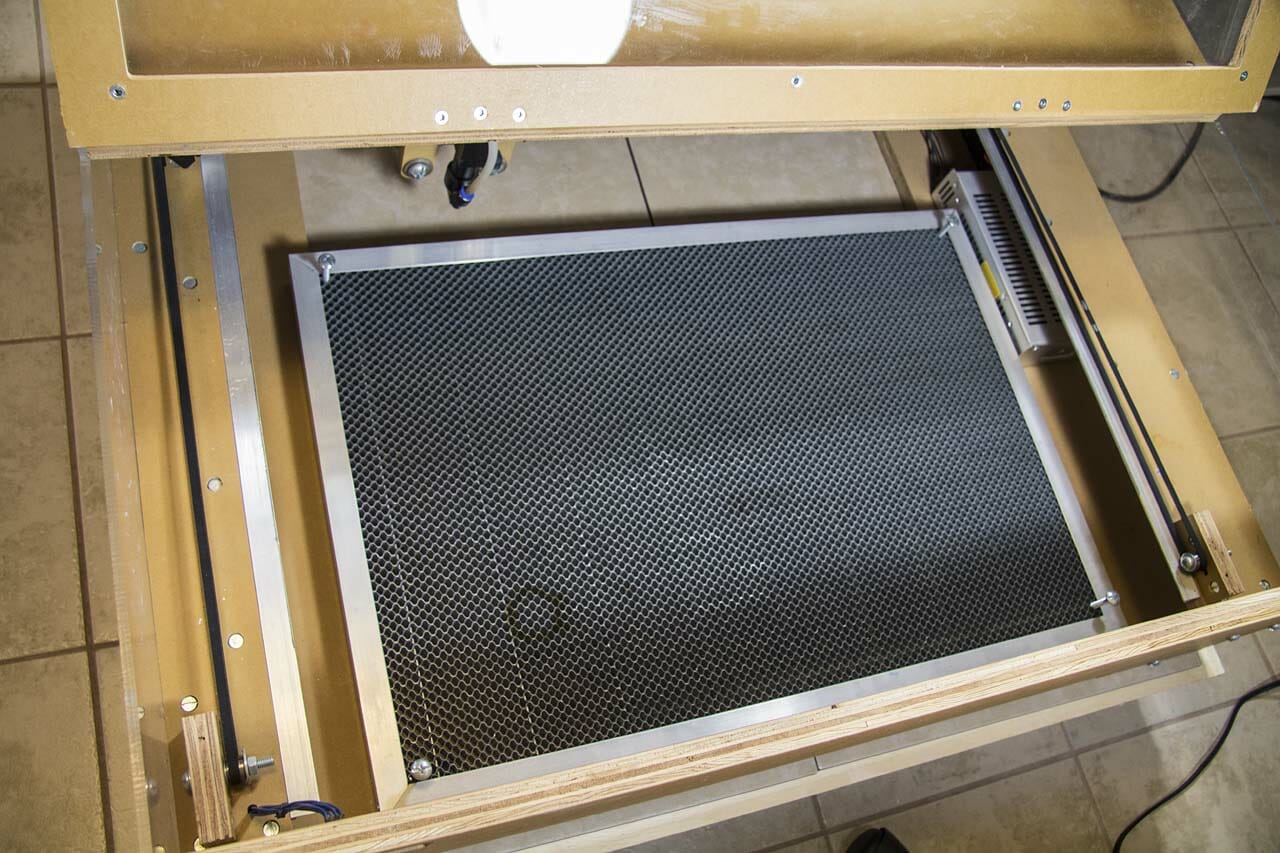
The Blacktooth has a generous 24” by 20” cutting bed. The bottom of the case is open to allow working on larger surfaces.
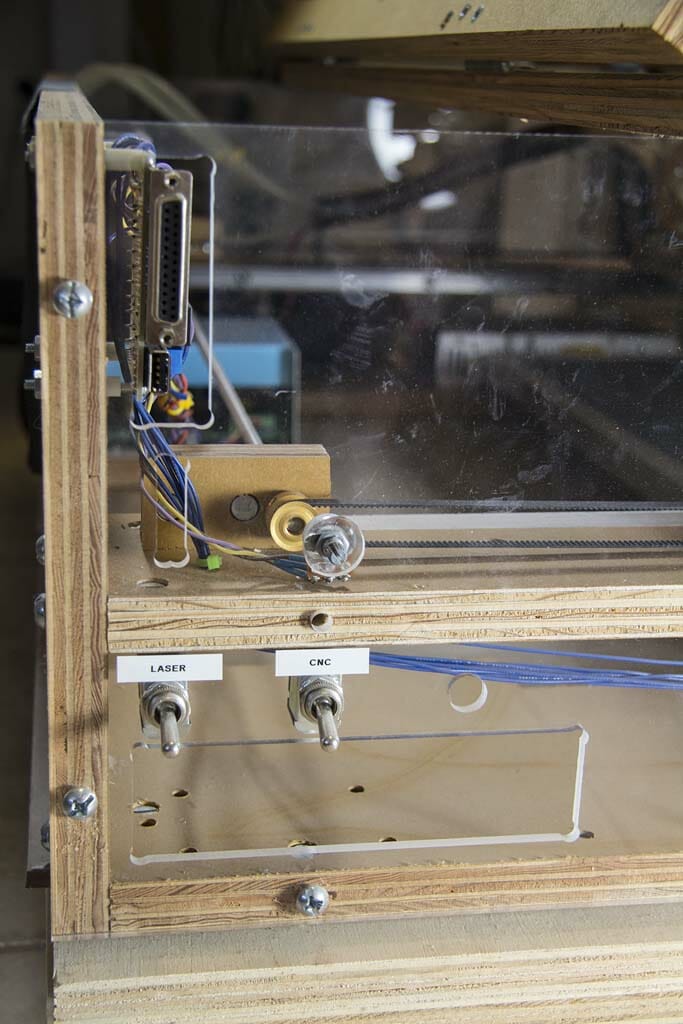
In the original stock model, power is controlled by a potentiometer on the side of the case.
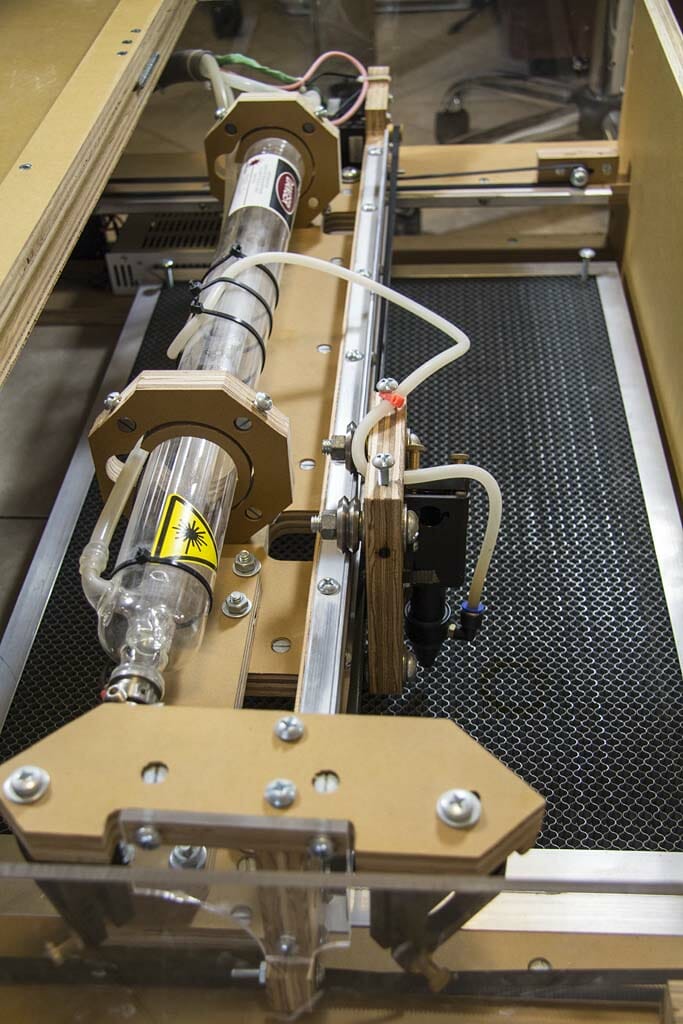
Cooling is provided by circulating distilled water through the tube with a pump. I set up a 5 gallon plastic bucket as the reservoir and, added an aquarium thermometer to monitor coolant temperature. This is required to avoid overheating and damaging the machine.
Another pump provides a modest “air assist,” which pushes smoke out of the way of the laser while cutting and, reduces deposition of vaporized particles on the lens.
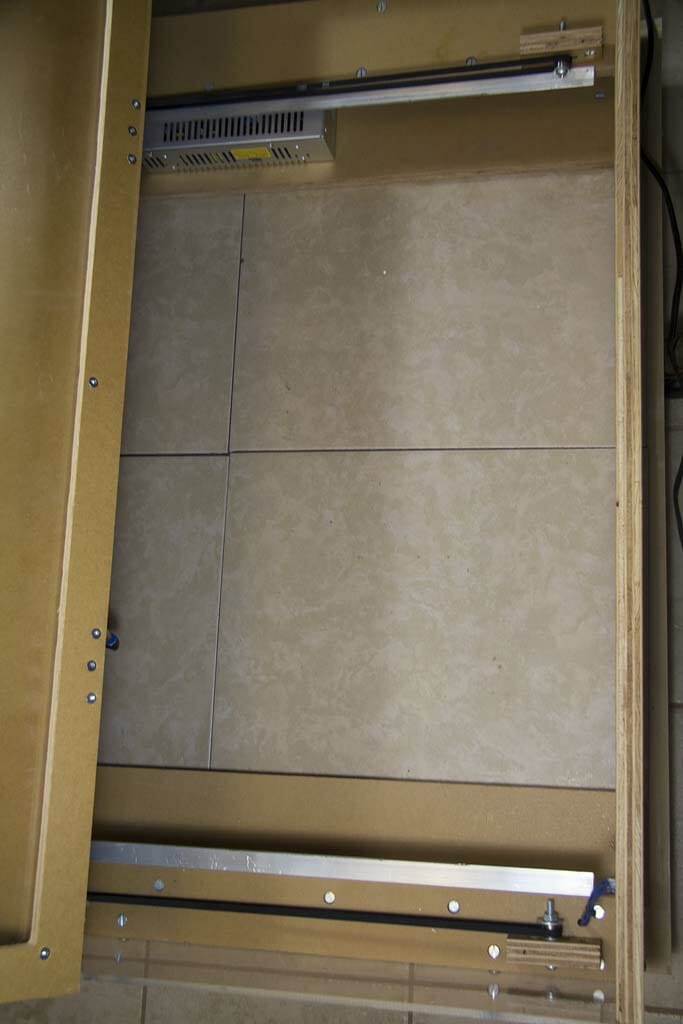
I promptly built a low dolly out of plywood for the Blacktooth. This made it possible to push it under the main workbench in the studio when not in use.
Since the bottom of the Blacktooth is open, using the wood of the dolly as a backstop for cutting with the laser seemed like a bad idea. I covered the top of the dolly with large heavy ceramic tiles. While a 40-watt CO2 laser may be able to etch into the surface finish of the tile, it won’t be able to cut through it or heat it up enough to ignite the dolly.
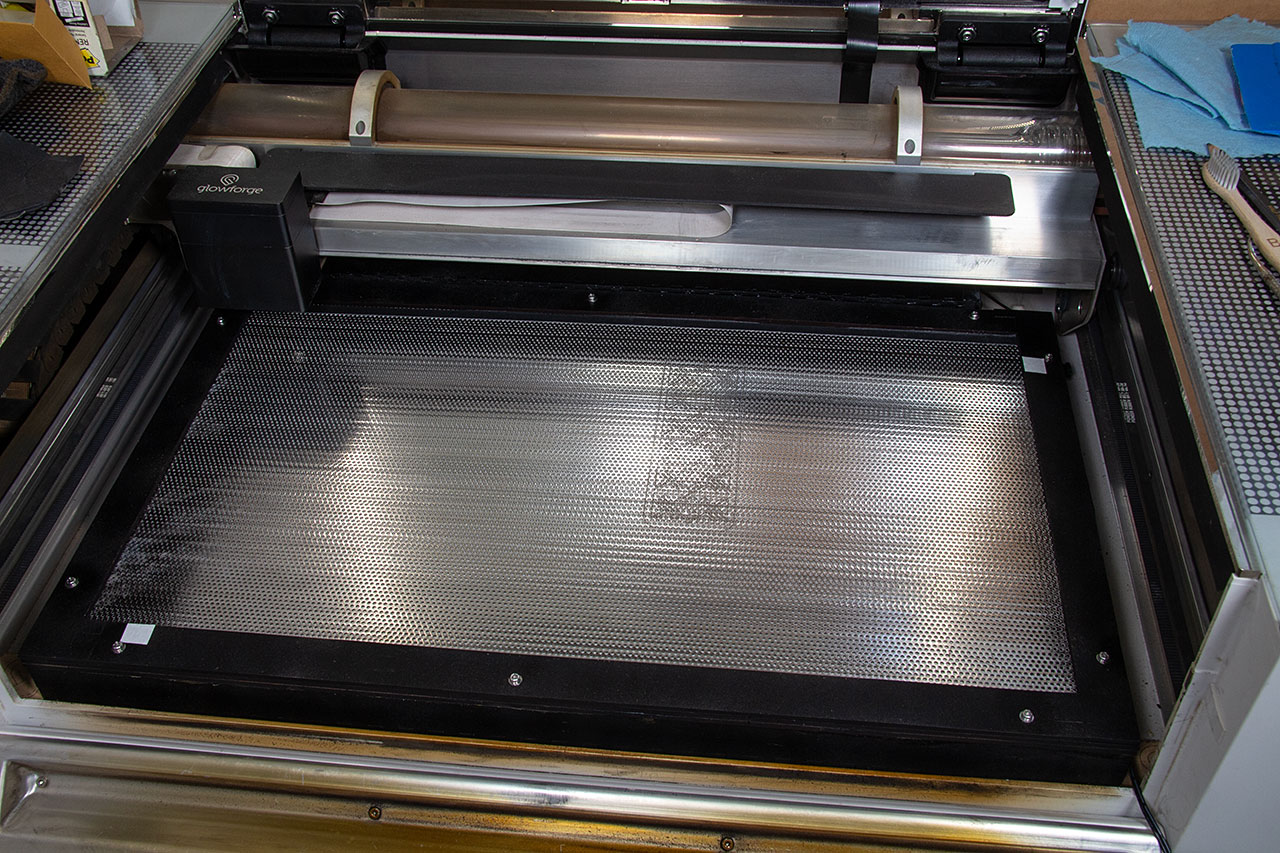
I also purchased a steel “honeycomb” or “egg crate” tray. These make an excellent work surface. It reduces flashback (where the laser cuts through something and, reflects off of the surface behind it to damage the back of the stock being cut) and, makes it possible to use strong magnets to hold down lighter weight stock (like paper).
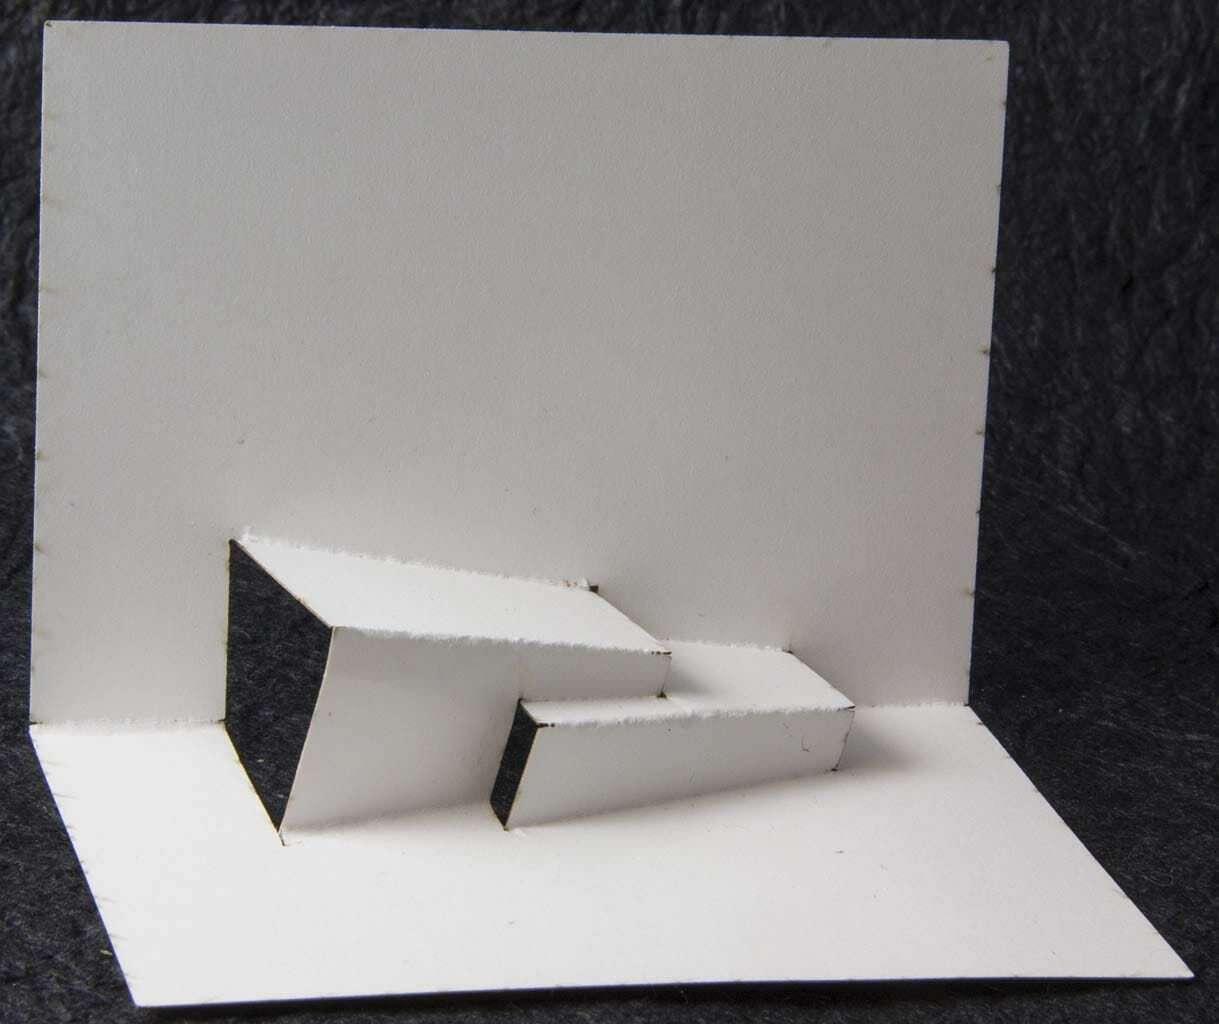
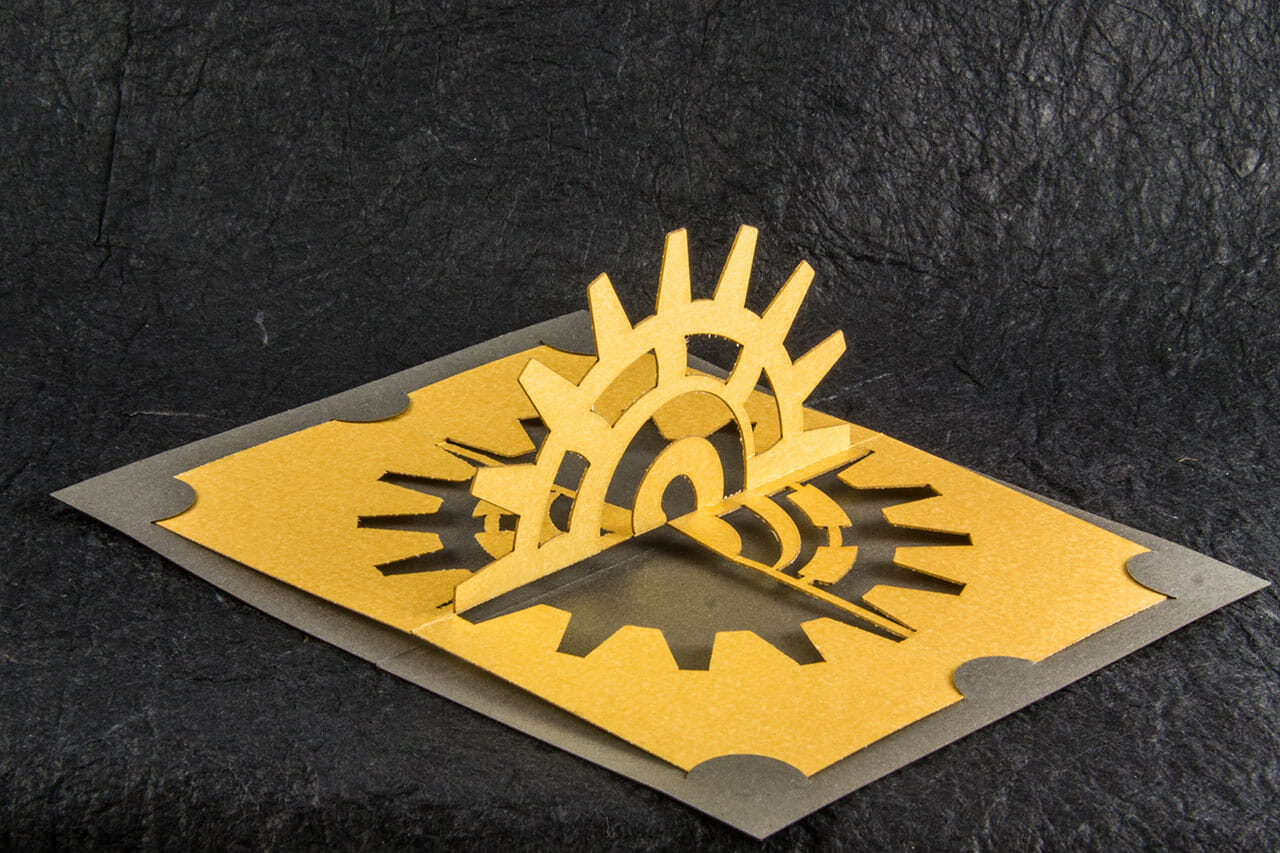
I design and build a style of paper art pop up cards called origamic architecture. I had borrowed time on commercial laser cutters to produce some of my designs and, had always wanted my own laser for prototyping and production. So, I was very eager to get the Blacktooth working for that.
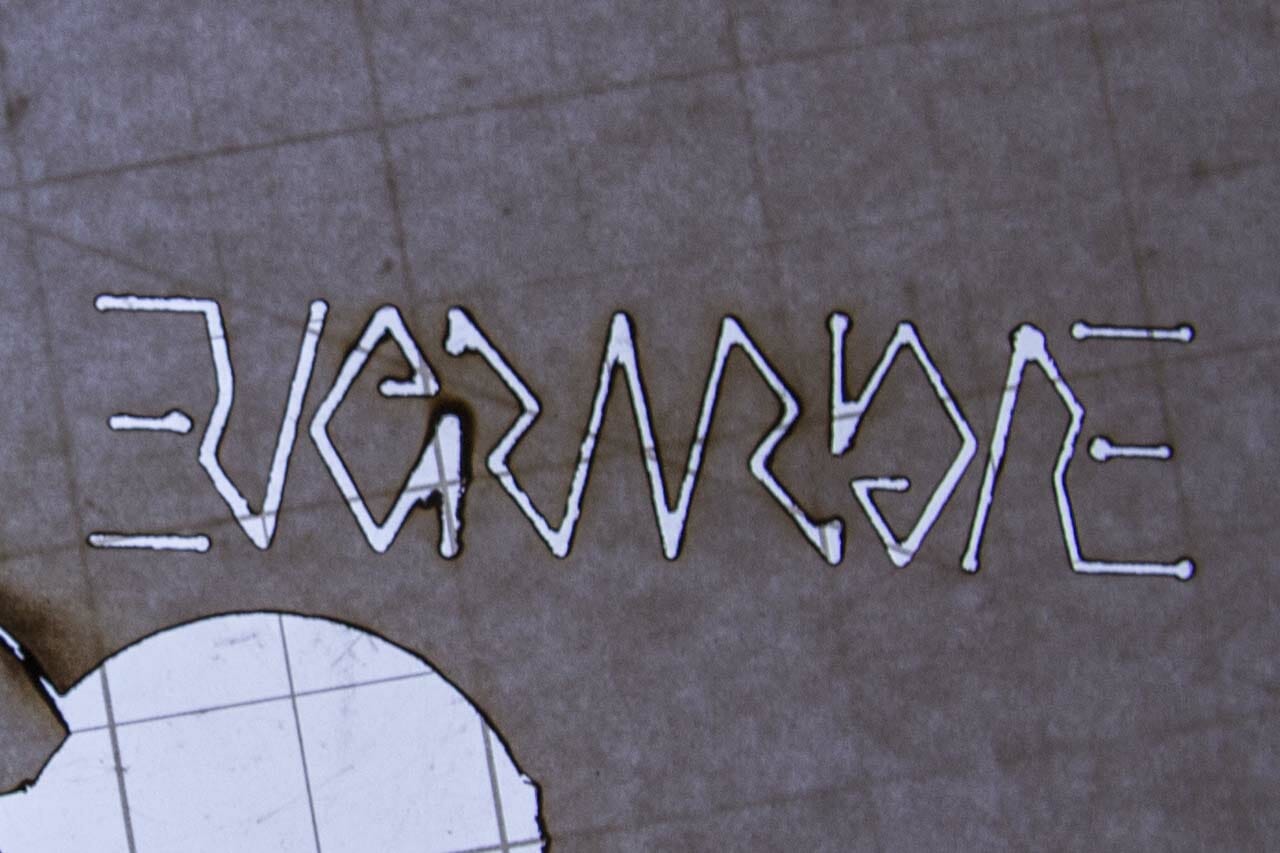
The gcode I was able to generate for the Blacktooth turned out to be unsuitable for cutting paper. For each vector cut, the laser would turn on. Then, the cutting head would move along the vector, stopping at the end. Then, the laser would turn off. This caused the laser to dwell at the start and end of each cut, producing a pronounced dot. While unlikely to be a serious problem on most heavier materials, this is completely unworkable for paper.
While I found other Blacktooth users who claimed to have resolved this issue, their CAM settings did not work for me. This is likely because their machines were significantly modified from the stock Blacktooth I was using.
It became clear to me that I would have to make some of these modifications to get the Blacktooth any closer to usable for my purposes.
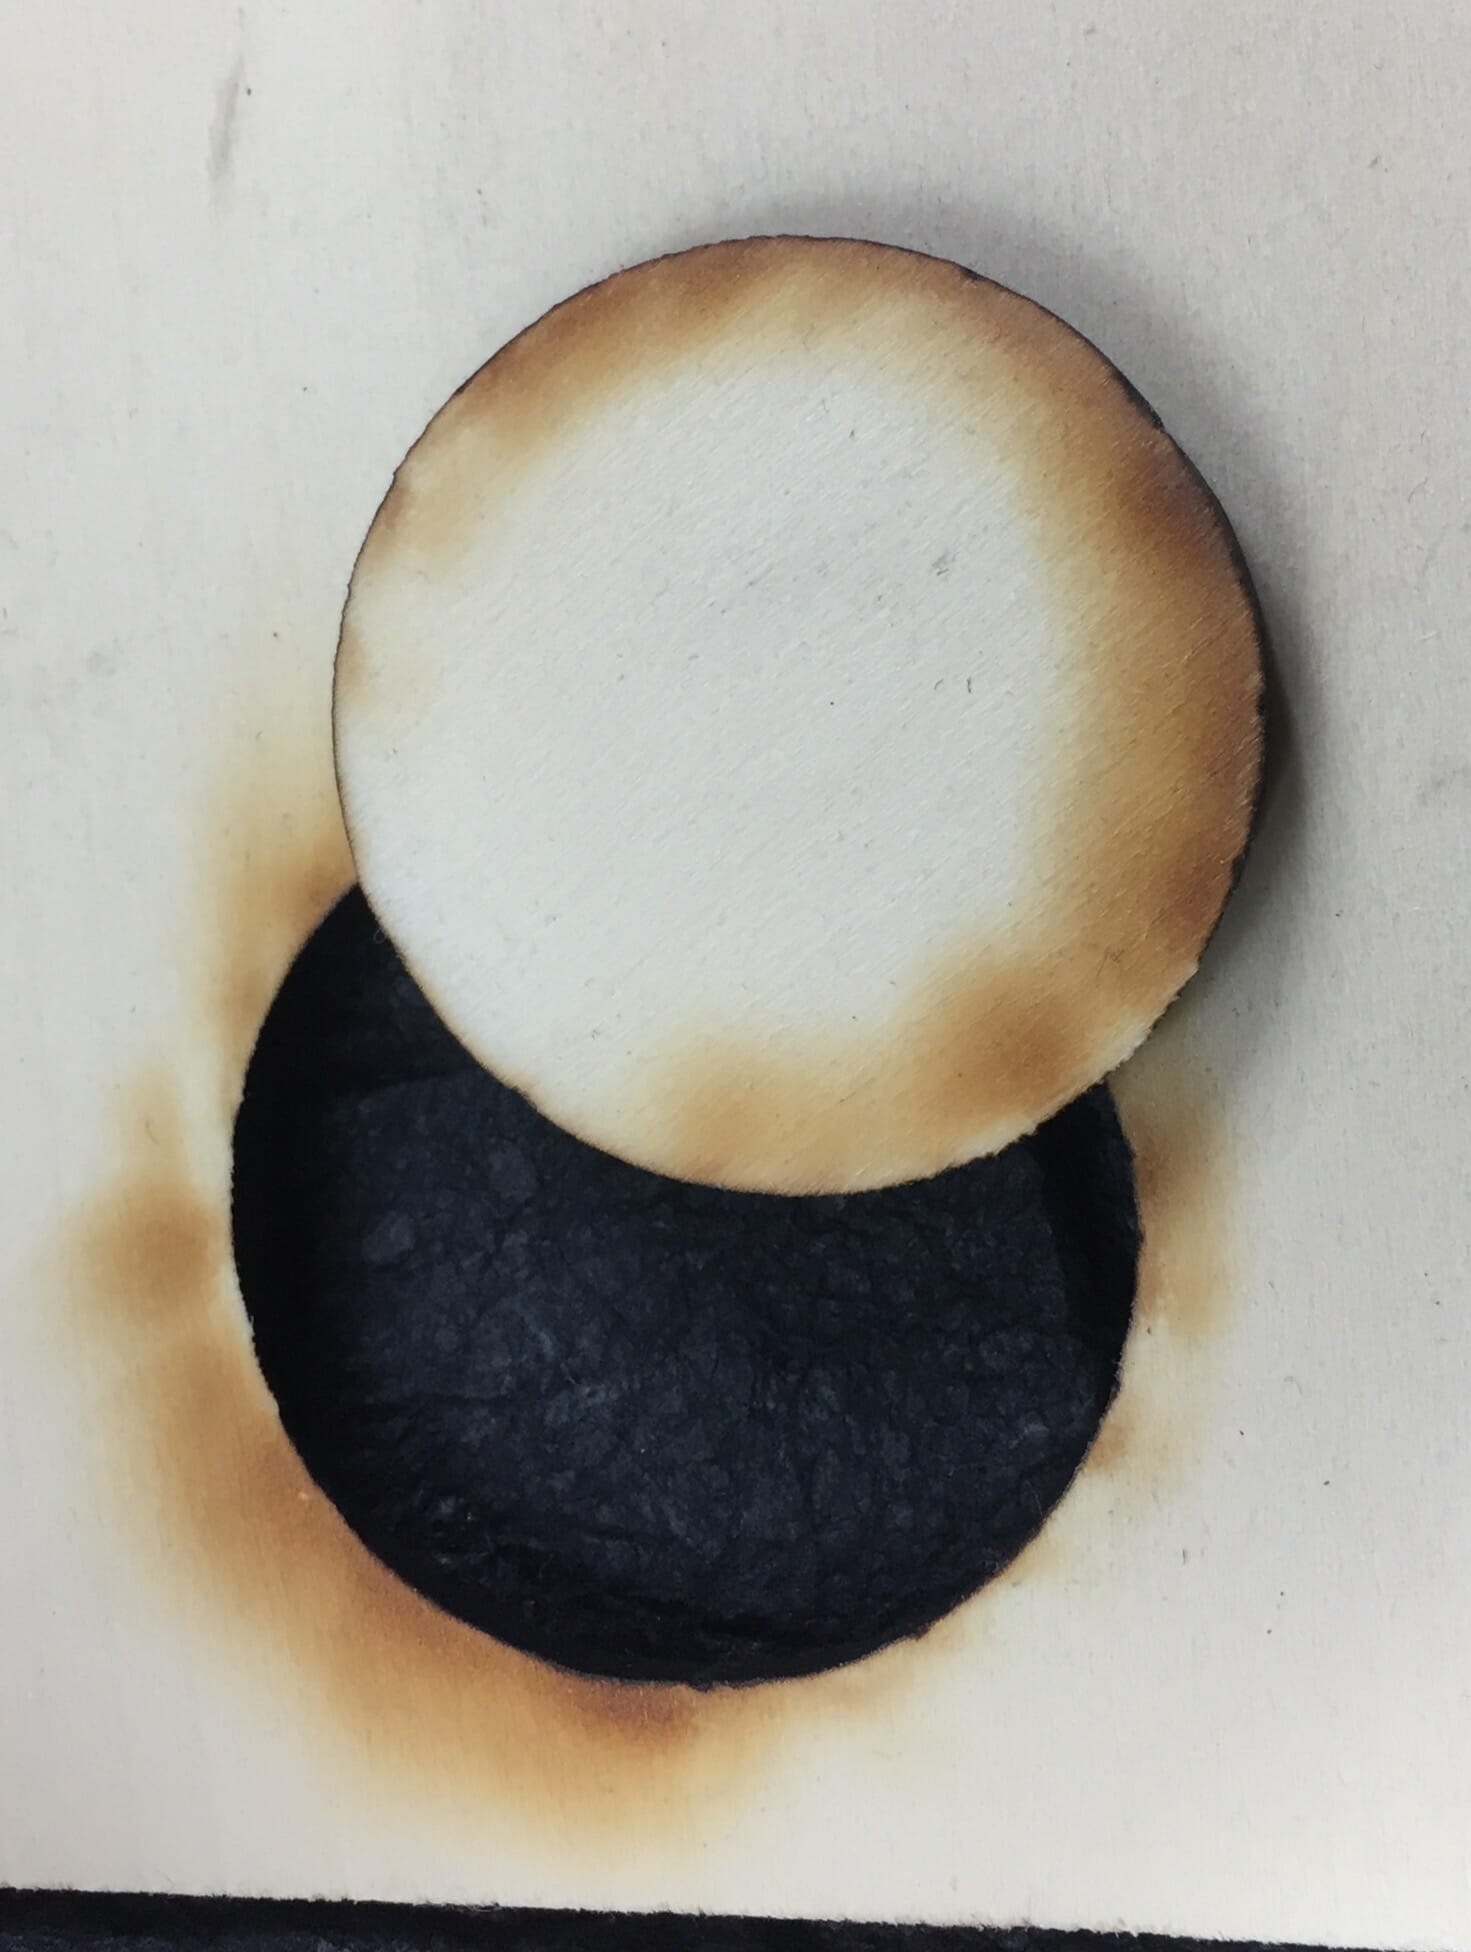 I did experiment briefly with cutting 1/8” hardwood ply with the Blacktooth. I cut a well-charred circle at something shy of full power with multiple passes. I also etched some lines into a piece of MDF. Now that I have a little more experience working with those on other machines, I can see where masking and a different approach would likely yield better results.
I never tried a raster engrave on the Blacktooth. I saw some other people’s experiments and, concluded that a DSP was really the best route to getting acceptable results.
By far the most popular upgrade for Blacktooth owners is a digital signal processor (DSP). In fact, later iterations of the Blacktooth from BuildYourCNC include a DSP.
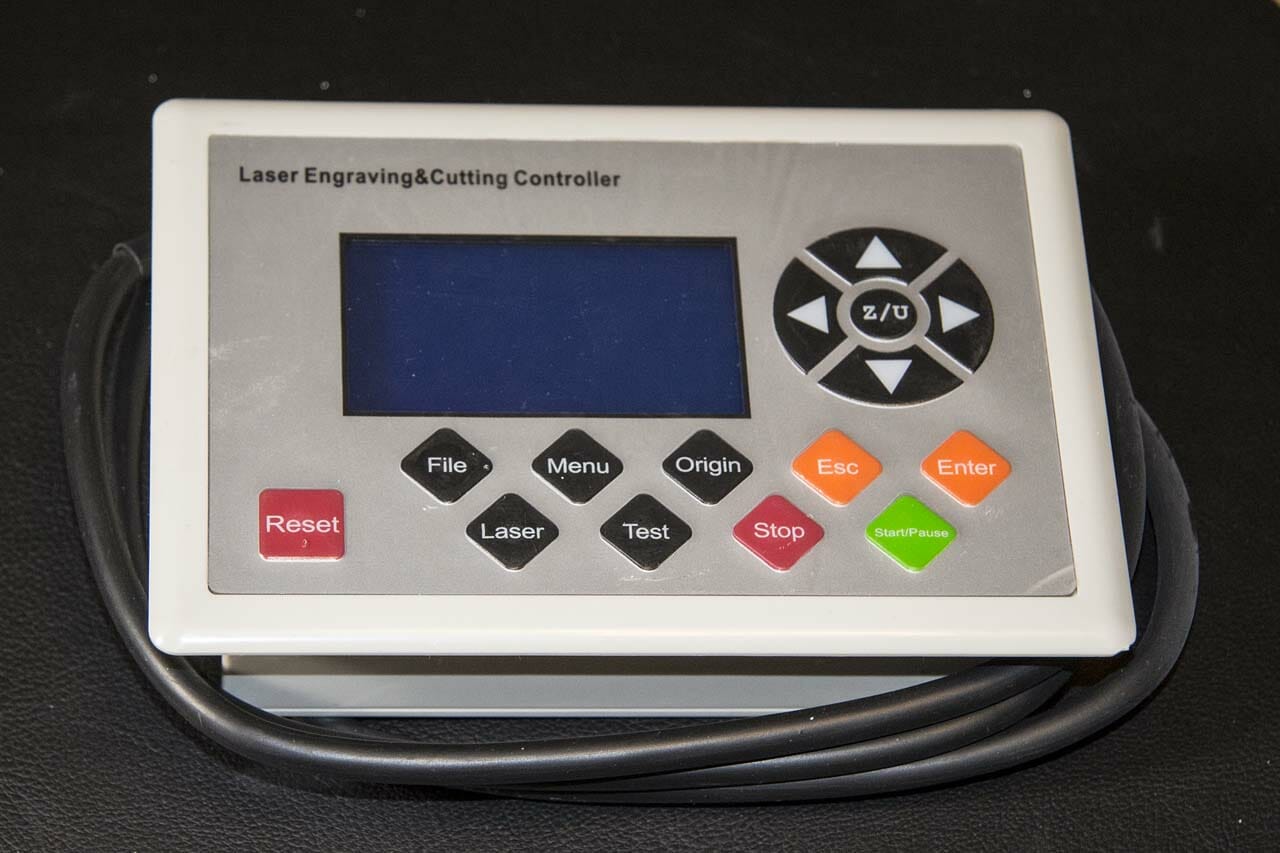
I ordered the DSP most people seemed to be using (an AWC608). I checked with BuildYourCNC for some details on wiring it in and, got back some terse preliminary notes and, a promise that they would eventually have more detailed instructions.
While I do build and repair computers and have done some electronics work, rewiring idiosyncratic devices with high voltages and fragile, high-priced components is towards the edge of my comfort zone. So, my Blacktooth is currently sitting with its un-connected DSP gathering dust.


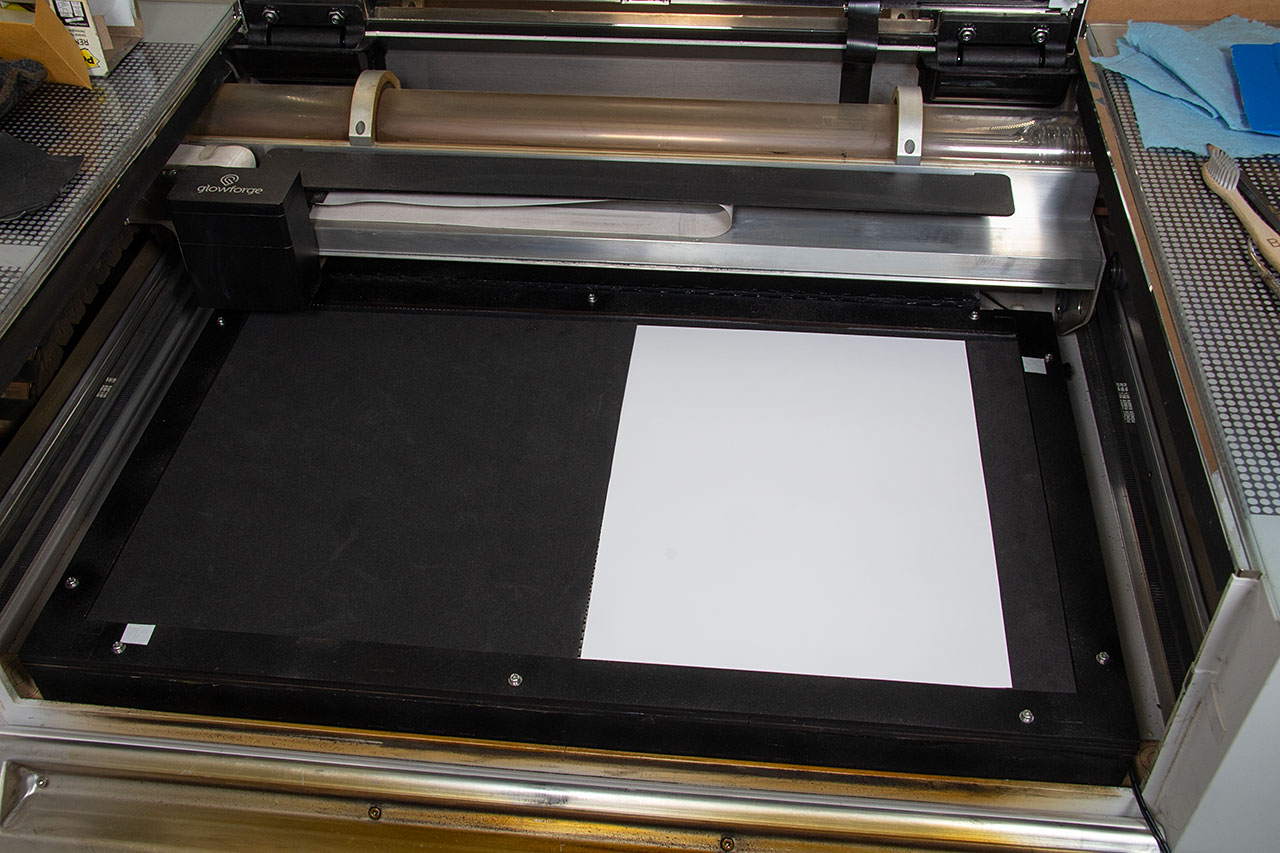
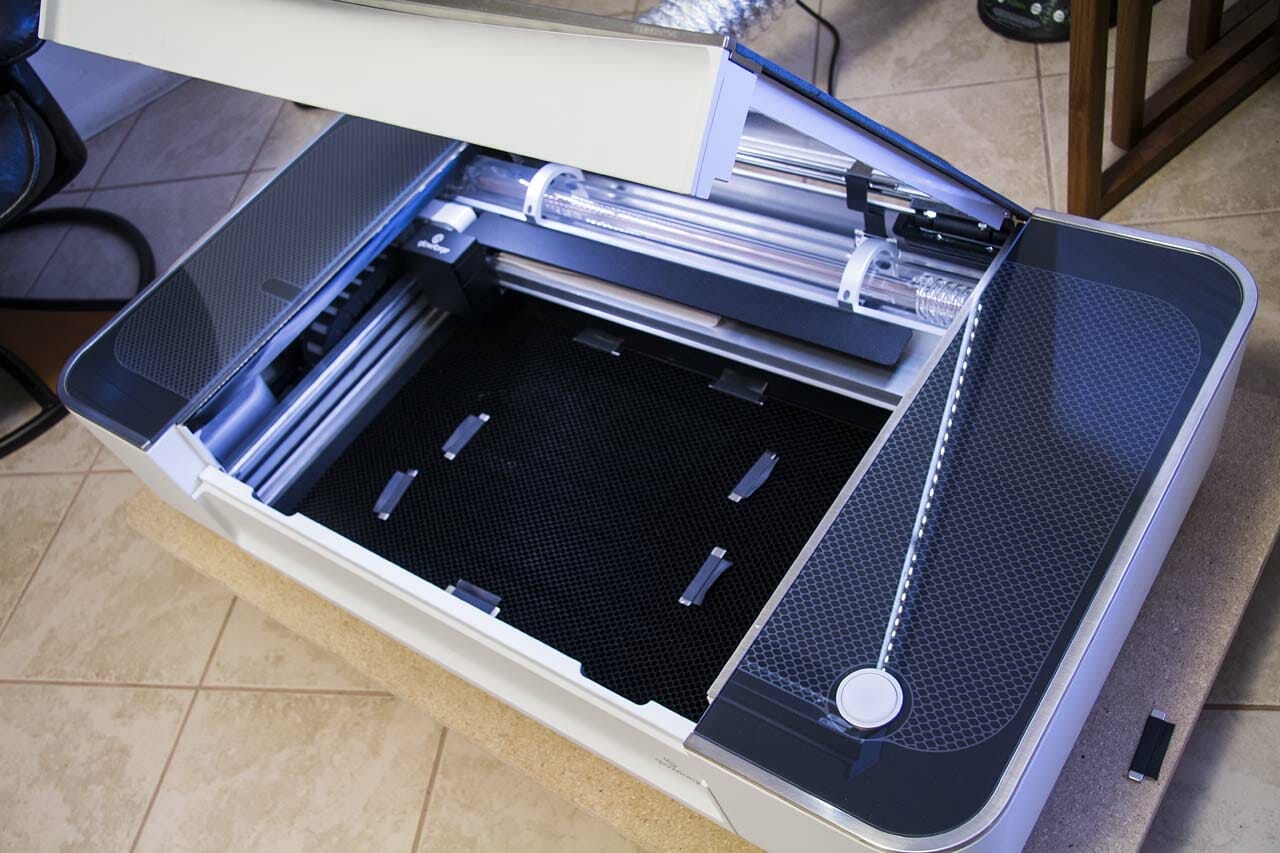
I have been working with the new Glowforge laser cutter for several weeks now and, thought it was a good time to post about it.
I first learned about the Glowforge project in July of 2015. A lower-cost laser cutter developed with a focus on usability sounded fantastic and, their early prototypes looked great. I have worked with a number of other laser cutters over the years, including units from Universal and Epilog (and, of course, the Blacktooth, which still needs a follow-up post). They remained impractical for studio use for various reasons.
My main concern about the Glowforge was their intent to use cloud-based software for operating it. If you have talked to me much or, read other things I have written, you may be aware that I am not a big fan of that sort of thing. Thanks to XOXO, I was able to talk to the developers and, they allayed my fear on that count somewhat. There are now also developers working on custom firmware for the machines at the OpenGlow project.
With shipping expected with a few months, I finally pre-ordered a Glowforge on the very last day of their campaign. In the great tradition of ambitious startups, it ended up taking a bit longer for them to actually ship production units …
So far, my Glowforge has proven worth the wait. It is easy to use and, I was up and running within an hour of its arrival. While I have found the learning curve so far fairly shallow, be aware that I already had quite a bit of experience with vector graphics, CNC, cutting machines, other laser cutters and, technology in general. The most common challenges I see people facing in the user forums are conceptual issues like not being familiar with creating vector images.
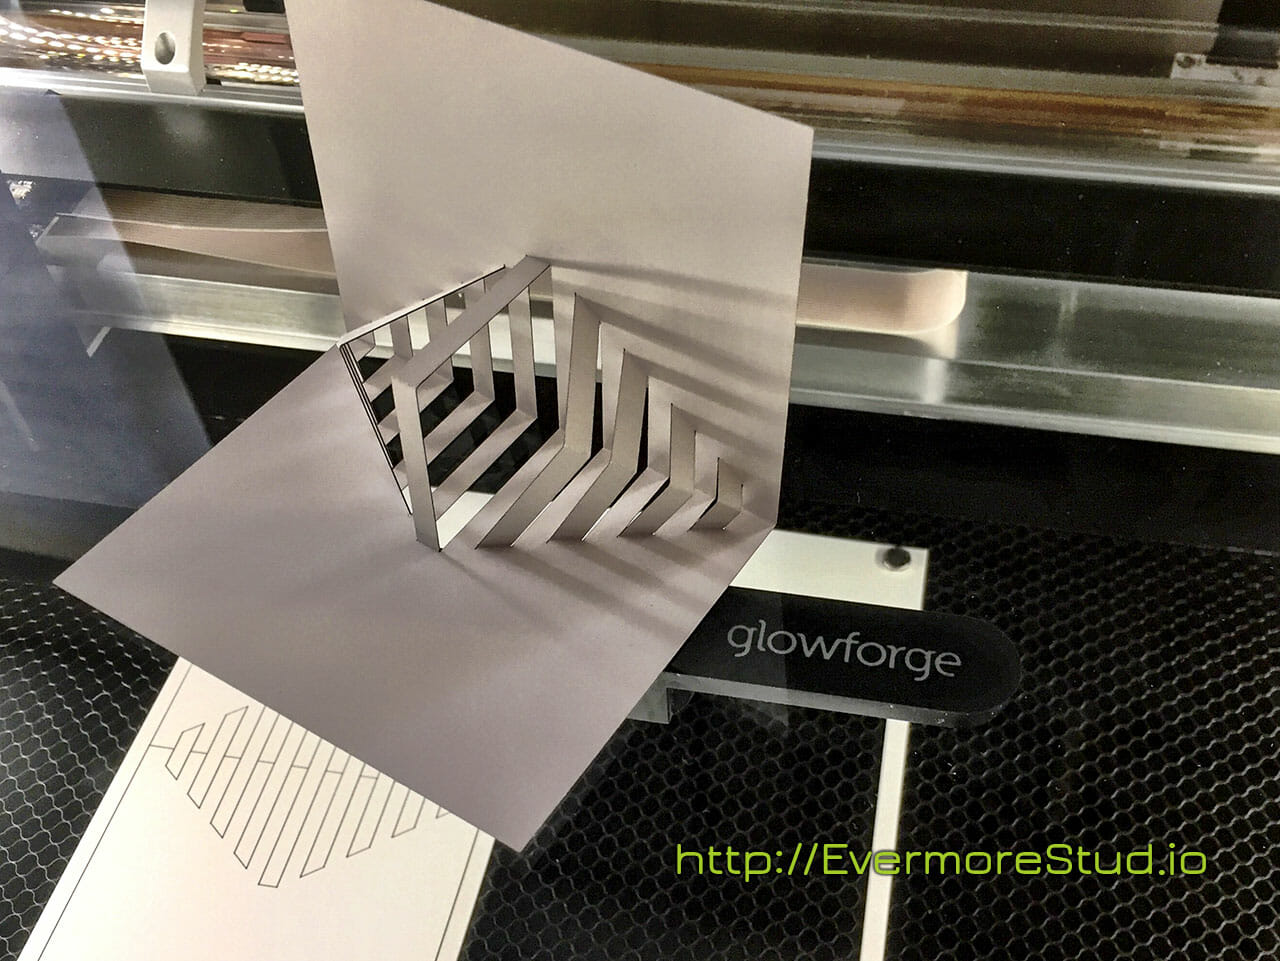
The Glowforge does not entirely obsolete CNC “craft” cutting machines like the Gazelle. There are still cases where that will continue to be the best choice, particularly for the paper art projects. I will likely post more about that at some point. One good example was an attempt to cut one of my Helical Heart cards. I use a stock with a particularly sumptuous finish for those. While the Glowforge did a fantastic job cutting the design, the heat of the laser bruised the stock along each cut – note the particularly pronounced damage on the inner point of the outermost heart. This stock has a particularly fragile finish, though and, I haven’t run into this with any other stock, yet.


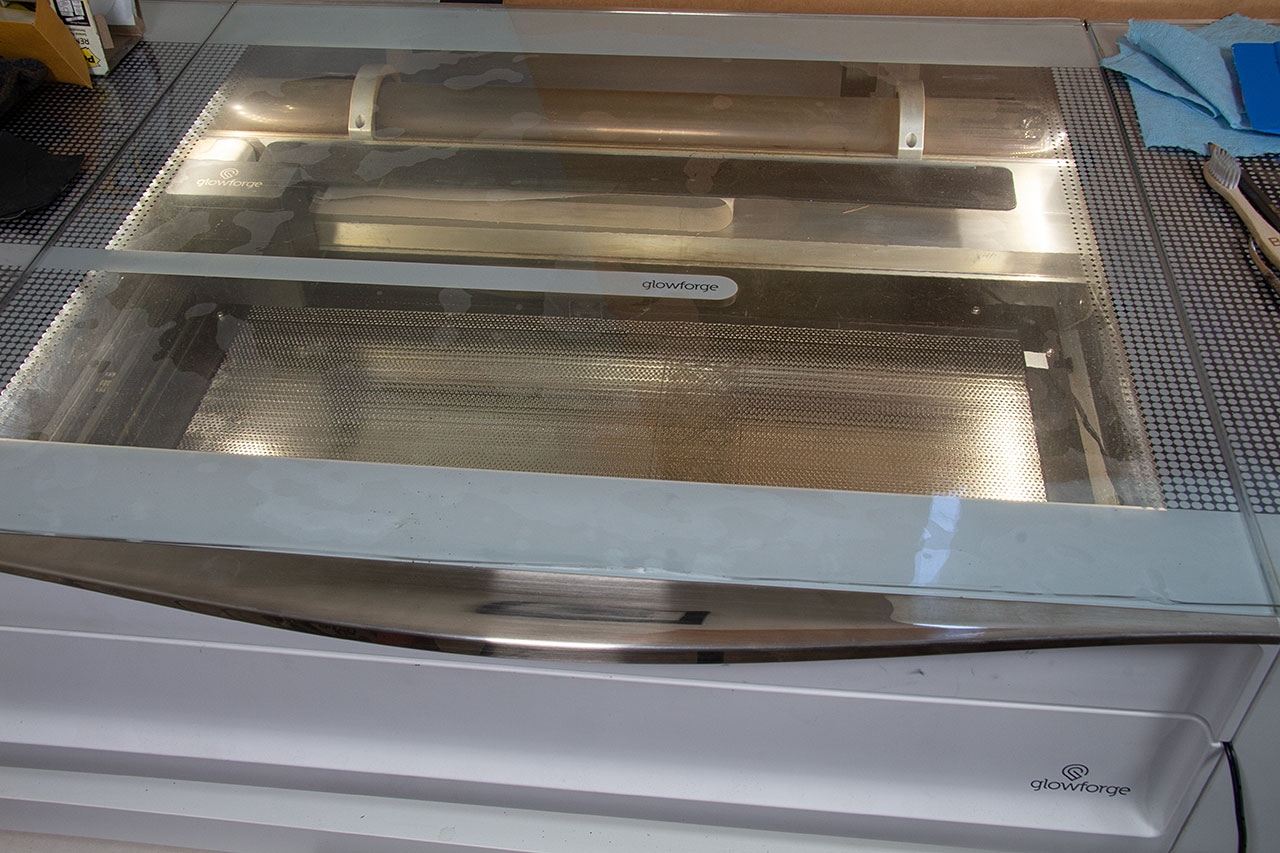
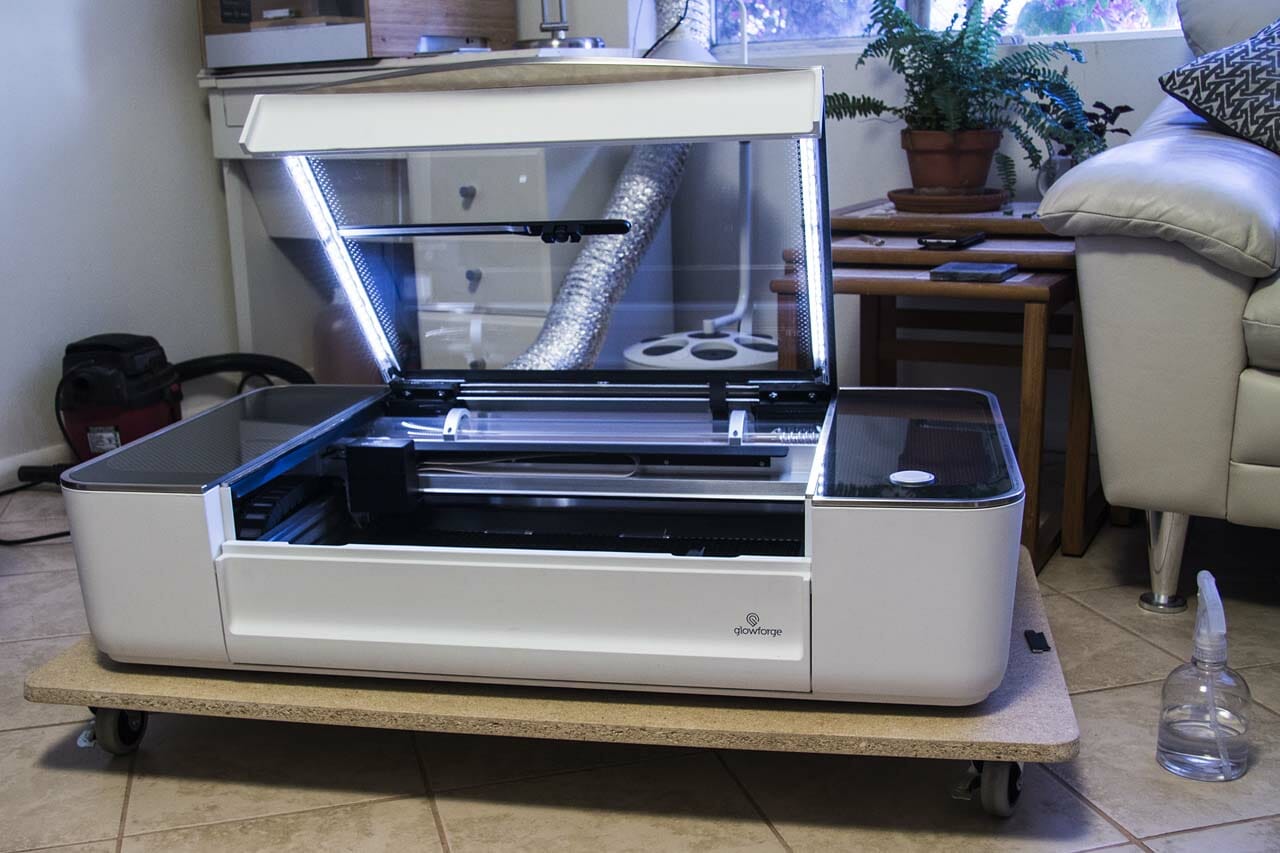
[Updated] I pre-ordered my Glowforge with a filter unit that is intended to allow it to operate indoors without venting to the outside. Filtering laser exhaust is difficult and important to get right. At this point (May 2018), the filter units are still not shipping. In order to use my Glowforge, I built an acrylic panel with a vent hose connection that slots into the studio window.

