I played with some green screen chromakey stuff for video last year. It’s a bit fiddly to get the screen and the subject lit right for it to work well.
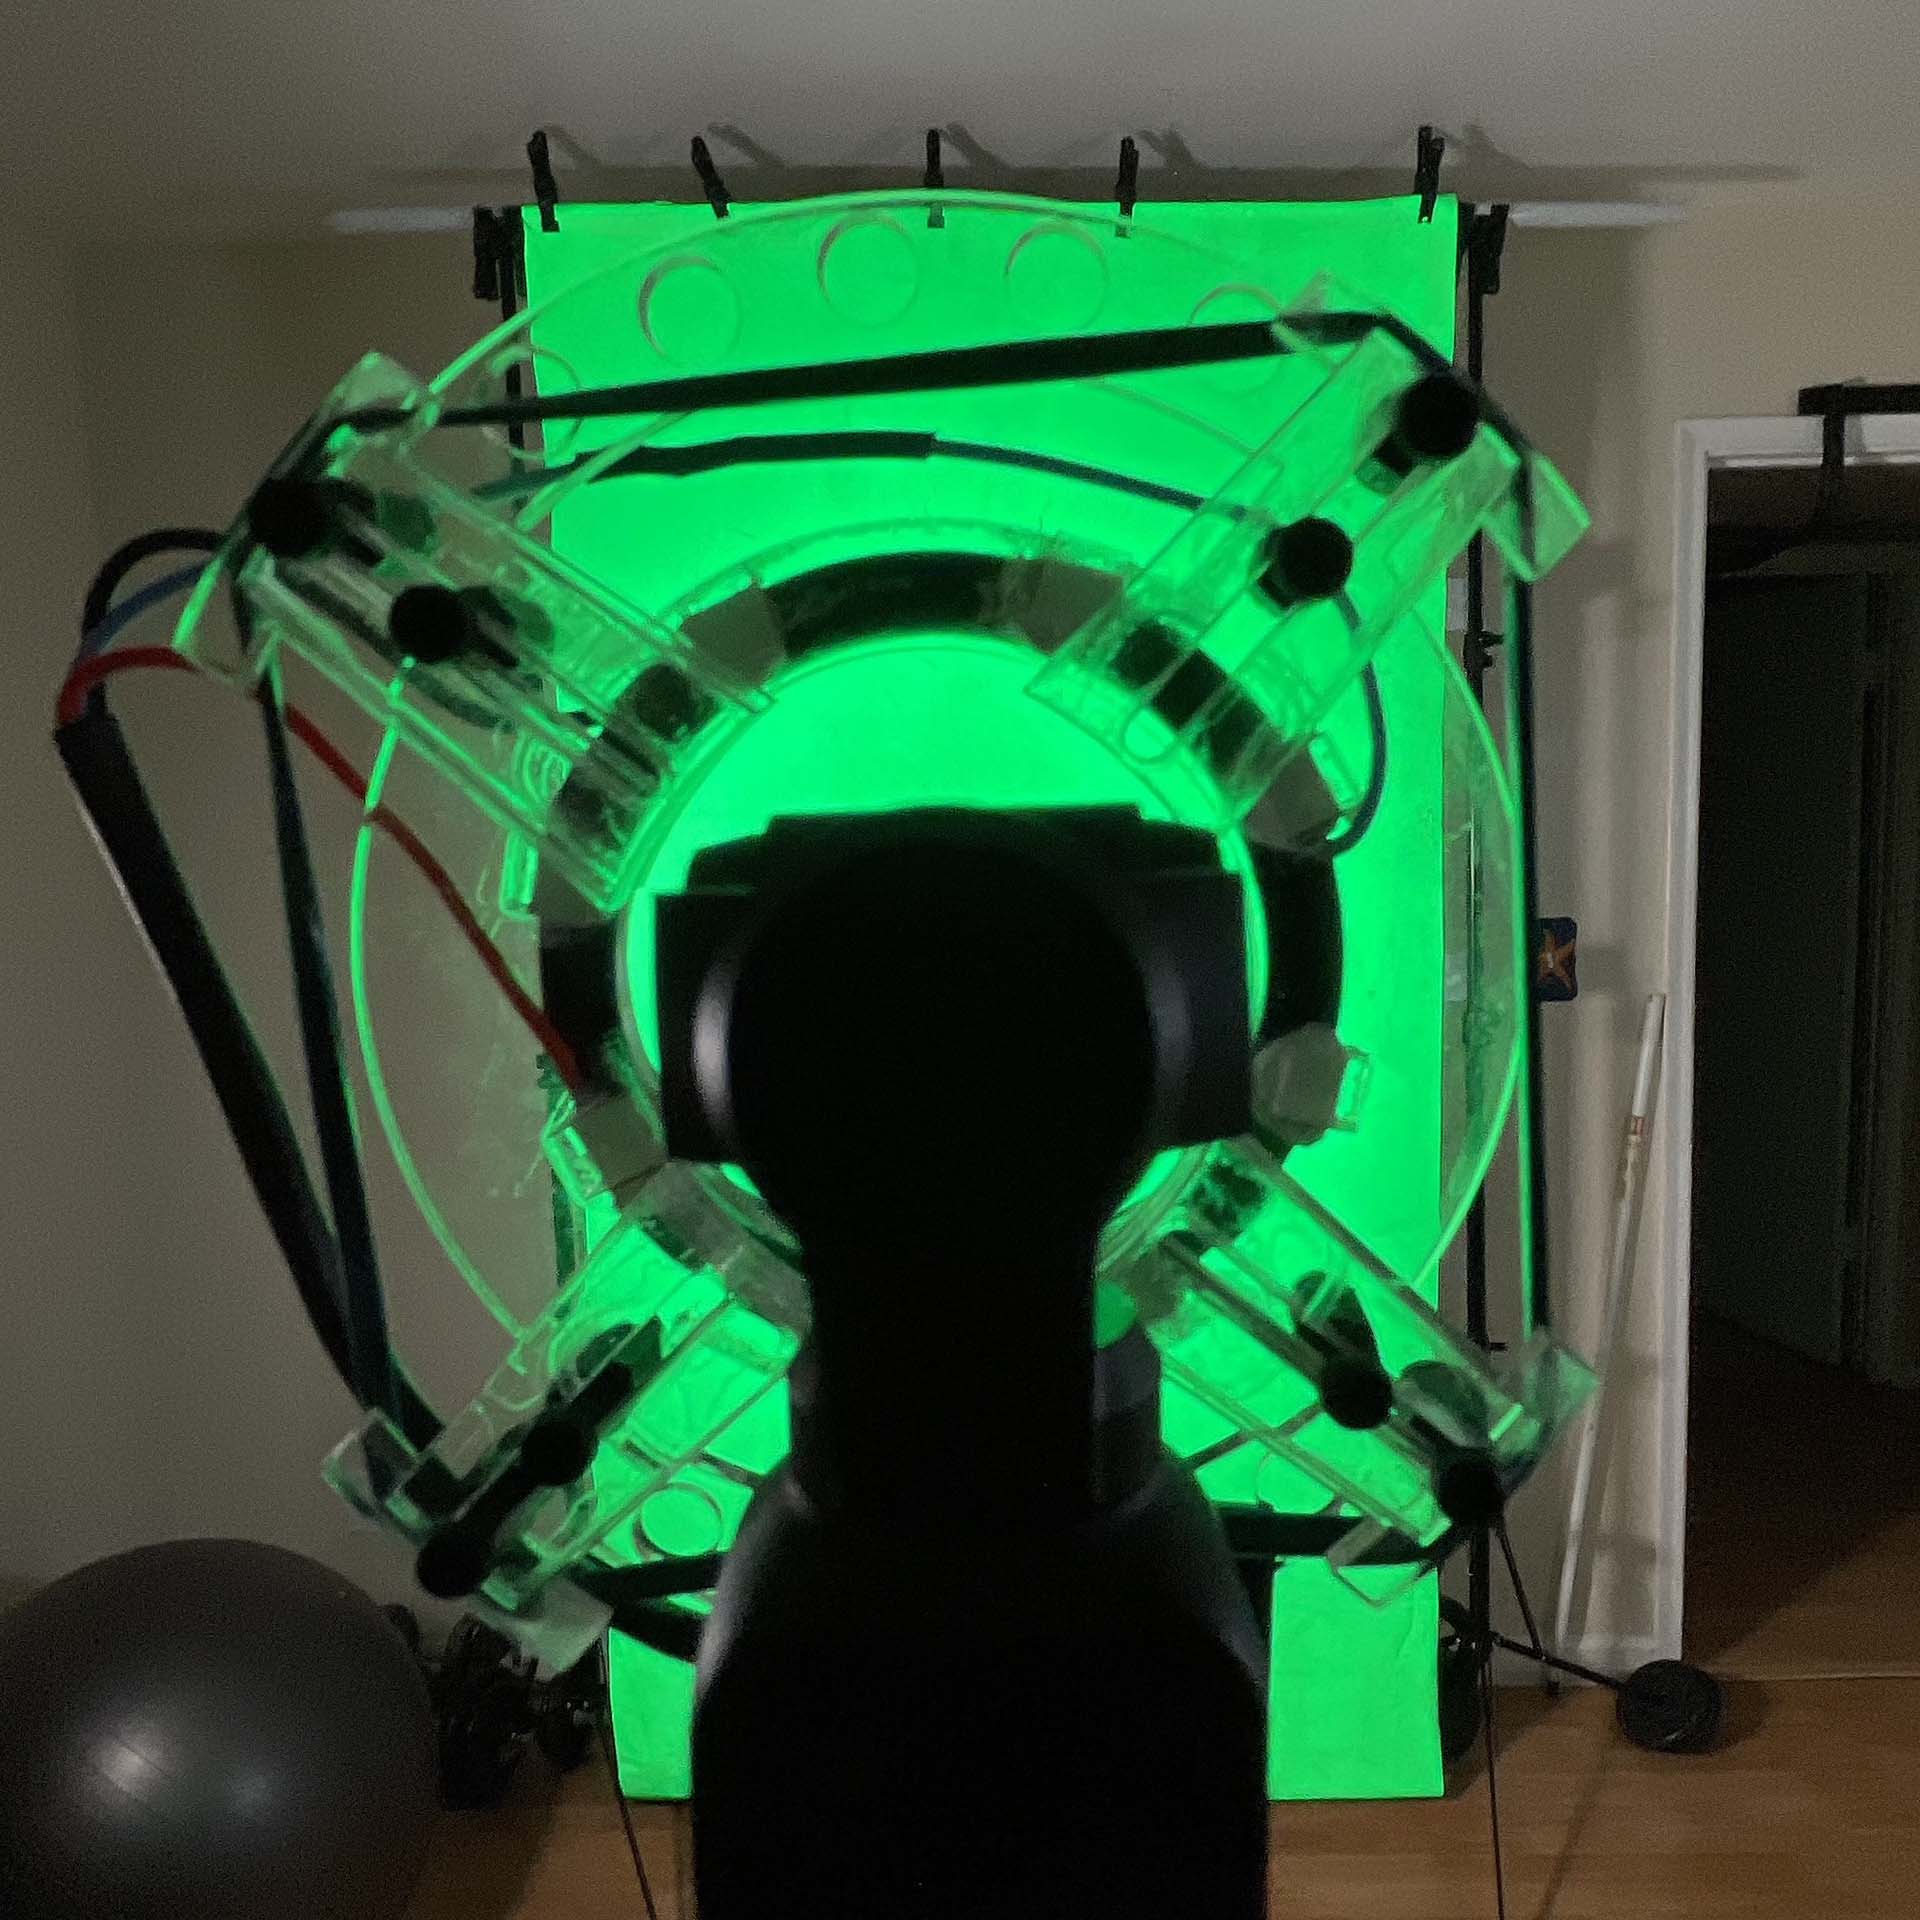
I was excited to learn that it was possible to get better results with a retroreflective screen and a colored light ring. The general idea is that the fabric reflects the light back in the same direction from which it came. By shining even a relatively dim colored light at the screen from right around the camera lens, you get an almost perfectly-even colored background. It is much less sensitive to the subject’s distance from the screen, etc.
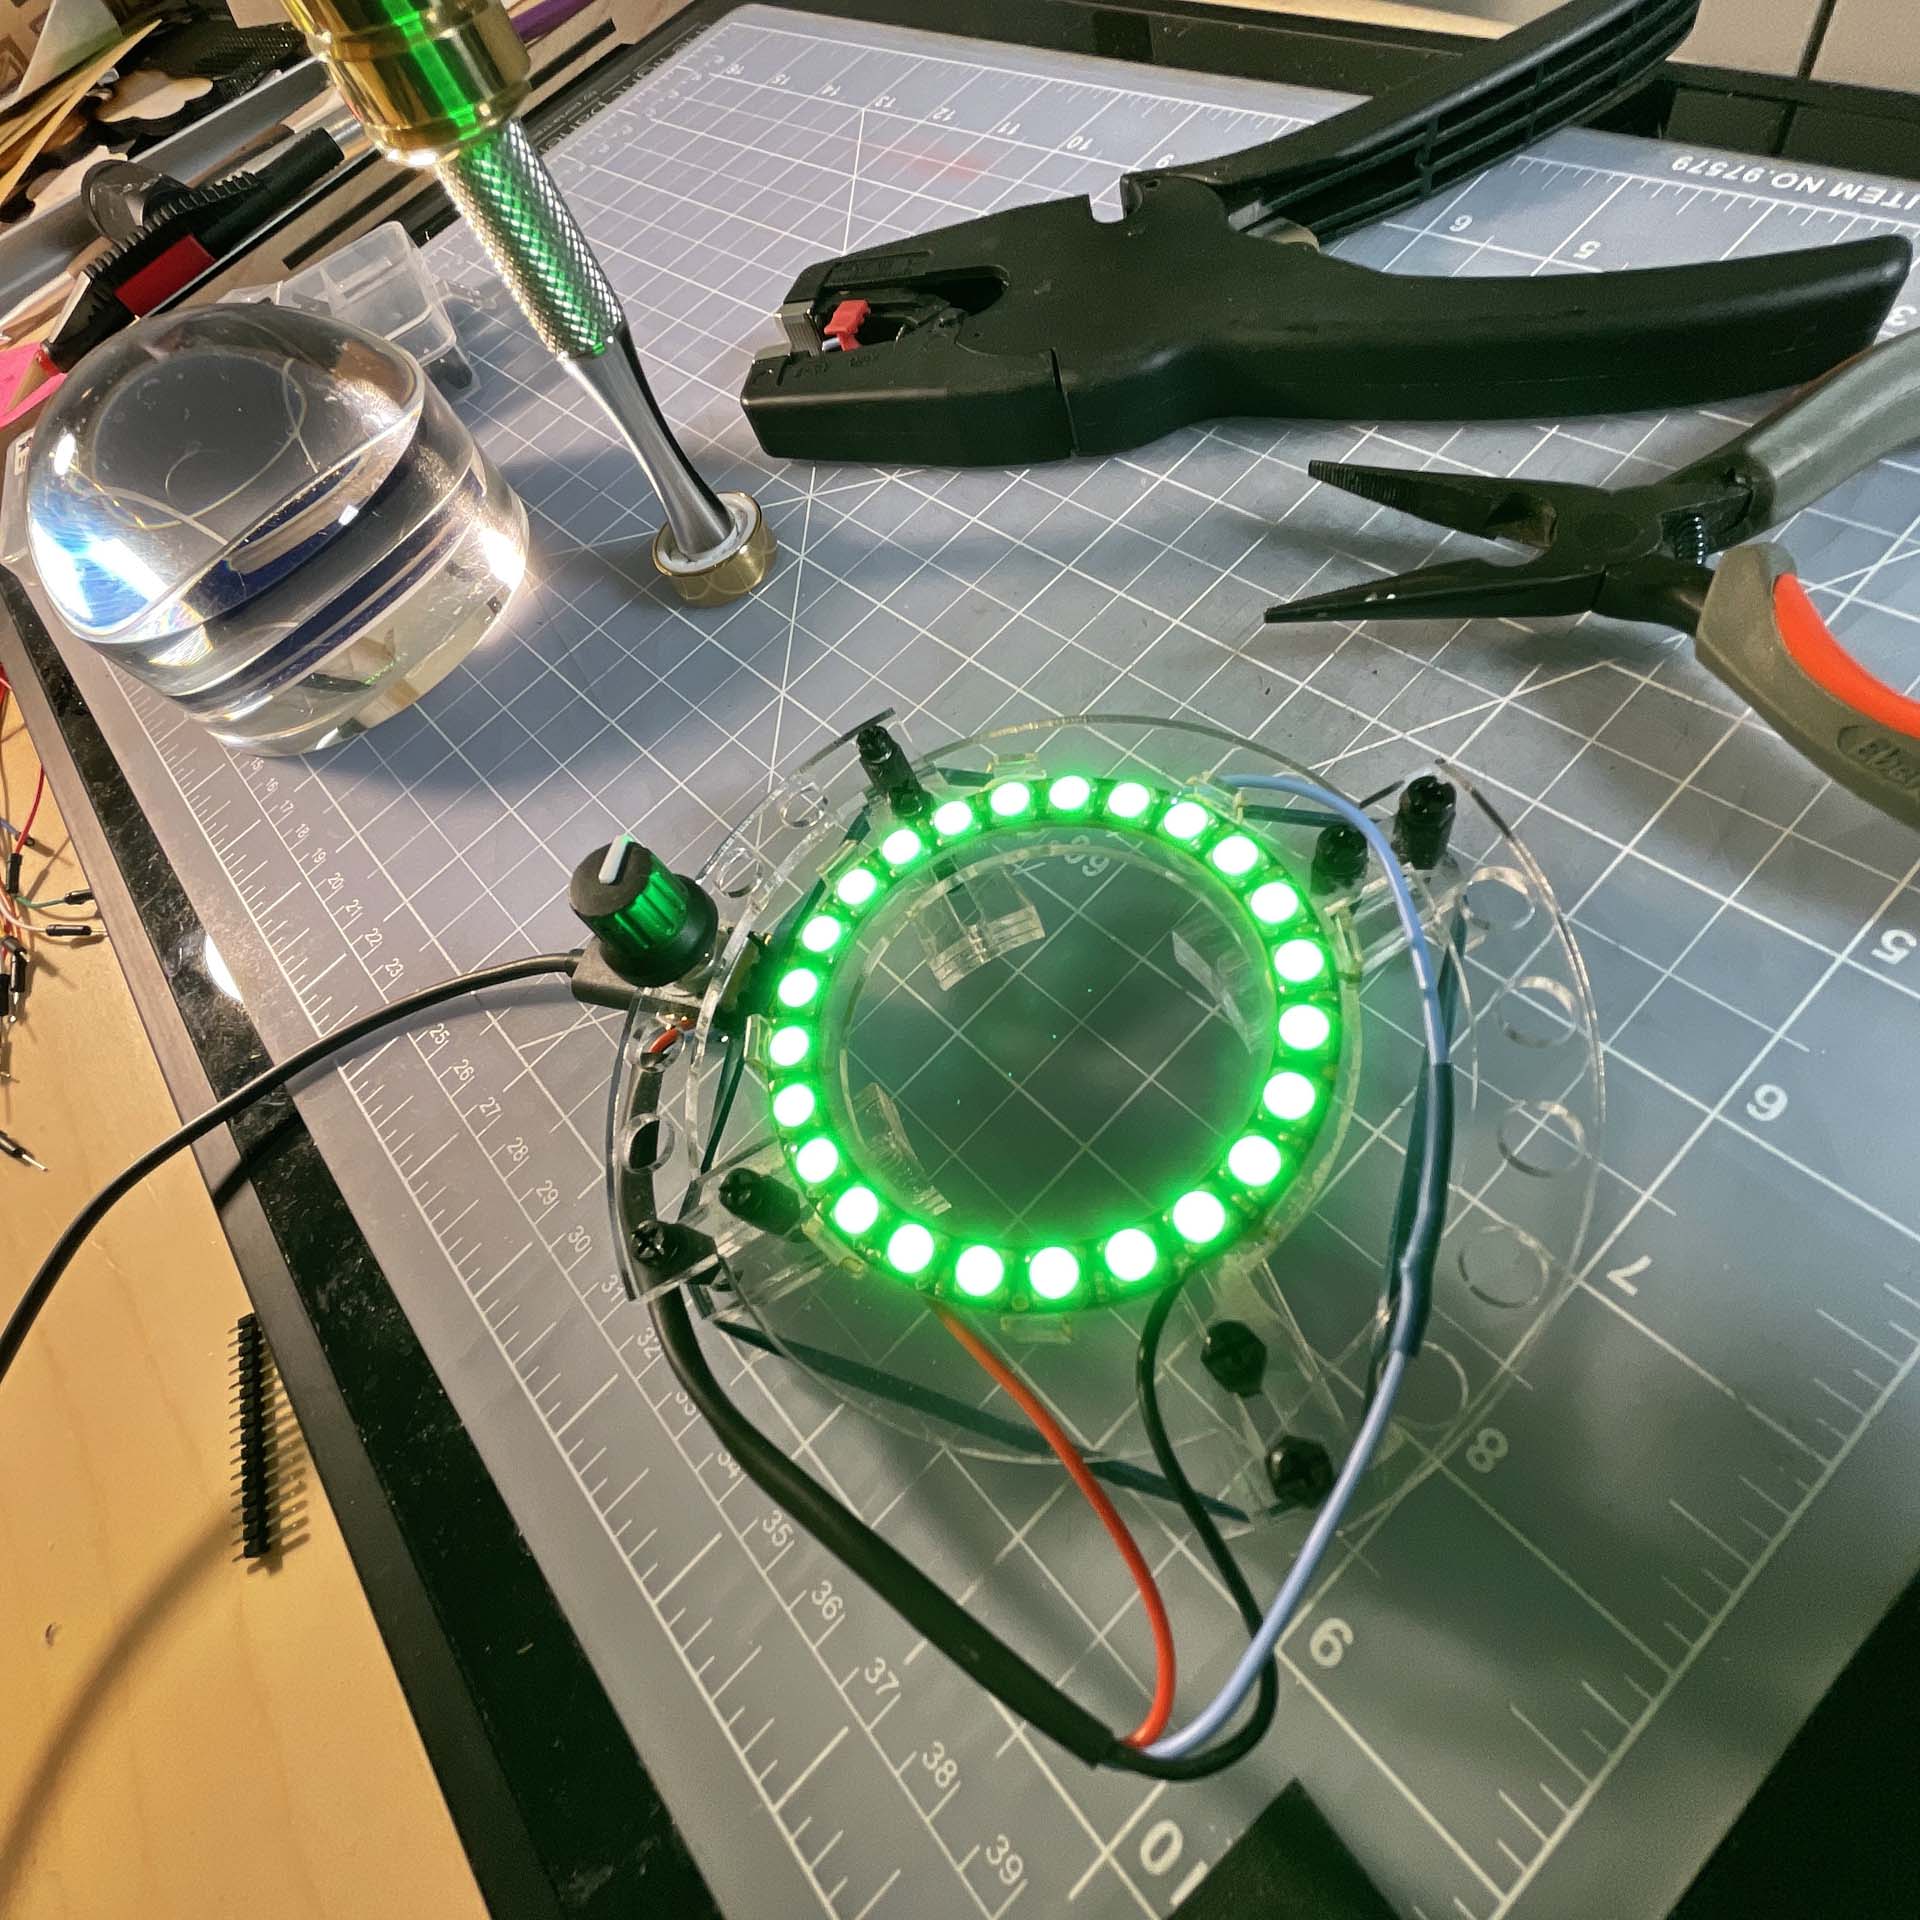
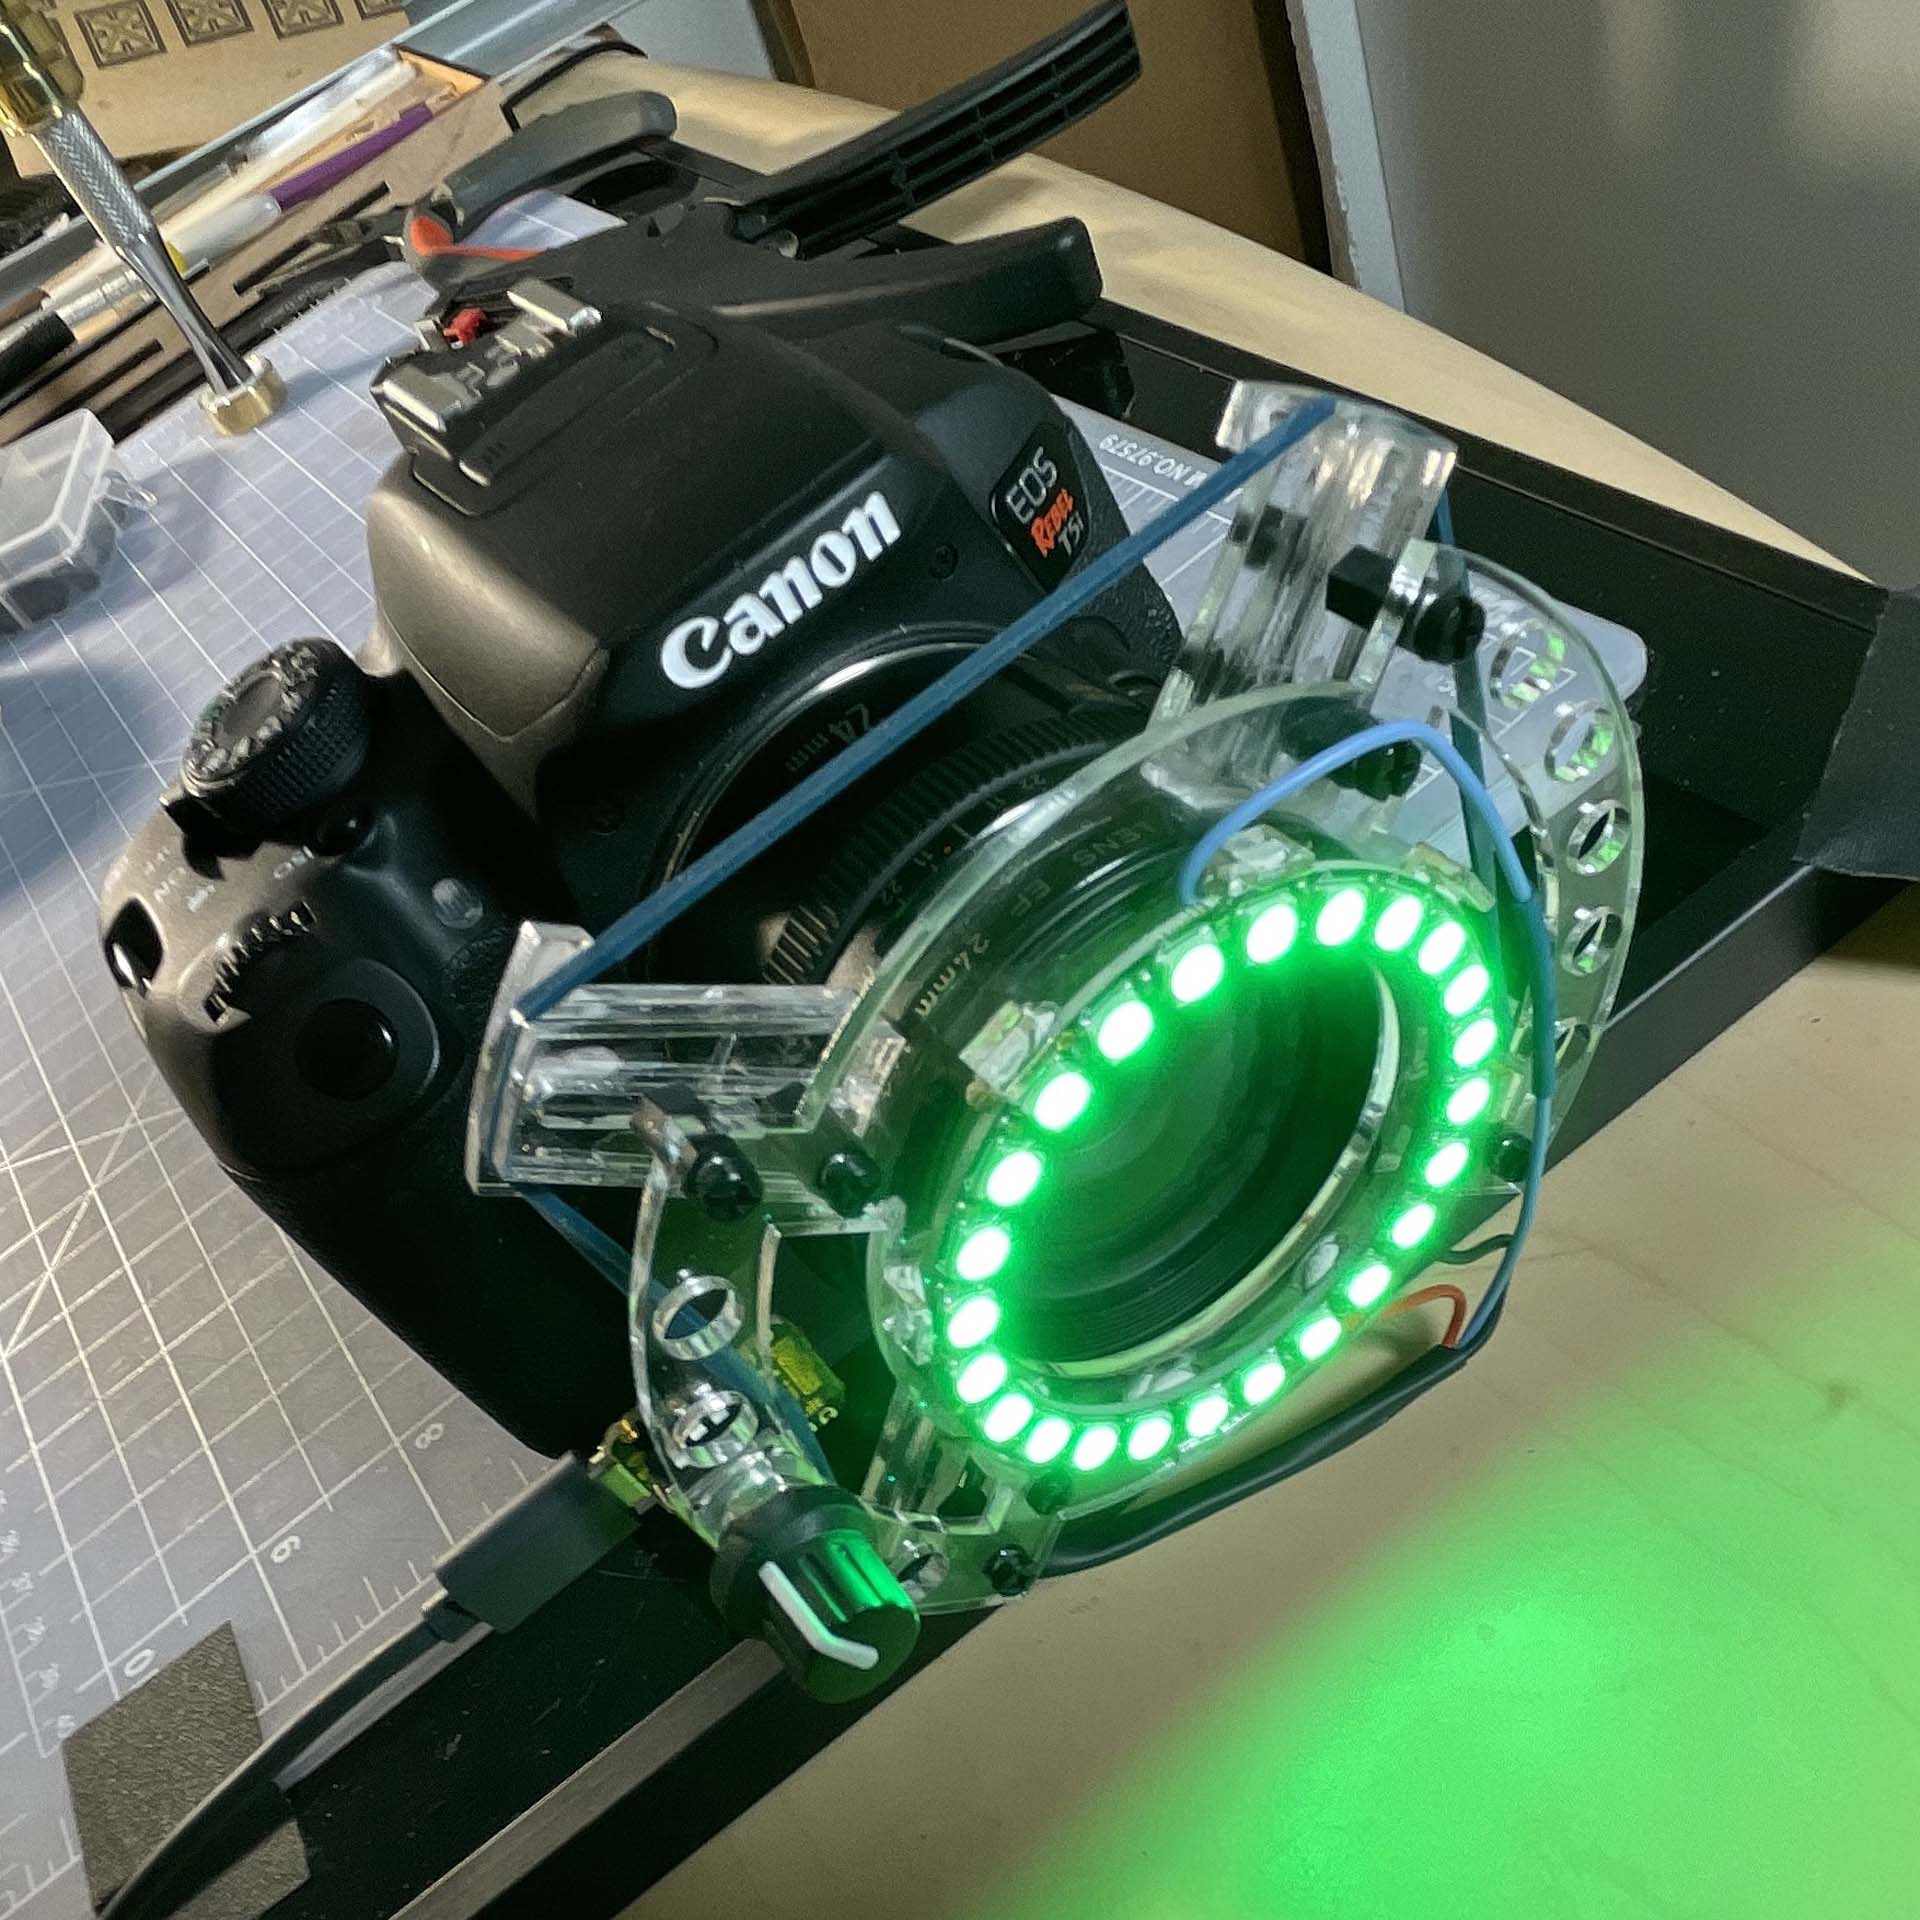
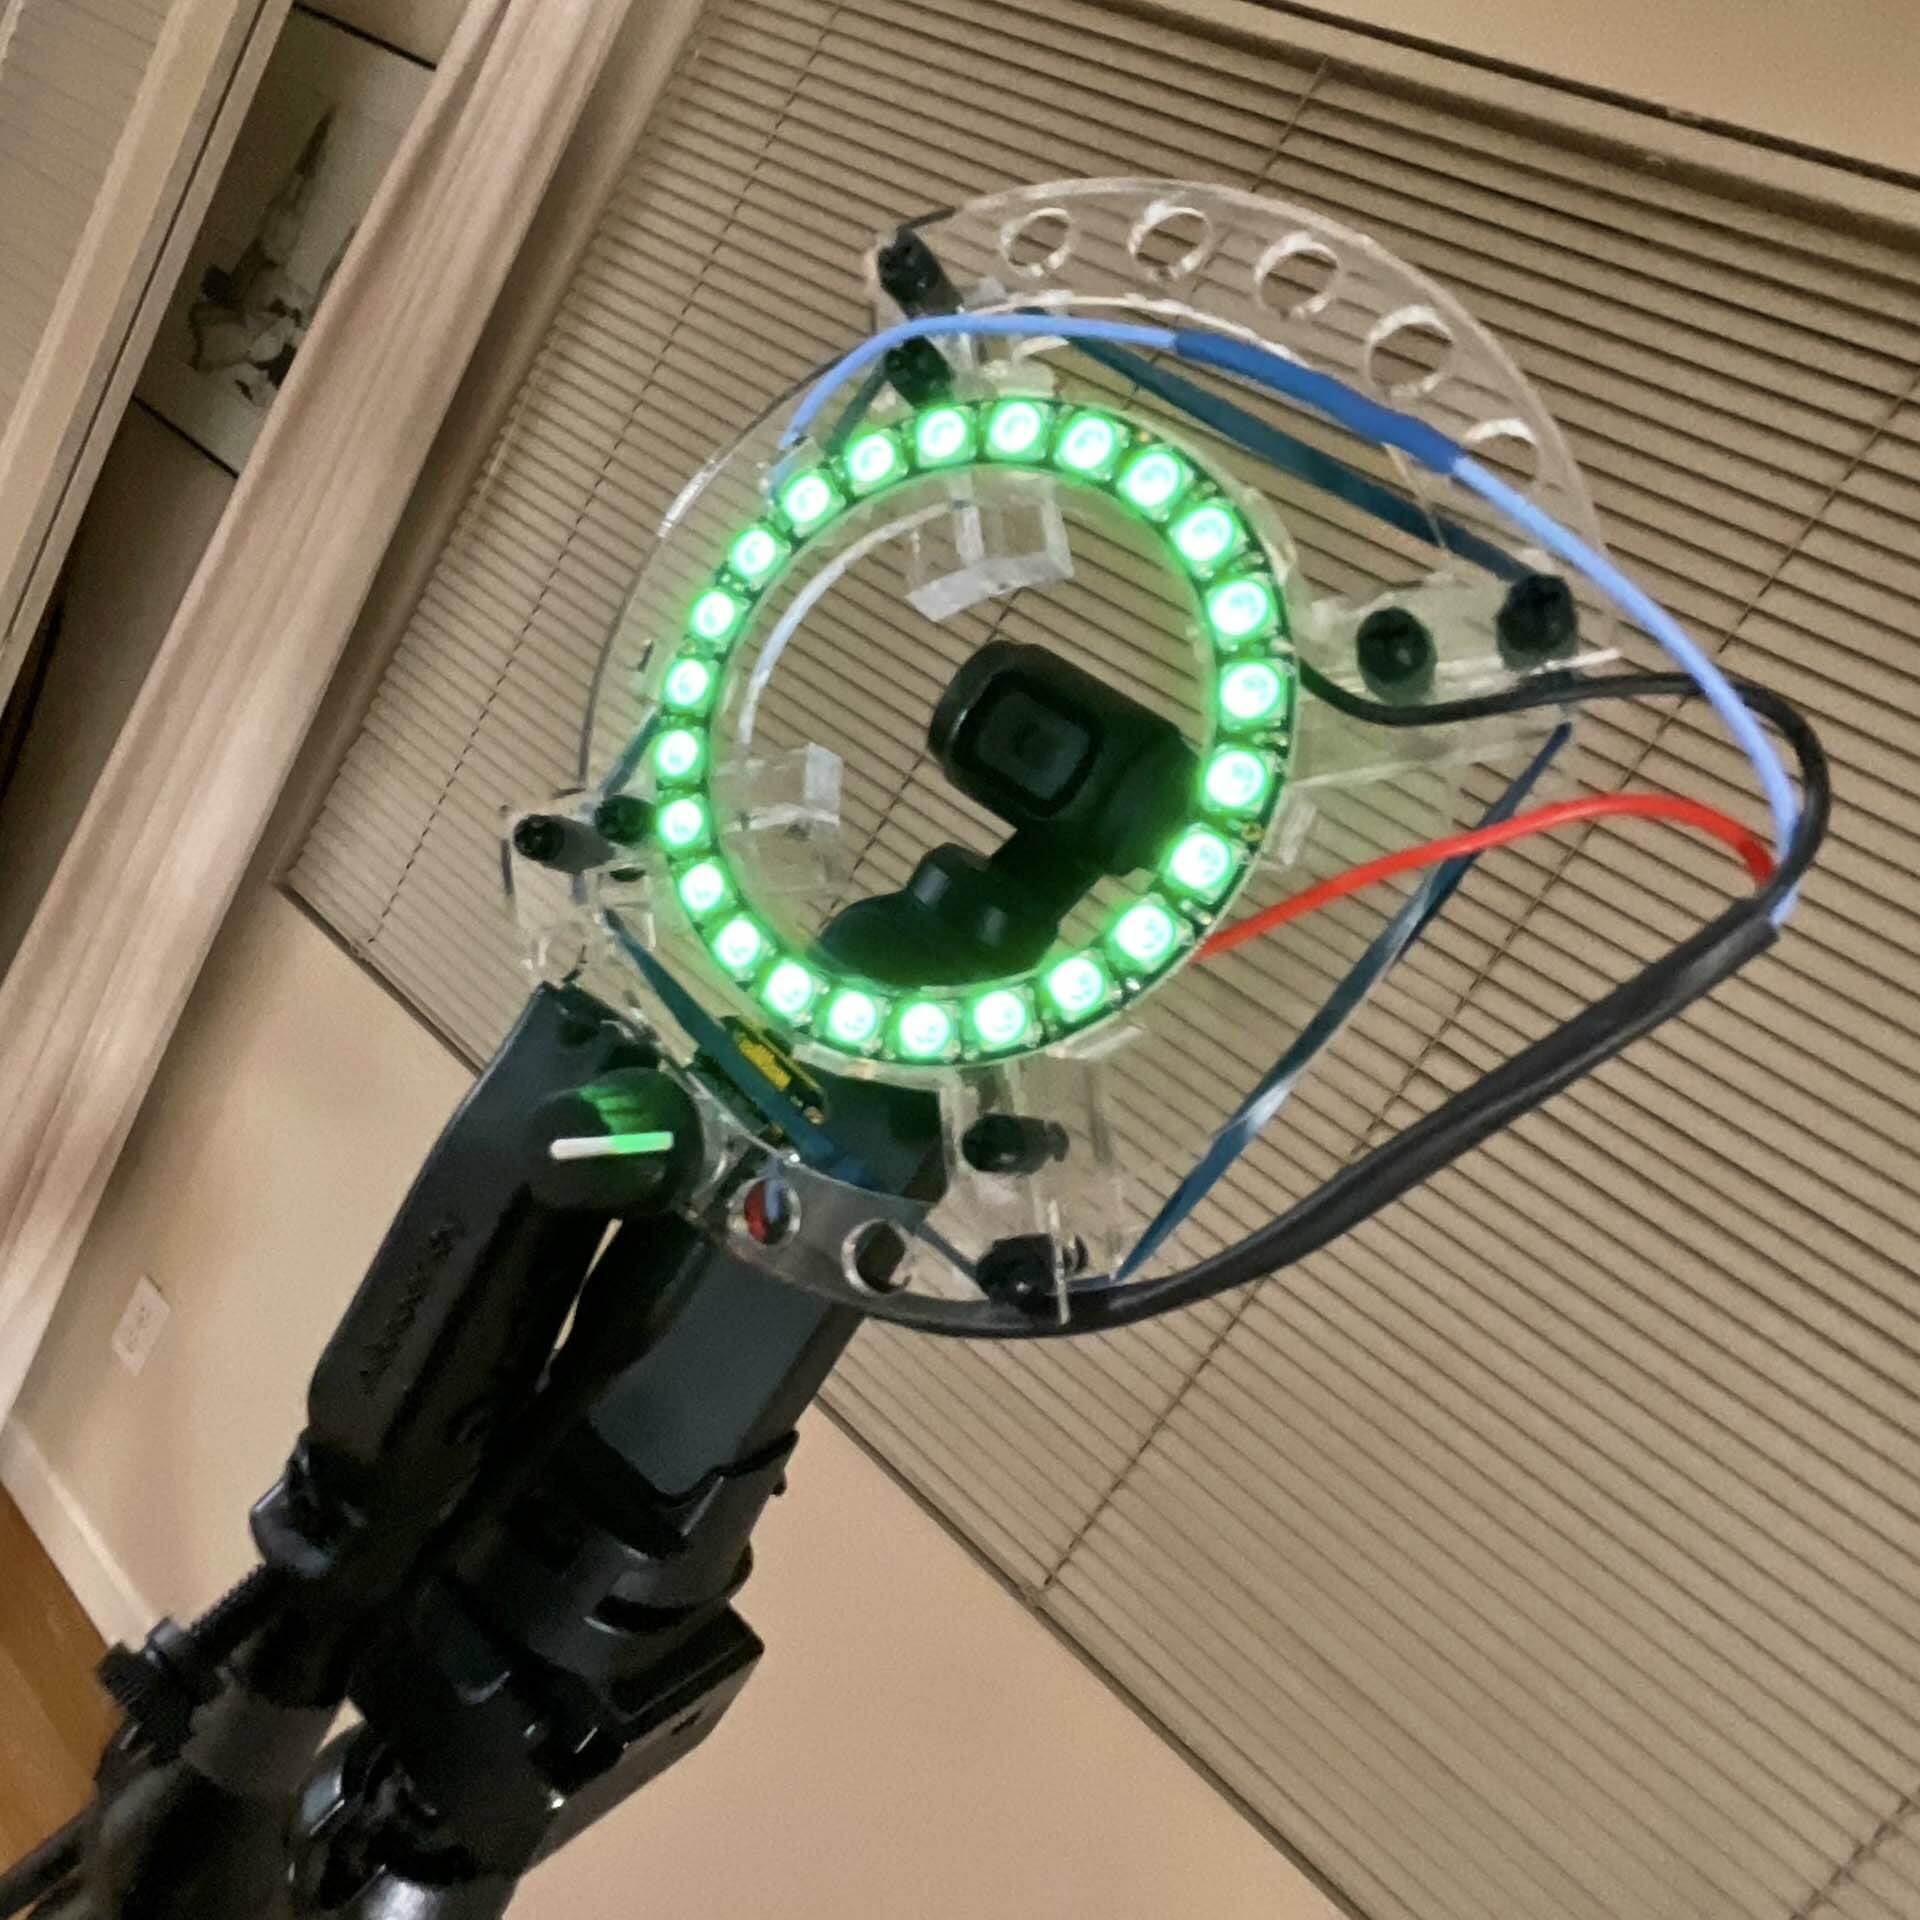
John Park posted a project write-up with his plan for building an appropriate light ring a few months ago. It looked pretty straight-forward. So, I gave it a go. My 3D printer is not large enough to print his mount design in one piece and, I didn’t really want to mess with printing in sections for assembly. Instead, I did a quick (and pretty sloppy) adaptation of the design in lasercut acrylic. The LED ring sits in a channel made with a bunch of little L brackets, glued on with acrylic solvent. Similarly, the grippers are several layers of acrylic glued together.
The electronics design and code are all straight from John Park’s project.
This works really well! Light spill on the background from lighting the subject can still be a problem. I was able to adjust settings for the chroma and luma range in post to compensate where I had issues pretty easily, though. In later attempts, I was more careful about where I pointed my lights.
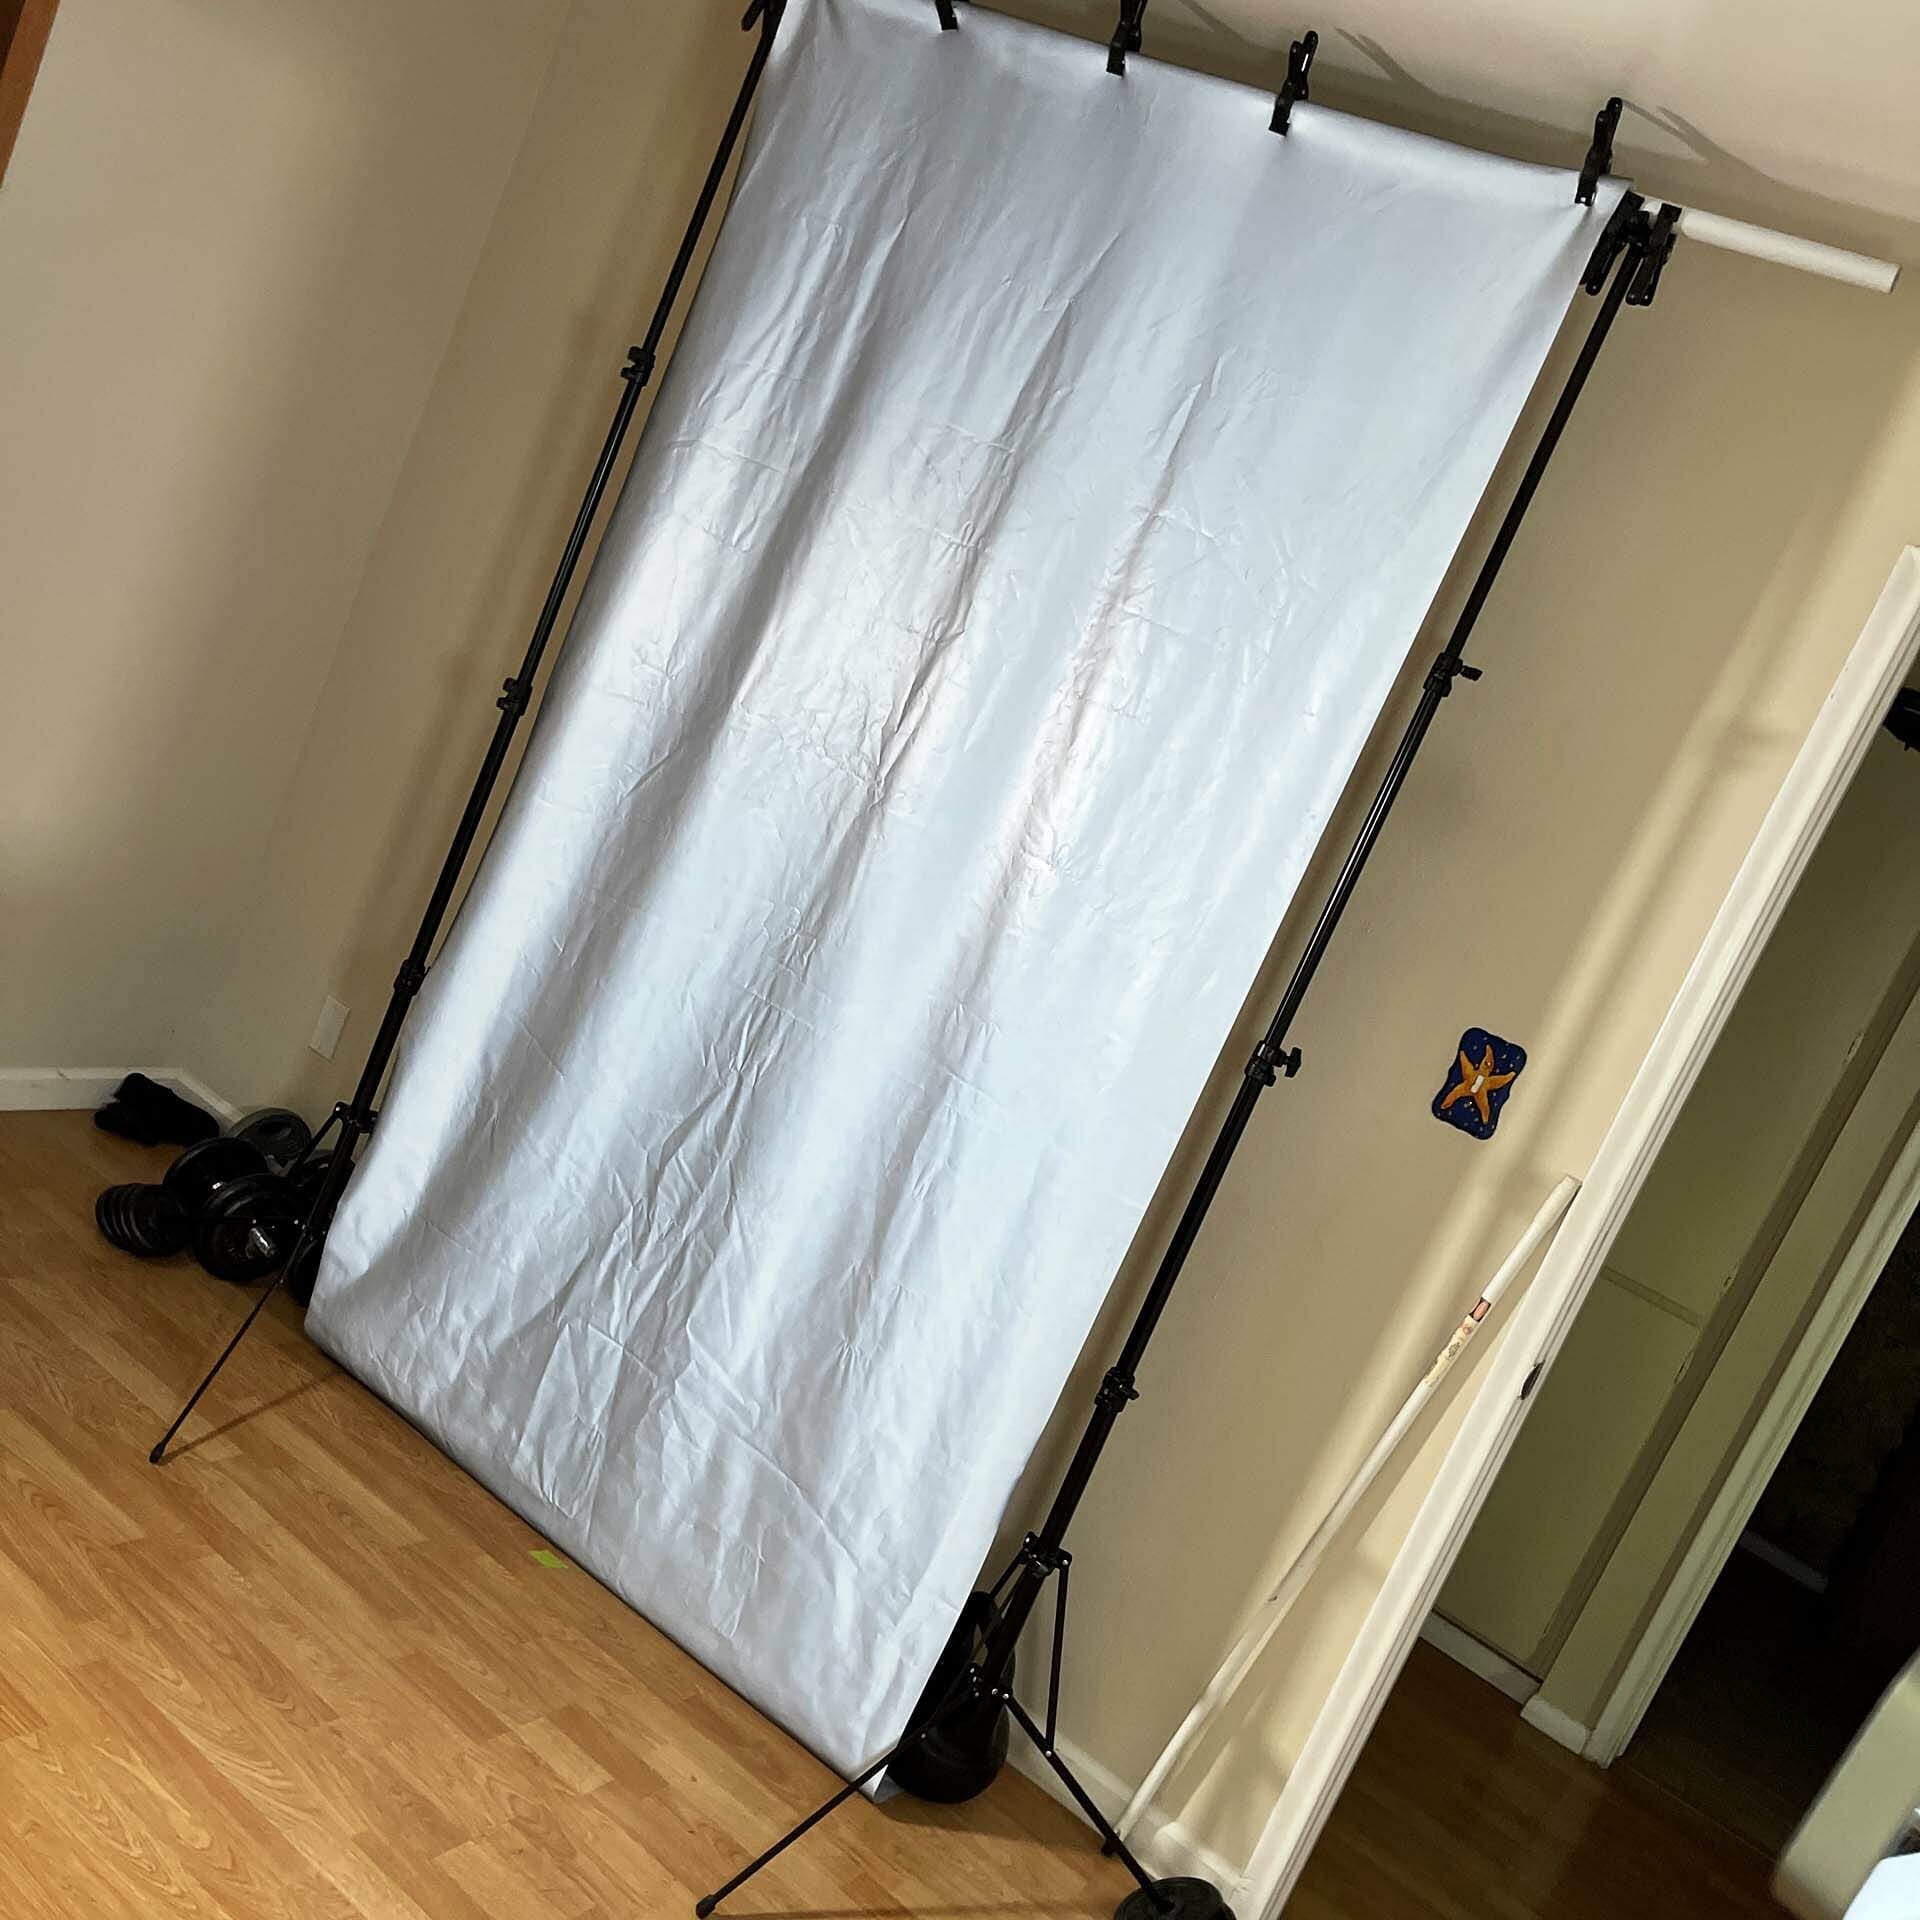
It is not clear from the photos but, it is better to get the screen as flat as possible. It works with a little wrinkling but, it makes the light spill issue more likely. I tightened the screen to the frame a bit more for later attempts.
It is also worth noting that the retroreflective fabric bruises pretty easily after its protective film comes off.
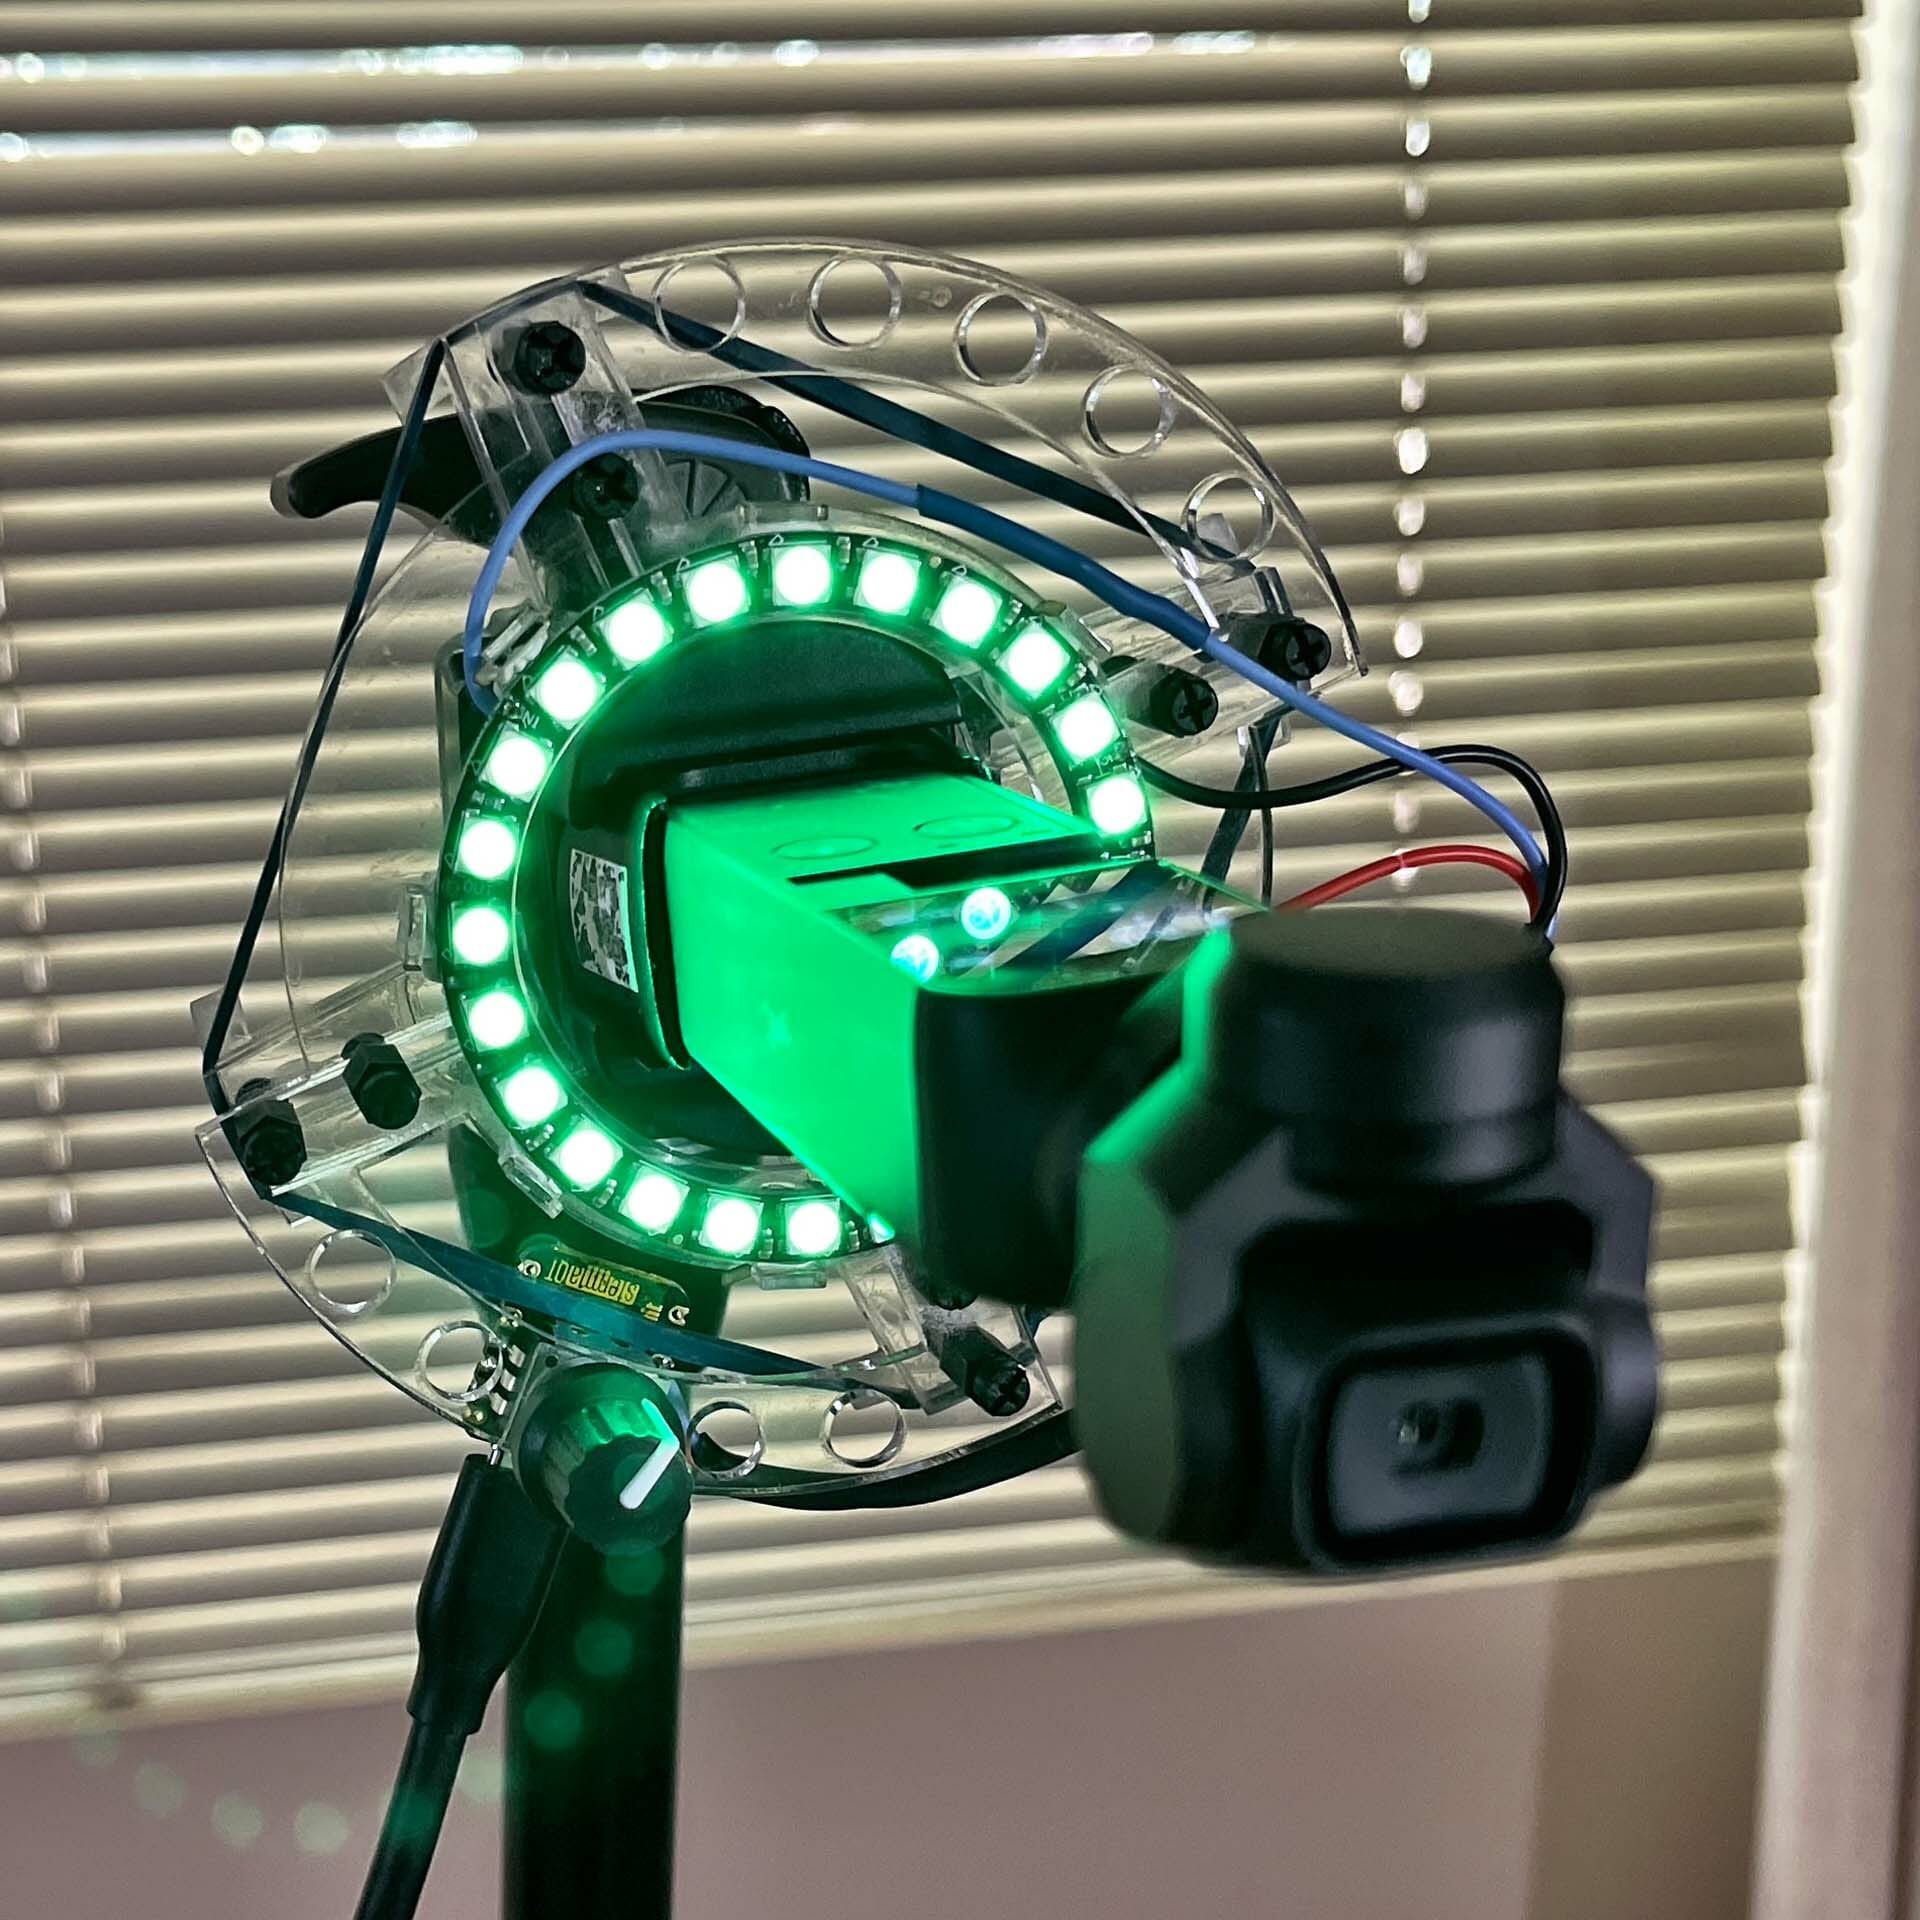
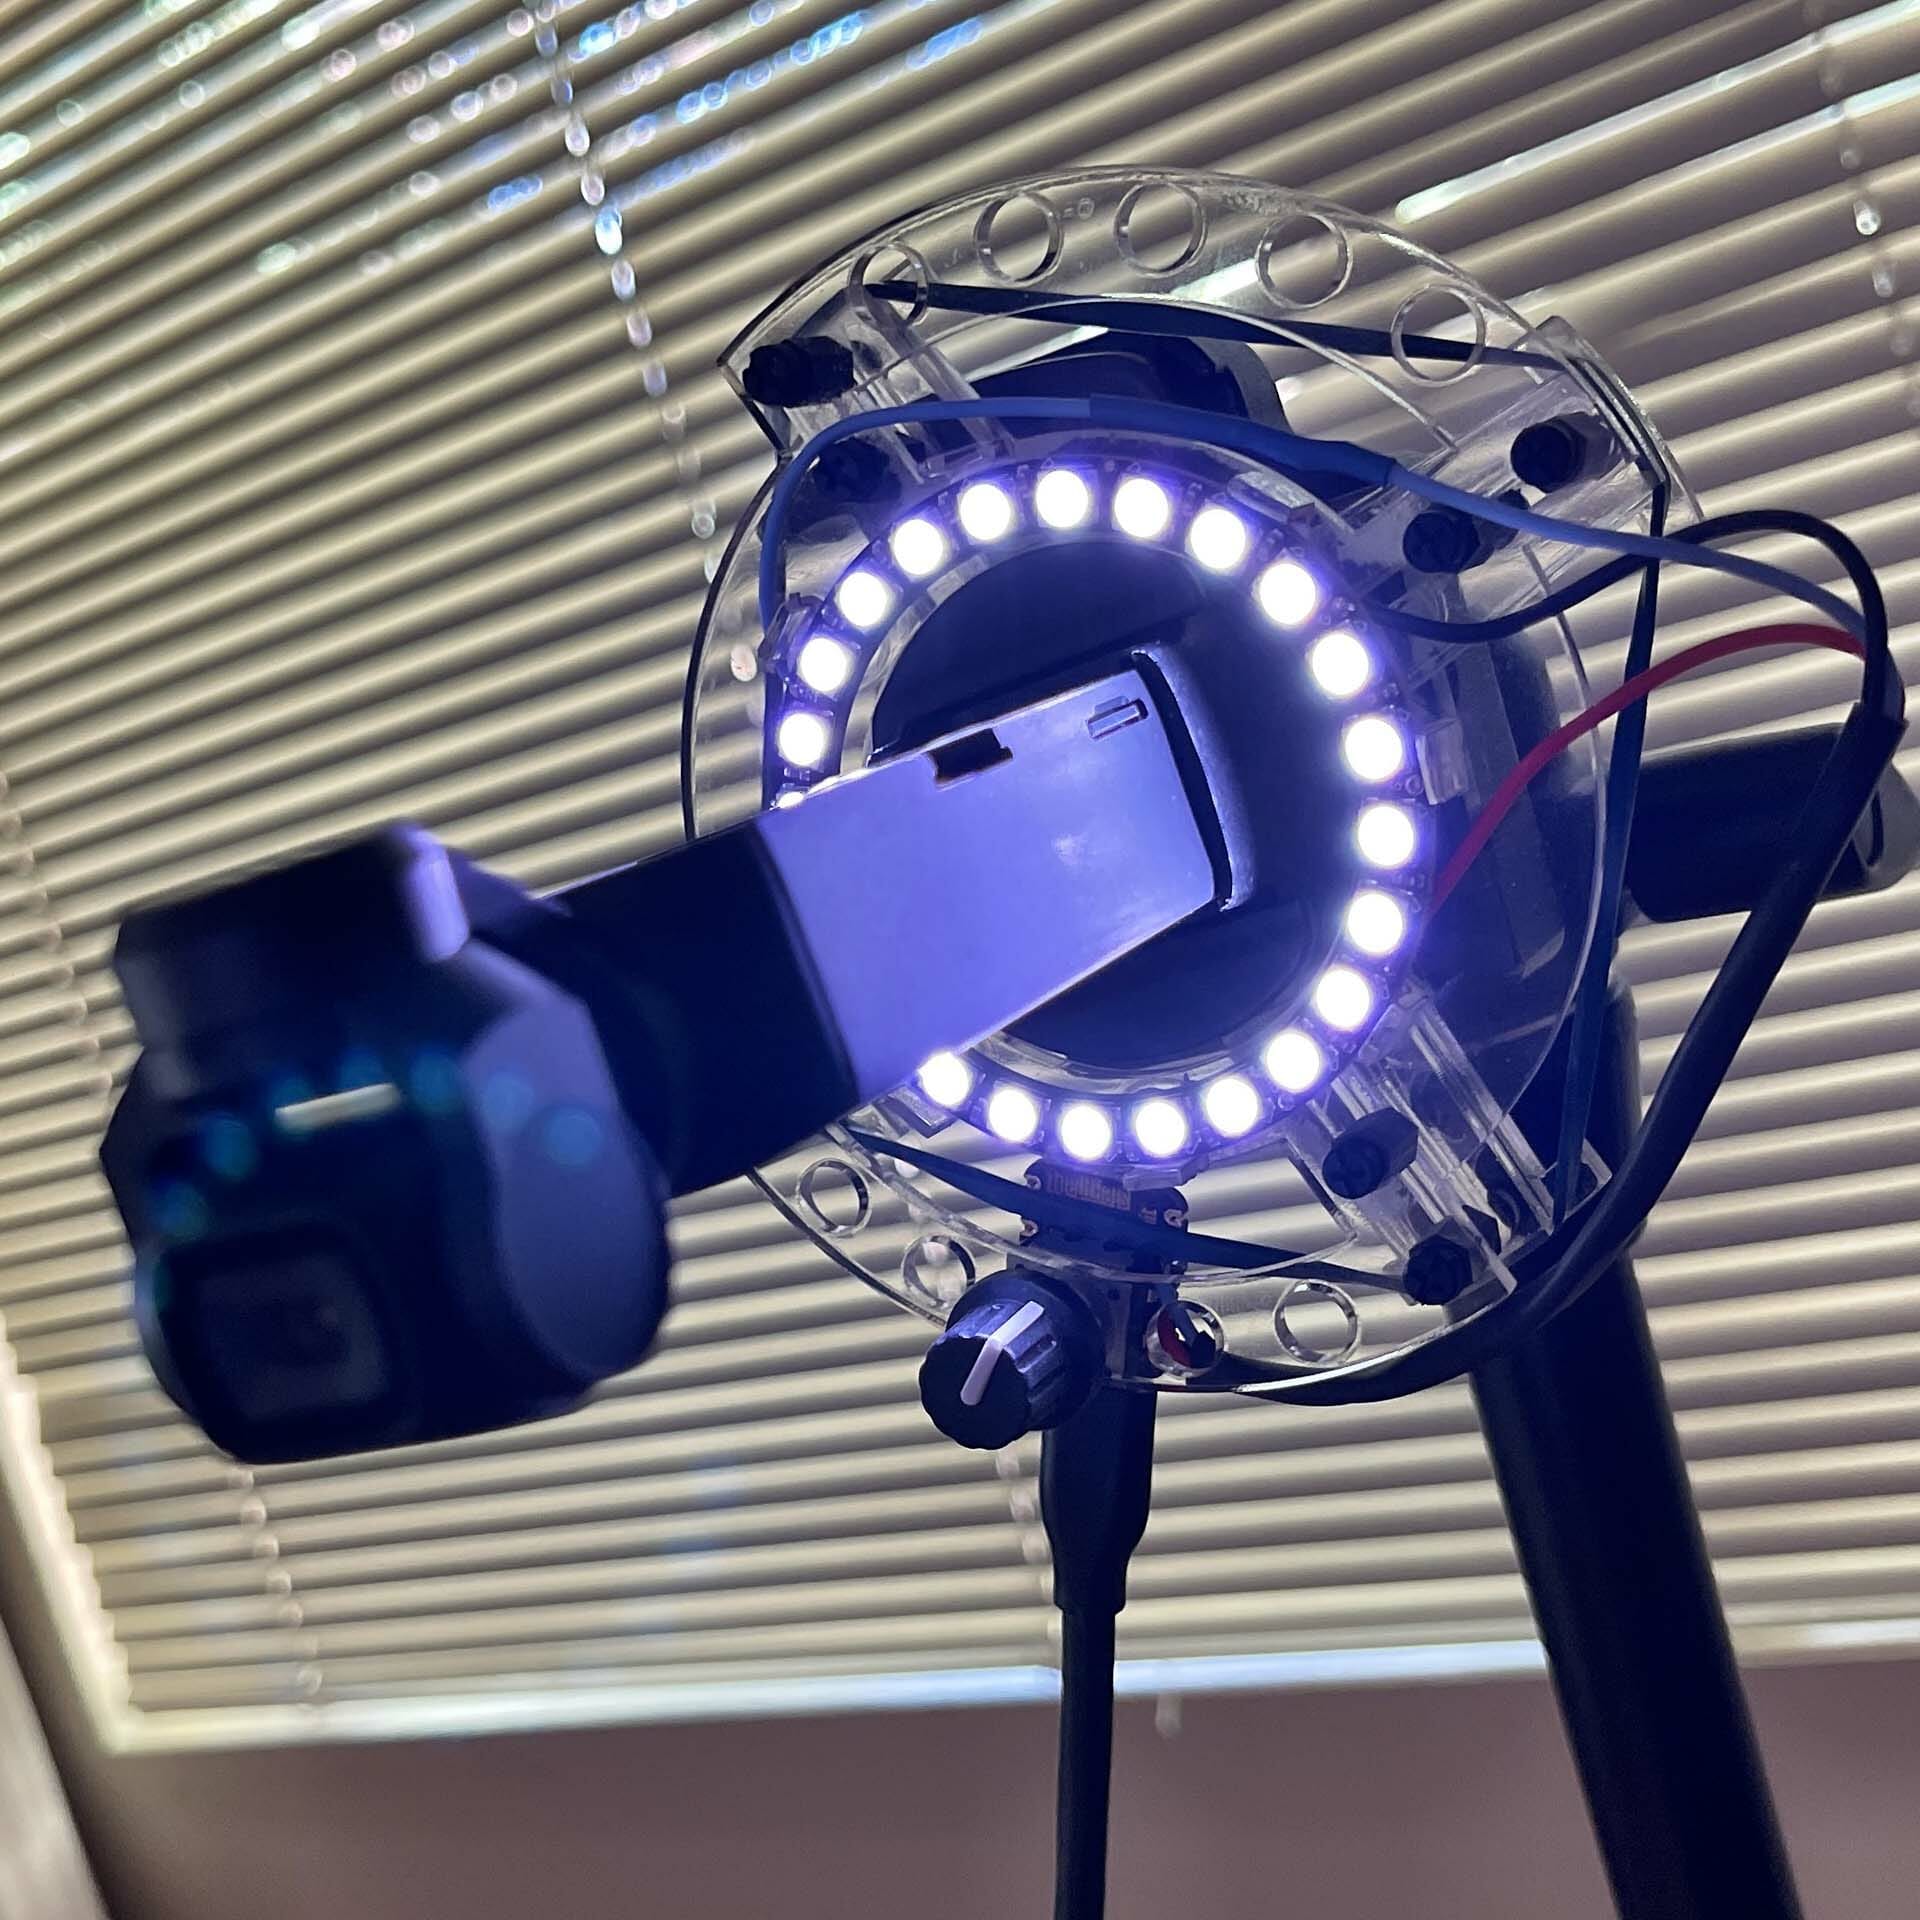
Retroreflective screen with DIY colored LED light ring based on a design by John Park.
Retroreflective screen with DIY colored LED light ring based on a design by John Park.
Retroreflective screen with DIY colored LED light ring based on a design by John Park.
Retroreflective screen with DIY colored LED light ring based on a design by John Park.
Retroreflective screen with DIY colored LED light ring based on a design by John Park.
Retroreflective screen with DIY colored LED light ring based on a design by John Park.
Retroreflective screen with DIY colored LED light ring based on a design by John Park.
Retroreflective screen with DIY colored LED light ring based on a design by John Park.