Drawstring Bag of Many Projects

Drawstring Bag 2

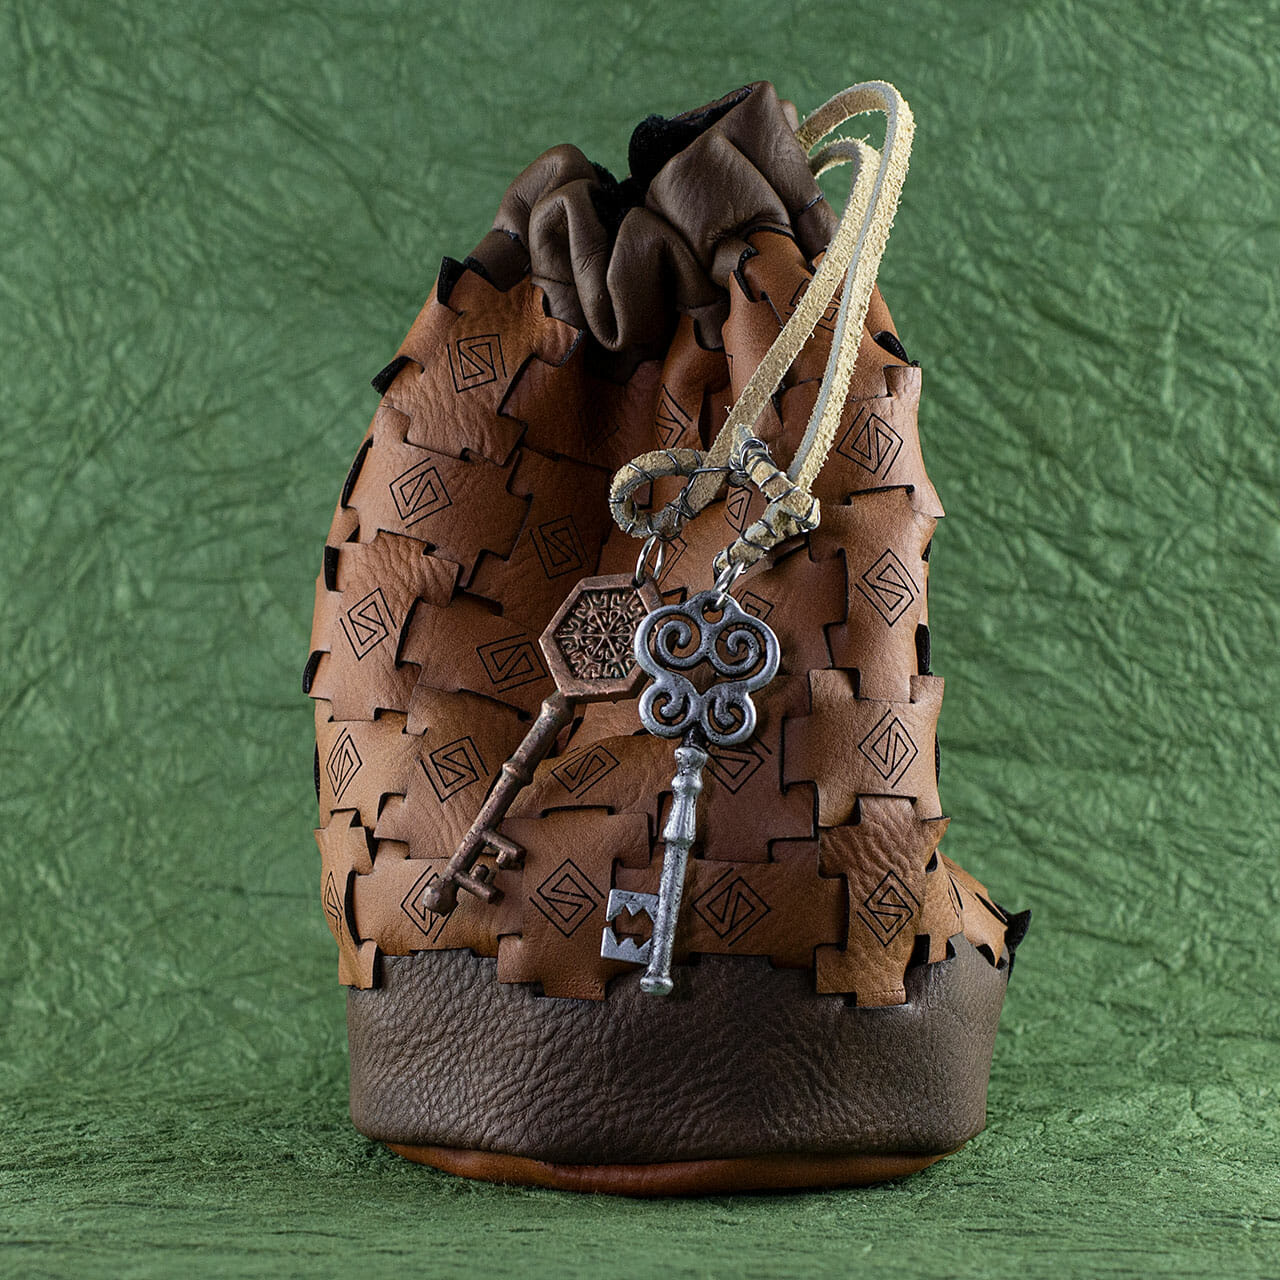
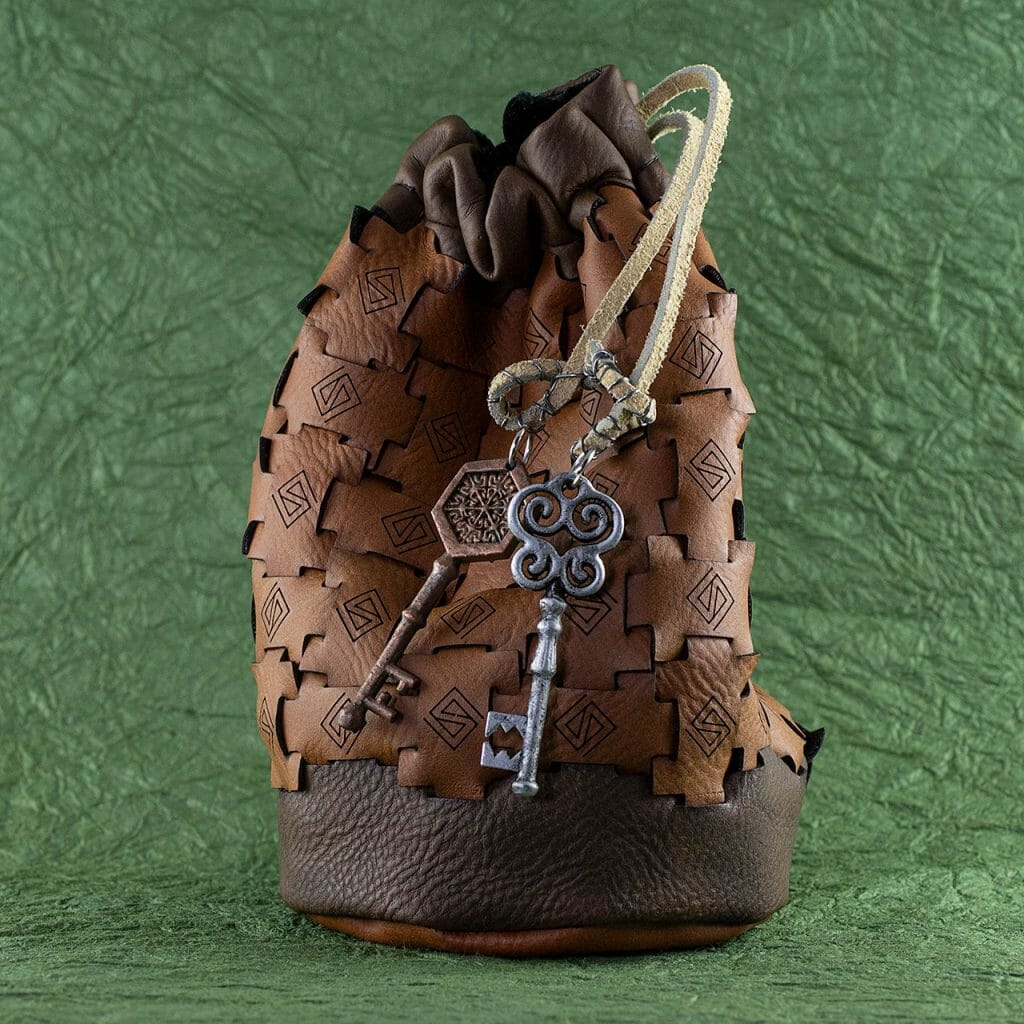
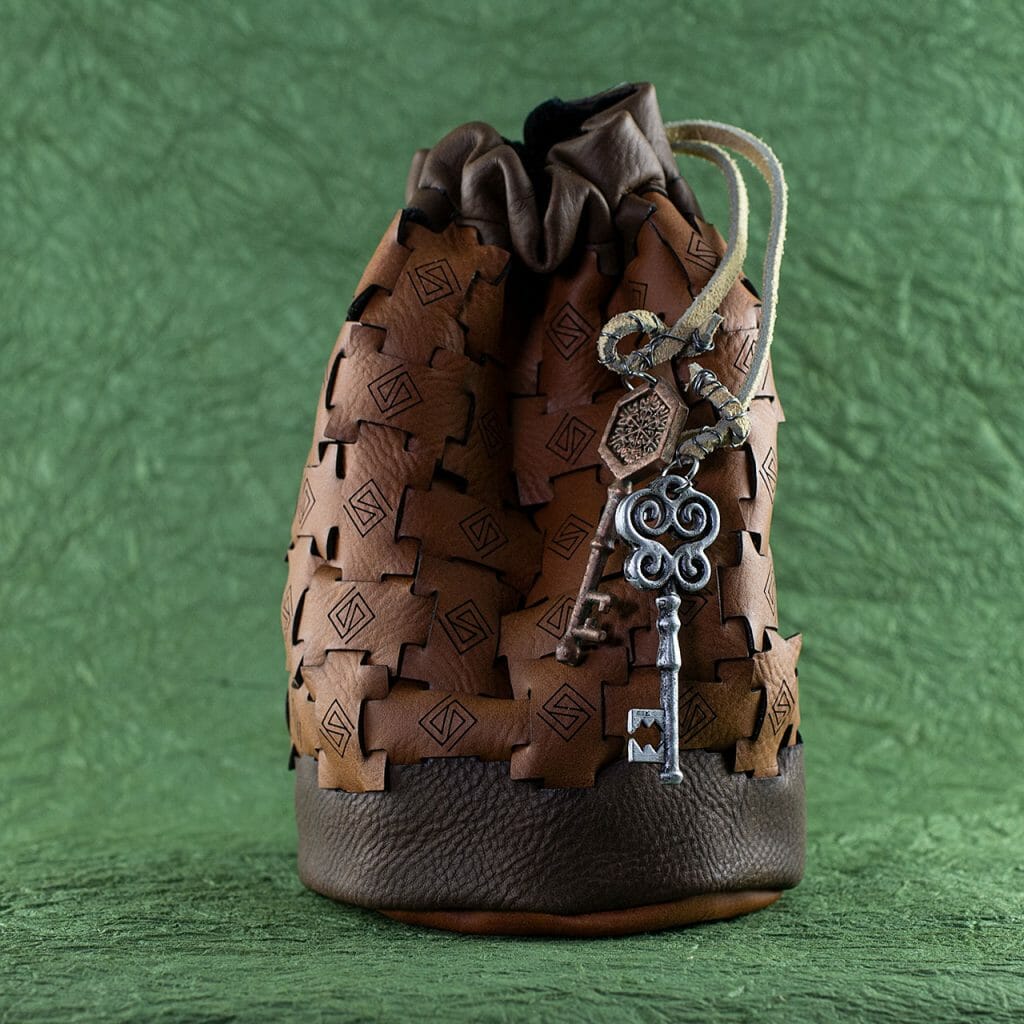
I have a fair amount of custom-embossed Celtic key pattern velvet left from the pillow project.  I was thinking some of it might make a cool drawstring bag.  I may have gotten a little carried away with the details:

  • Silk-lined round-bottom bag
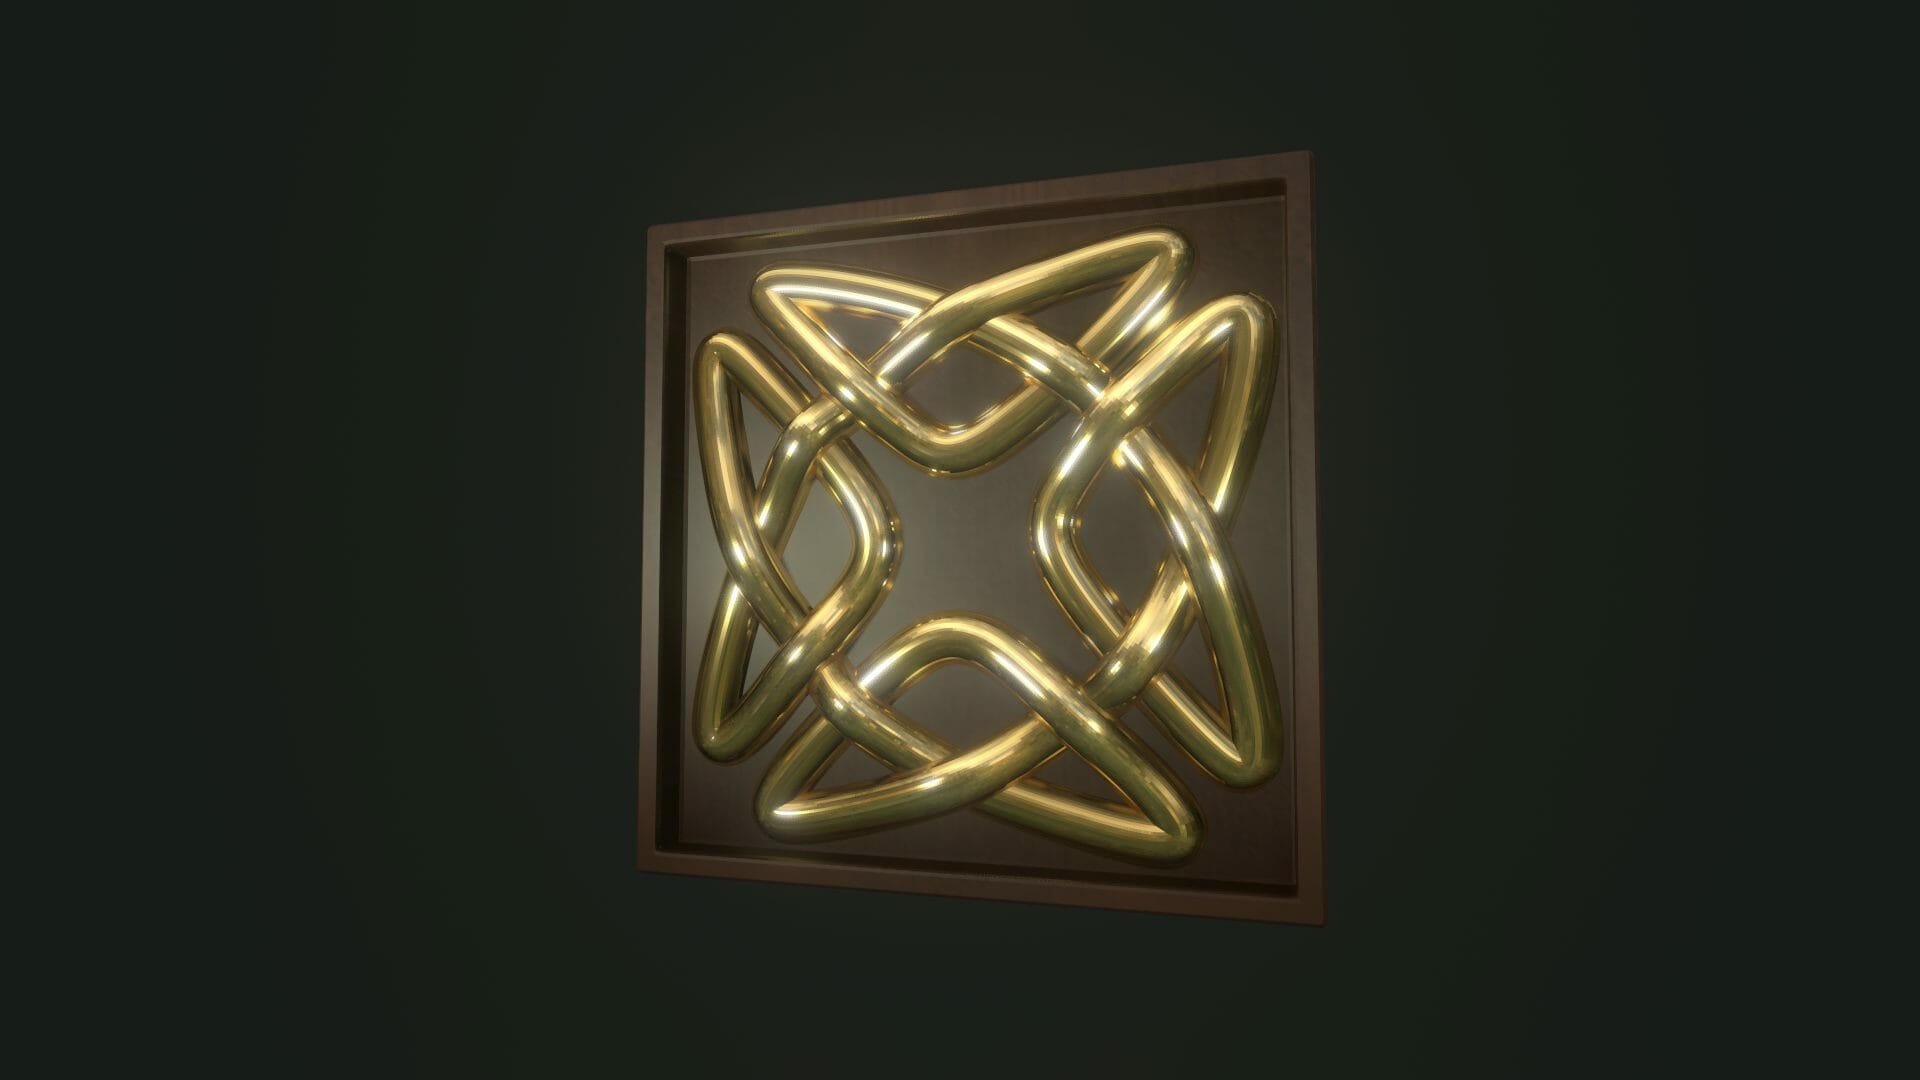
  • A new Celtic knotwork ring design for a laser-engraved faux-leather bottom
  • Kumihimo braided drawstring
  • Customized skull beads
  • Second set of skull beads from scratch

There is a separate post with the design files for the floss separator I made for this, in case it is of use to anyone else.

It was a lot of fun and, I’m happy with the result.  Of course, I shot video of every step of the construction of both versions of the bag.

Floss Separator

Floss Separator
Floss Separator
Floss Separator

This is a quick, simple tool to assist when separating skeins of kumihimo (or embroidery) floss into working clusters with the desired number of strands.  The upright is a sandwich of a piece of EVA foam between two pieces of 1/4″ stock (MDF here but, something like Baltic birch ply or acrylic should work, too).  The EVA is sliced with a razor blade in the middle of each channel.  Then, just glue it all together with wood glue.  Some clamping is likely required while it dries.

Floss separator, clamped for glue to dry

It is probably best to clamp it down to a table when using.  Knot the end of the skein/bundle of strands and, slip it into the cut in the EVA.  That should keep the end in place while you separate the full length.

Floss Separator Design Files

These files are for personal, non-commercial use only.  Note that, by referencing these, you are agreeing to release any variations you create under identical terms.

Attribution-Creative Commons NonCommercial-ShareAlikeFloss Separator 1/4″ Stock Cut File (SVG)

Floss Separator EVA Foam Cut File (SVG)

Snowflake Celtic Knotwork Journal Covers & Packaging

Celtic Snowflake Journals (Black)

These journal covers are engraved with my Snowflake Celtic knotwork design (and a new corner piece I designed specifically for these).  These are laser-cut and engraved, then saddle stitched by hand (using the stitching pony I made recently).  These are made from a synthetic/vegan leather that looks and feel impressively like real leather.  I personalized a few of them.  These slip onto the Baron Fig Vanguard notebooks, which can be easily swapped as notebooks are filled.

I also made some packaging for them.  The Ice Gold cover stock laser engraves in a nice metallic gold for the design and ambigram logo.

These are now available in the shop!

Viking Longship Design on Hardcover Notebooks

Viking Longship Design on Hardcover Notebooks

I finished a new Viking Longship design for the vegan/faux leather hardcover notebook jackets!

Let Glue Dry Pop Up Card

Let Glue Dry Pop Up Card (Laura Kampf Edition)

Someone made a paper craft version of the “Let Glue Dry” block Laura Kampf uses in her shop awhile back. I immediately thought of making a pop up card version that could be stored flat. I did one with a simple block font but, later, made another version where I reproduced the hand lettering from a photo of Laura’s block.

I sent one of these to Laura back in March. I am going to assume that it’s okay to share these unless I hear otherwise.

Although I cut my cards on the laser, you could do this entirely by hand with a craft knife. You can even skip the white stickers. The letters could be cut from white paper and glued on. The letters could be colored in with an opaque white marker or paint.

There are two version of each design. The regular one has everything aligned in one image. That is, the score lines for the back show aligned where they should be on the front like a standard OA pattern. The jig-in-place version has the score lines for the reverse flipped for production on a sign or laser cutter.

I made my cards using the jig-in-place technique. In brief, I:

  1. Stuck the black stock down to an adhesive mat in the Glowforge.
  2. Disabled all operations except the score lines for the reverse side and the card outline.
  3. Ran those two operations.
  4. Flipped the card over in place, aligning it with the hole from which it was cut.
  5. Placed a strip of white polyester sticker over the face of the card where the white letter would be.
  6. Disabled the reverse scores and outline cut. Enabled the other operations
  7. Ran the operations.
  8. Removed the card and weeded the white polyester stickers.
  9. Folded the finished card!

I started to make a video of the jig-in-place technique but, it is not super clear on the black stock. I will likely do a video showing how this is done when I have another design on a lighter-colored stock to run.

Let Glue Dry Pop Up Card (Block Font)

Files to Make Your Own

These files are for personal, non-commercial use only.  Note that, by referencing these, you are agreeing to release any variations you create under identical terms.

Attribution-Creative Commons NonCommercial-ShareAlikeLK Let Glue Dry Pop Up Card (Standard version)

LK Let Glue Dry Pop Up Card (Jig-in-Place version)

Block Font Let Glue Dry Pop Up Card (Standard version)

Block Font Let Glue Dry Pop Up Card (Jig-in-Place version)