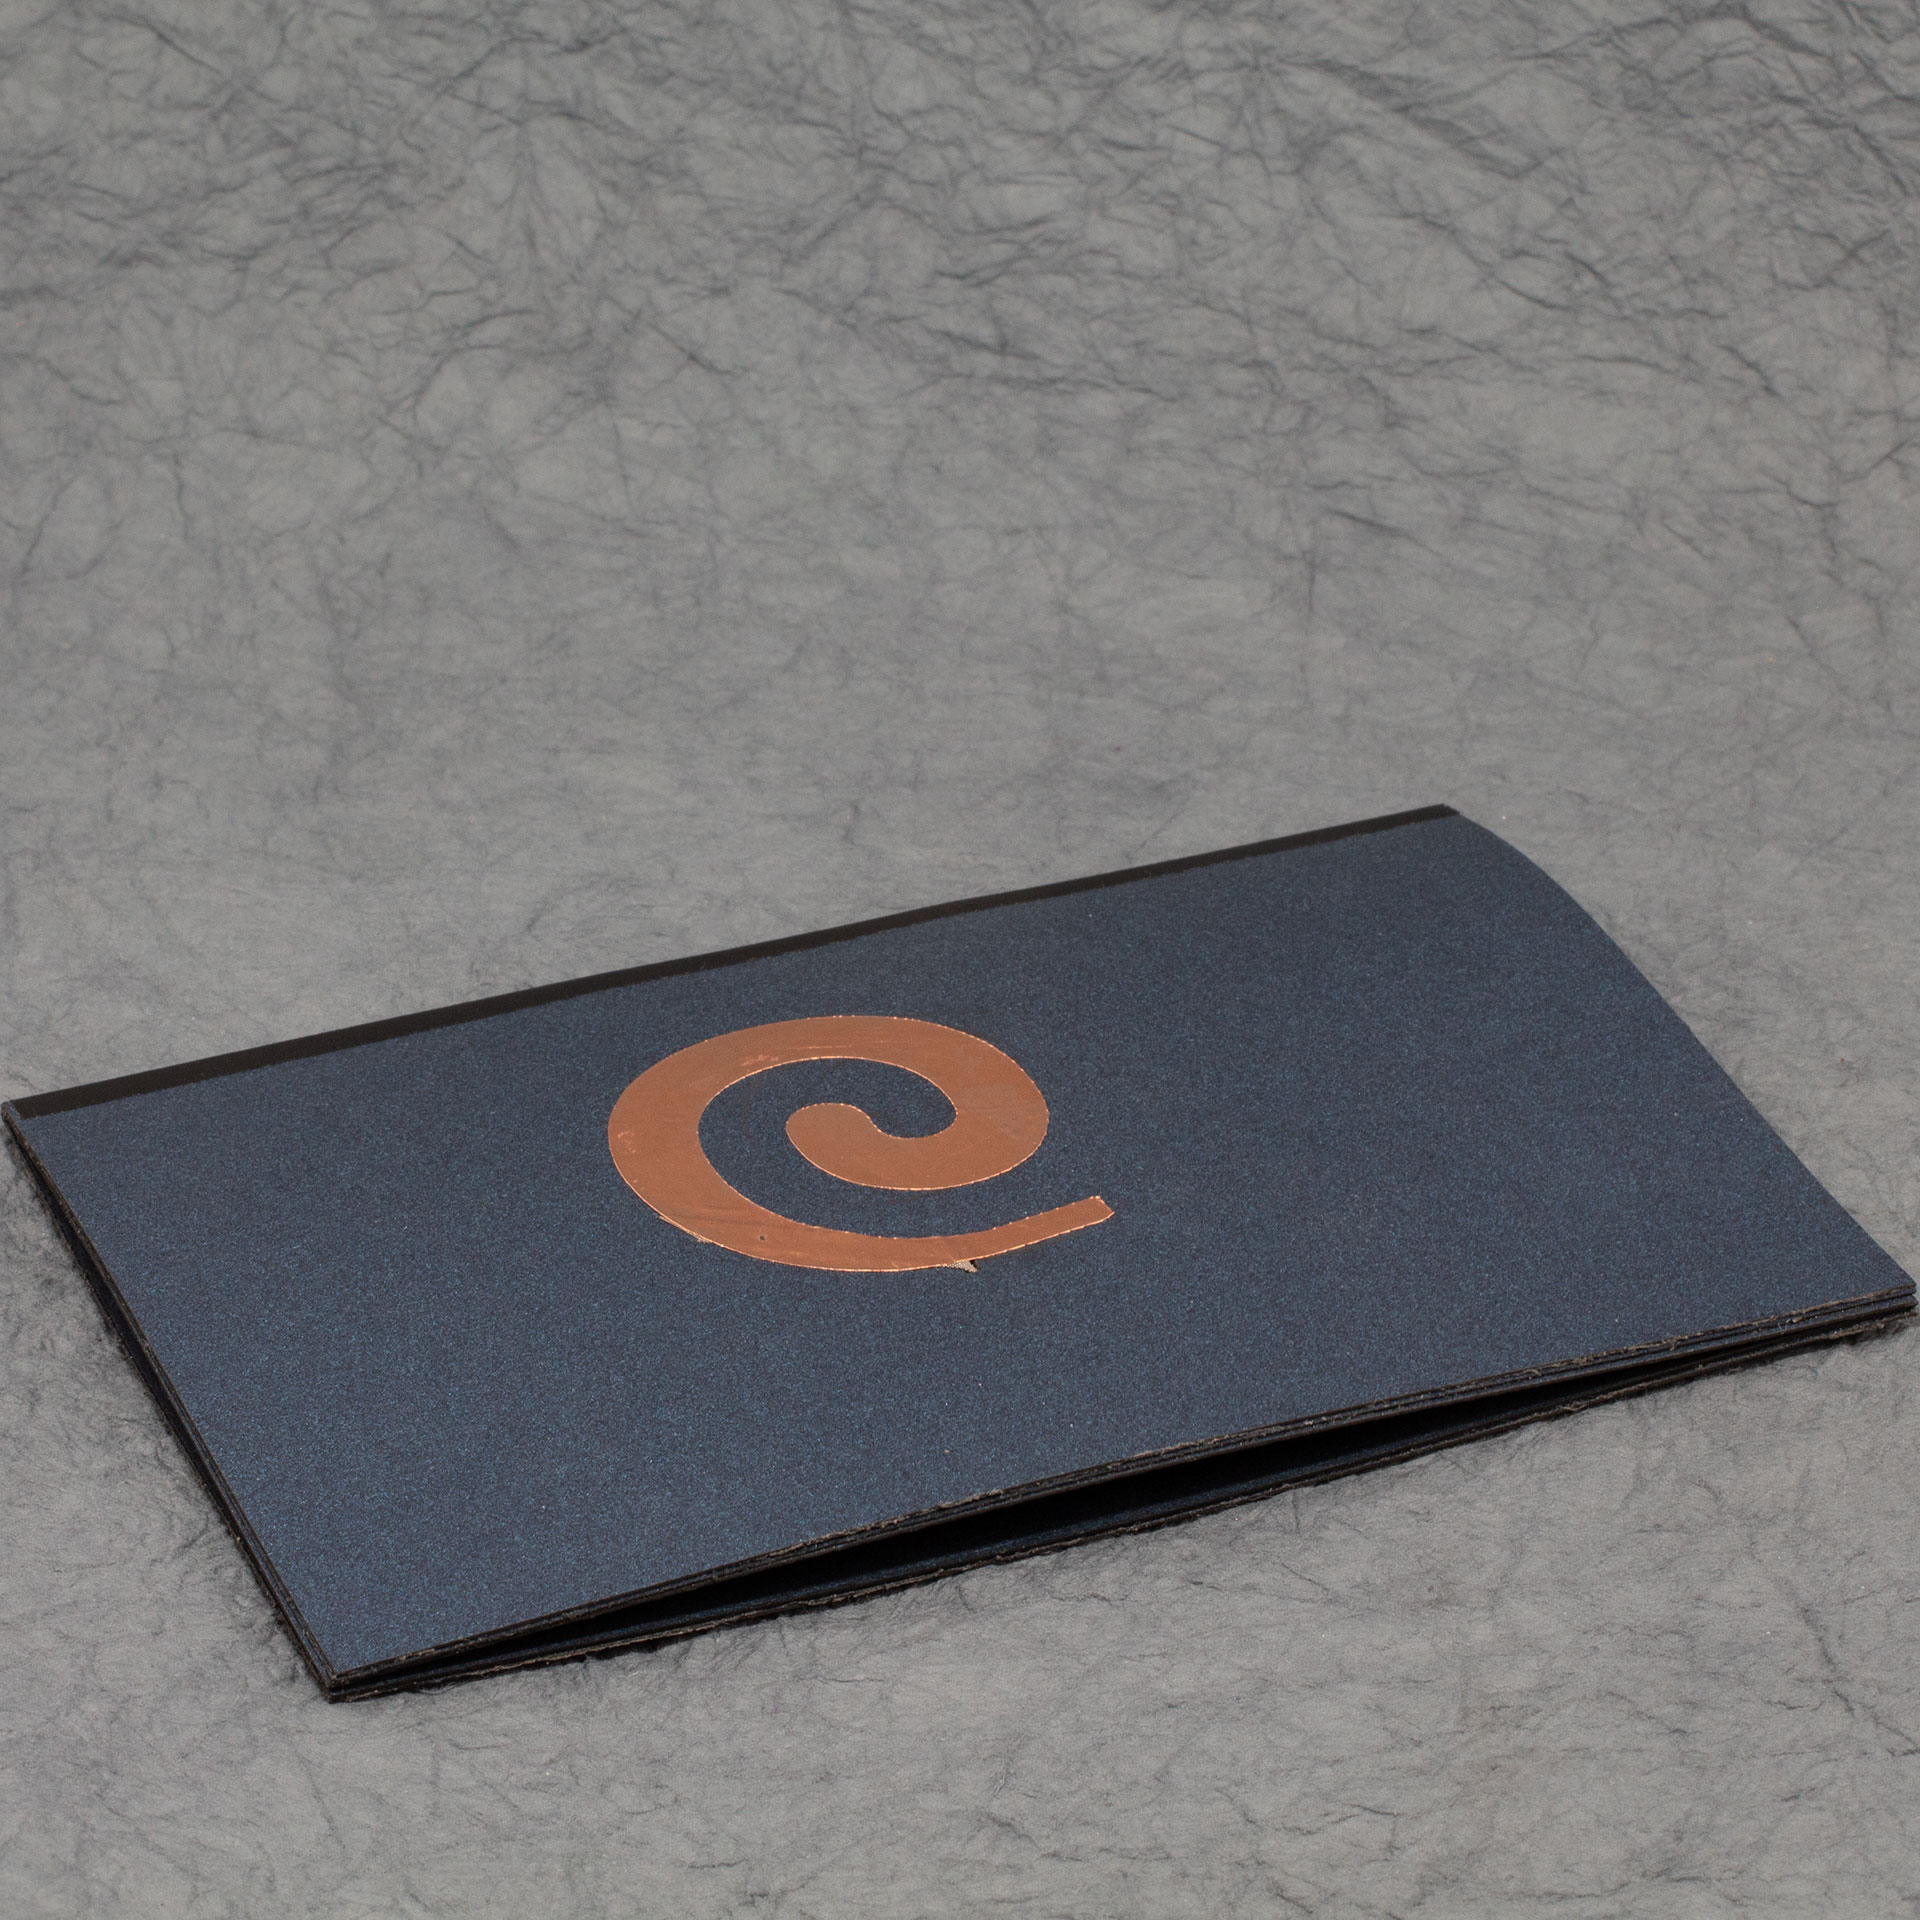
Knotwork Frog Print

I designed a Celtic knotwork frog, and printed it in copper and green using the new Open Press Postcard Press.
Continue reading
I designed a Celtic knotwork frog, and printed it in copper and green using the new Open Press Postcard Press.
Continue reading
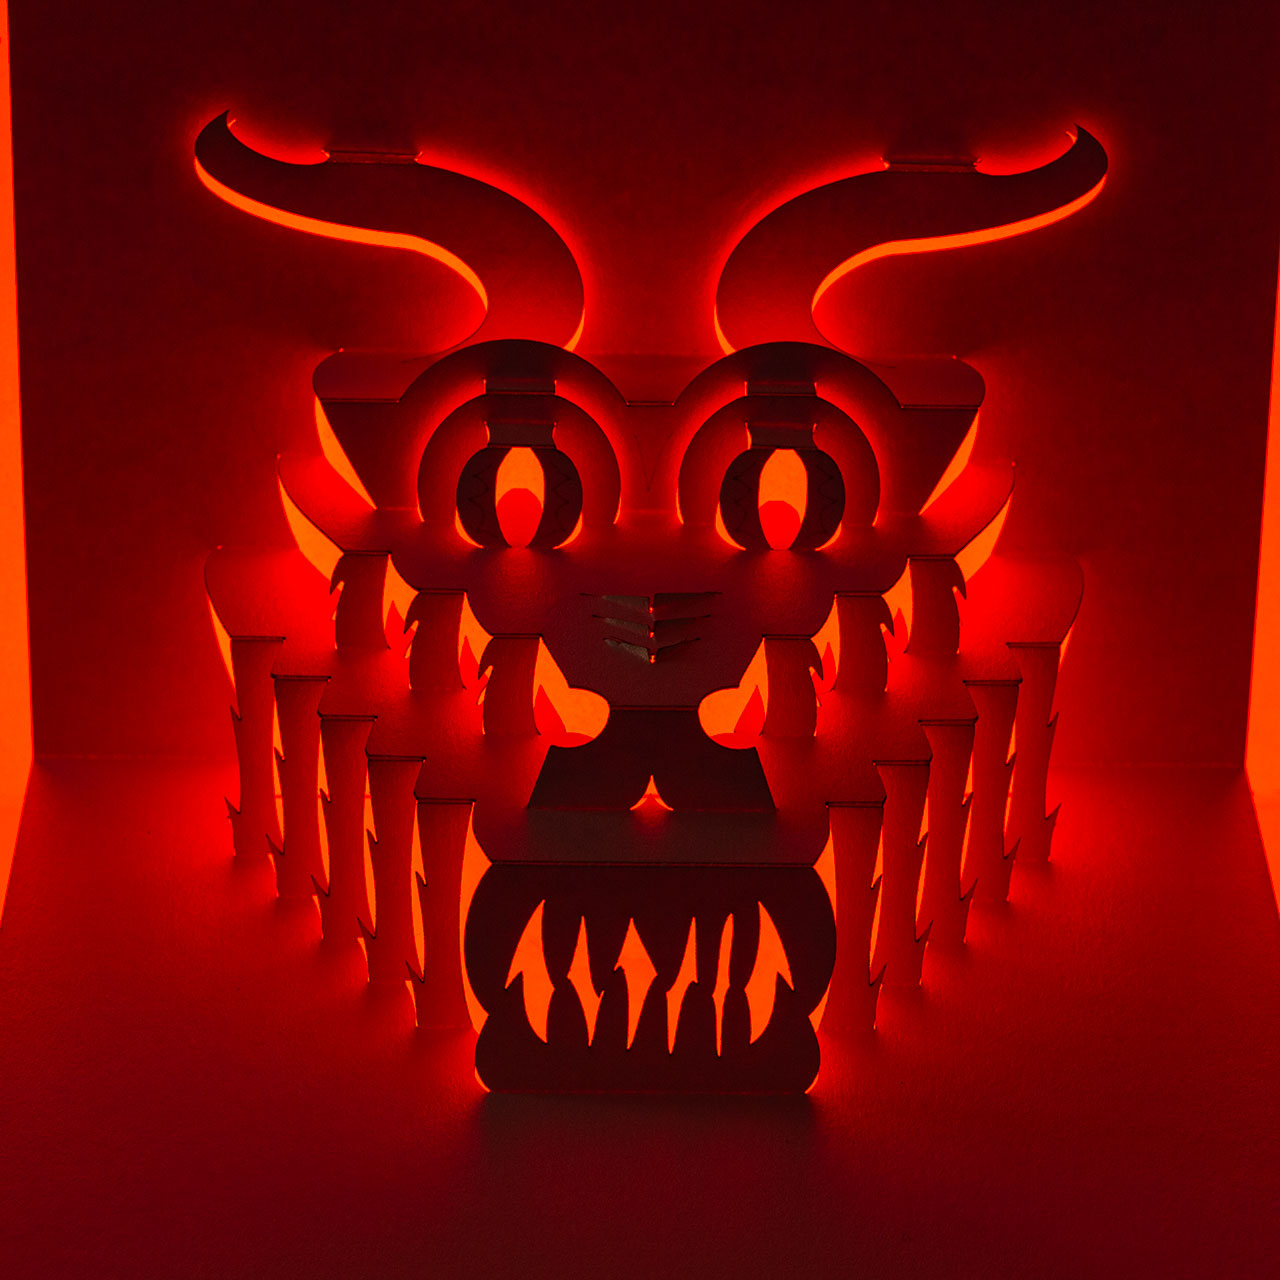
I used the new extra-wide Celtic key pattern washi tape to make a low-poly pepakura heart for Valentine’s Day.
Continue reading
I made 3 new Celtic art washi tape designs: a knotwork design in shades of purple, a stream of spirals in blue, and a wider key pattern in purple and red.
Continue reading
Chibitronics interviewed me (Andrew Crawford) for a Meet the Maker feature on their blog! Details on what I do, my background, and my process.
Continue reading
I made these violet wrapping boxes with a classic Japanese packaging closure, and Celtic knots engraved on the sides for the Hex Chonk Boxes.
Continue reading
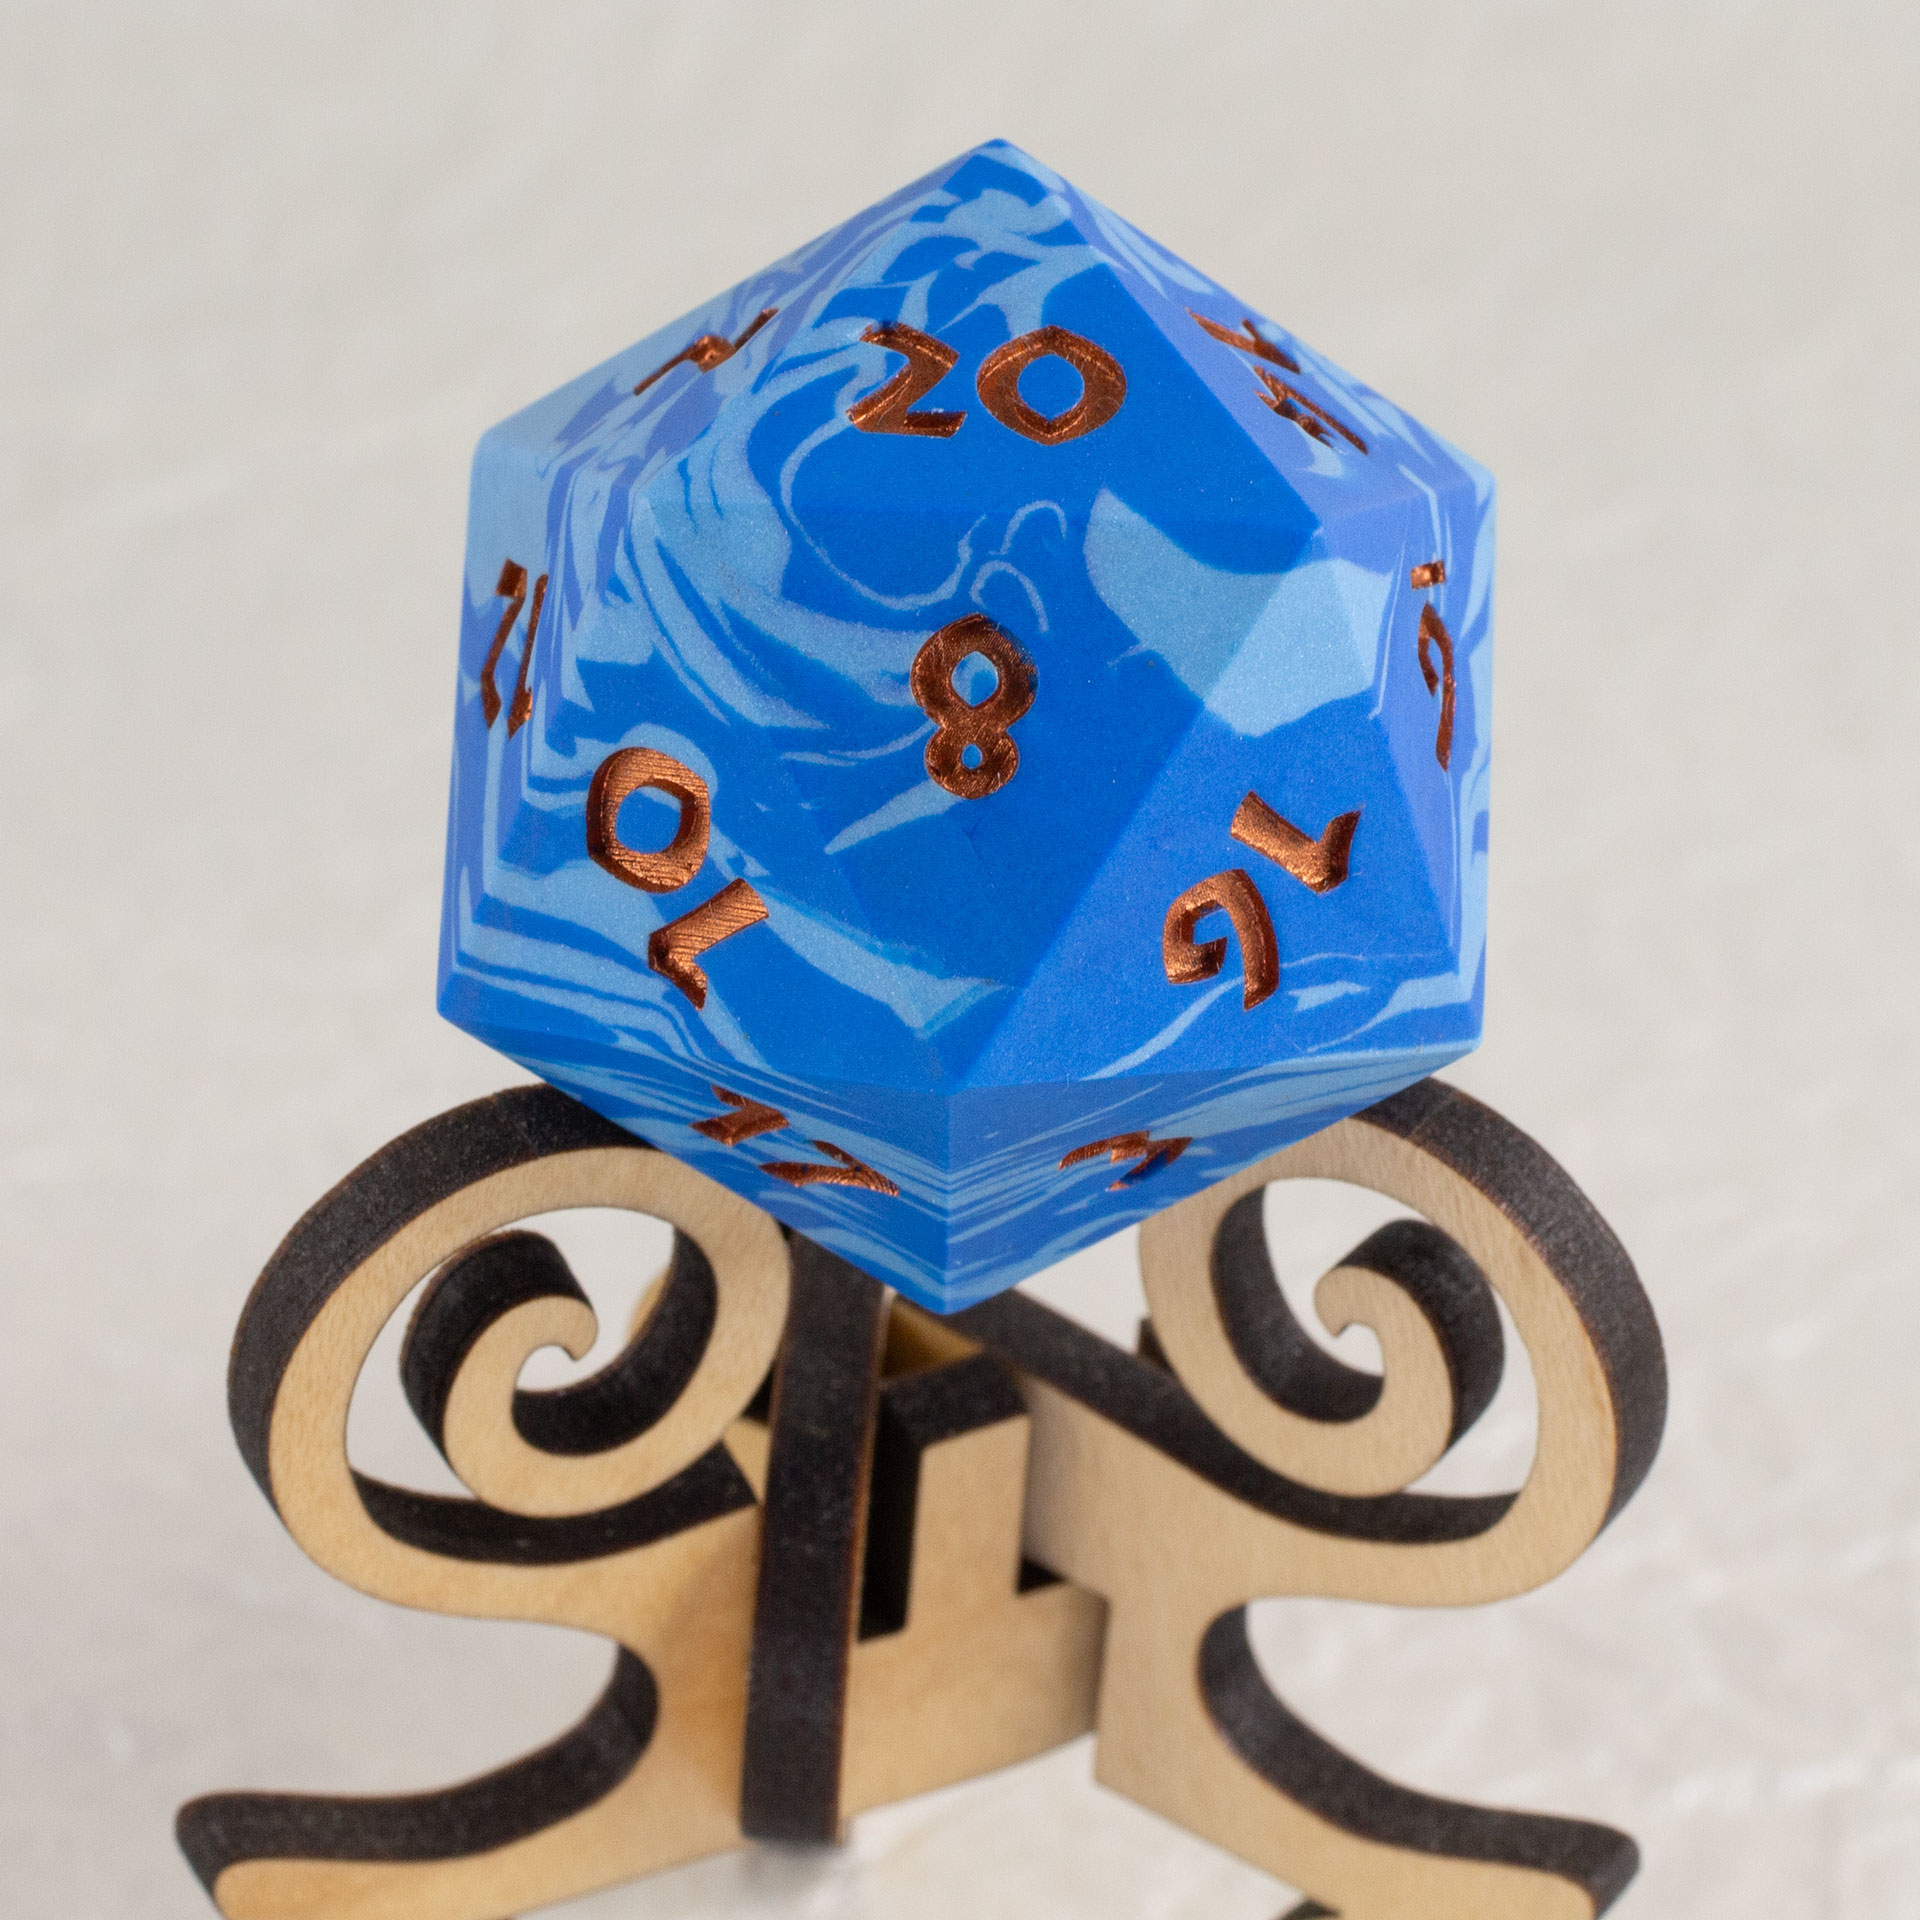
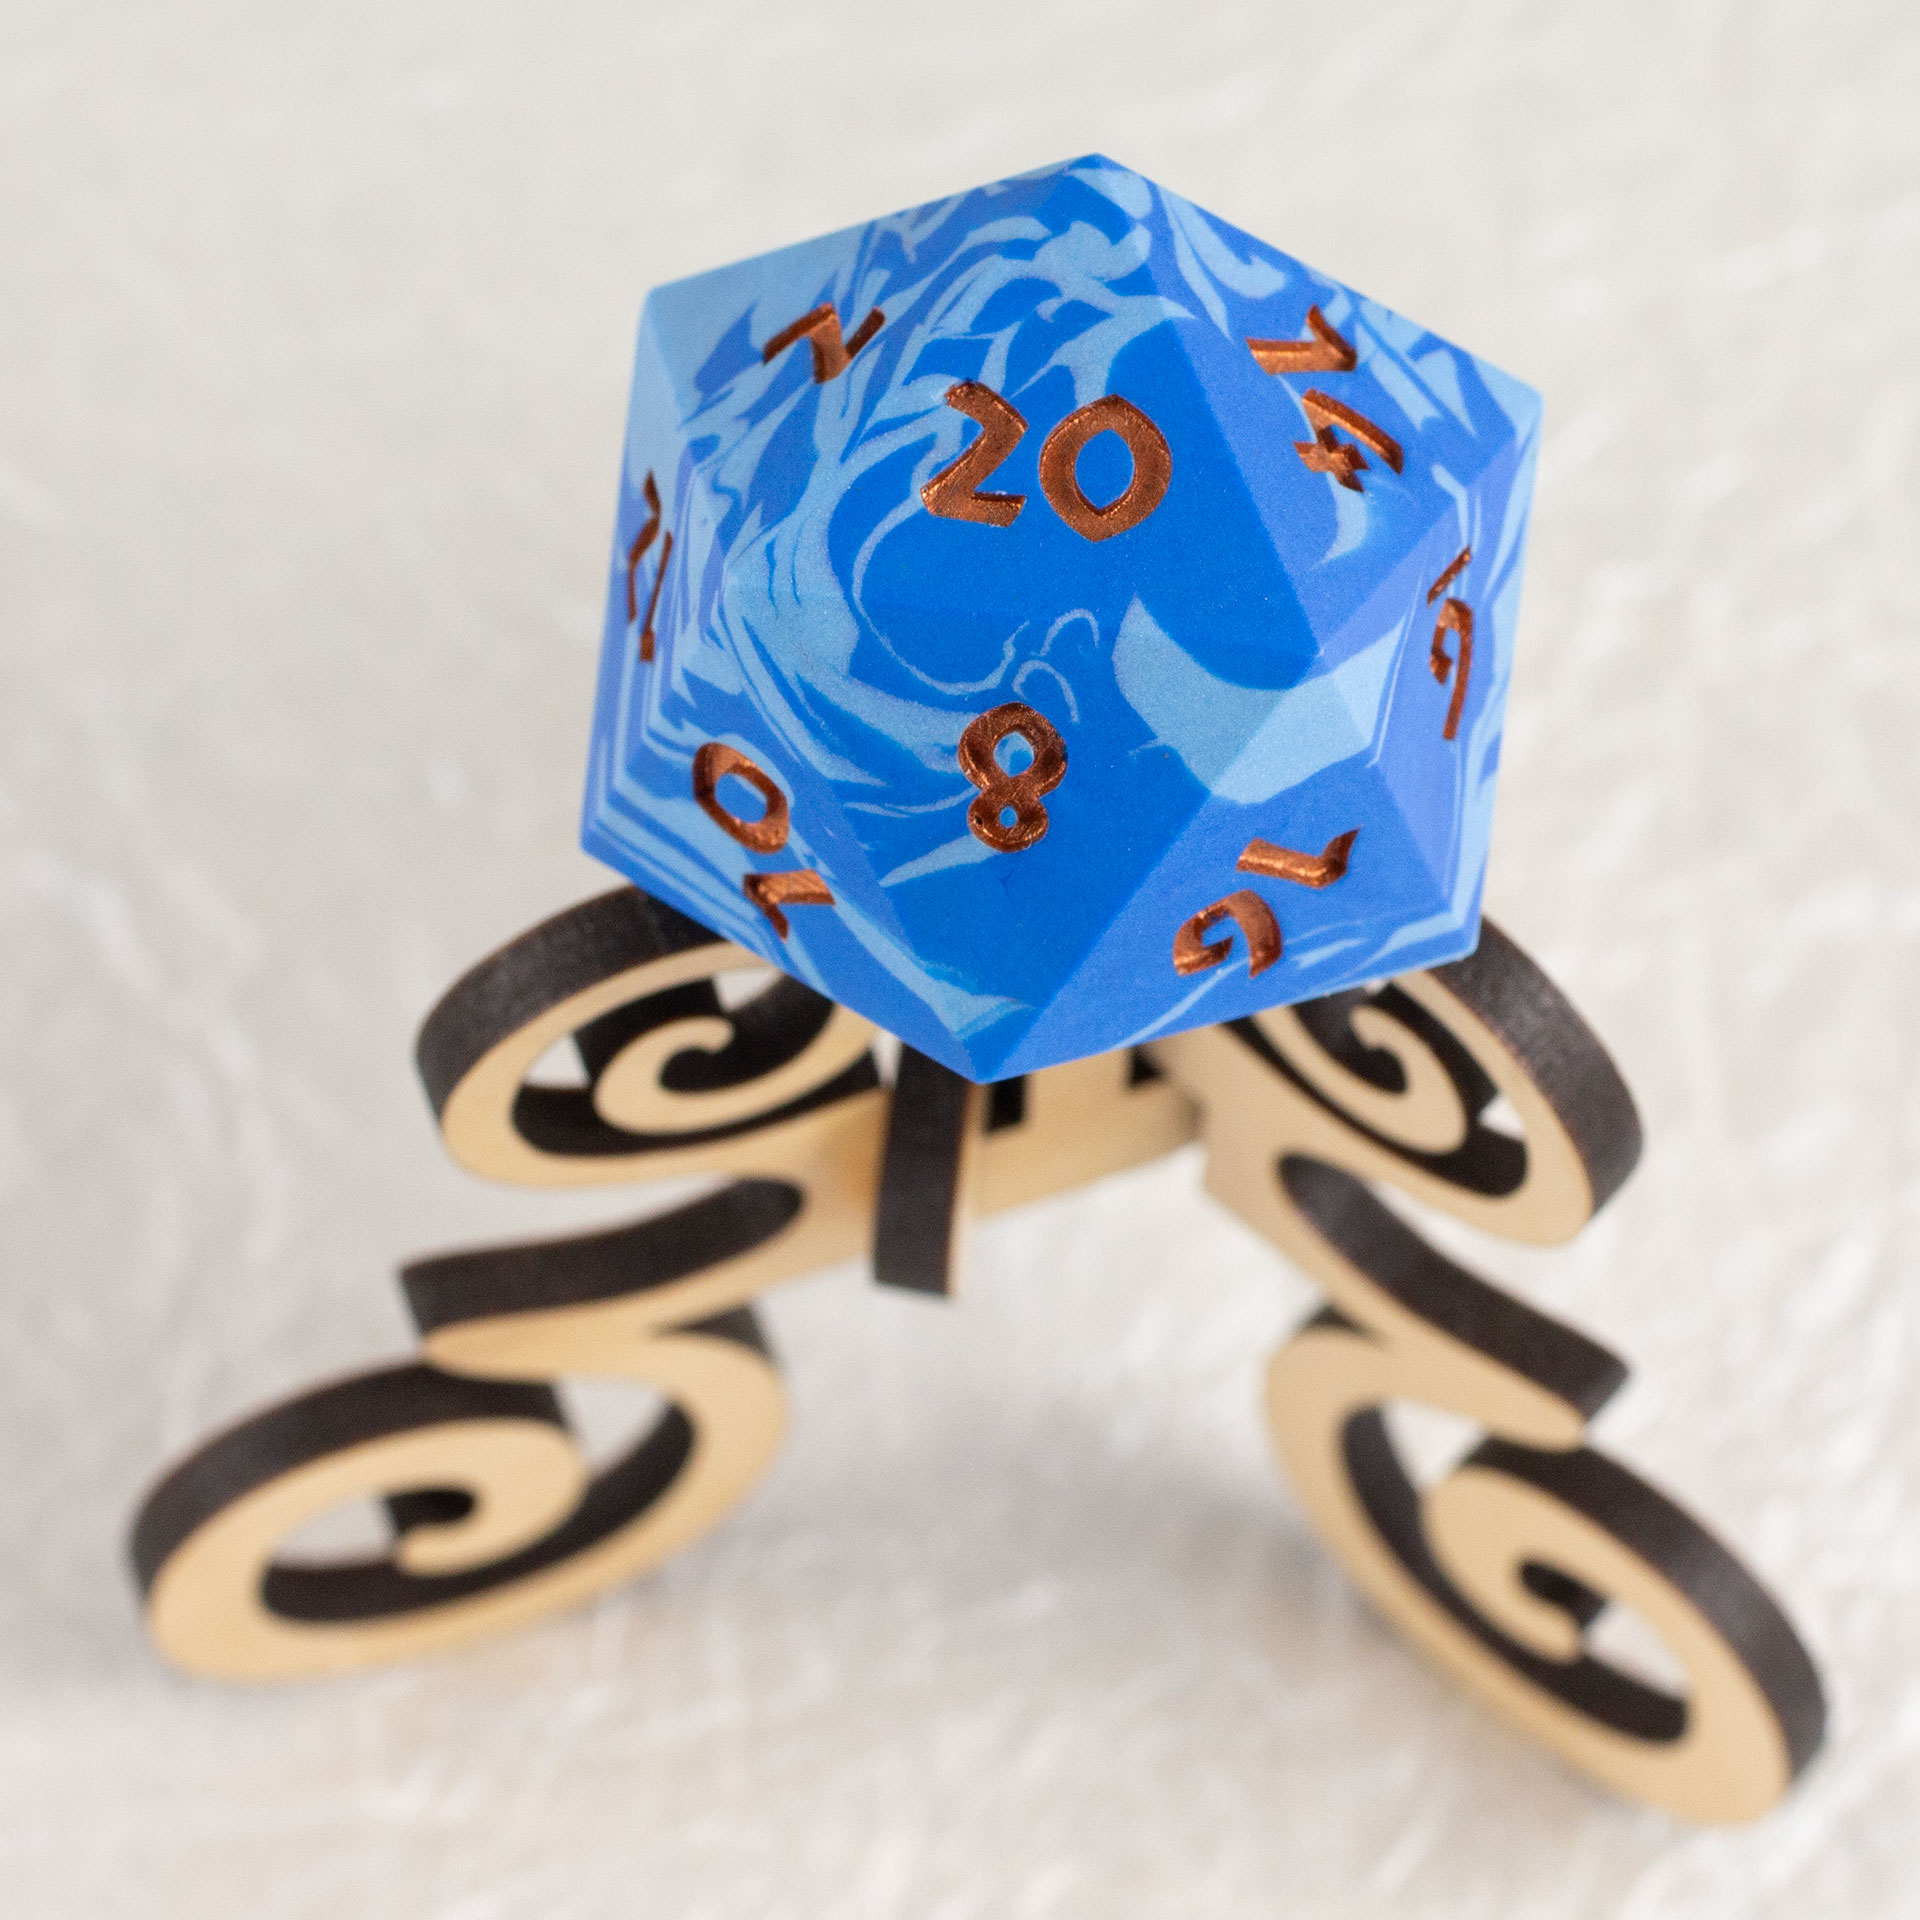
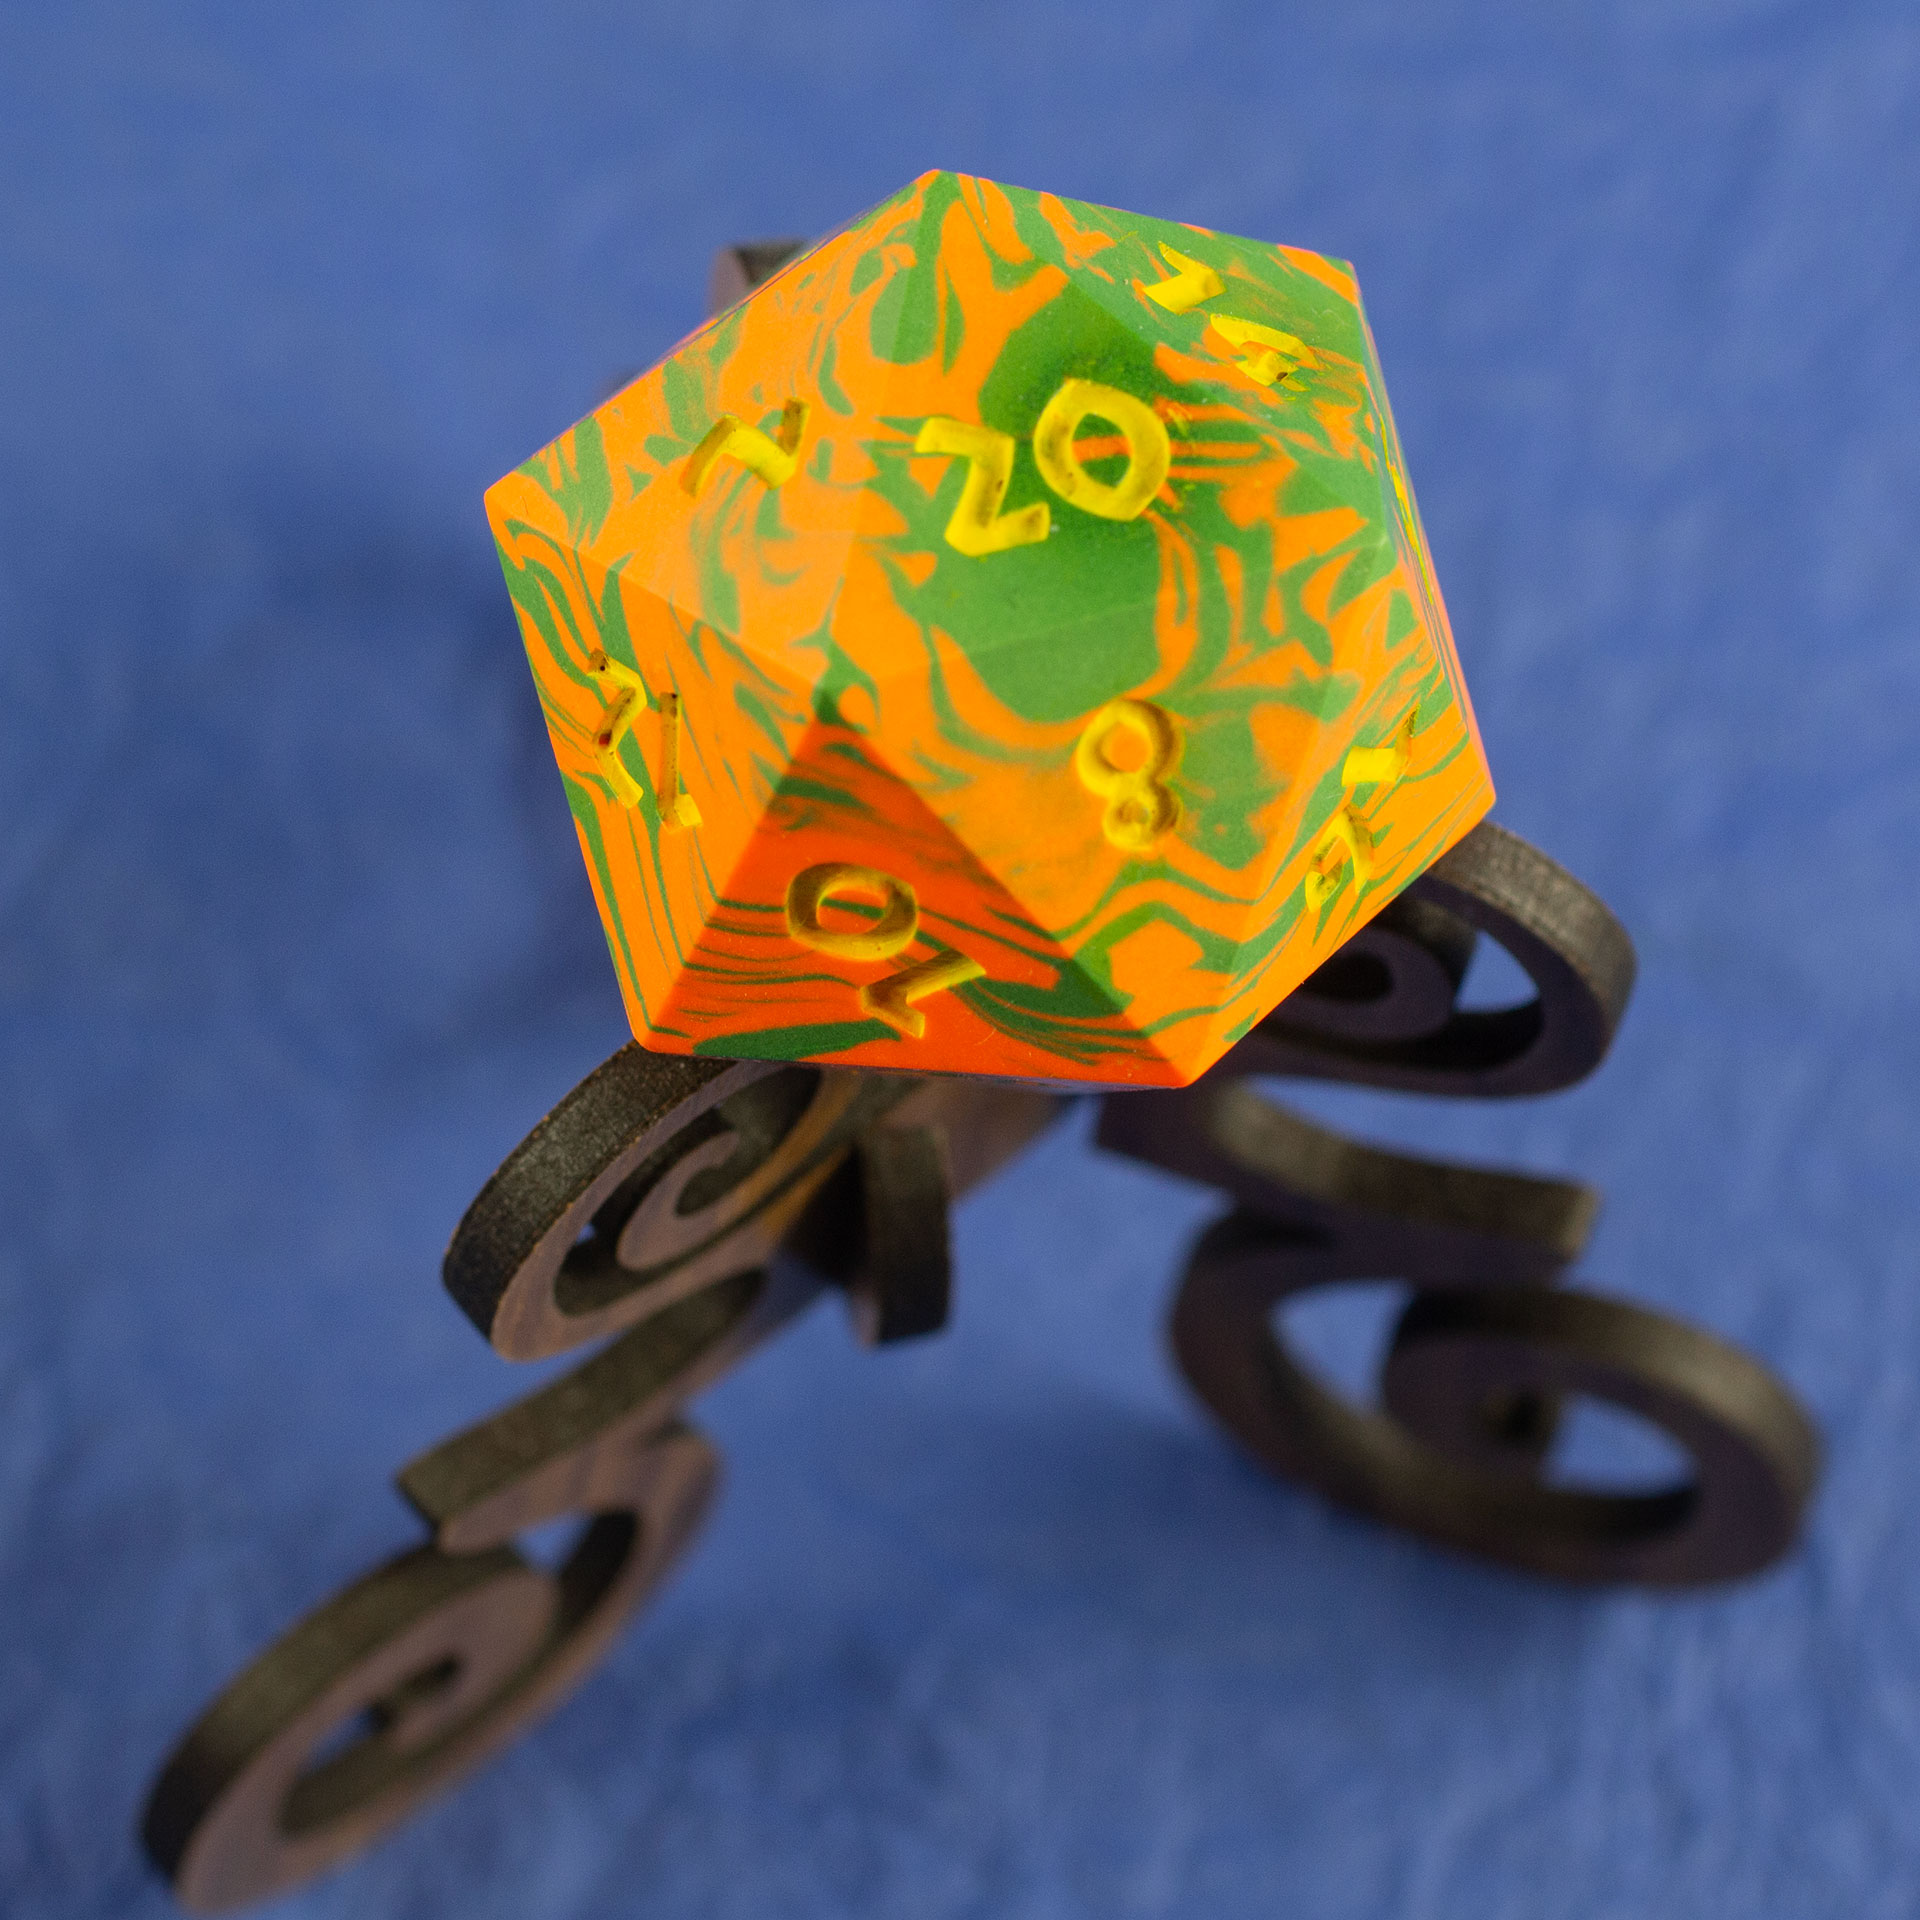
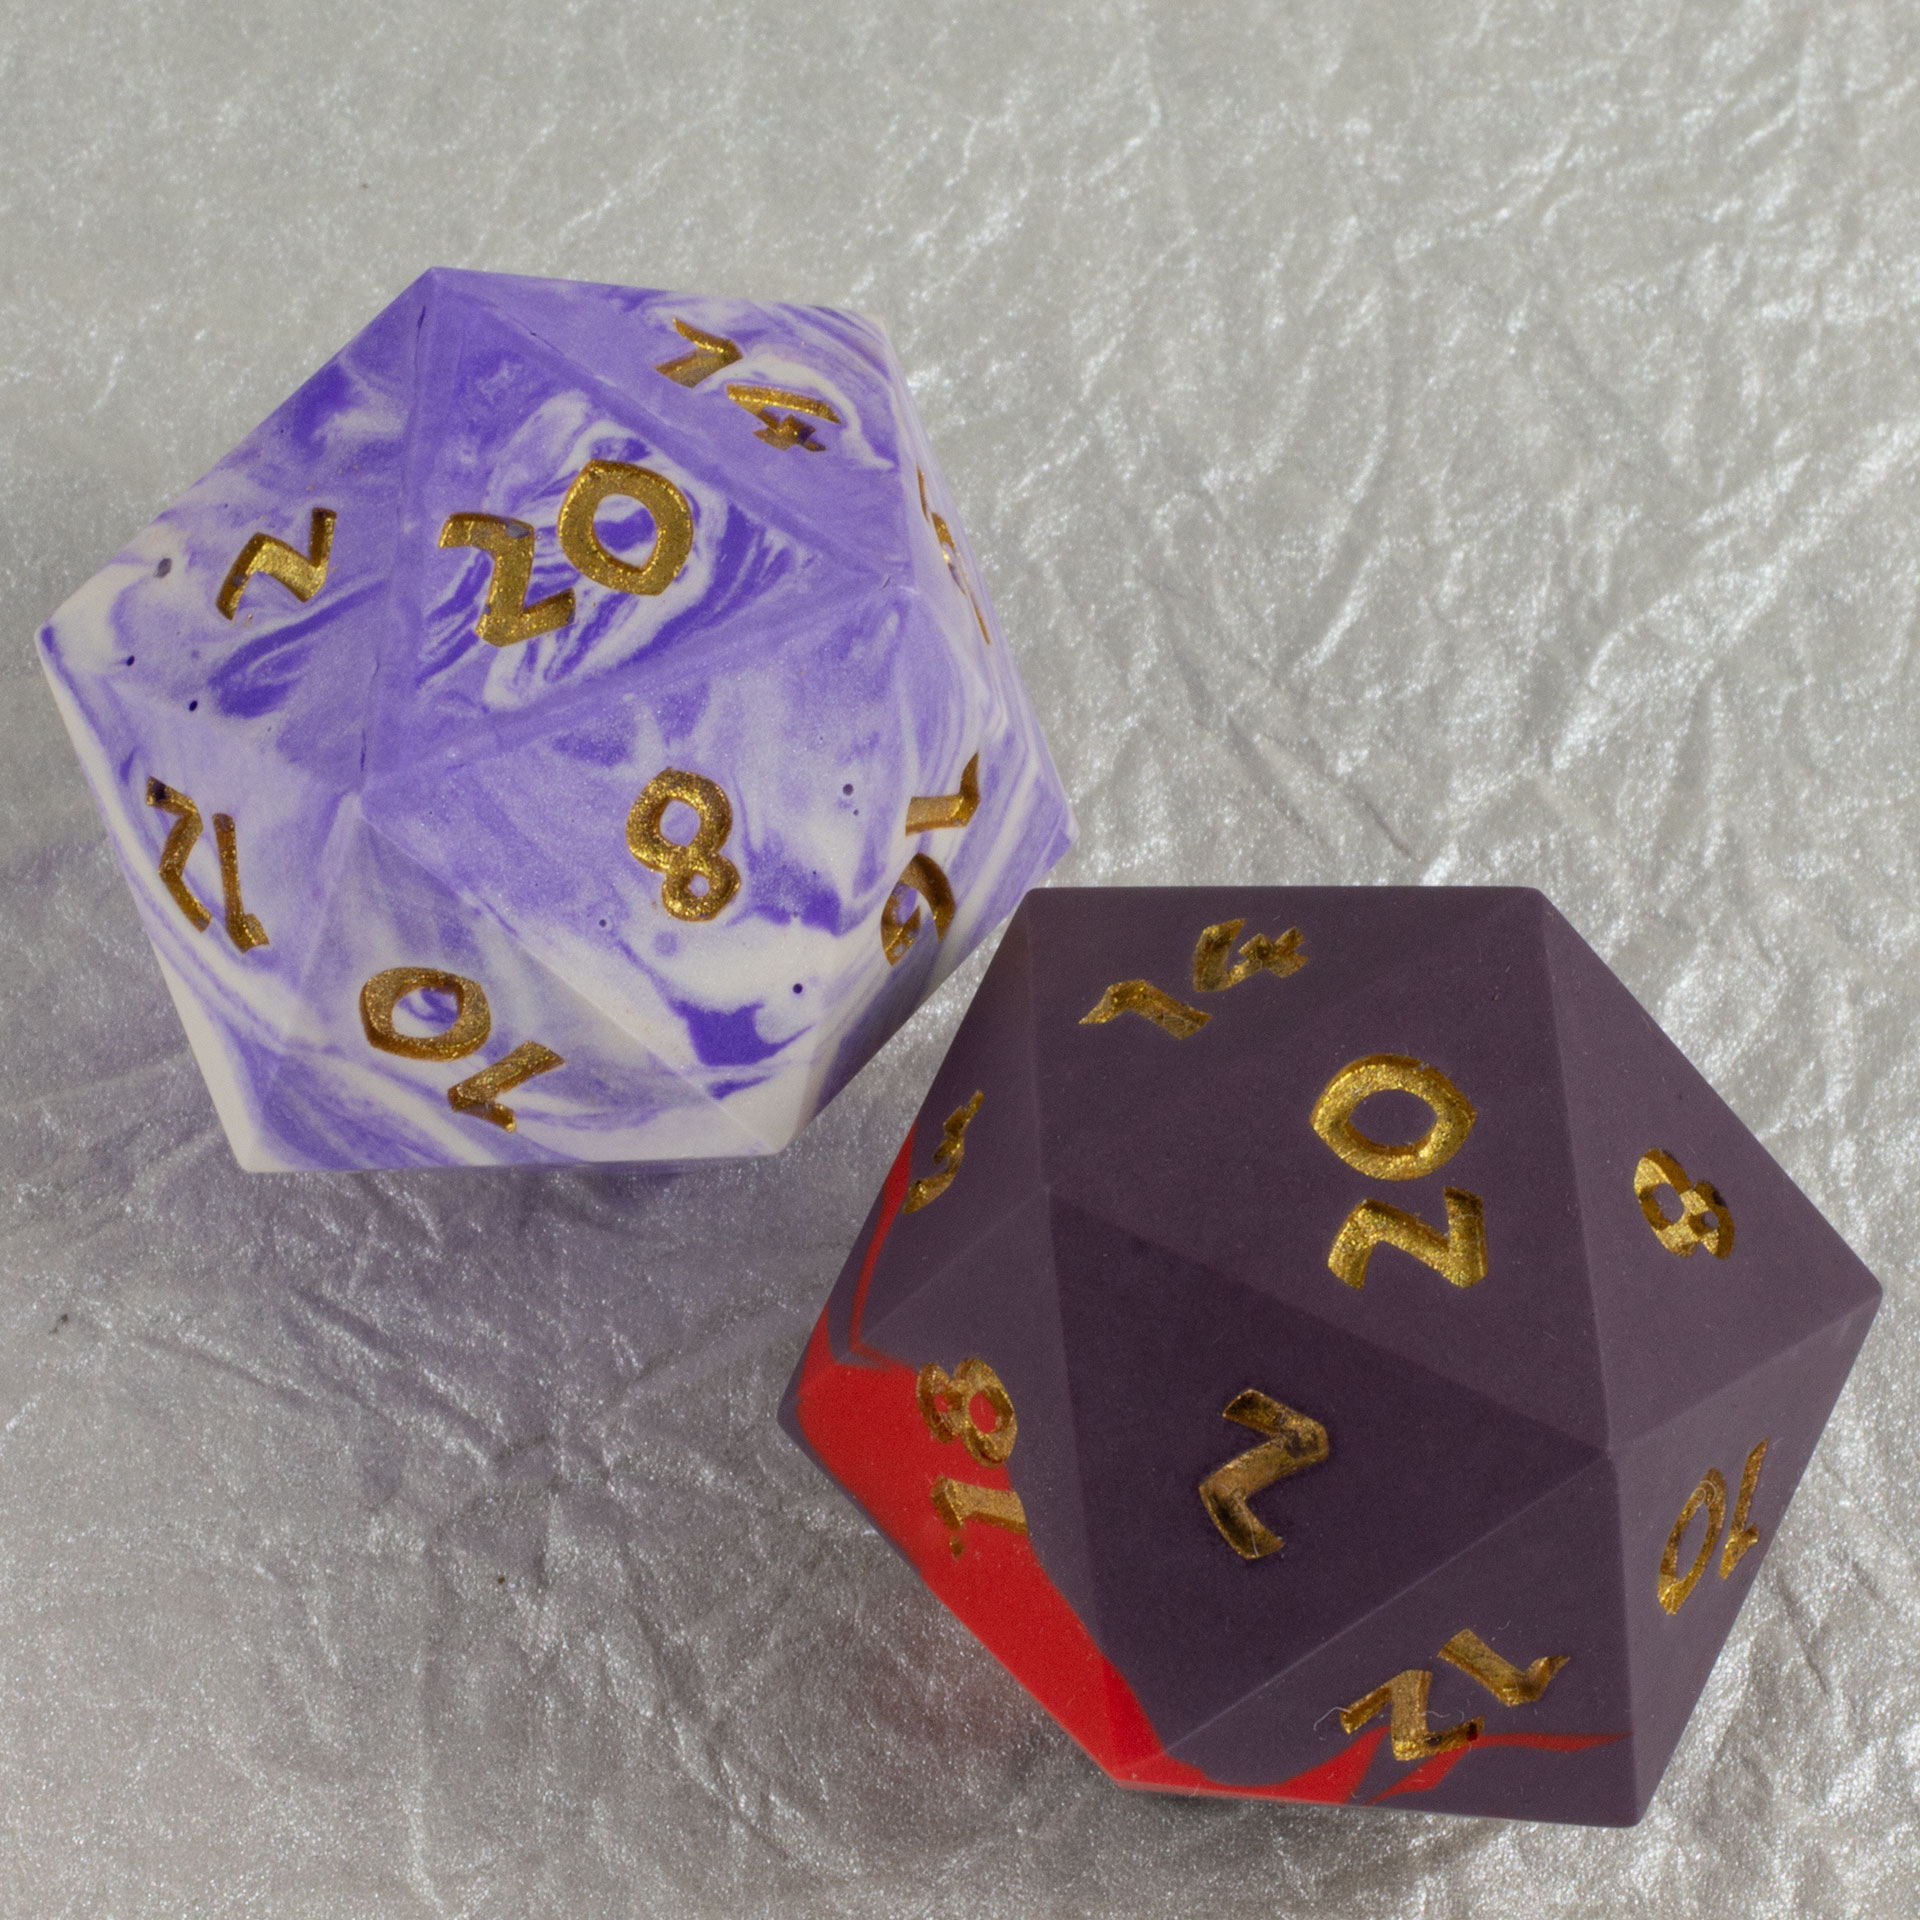
I made some hardwood gift boxes for the 20-sided dice I made, and adorned them with custom silver Celtic knotwork medallions.
Continue reading


I designed and fabricated this purple butterfly-closure box adorned with double Celtic spirals to wrap a fancy chocolate bar.
Continue reading