Glowforge

Glowforge Pulse

I have been working with the new Glowforge laser cutter for several weeks now and, thought it was a good time to post about it.

Glowforge Pulse
The Glowforge pulses slowly to indicate a job is ready to start!

I first learned about the Glowforge project in July of 2015.  A lower-cost laser cutter developed with a focus on usability sounded fantastic and, their early prototypes looked great.  I have worked with a number of other laser cutters over the years, including units from Universal and Epilog (and, of course, the Blacktooth, which still needs a follow-up post).  They remained impractical for studio use for various reasons.

My main concern about the Glowforge was their intent to use cloud-based software for operating it.  If you have talked to me much or, read other things I have written, you may be aware that I am not a big fan of that sort of thing.  Thanks to XOXO, I was able to talk to the developers and, they allayed my fear on that count somewhat.  There are now also developers working on custom firmware for the machines at the OpenGlow project.

With shipping expected with a few months, I finally pre-ordered a Glowforge on the very last day of their campaign.  In the great tradition of ambitious startups, it ended up taking a bit longer for them to actually ship production units …

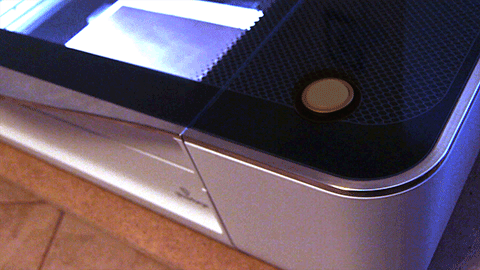
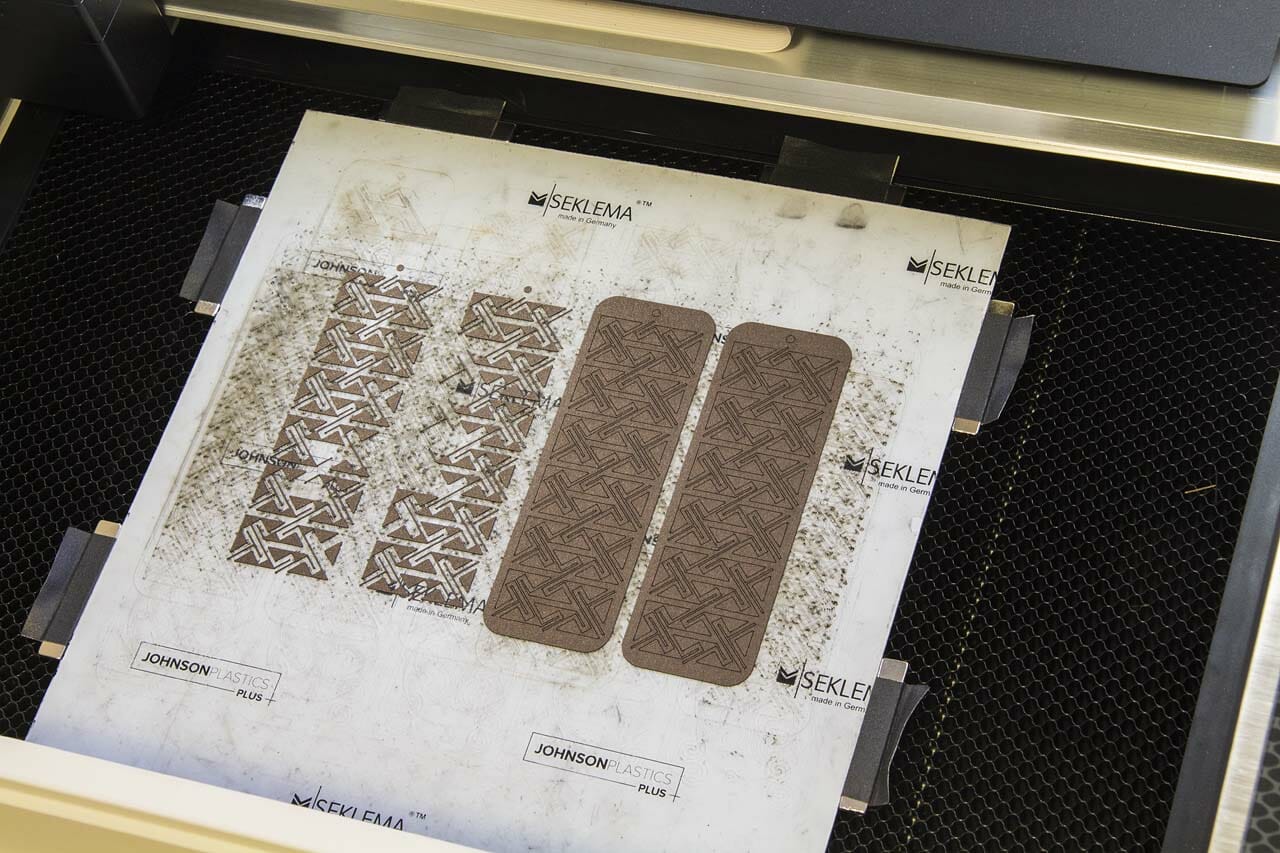
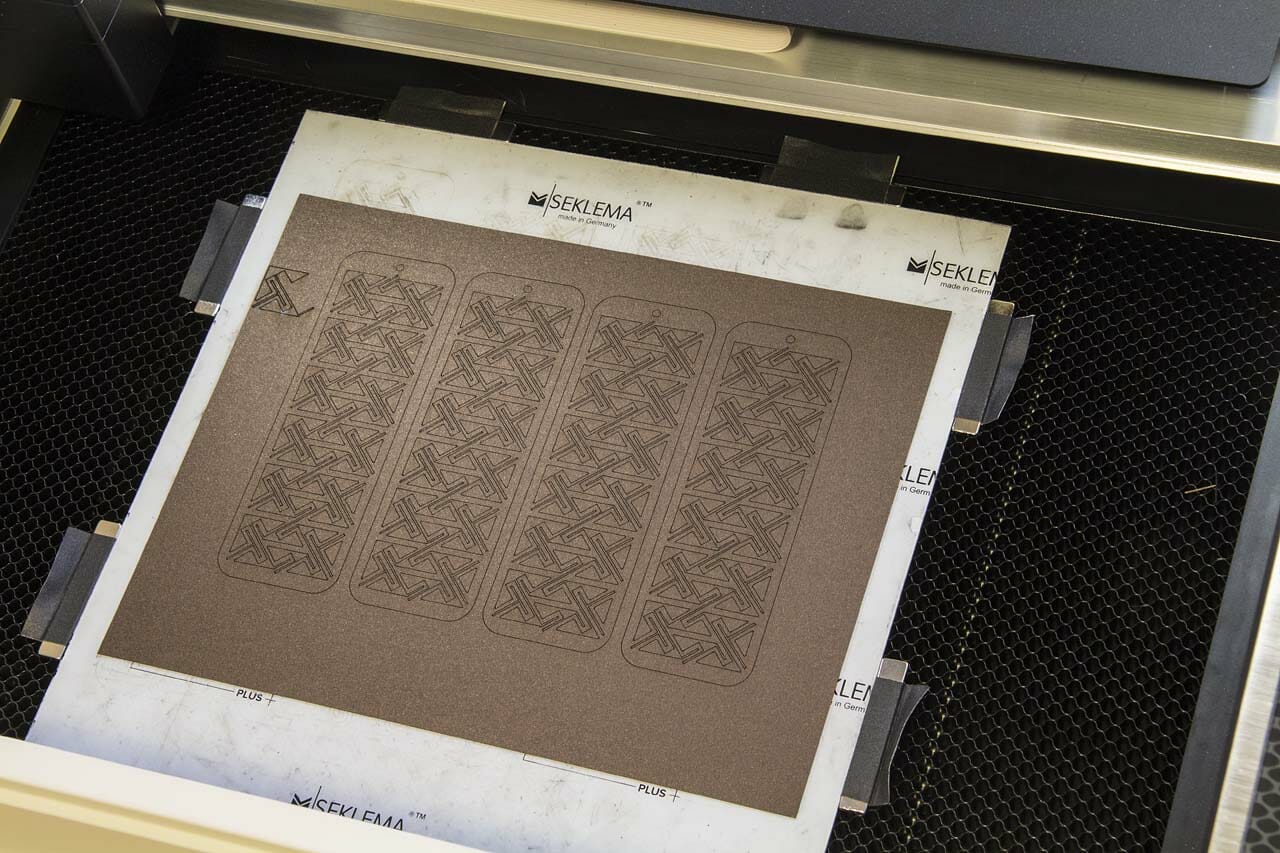
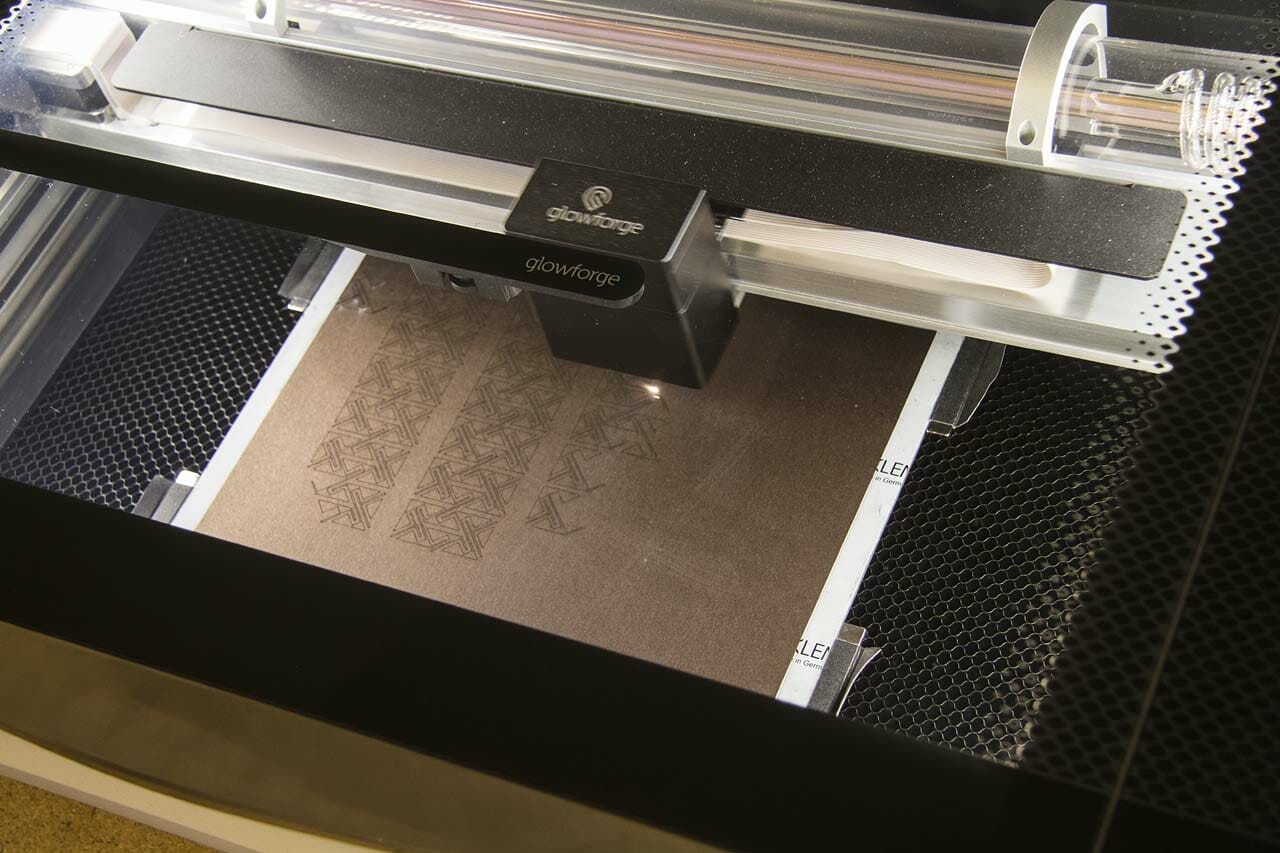
So far, my Glowforge has proven worth the wait.  It is easy to use and, I was up and running within an hour of its arrival.  While I have found the learning curve so far fairly shallow, be aware that I already had quite a bit of experience with vector graphics, CNC, cutting machines, other laser cutters and, technology in general.  The most common challenges I see people facing in the user forums are conceptual issues like not being familiar with creating vector images.

Origamic Architecture on the Glowforge

If you have browsed this site or seen my work elsewhere, you may be aware that I like to design origamic architecture pop up cards. The Glowforge has been great for quick prototyping experiments and, is even more suitable for small-scale production than I had hoped. Very granular control over the speed and power applied have allowed me to adjust for different types of paper stock to get both score lines and cuts without excessive charring or smoke damage.

Unlike CNC cutting machines, the laser doesn’t put any physical pressure on the paper. So, it is easier to work with finer details without as much risk of tearing.

Other Paper Art

Looking to experiment some with the level of detail possible when cutting paper with the Glowforge, I re-worked and adapted an old Celtic keypattern design I did long ago and, created a new Celtic spiral triskelion design. I wanted to do something useful with those. So, I turned them into kirigami bookmarks.

Some Limits

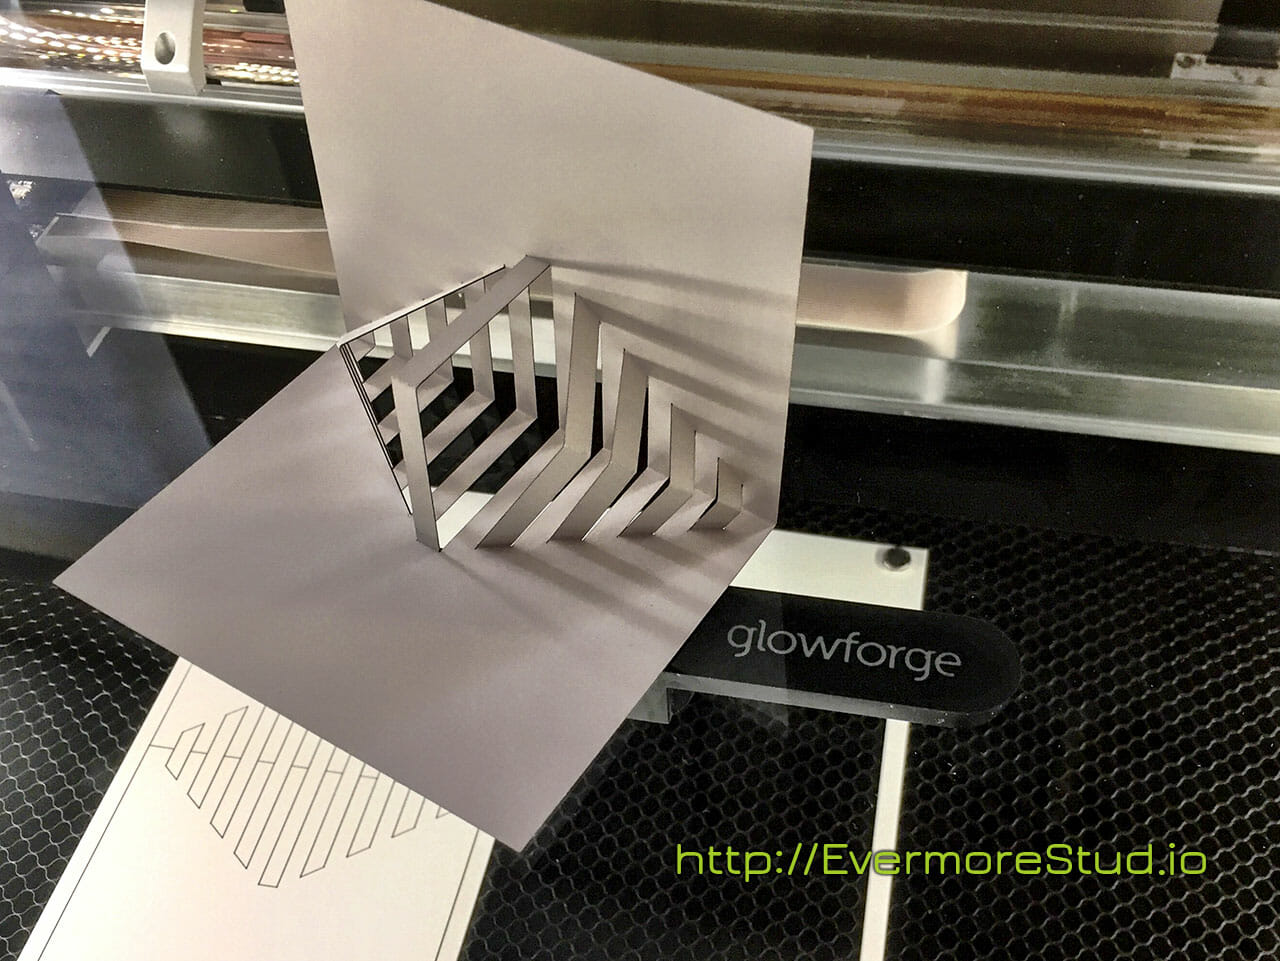
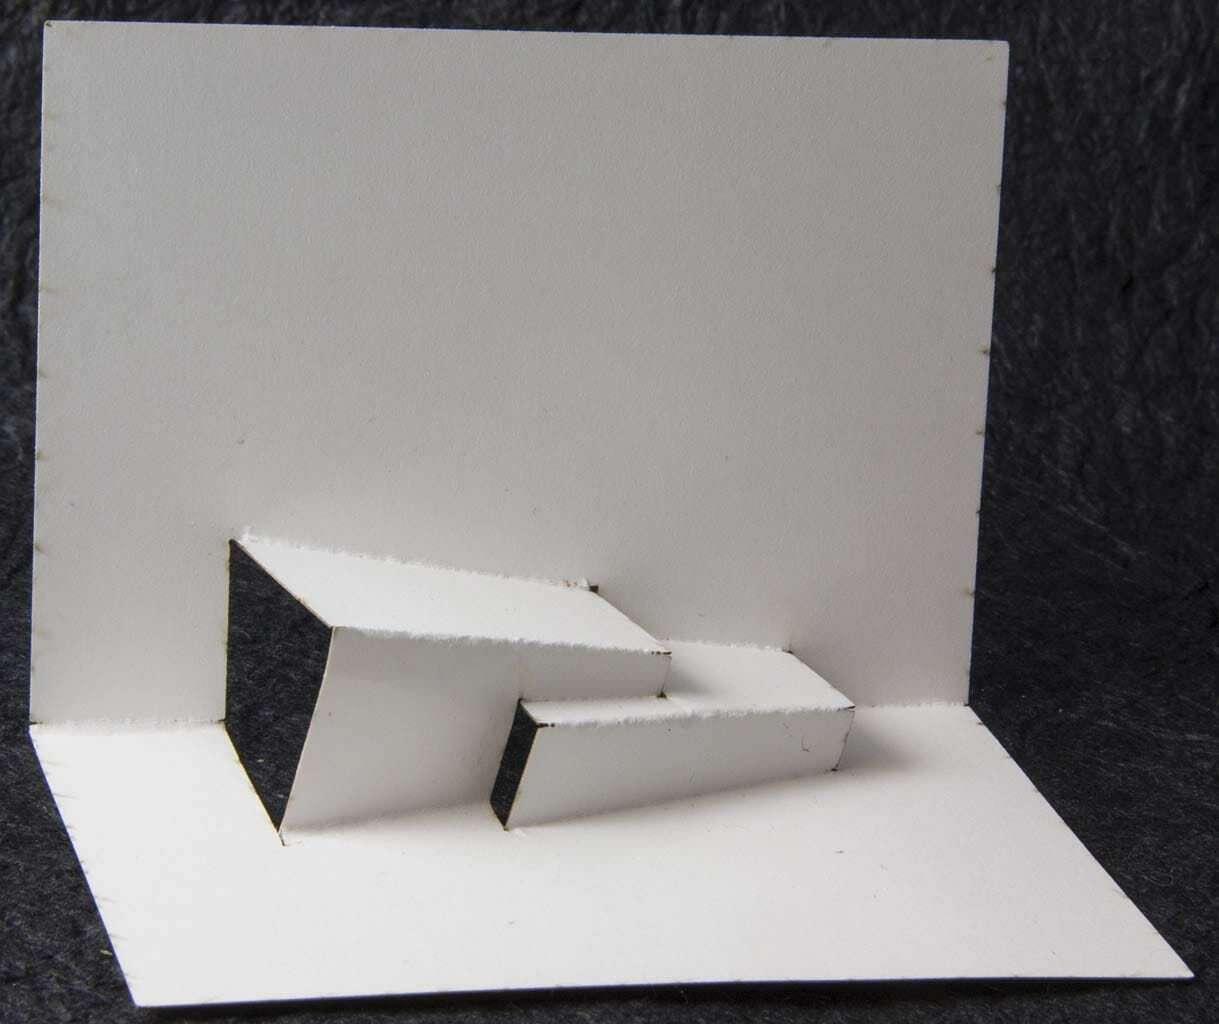
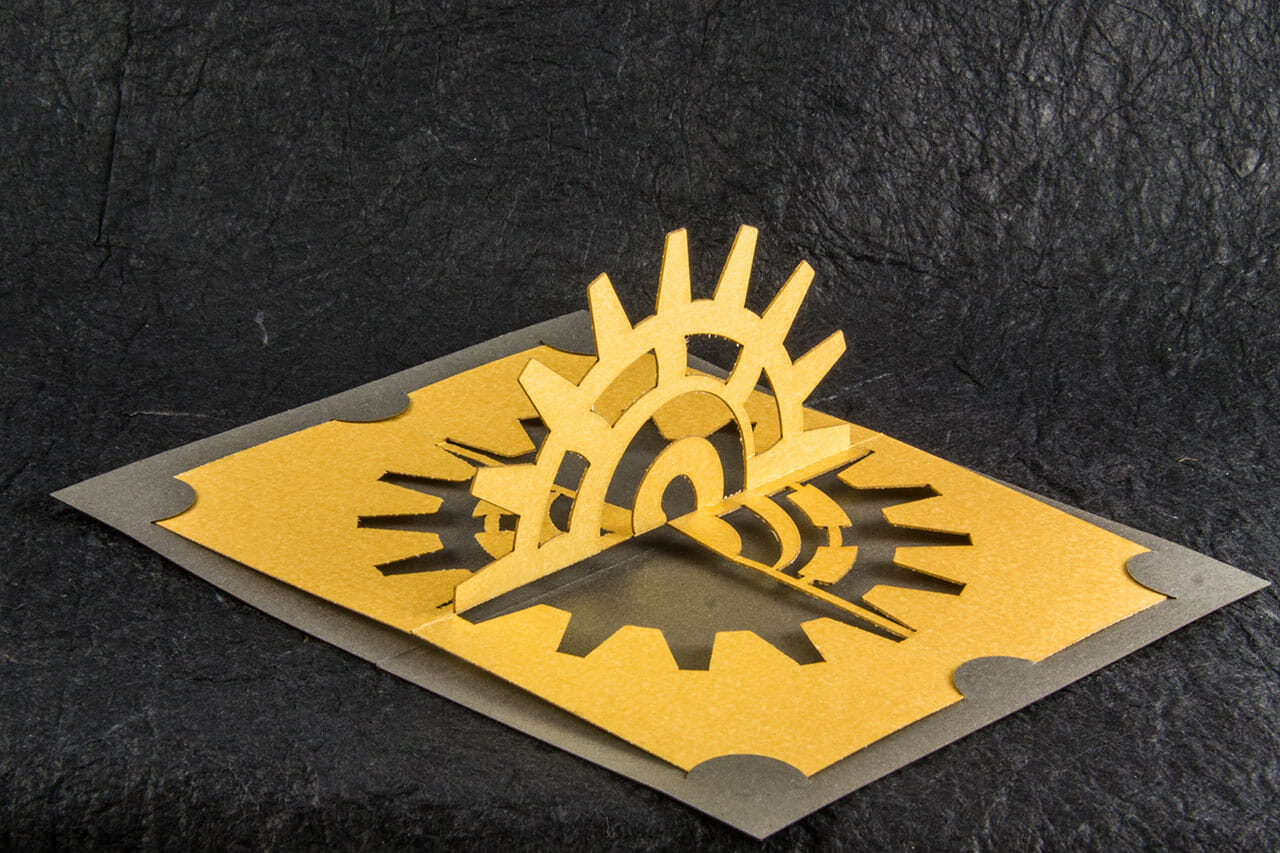
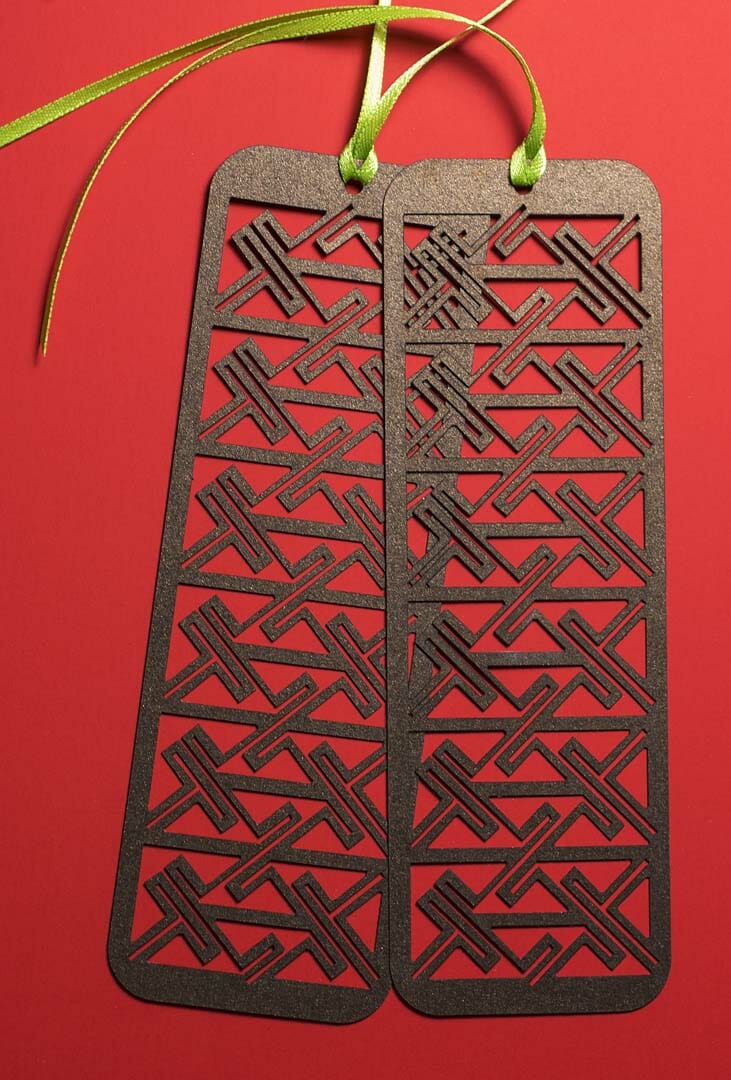
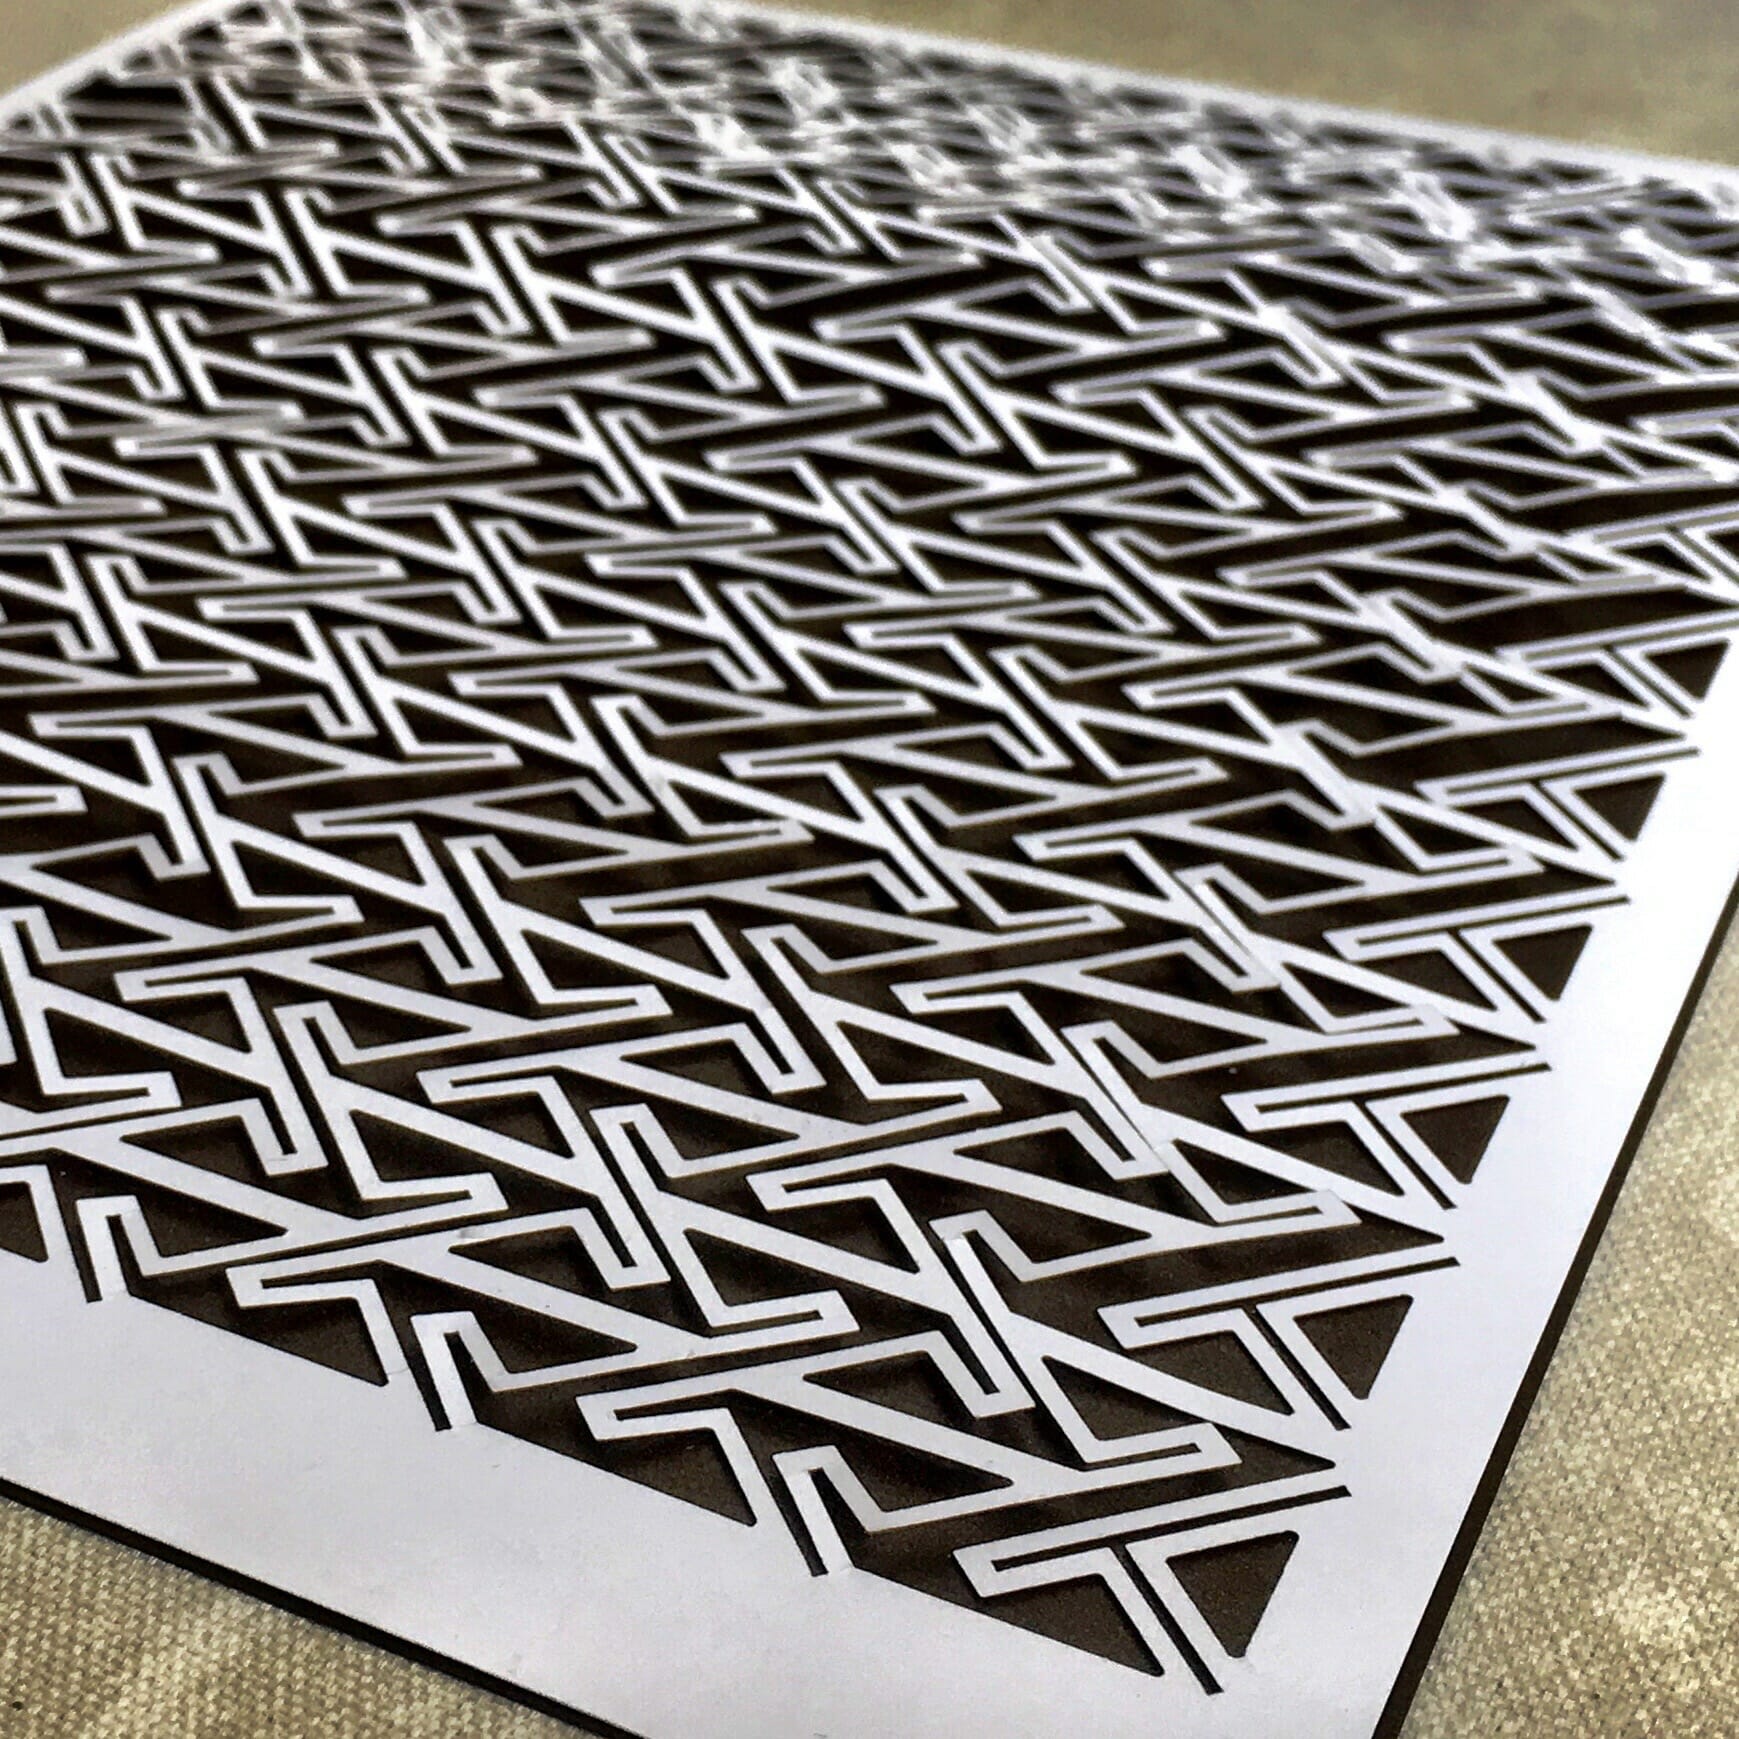
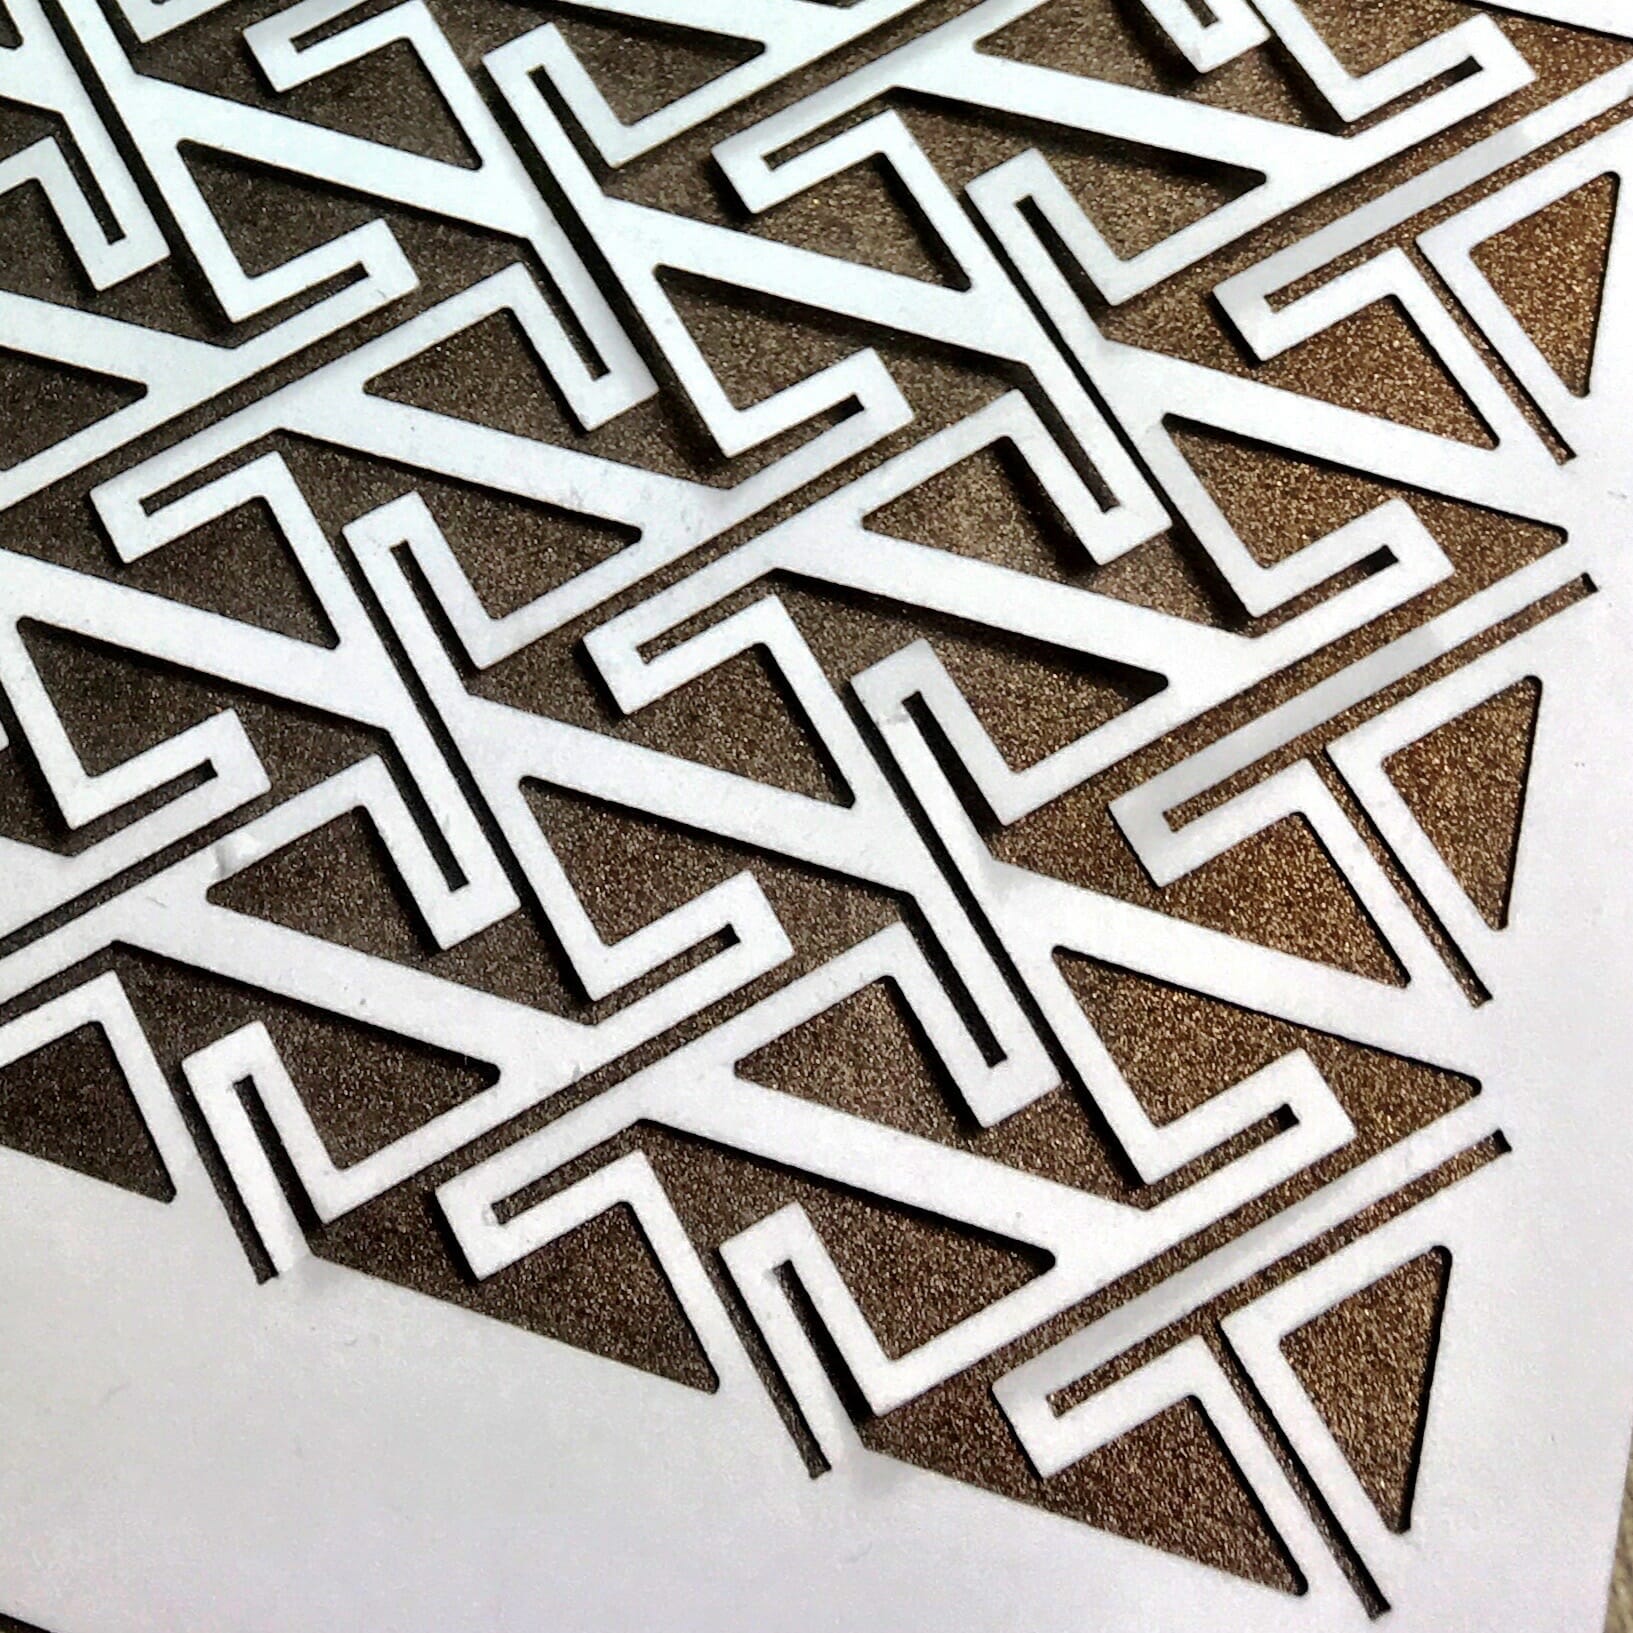
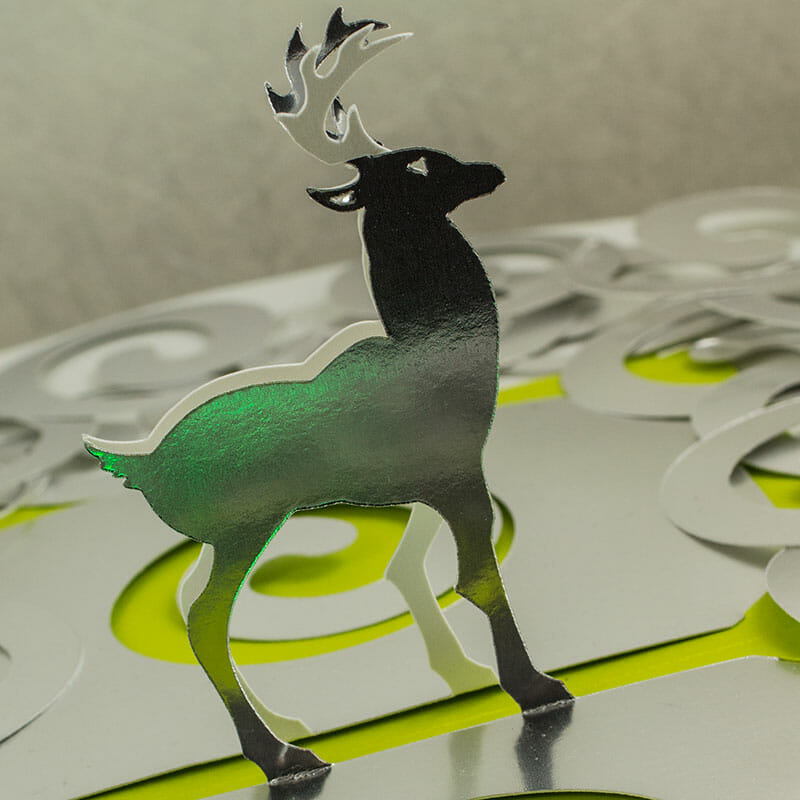
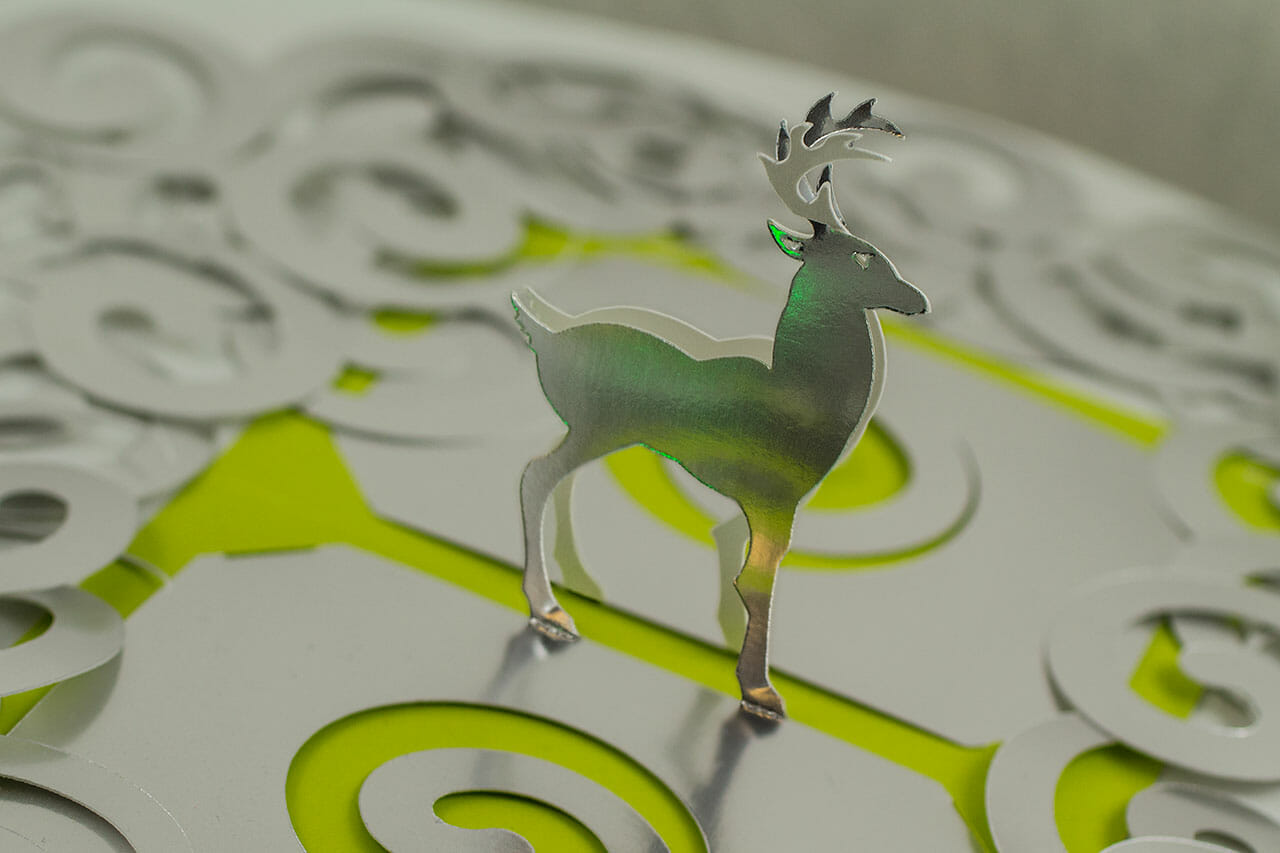
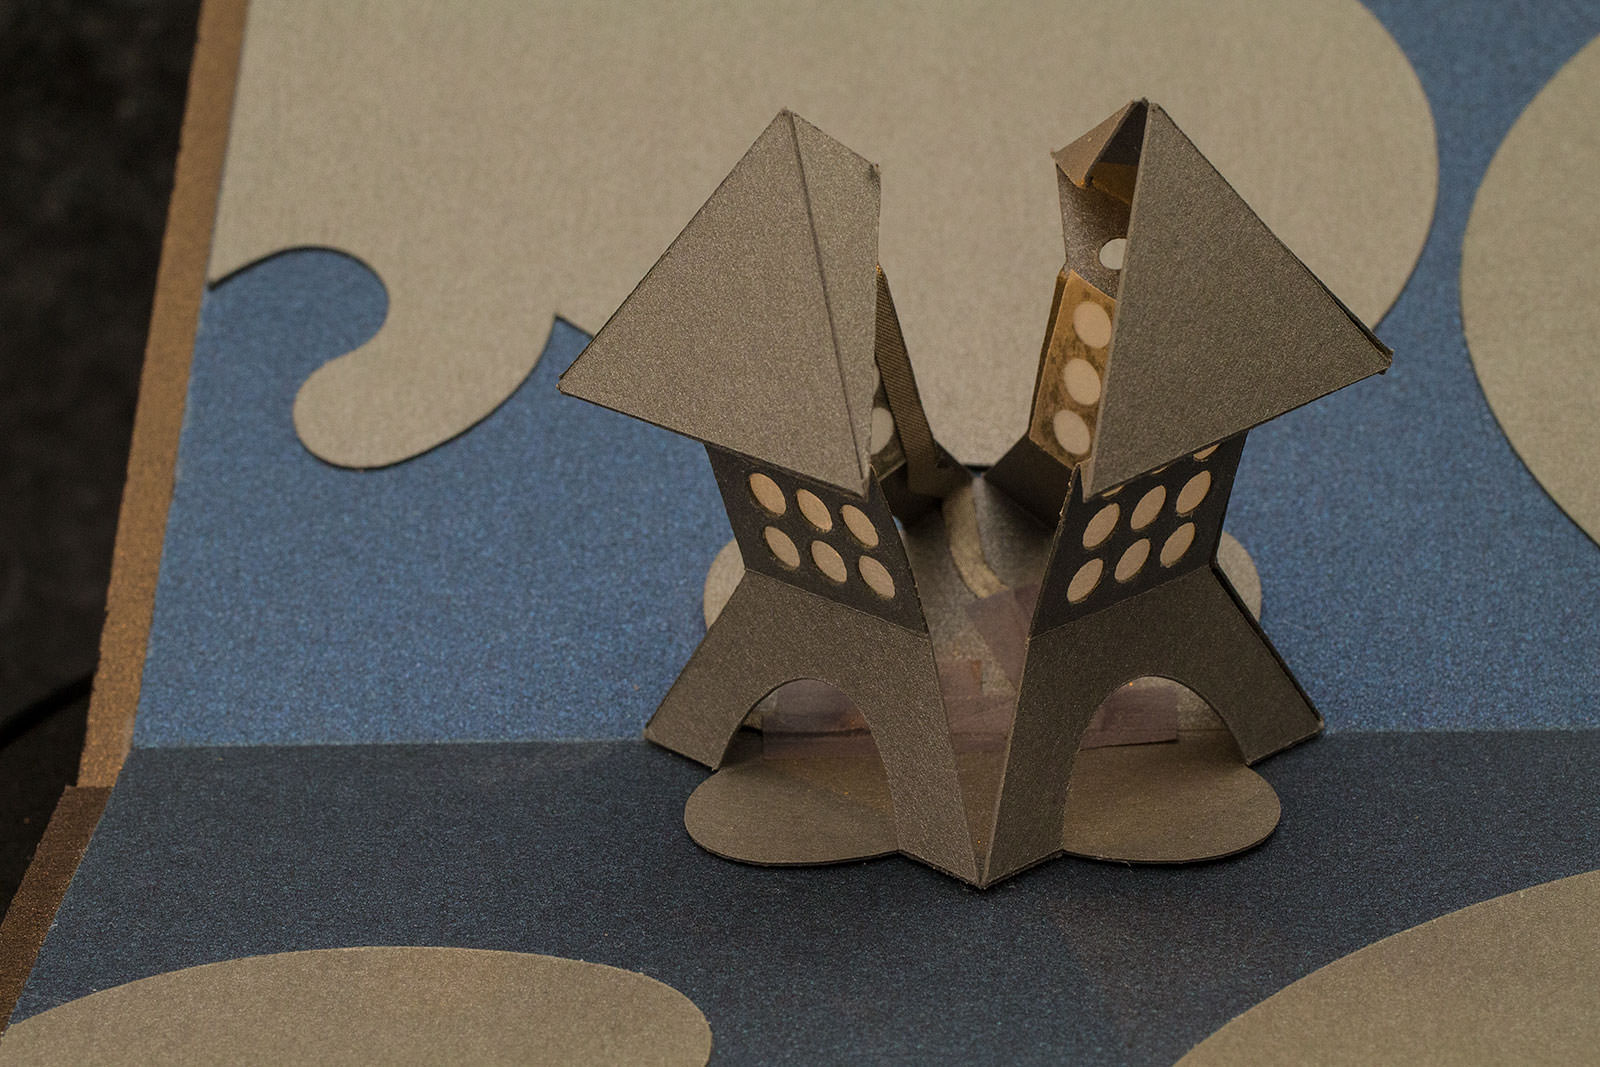
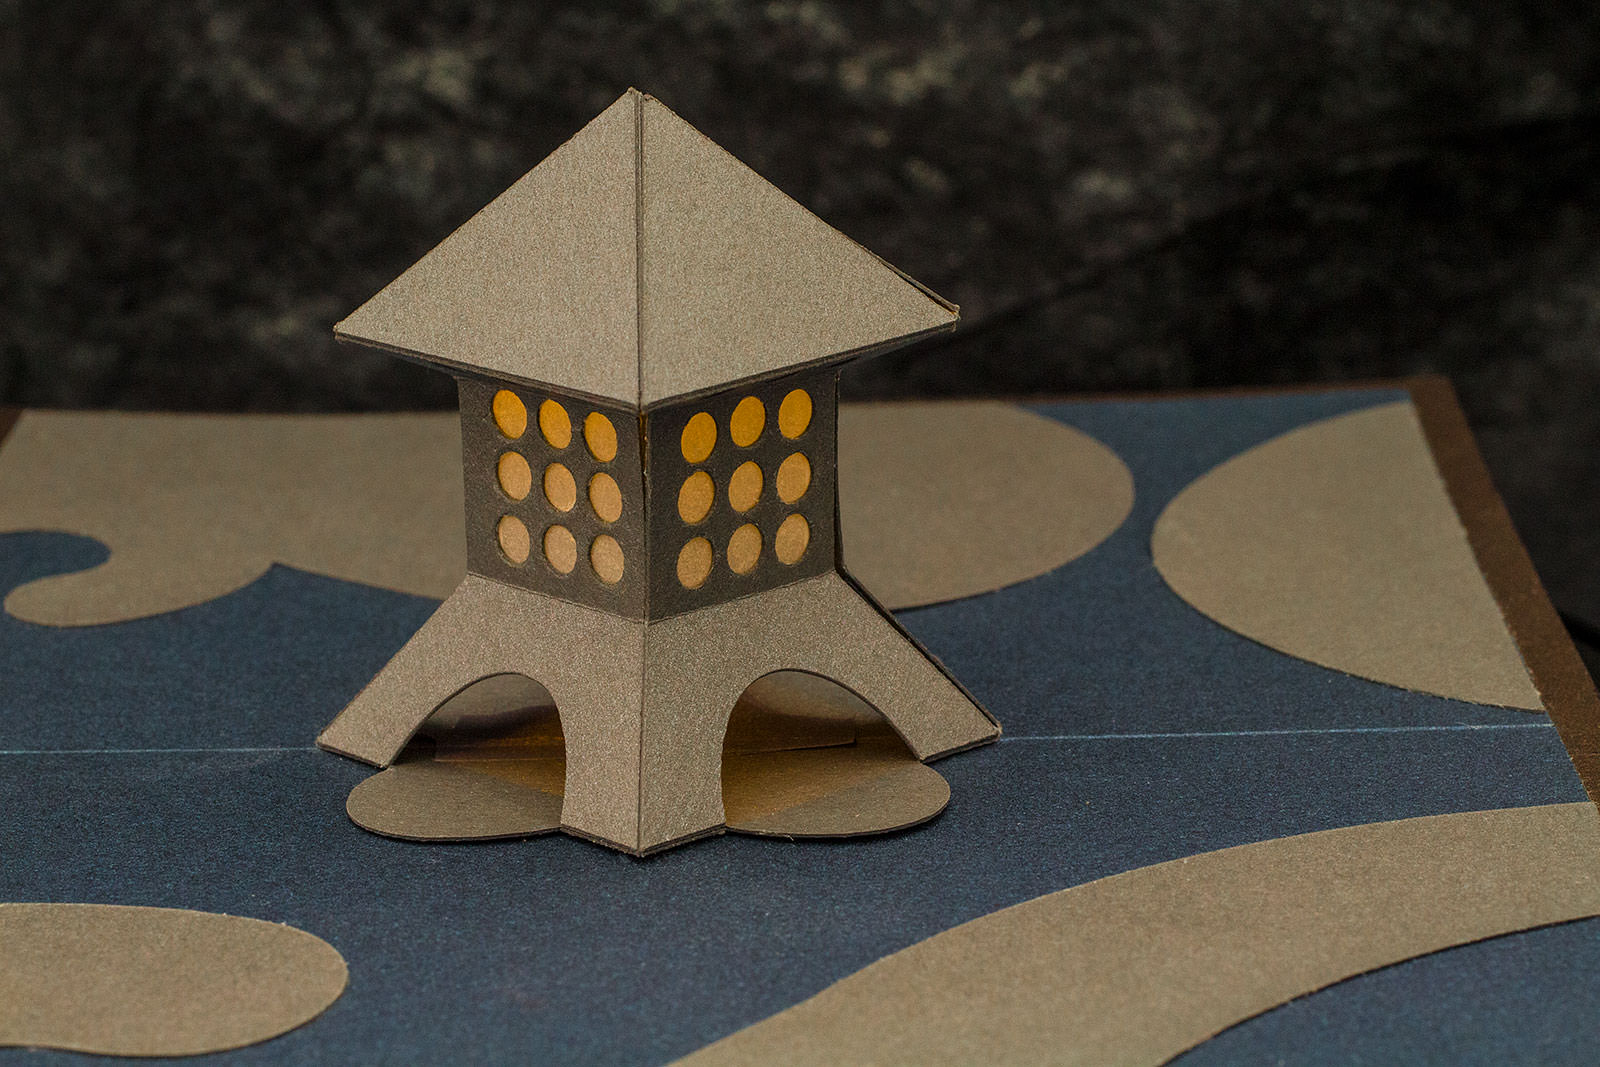
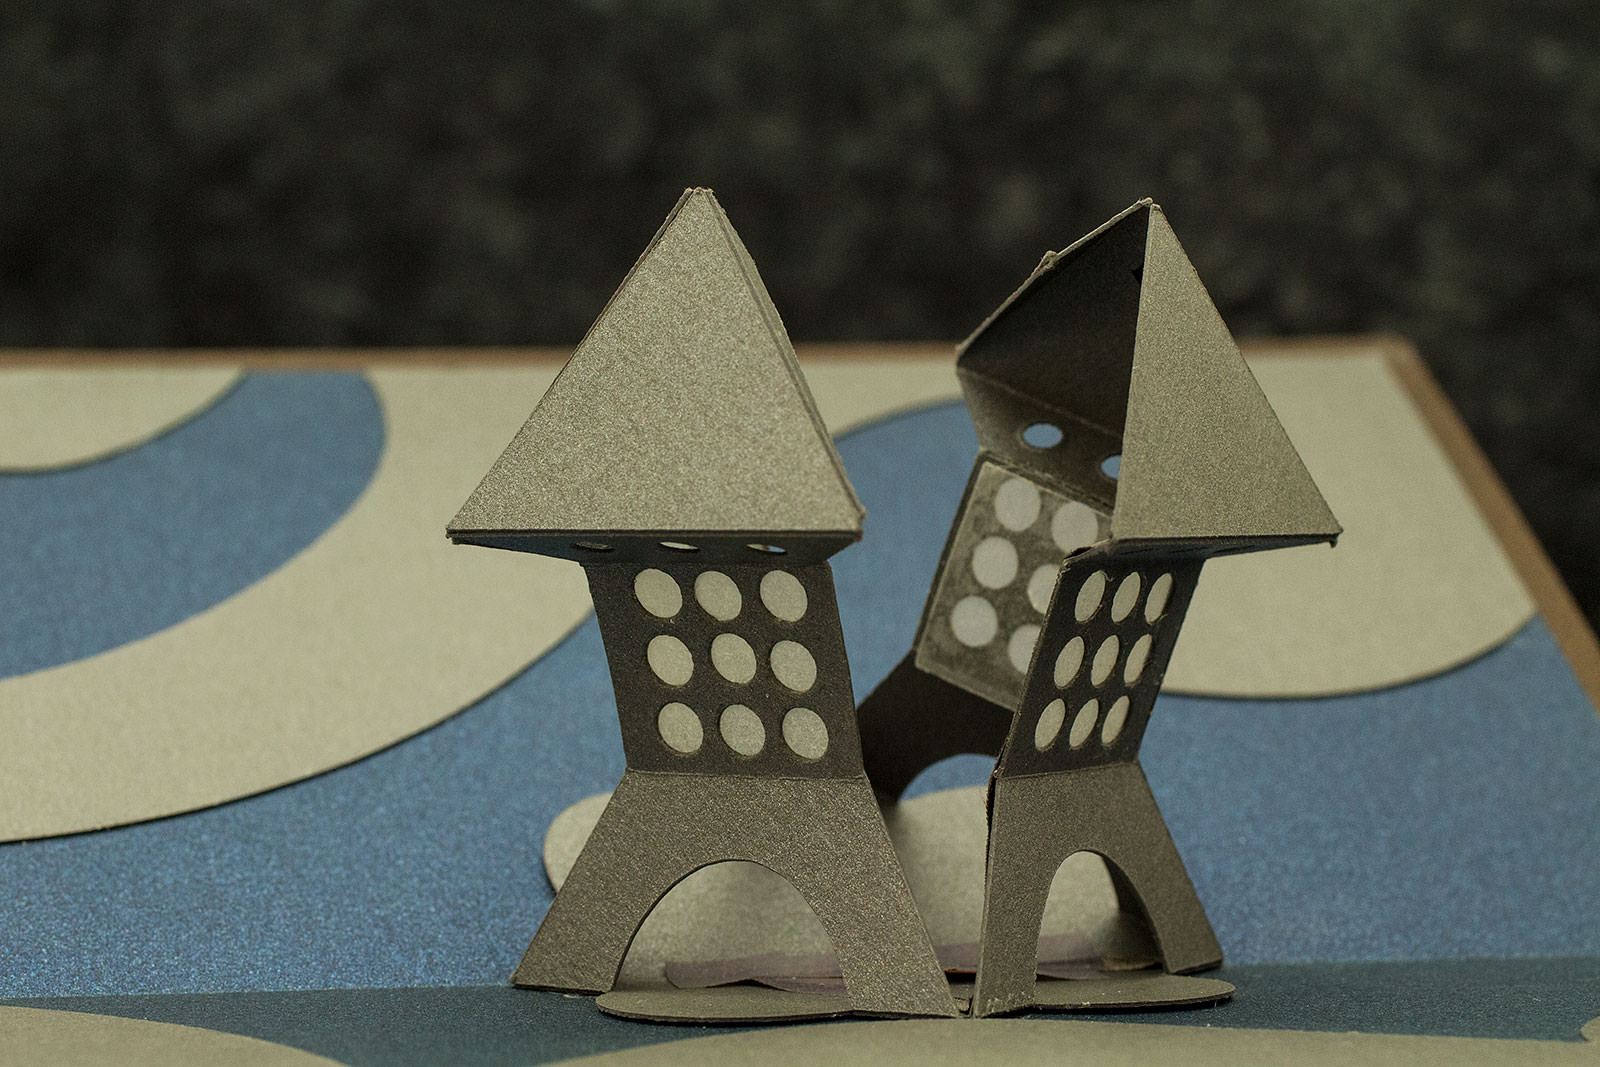
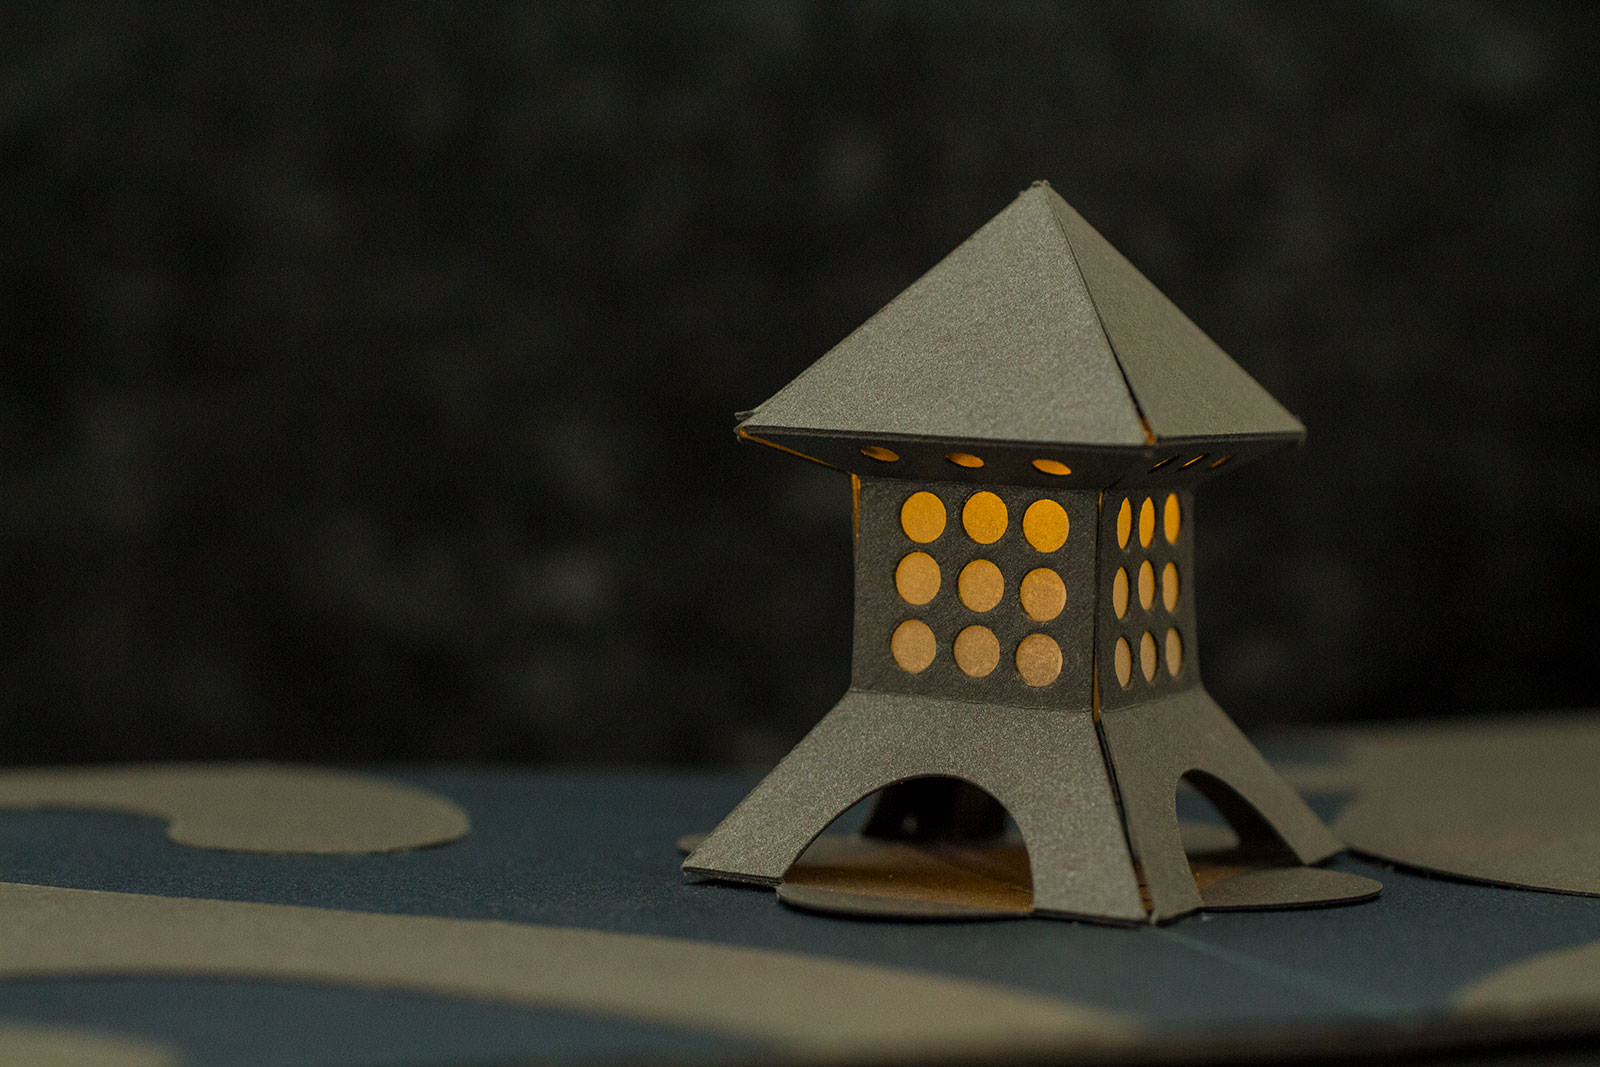
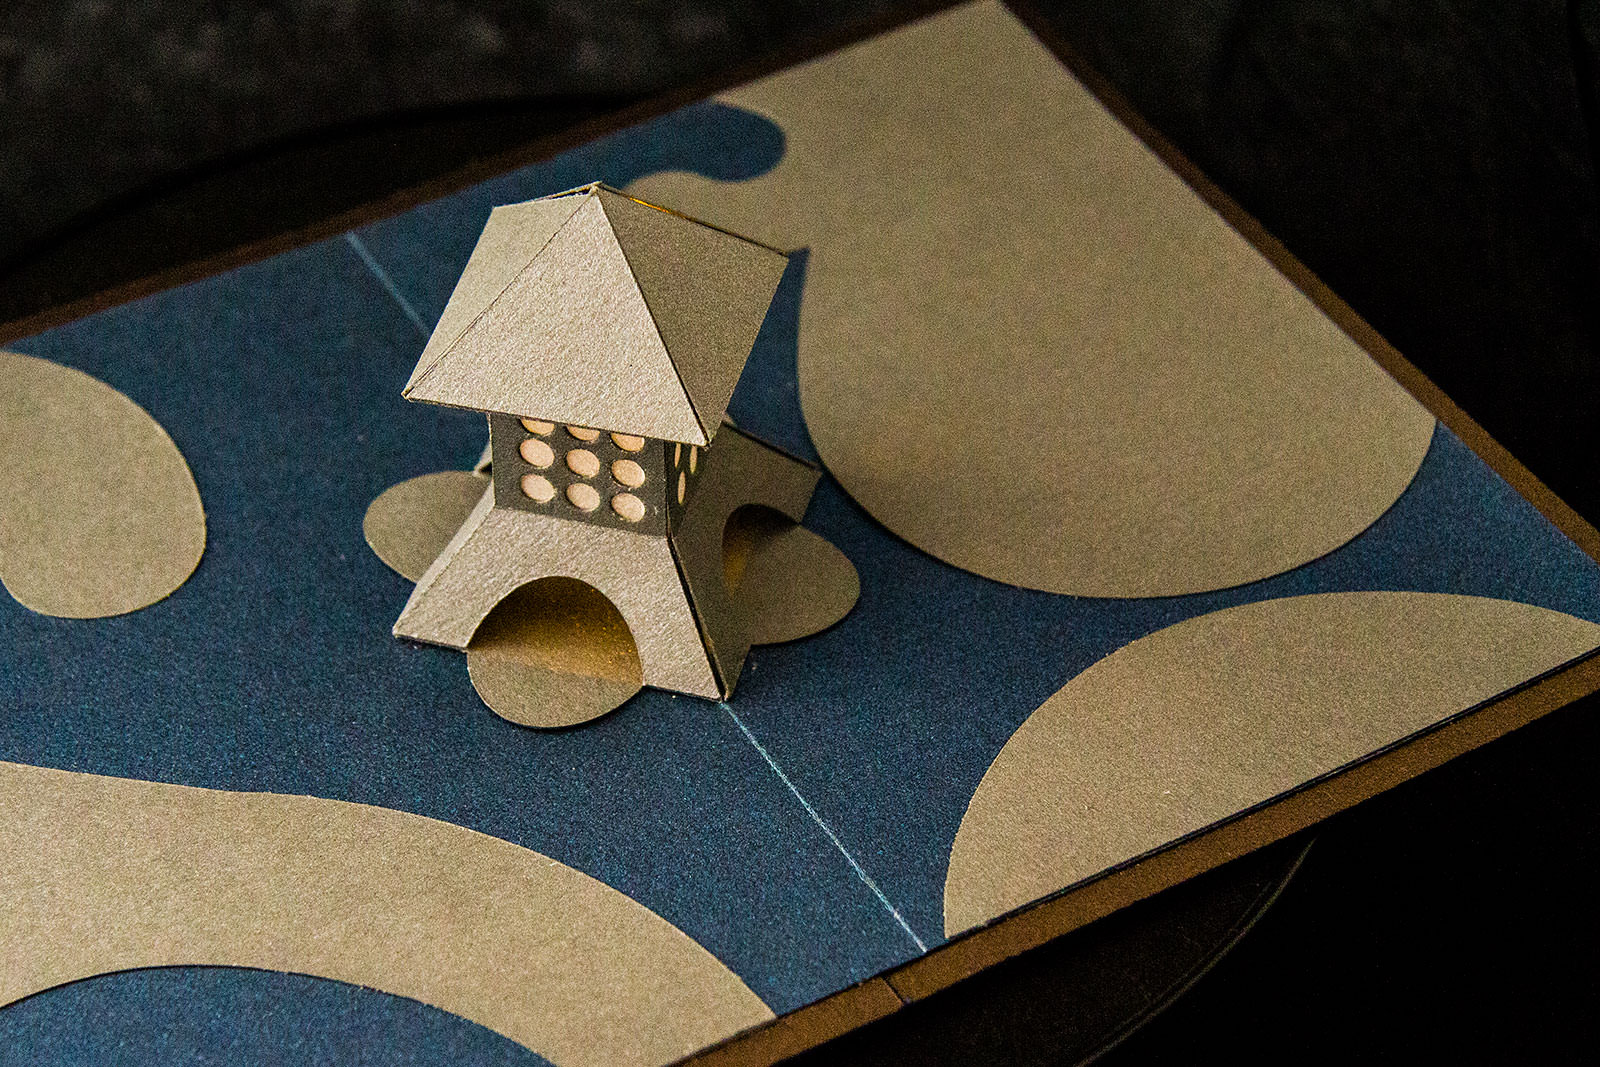
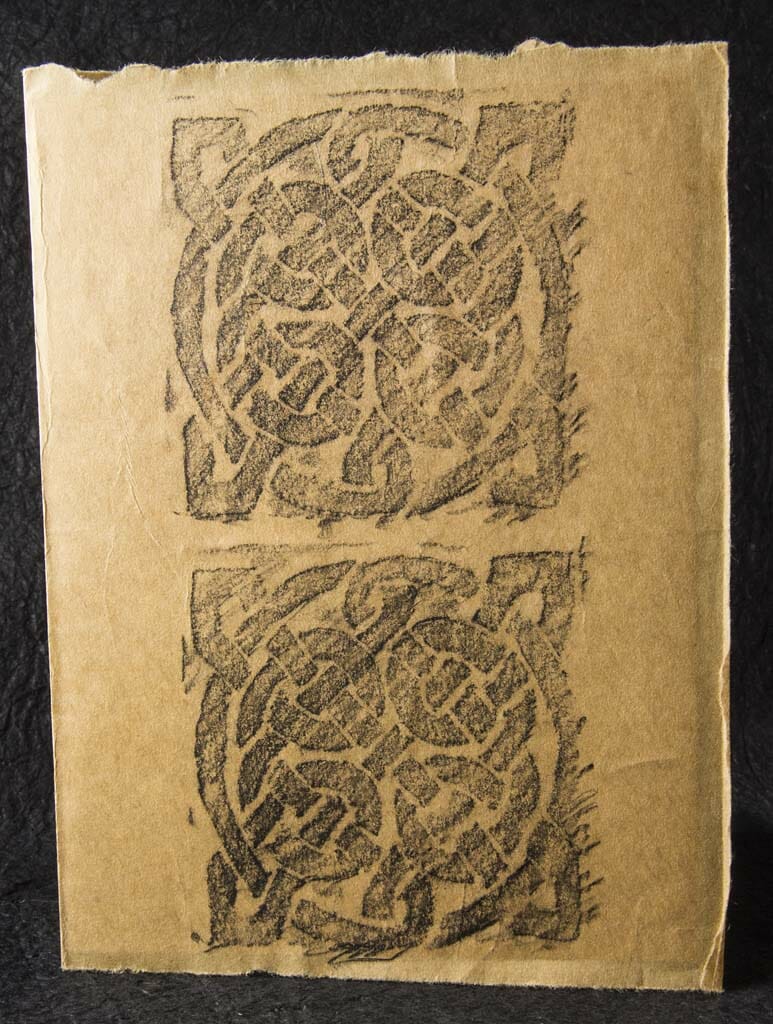
The Glowforge does not entirely obsolete CNC “craft” cutting machines like the Gazelle.  There are still cases where that will continue to be the best choice, particularly for the paper art projects.  I will likely post more about that at some point.  One good example was an attempt to cut one of my Helical Heart cards.  I use a stock with a particularly sumptuous finish for those.  While the Glowforge did a fantastic job cutting the design, the heat of the laser bruised the stock along each cut – note the particularly pronounced damage on the inner point of the outermost heart.  This stock has a particularly fragile finish, though and, I haven’t run into this with any other stock, yet.


Laser Melted Finish
The stock I use for the Helical Heart cards is not really suitable for laser cutting as the finish melts a bit.


Acrylic Window Panel for Venting the Glowforge


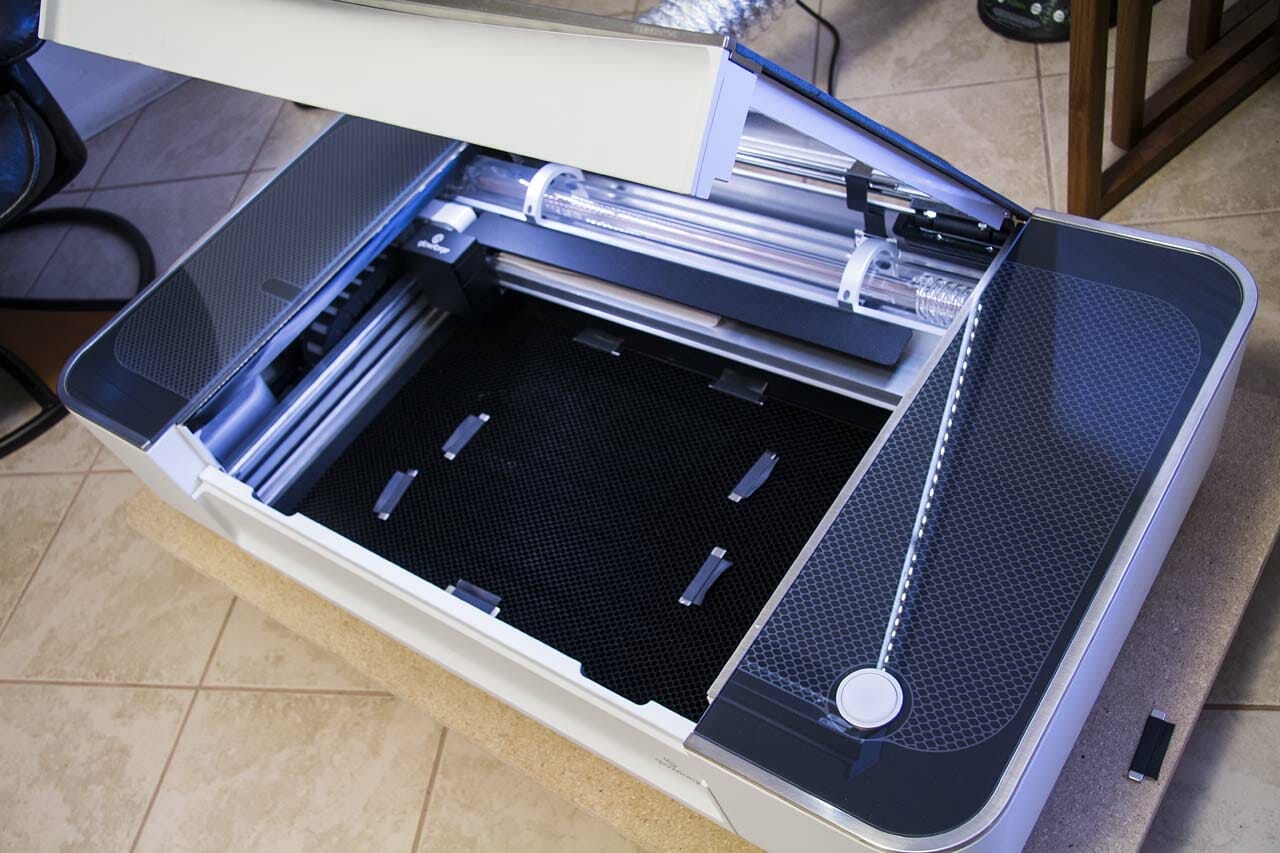
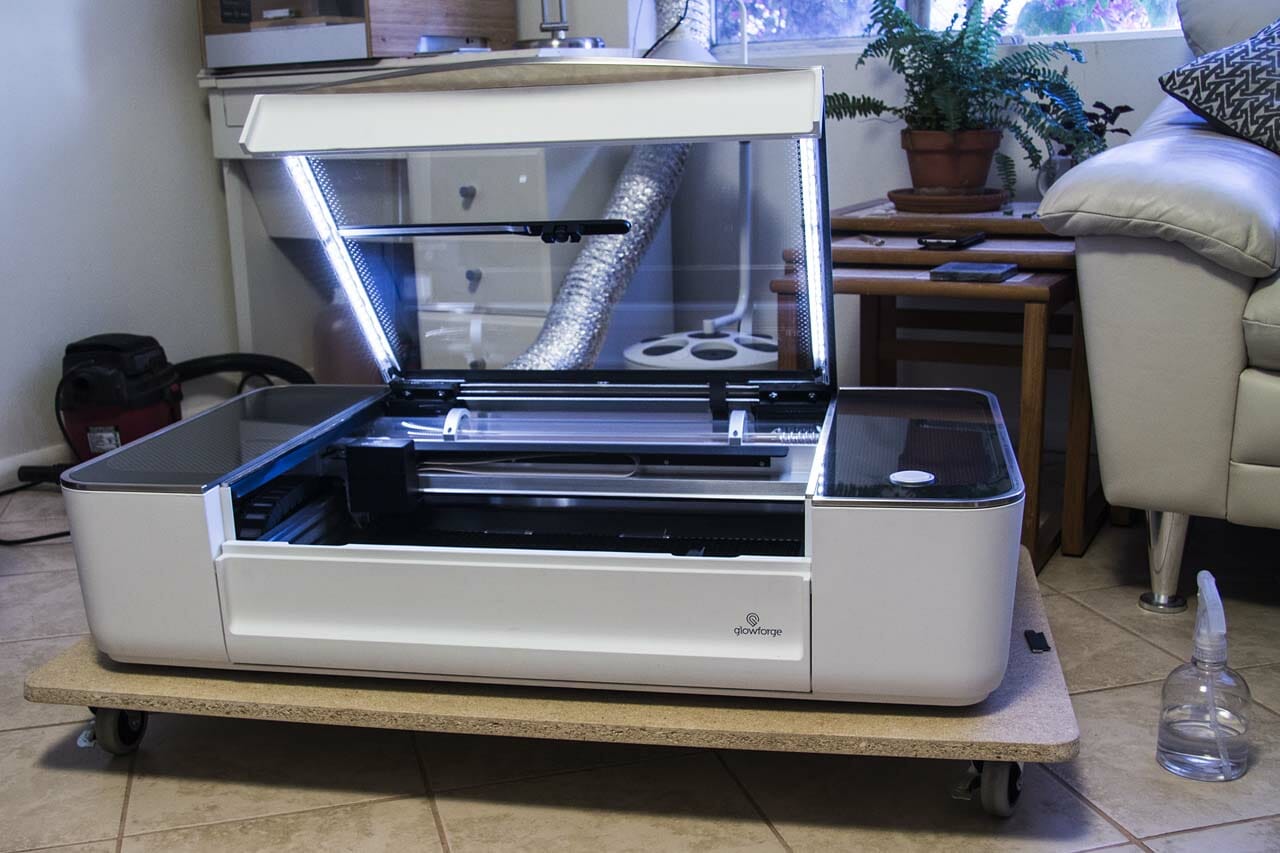
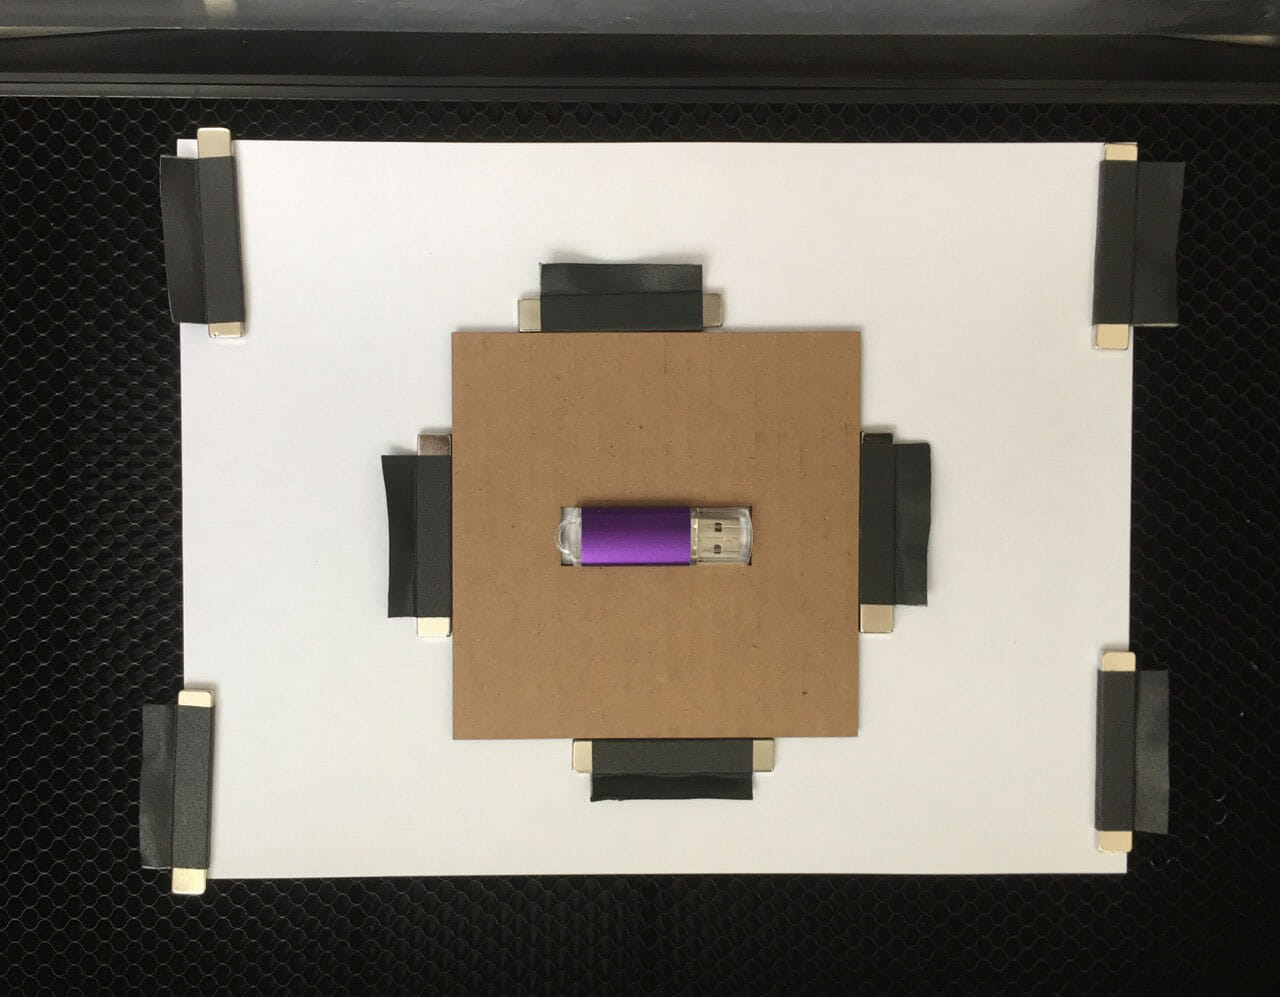
[Updated] I pre-ordered my Glowforge with a filter unit that is intended to allow it to operate indoors without venting to the outside. Filtering laser exhaust is difficult and important to get right.  At this point (May 2018), the filter units are still not shipping.  In order to use my Glowforge, I built an acrylic panel with a vent hose connection that slots into the studio window.


Working with Paper

Very early on, I discovered the Seklema mat from Johnson Plastics, which has helped quite a bit with holding down paper cutting work.  A piece of wood or mat coated with repositionable adhesive also works in a pinch.  The Celtic keypattern and triskeleon bookmarks I produced are excellent examples of the mat’s utility.  Without it, small pieces would have been moved around during cutting by the Glowforge’s air assist, interfering with some of the cuts.  With the mat, it goes without a hitch.

Neodymium magnets, wrapped in gaf tape flags for easier lifting, are also useful for holding down substrates to be cut or etched in the Glowforge.  They attach easily to the steel grid tray.

Engraving Experiments

The 40-watt CO2 laser in the Glowforge is capable of cutting more than paper, of course and, I would be hard-pressed to resist using it for other projects.  In addition to a few things I am not ready yet to share, I produced a rubber stamp of one of my Celtic spiral patterns and, engraved some anodized aluminum flash drives.  I am sure there will be much more of that sort of thing to come!

Get Your Own Glowforge!

Glowforge has finally caught up on its domestic (U.S.A.) production and distribution.  In fact, they have a number of their Pro units ready to ship immediately.  They are offering a special deal on that limited number of units.  If you are quick, you can score a $1500 discount while supporting me a little, too. Please use this link to order your own Glowforge Pro!

Celtic Knot Rubbing

Celtic Knot Rubbing Card

Laser-cut Spiral Stamp

Lasercut spiral stamp mounted on champagne cork

Lasercut spiral stamp mounted on champagne corkOne thing that always appealed to me about having a laser cutter in the studio is being able to create rubber stamps as needed, rather than having to send artwork out to a service. I have some “low odor” laserable rubber on-hand that I have never used. So, as a quick evening project this week, I created this little spiral stamp on the new Glowforge. I mounted it on a champagne cork using carpet tape, with a layer of plastic packing foam between the rubber and cork.

Important lessons learned here include how to size artwork for the GFUI and, that you absolutely do not want the residue from laser engraving rubber on your hands.


Abstract Origamic Architecture Experiment on the New Glowforge

Abstract Origamic Architecture Experiment

This week saw the arrival of the long-anticipated Glowforge laser cutting machine at the Stud.io. I had it up and running in a couple hours, dialed in some settings for cutting some standard stock last night and, produced this quickie abstract origamic architecture / kirigami this afternoon.  I am super excited to have an easy-to-use laser available!

Hart of Winter

Hart of Winter 2016 holiday pop up card

The Hart of Winter is my 2016 holiday origamic architecture / kirigami / pop up card. The card is three pieces. The two silver pieces mount to the base with slotting tabs then, connect together via interlocking antlers. These were fun and relatively easy to build and, a big hit!

Garden Lantern Pop Up Card with Integrated Electronics

Garden Lantern OA

I have been making chicken tracks around integrating paper electronics with origamic architecture for several years.  This is my first presentable project along that line.

I’ve had a vague idea for a garden lantern OA for quite some time.  The electronics seemed like a solid match for this.  The lantern itself it is a single piece of stock, cut, scored, folded and joined on two edges to make a pop up. It is mounted on two additional flat base layers that incorporate and conceal the electronics.

This uses an integrated switch and has no externally-visible electronic components, which I haven’t seen in any other paper electronics projects elsewhere yet.

The closed card is 11cm by 16cm. The lantern is 4cm square at the base and ~5cm tall when opened.

Watch the video to see the candle flicker effect and, to see it folded flat.

The “ambient nocturnal background sounds” in the video is another one of my multi-track recording experiments.

Special thanks to Natalie Freed whose paper electronics class at HSL shortened my learning curve with the paper electronics stuff. Thanks also to Jie Qi for her inspiring projects and, to the team at Circuit Stickers whose efforts made my project a lot easier.

Hammering a Helical Heart

Hammering a Helical Heart

I made an edited build video for the Helical Heart pop up cards, including an original taiko soundtrack (well, pentatonic xylophone, mokogyo, bowl gong, bells and fish rasp, anyway). This is my first YouTube video and, my first multi-track audio recording.  Let me know what you think and, if you would want to see more stuff like this.

I made an edited build video for the Helical Heart pop up cards, including an original taiko soundtrack (well, pentatonic xylophone, mokogyo, bowl gong, bells and fish rasp, anyway). This is my first YouTube video and, my first multi-track audio recording. <a href=”http://testing.evermorestud.io/contact/”>Let me know</a> what you think and, if you would want to see more stuff like this.