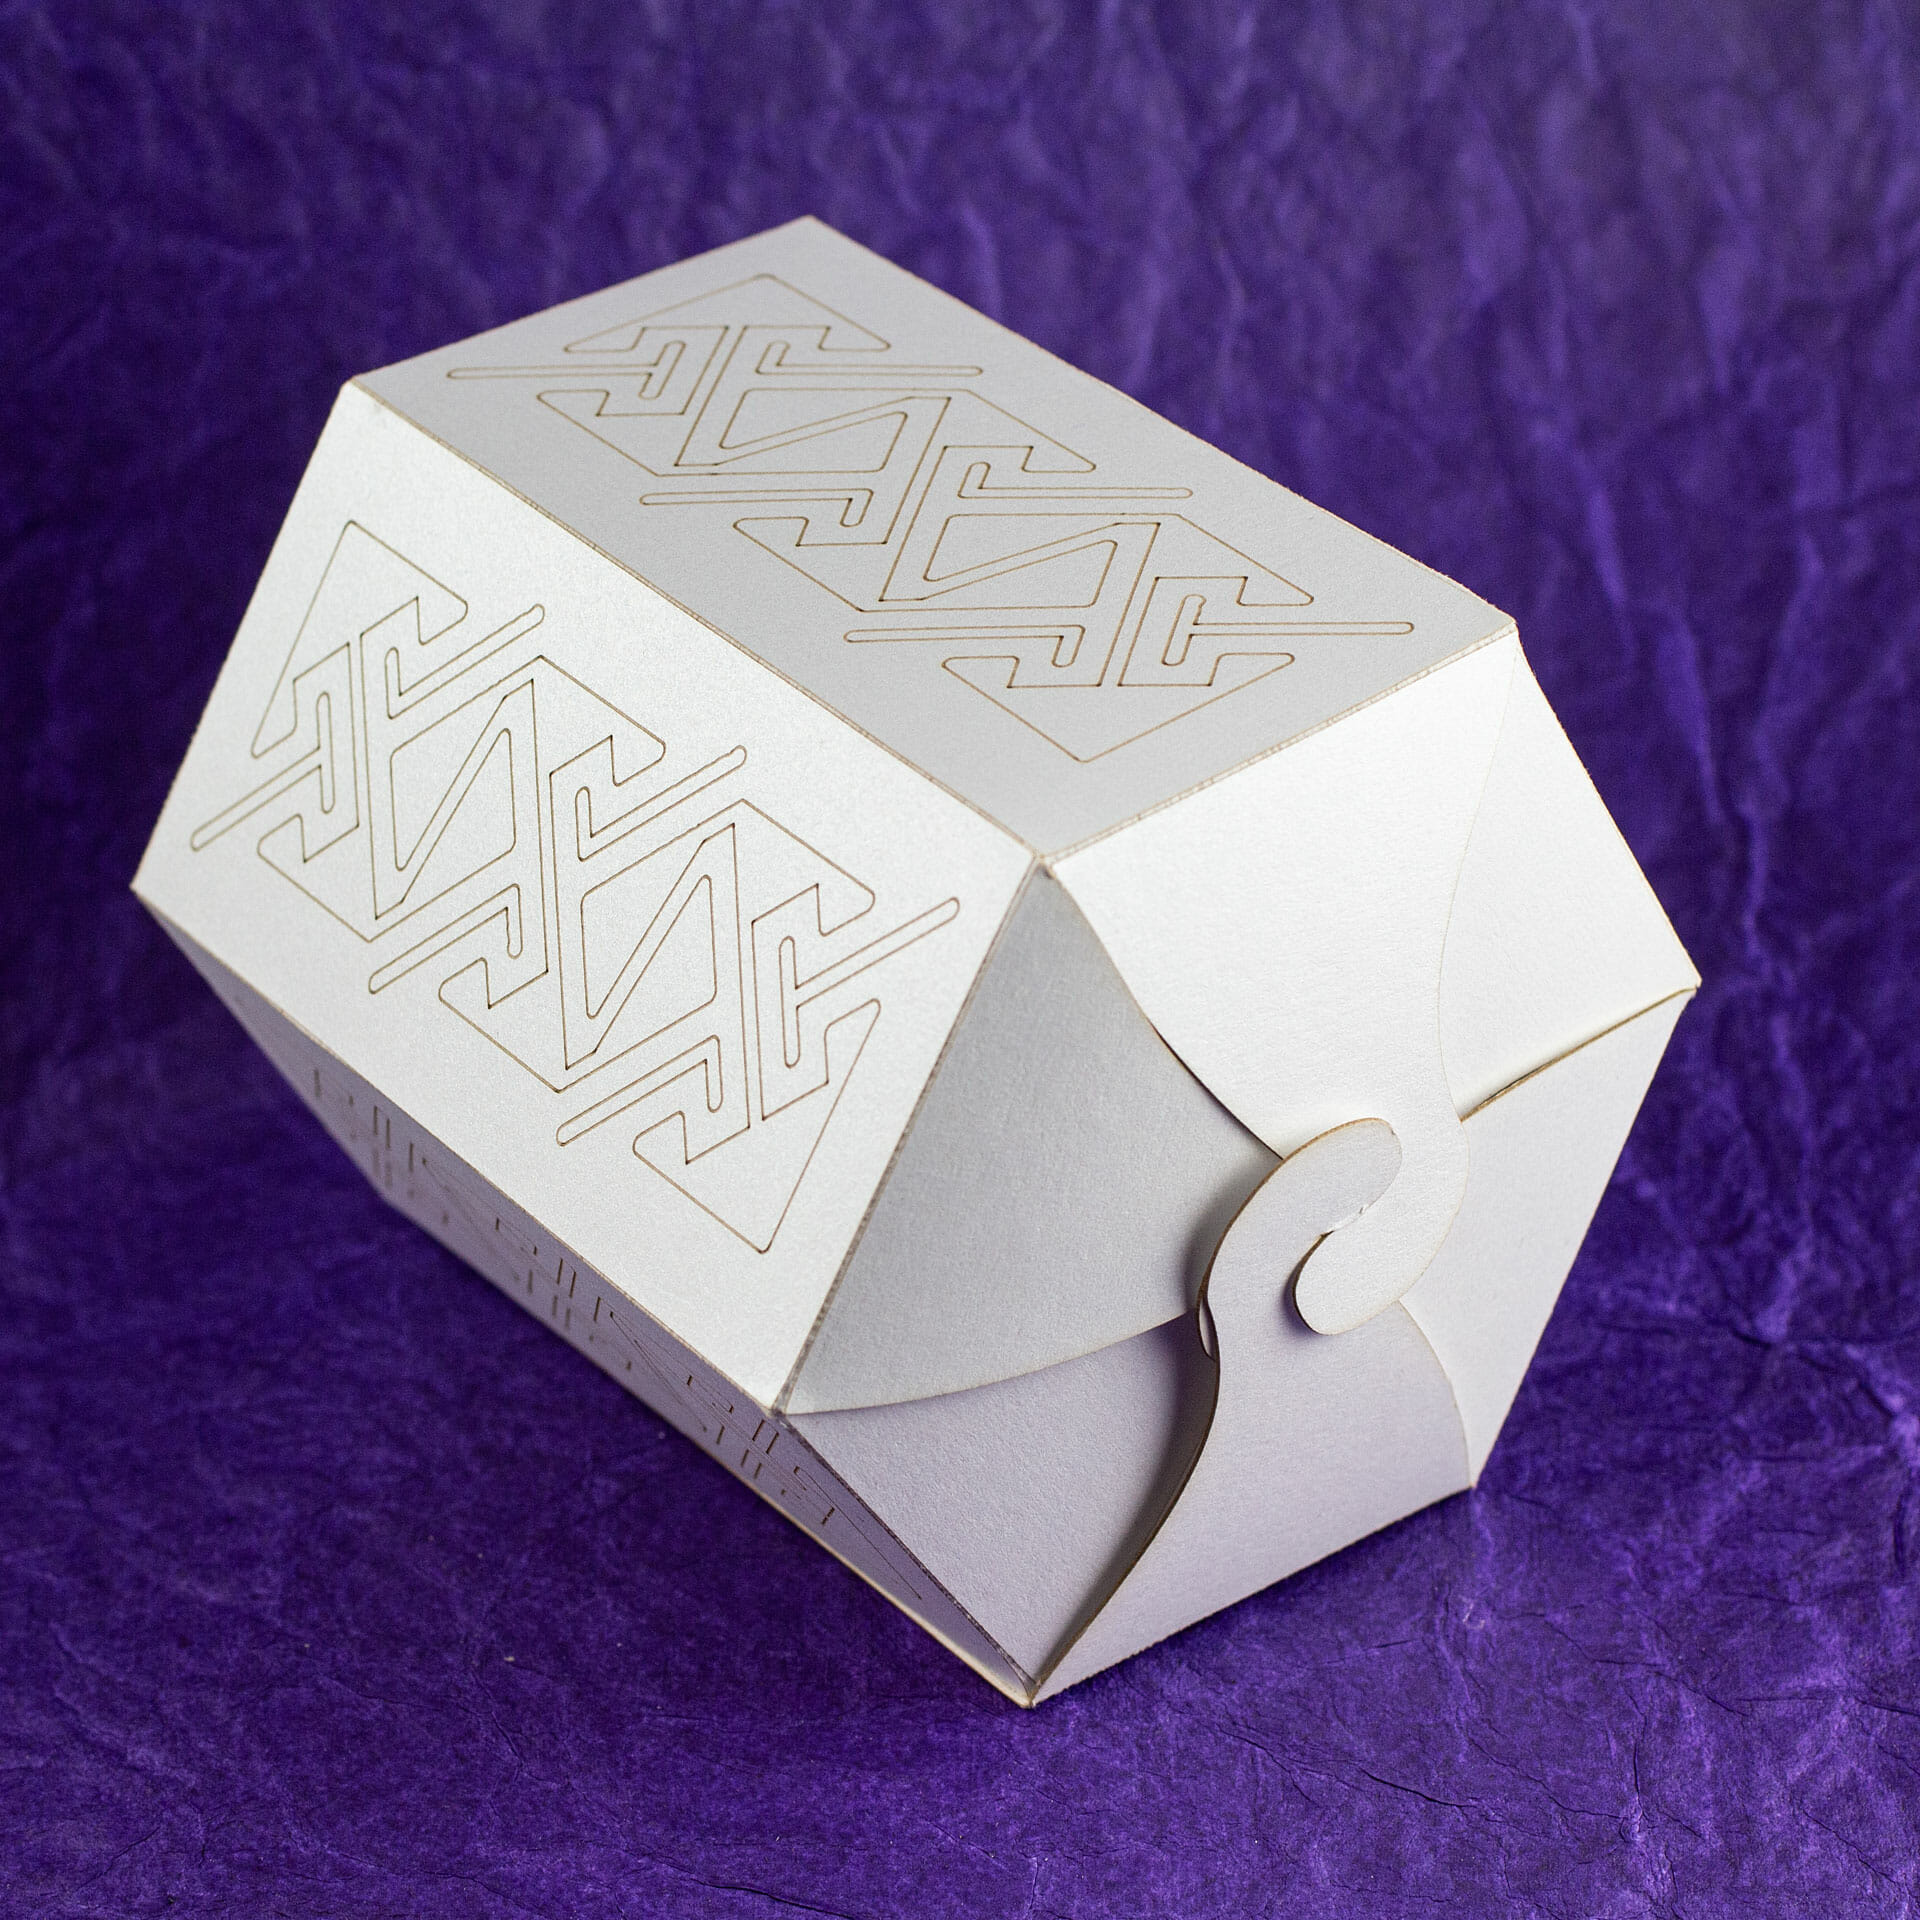
Depthmaps Straight from Nomad Sculpt

Triknot Depth Map

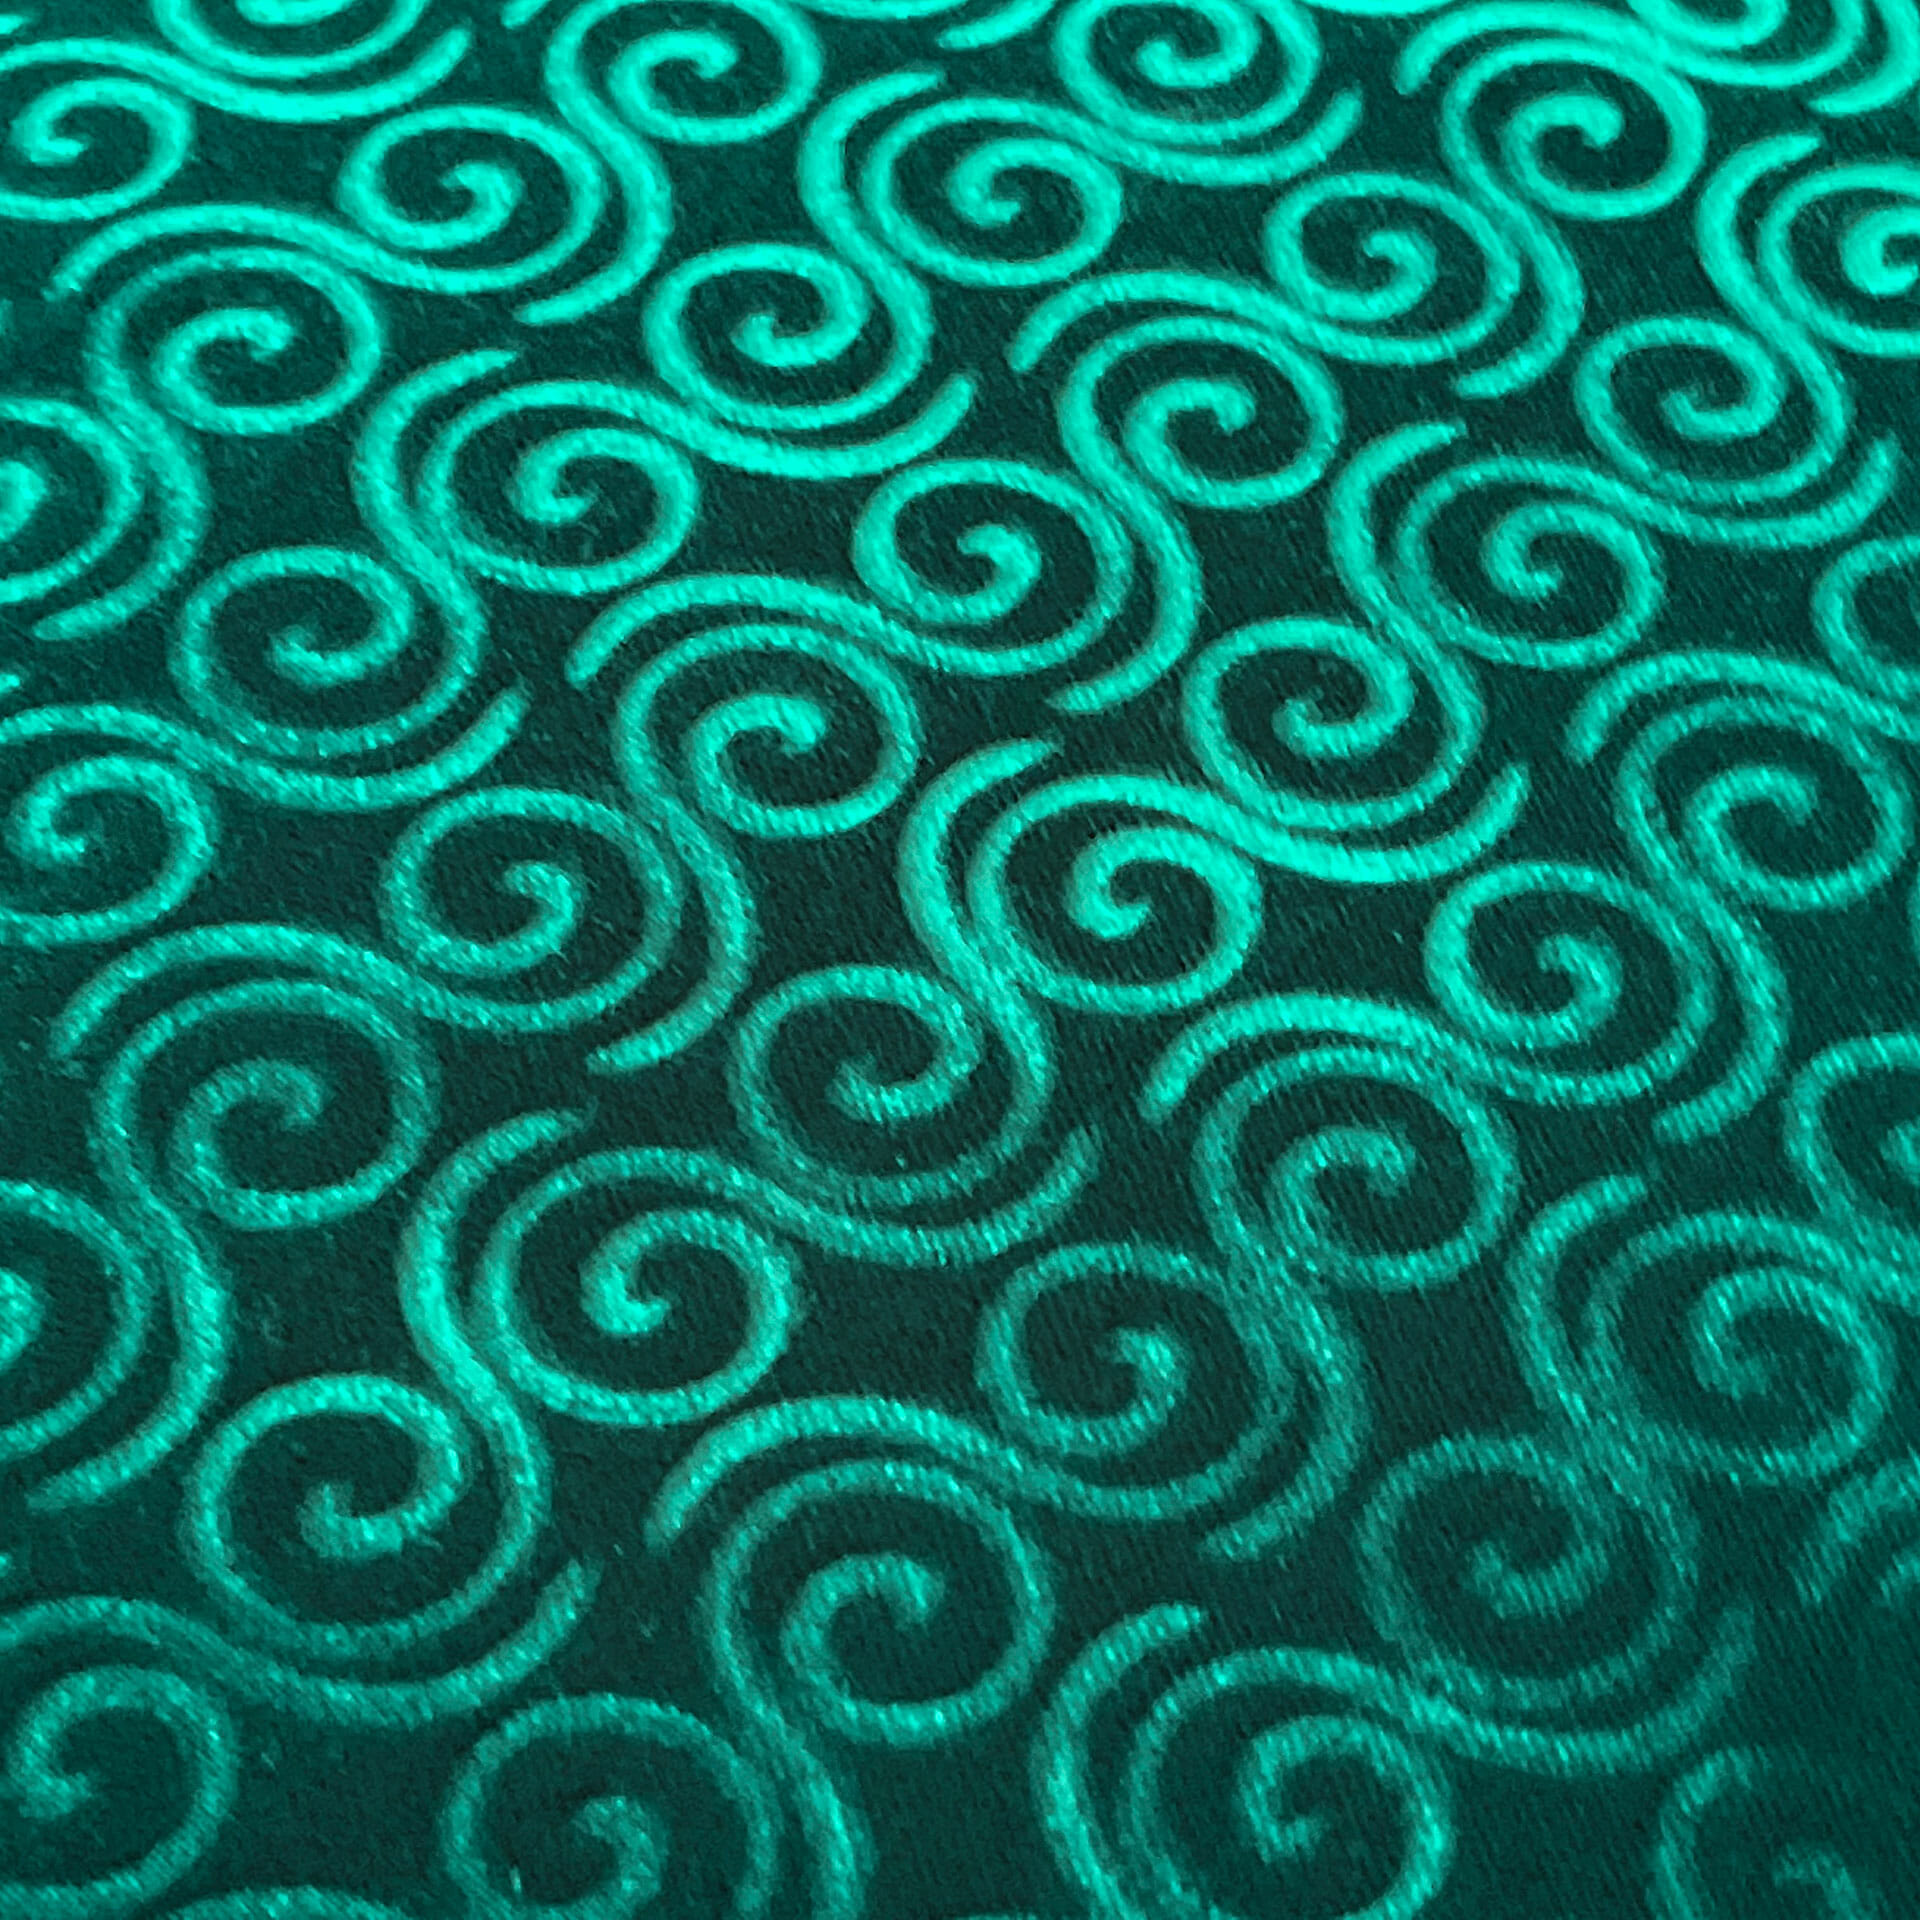
This is an update to my last post on modeling Celtic knots in Nomad Sculpt and creating depthmaps in Blender to carve with laser engravers and CNC machines. A newer feature in Nomad Sculpt makes it possible to export a depthmap directly, without having to go through Blender. A checkbox option in the debug menu (named “Heightmap”) switches to a depthmap view, which can be exported as a render. For best results, use a bitmap editor to spread the dynamic range.

I made a short video with a walkthrough:

Purple Velvet Embossed Celtic Spirals Dice Bag

Purple Velvet Dice Bag

I made another dice bag with a new embossed velvet design.  Some incremental improvements to the process for making the embossing plate: I switched to using 3M 468MP Adhesive Transfer Tape for the glue-up.  It seems every bit as solid as the wood glue and, was a lot less hassle.  More of the details are covered in the short update video below.

The kumihimo drawstring for this bag was done with glow floss for one of the colors and purple for the other.  The glow from the floss is noticeable in the dark but, not especially bright.

By comparison, the 3D resin printed glow-in-the-dark skull beads are quite bright, especially after charging up with a UV lamp for 30 seconds or so.  I used the Siraya Tech Craft resin for those.

[Amazon Associates links benefit a local arts organization.]

Hexagonal Box

Hexagonal Box (Top)

This is a quick box I designed to package one of my little drawstring bags.

You can download the plain version below to make your own hexagonal box.

Hexagonal Box Pattern

This file is for personal, non-commercial use only.  Note that, by referencing these, you are agreeing to release any variations you create under identical terms.

Attribution-Creative Commons NonCommercial-ShareAlike

Hexagonal Box Pattern (SVG)

180-Degree-Open Pop Up Snowflakes

180-Degree Snowflakes Pop Up Card (2020)

I played with several variations of this snowflake design back around 2002. There were a couple 180-degree-open card variants that I liked. They were both designed to be cut as four panels that folded together to produce a card with an integrated backing. I had some limited access to a laser cutter for a couple hours to produce the cards. I ended up going with the simpler of the two designs for the production run. That one was less sensitive to smoke deposition and, less fragile.

I always wanted to play with the other design a little more and, in 2020, I finally did a run of those on my own laser.

Smoke deposition was still a challenge, especially on a stock with a pearlescent finish and a little tooth. There is almost always some trade-off with that sort of thing and expedient production. I chose not to apply all of the full repertoire of techniques for these, opting to reduce wear and tear on expensive work-holding mats and, to make production faster.

I made a short production video featuring the jig-in-place technique, dry transfer adhesive and removing stray glue.

Retroreflective Chromakey Experiment

I played with some green screen chromakey stuff for video last year.  It’s a bit fiddly to get the screen and the subject lit right for it to work well.

I was excited to learn that it was possible to get better results with a retroreflective screen and a colored light ring.  The general idea is that the fabric reflects the light back in the same direction from which it came.  By shining even a relatively dim colored light at the screen from right around the camera lens, you get an almost perfectly-even colored background.  It is much less sensitive to the subject’s distance from the screen, etc.

John Park posted a project write-up with his plan for building an appropriate light ring a few months ago.  It looked pretty straight-forward.  So, I gave it a go.  My 3D printer is not large enough to print his mount design in one piece and, I didn’t really want to mess with printing in sections for assembly.  Instead, I did a quick (and pretty sloppy) adaptation of the design in lasercut acrylic.  The LED ring sits in a channel made with a bunch of little L brackets, glued on with acrylic solvent.  Similarly, the grippers are several layers of acrylic glued together.

The electronics design and code are all straight from John Park’s project.

This works really well! Light spill on the background from lighting the subject can still be a problem.  I was able to adjust settings for the chroma and luma range in post to compensate where I had issues pretty easily, though.  In later attempts, I was more careful about where I pointed my lights.

It is not clear from the photos but, it is better to get the screen as flat as possible.  It works with a little wrinkling but, it makes the light spill issue more likely.  I tightened the screen to the frame a bit more for later attempts.

It is also worth noting that the retroreflective fabric bruises pretty easily after its protective film comes off.

Adding Dimension to Laser-Cut Acrylic Earrings

Translucent Orange Dished Acrylic Spiral Earrings

I am seeing a lot of interesting laser-cut acrylic earrings in the forums and on social media right now.  There is a range of interesting and intricate designs.  They are, however, all quite flat.  I wasn’t sure if people just hadn’t thought of heat-shaping them or, if there was some extra challenge in doing so.  I have done some heat-shaping on other acrylic projects (like the VR Headset Wall Mount and the Paper Towel Roll Holder) and, thought I would give some simple heat dishing a go.

Long ago, my grandfather showed me how he was doing silver piercedwork jewelry and, I later did something similar with hand-cut paper earrings I was making.  A wooden dishing or dapping block is great for this sort of thing.

If you are curious or, want to give it a try, I made a quick (3 minute) video showing how I produced these dished/domed acrylic spiral earrings and skull earrings (it is October, after all).

TL;DW (too long; didn’t watch): heat gun on low, moving constantly with the center over the outer edge (to avoid overheating the center), about an inch away, for 30-40 seconds. When the acrylic starts to droop, apply pressure to hold in the desired shape. Then, allow to cool for about 40-60 seconds to re-solidify.

Drawstring Bag of Many Projects

Drawstring Bag 2

I have a fair amount of custom-embossed Celtic key pattern velvet left from the pillow project.  I was thinking some of it might make a cool drawstring bag.  I may have gotten a little carried away with the details:

  • Silk-lined round-bottom bag
  • A new Celtic knotwork ring design for a laser-engraved faux-leather bottom
  • Kumihimo braided drawstring
  • Customized skull beads
  • Second set of skull beads from scratch

There is a separate post with the design files for the floss separator I made for this, in case it is of use to anyone else.

It was a lot of fun and, I’m happy with the result.  Of course, I shot video of every step of the construction of both versions of the bag.