Celtic Key Pattern Embossed Velvet

Celtic Key Pattern Embossed Velvet

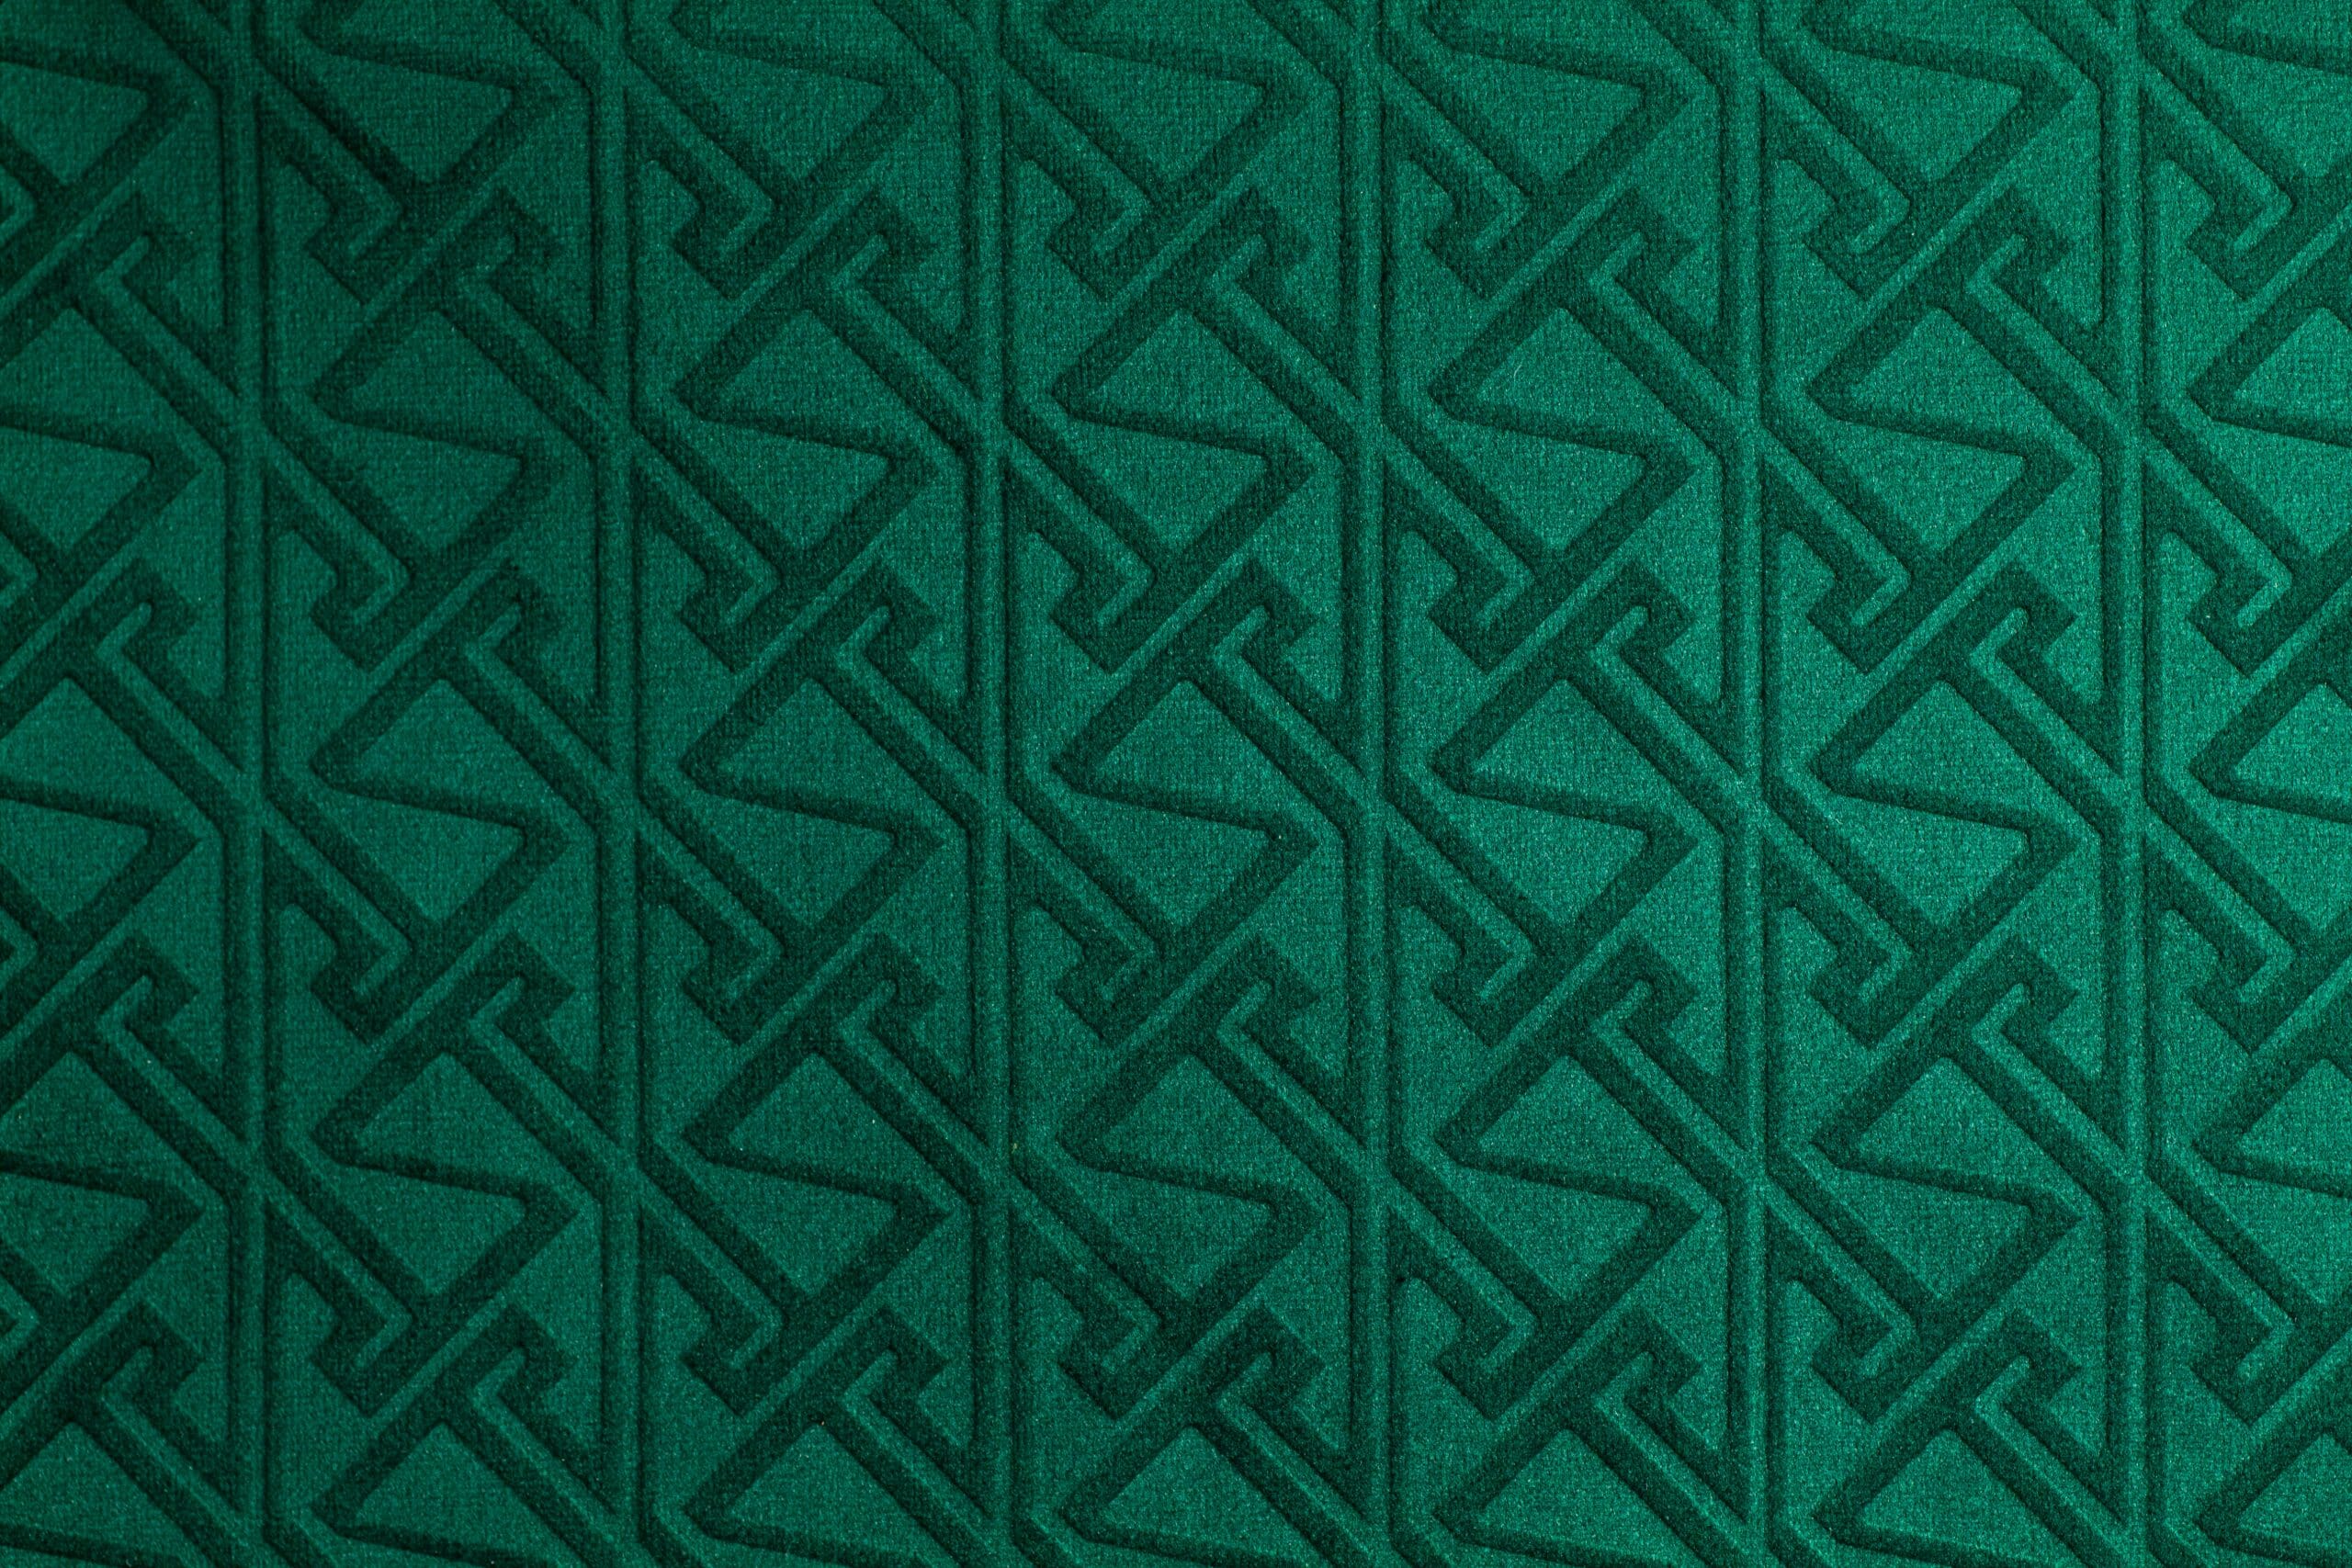
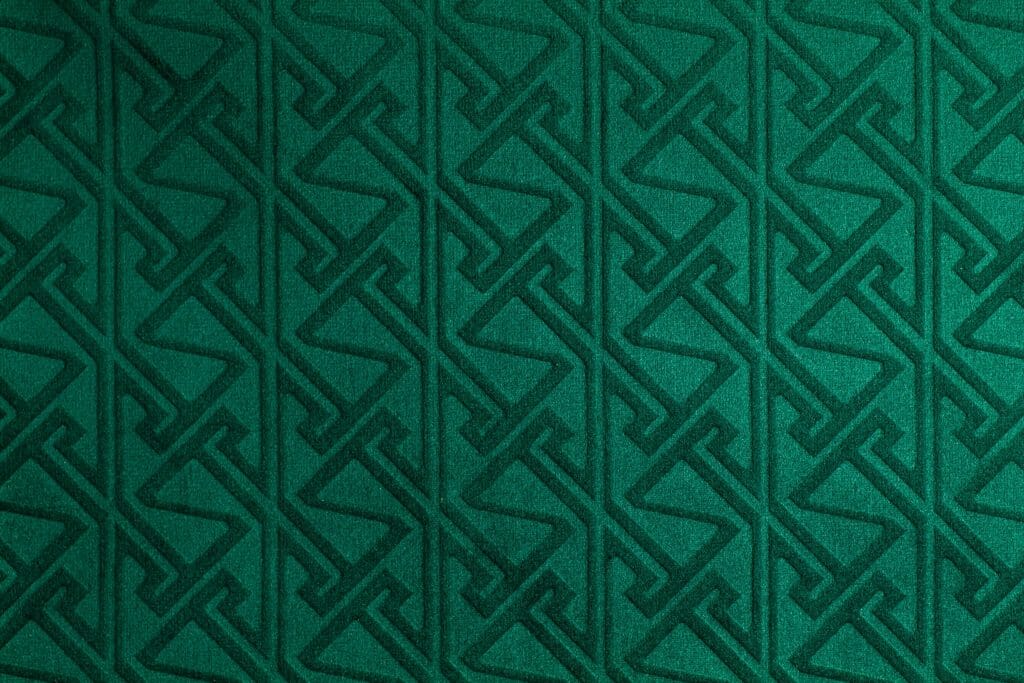
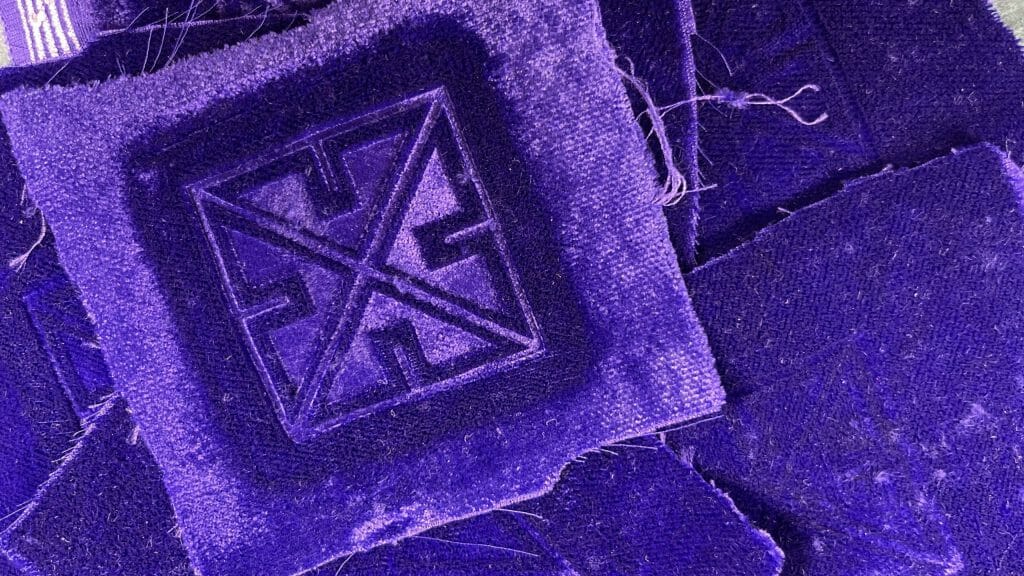
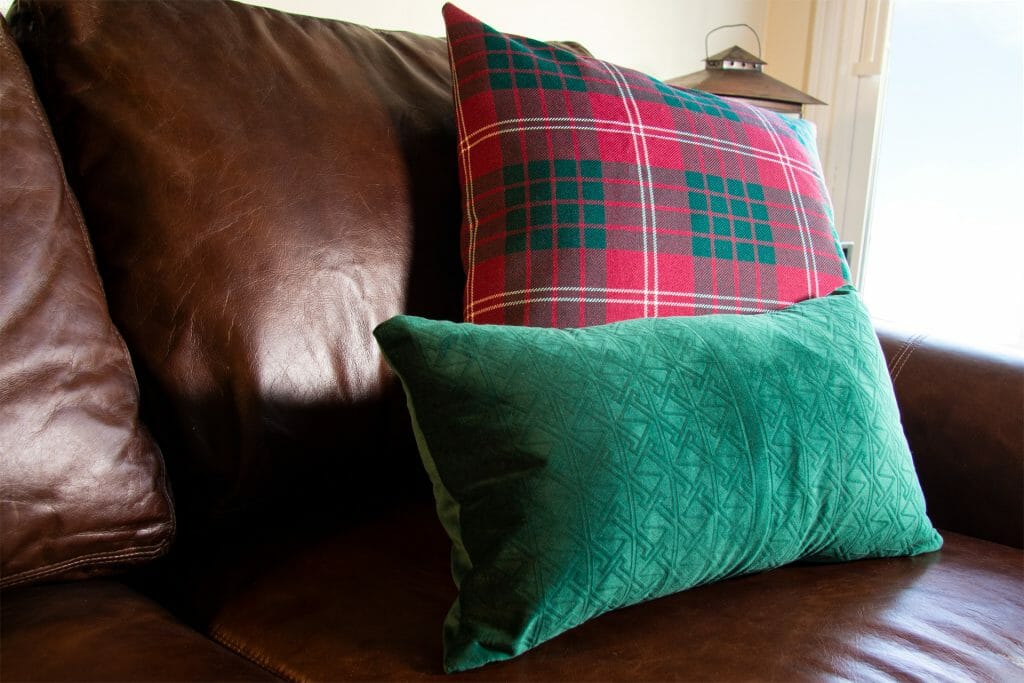
With a new couch on the way last year, I came up with a plan to create some unique thematic throw pillows to go on it. In addition to one made from a fine wool Crawford clan tartan, I envisioned one of a forest green velvet embossed with one of my key pattern designs.

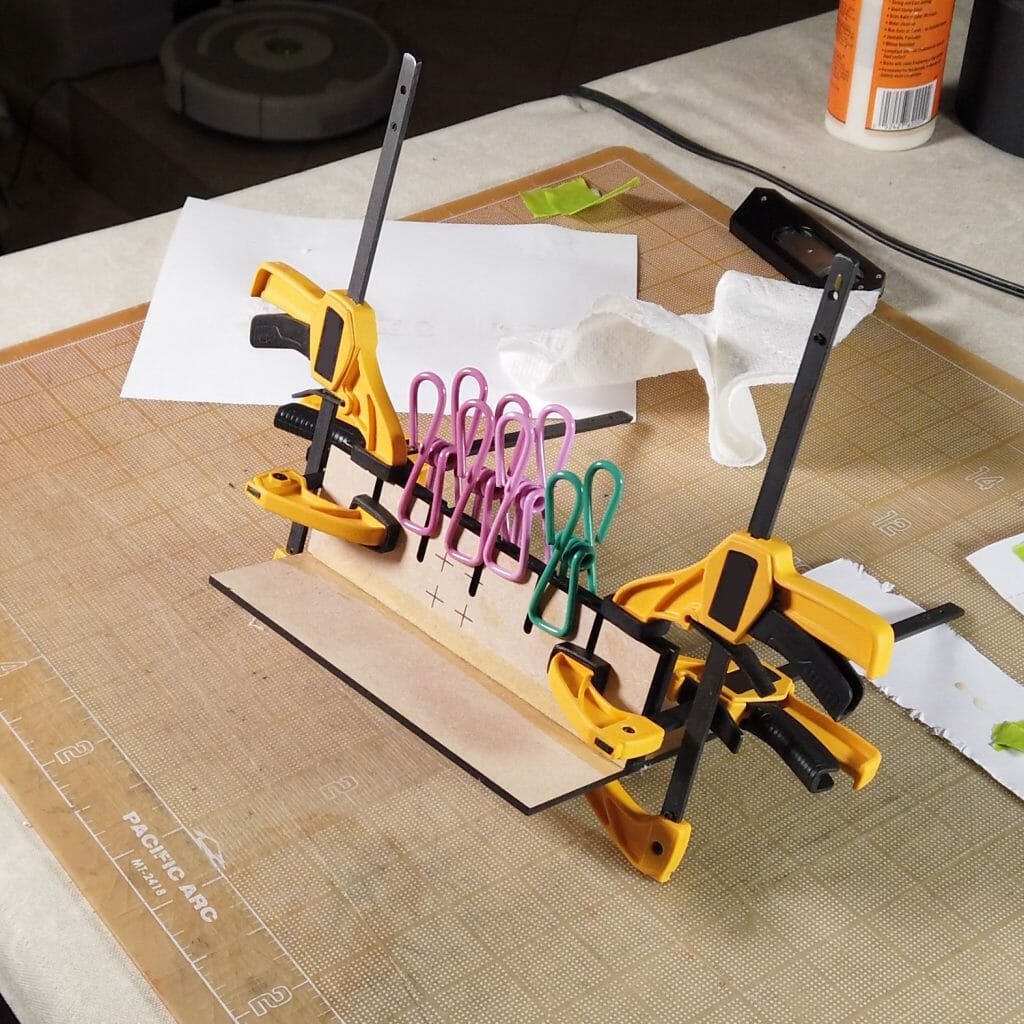
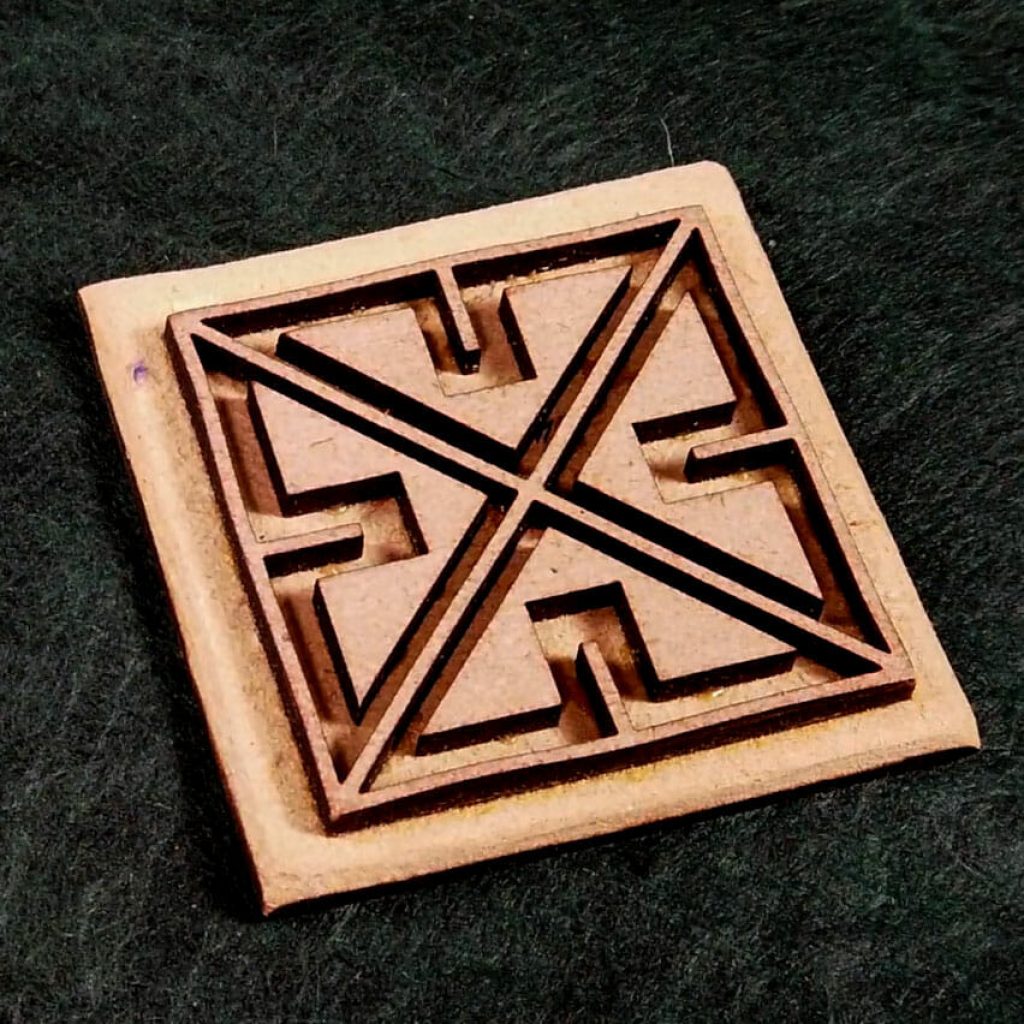
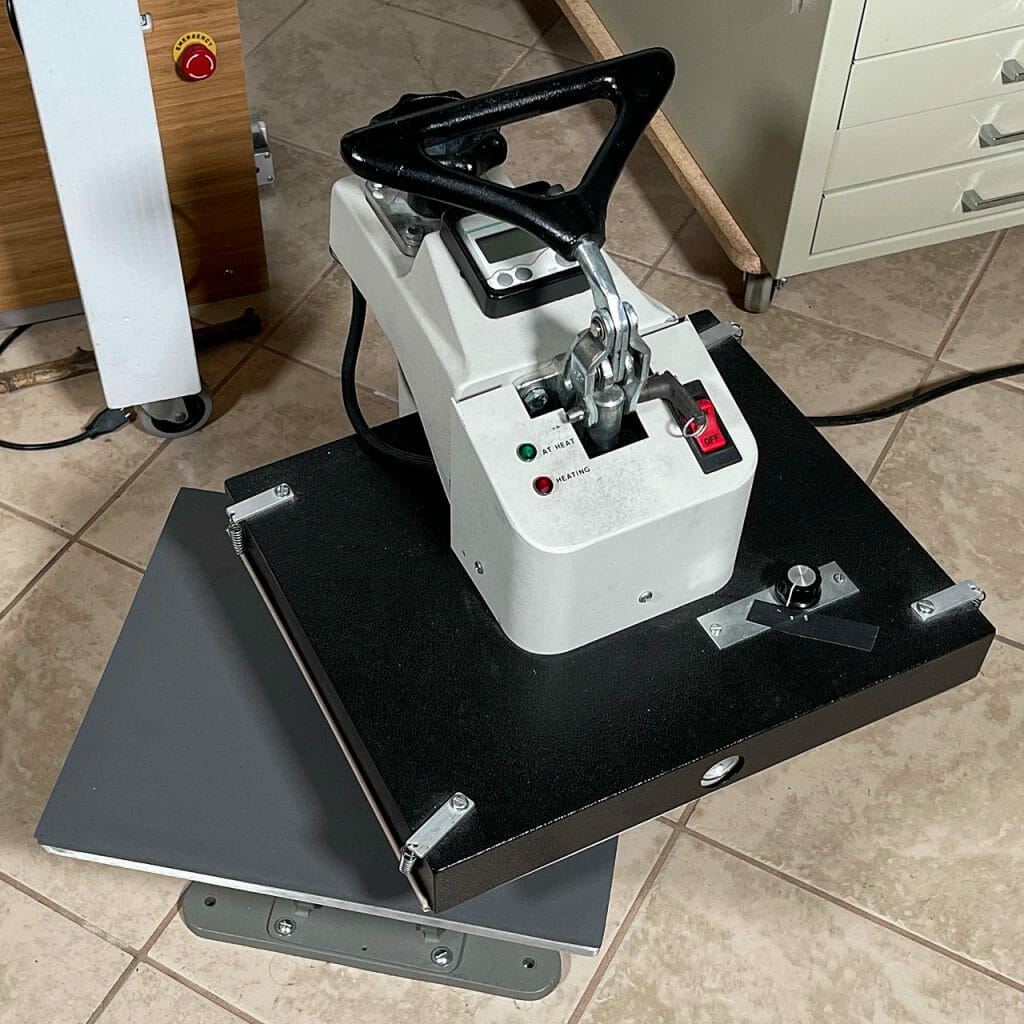
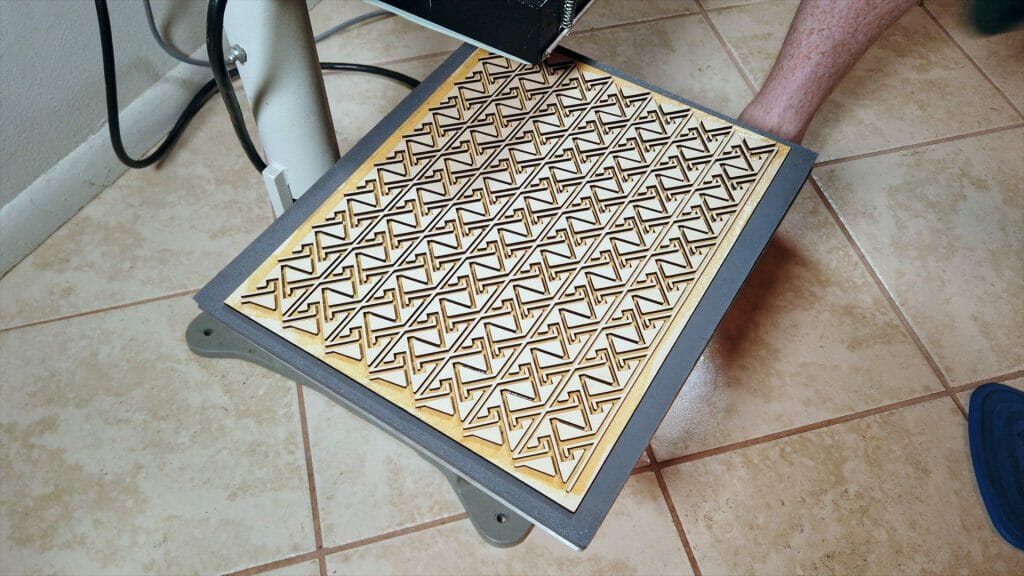
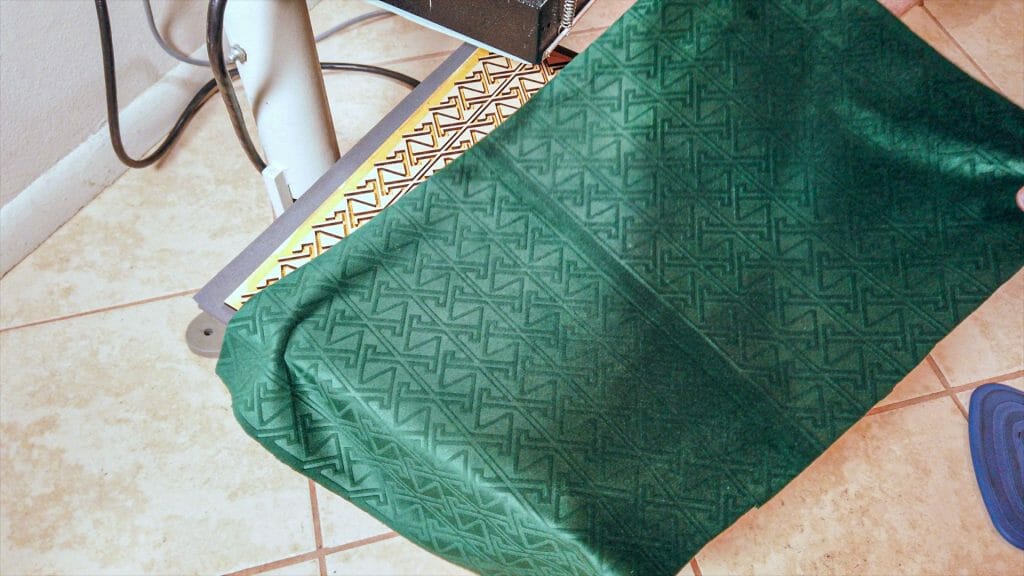
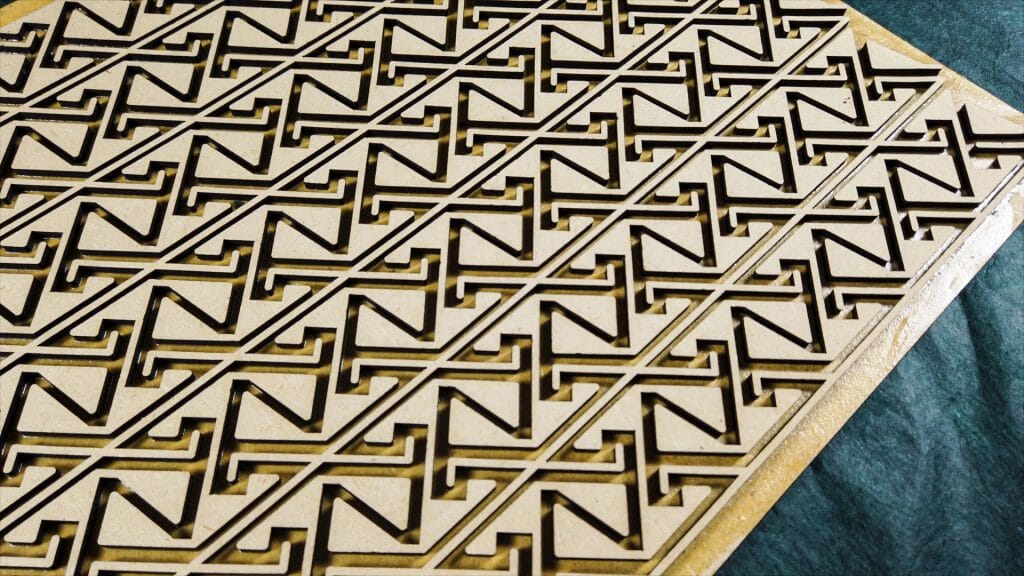
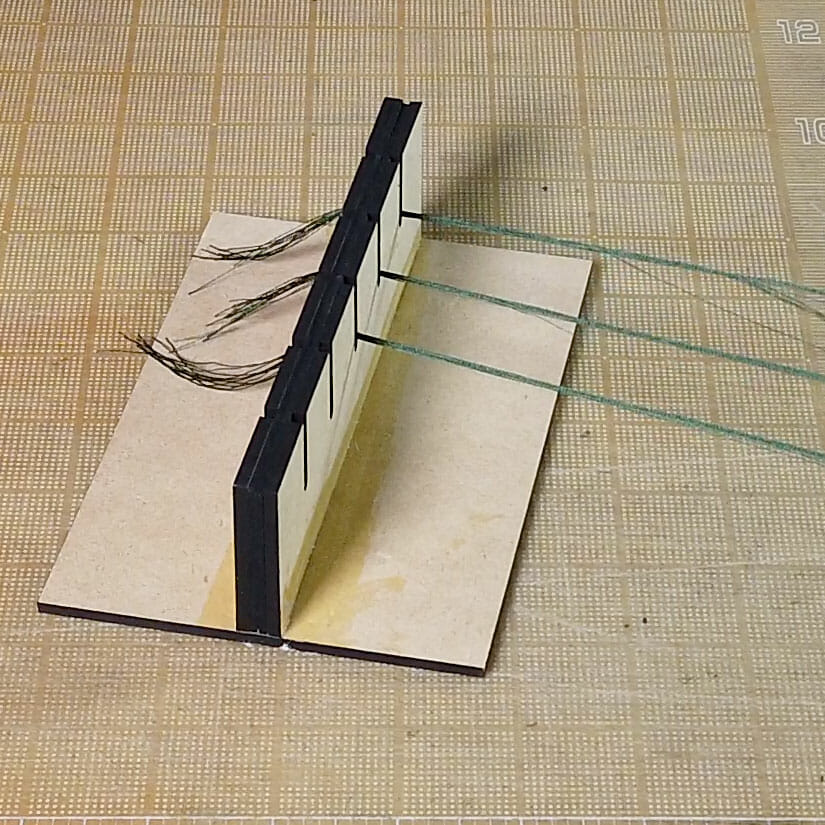
I figured that some combination of heat, pressure and a rigid die/stamp/form would give me what I wanted. I tracked down some (100% polyester upholstery) velvet, ordered samples and, made a test form on the laser from 1/8″ thick MDF. I cut a key square and, experimented using my old heat press.

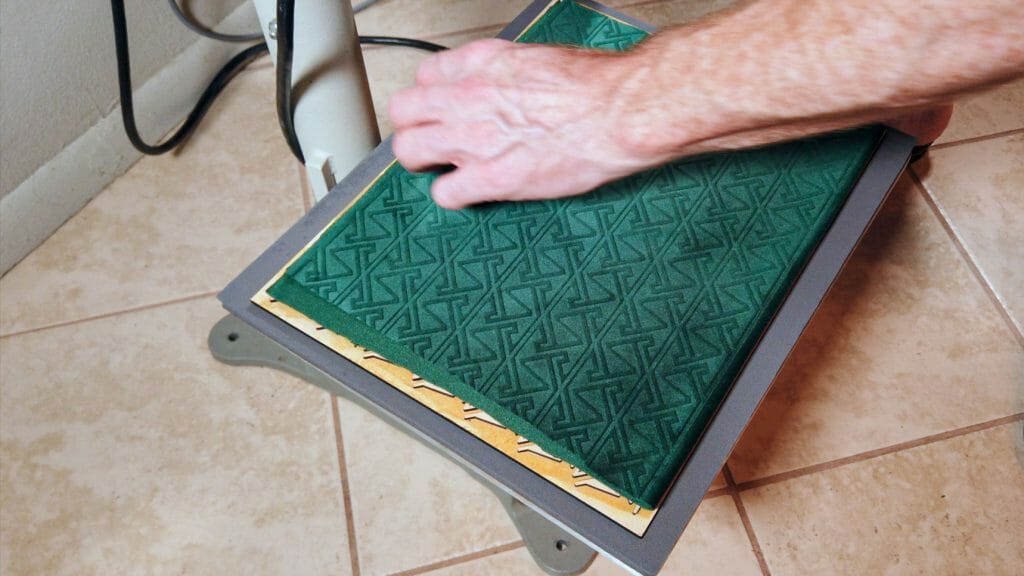
After some experimenting (on purple velvet, while waiting on the green), I was able to find an approach that works. I set the pressure on the heat press by putting in a single sheet of 1/8″ MDF, tightening down until it touched the board, then adding another quarter turn. The range of pressure that works is pretty narrow. Too little pressure and the resulting design is faint. Too much pressure and, you emboss the edges of the form’s base, too.

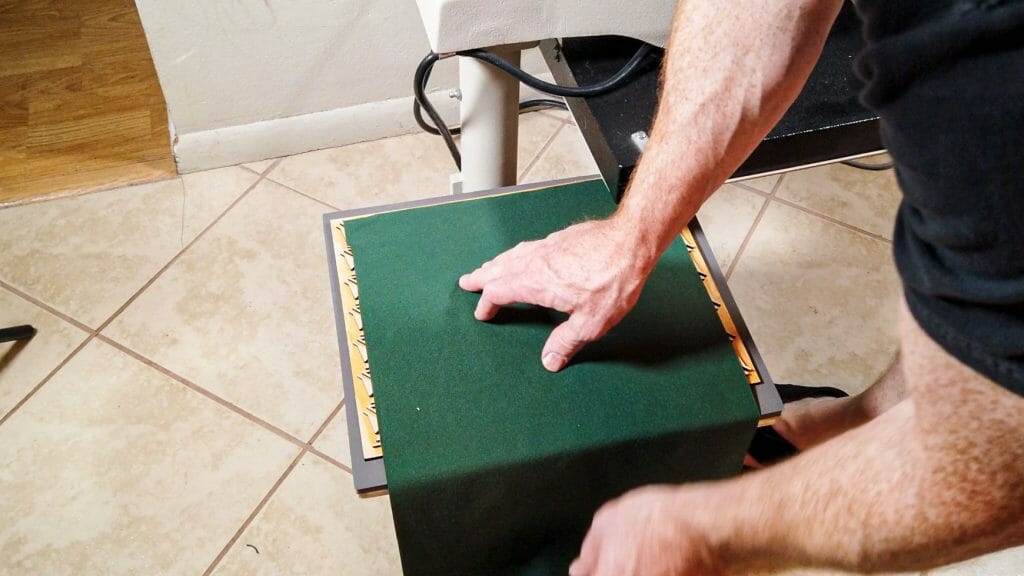
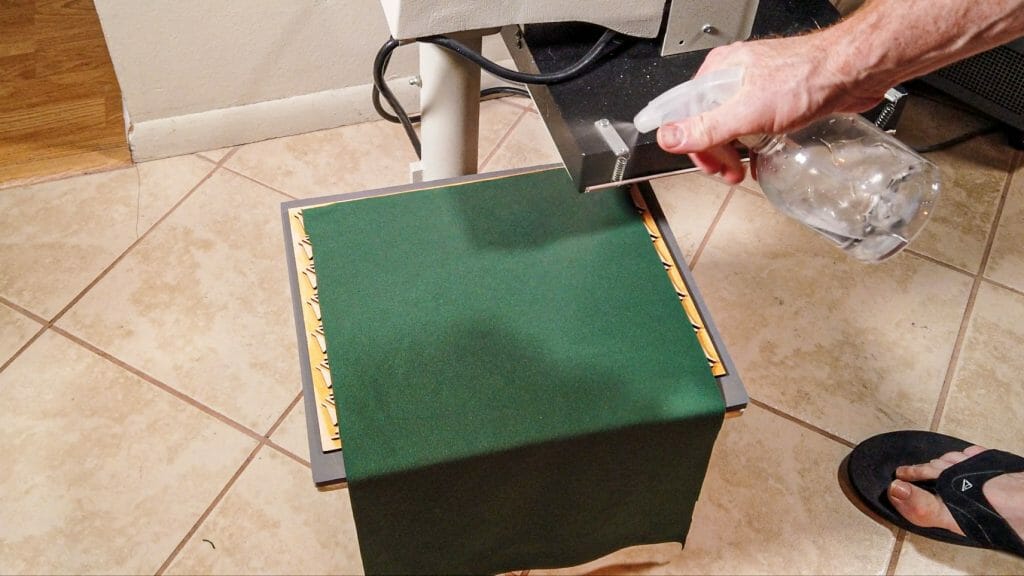
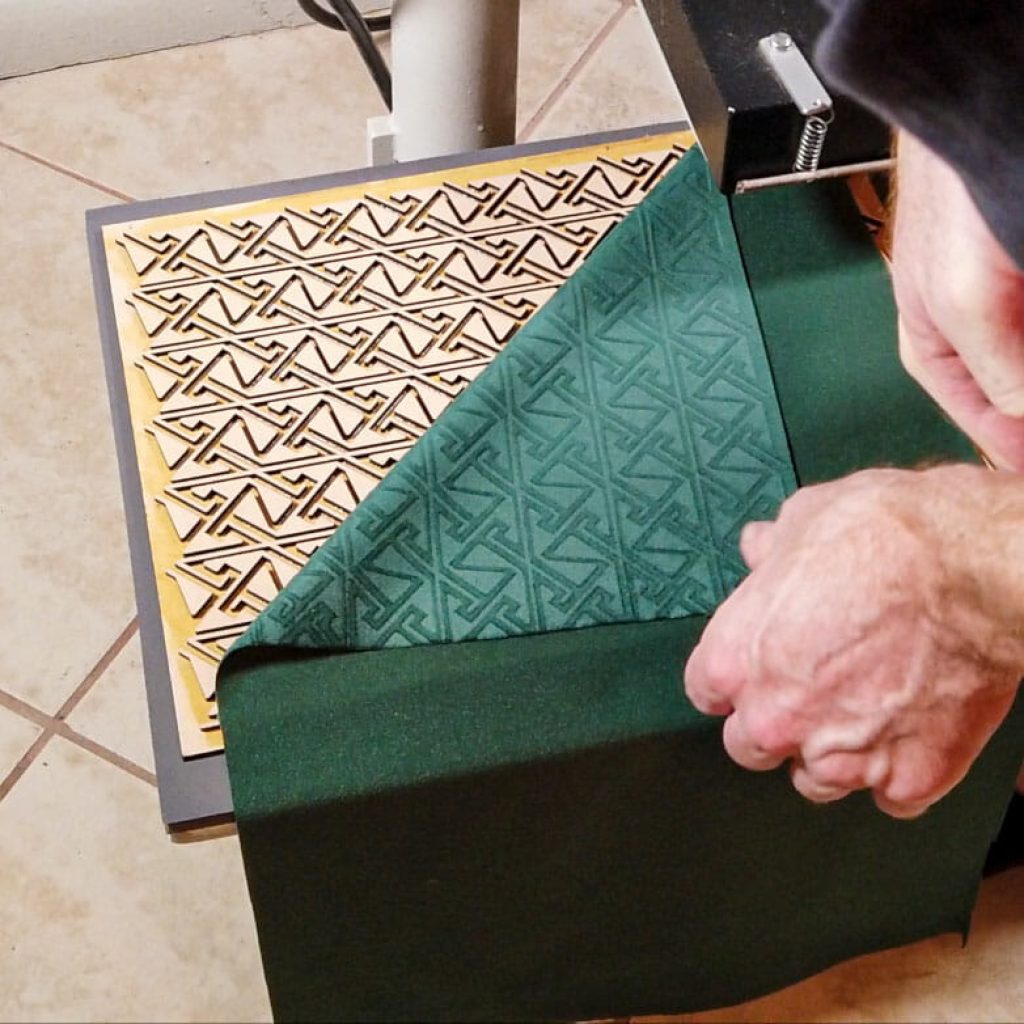
The form goes on the bottom platen, facing up. The velvet goes on the form, facing down. I mist the back of the velvet lightly with a little water so there will be a little steam (but not enough to spot the fabric).

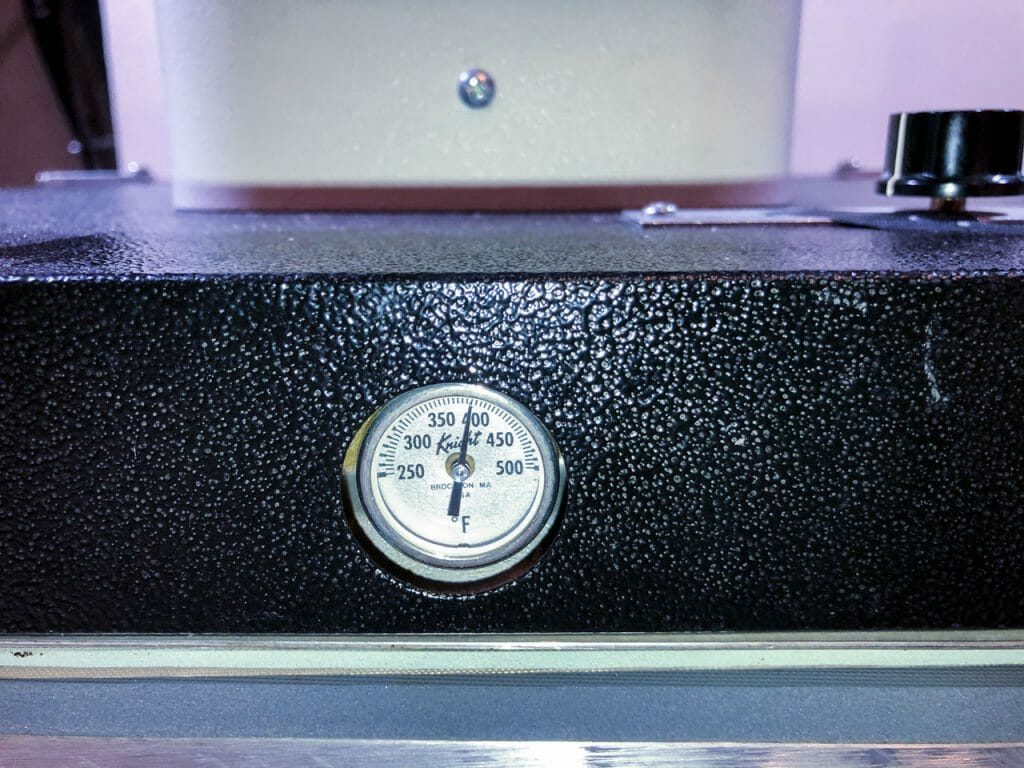
The optimal heat seems to be about 400º F for about 15 seconds.

I broke out my vintage Elna Supermatic sewing machine and, turned some of it into a pillow. I did several extra pieces. So, look for it in future projects.

There is a full video walk-through of making the forms and the embossing and, a separate video showing off the sewing machine and making the pillow.

No-Sew Felt Tray

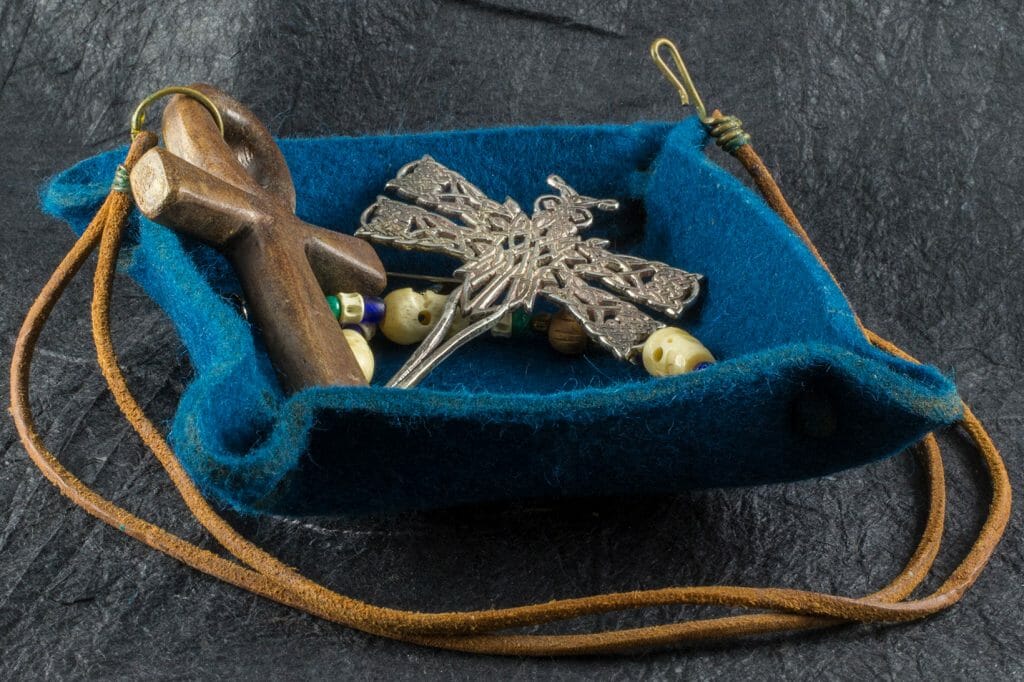
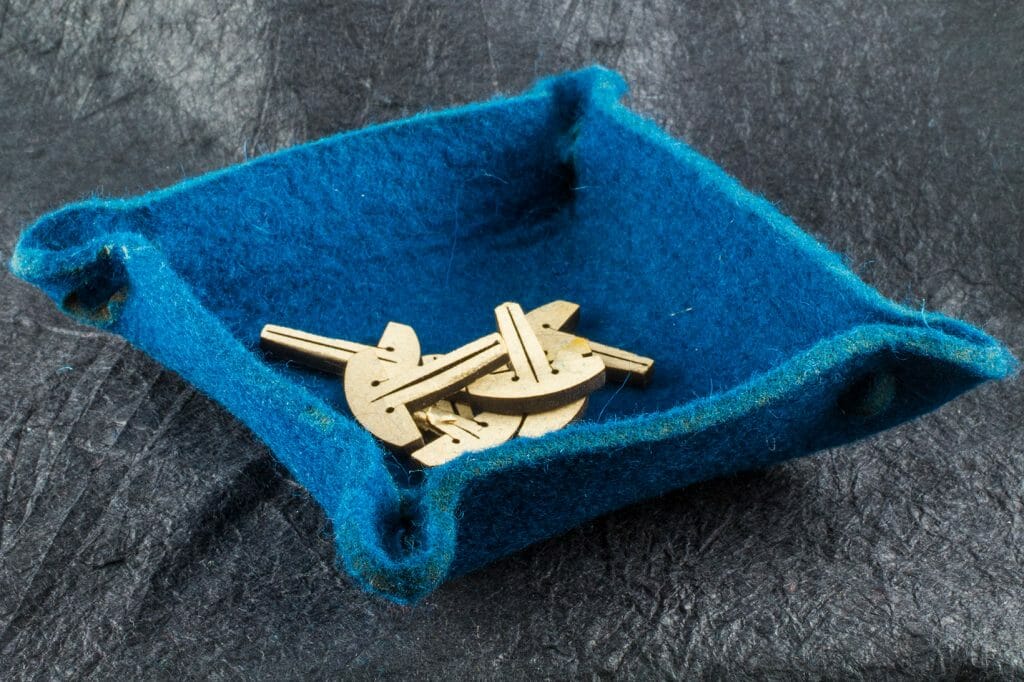
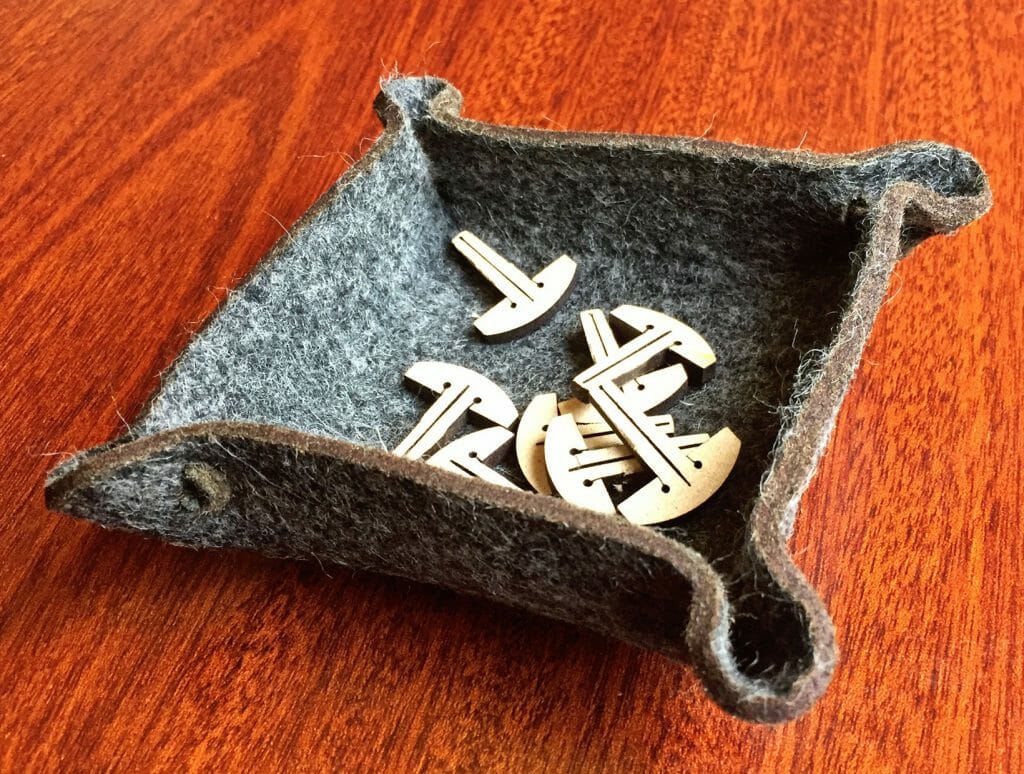
Laser-Cut No-Sew Felt Tray

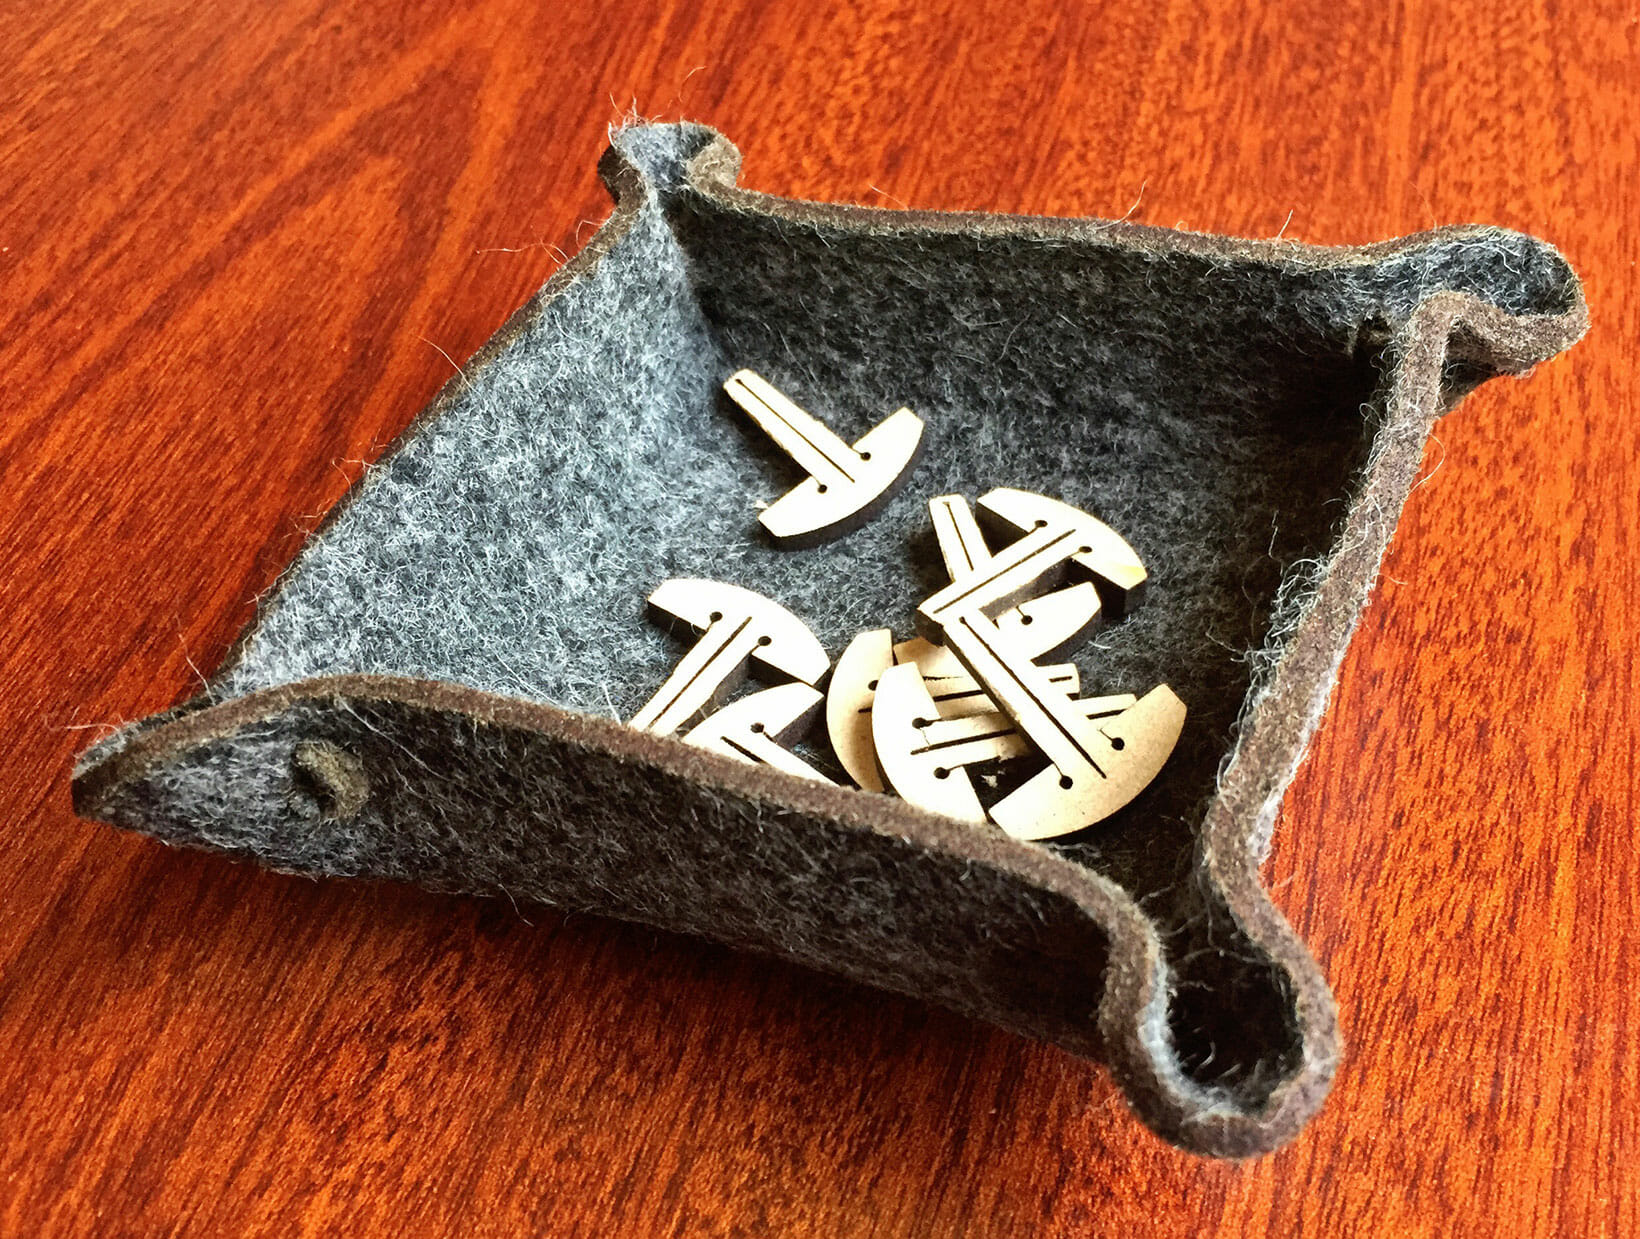
I wanted to make something to contain my work hold-down pins for the laser cutter. I had seen some simple felt trays that were formed from squares with the corners pinched and sewn together. It seemed like a no-sew technique might work well for that and, it did!

For assembly, I push a pair of small 5″ needle-nose pliers through the slit and, pull the mushroom-shaped tabs through.  If you want more guidance, I made a quick video showing production and assembly.


Update: I made another felt tray in “peacock” blue.  The edges did not char evenly, which looked a little odd.  Light application of a fine sanding sponge removed most of the edge char.


If you would like to make your own no-sew felt tray, you can use the pattern linked below. I am releasing this under a Creative Commons license.  You are free to use and modify this pattern for non-commercial purposes.  If you make changes to the pattern, you are encouraged to release your changes back to the community.

If you want to do something else with it (like make and sell felt trays), please contact me for separate licensing terms.