

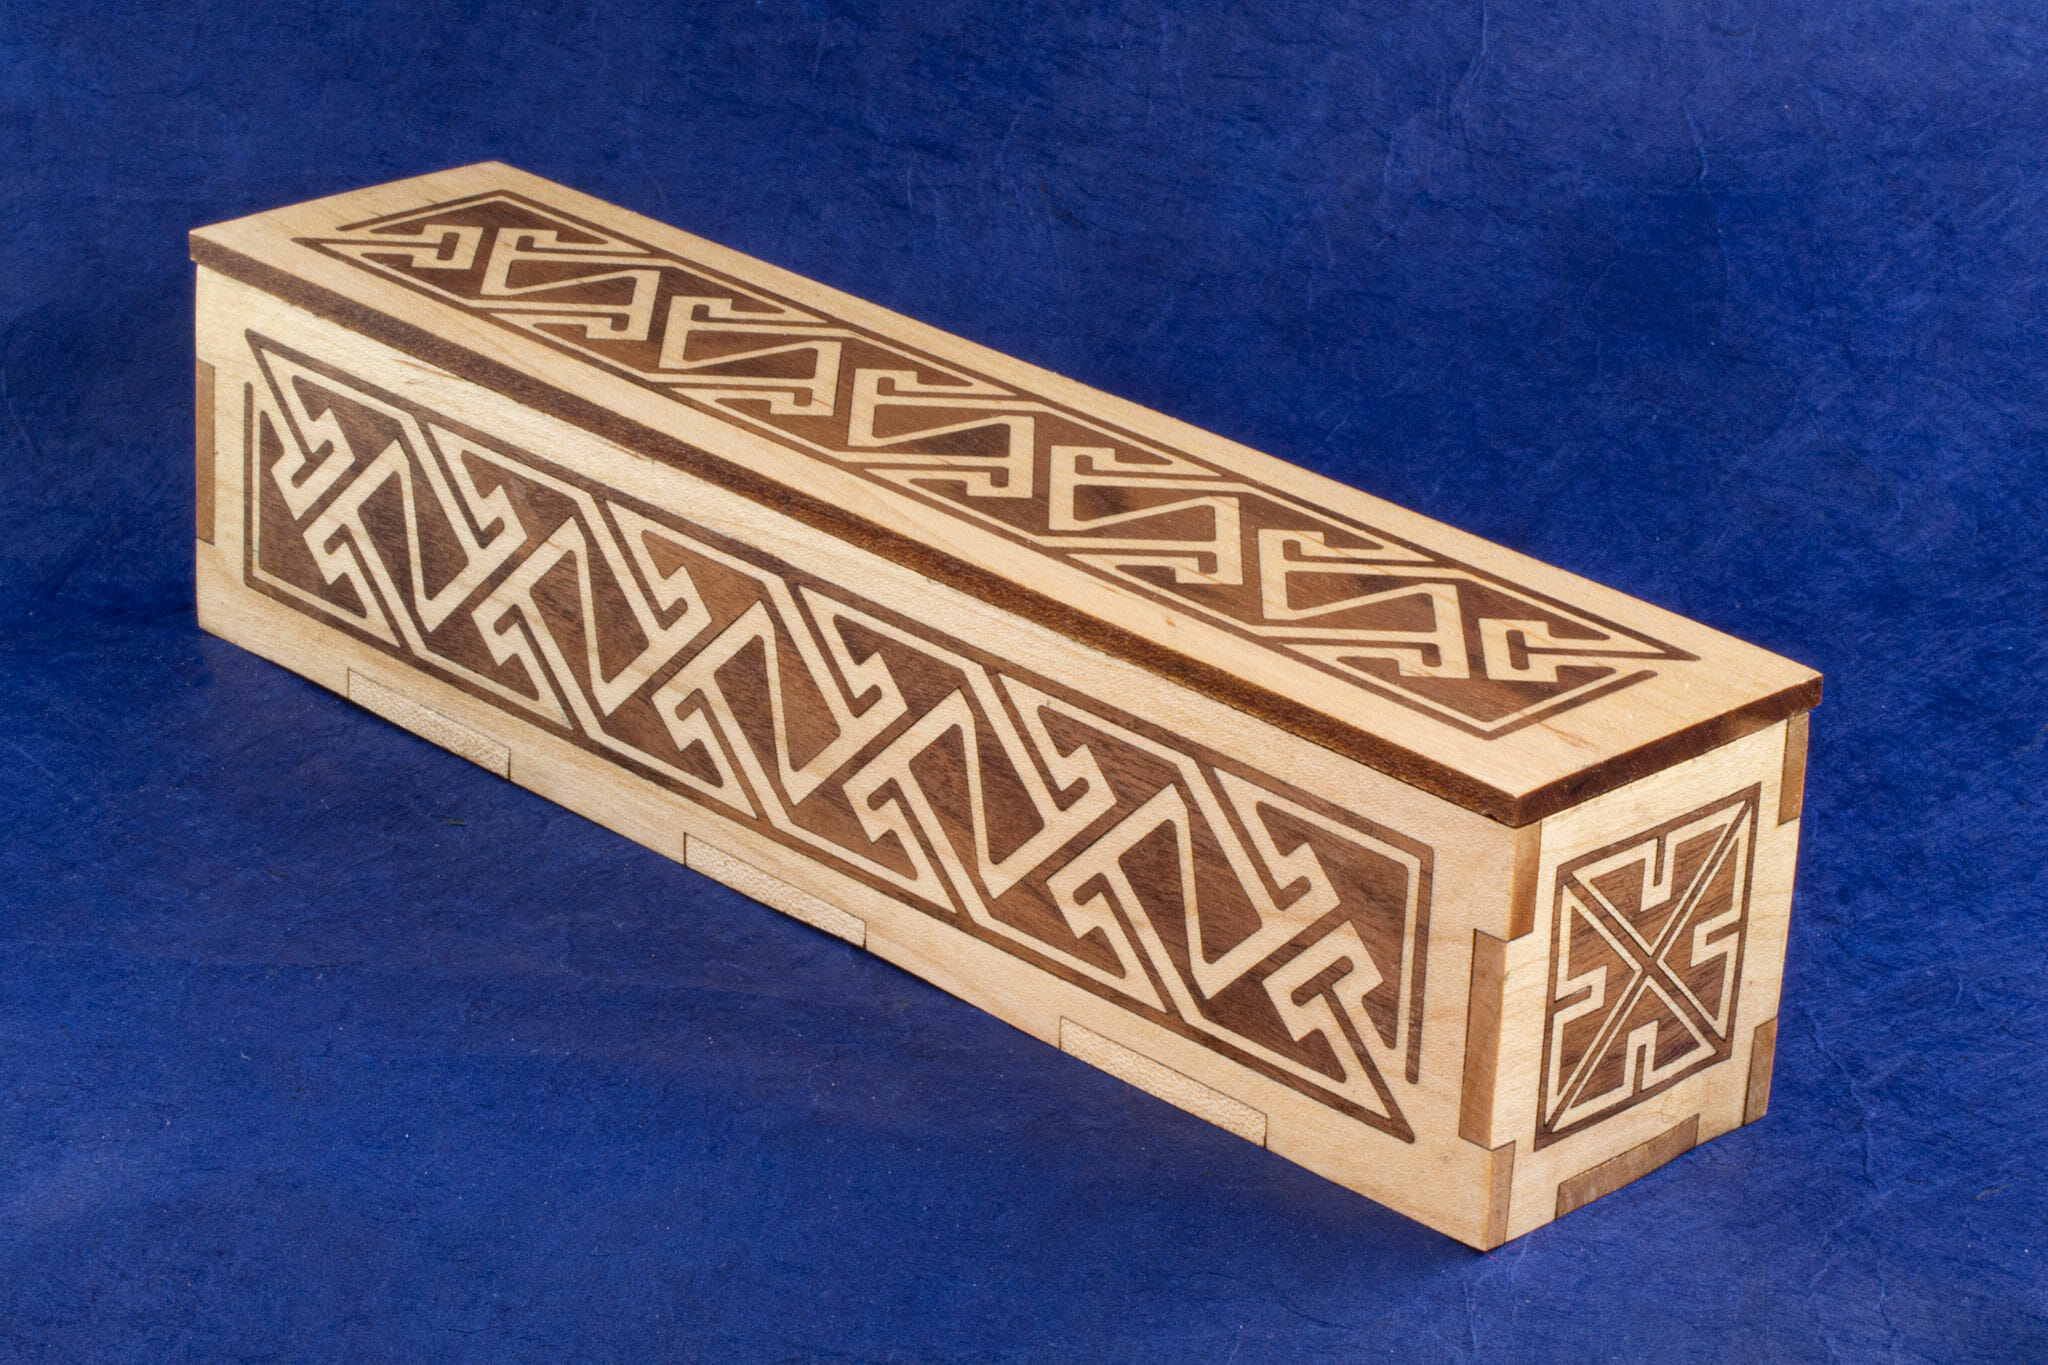
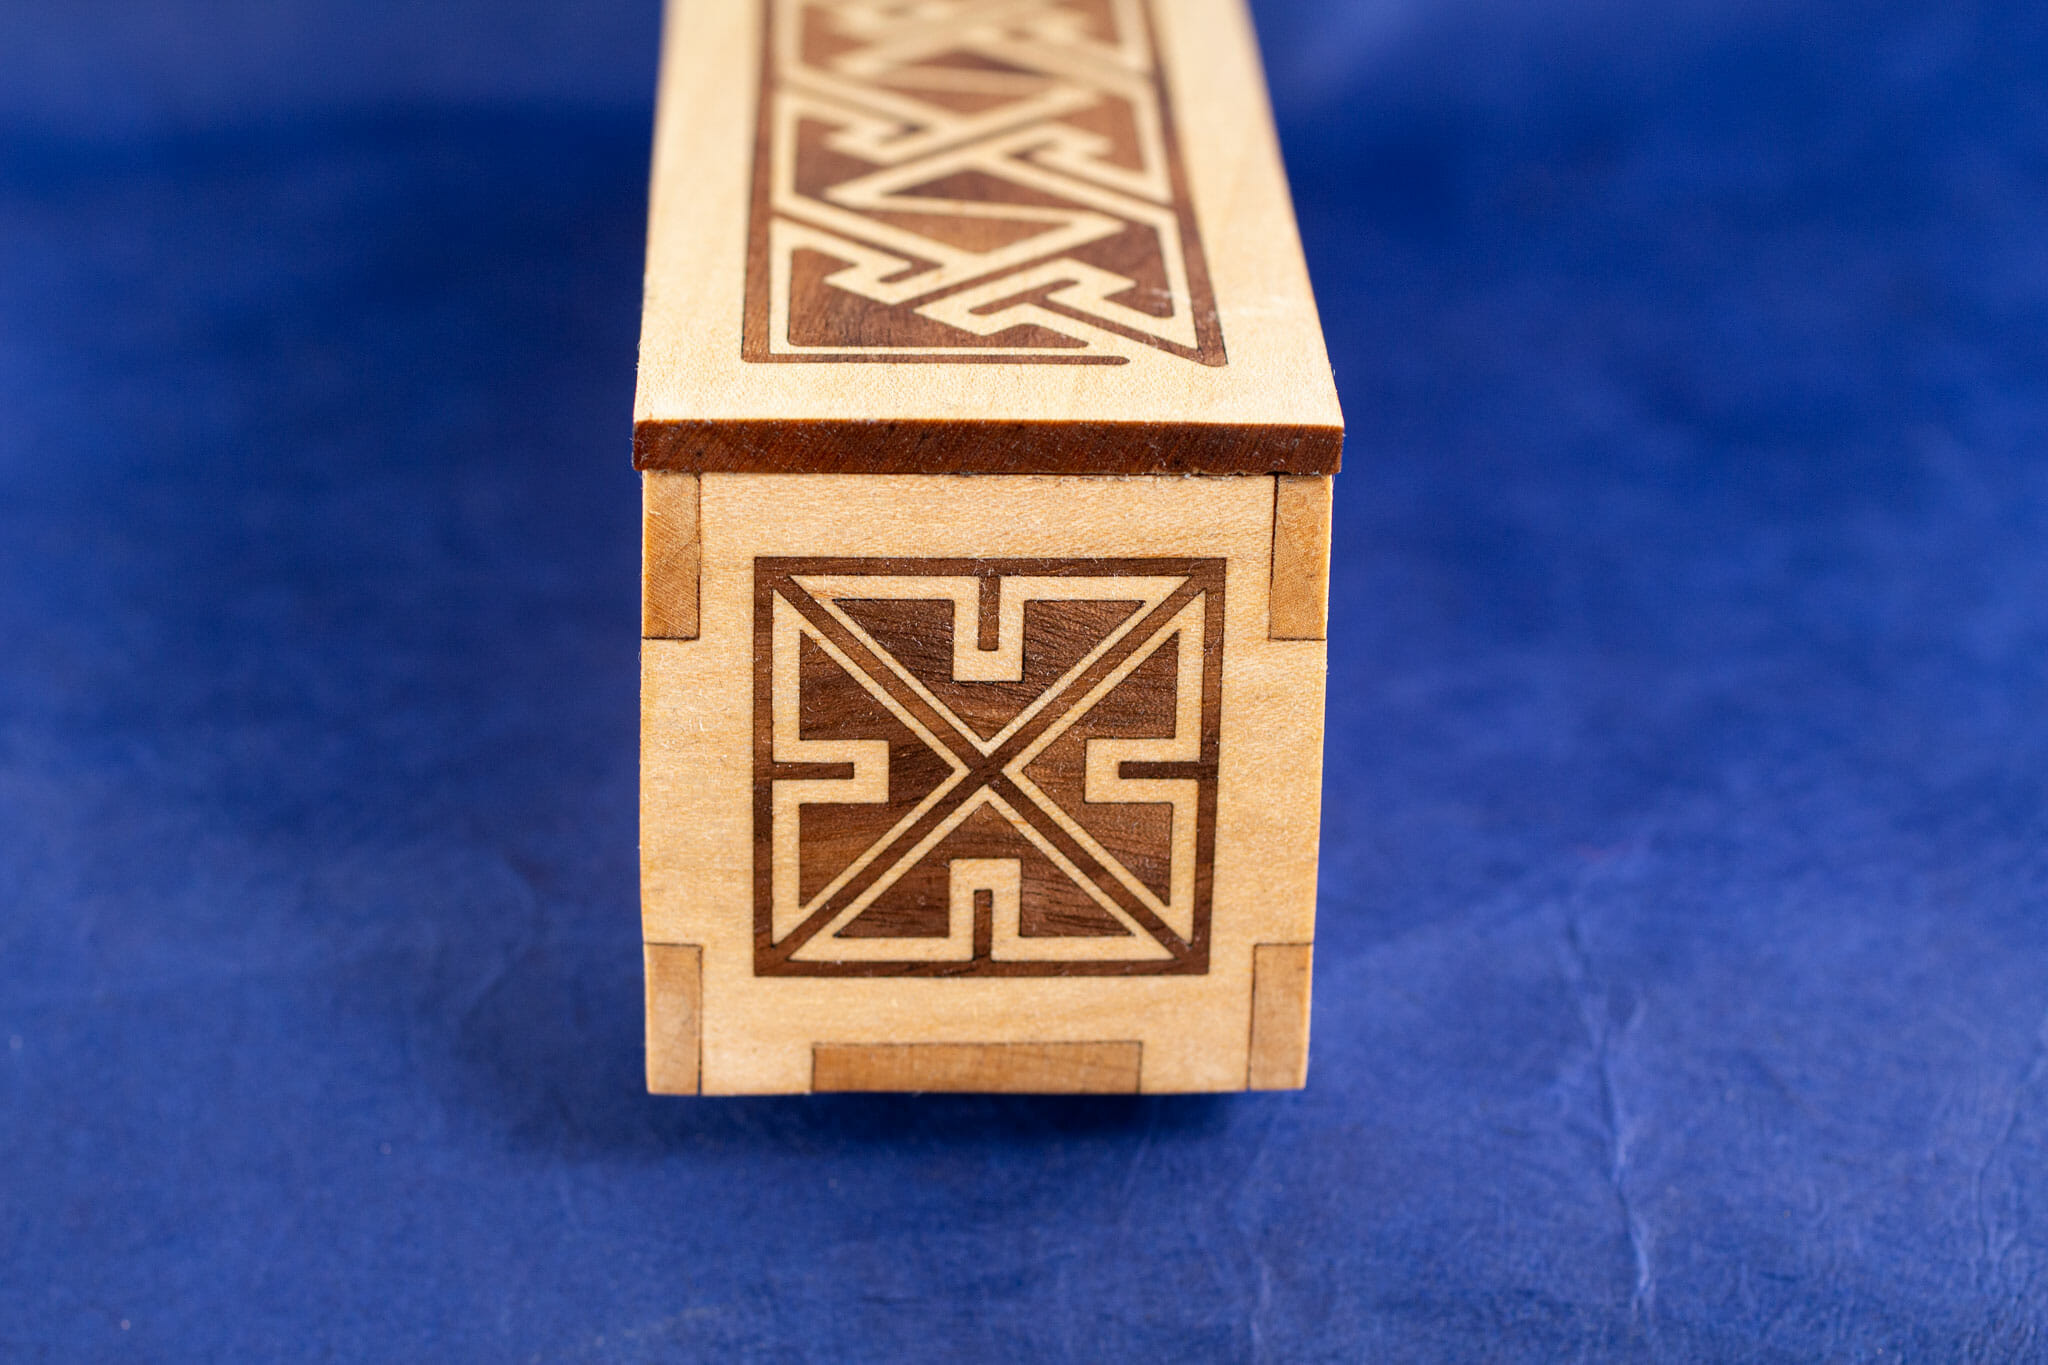
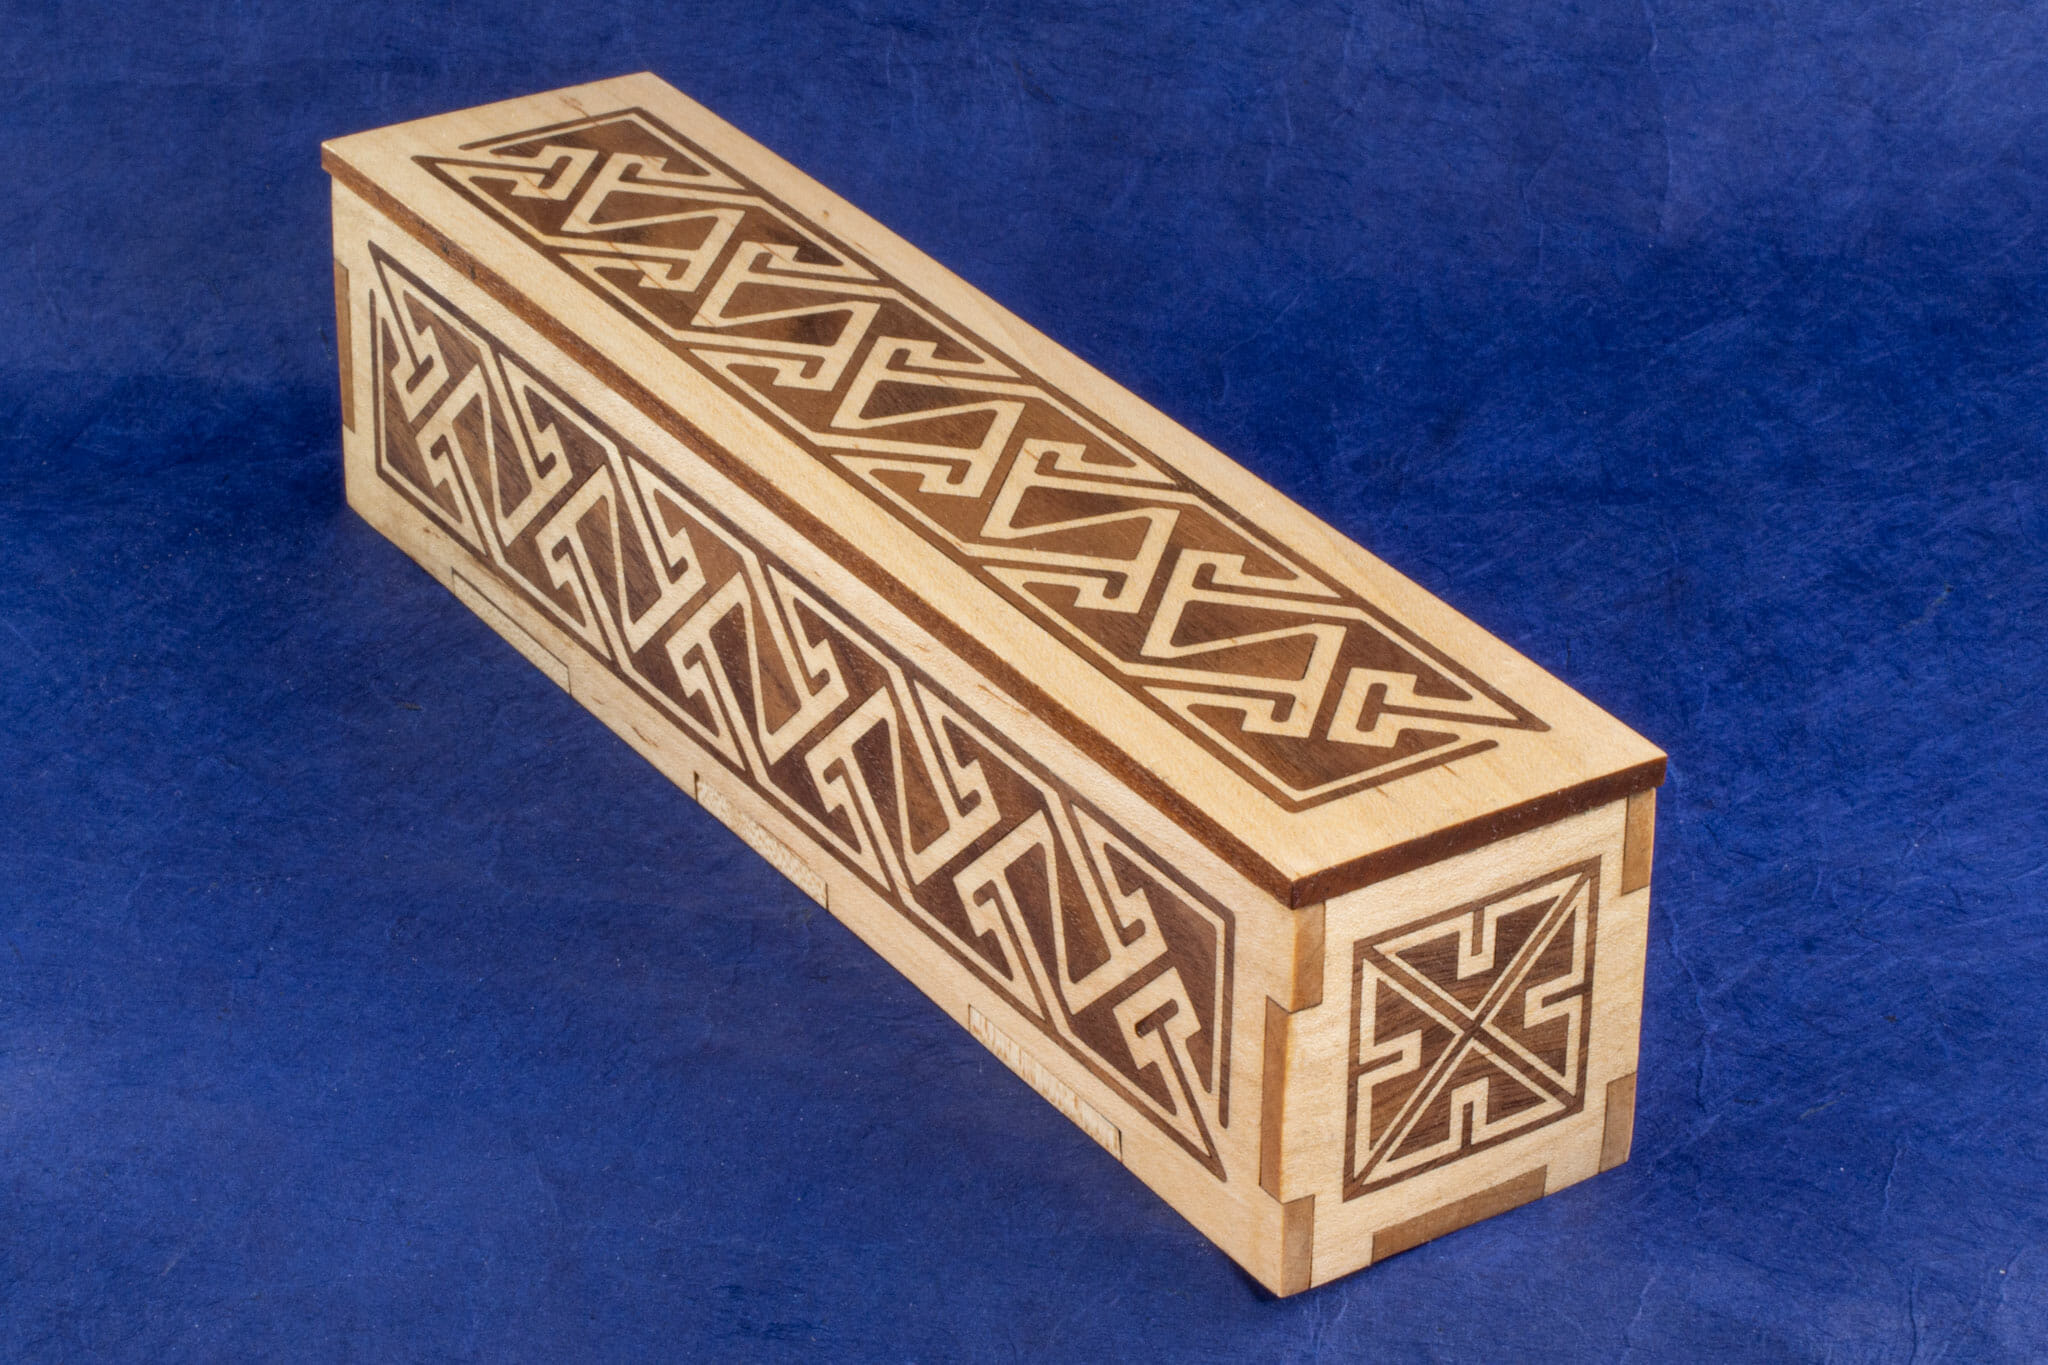
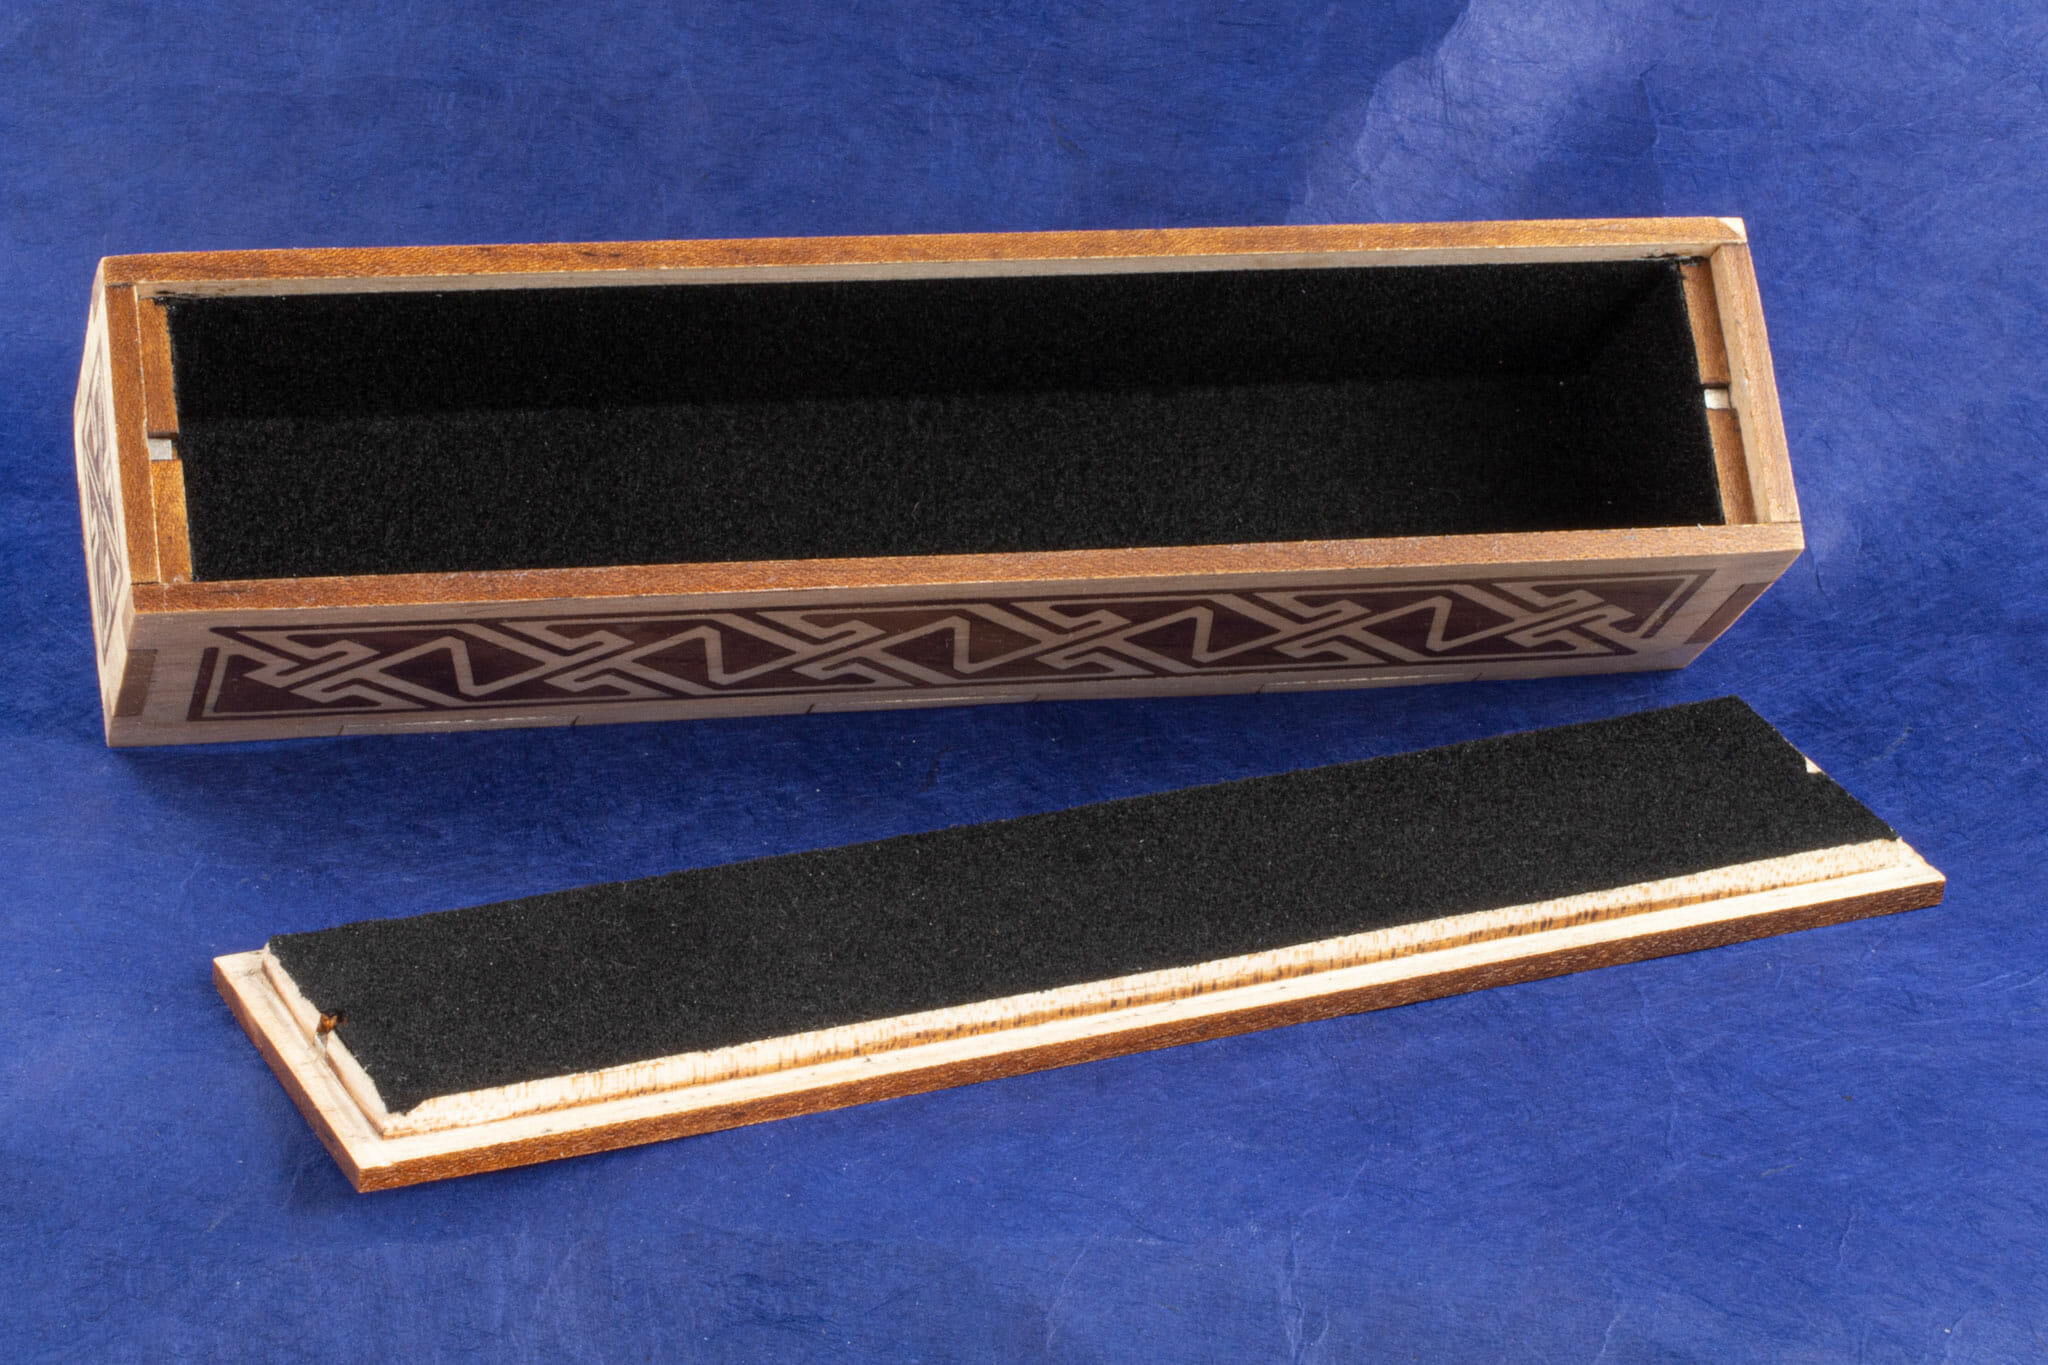
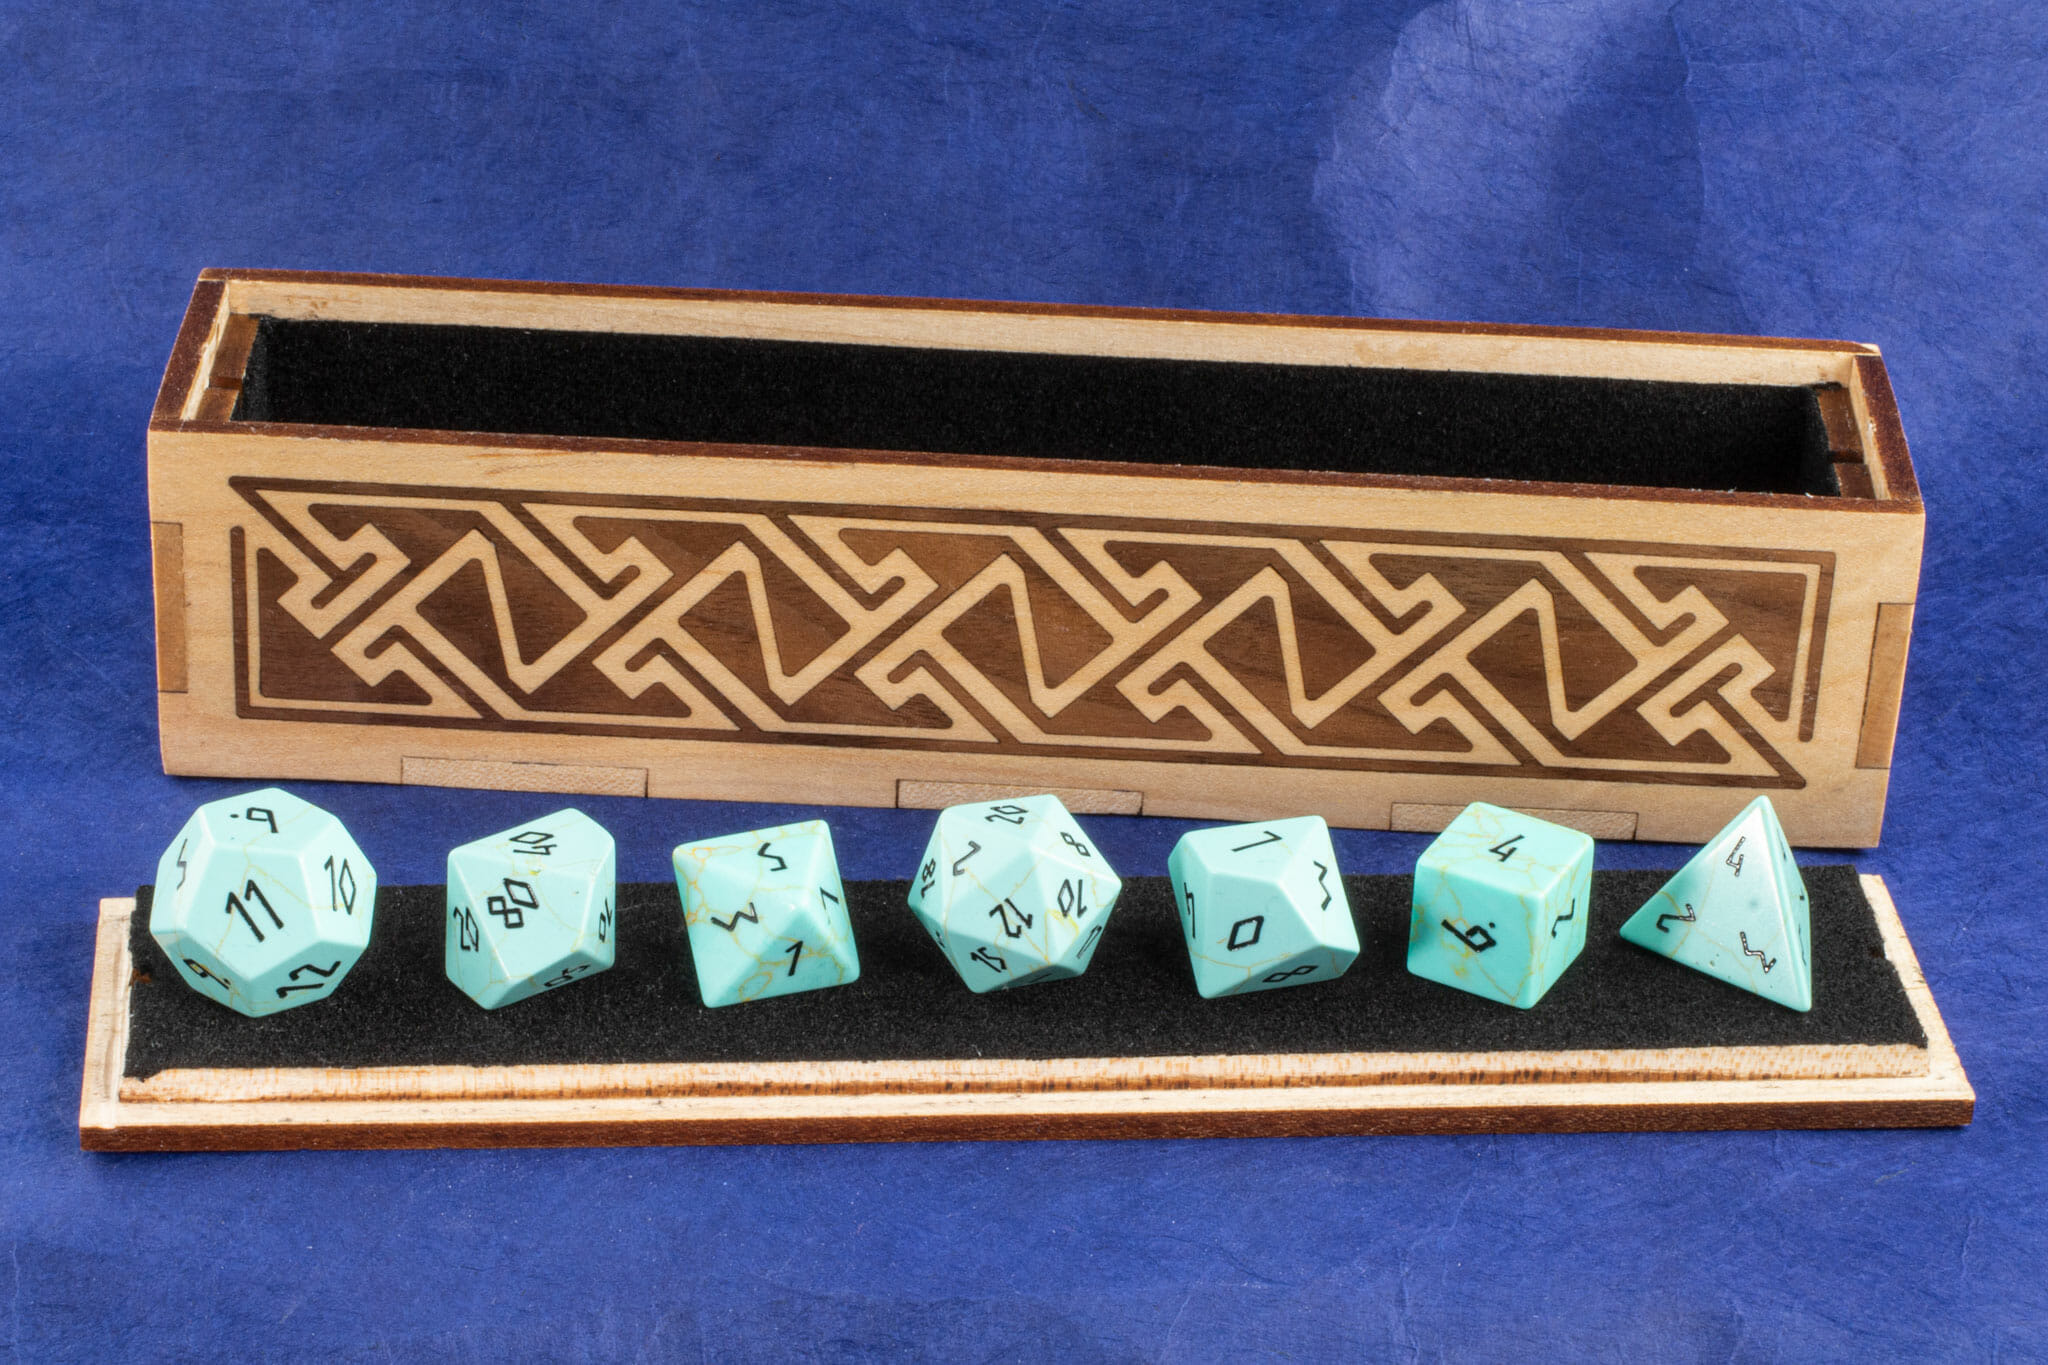
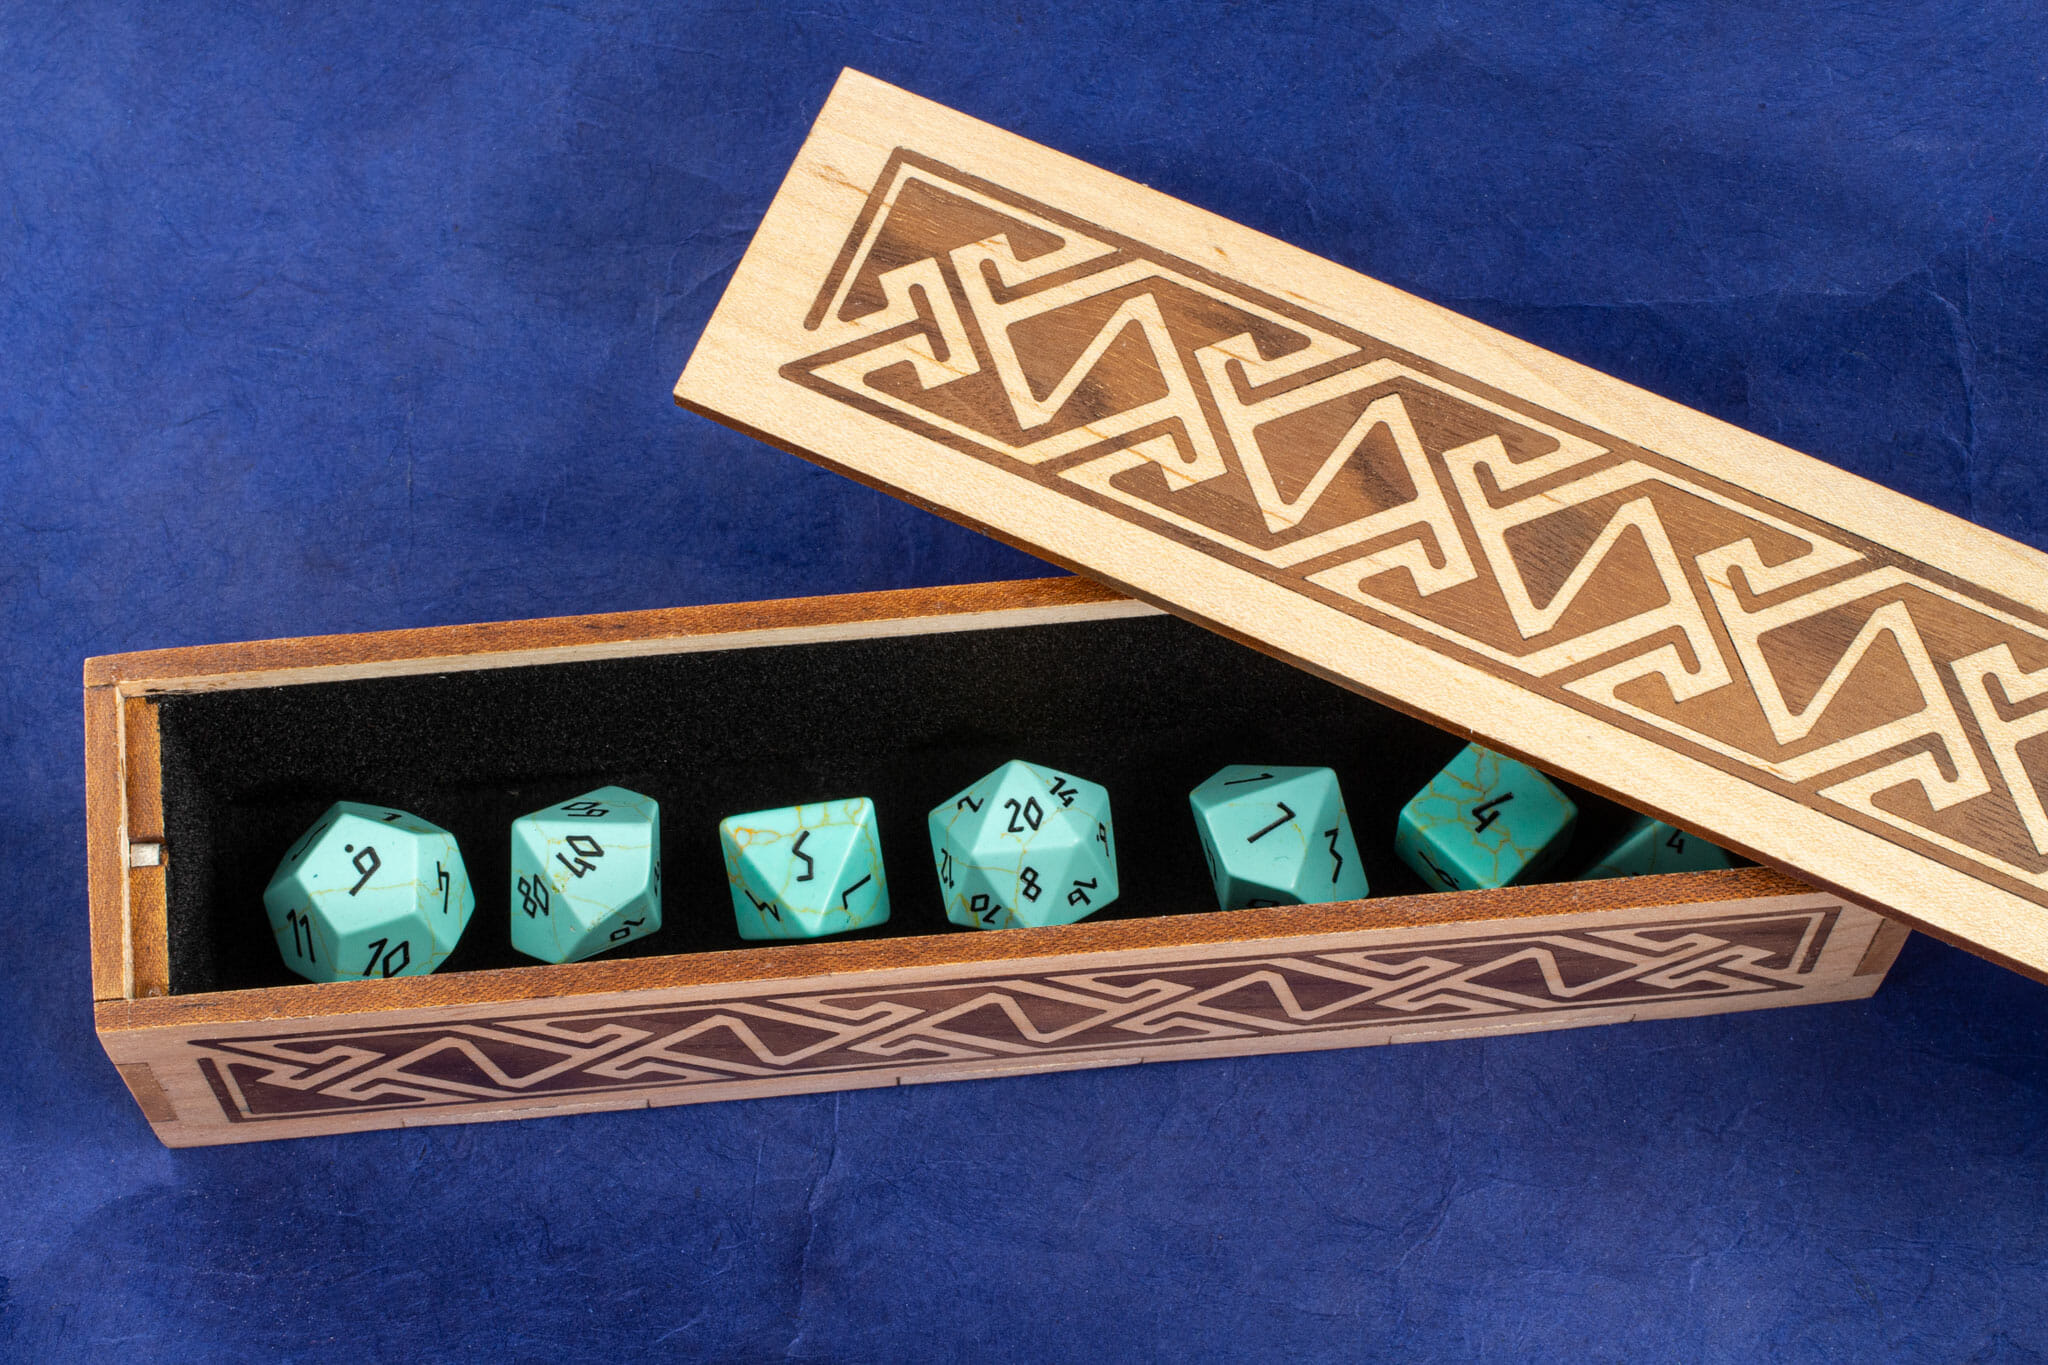
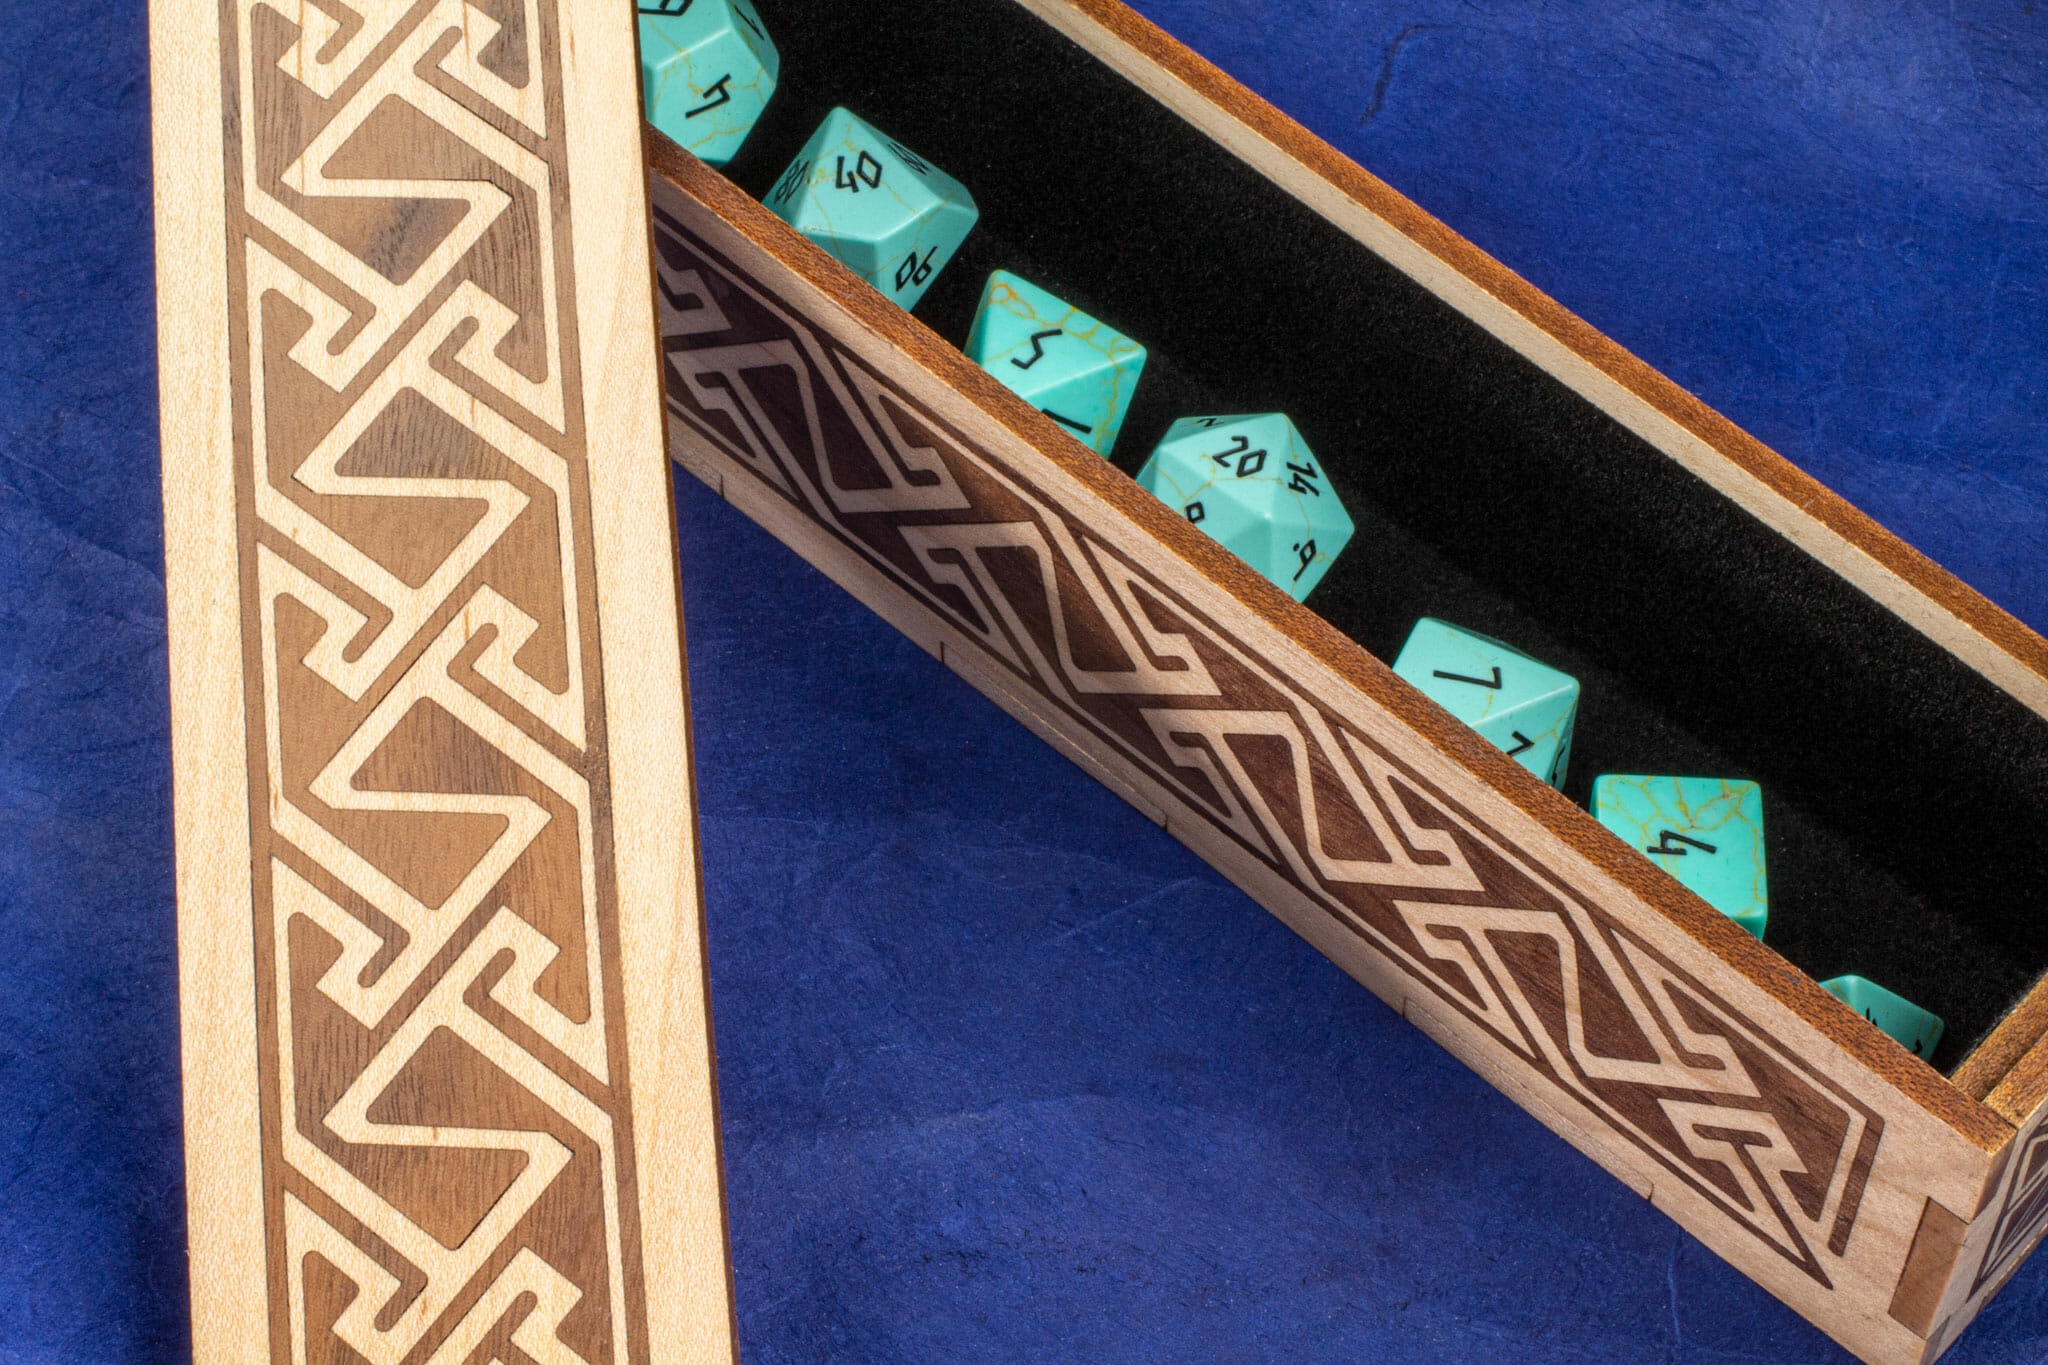
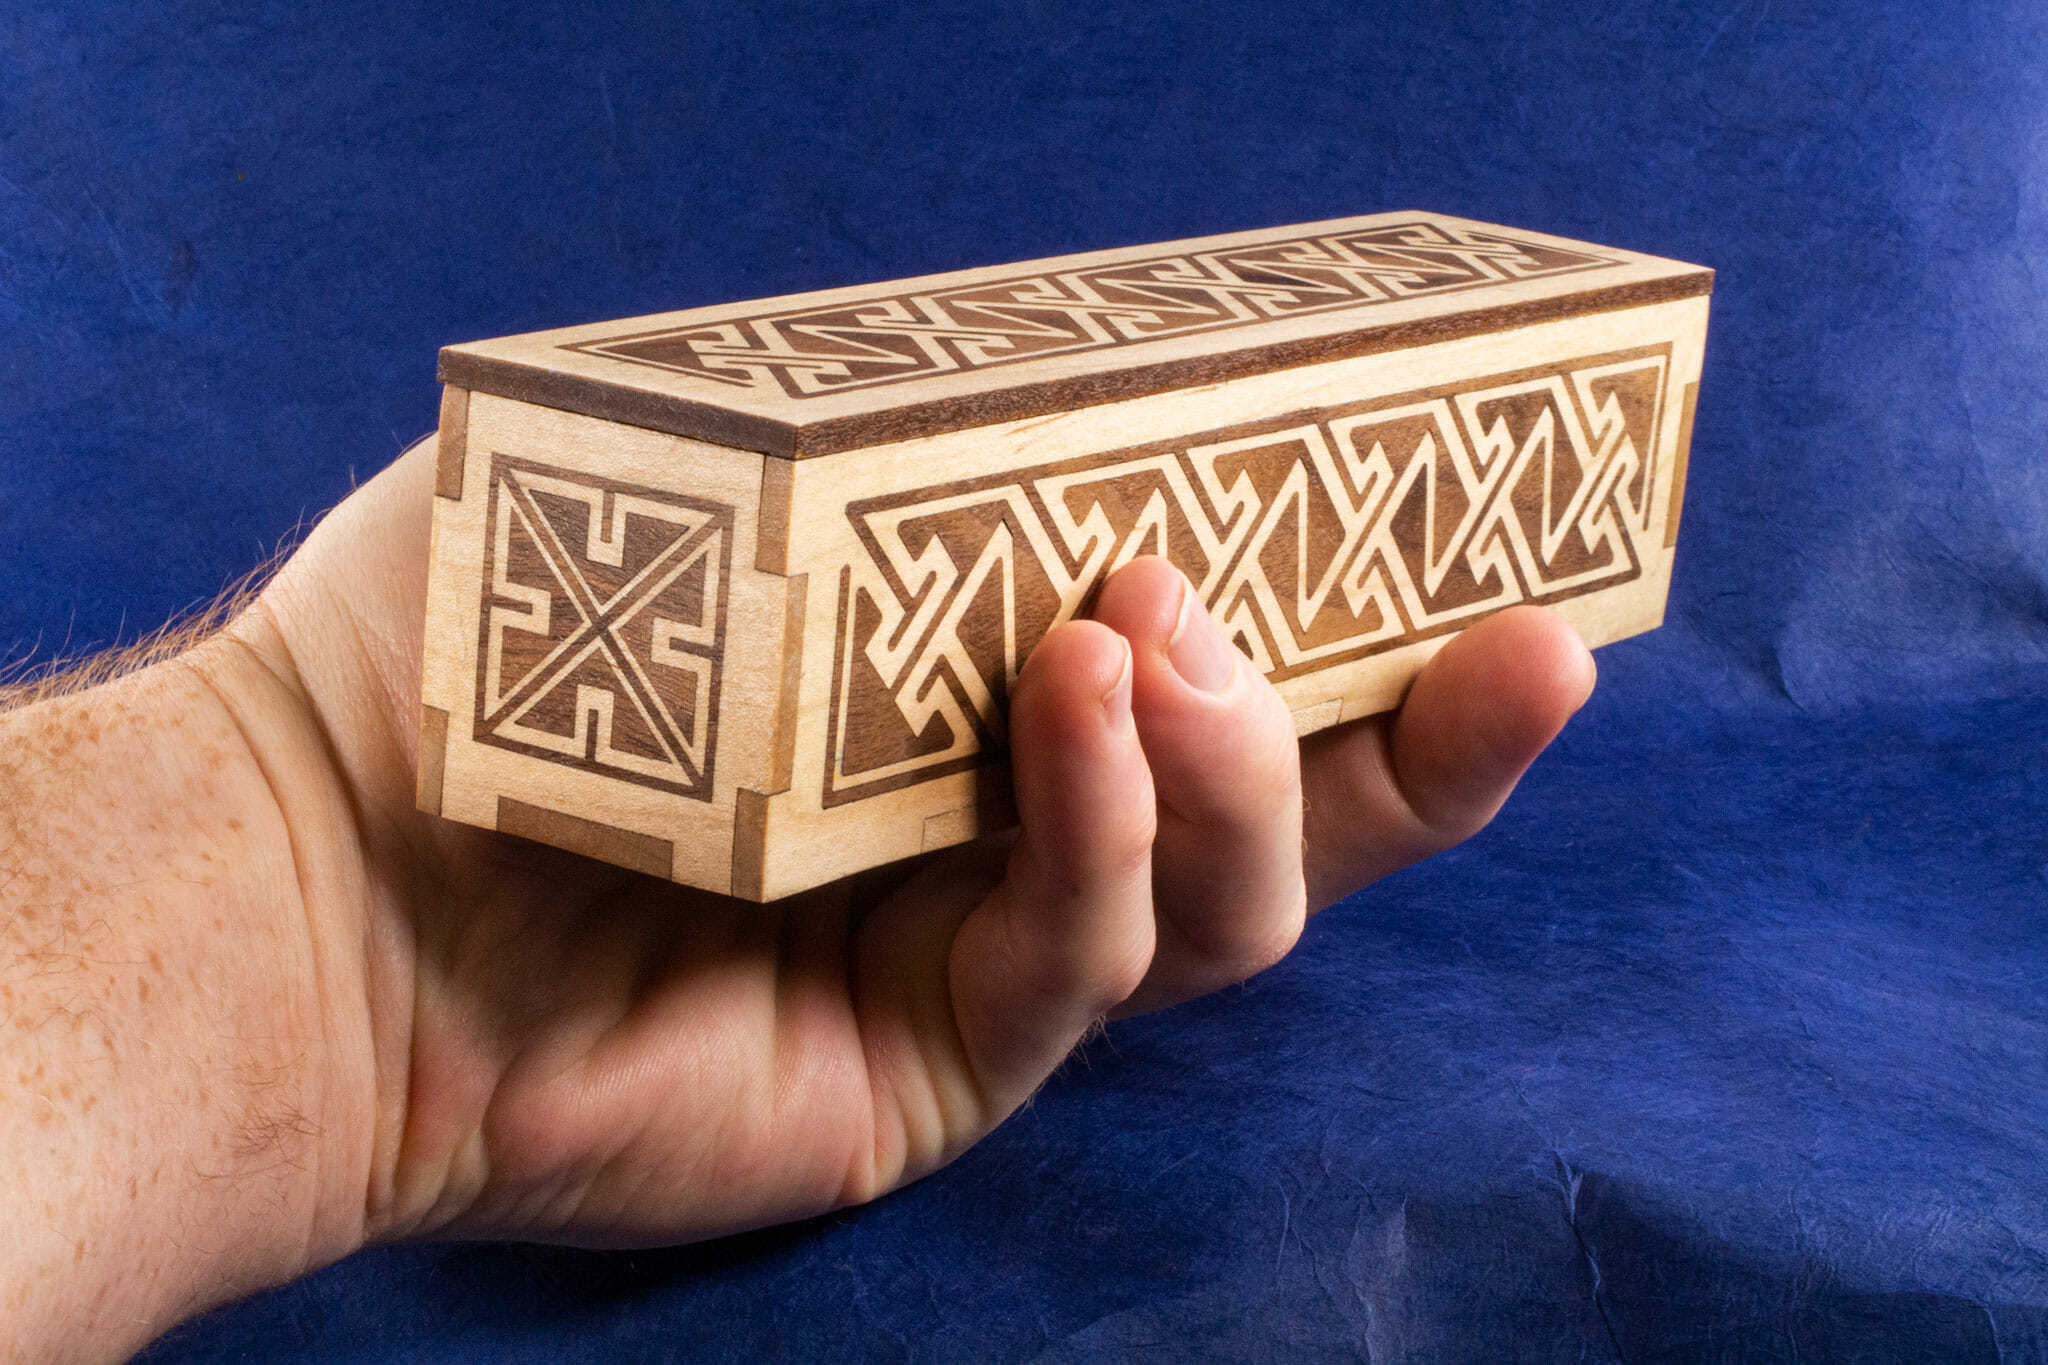
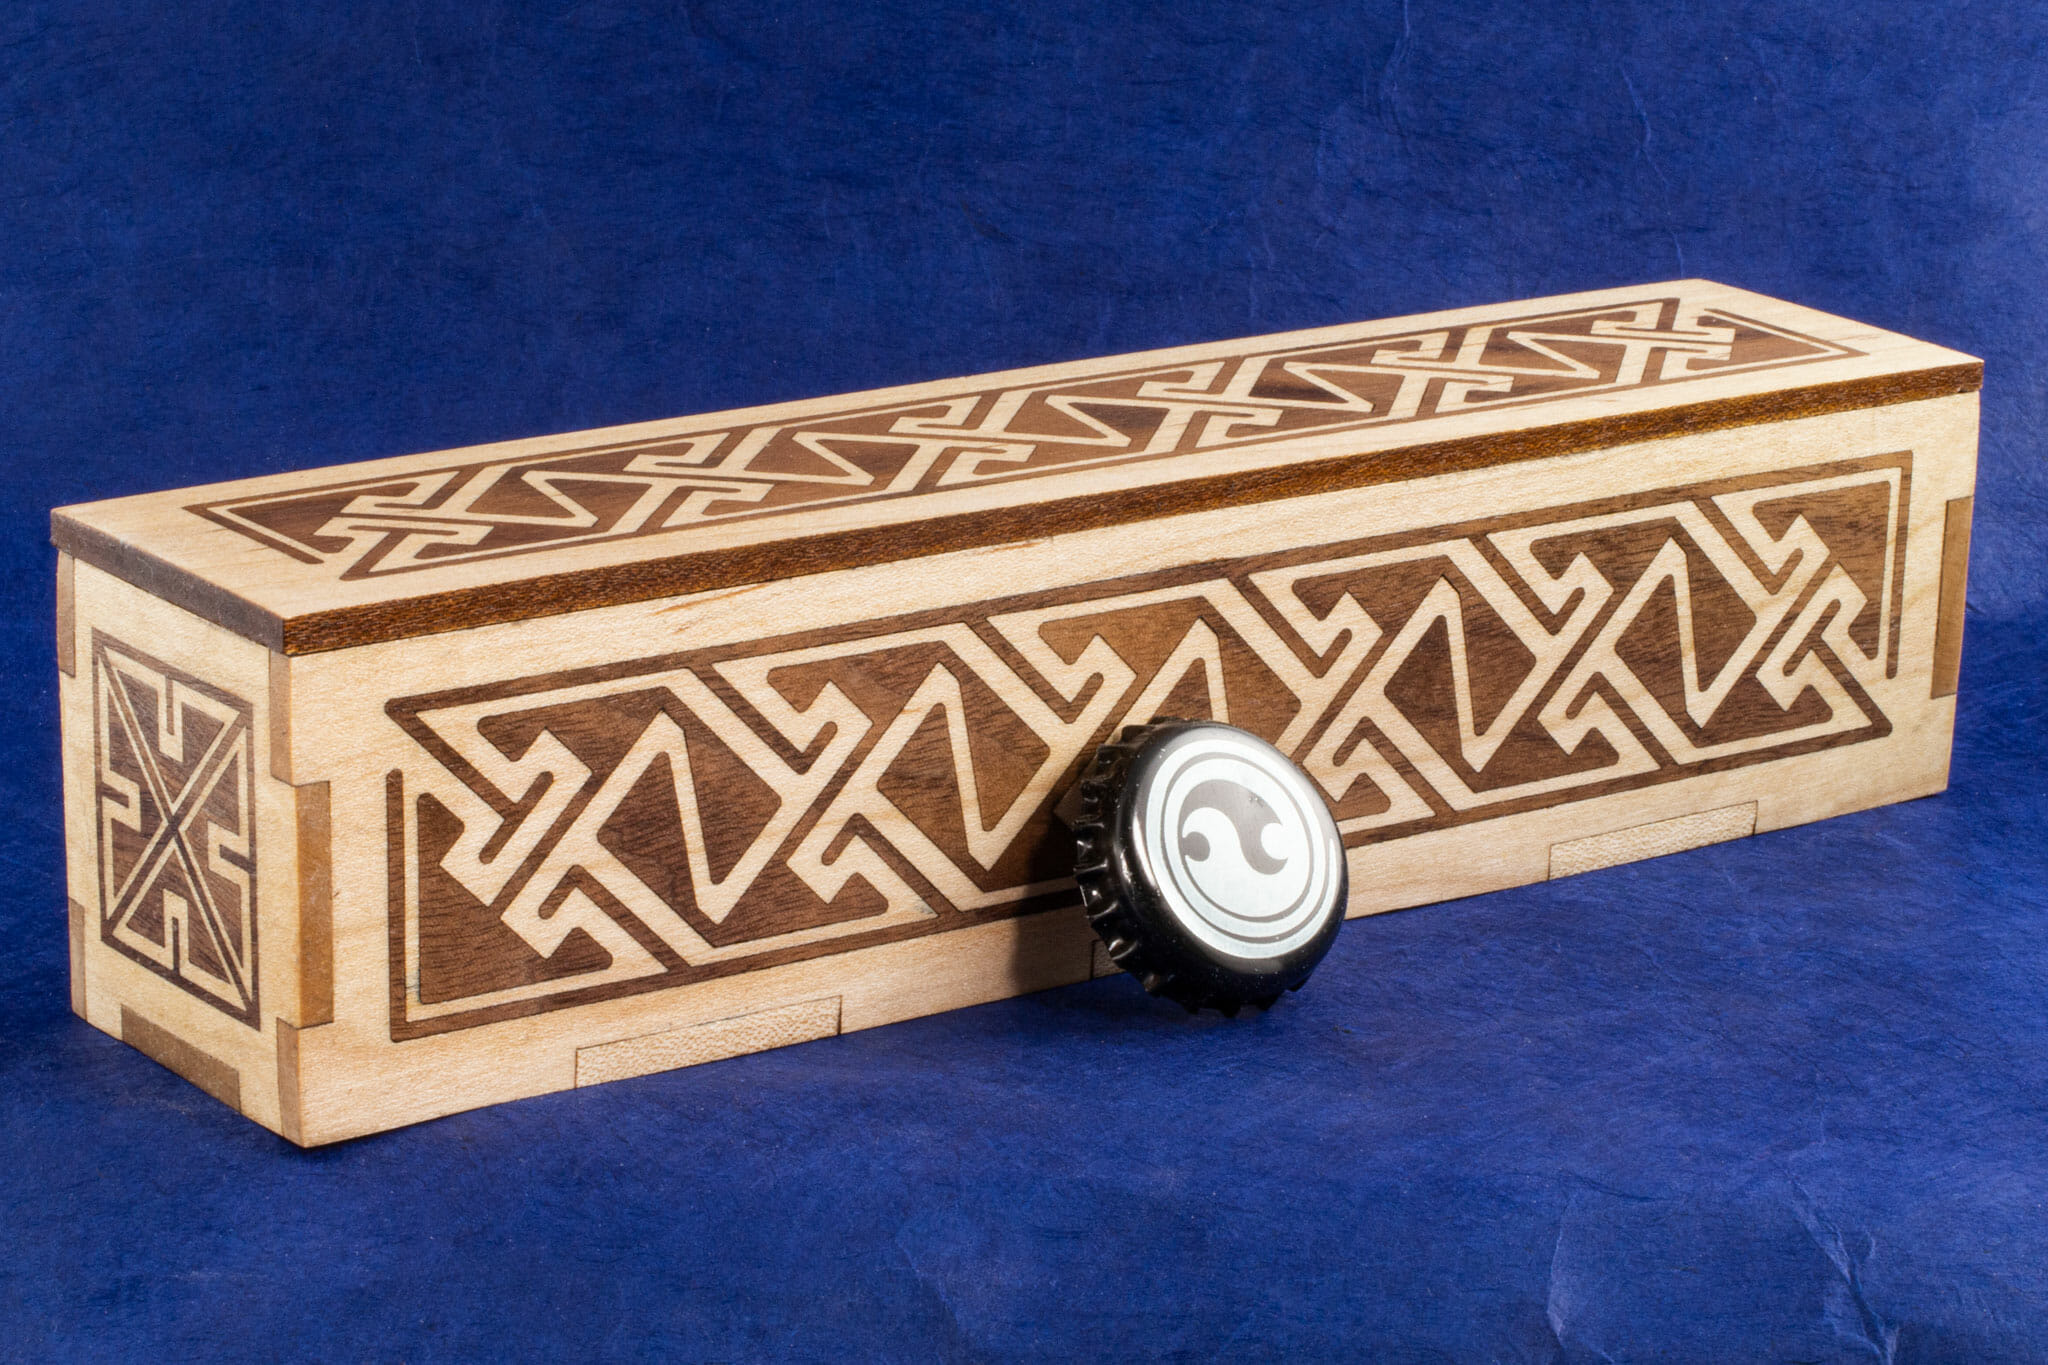
Celtic Key Pattern Inlaid Long Box
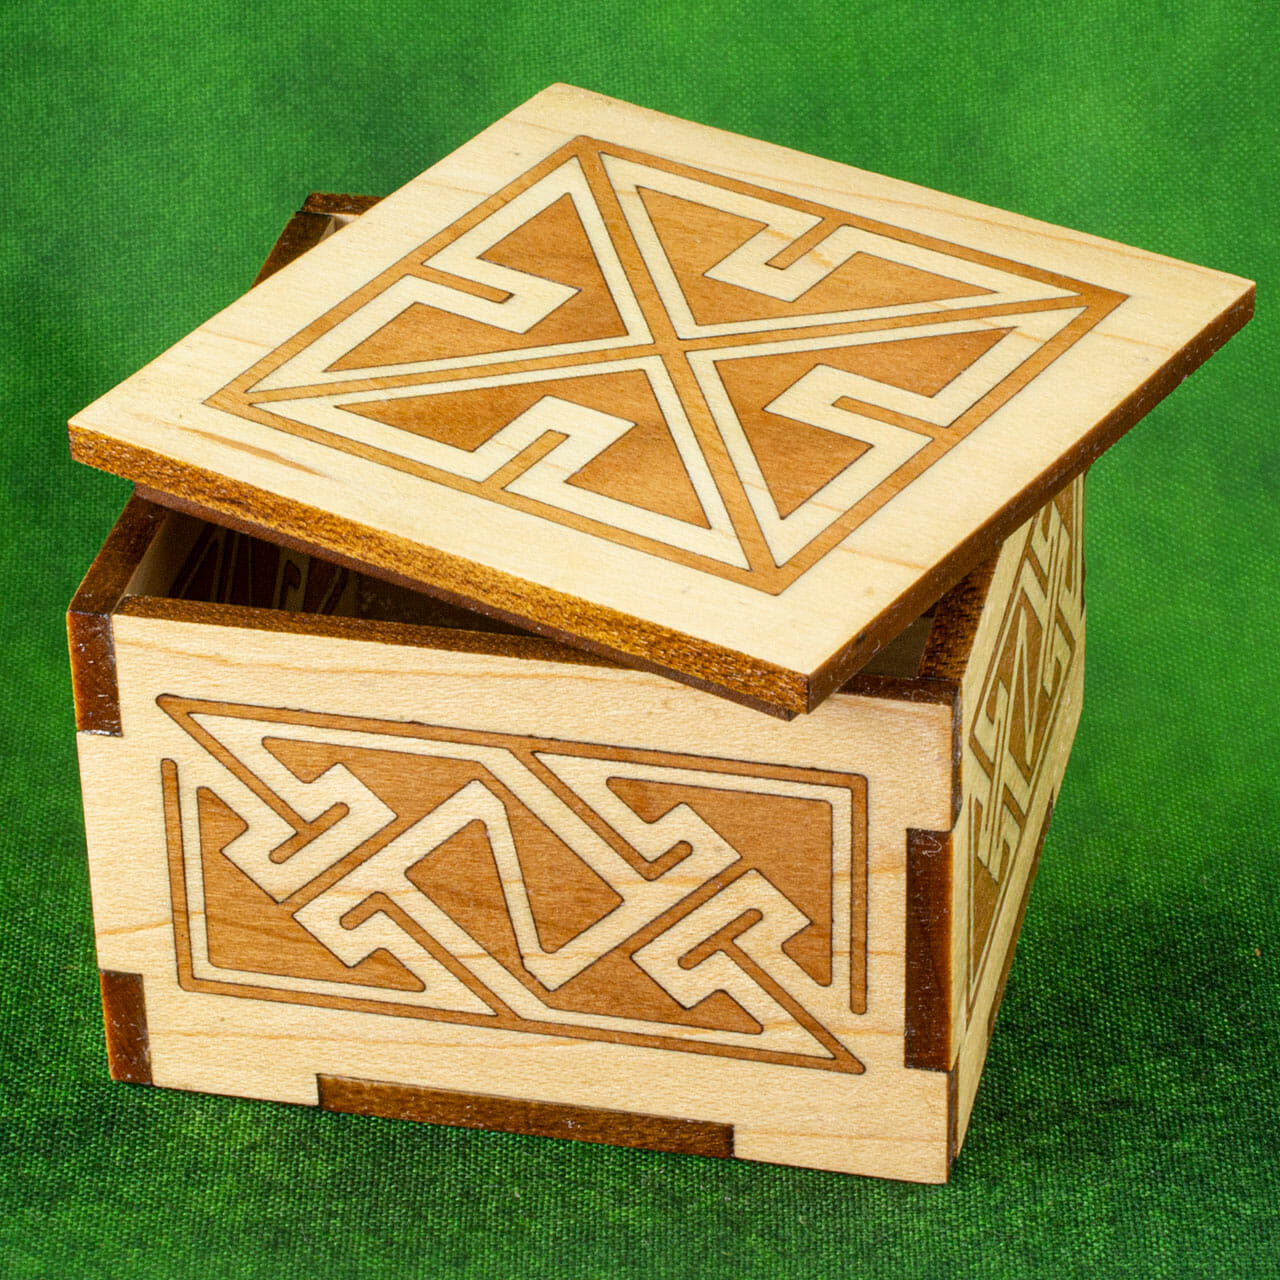
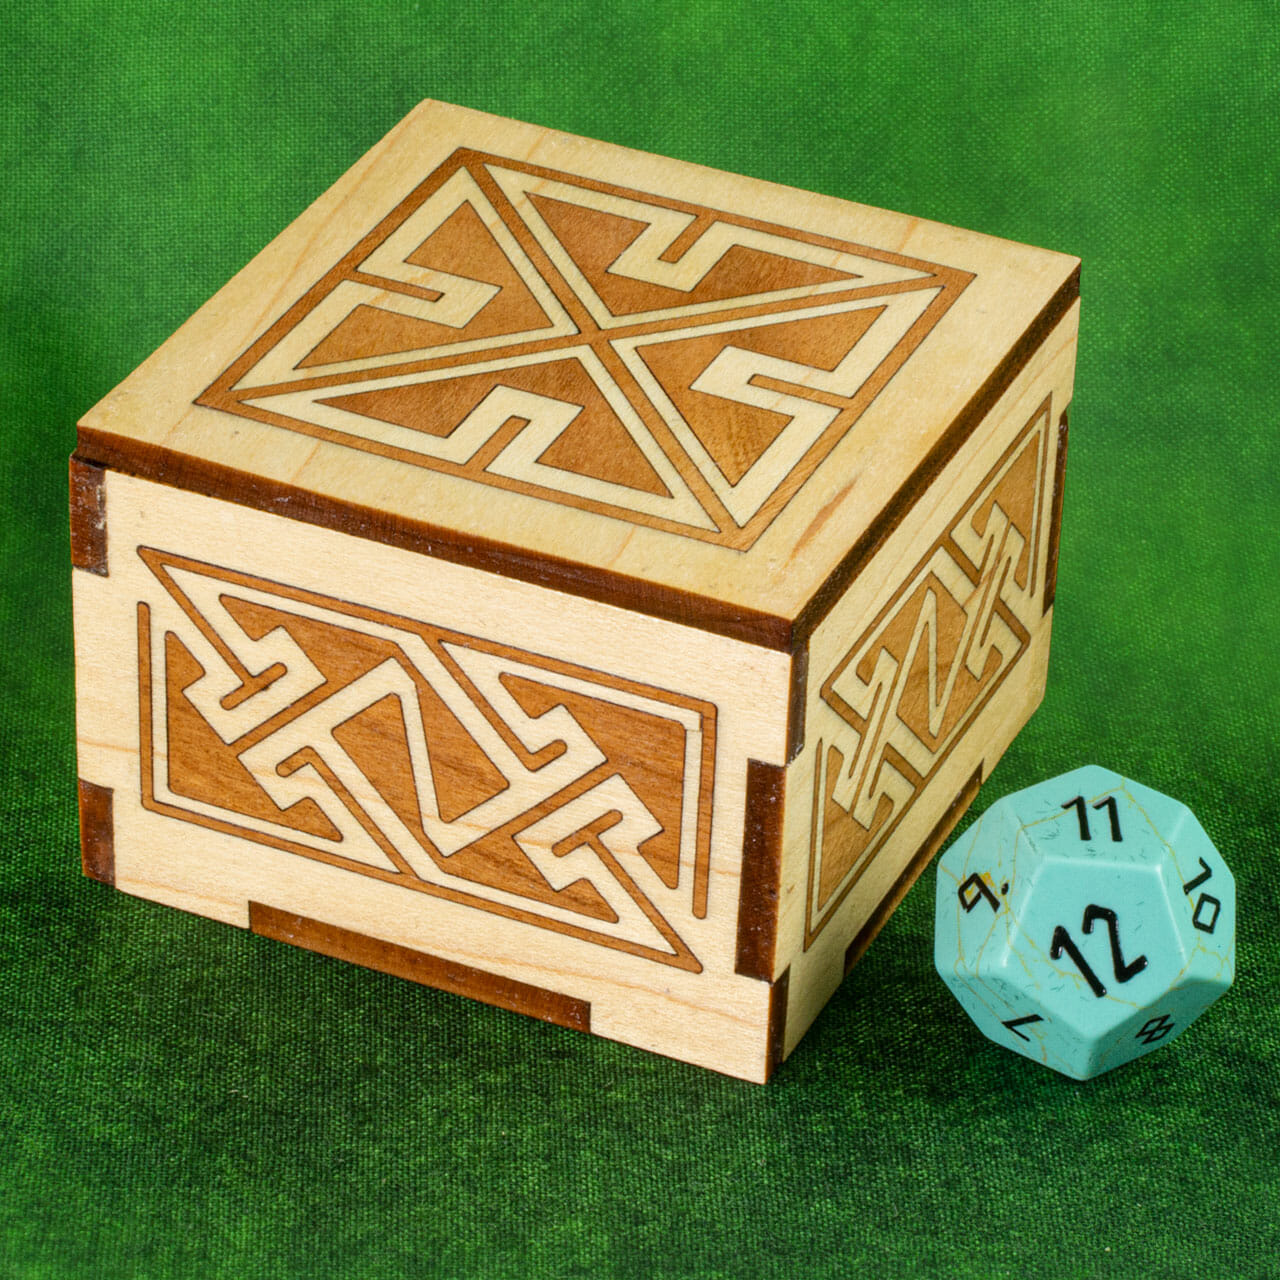
Small Inlaid Celtic Key Pattern Box

Celtic Key Pattern Inlaid Long Box


Quick Celtic Key Square Print

")
I made some quick-and-dirty Celtic key square relief prints with a rubber plate engraved on the laser.
Here is a video with the whole printing process.
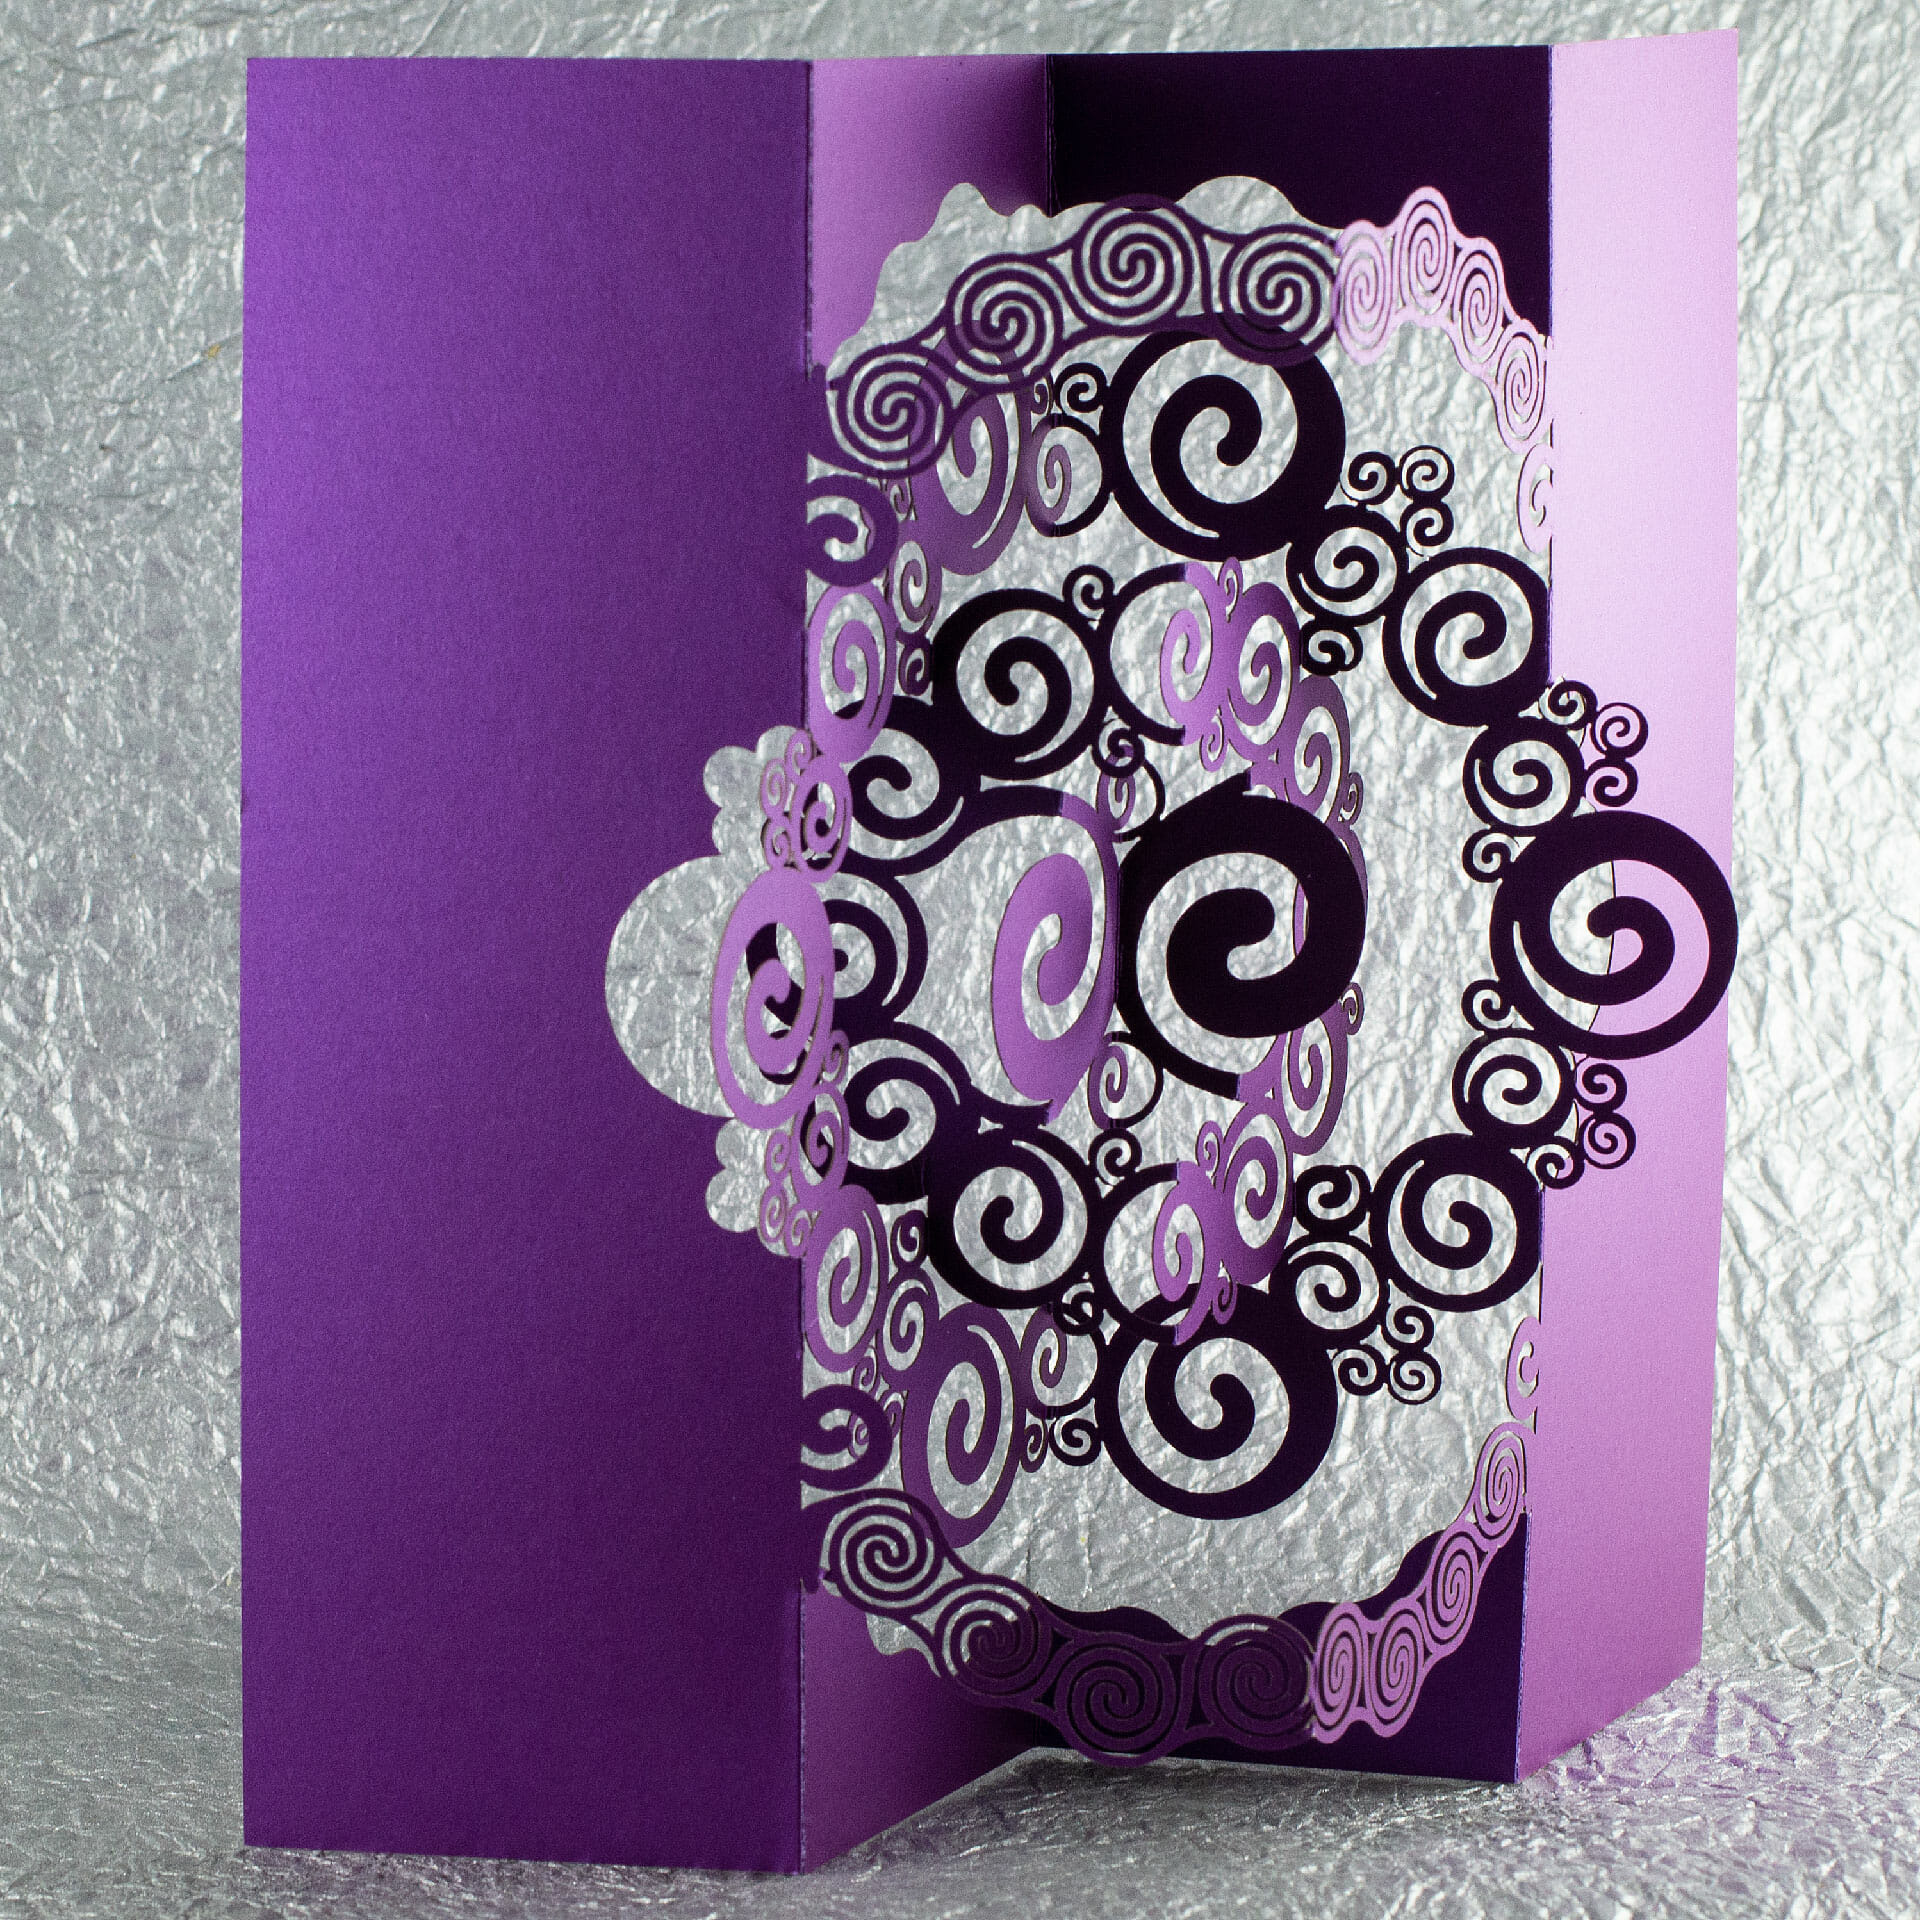
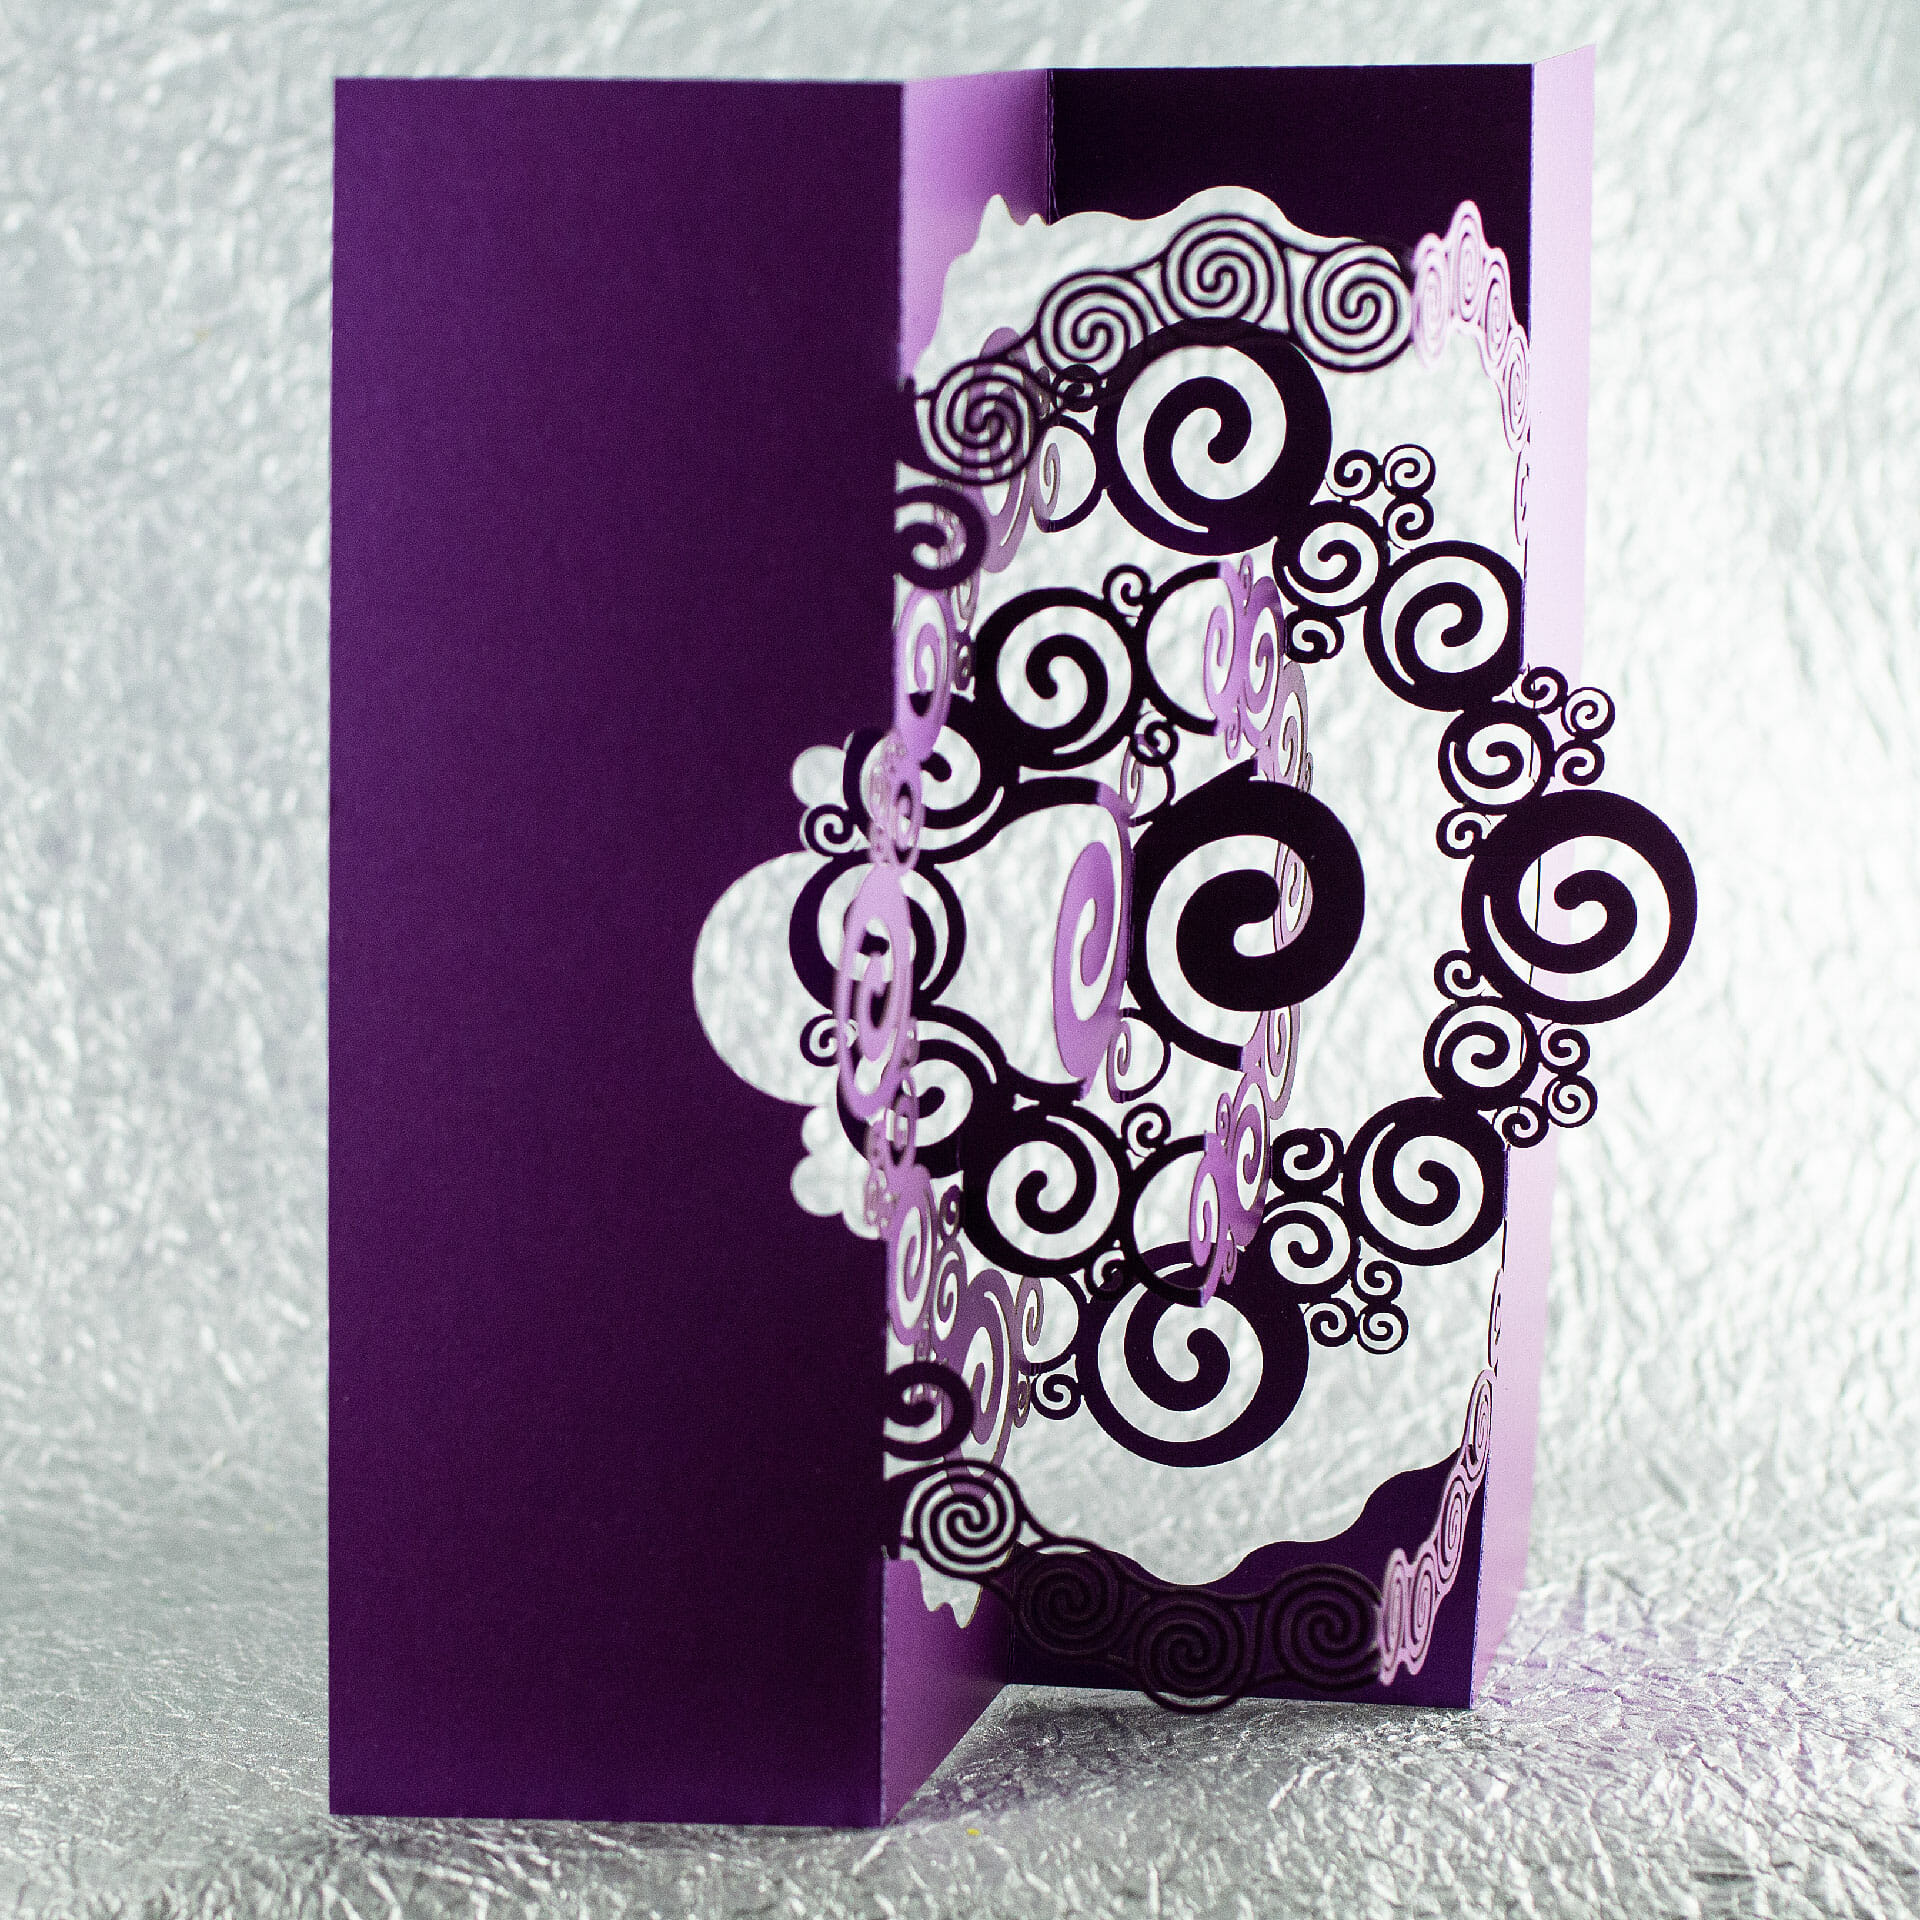
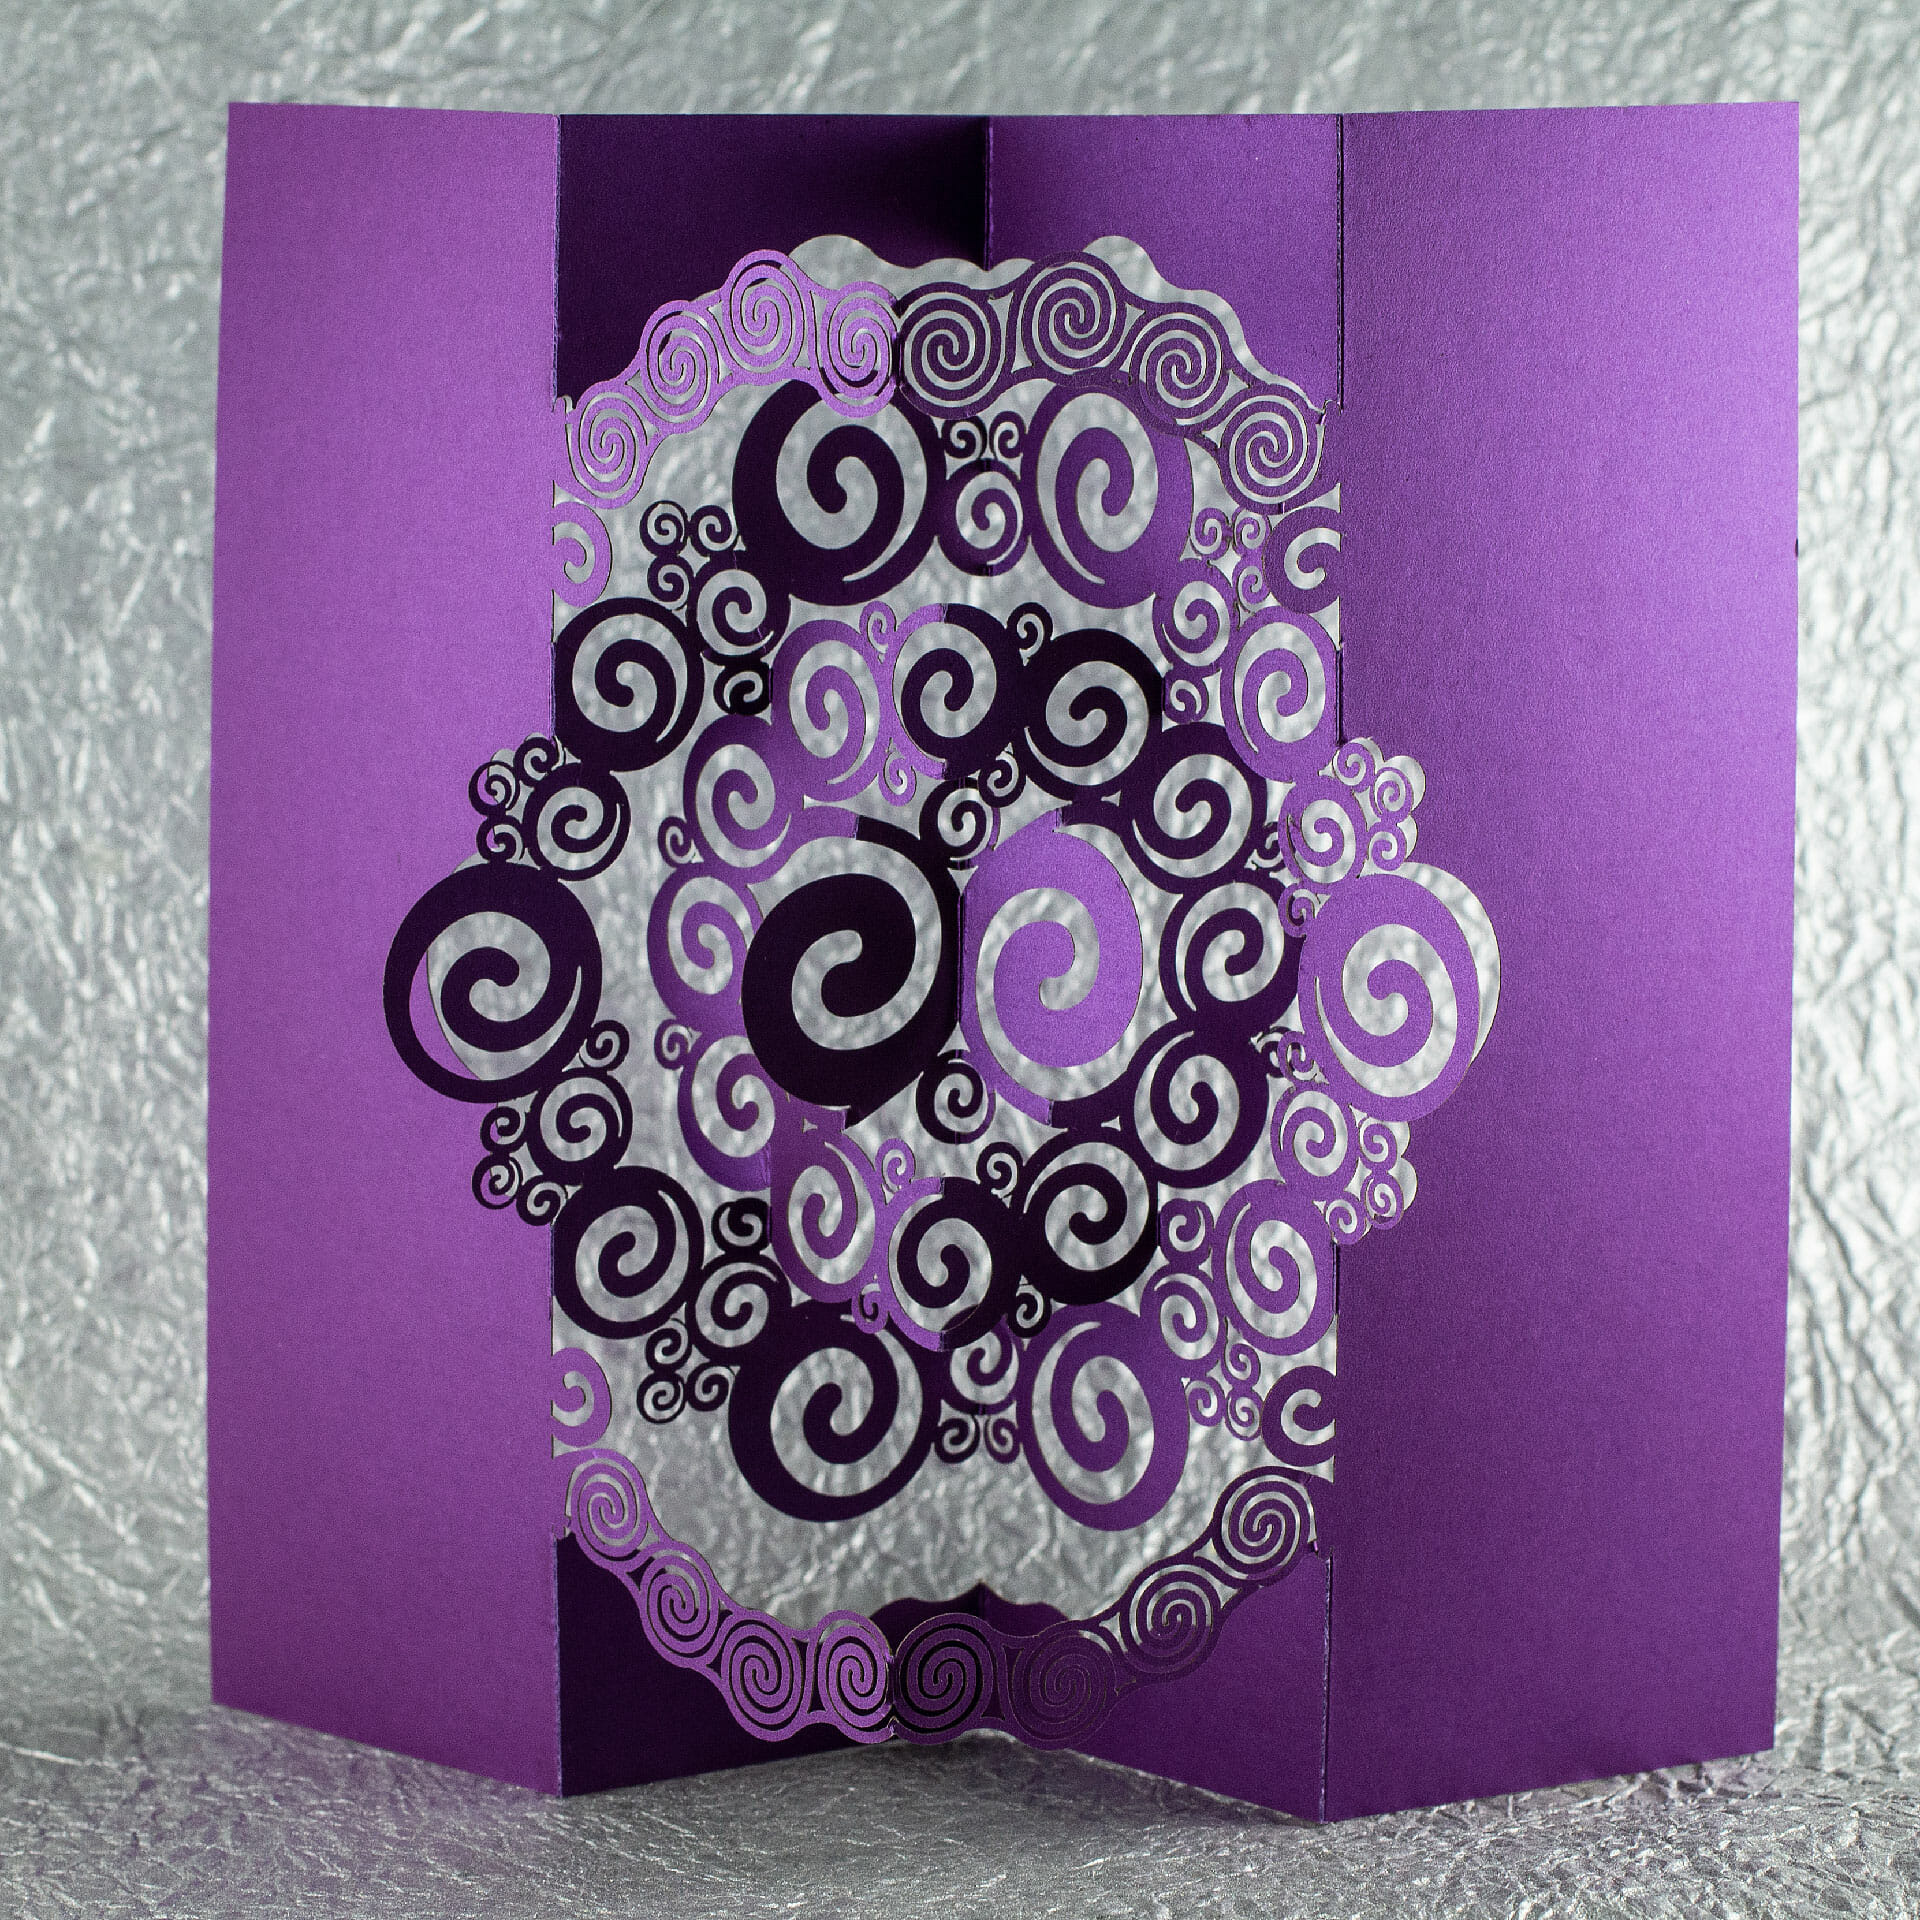
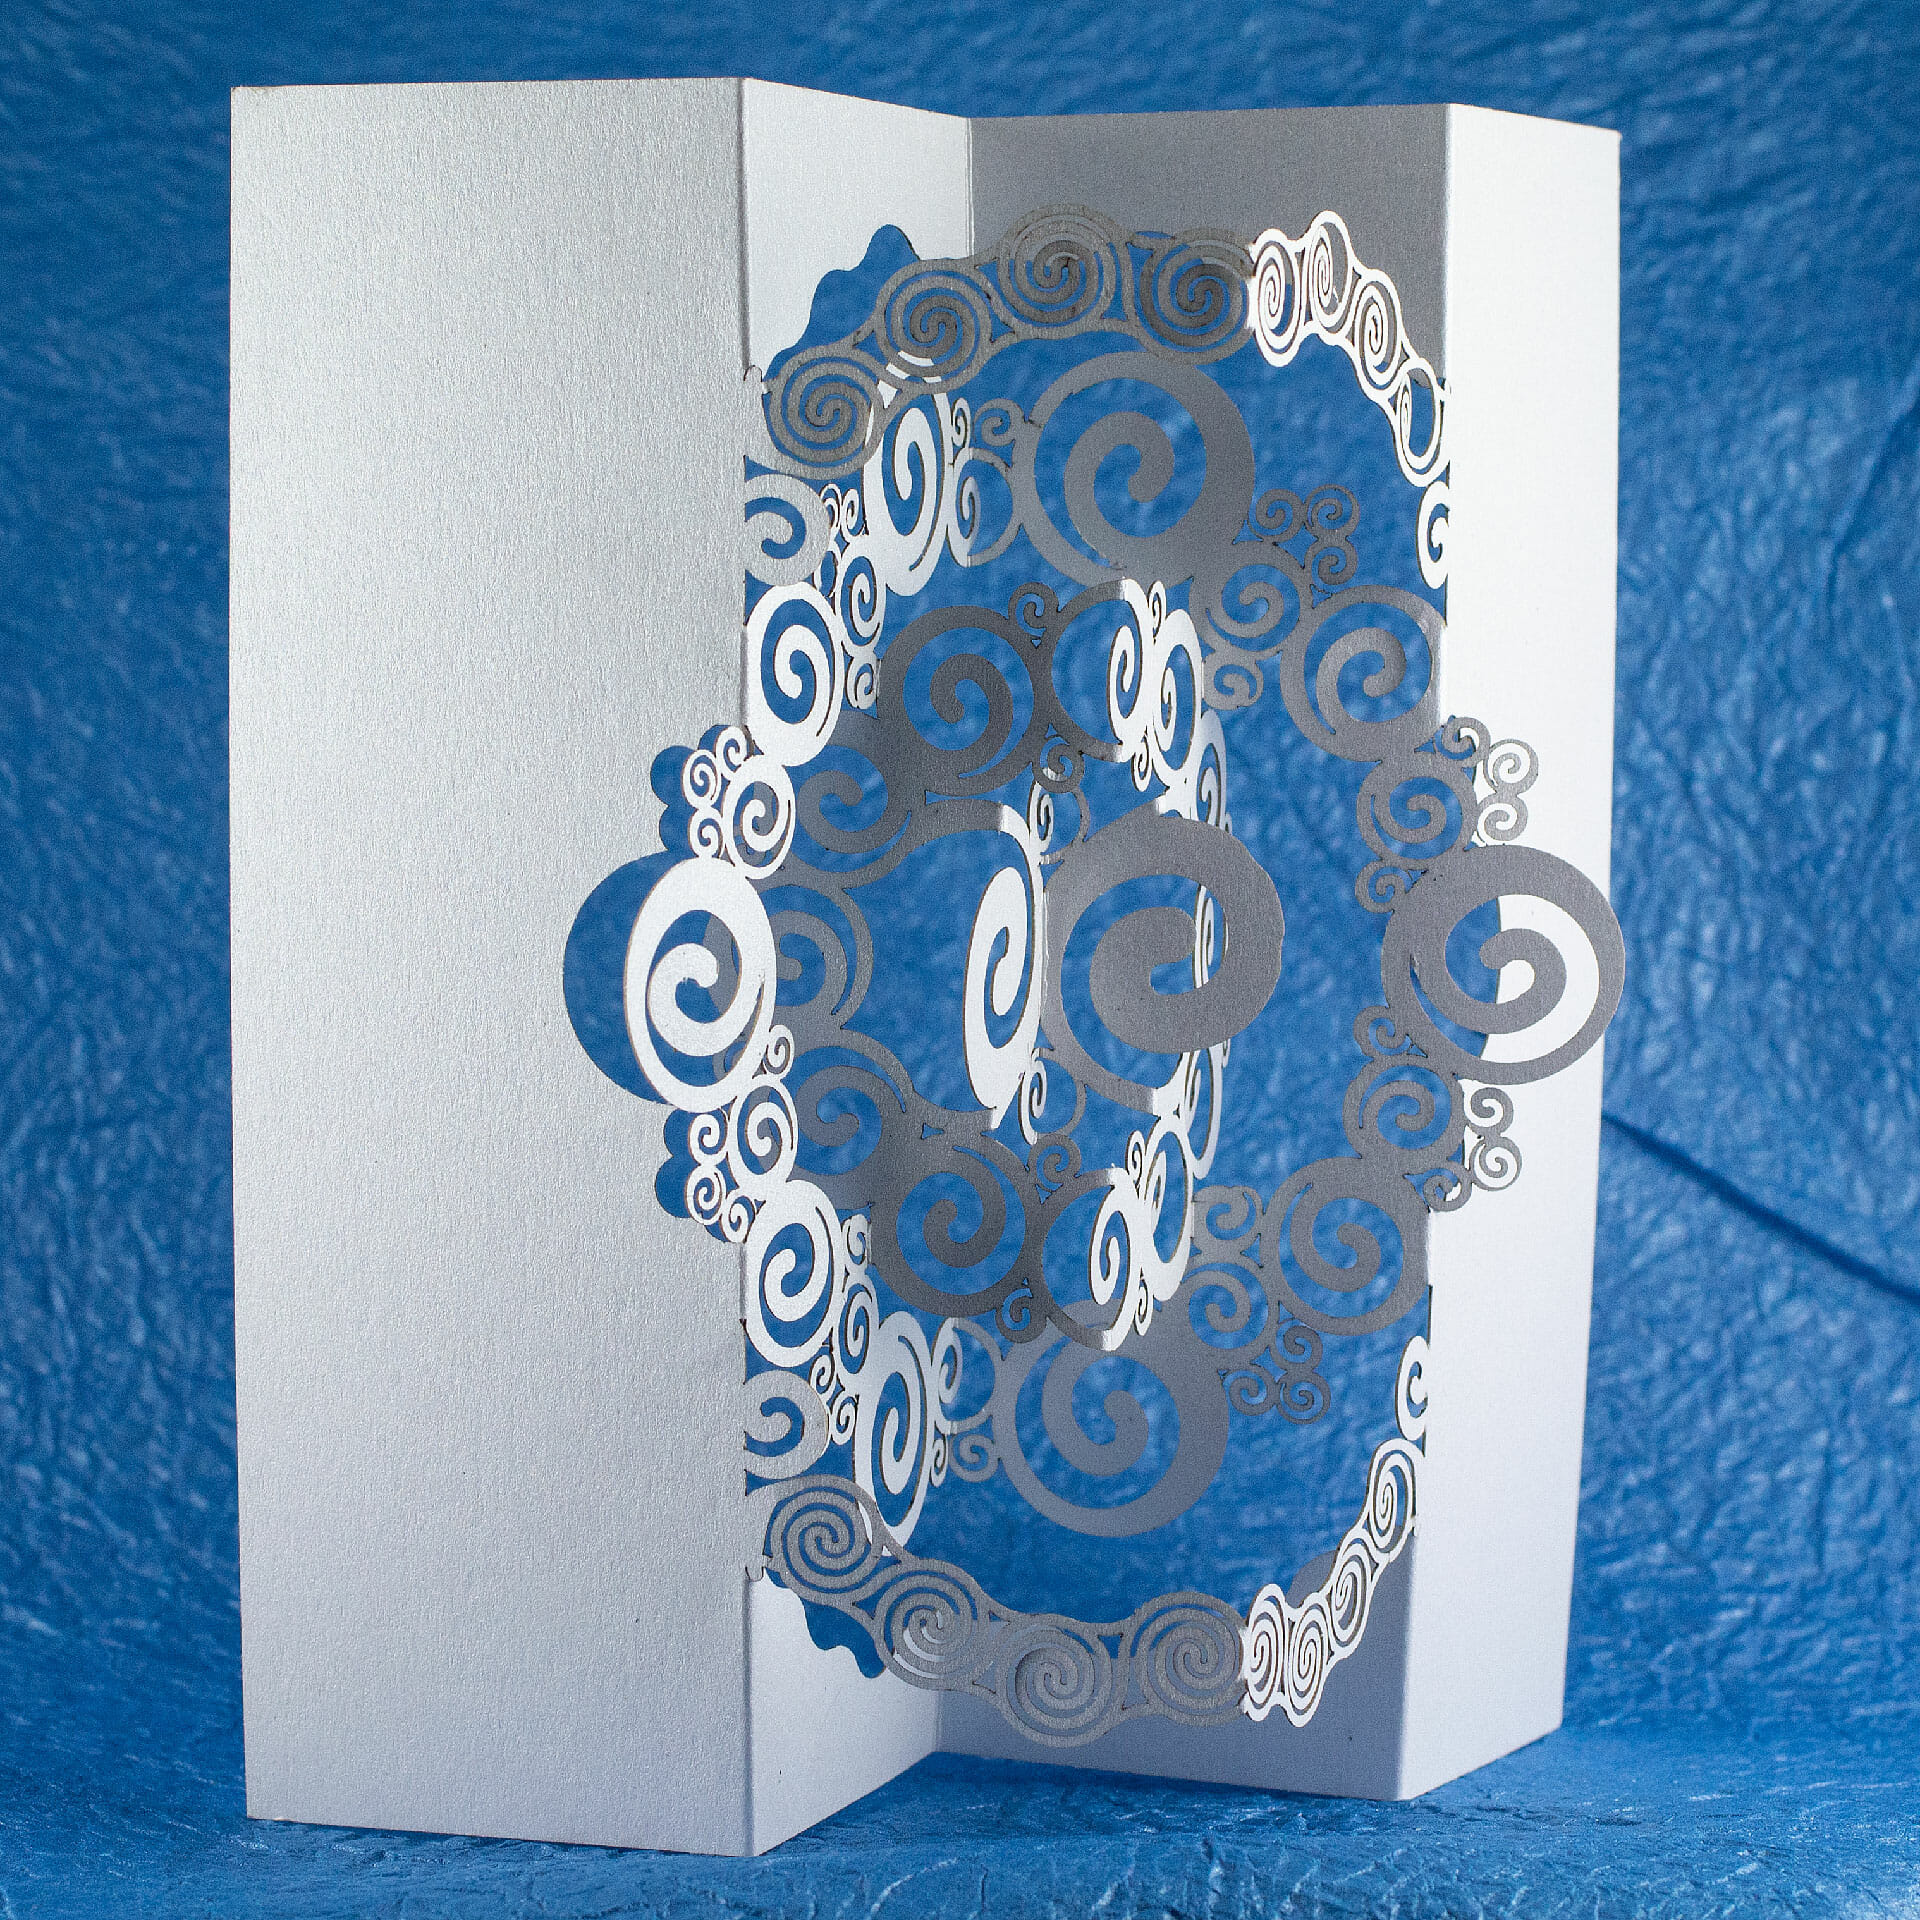
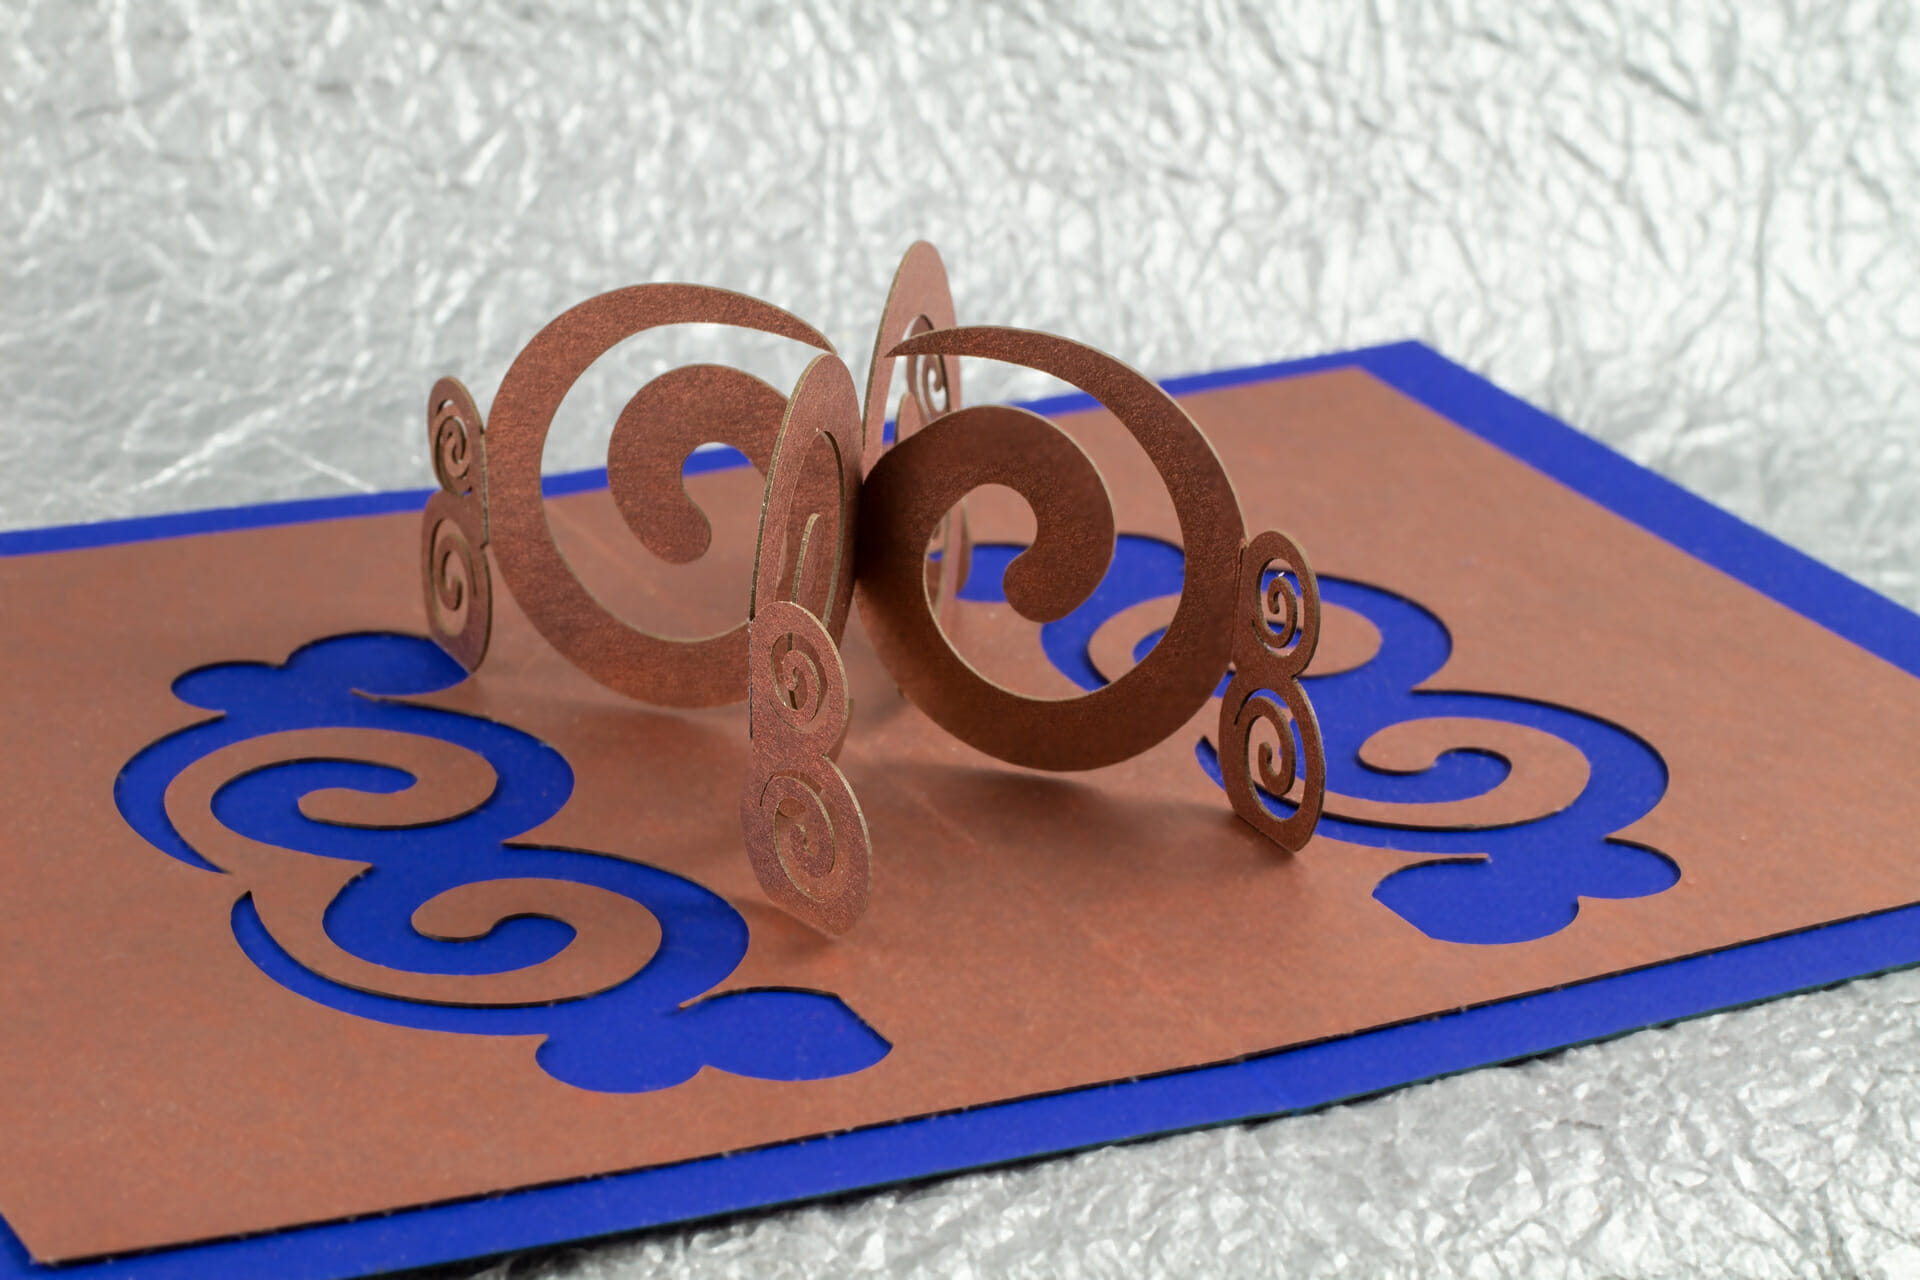
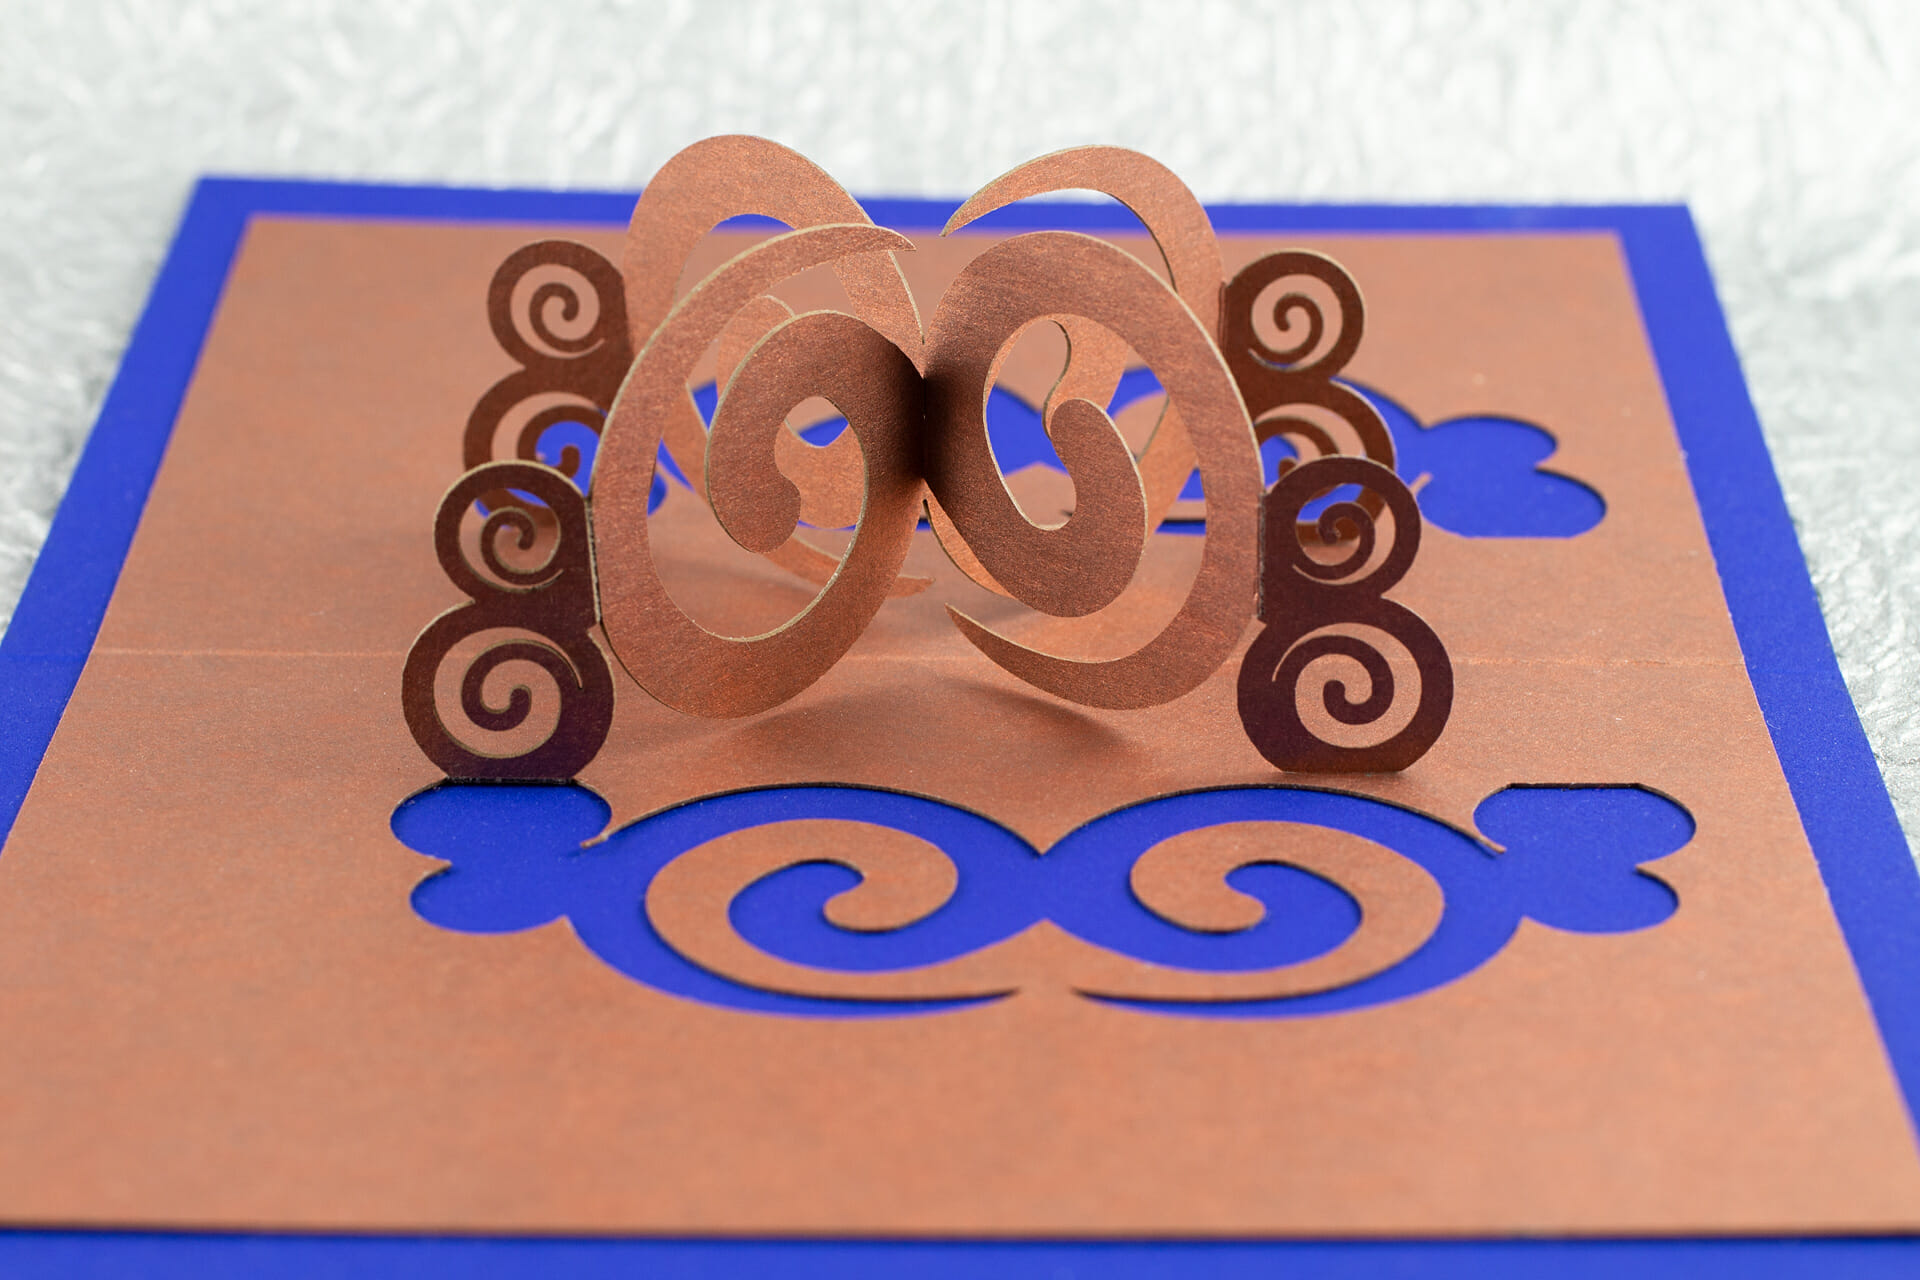
Spiraling Pop Up Card

180° Degree Spirals Pop Up Card
180° Degree Spirals Pop Up Card

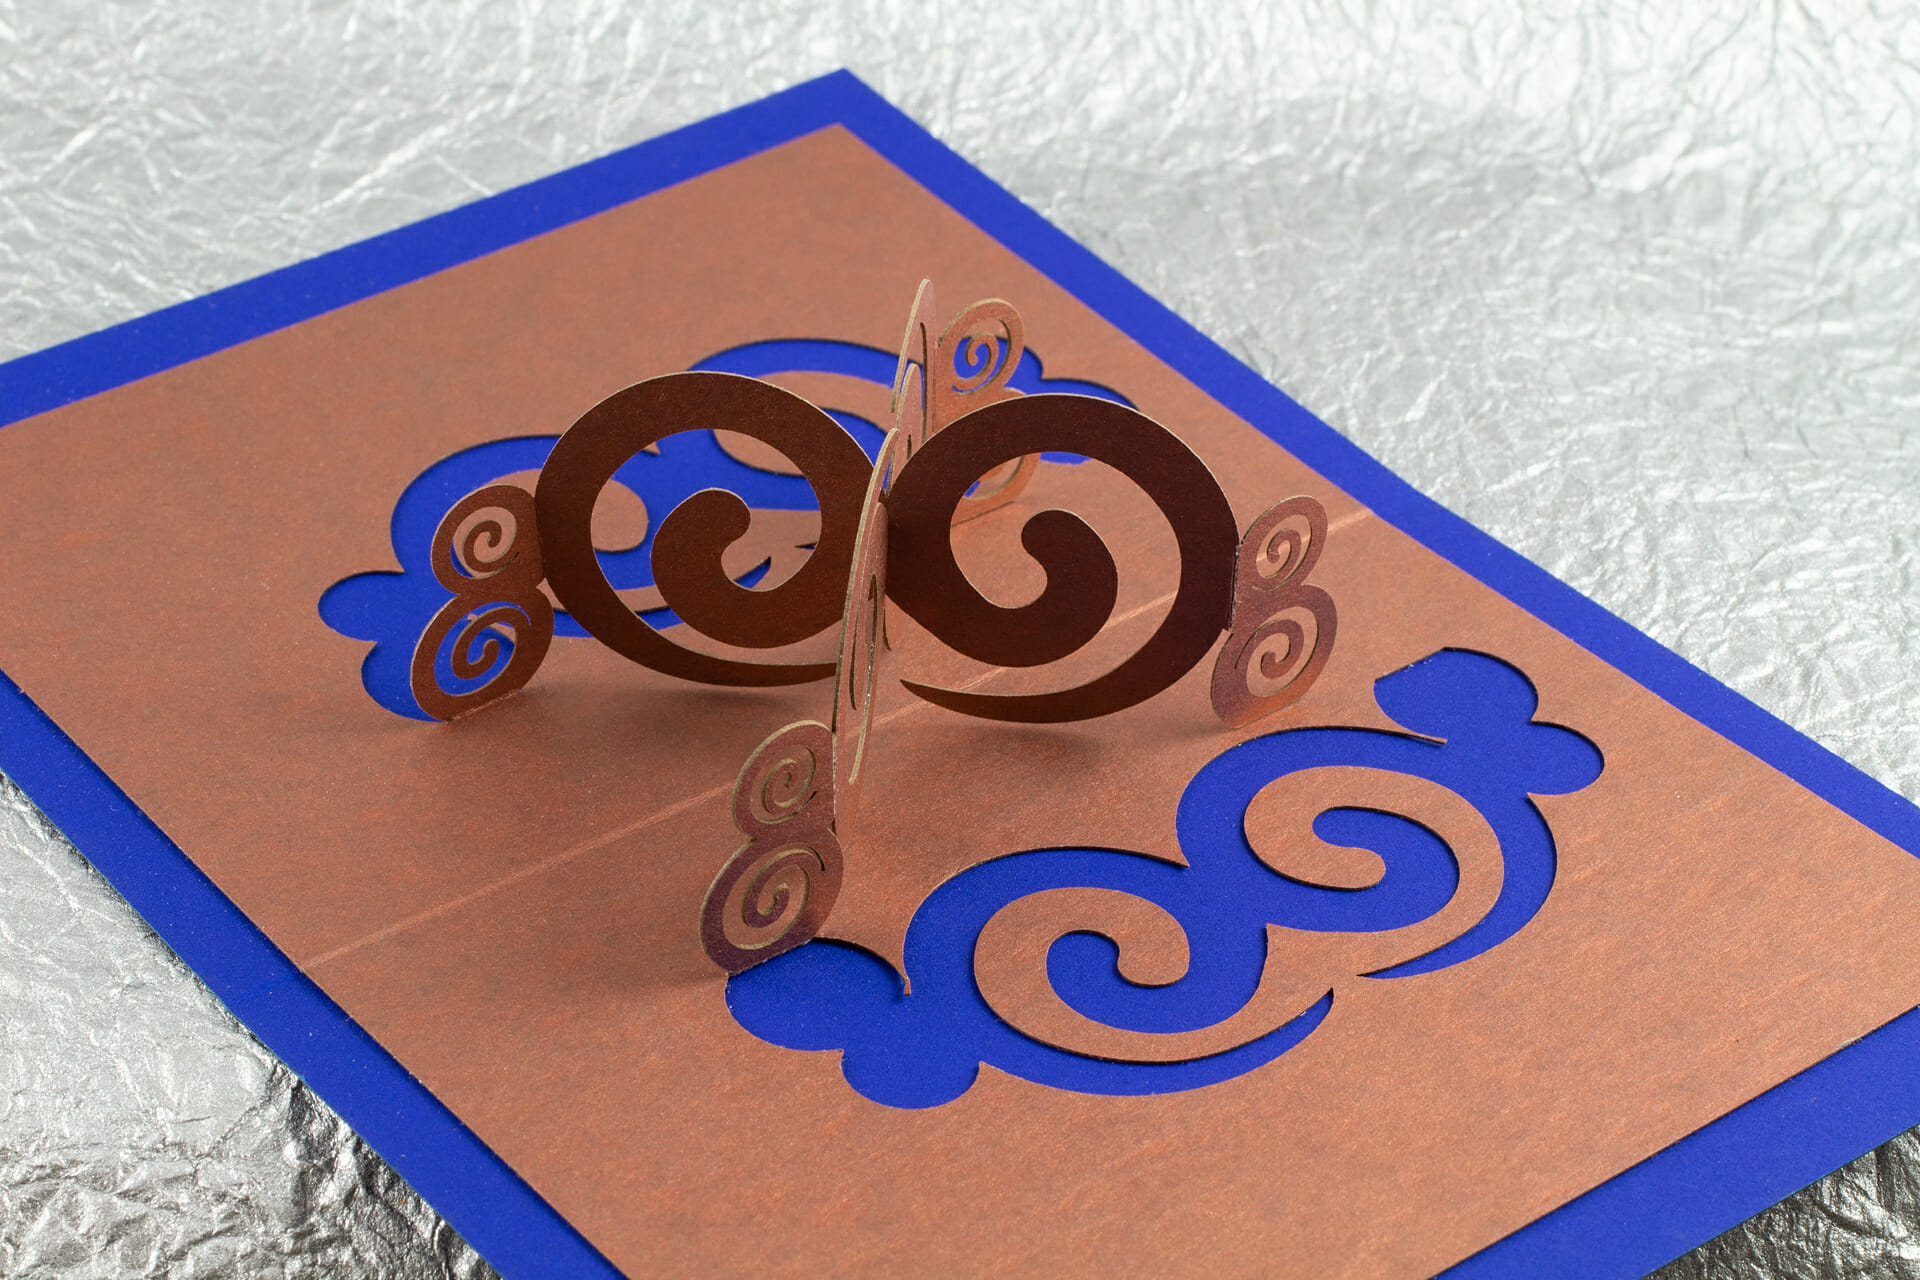


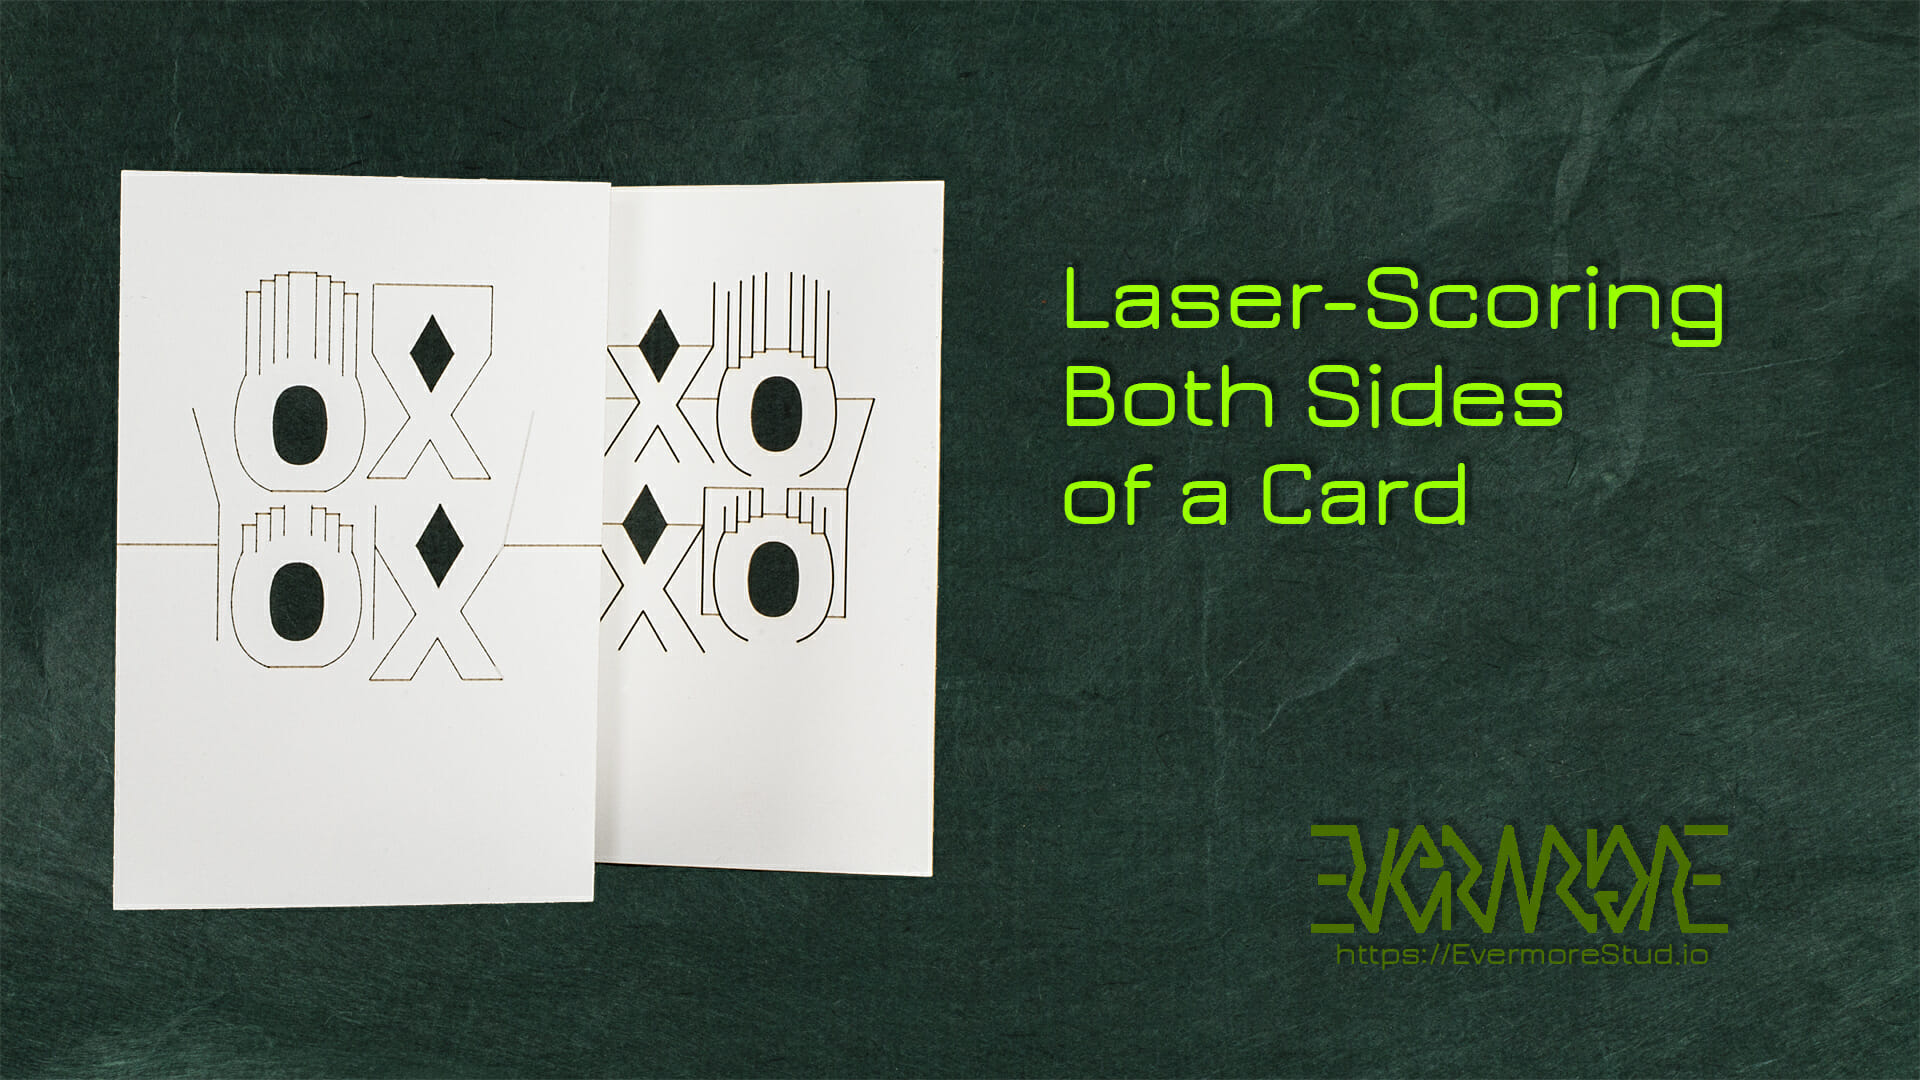
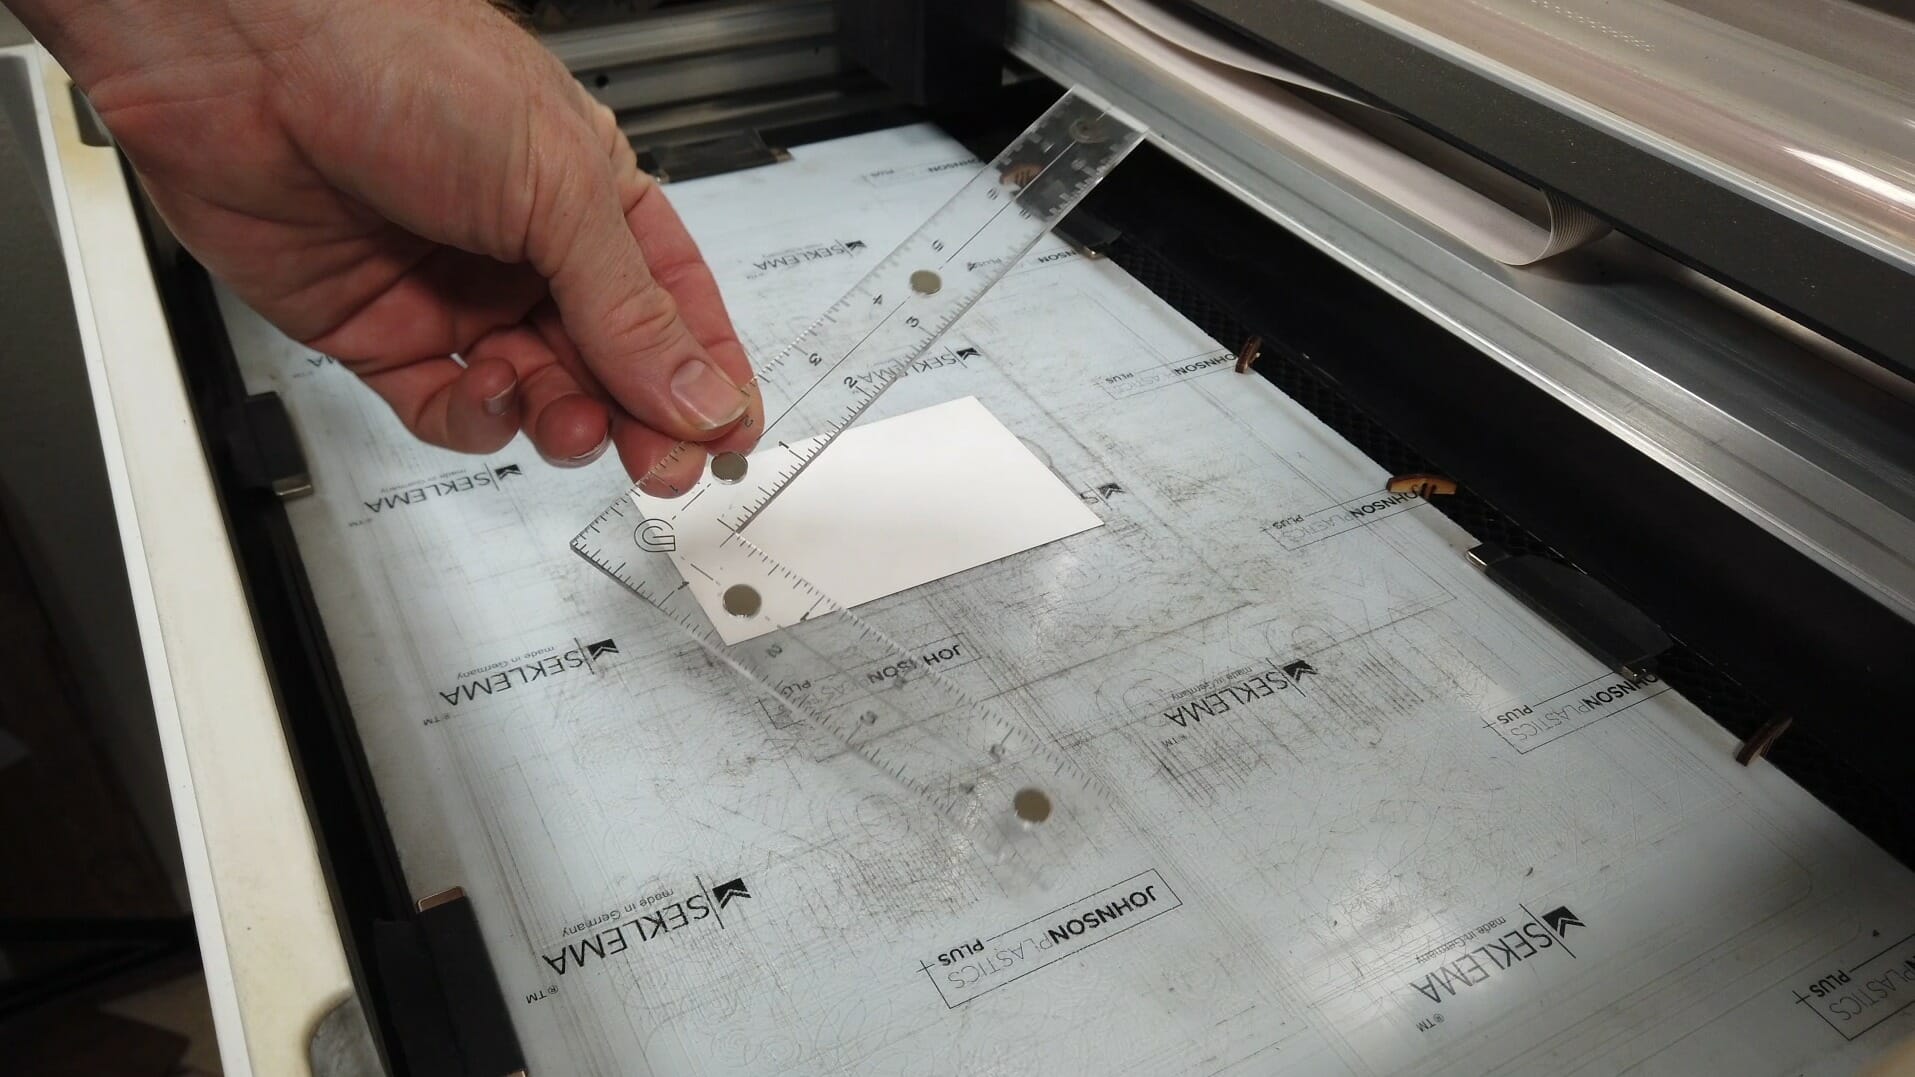
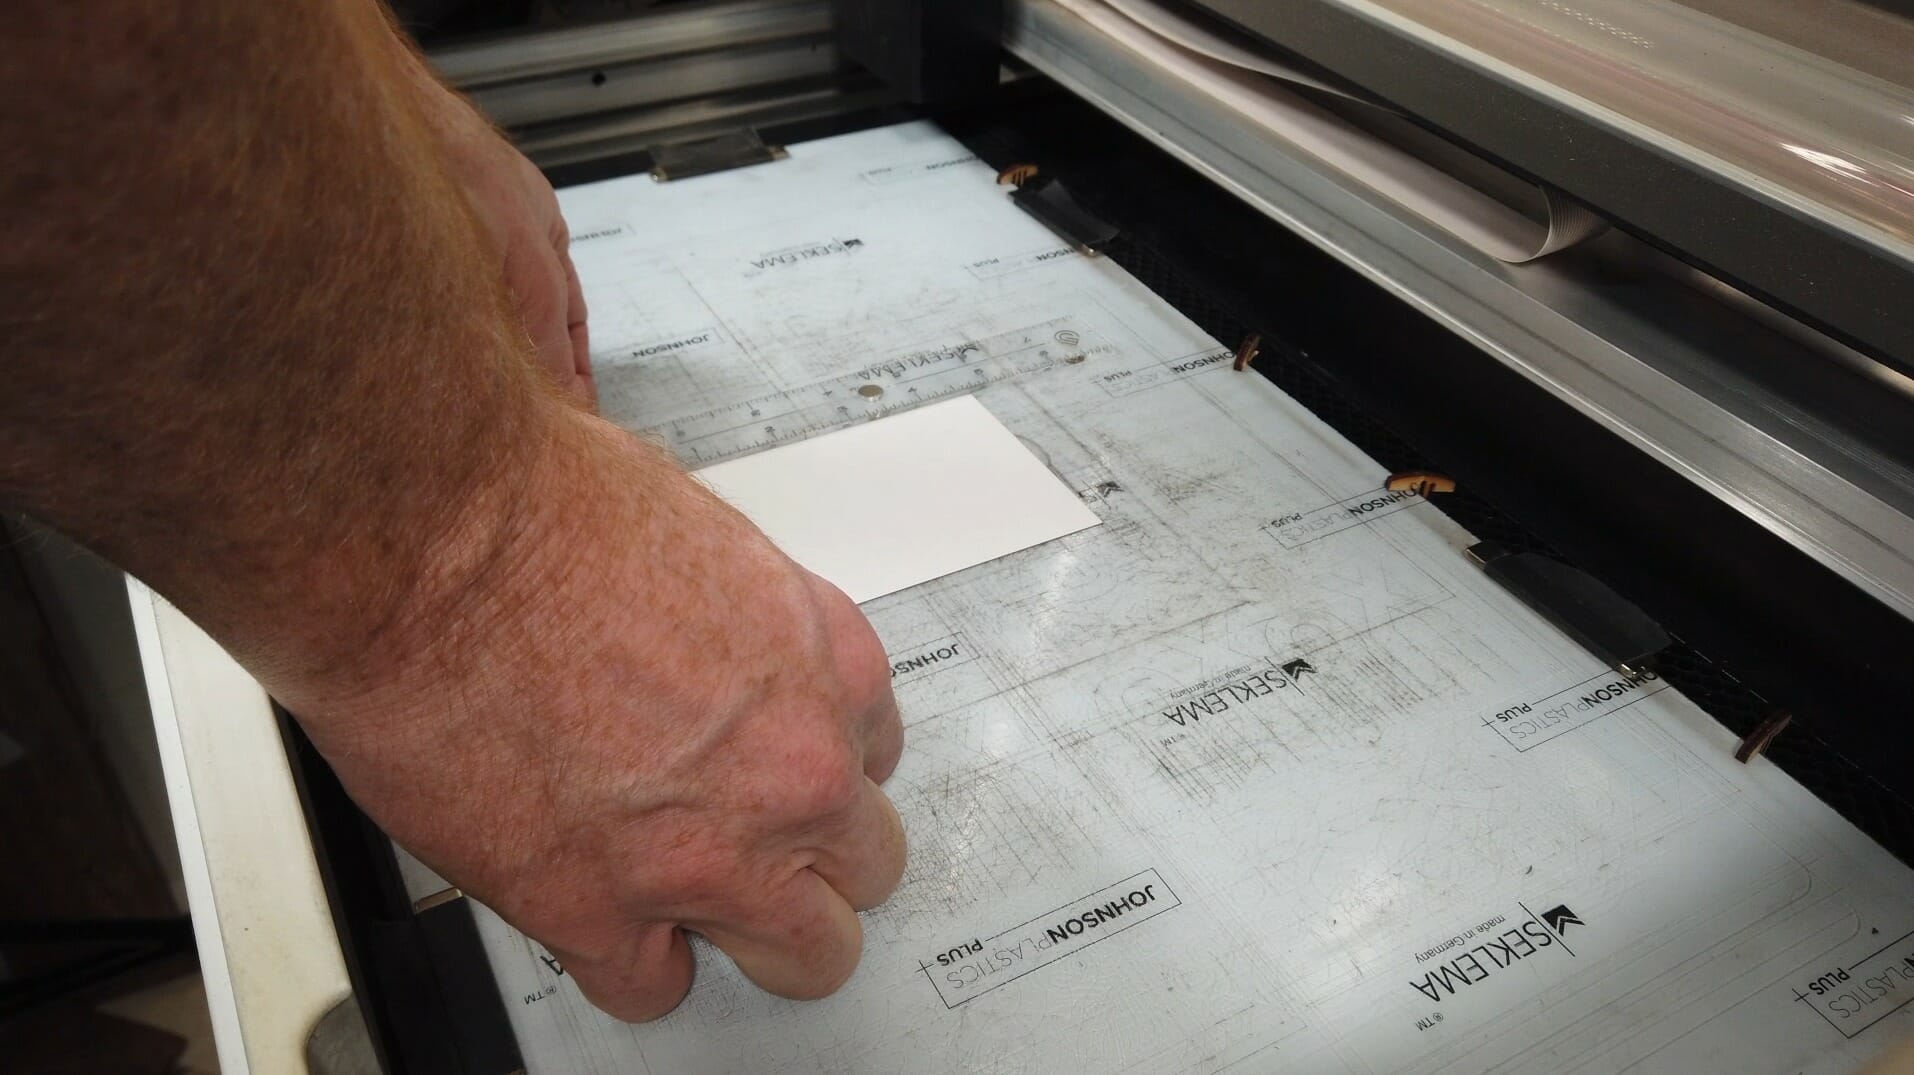
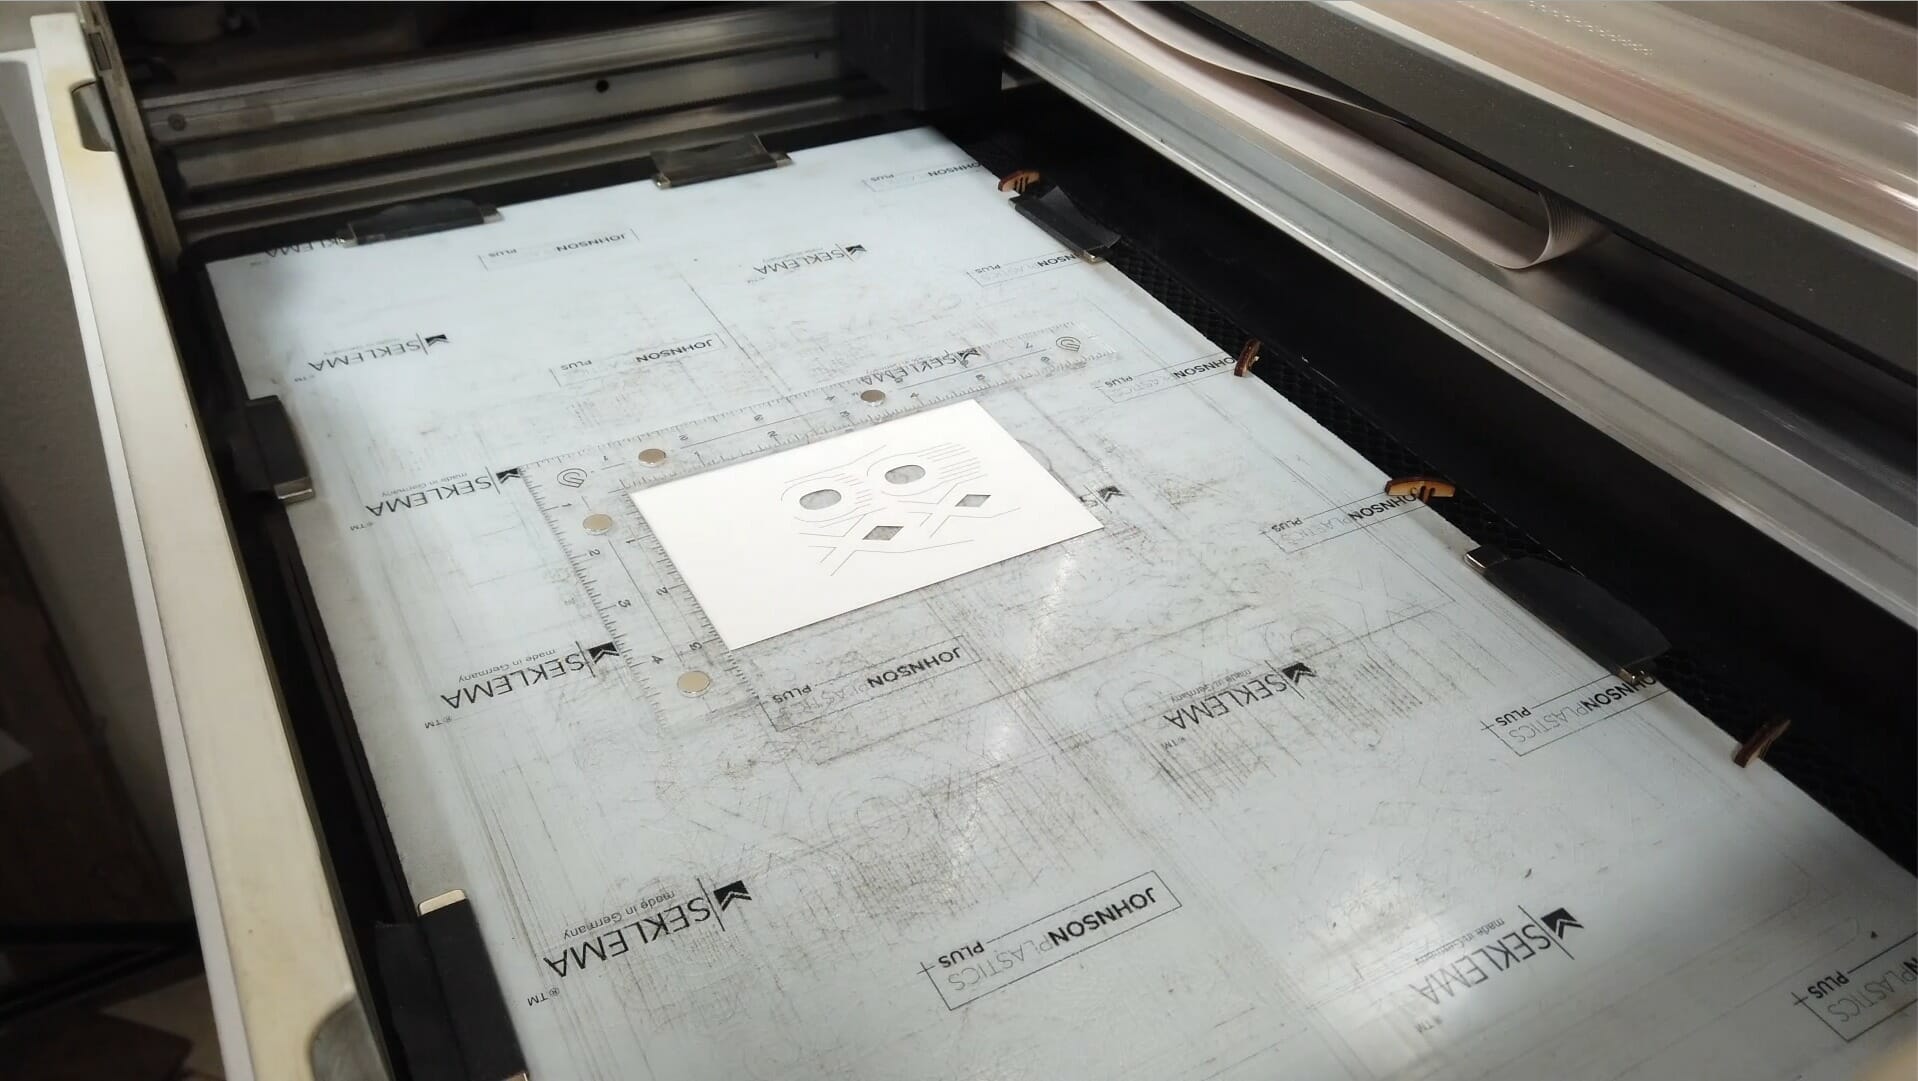
Laser-Scoring Both Sides of a Card


Pop the Vote


There is a big event going on in the United States right now.
If you would like to make your own, you can download the Pop the Vote pop up card pattern for free.