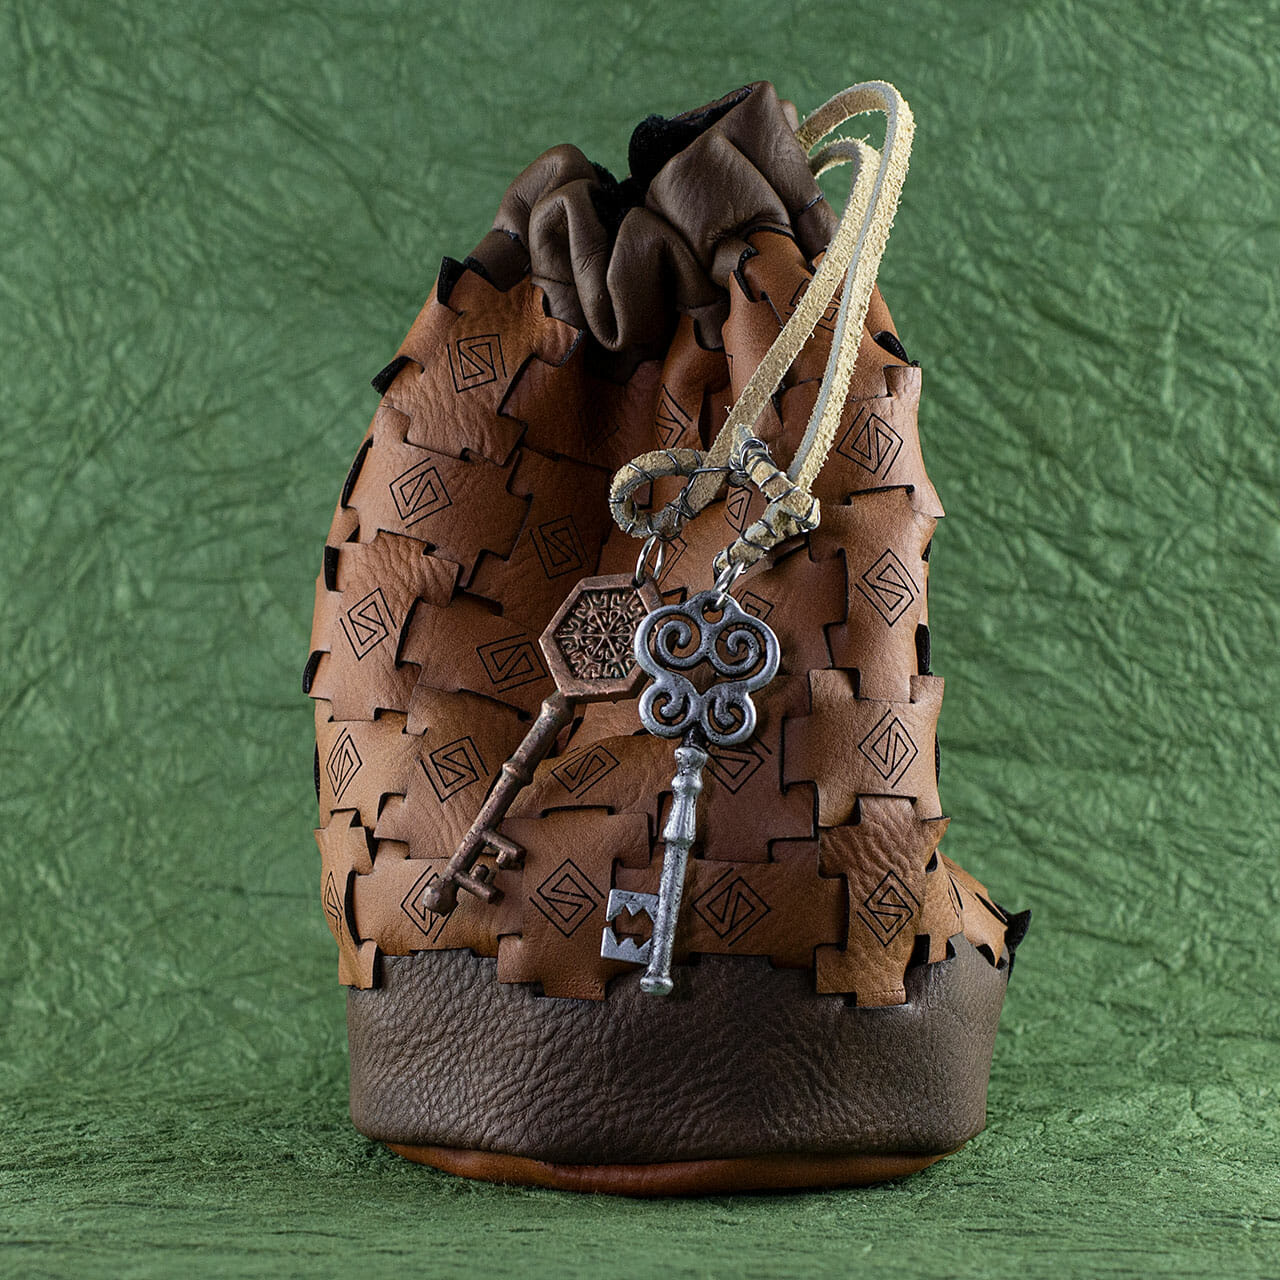
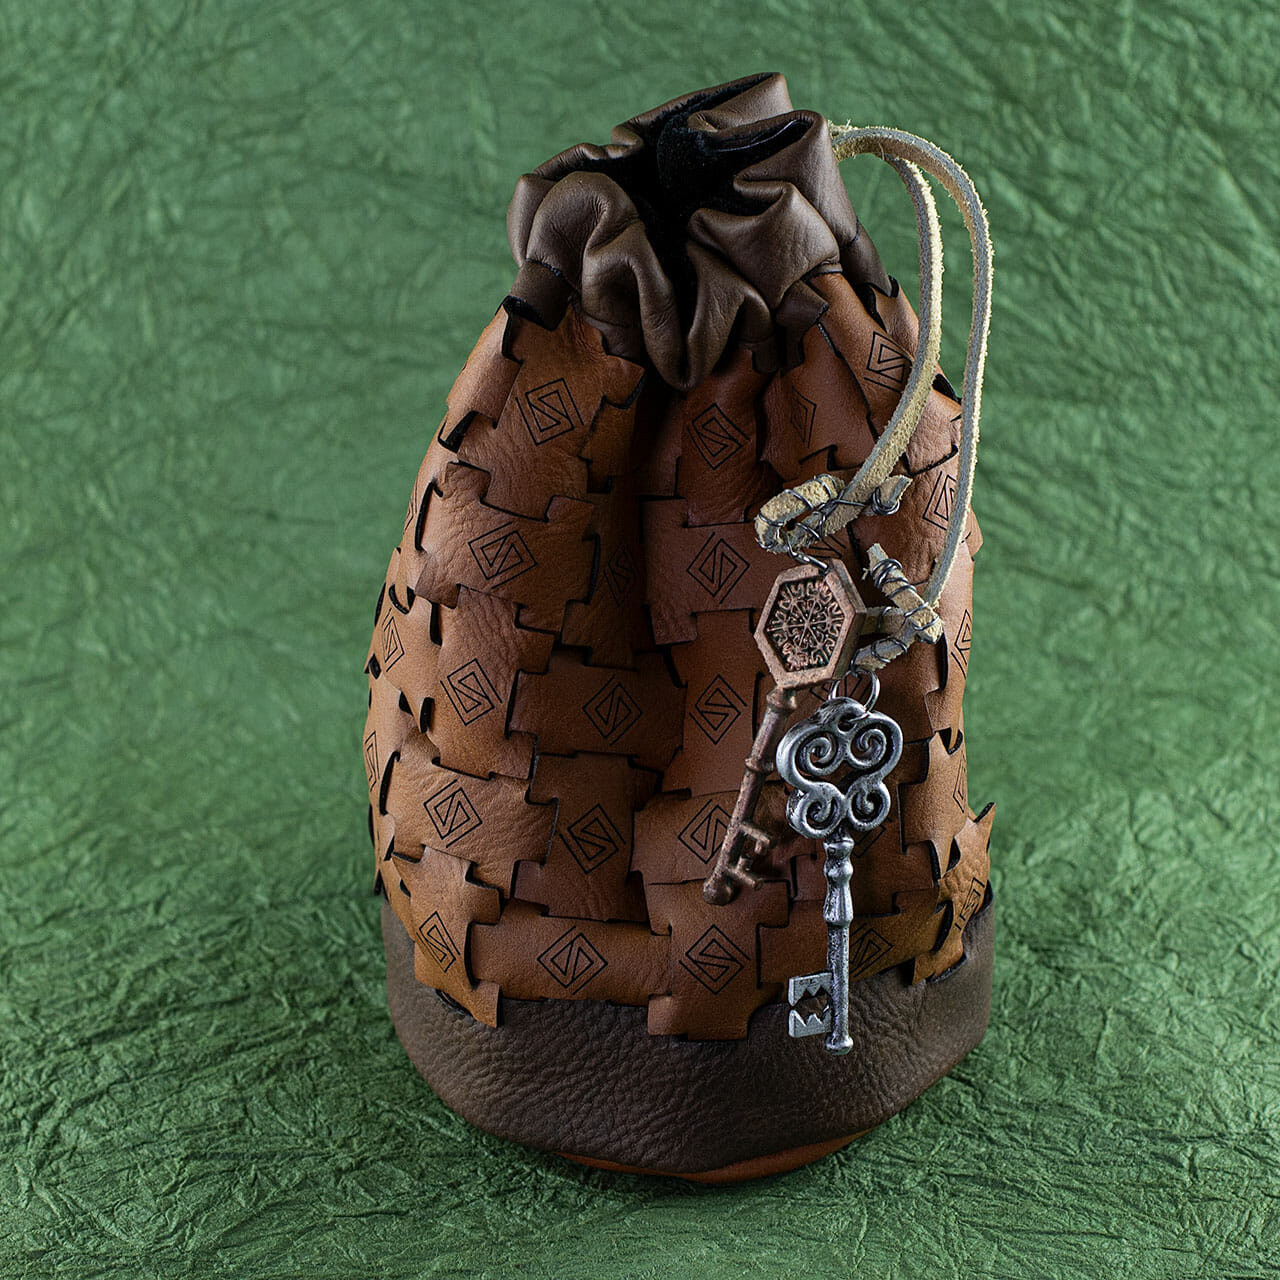
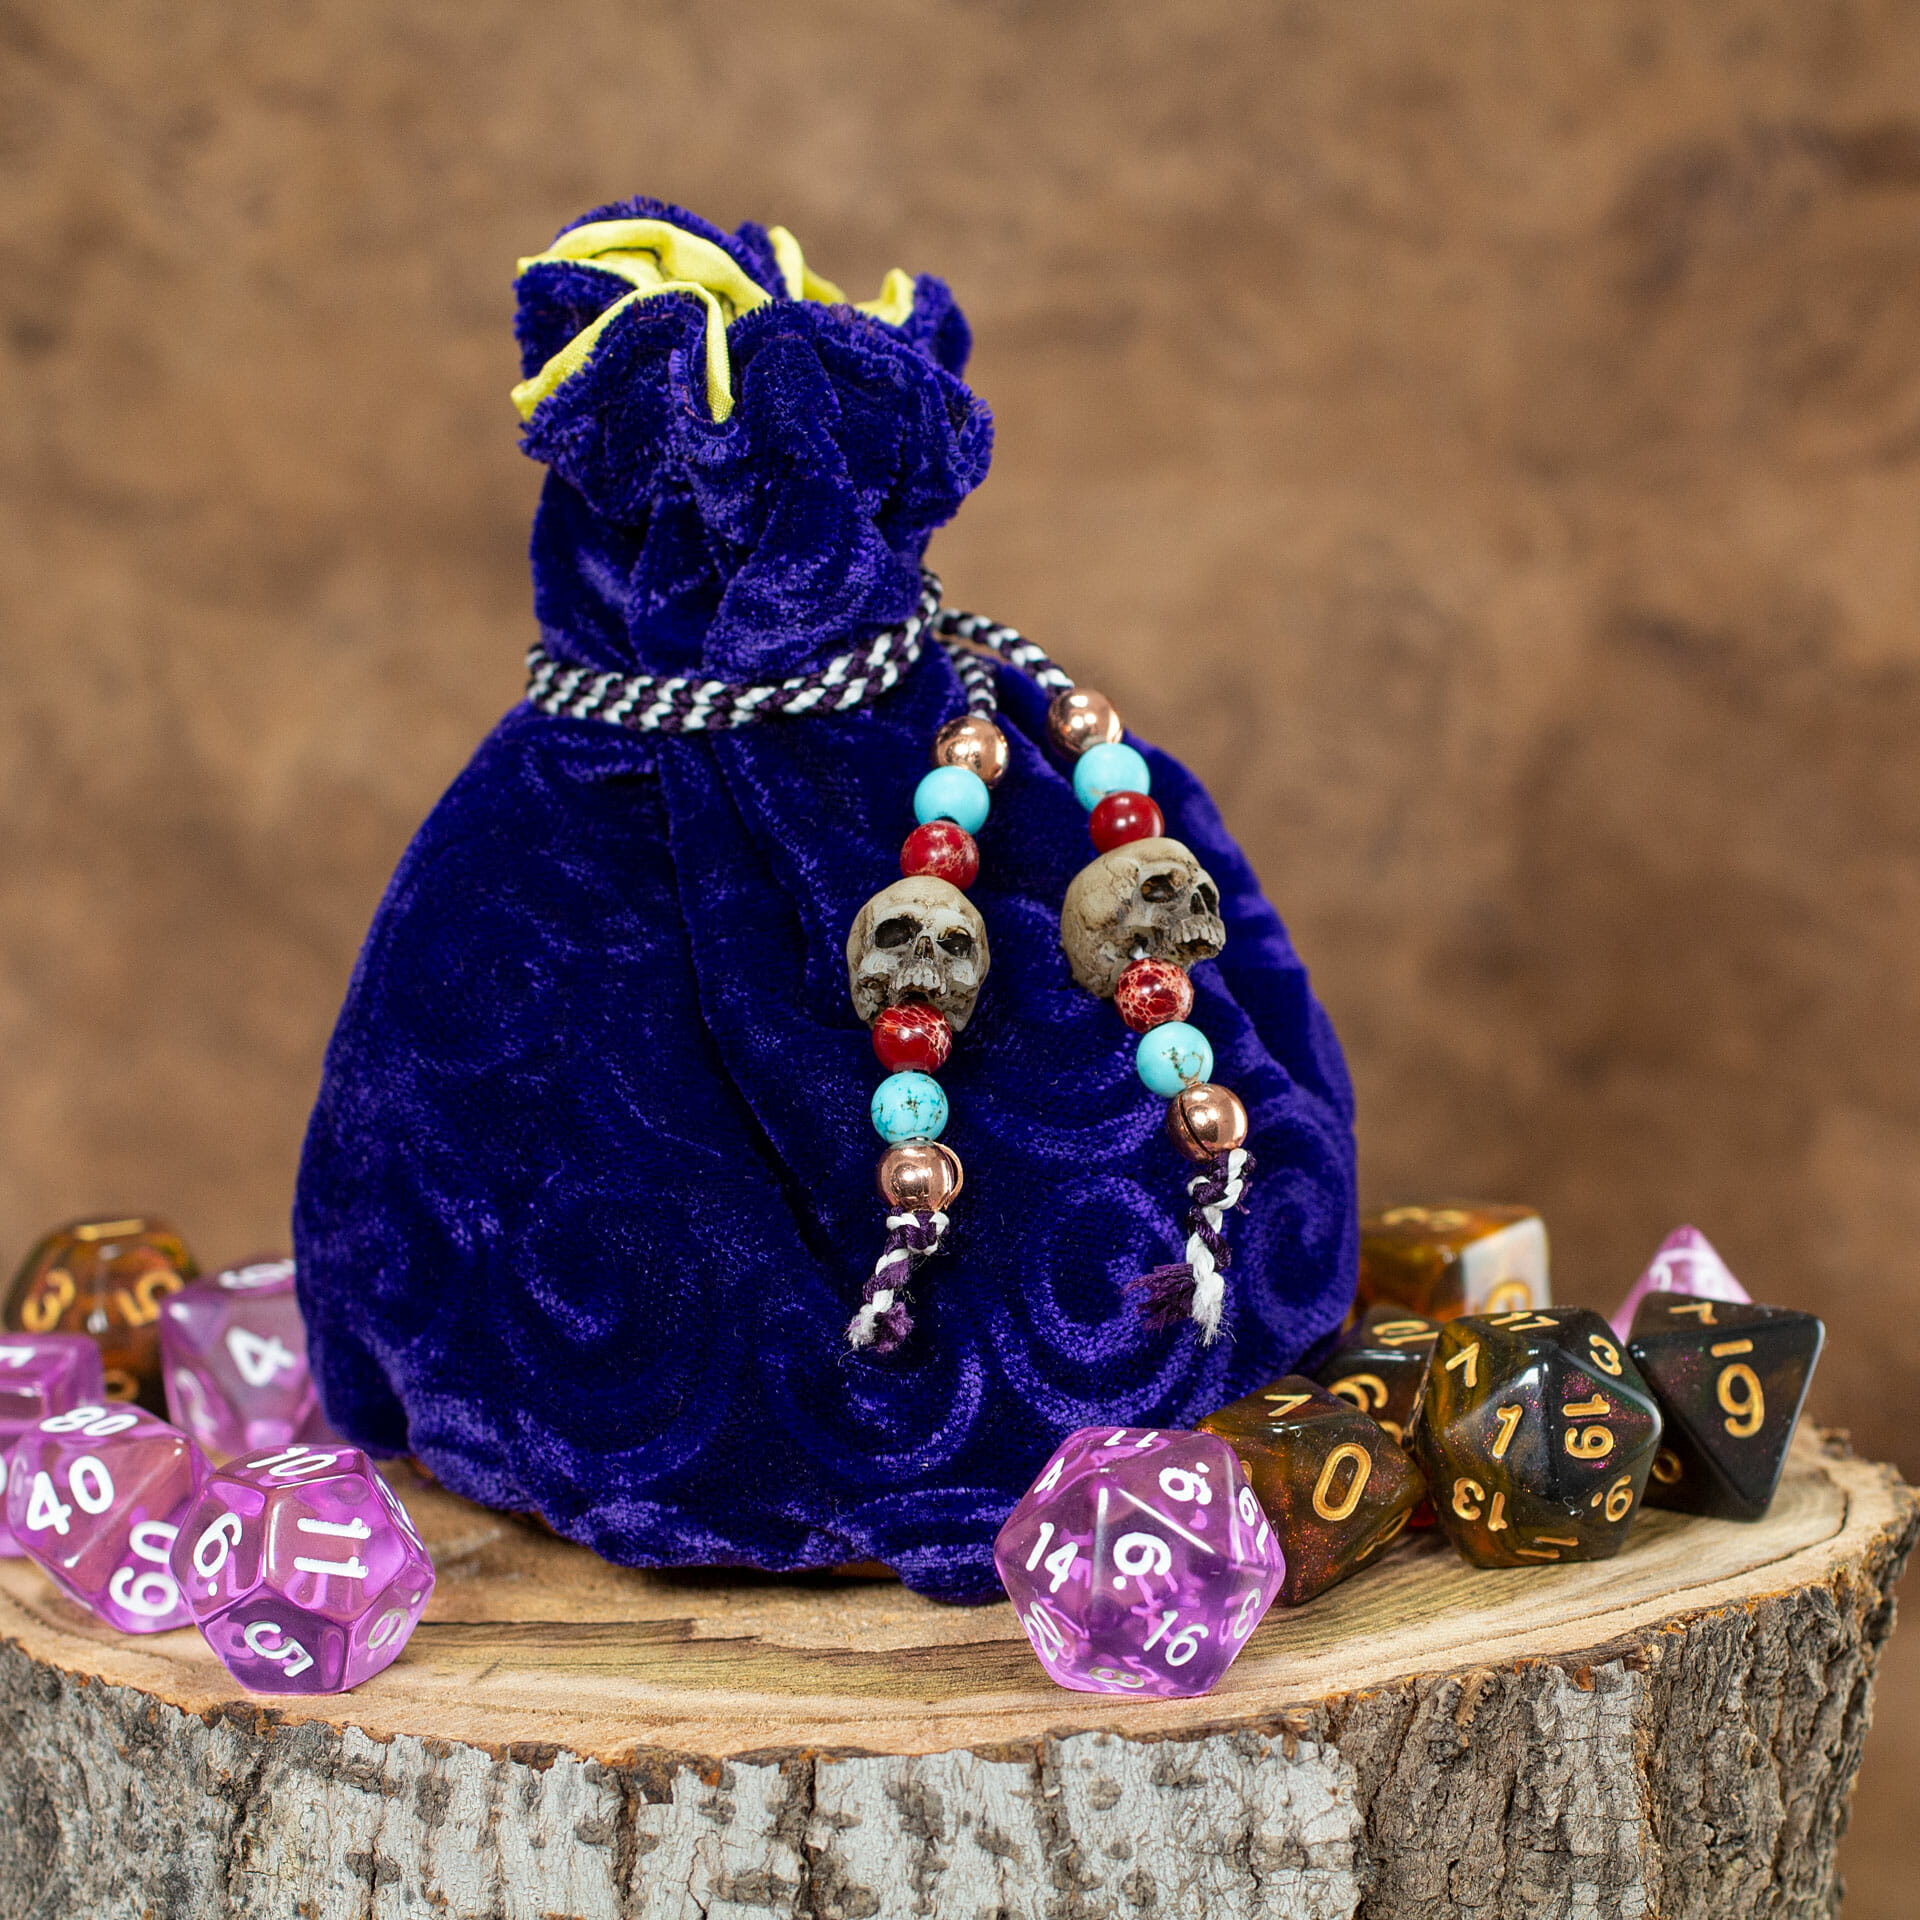
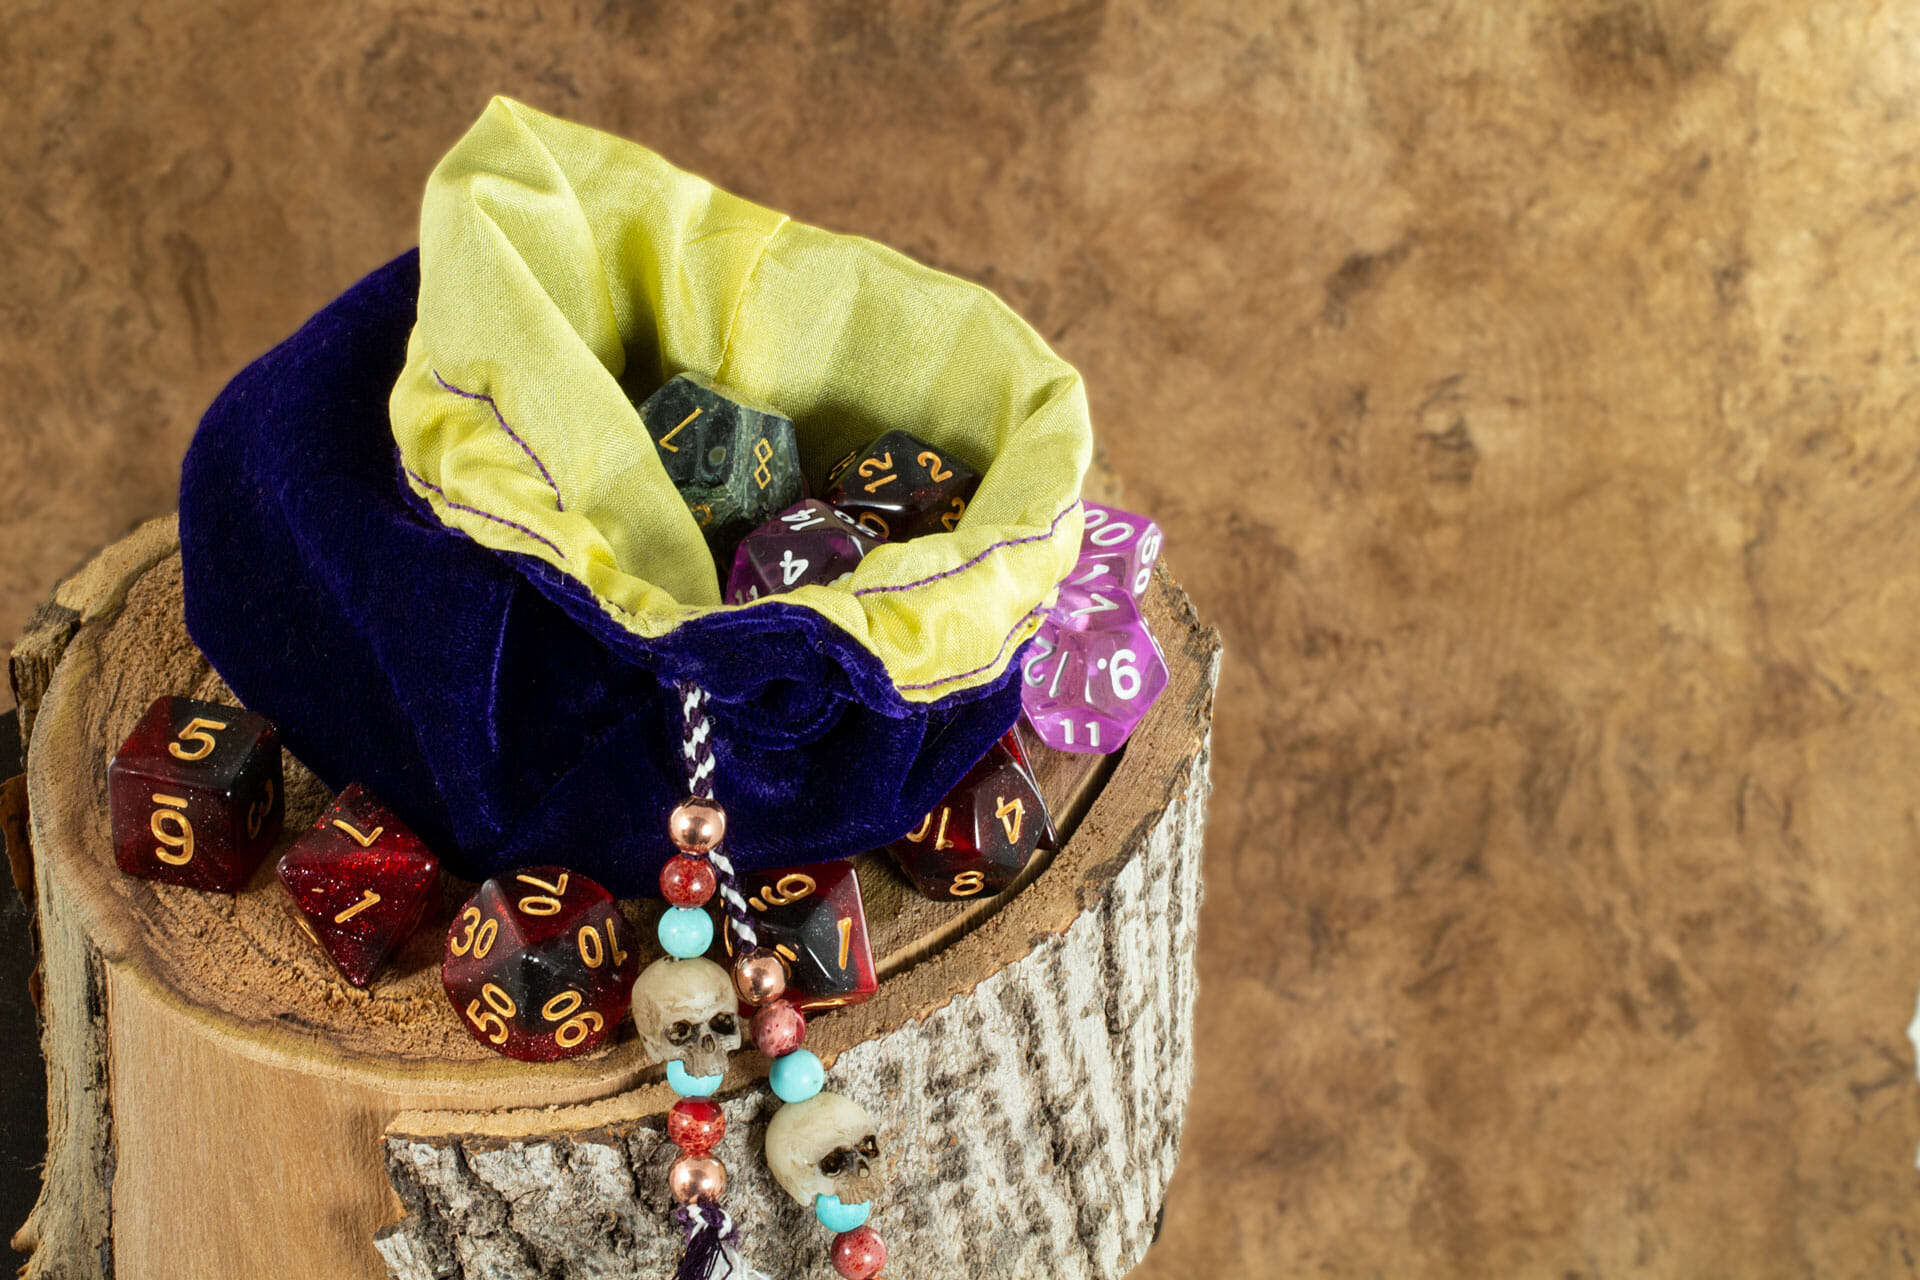
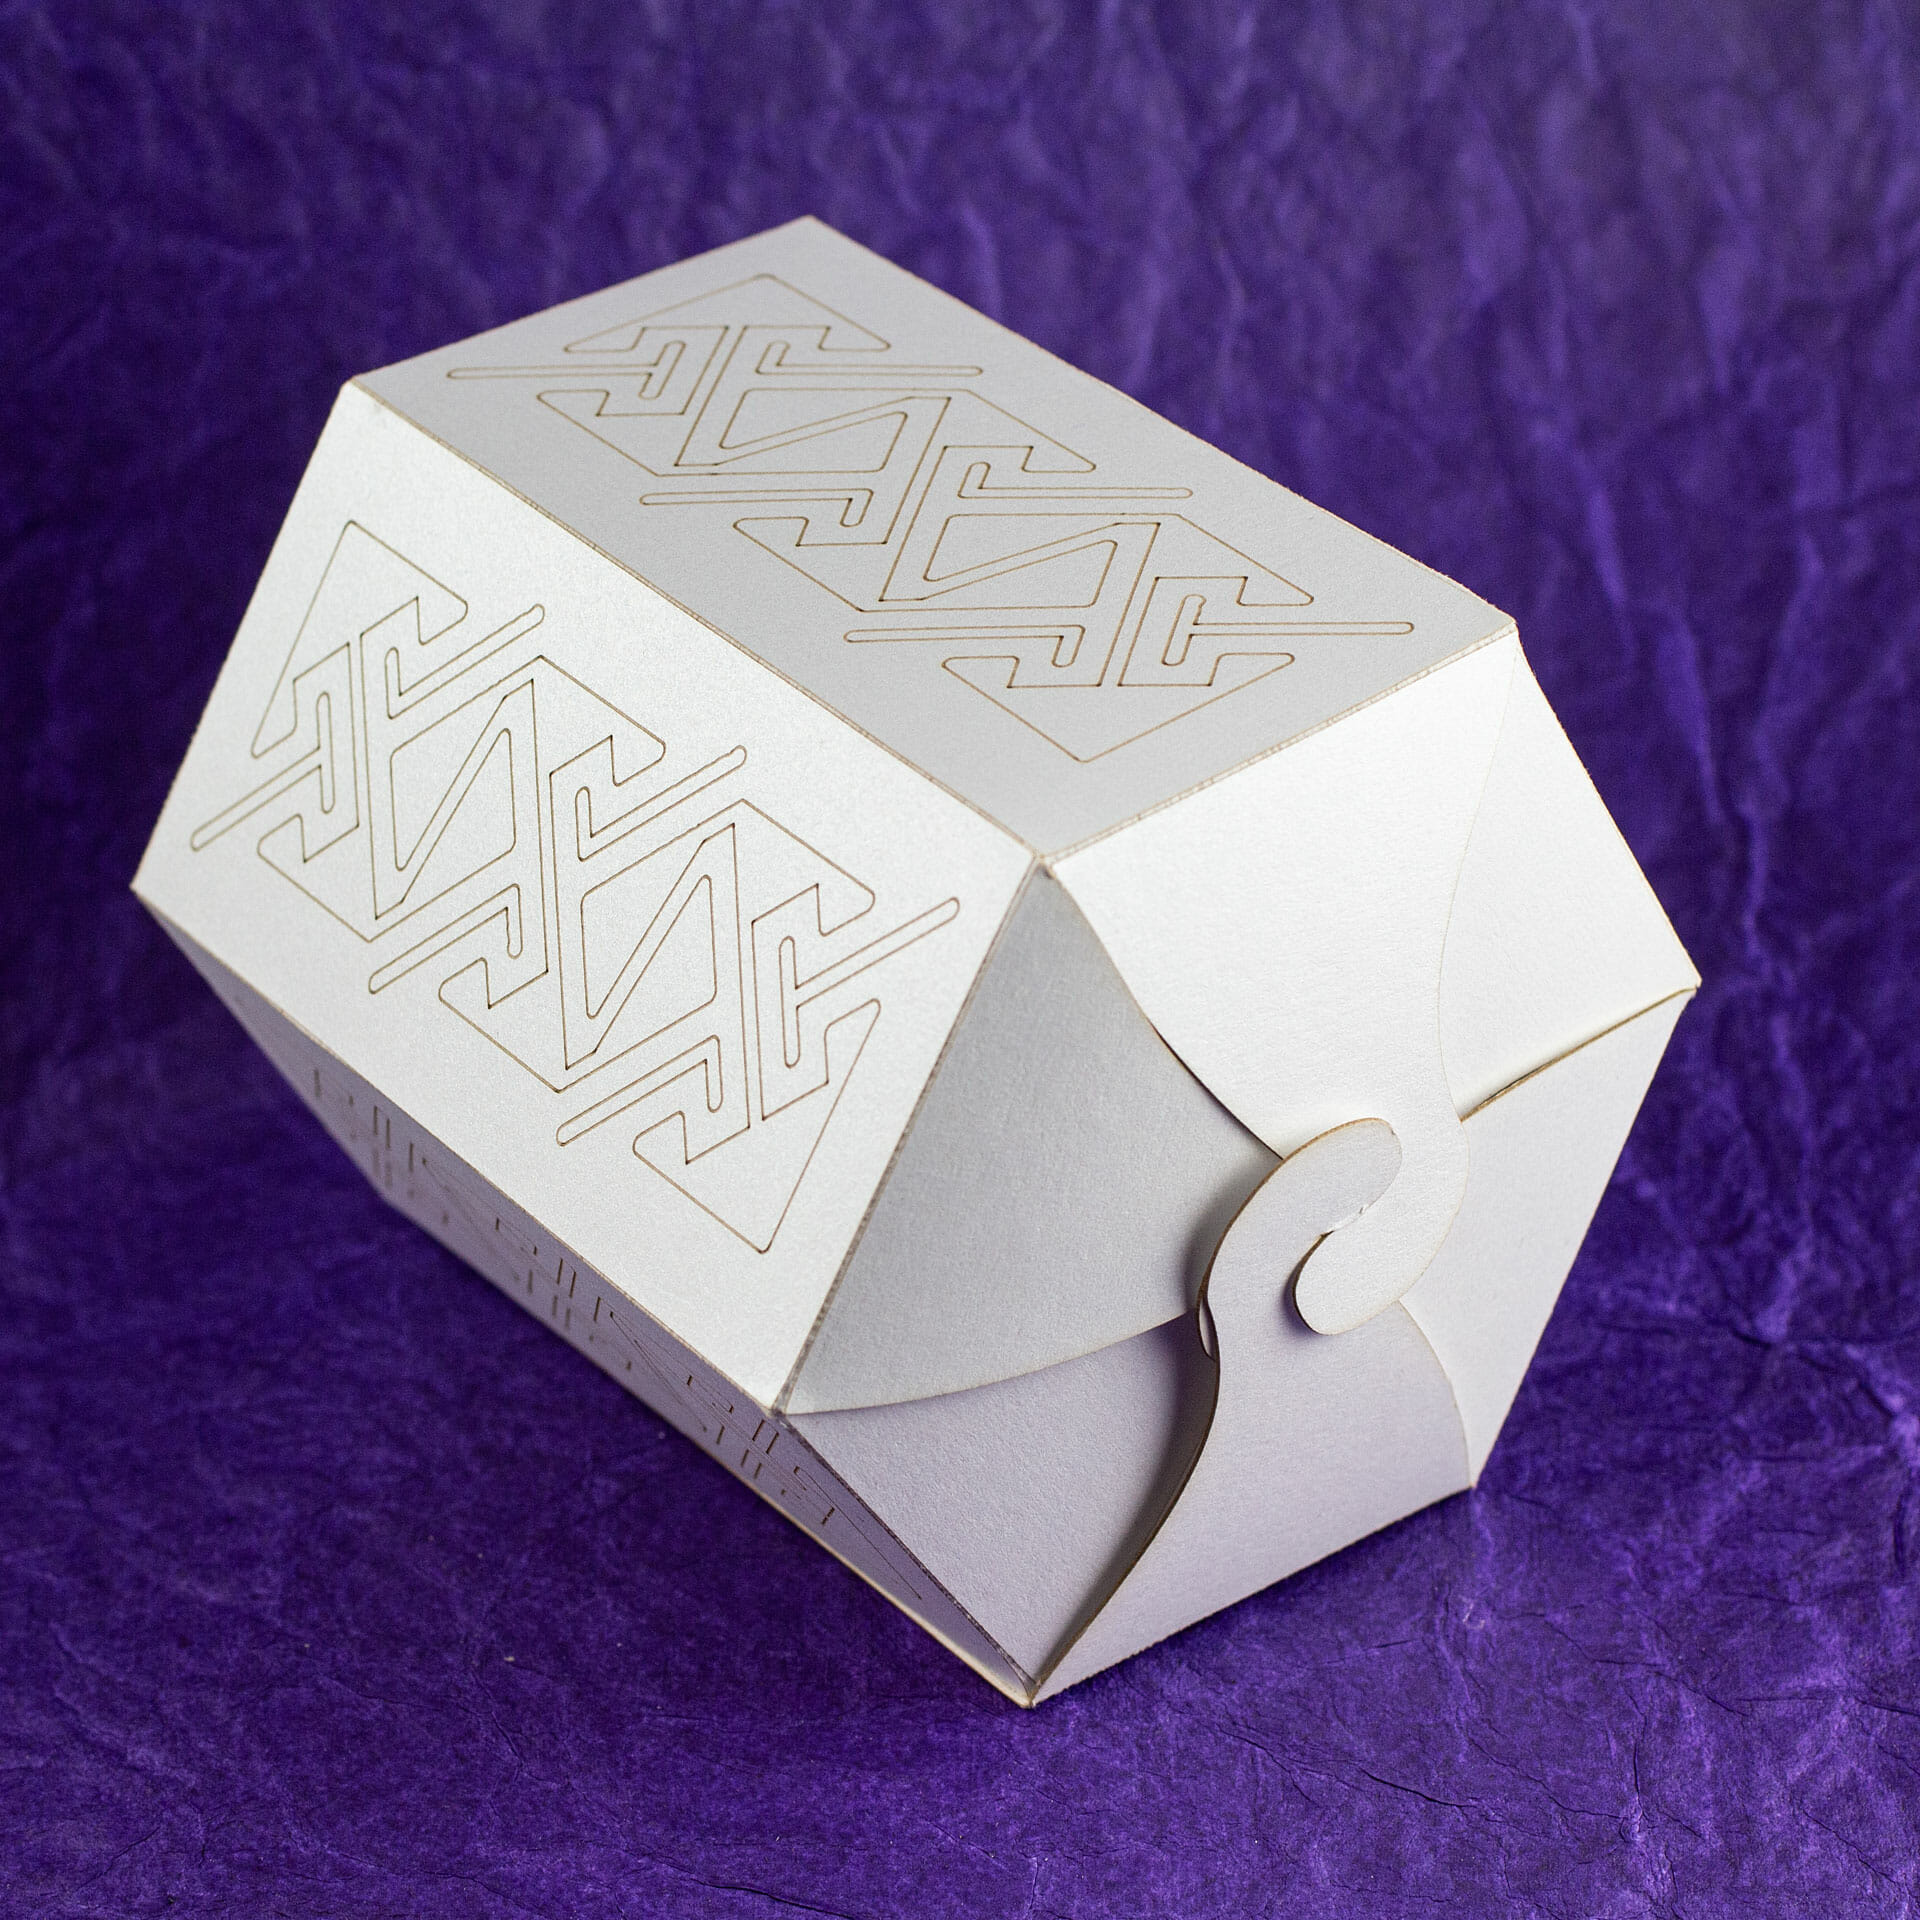
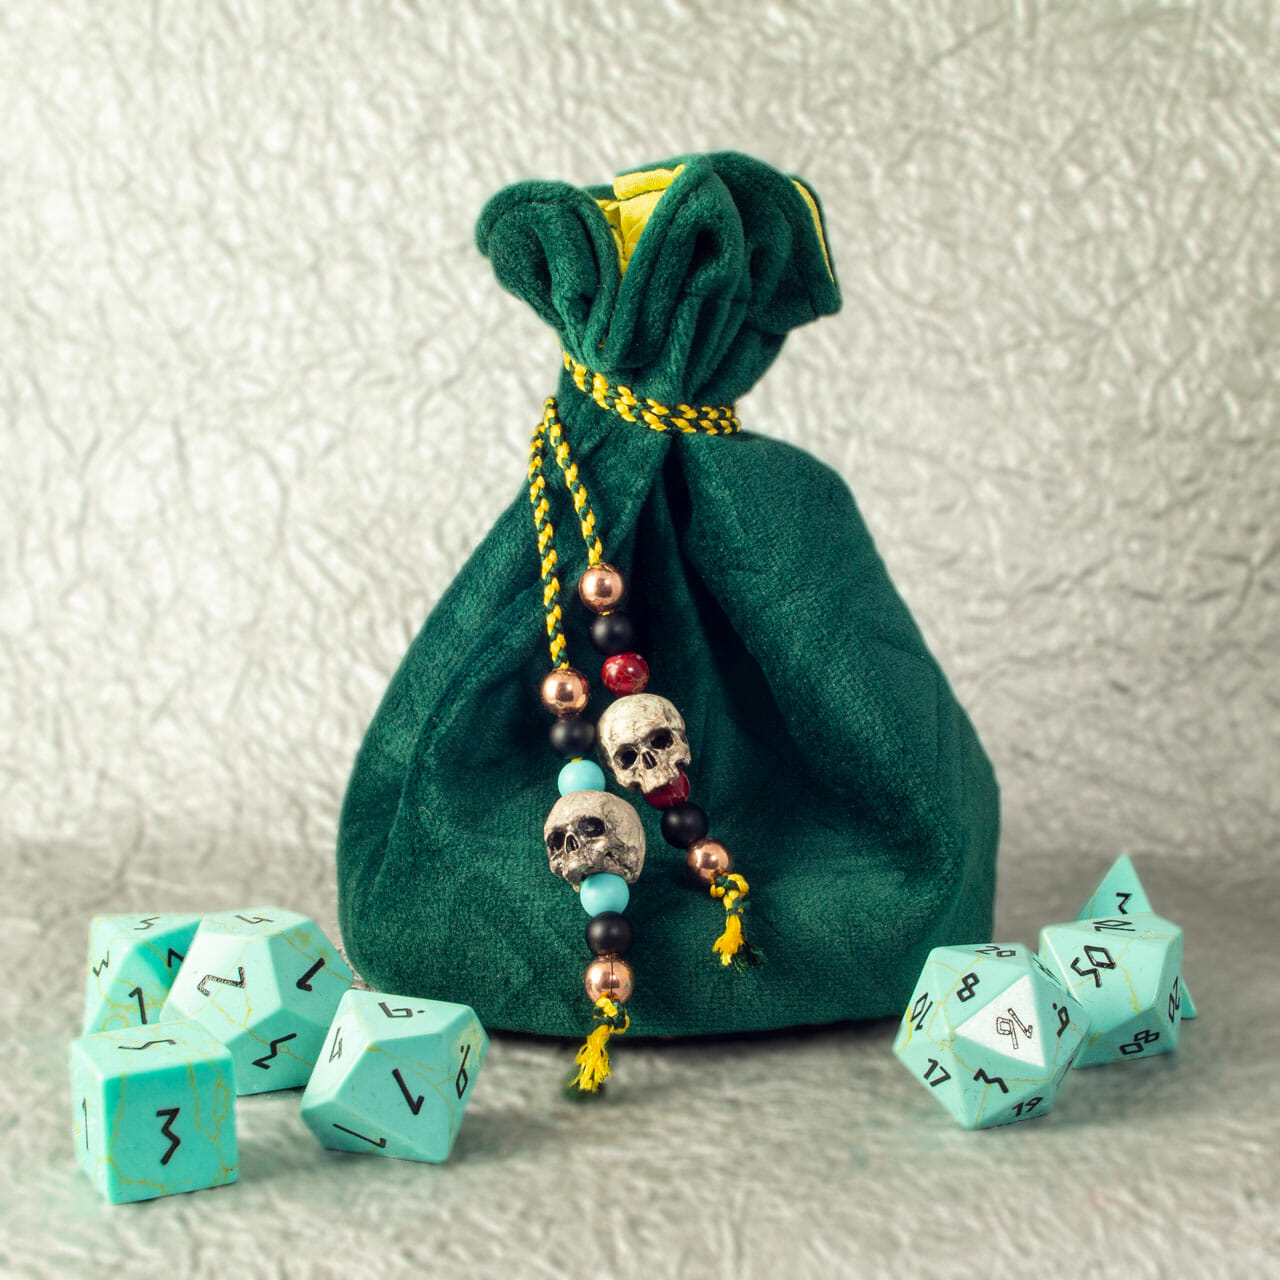
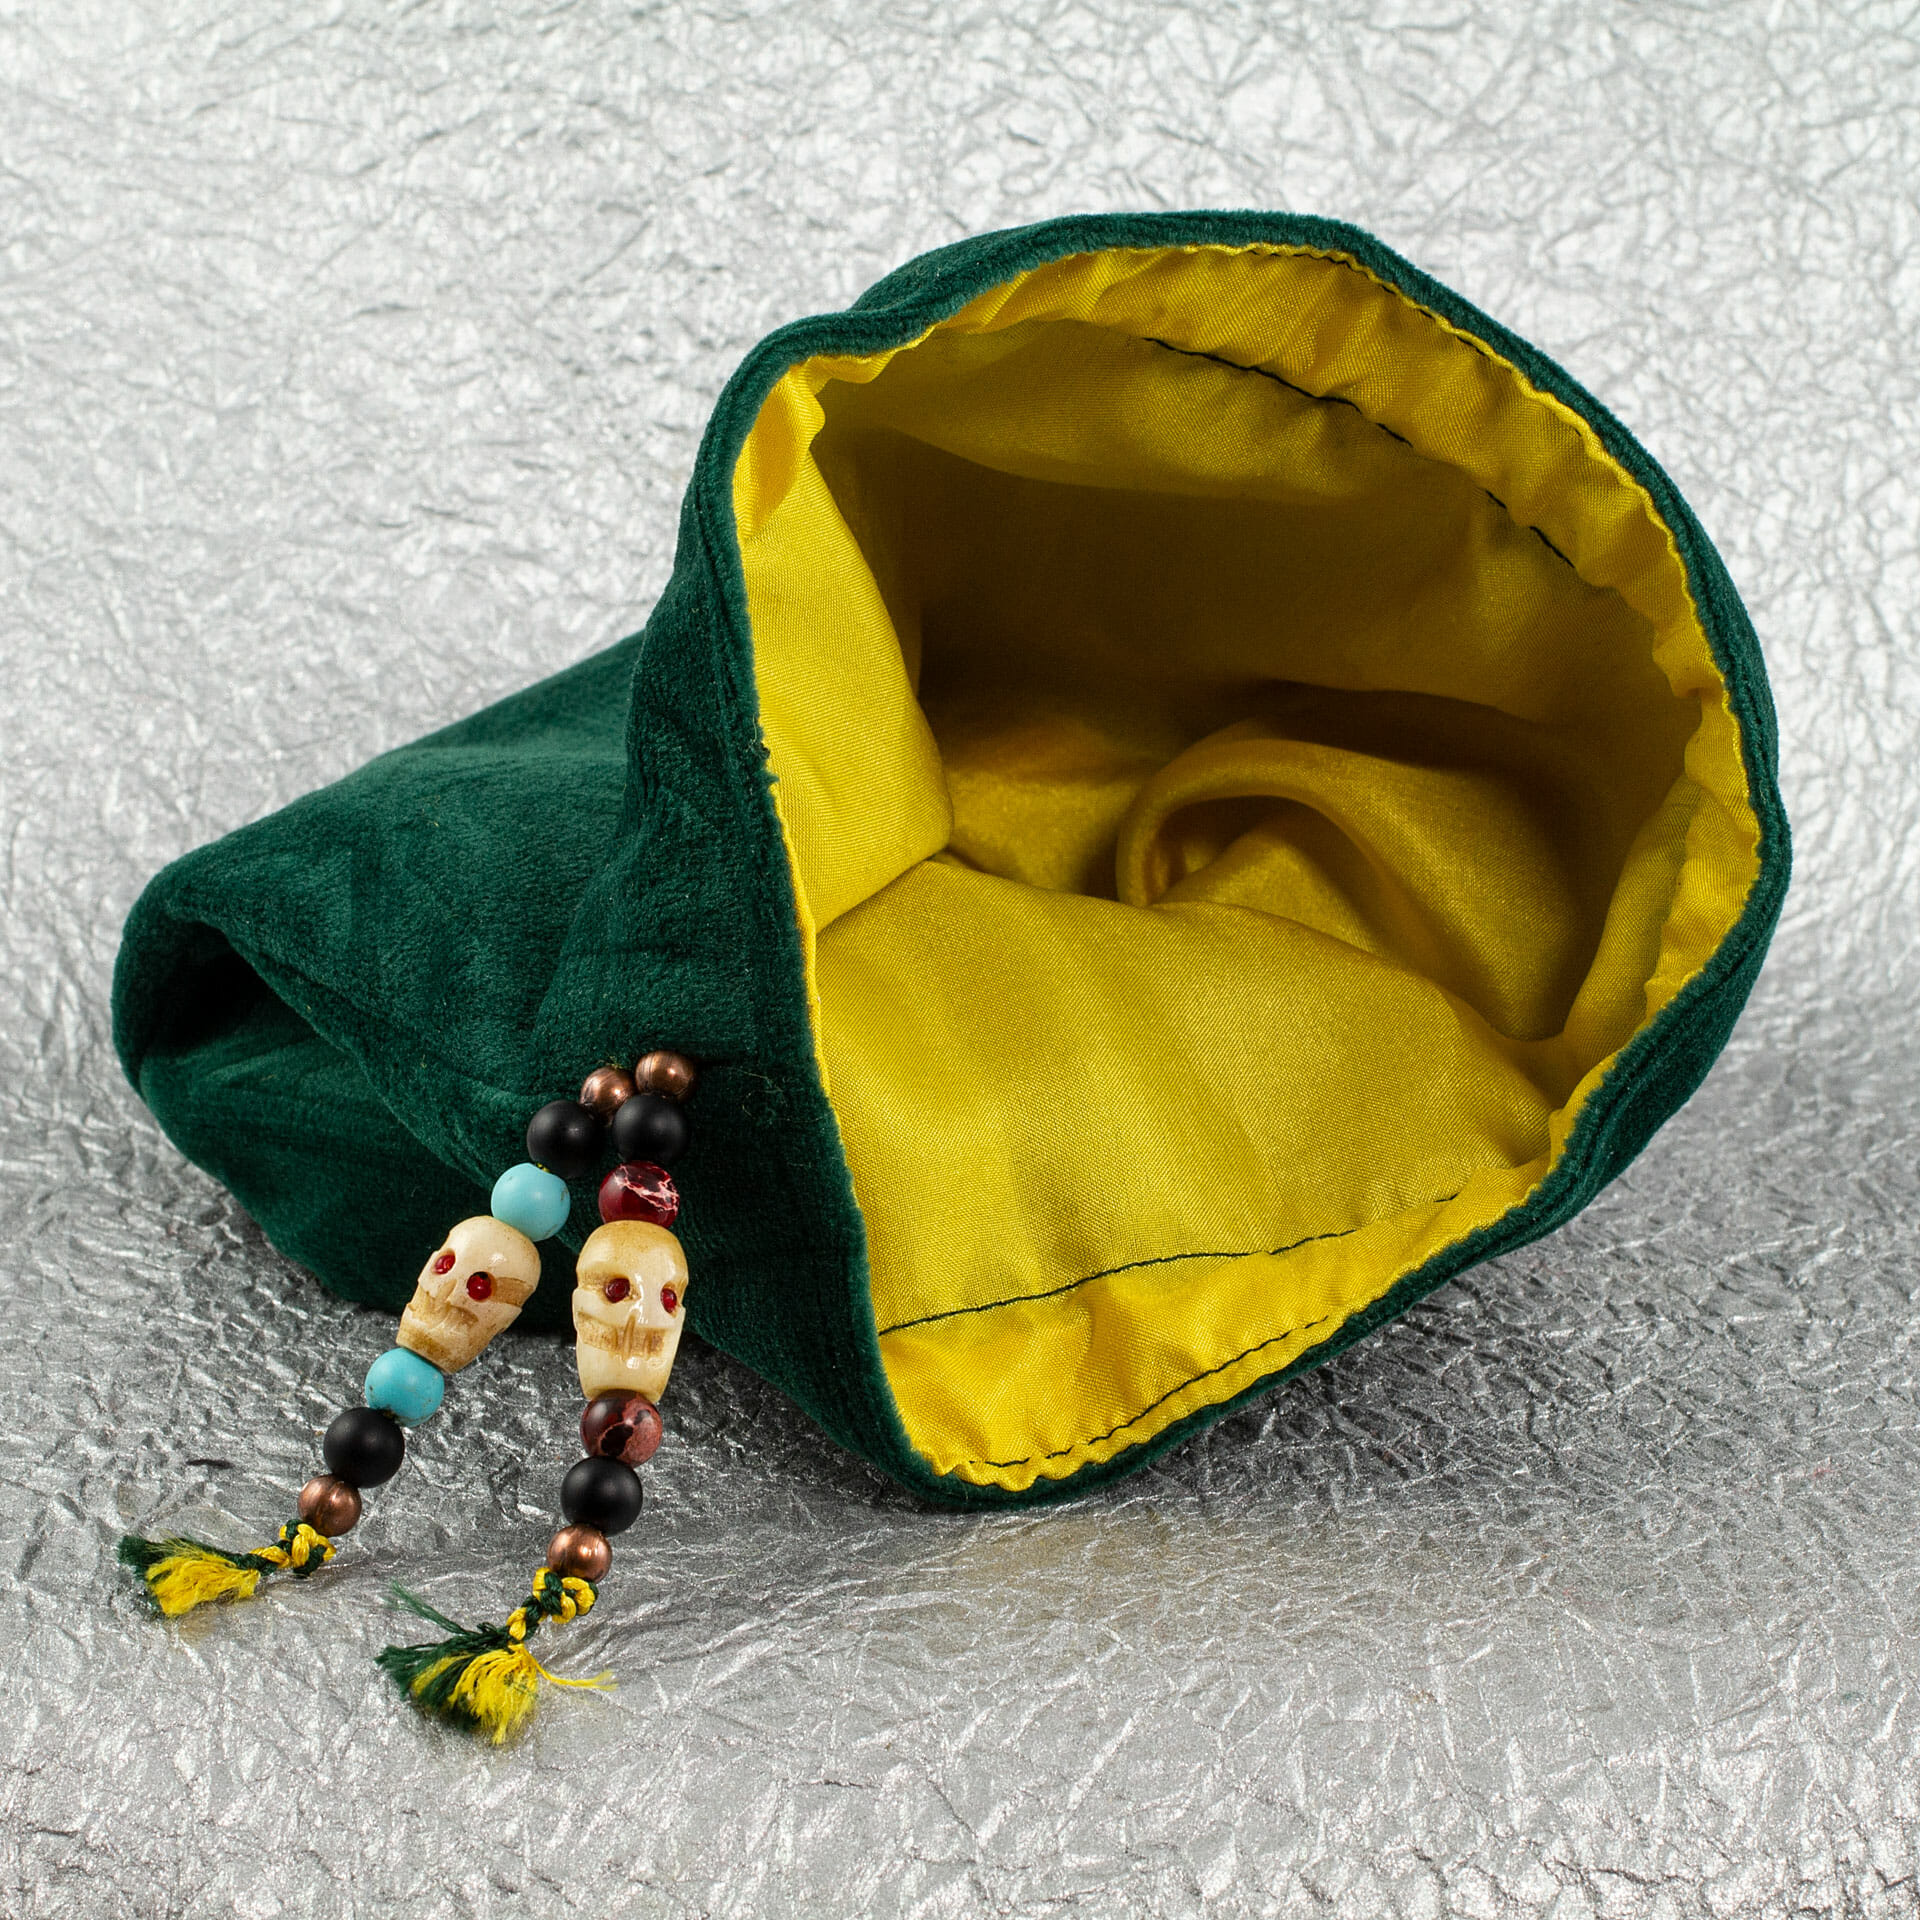
Drawstring Key Bag


This file is for personal, non-commercial use only. Note that, by referencing these, you are agreeing to release any variations you create under identical terms.
![]()

This file is for personal, non-commercial use only. Note that, by referencing these, you are agreeing to release any variations you create under identical terms.
![]()


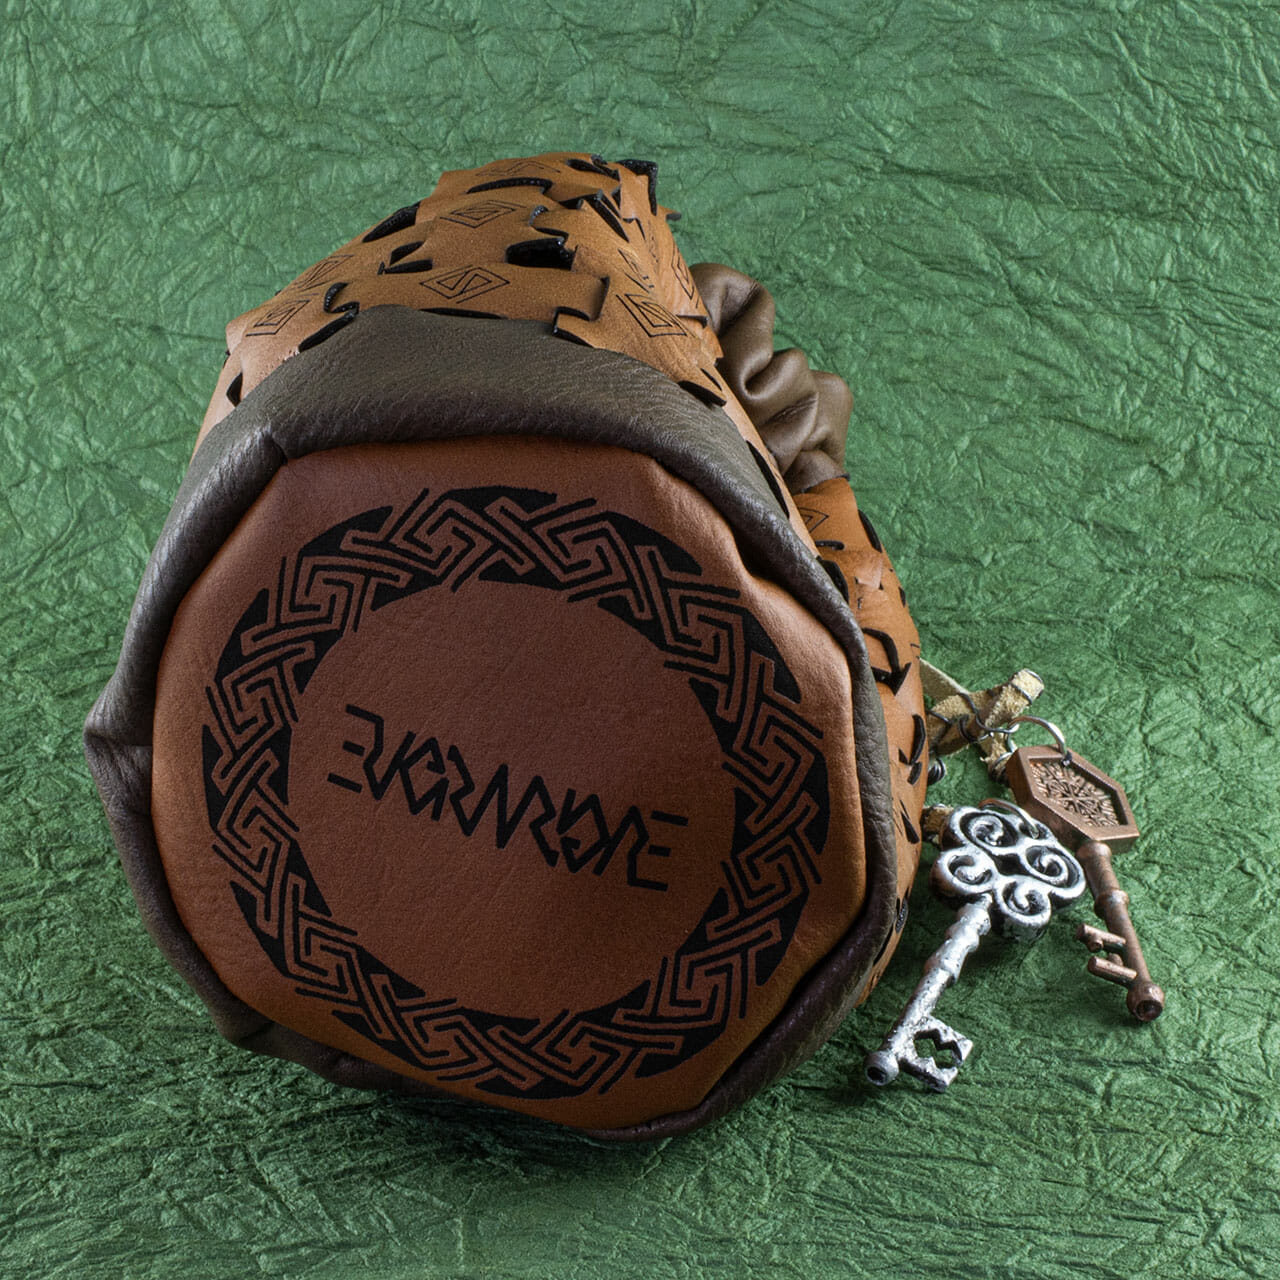
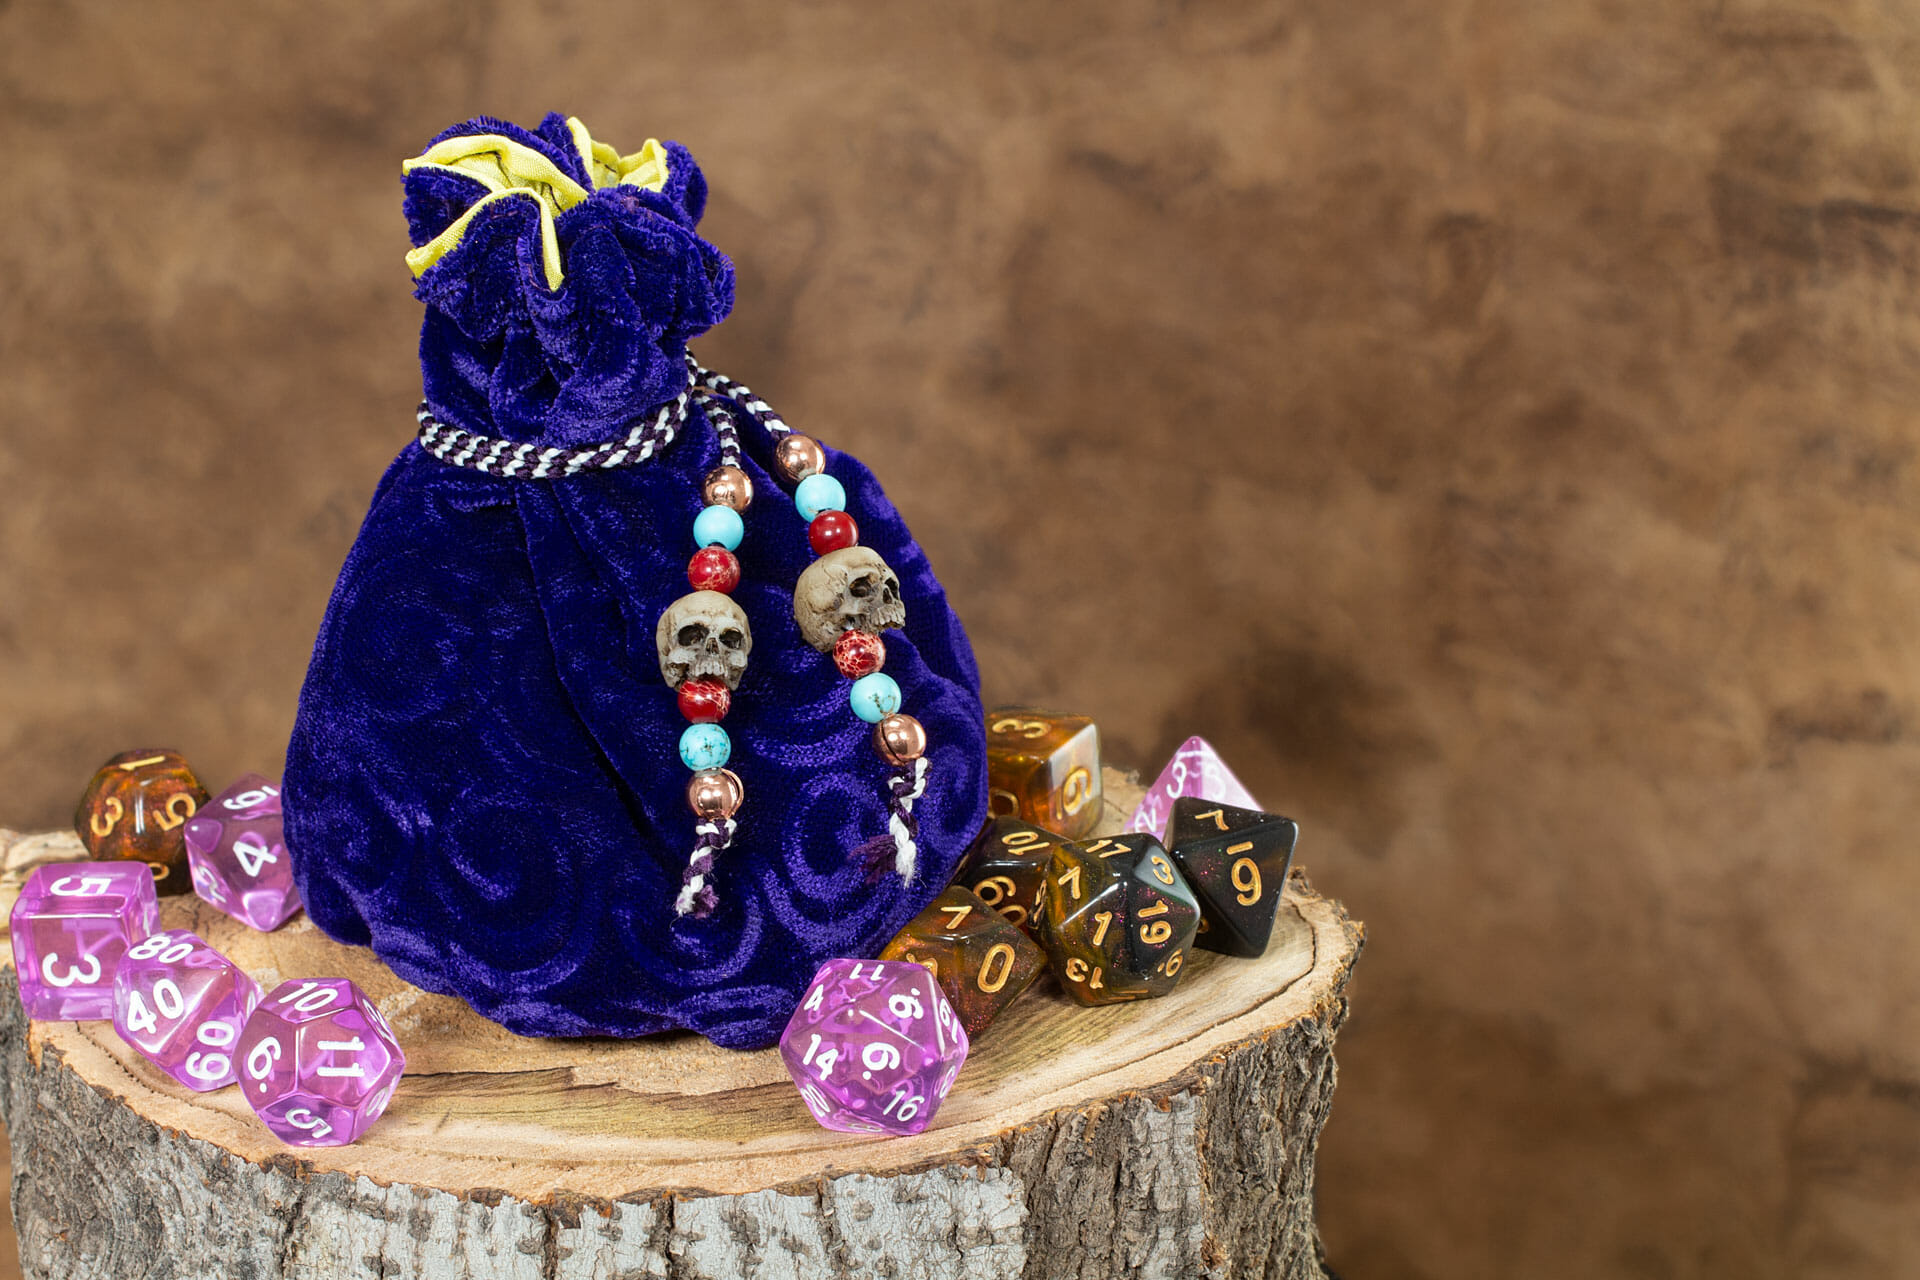
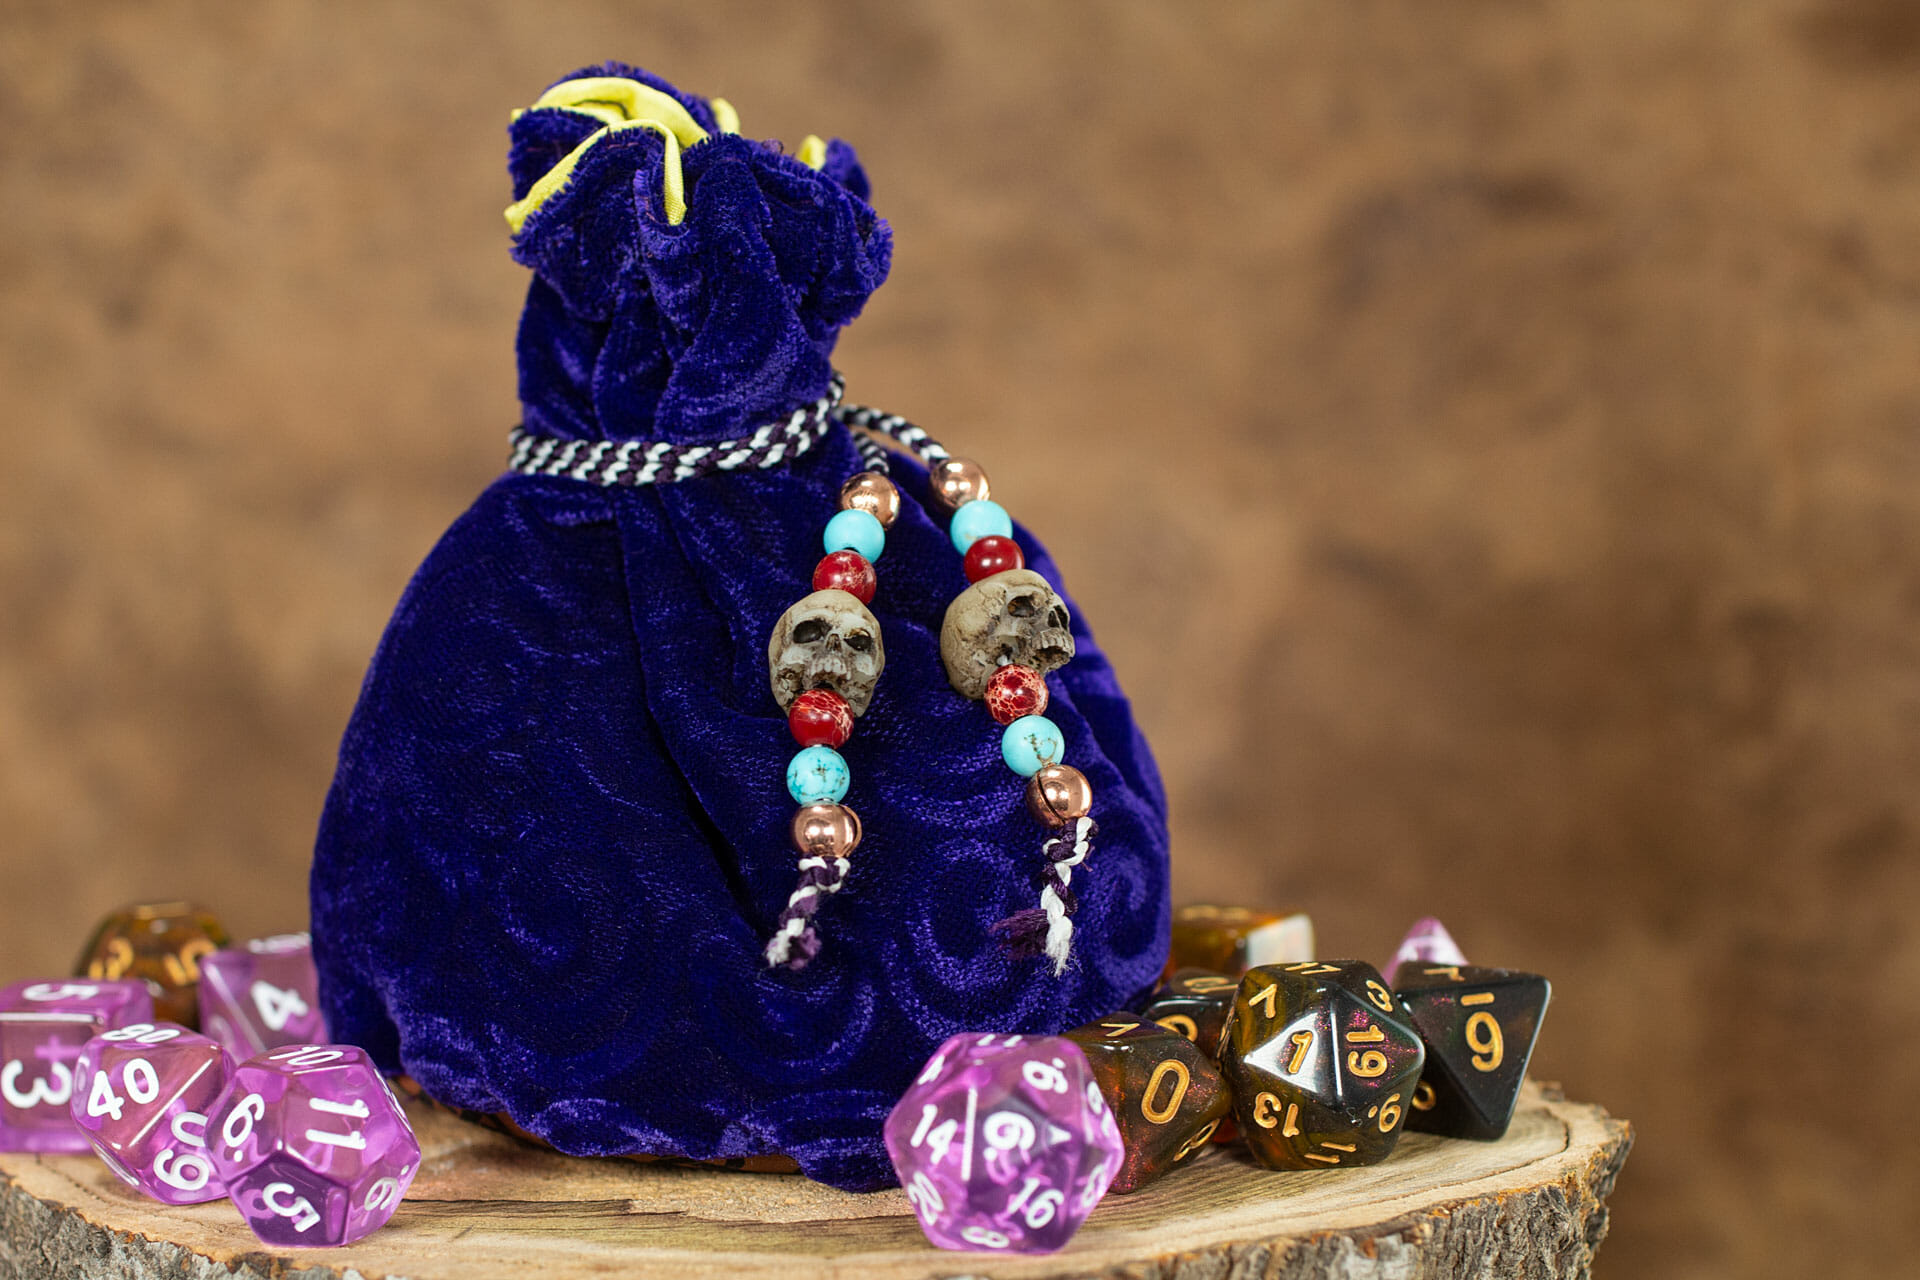
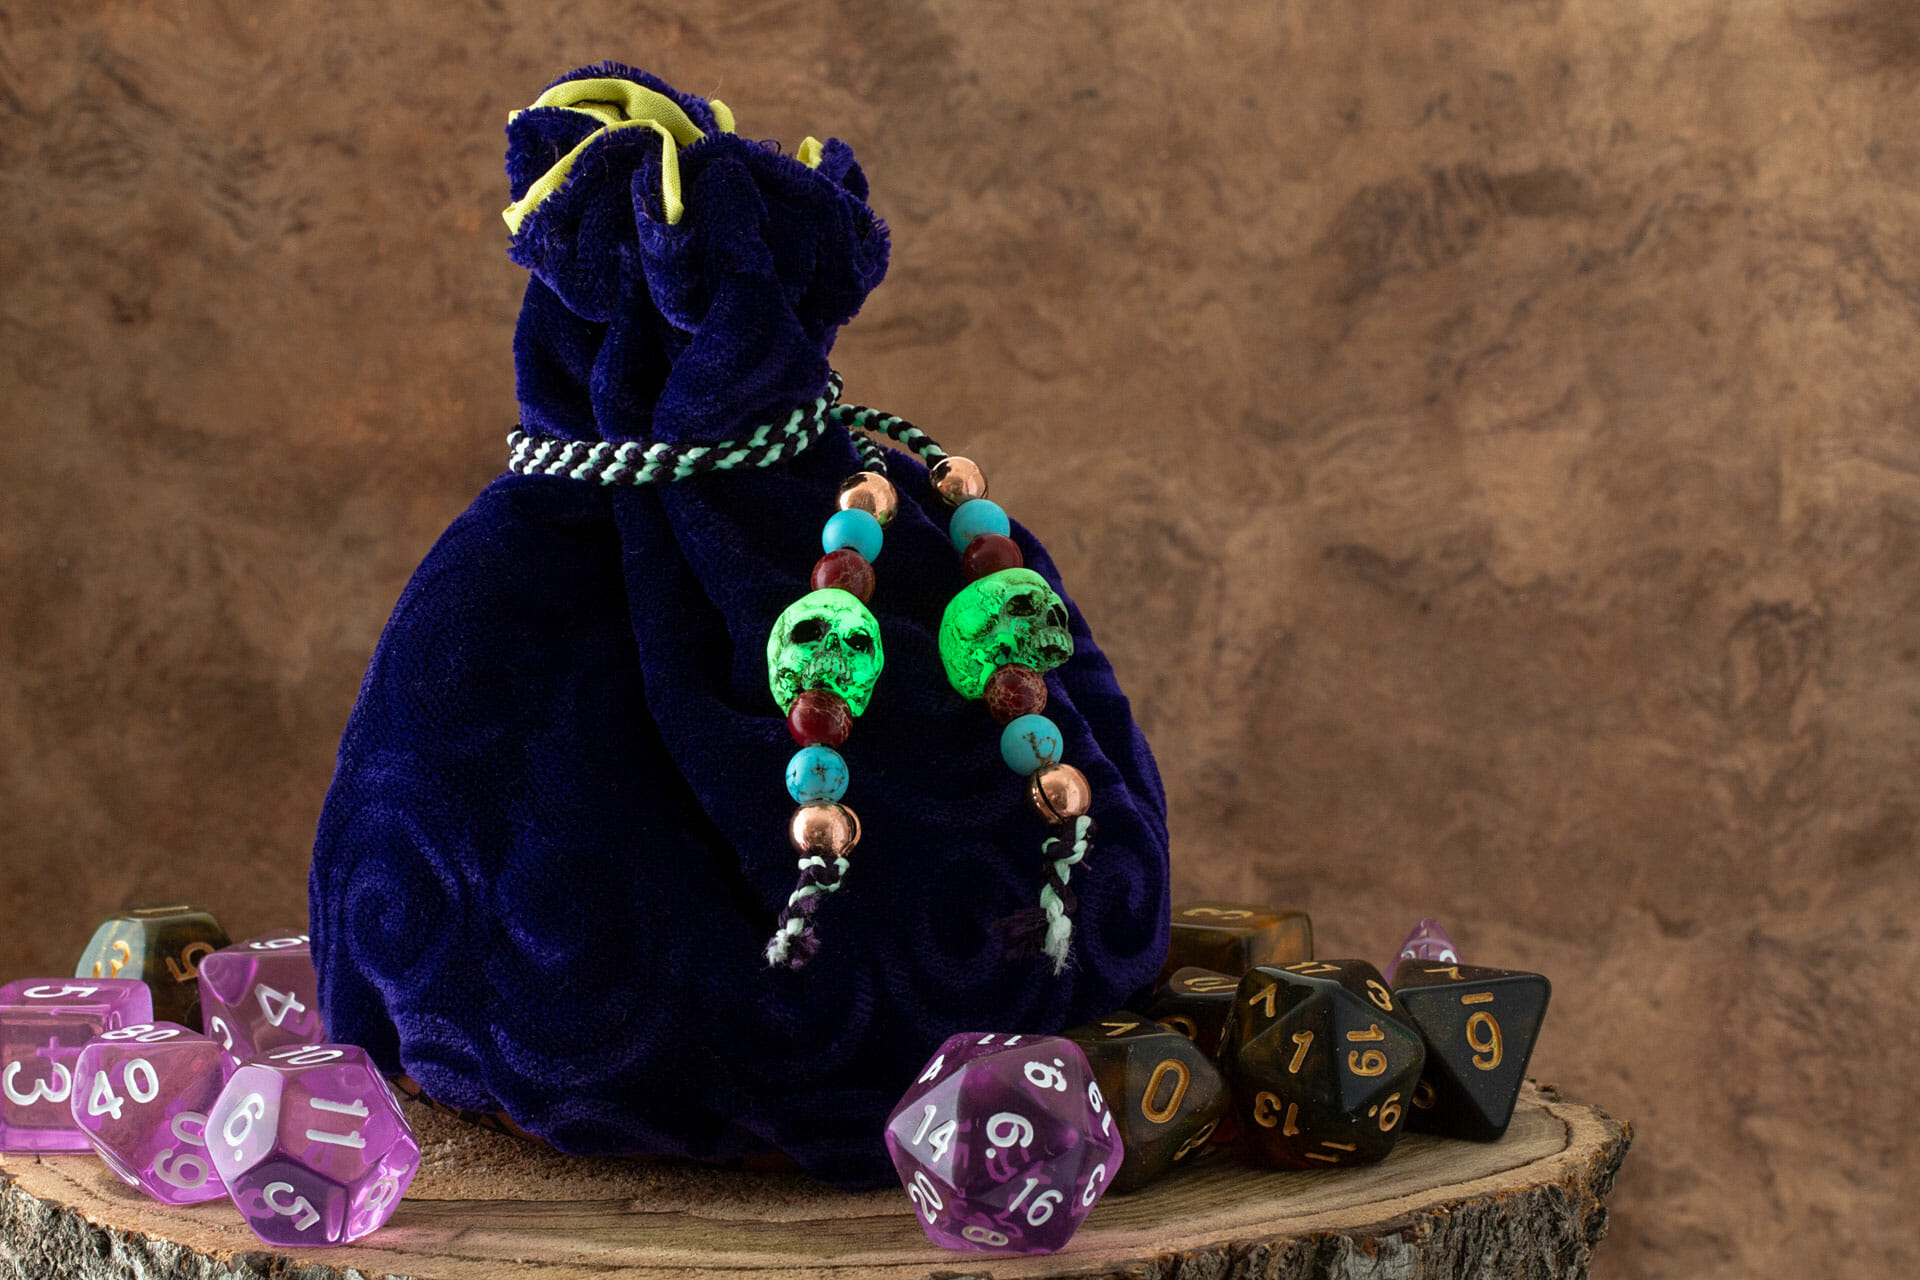
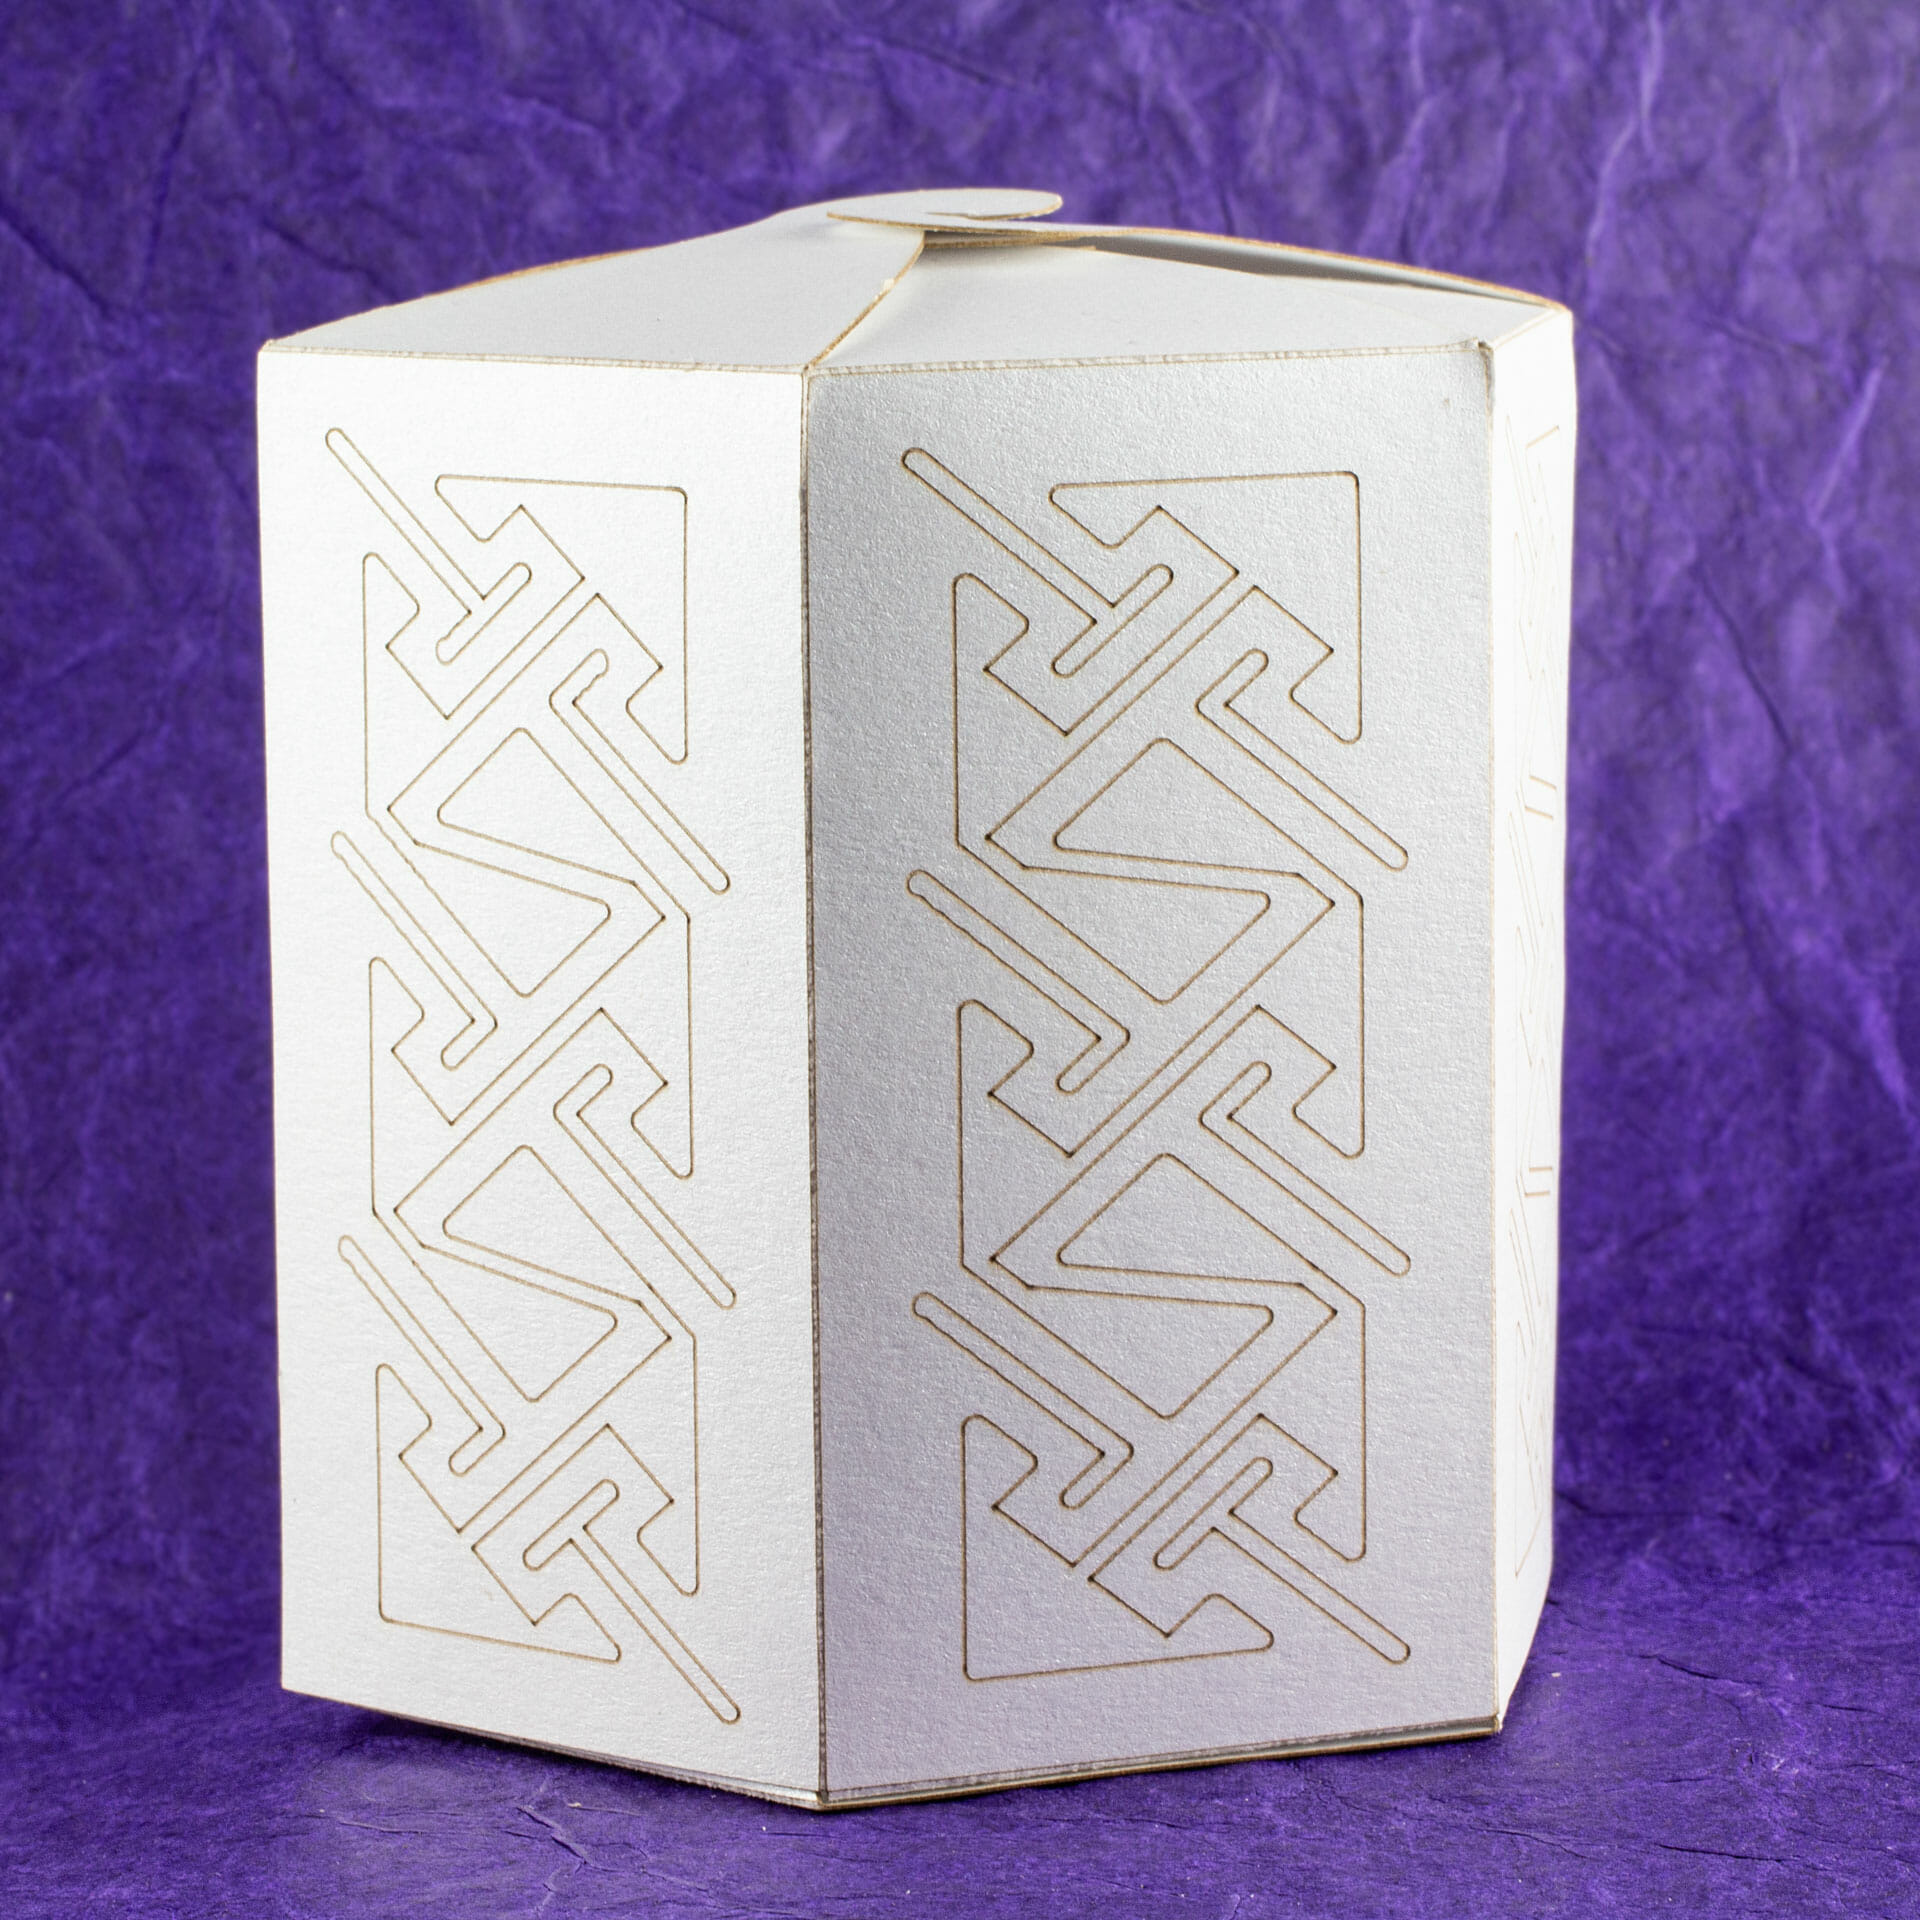
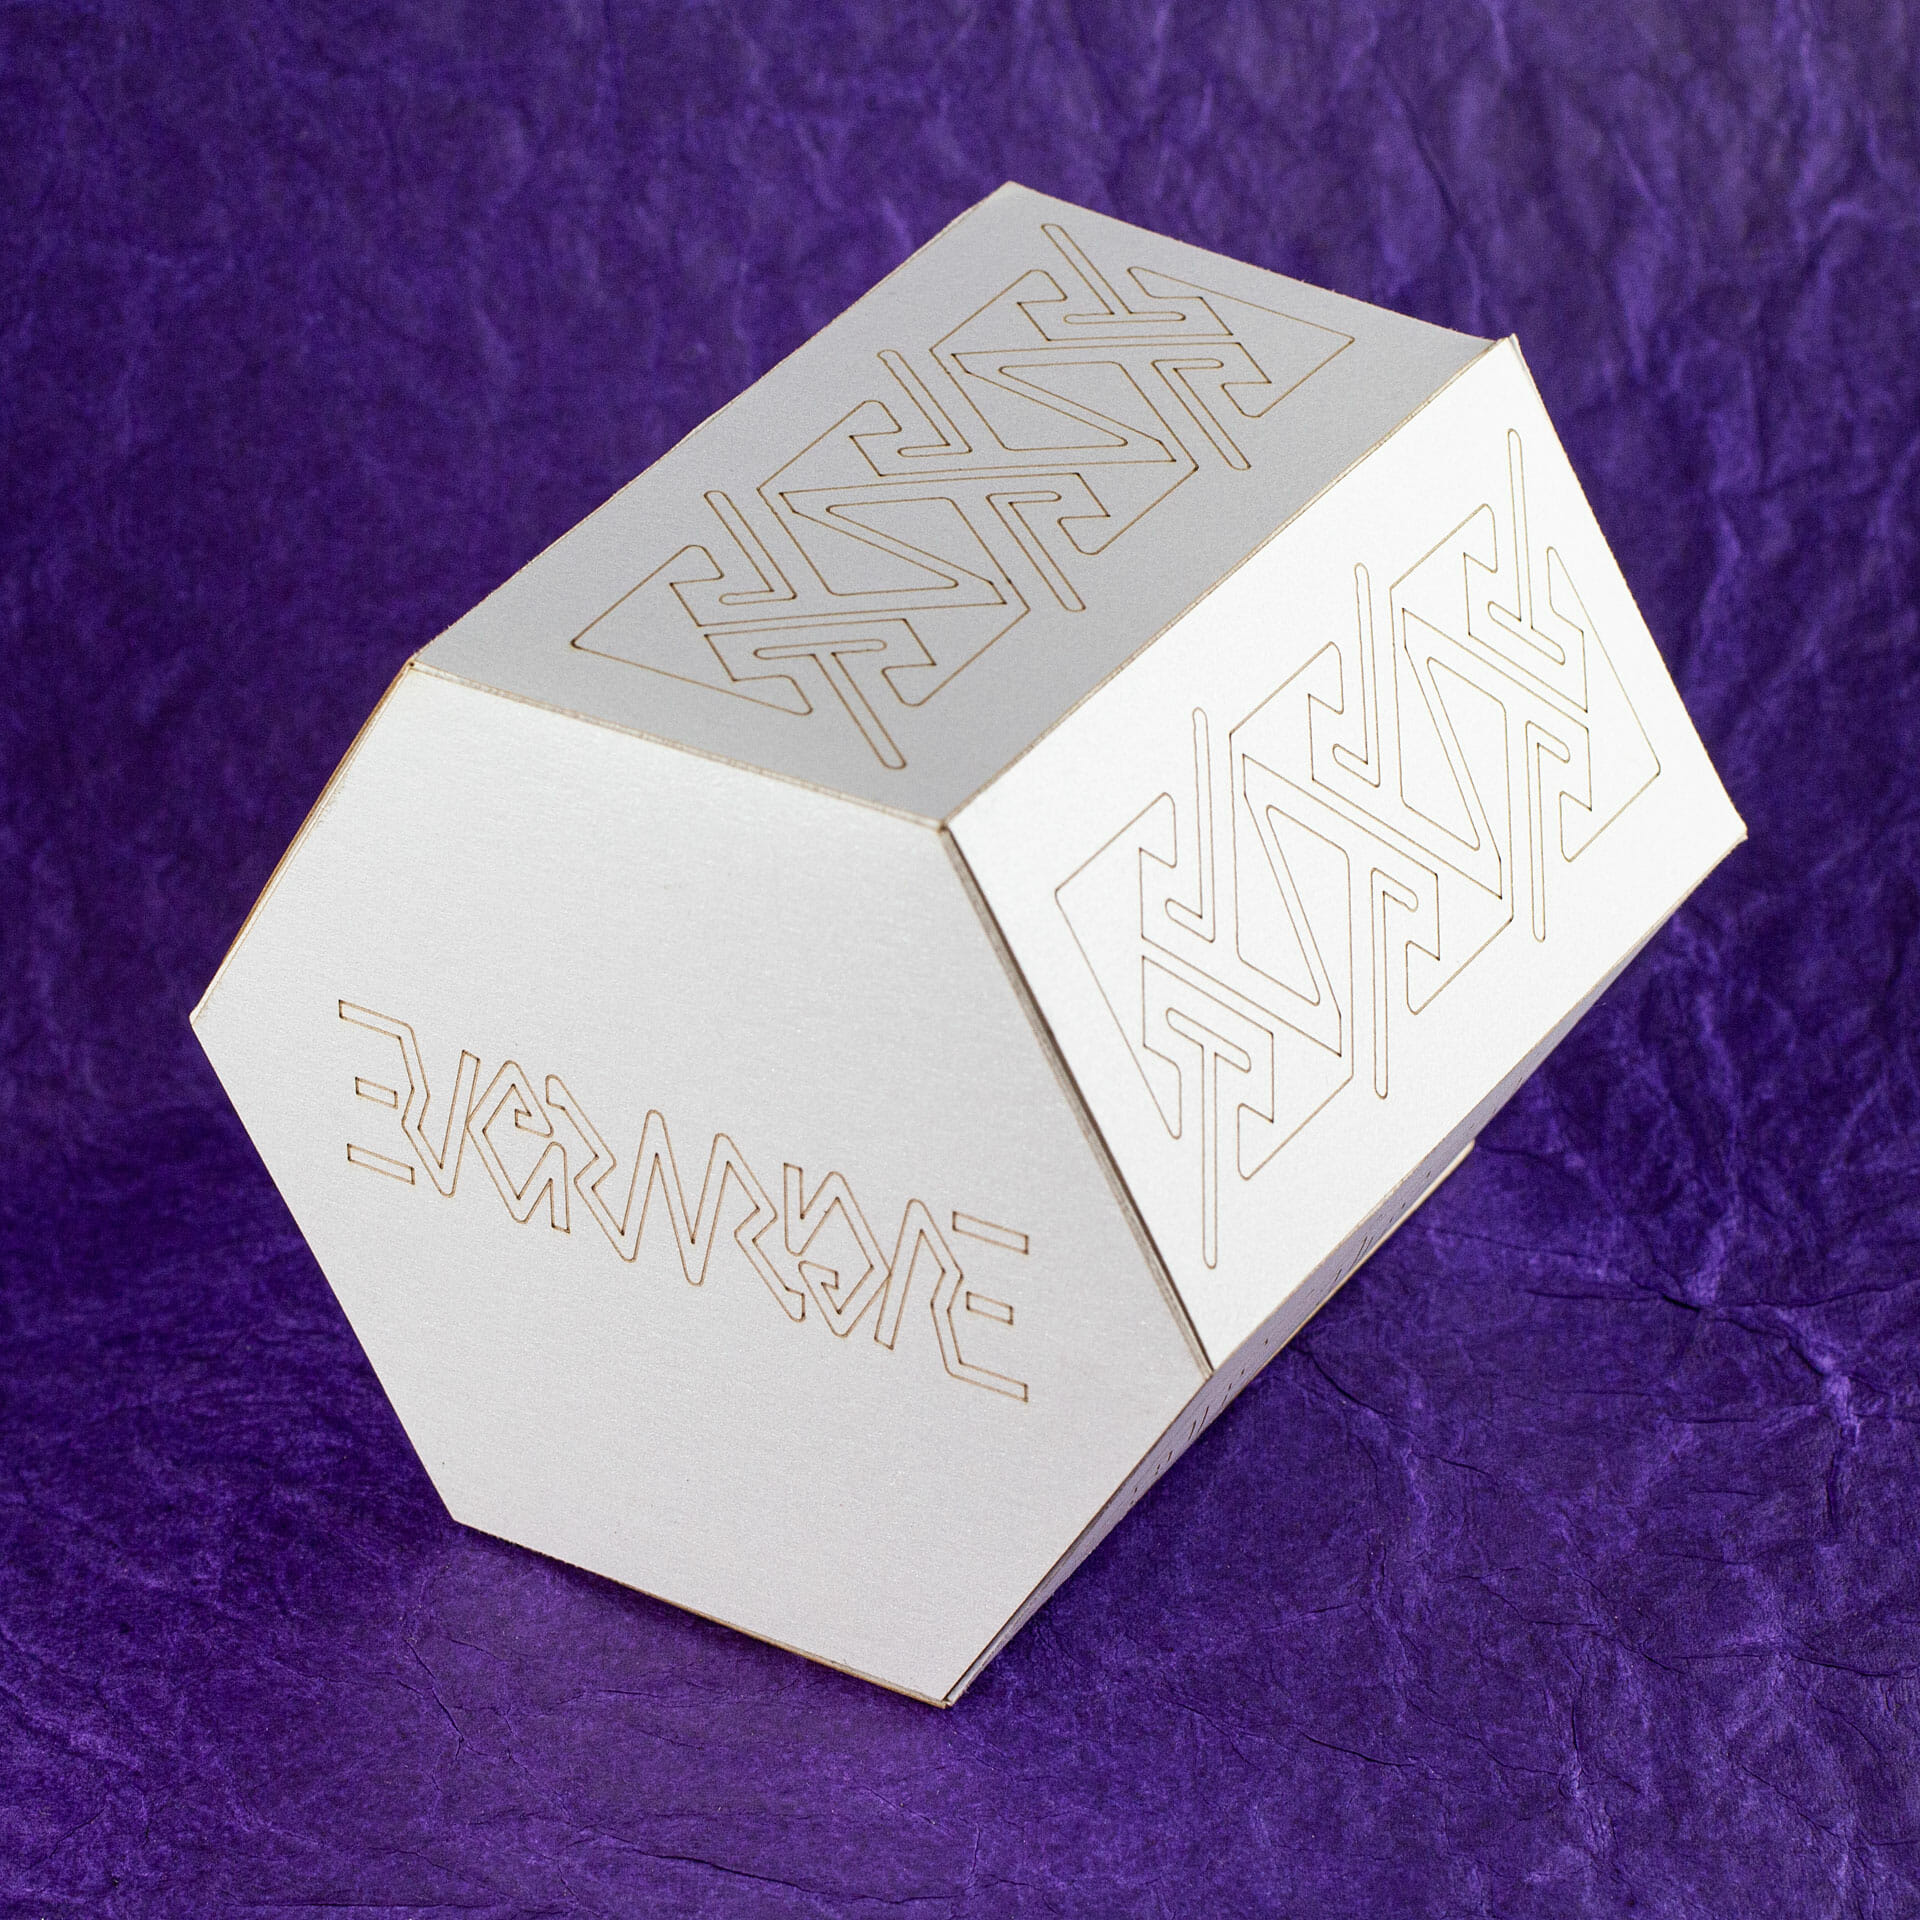
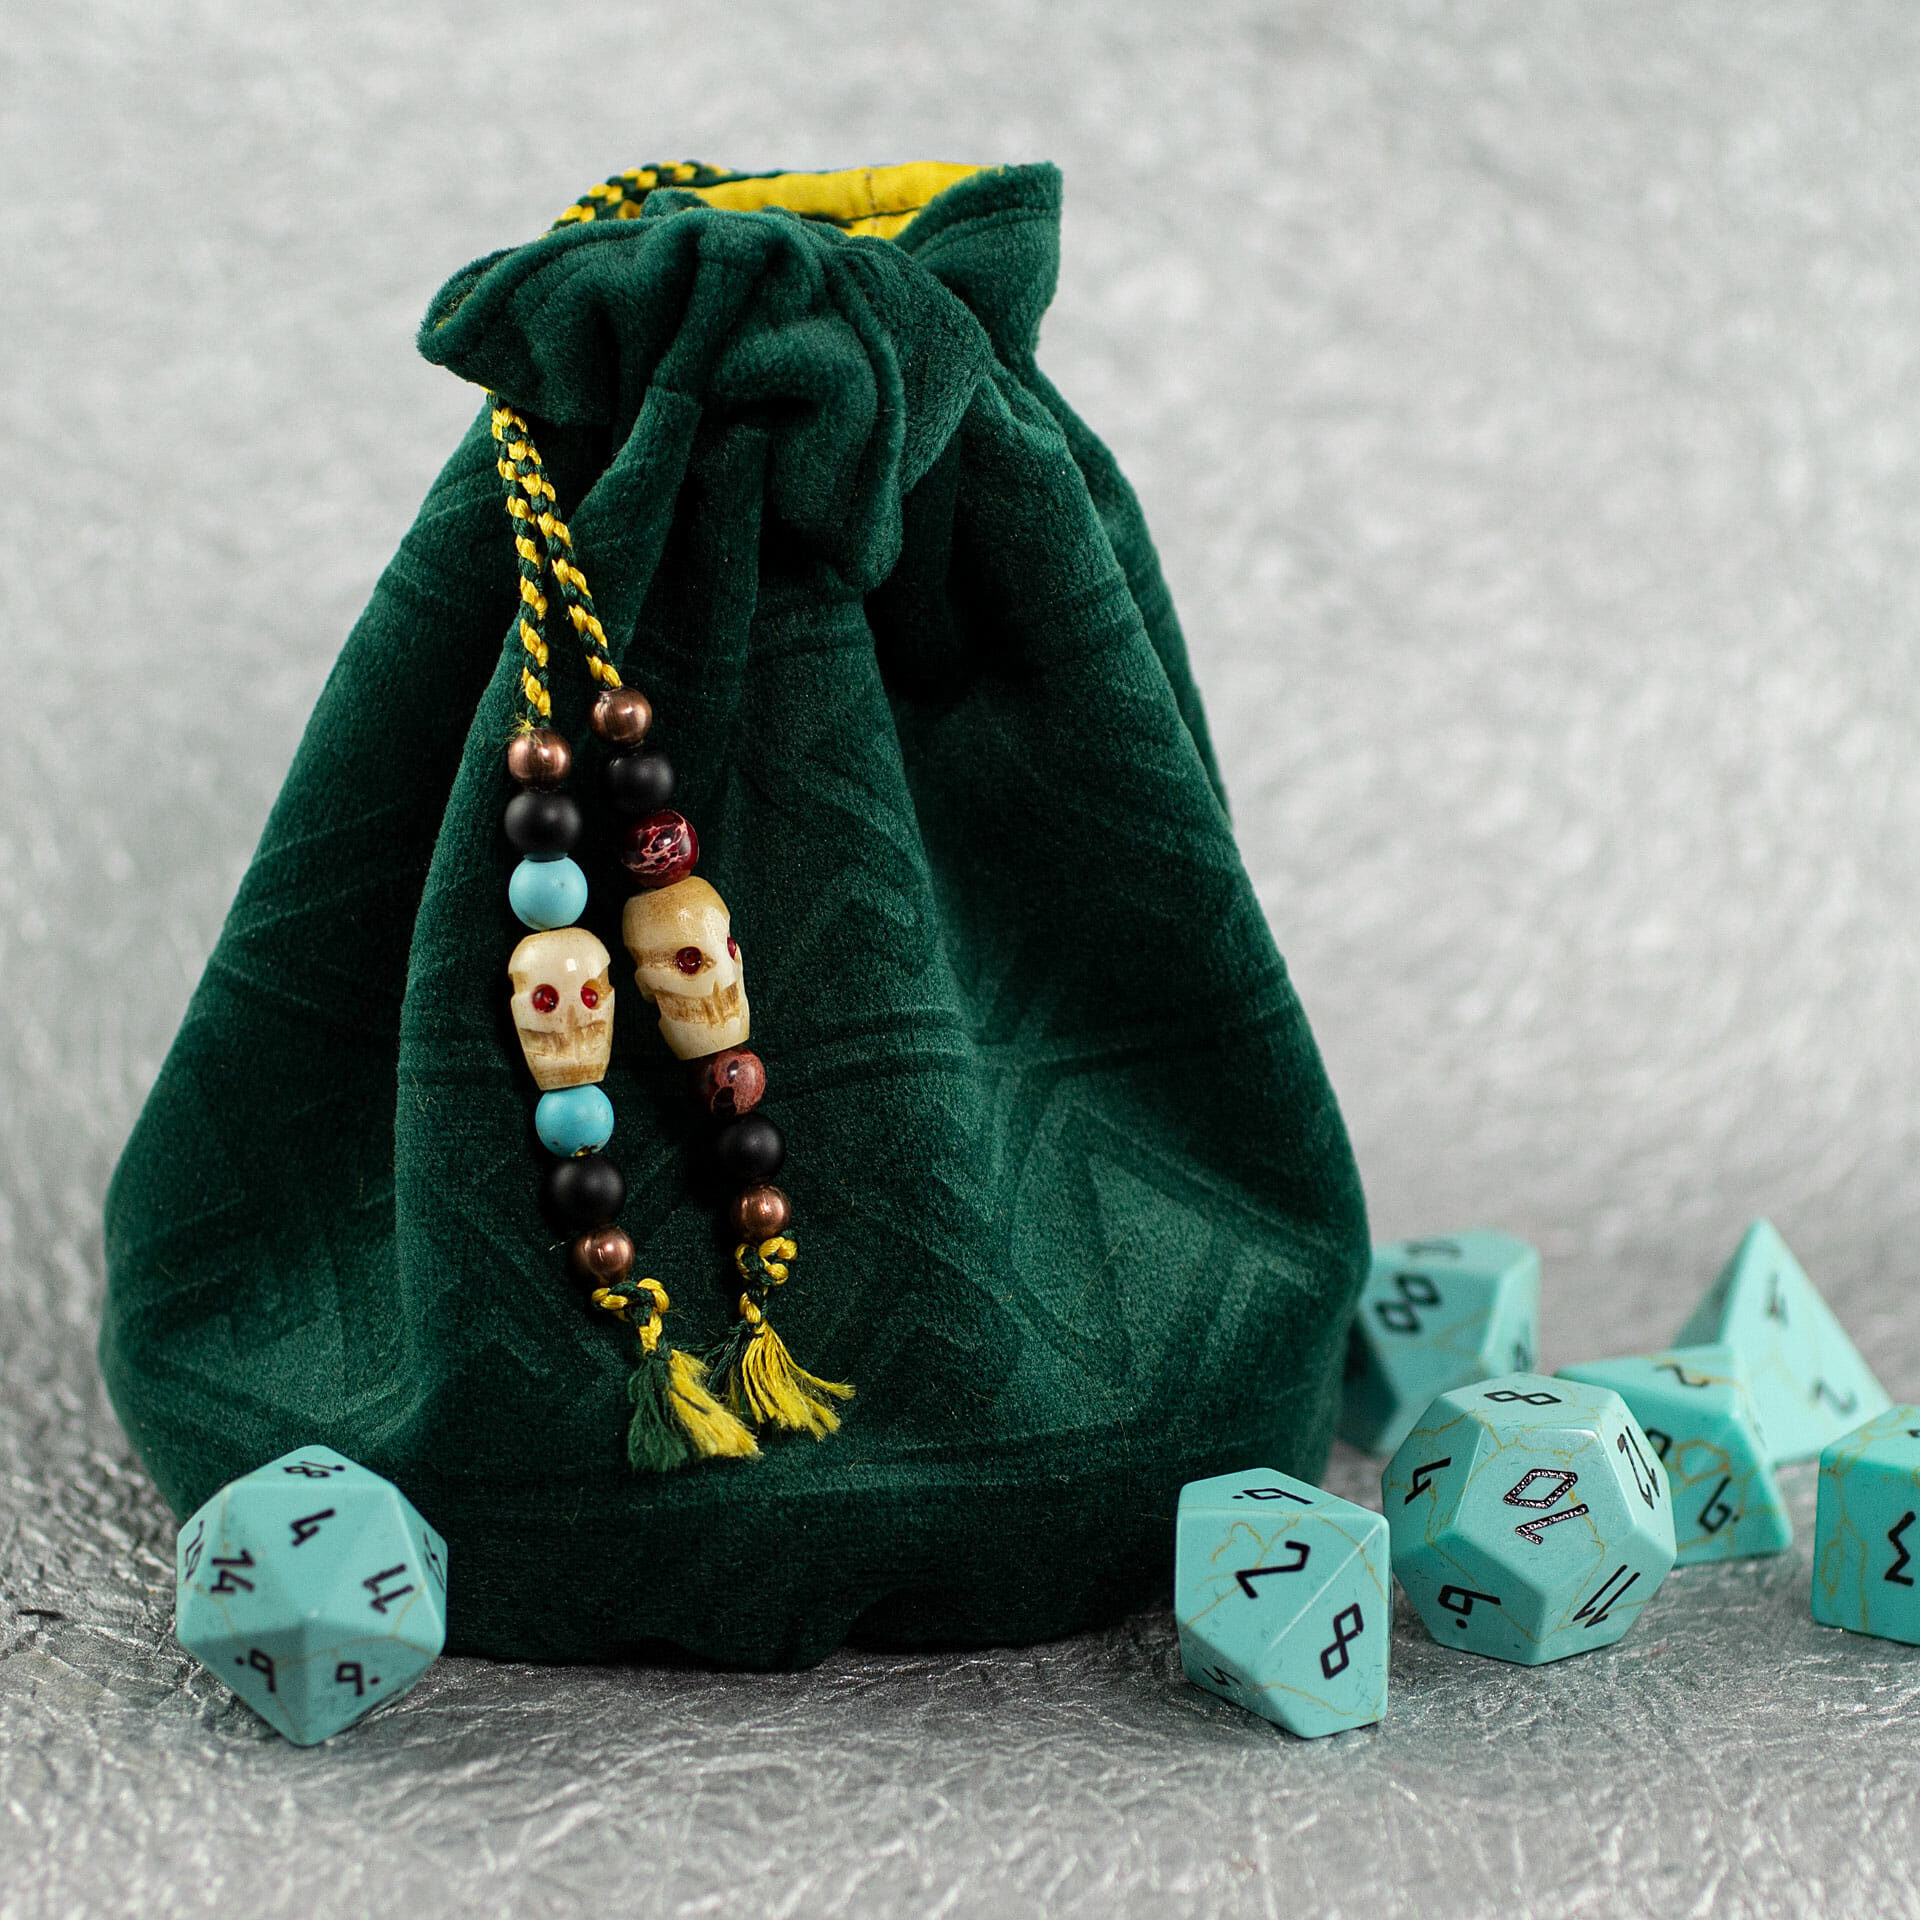
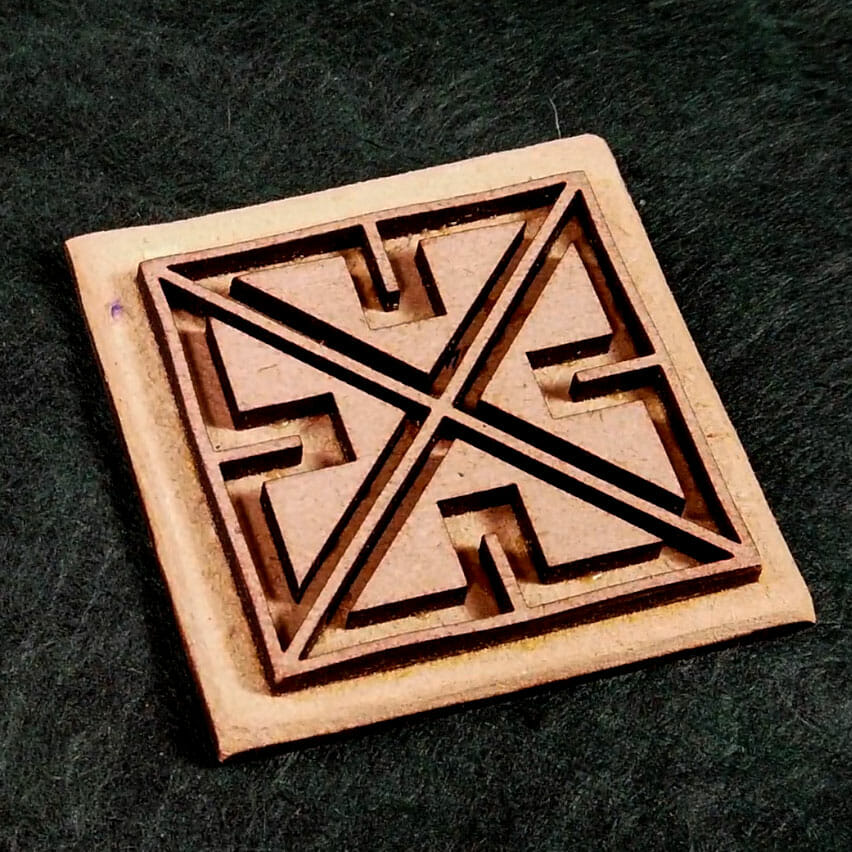
Dice reliquaries from laser-cut hardwood ply.
Continue reading


This file is for personal, non-commercial use only. Note that, by referencing these, you are agreeing to release any variations you create under identical terms.
![]()


