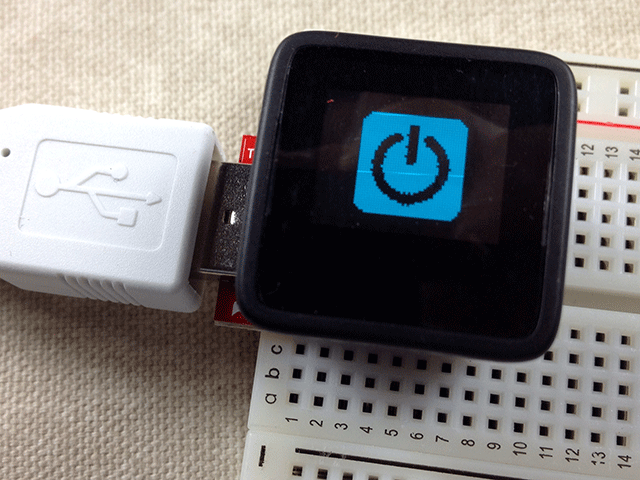
If you have been playing with the new MicroView arduino microcontroller, you likely know that it has a built-in 64 by 48 pixel OLED display and, that you can use the support library for it to control those pixels in your code. The library also supports some gauges and text output, which will likely cover most useful things people will actually want to do with the MicroView.
I, of course, immediately wanted to put various arbitrary graphics on it moments after un-boxing.
After dismissing the obvious approach of plotting individual pixels as way too much effort for play time, I came up with a way to convert bitmap images into MicroView code. I promptly splattered my company’s logo and, did a simple three-frame gear animation.
It’s easy and, you can do it, too. Here’s how:
- Create a 1-bit (“black and white”) 64 pixel by 48 pixel image using your favorite bitmap editing program (e..g., the gimp). I’ll omit the details of that here as it is a fairly extensive topic on its own. I used PNG format to save my images (PNG-8 is technically 8-bit but, we are only using black pixels on a white background). Note that the image ends up rotated 180 degrees. We’ll use this image for the demo:
- Open your image with ImageJ, a Java (multi-platform) image processing and analysis program.
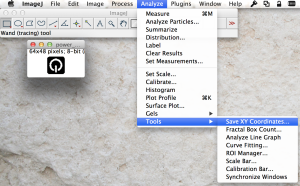
- In ImageJ, choose Analyze > Tools > Save XY Coordinates … Click Ok in the options dialog and, save the coordinate list to a file. This will produce a text file with each line containing the coordinates of a pixel from the image as three numbers (x, y and 1 or 0, since we are not using the color value).
- We need to turn these into lines of code that look like:
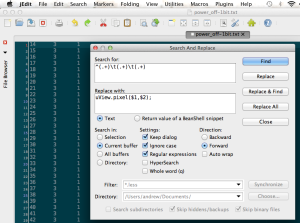
uView.pixel(x,y);A good way to do that is to run a regular expression against the file. You can do this in most decent code editors (I used jEdit). Basically, we want:
s/^(.+)\t(.+)\t.+/uView.pixel($1,$2);/gThat should give you a list of uView.pixel commands that you can paste into your code.
For reference, the code for the Power Up image is here.
The bitmaps take up a lot of memory. The gear animation uses up about half the available memory, for instance.
It should be pretty simple to write a script to optimize the images better by looking for consecutive pixels and turning them into uView.line() commands.
Old hat? Have a better way to do it? Wrote my optimization script? Let me know in the comments!


5 Comments
Are you aware that recent versions of the MicroView library allow you to write and read directly to and from the screen buffer? You can get a pointer to the screen array using uView.getScreenBuffer().
In some cases it may be easier to create images as blocks of bytes and then just write them directly to the screen buffer, instead of writing individual pixels. You then use uView.display() to show what you’ve written, as before.
Documentation on the layout of the buffer can be found here:
General Overview of MicroView
My implementation of Conway’s Game of Life is an example of using direct screen access.
MicroViewLife
Note that, currently, codebender’s version of the MicroView library is old and doesn’t have the getScreenBuffer() function. If you want to compile my sketch directly on codebender, you’ll have to add the latest MicroView library as a personal library.
Sorry, I deleted and recreated MicroViewLife so the previous link is broken.
Codebender’s version of the MicroView library now supports uView.getScreenBuffer()
Awesome! Thanks for the info and the update.
I was not aware of uView.getScreenBuffer() in the new MicroView library but, will definitely check it out when I get more time to play with that.