
- Posted on
- By Andrew C.
- In Electronics, Origamic Architecture
- Leave a comment

I am once again participating in Chibitronics’ #LightUpPopUpTober event this year. This is prompt-driven, like so many other *tober events. In this case, people are making pop up cards that include light as an element. @5am_popup on Instagram provided the prompts, and @Chibitronics organized assorted artists, with each taking one of the prompts. Some people are making one for every prompt. That’s a bit much for some of us, given process and day jobs. My prompt for this year, on October 26th, is “Relic.”
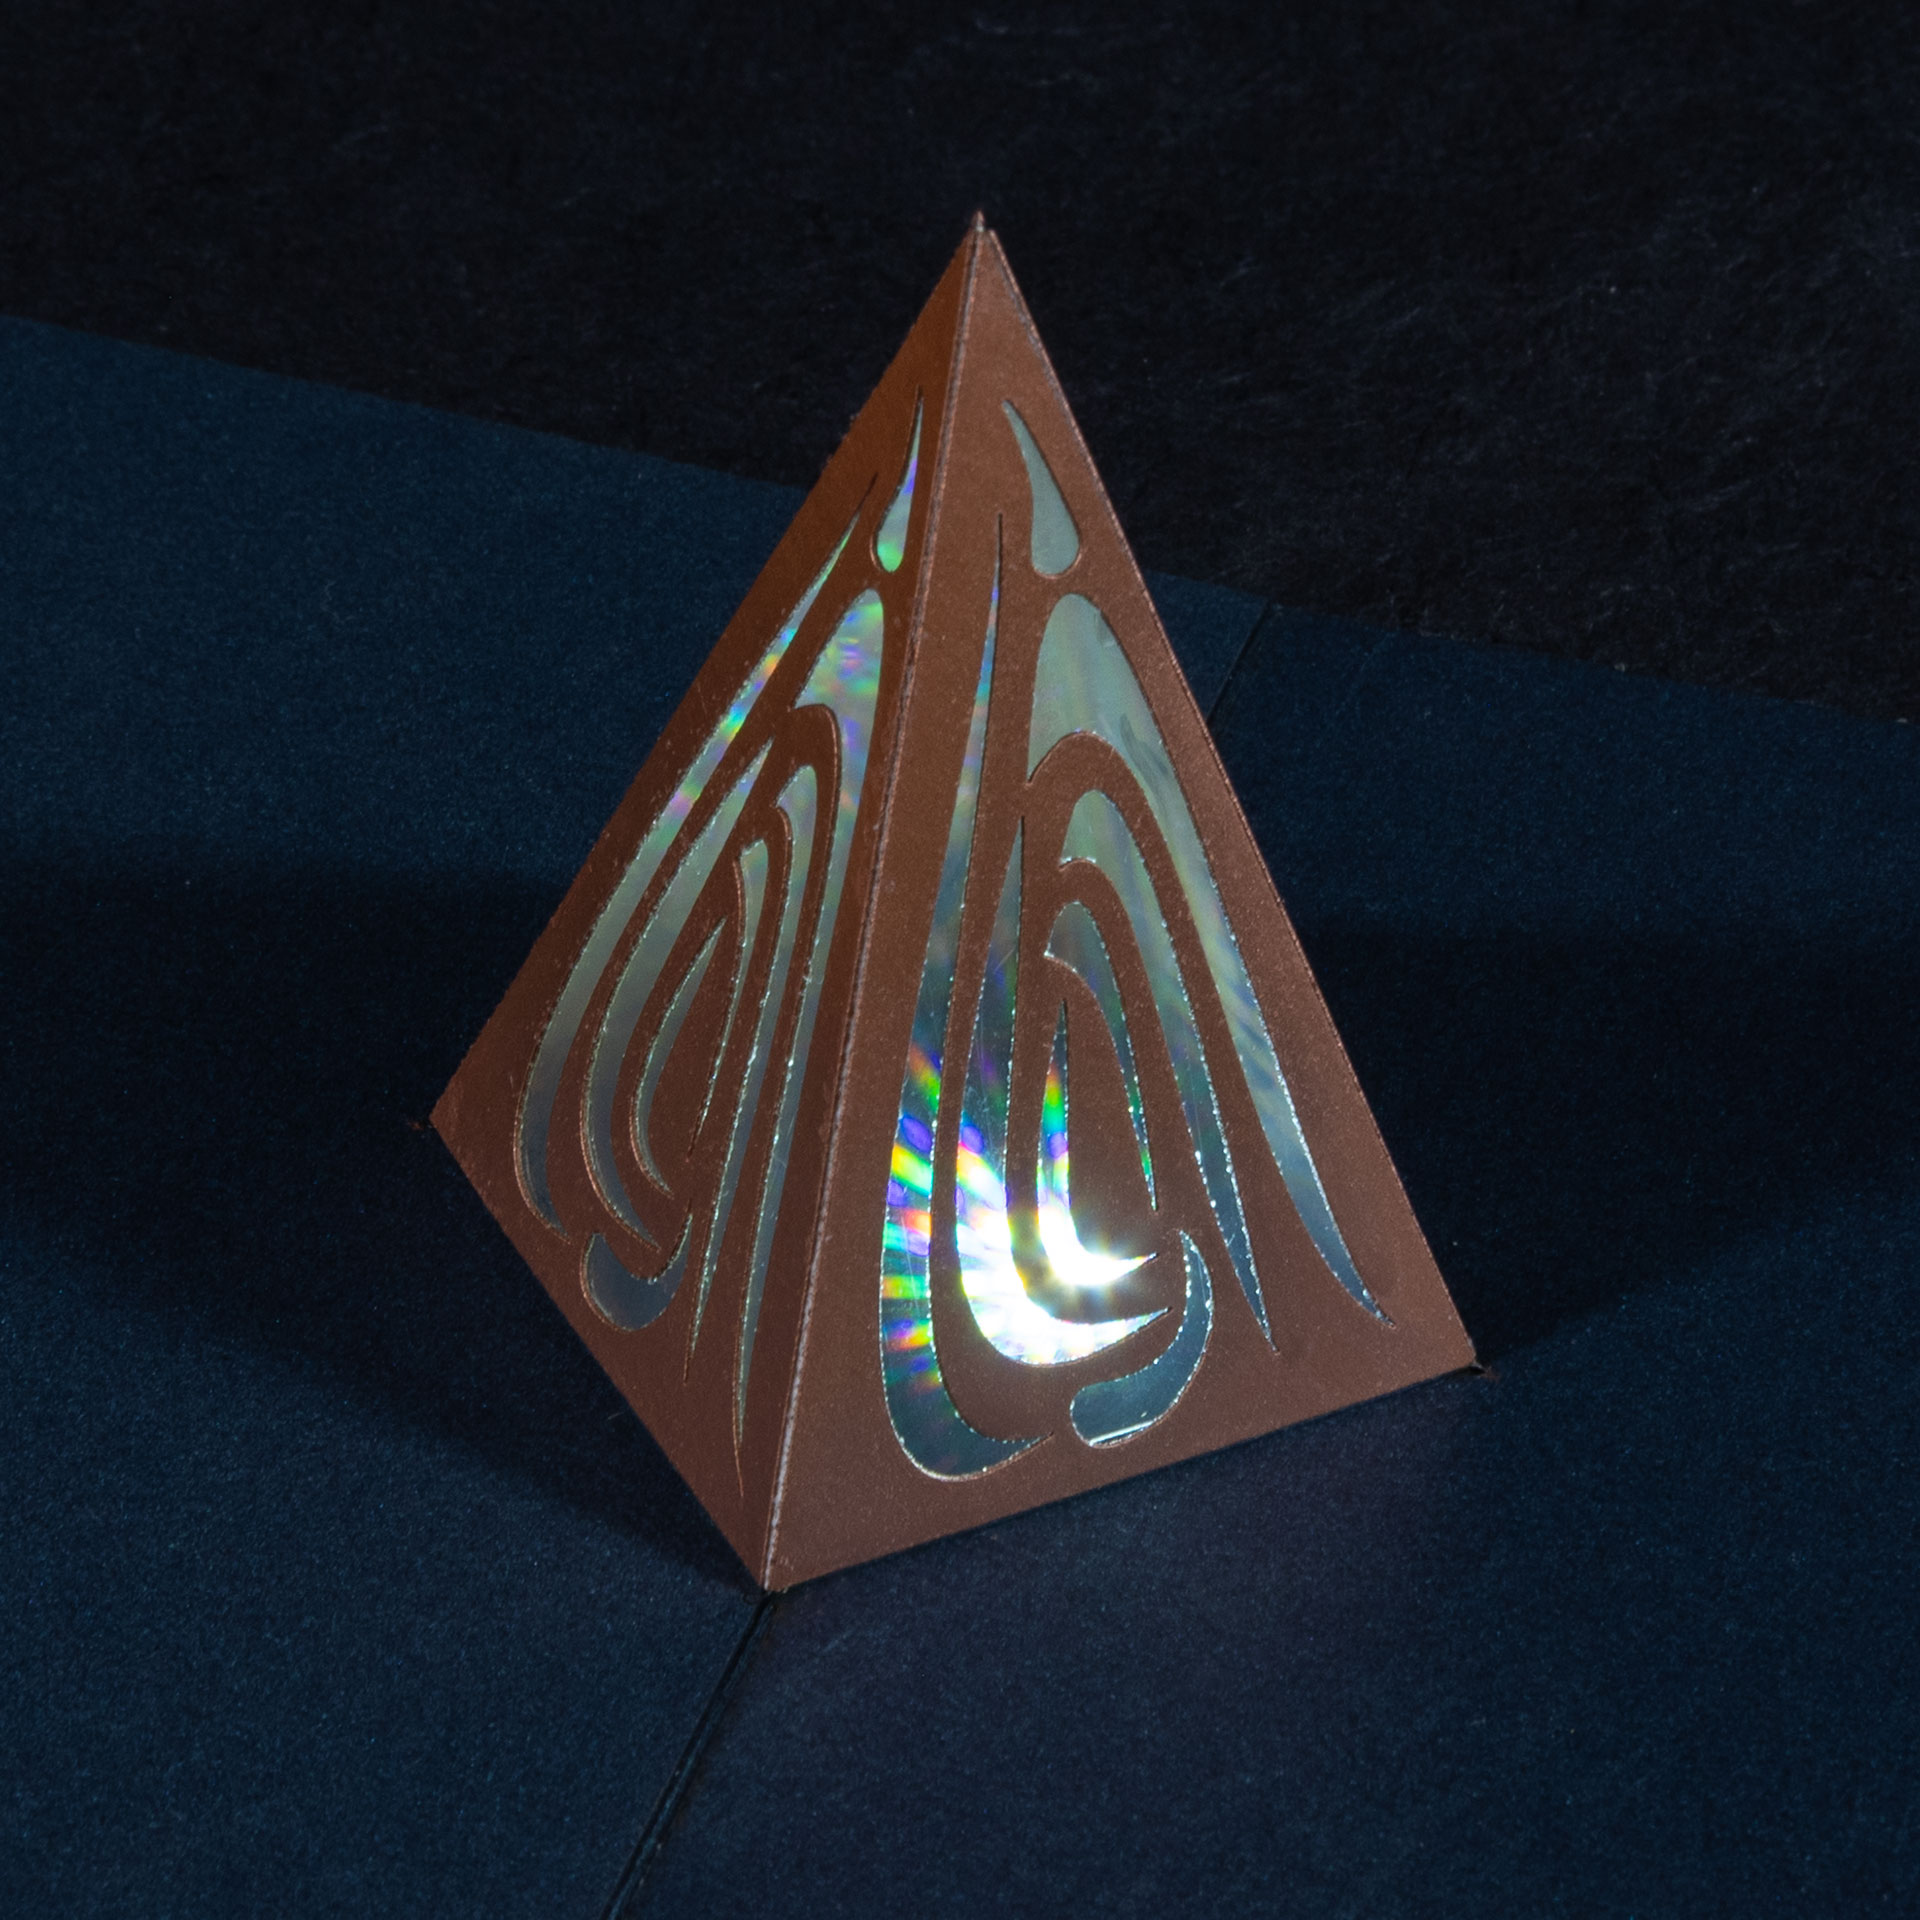
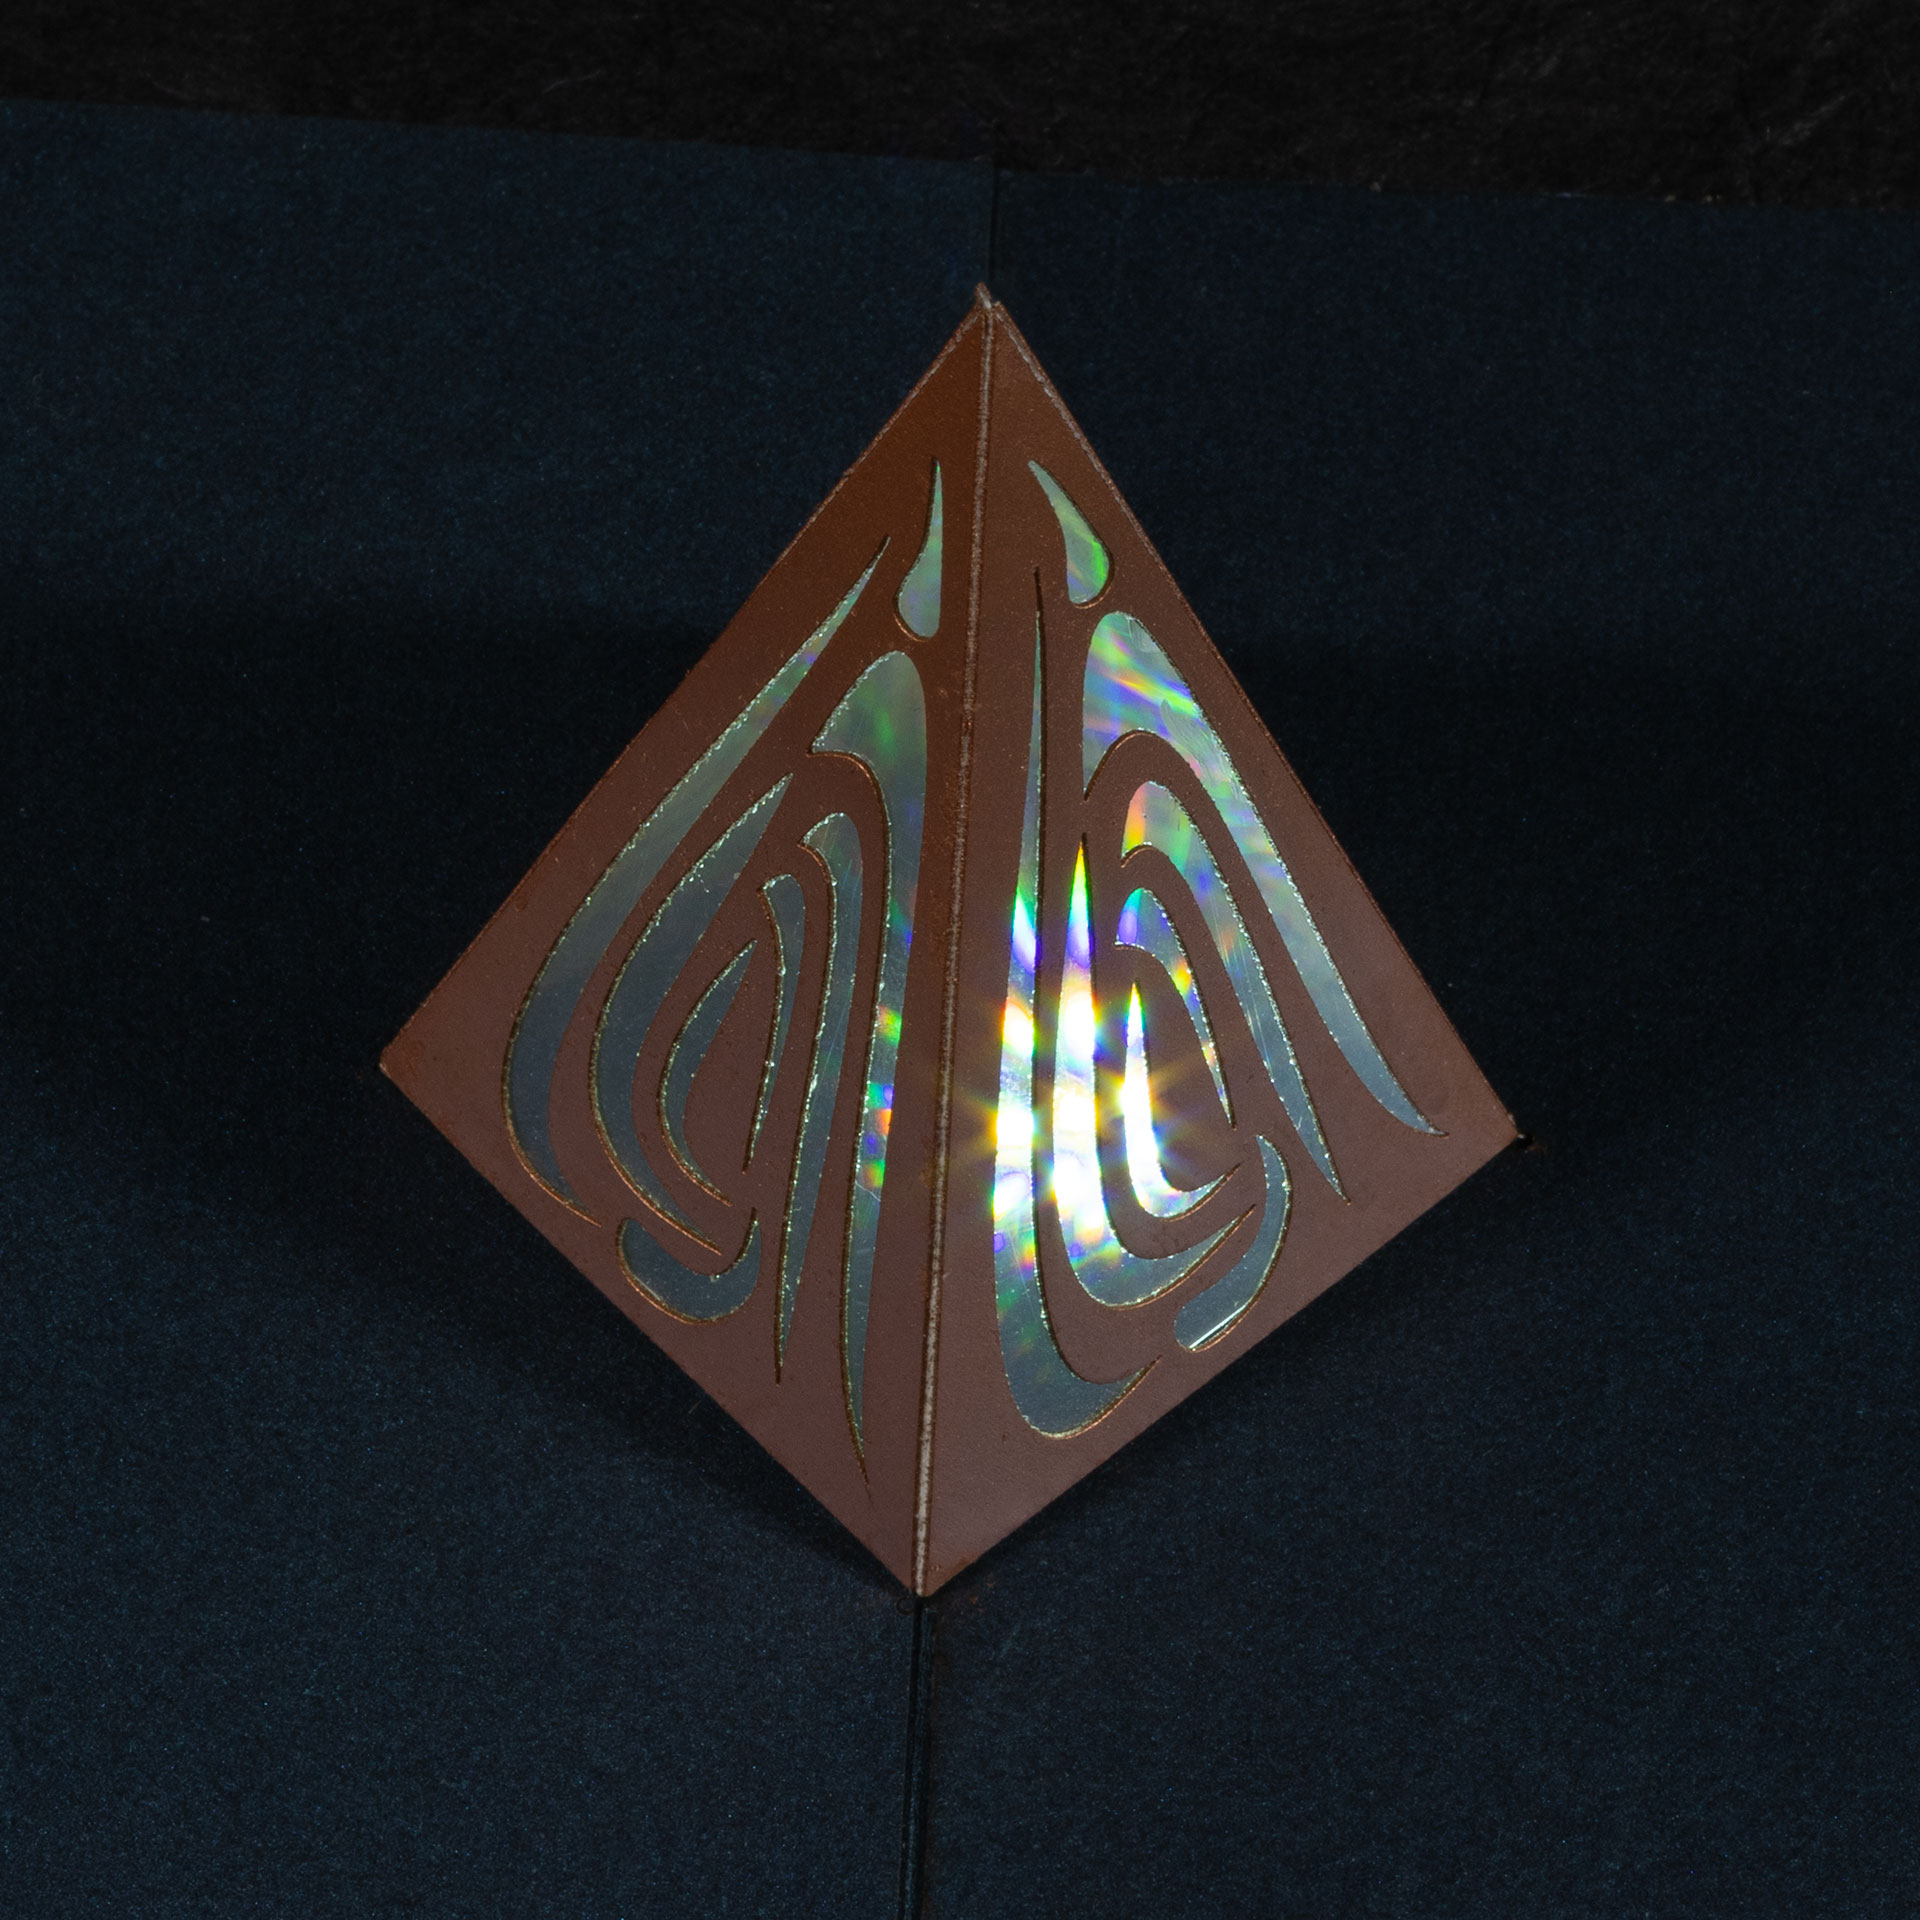
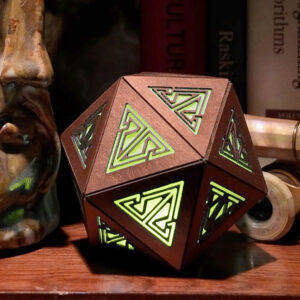
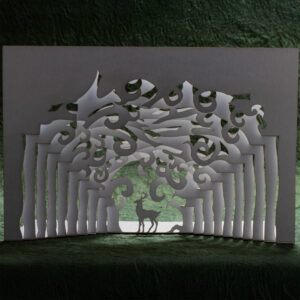
While I immediately came up with a number of humorous ideas for that prompt, I decided to go with another geometric abstract. A pop up pyramid is not particularly unique. In fact, I was a little disheartened when I was partway through designing this card to see someone had done another light-up pop up pyramid. Mine is more about the variation, embellishment, and the switching mechanism, though. So, I persevered.
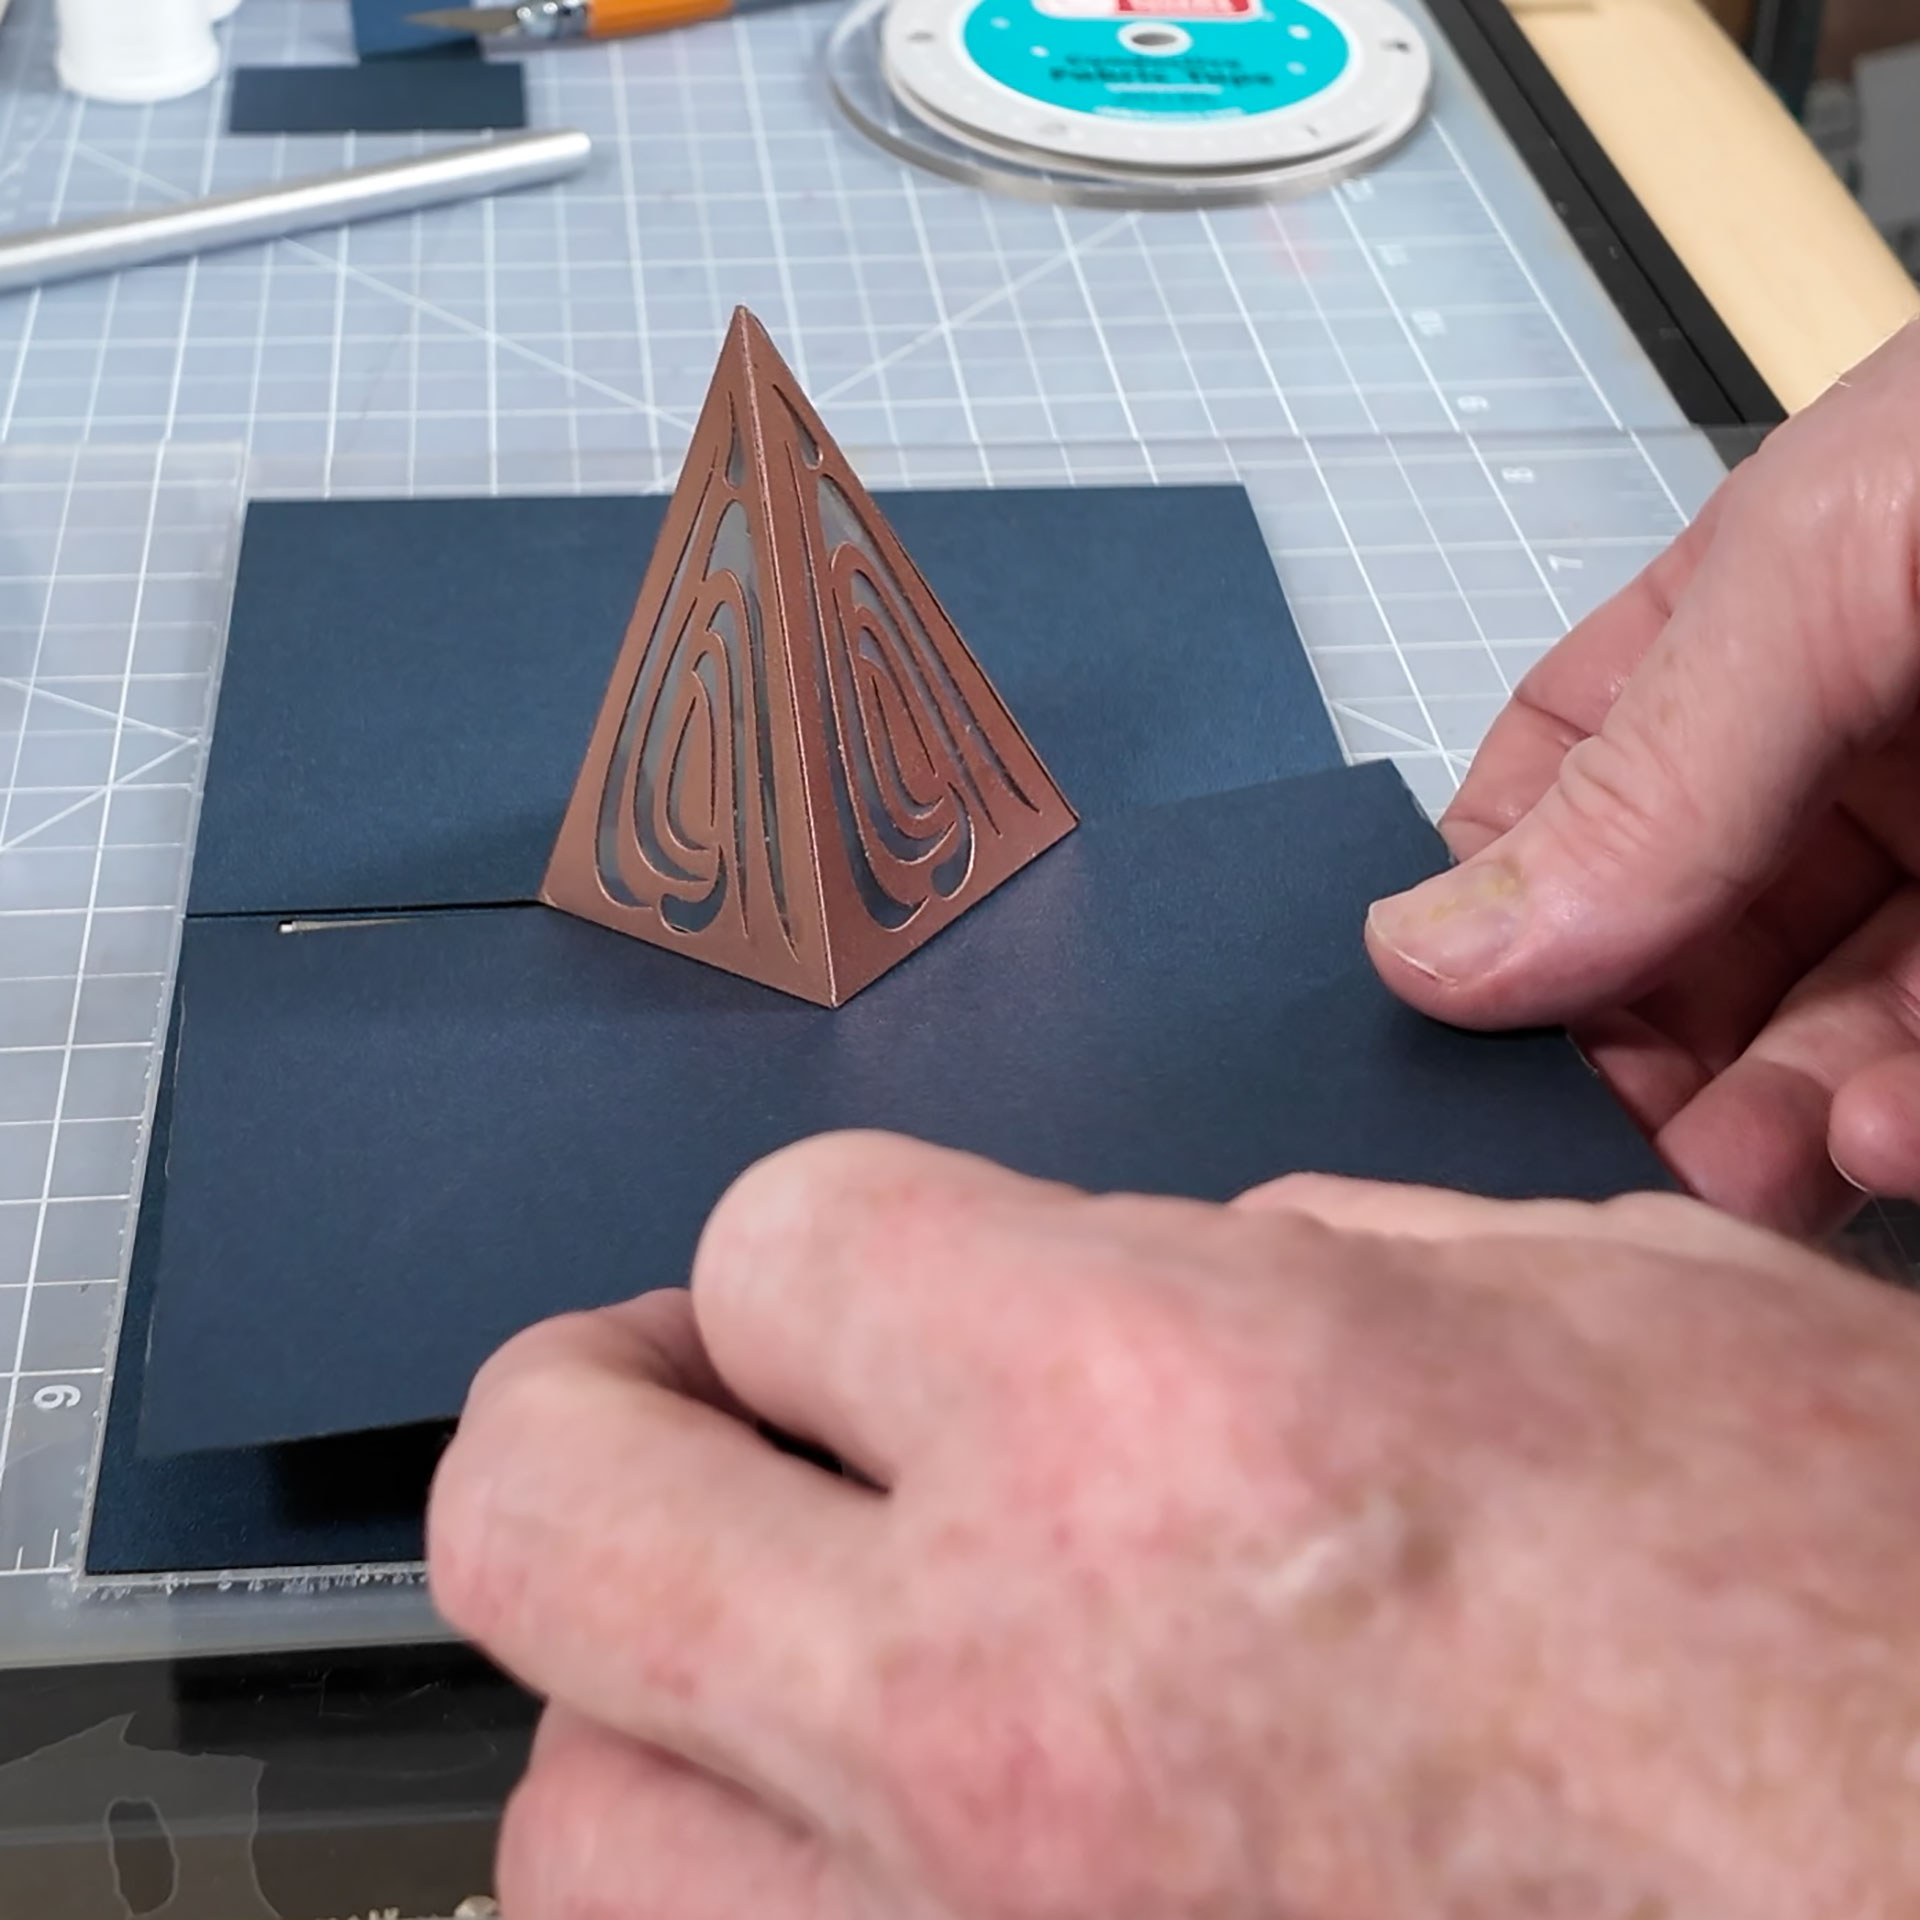
The pyramid is 141lb white card stock, which is pretty heavyweight. It was perfectly adequate to stand up to spraying it with metallic copper paint. I drew some curvy abstract cut outs for the faces in Inkscape.
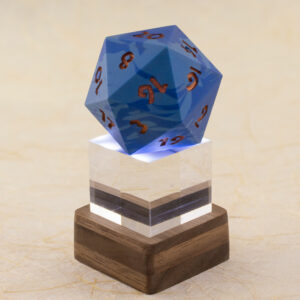
I had some paper glasses from Edmond Scientific with diffraction grating material over the eyes when I was a kid. I remember loving to see the rainbows everywhere. A quick check revealed that the film is easy to come by these days. A lot of people are using it to make chocolate molds to produce chocolates that throw off a rainbow reflection. I have plenty of diffraction grating left, and may get around to trying that, too.
The stuff I bought didn’t really say exactly what the material is, and I didn’t feel like researching that. Since some types of plastic have corrosive and/or toxic combustion products, I decided to cut it with the plotting cutter instead of the laser.
I recently replaced the MacBook I use in the studio, and got new Mac OS native software (SCAL) that drives my old Bosskut Gazelle plotting cutter. This was the first run at using that, and it worked great. I even guessed the right blade depth and pressure settings on the first try, which is pretty amazing for something I do not use often.
I also got some “holographic” sticker paper and tried that on one of my prototype pyramids. It does a nice job making rainbows with reflected light, but really doesn’t do anything with light passing through it.
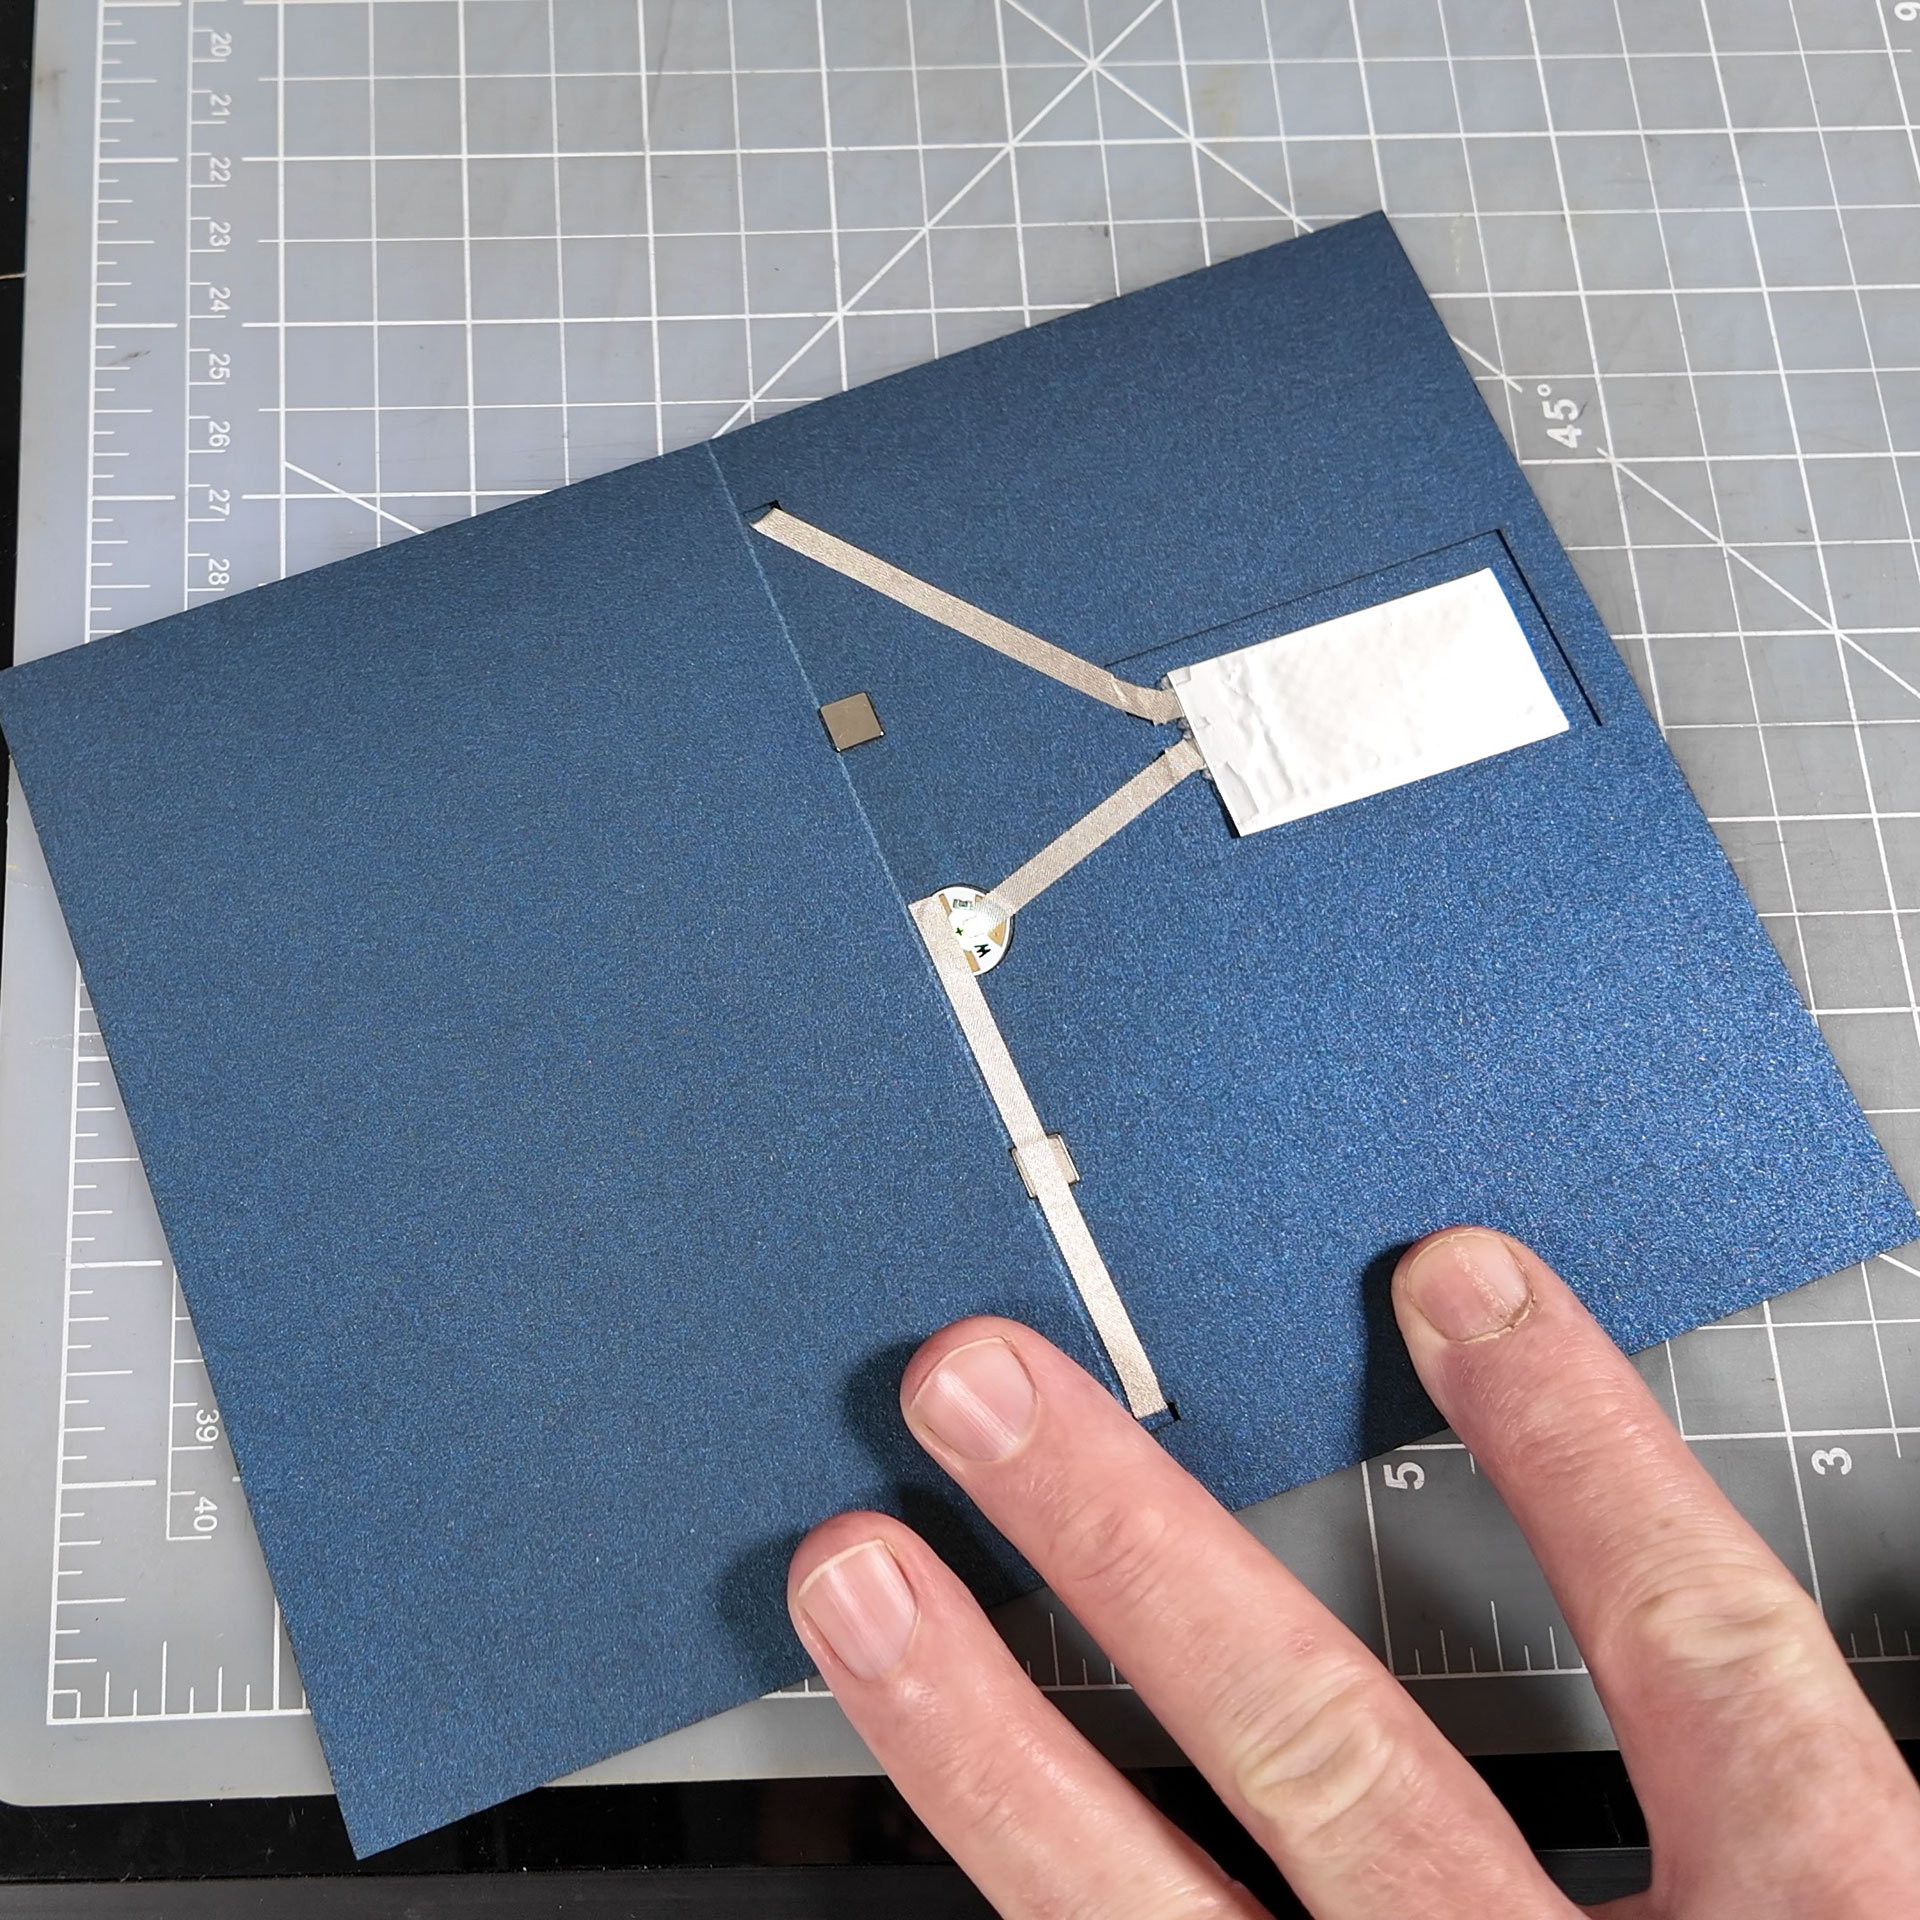
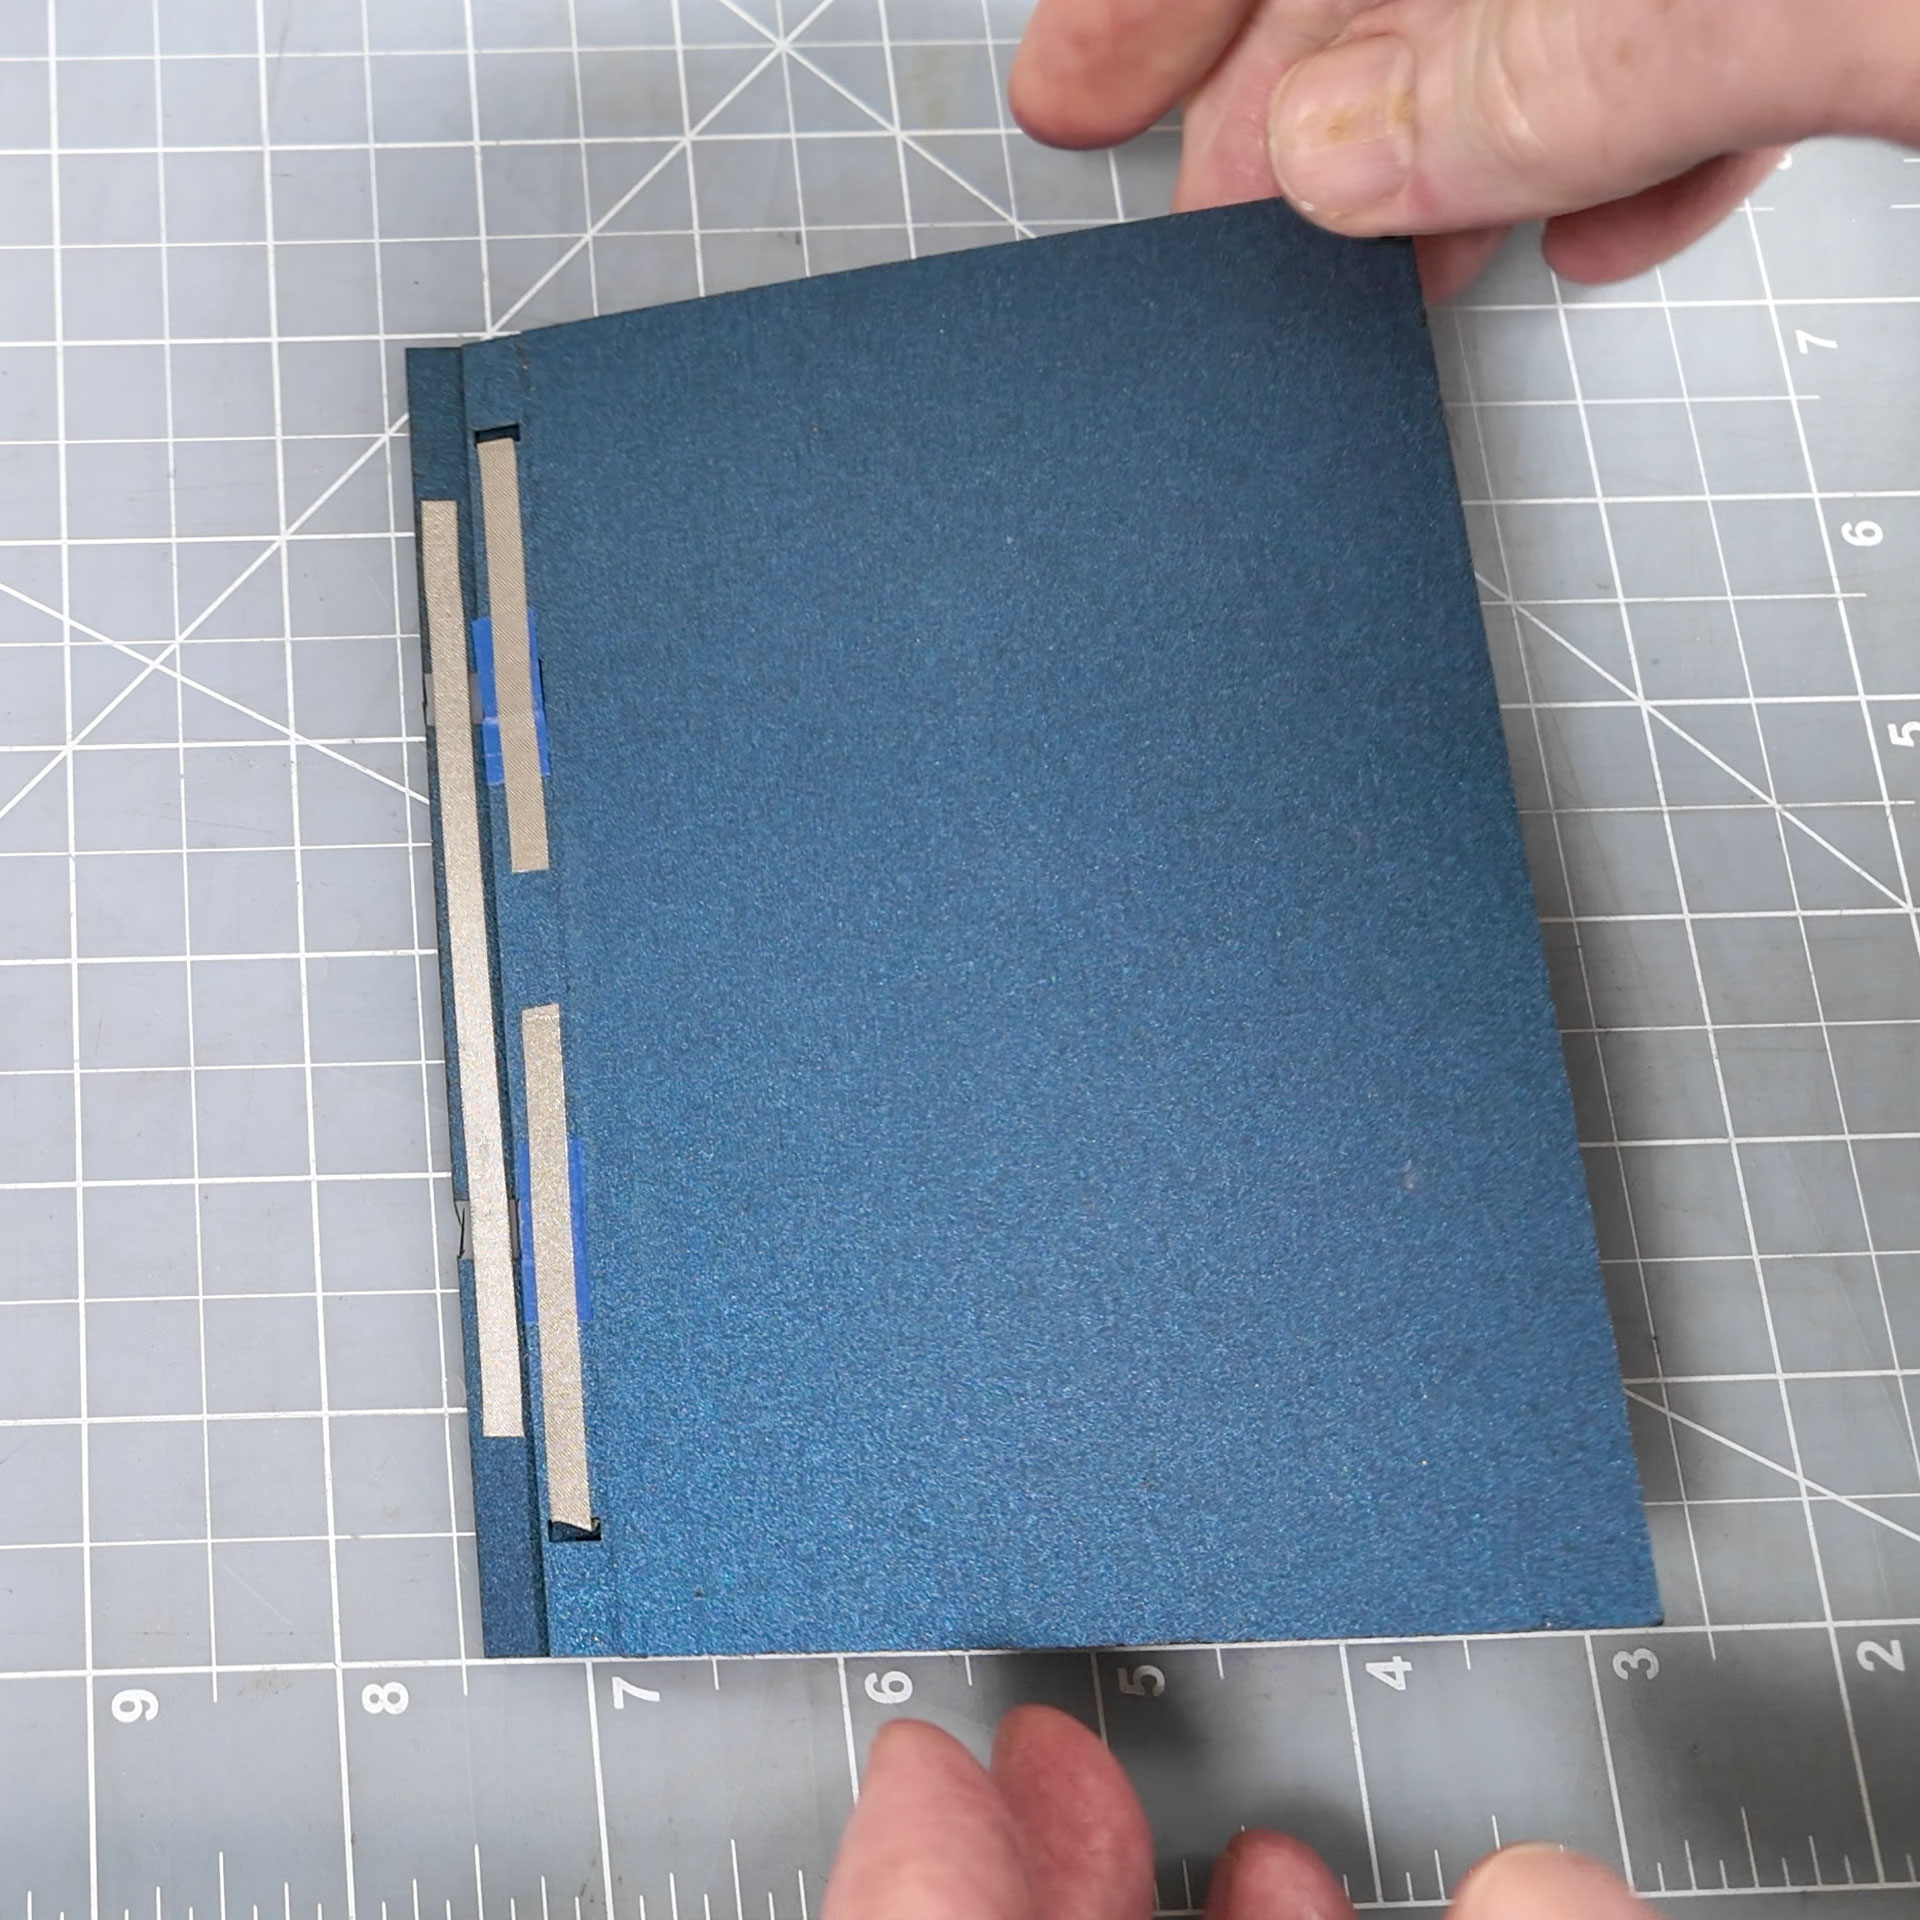
The base card is three layers of the lapis lazuli blue Stardream 105lb cover stock. The circuit works in three dimensions using the paper as an insulator, and creating a switch across the outside/back of the card. A Chibitronics heartbeat/slow pulse white LED Circuit Sticker provides the light. The traces are all conductive fabric tape, which seems to hold up and connect better than the copper tape on flexible surfaces.
The other big improvement with the switch is that I used matched 1/4” square 1/32” thick magnets behind the positive traces and the bridging strip to hold the switch closed while the card is open. They provide enough force to do that, but not enough to even be noticeable when opening and closing the card.
The cold laminator with the permanent and repositionable adhesive (the later for the panel covering the battery) was great for assembling the base card. A glue stick would probably work, too, but this was easier.
I tried to explain and document how it all works as clearly as I could in the build video. So, check that out if you are interested in how it works.
The pyramid gets attached to the base card with heavy cotton thread and glue as part of the base card assembly.
I was amazed at how well this worked on the first pass. While I made couple pyramid prototypes, and destroyed a couple pyramids and several base card components (frequently by applying adhesive to the wrong sides), the card you see in the videos and photos is the first (and currently only) finished card from this project.


No comment yet, add your voice below!