I made a couple of the 42mm Jesmonite 20-sided dice for the ⚔️🧊w/🎲 charity auction supporting the Immigration Law & Justice Network.
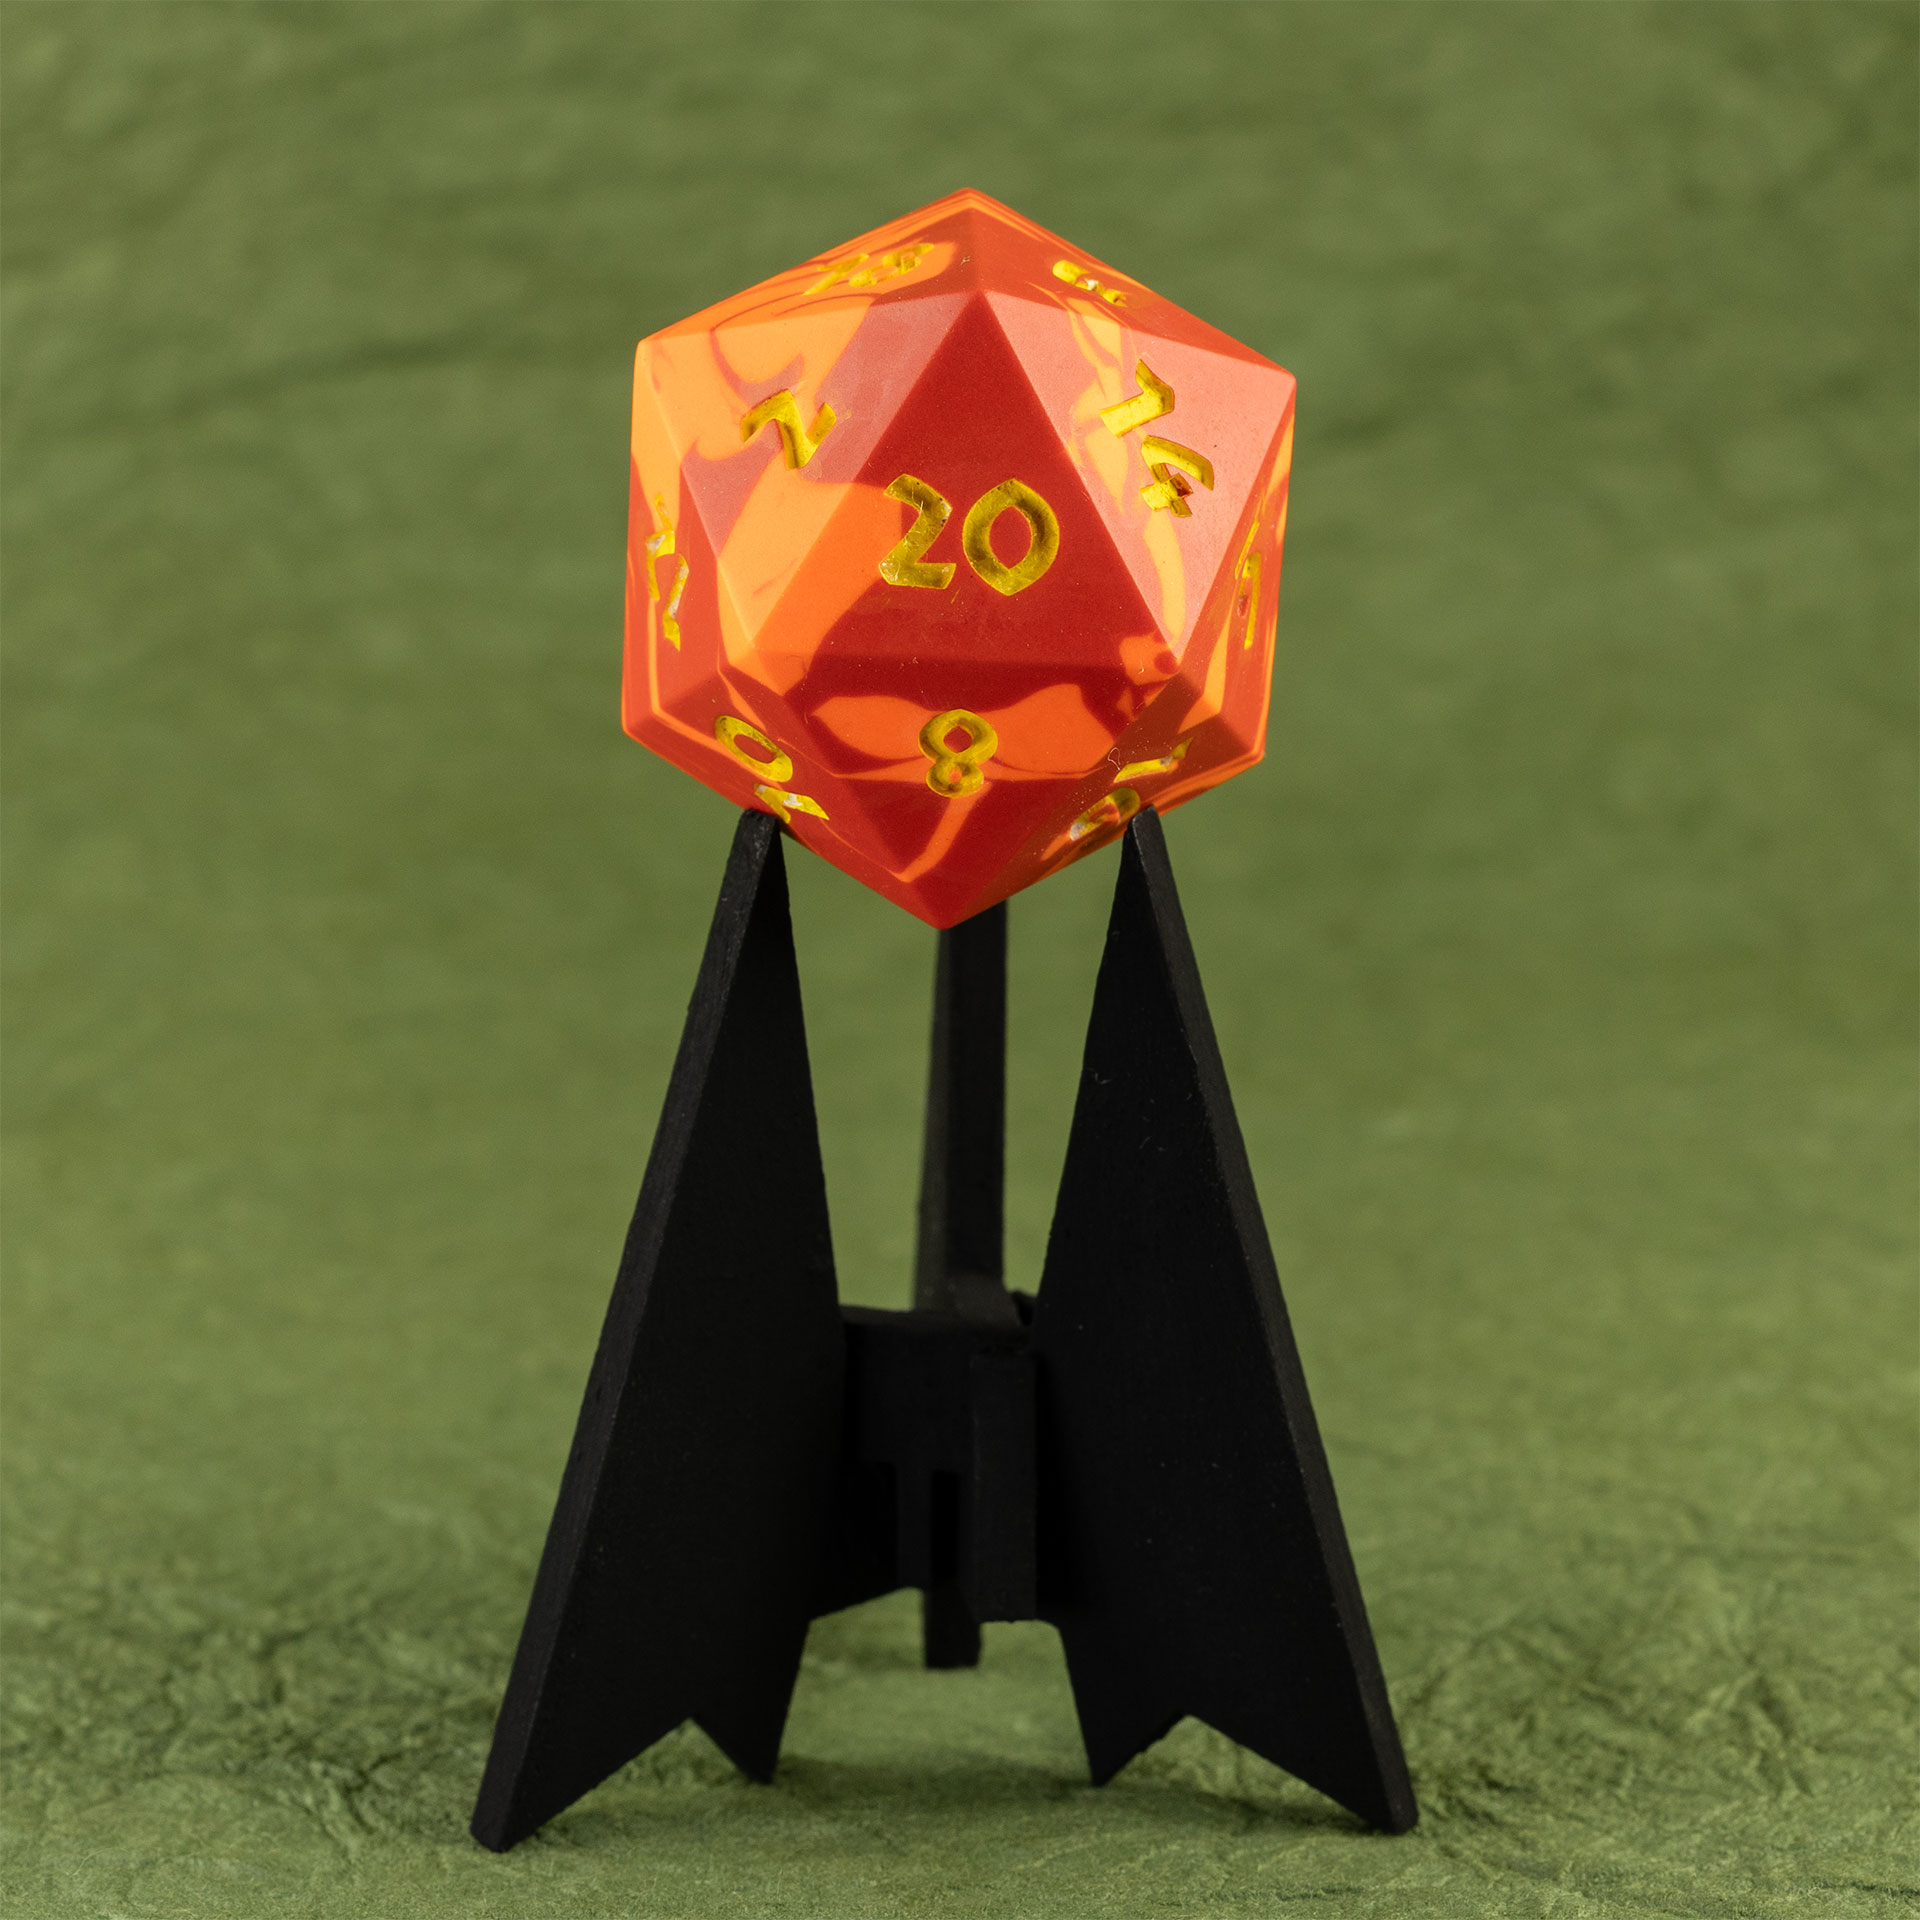
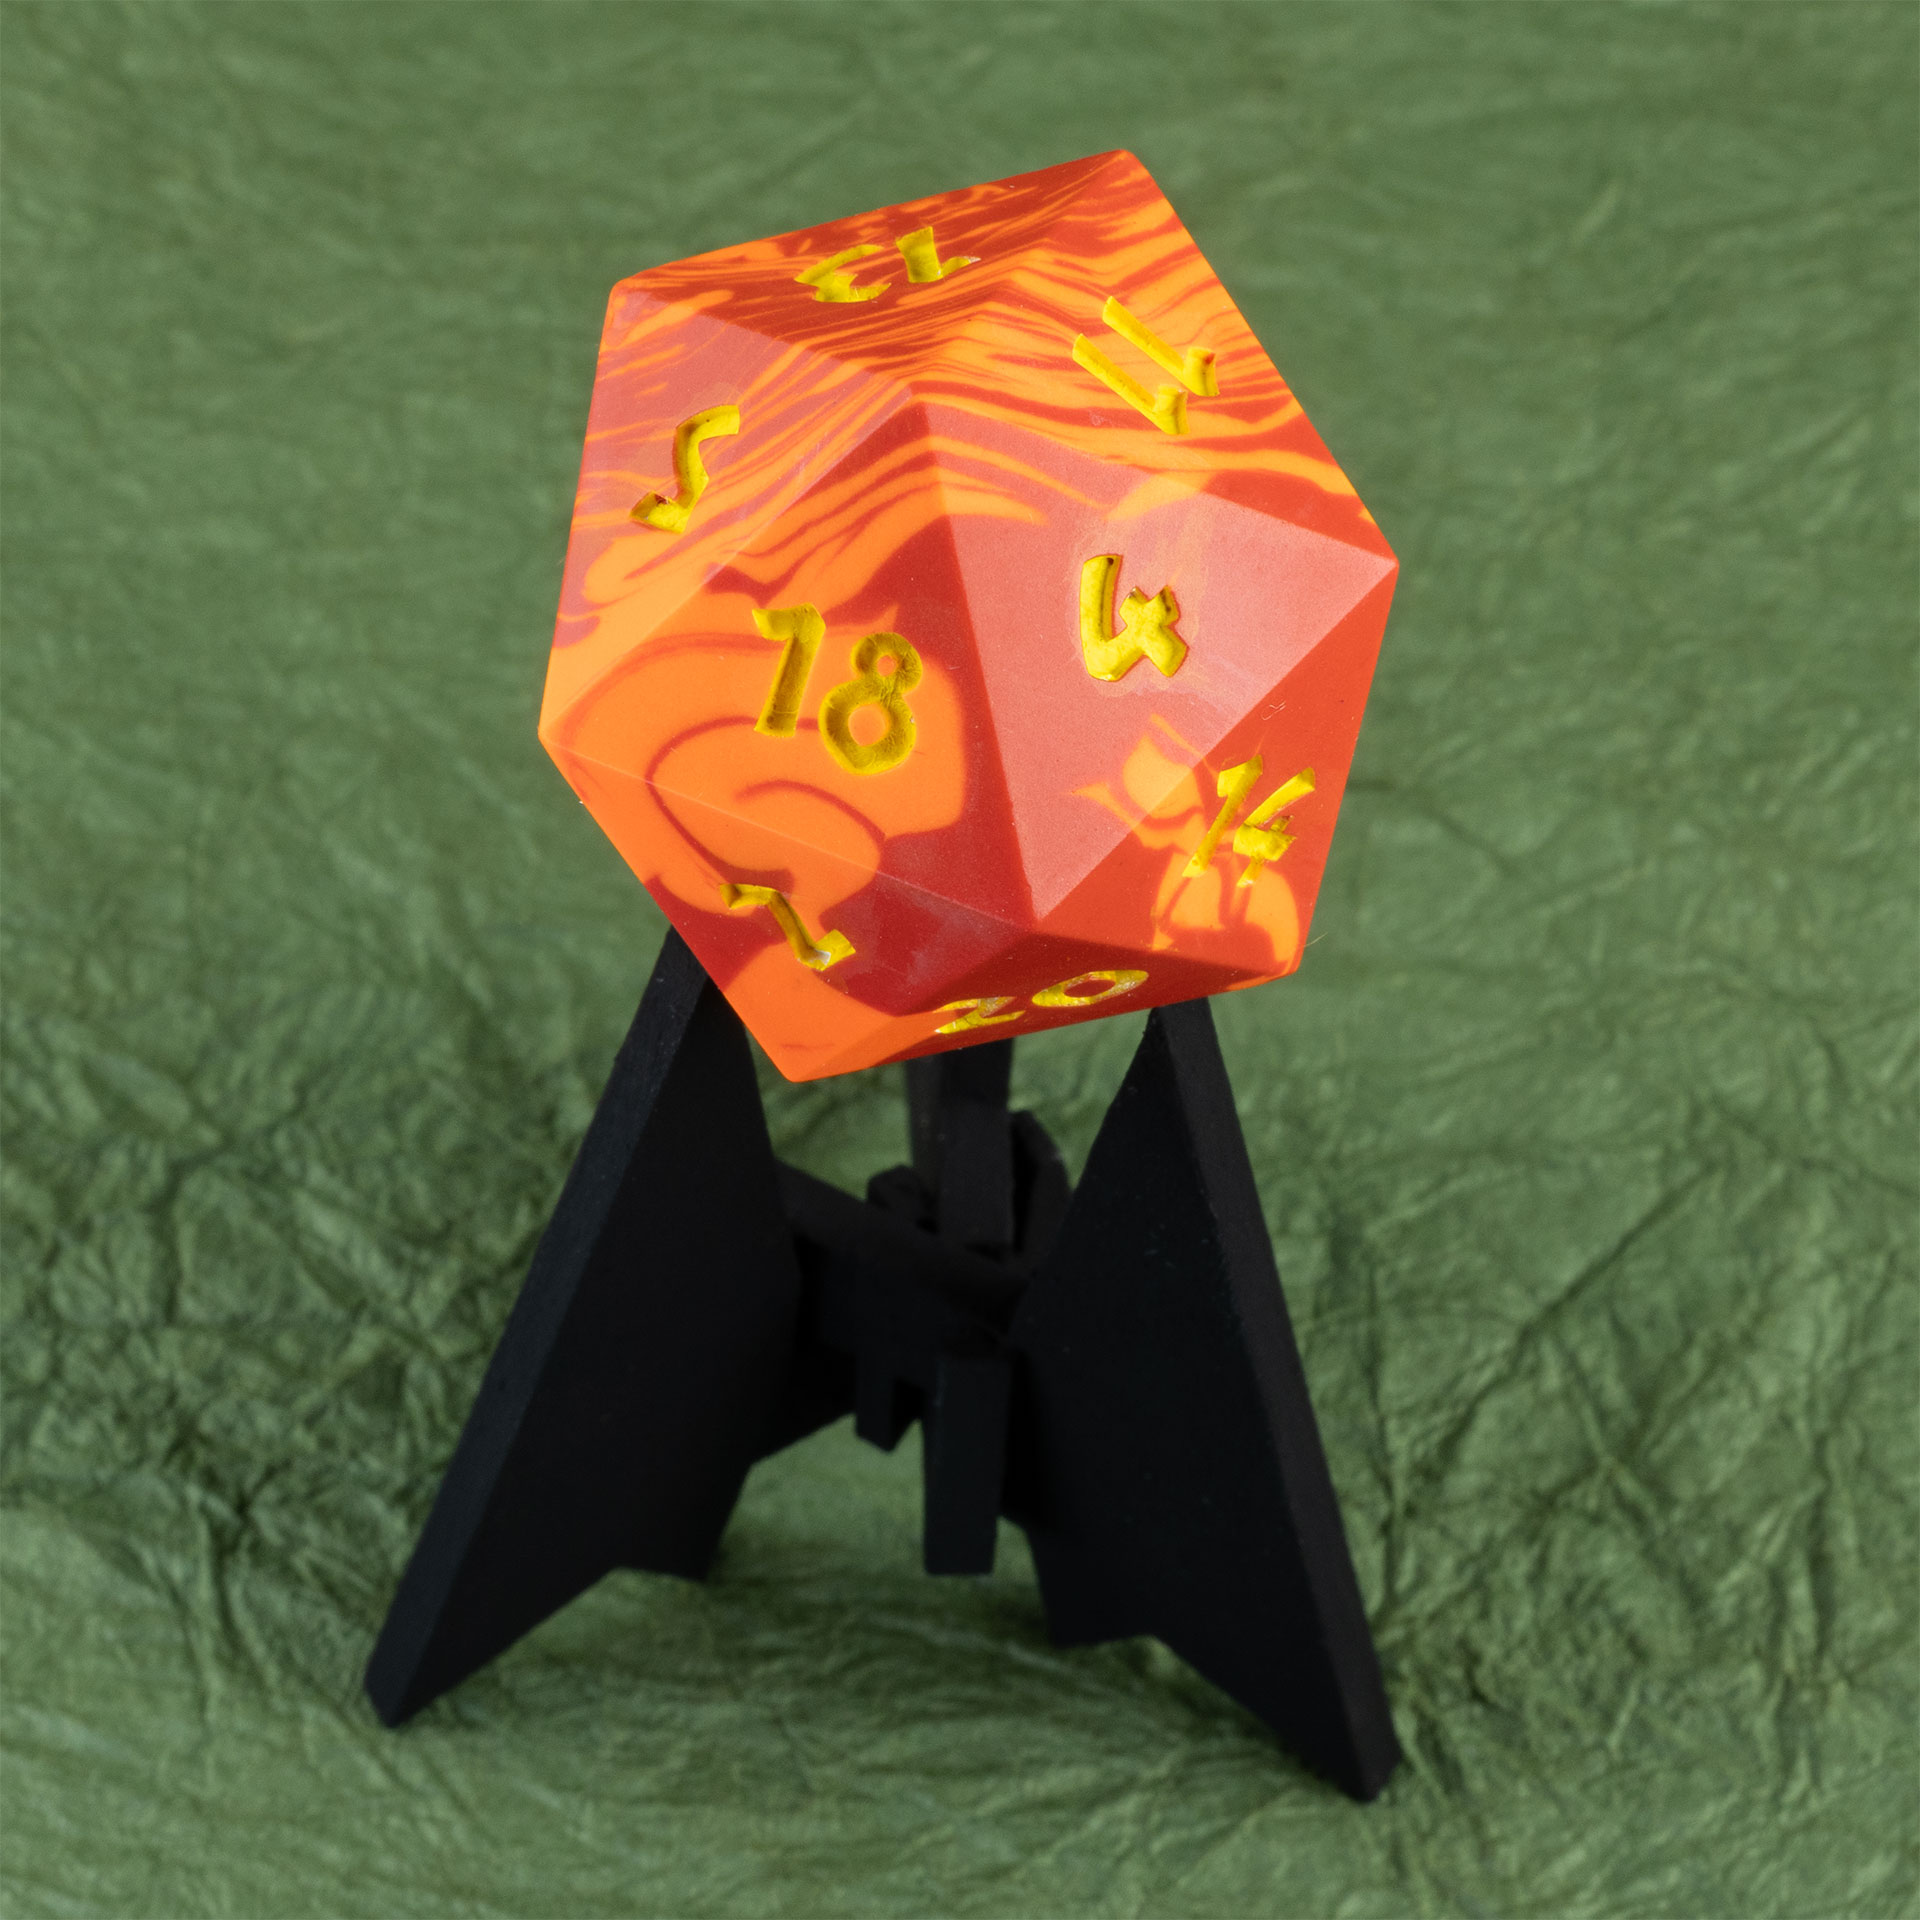
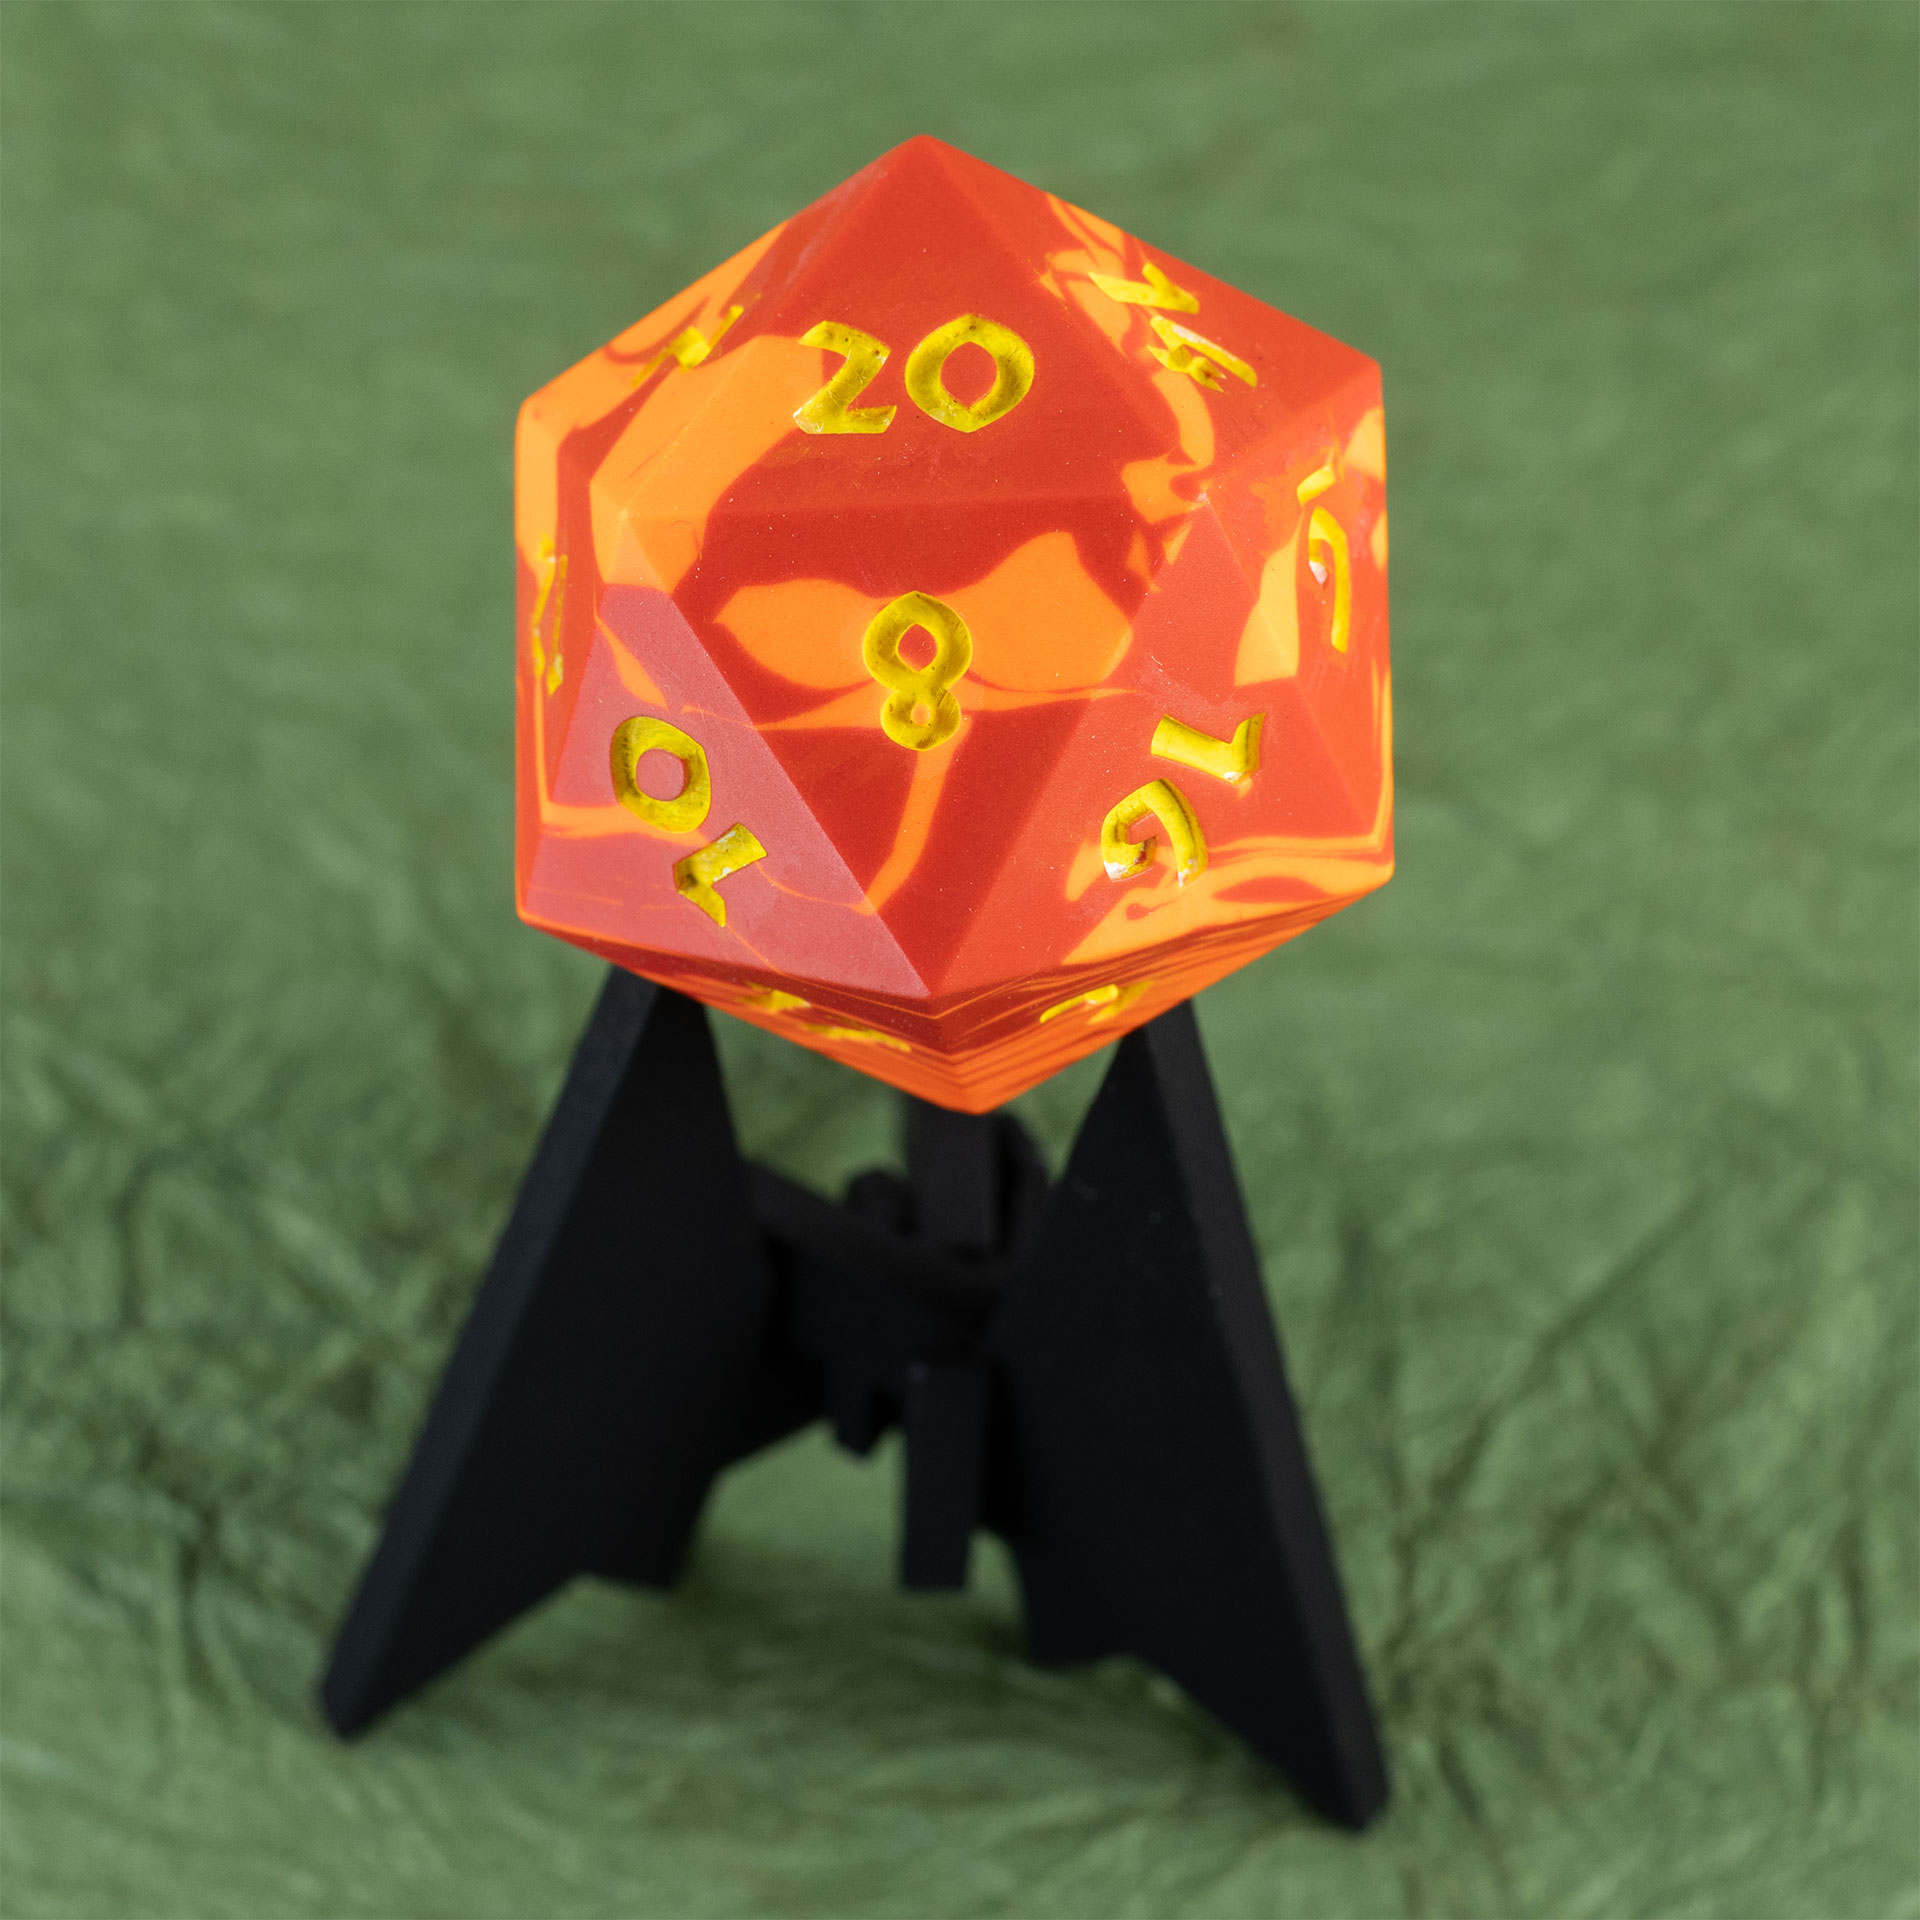
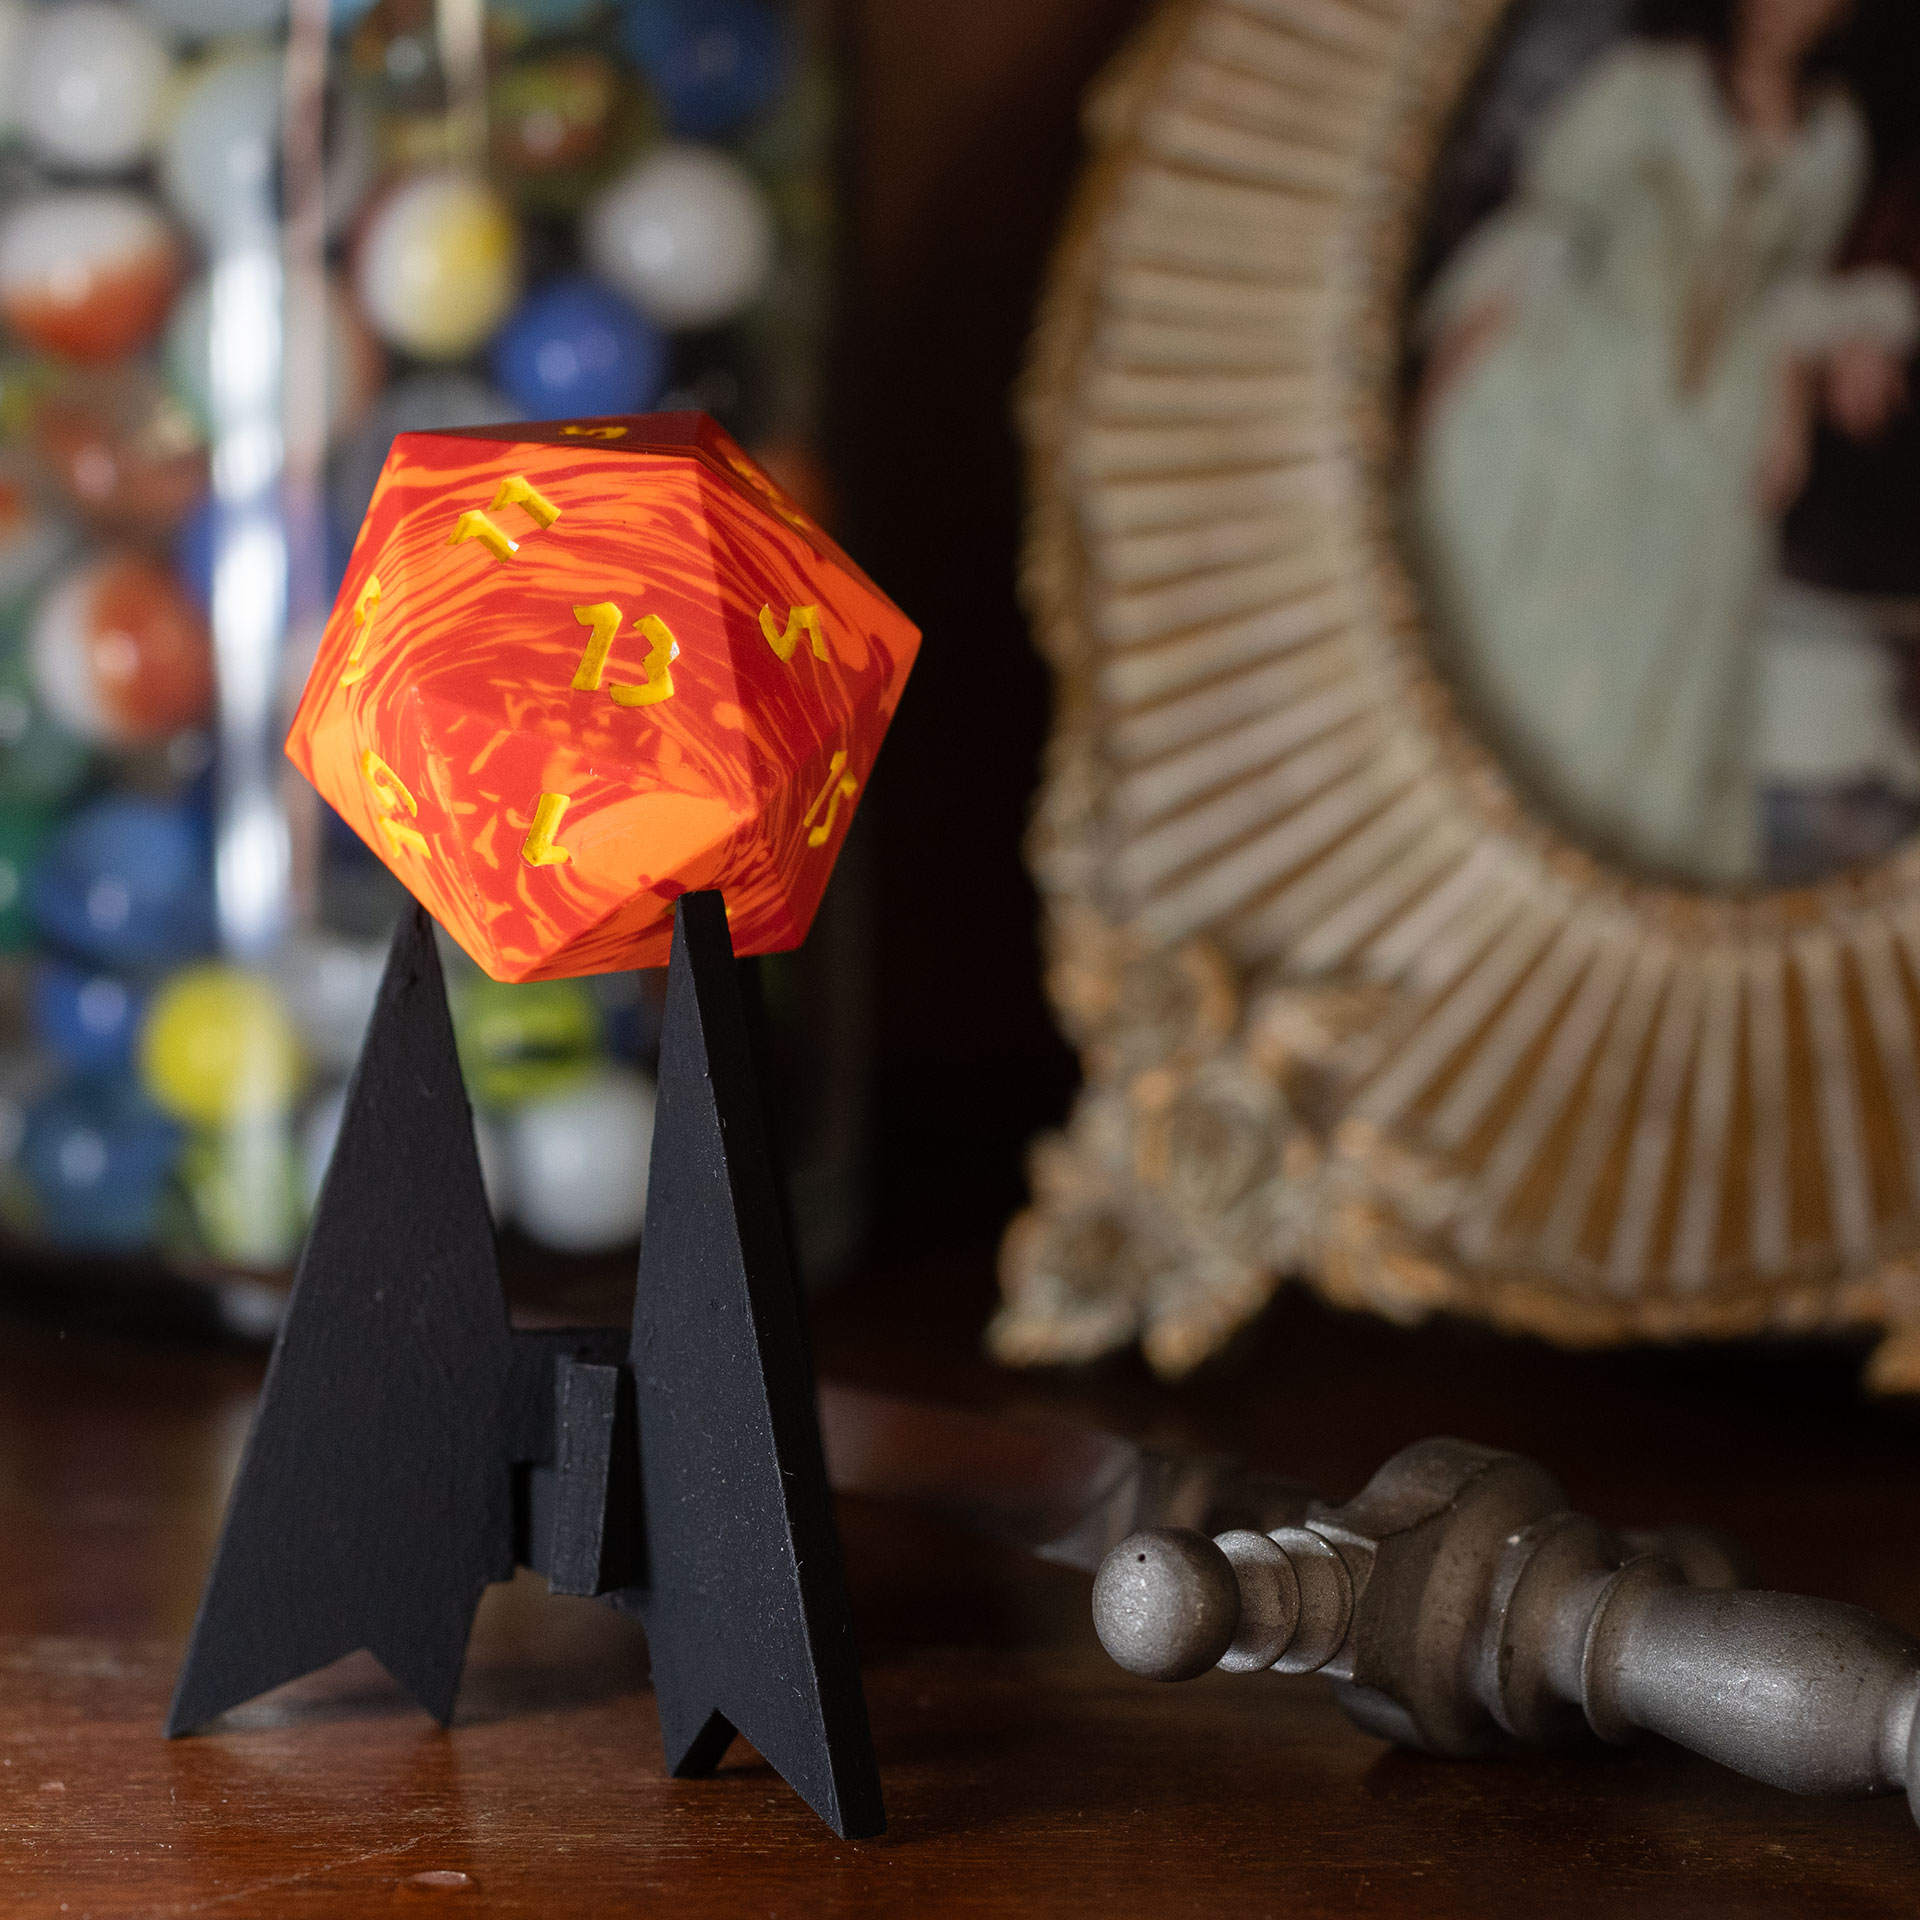
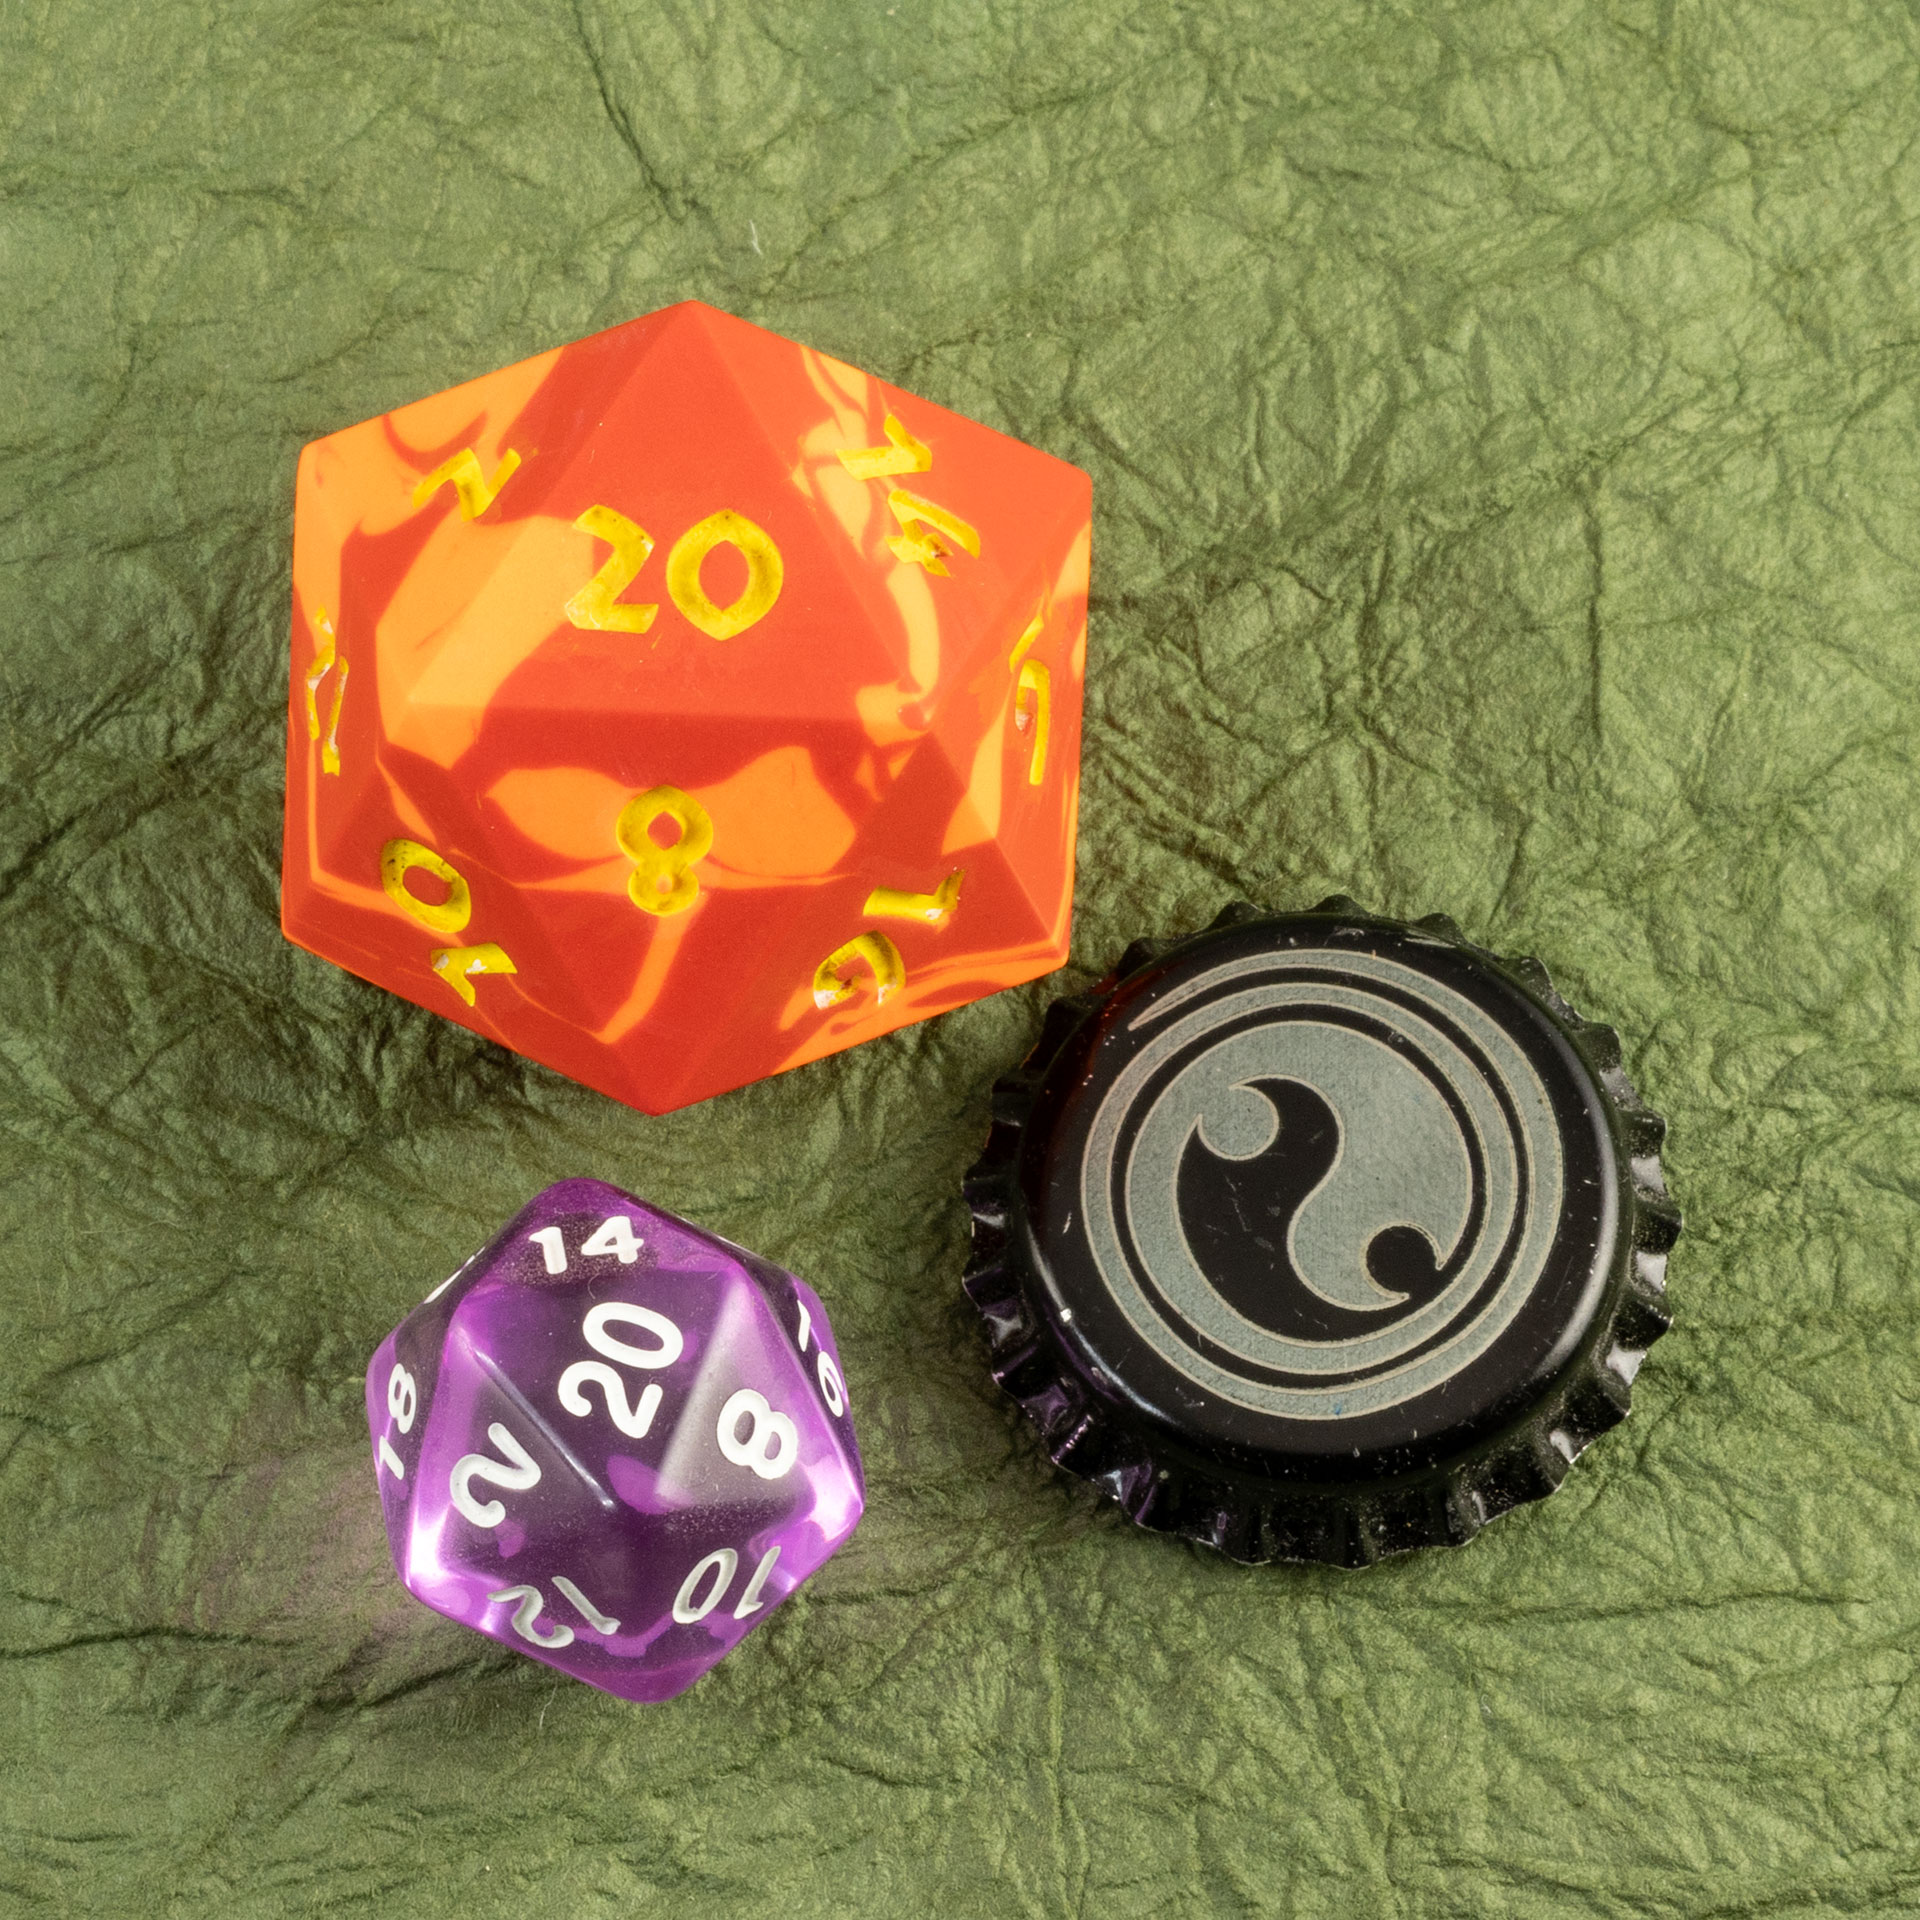
I made a spiky black stand for the orange-and-yellow fire-themed Ireball chonk. The specific fantasy property vibes it is almost certainly giving you were unintentional, but they do fit the theme.
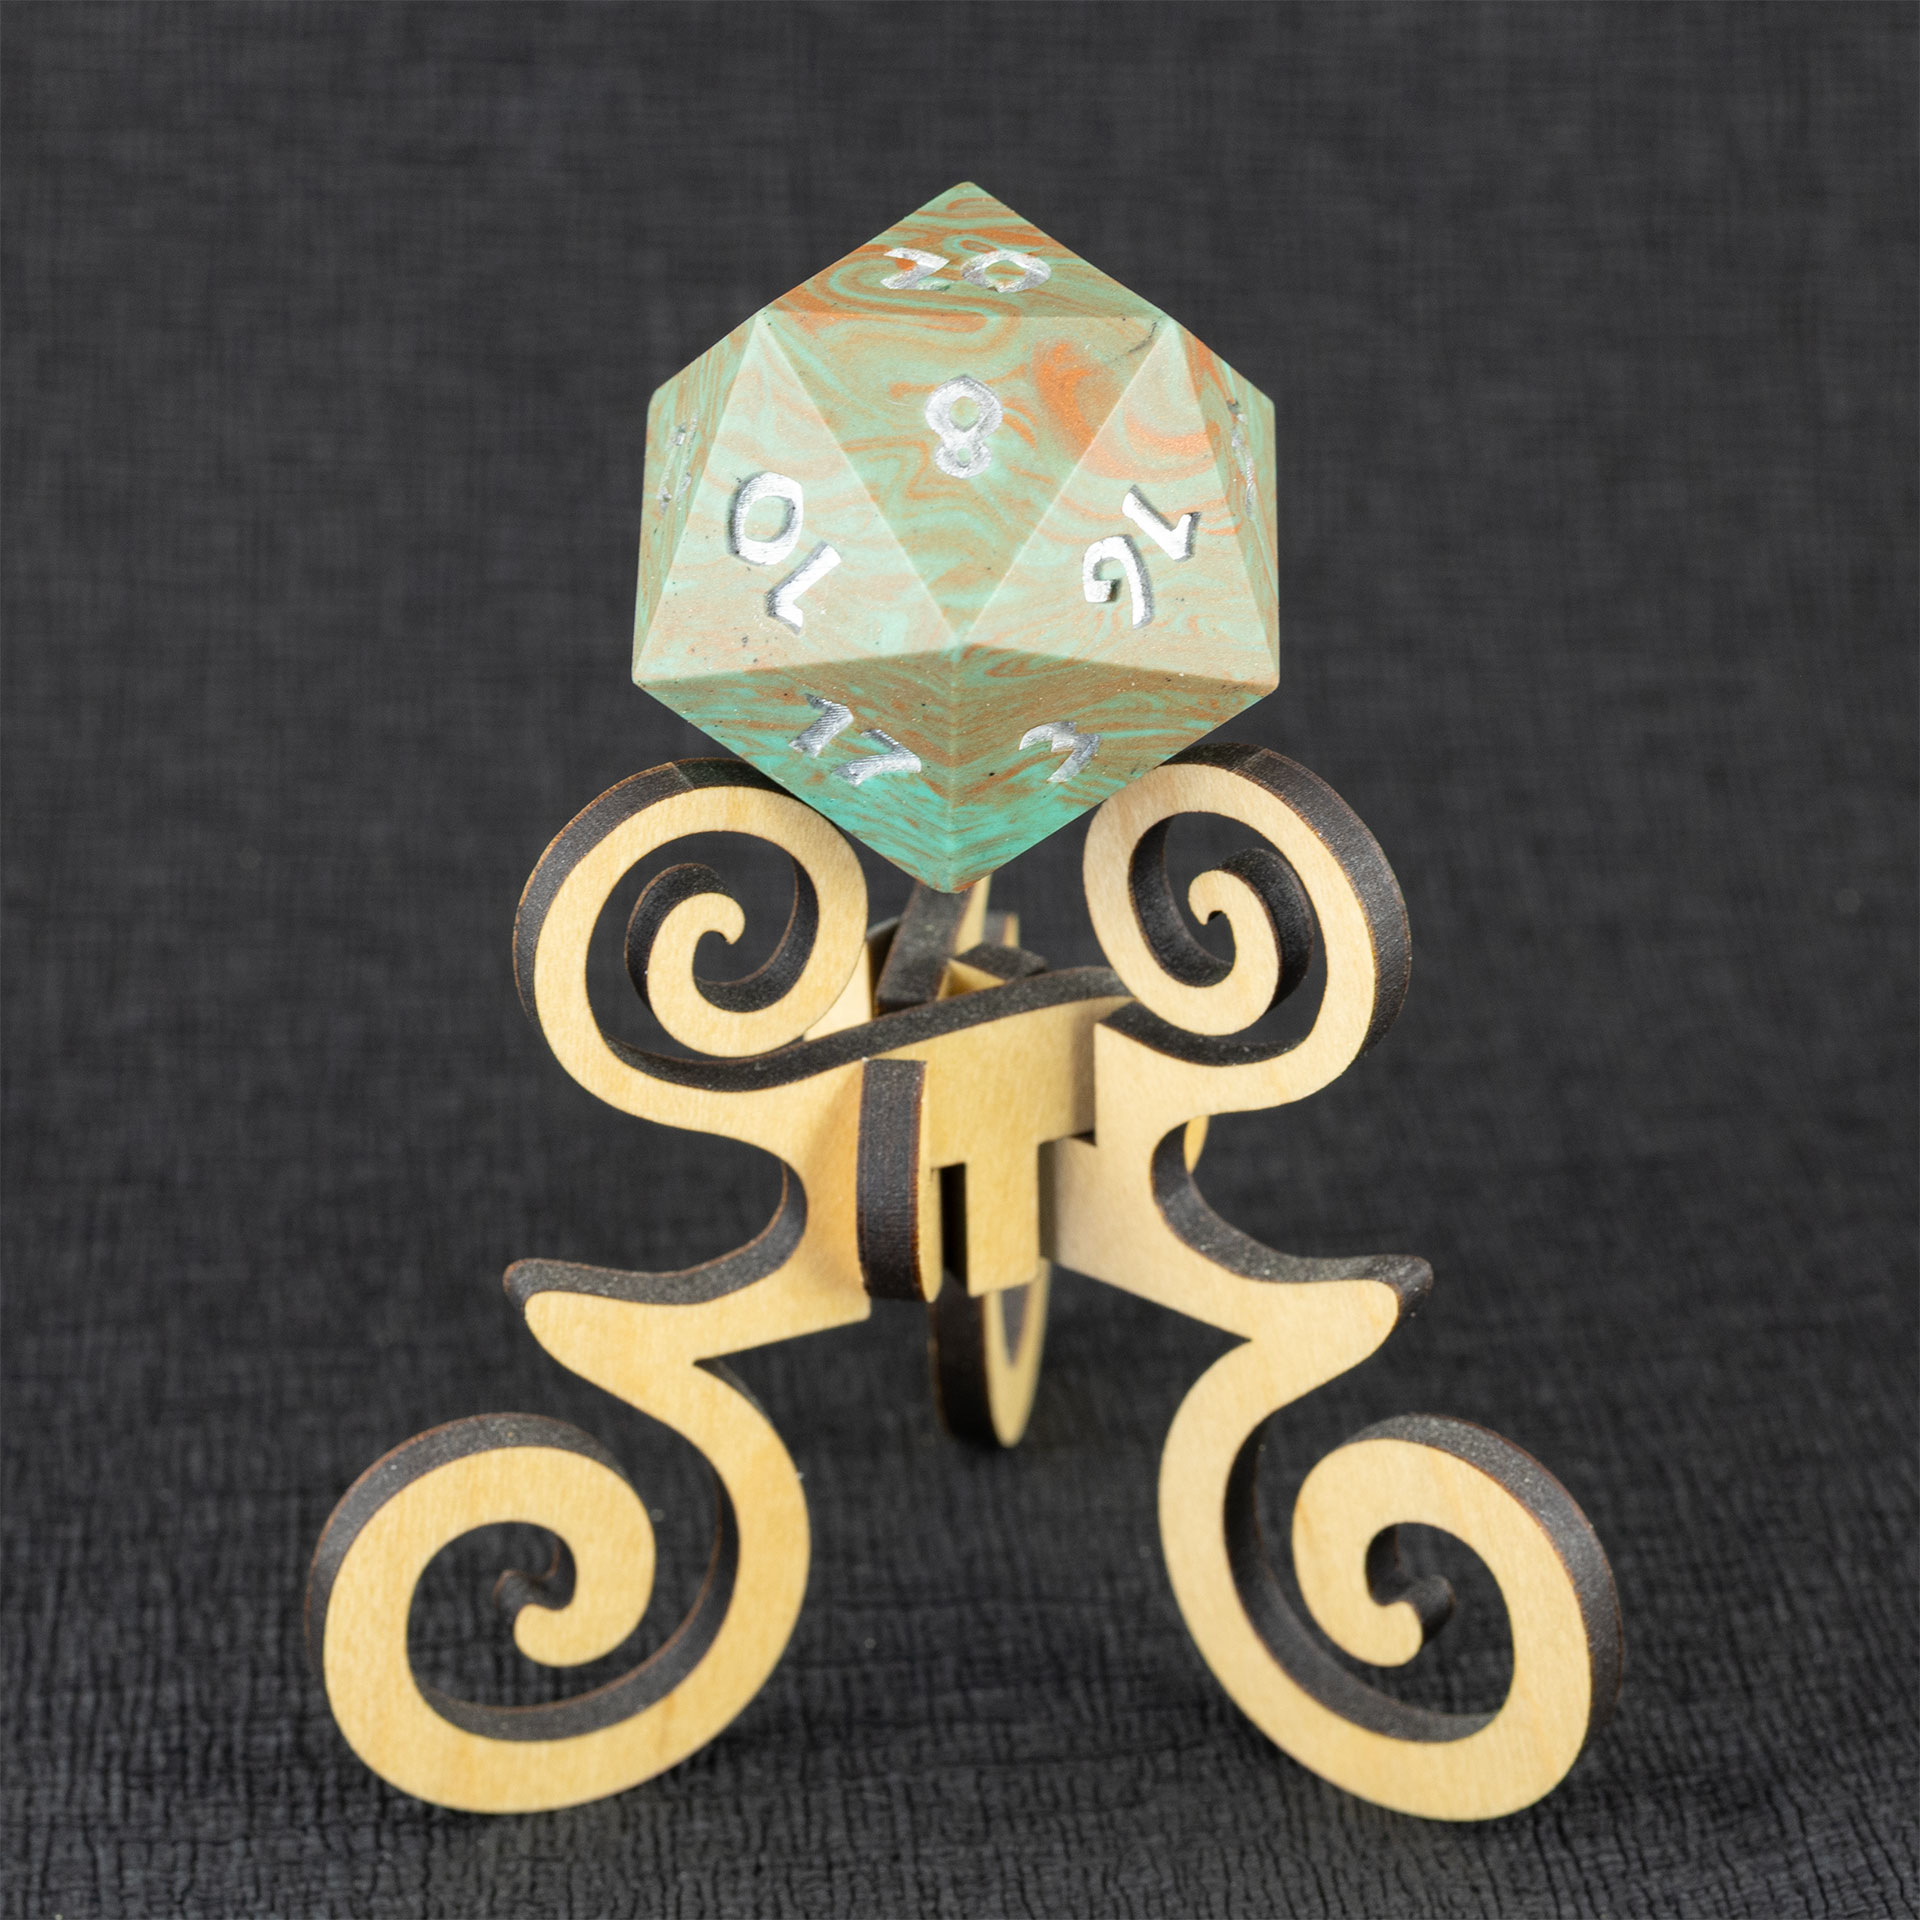
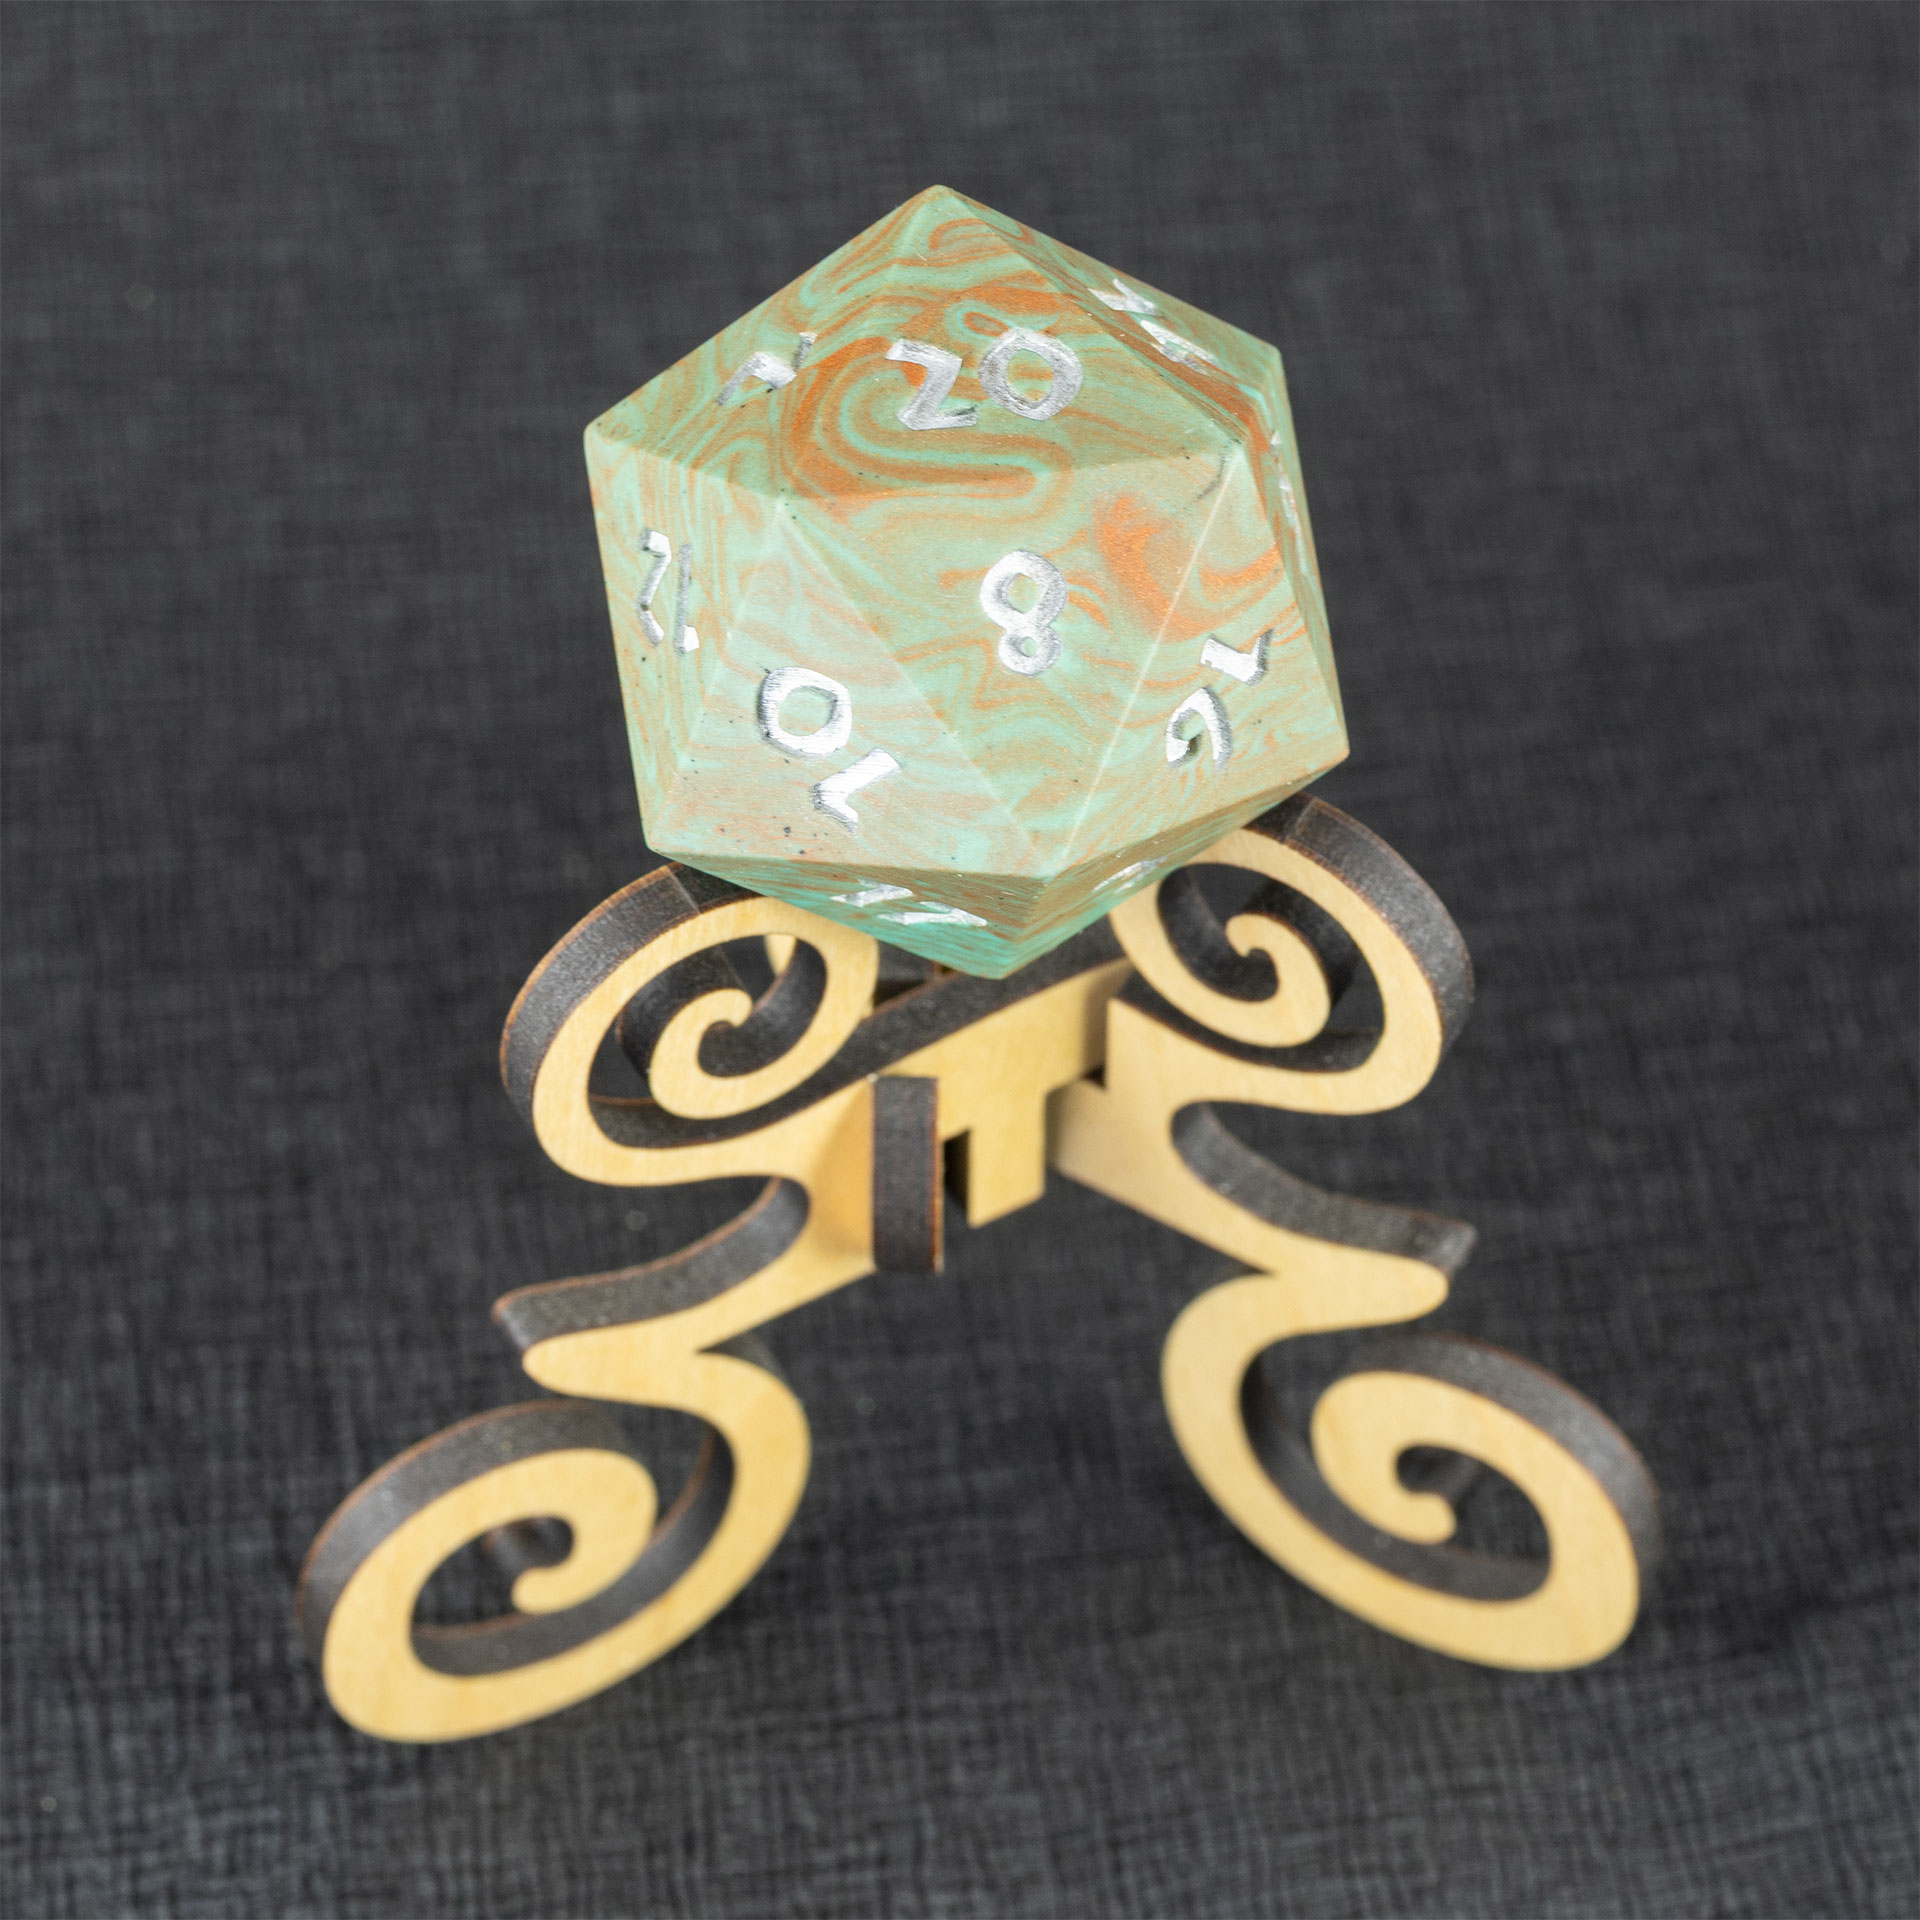
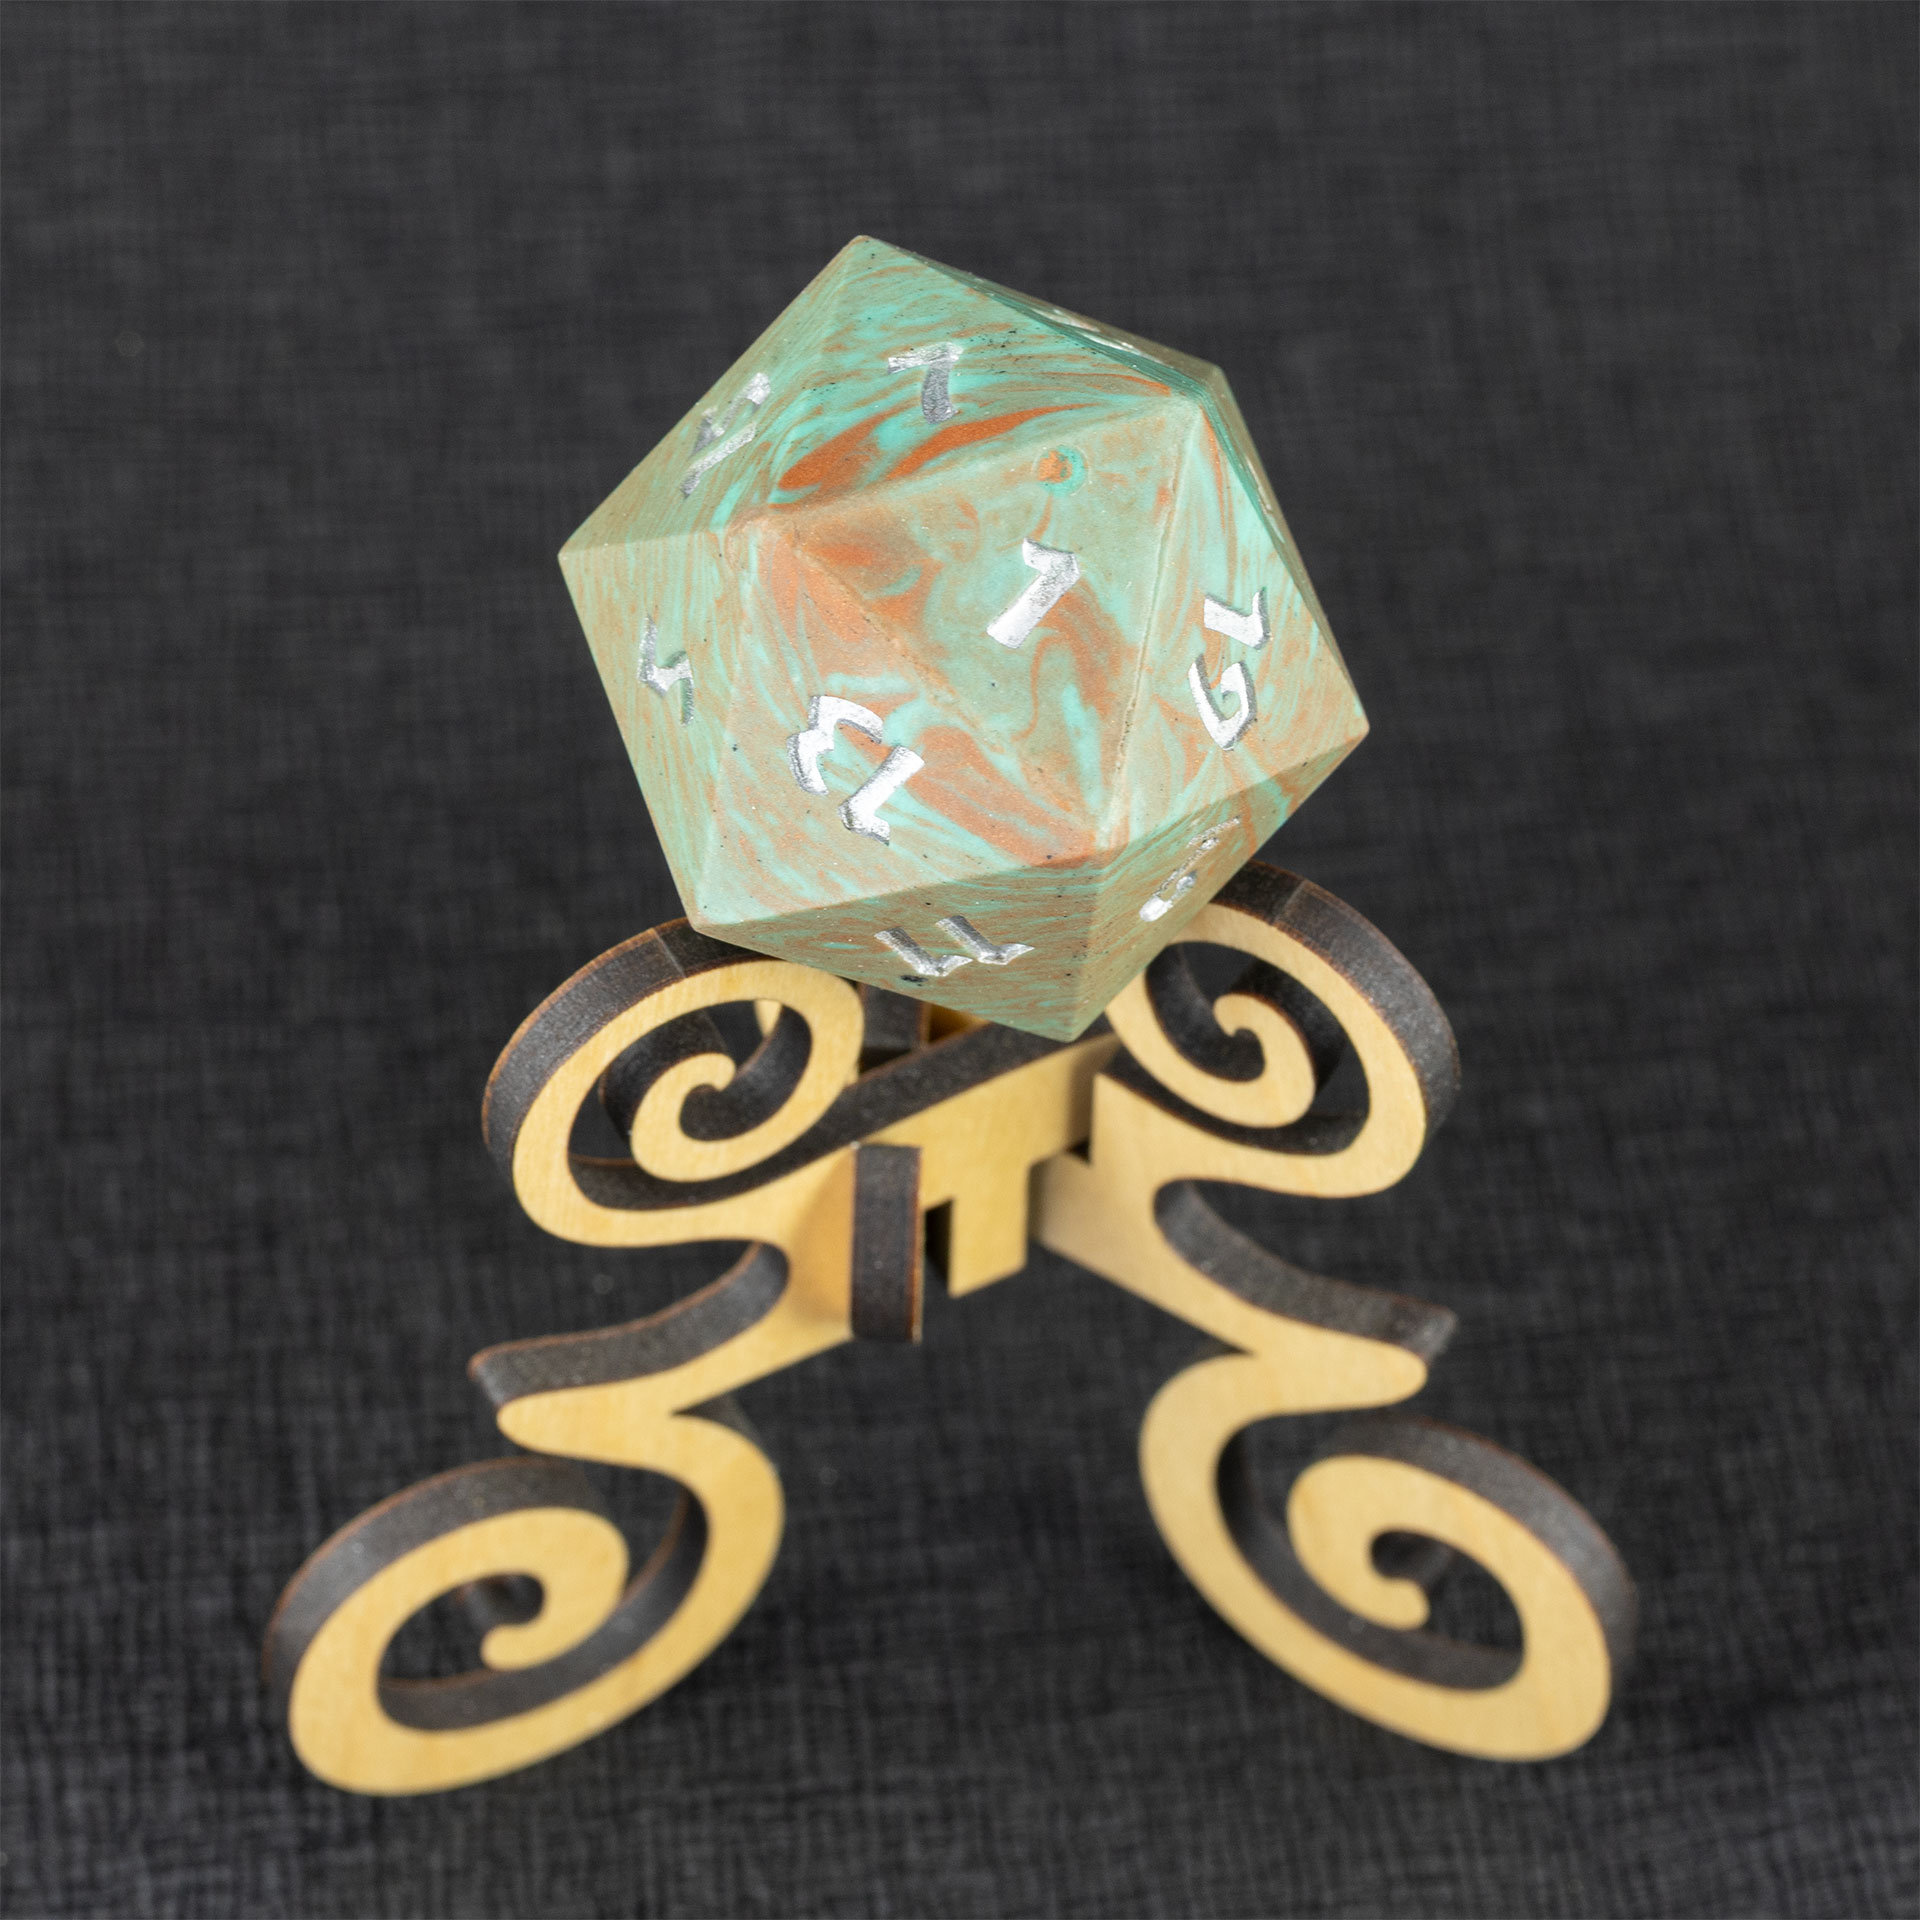
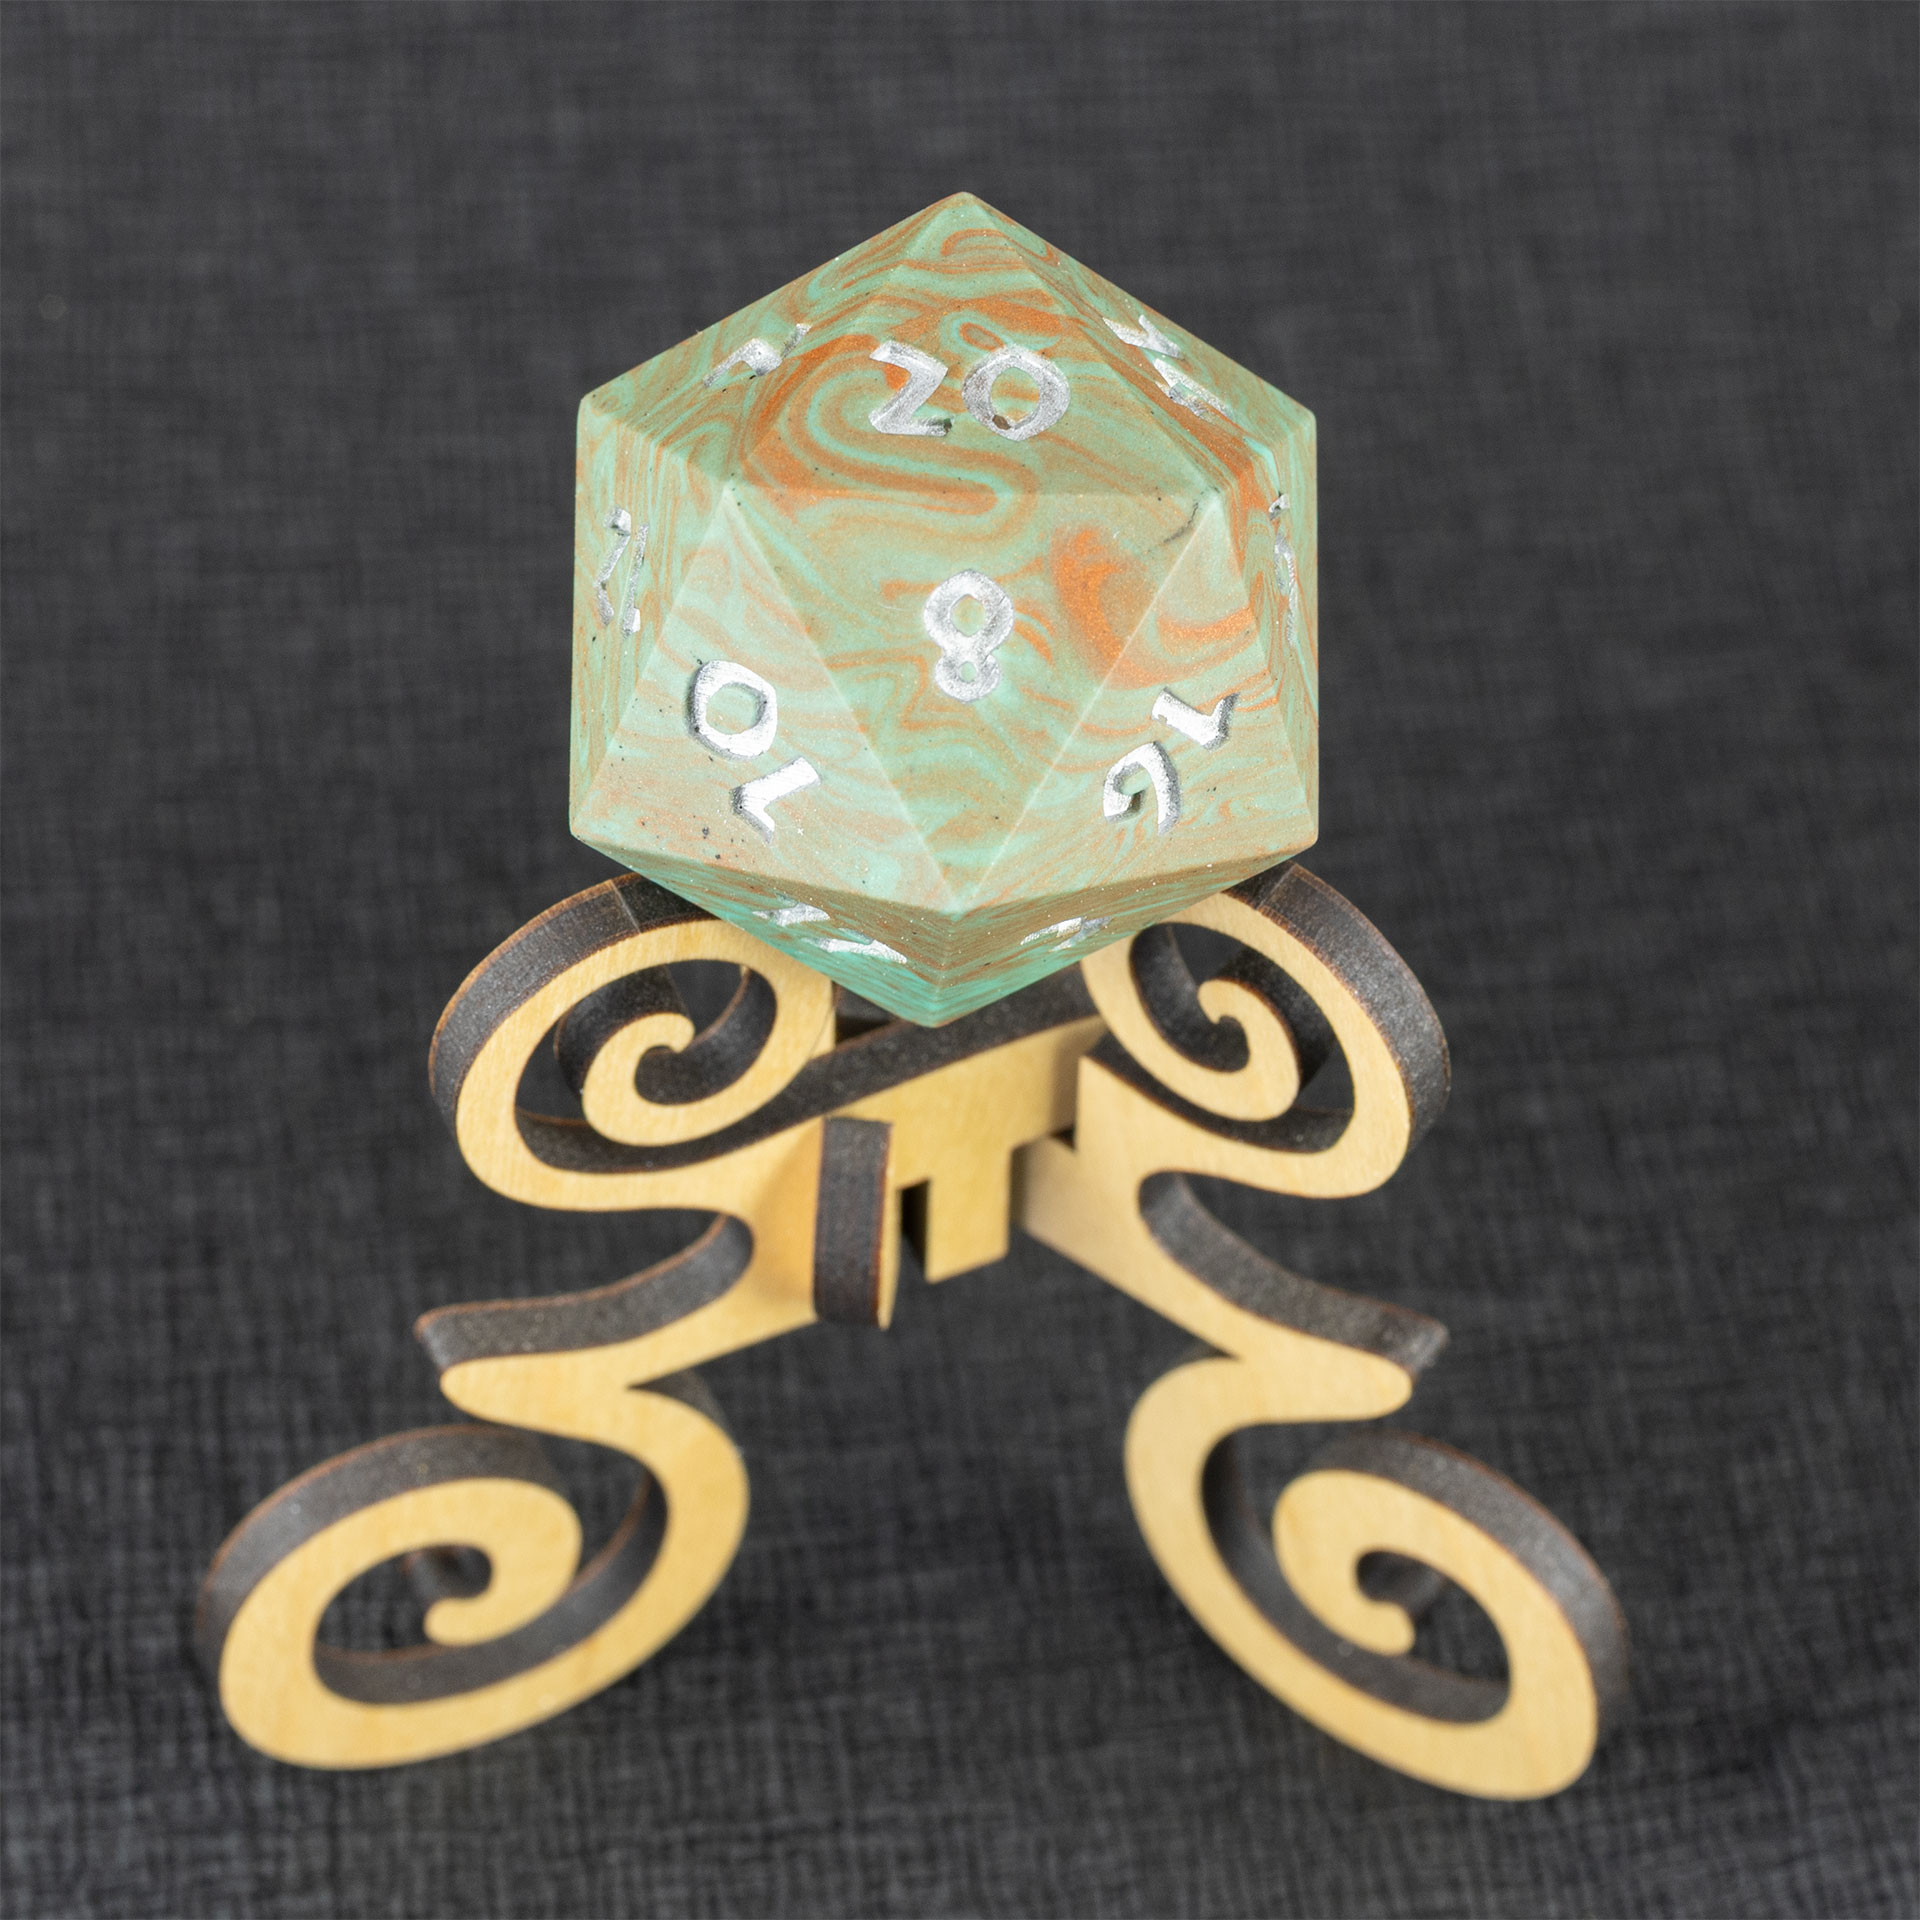
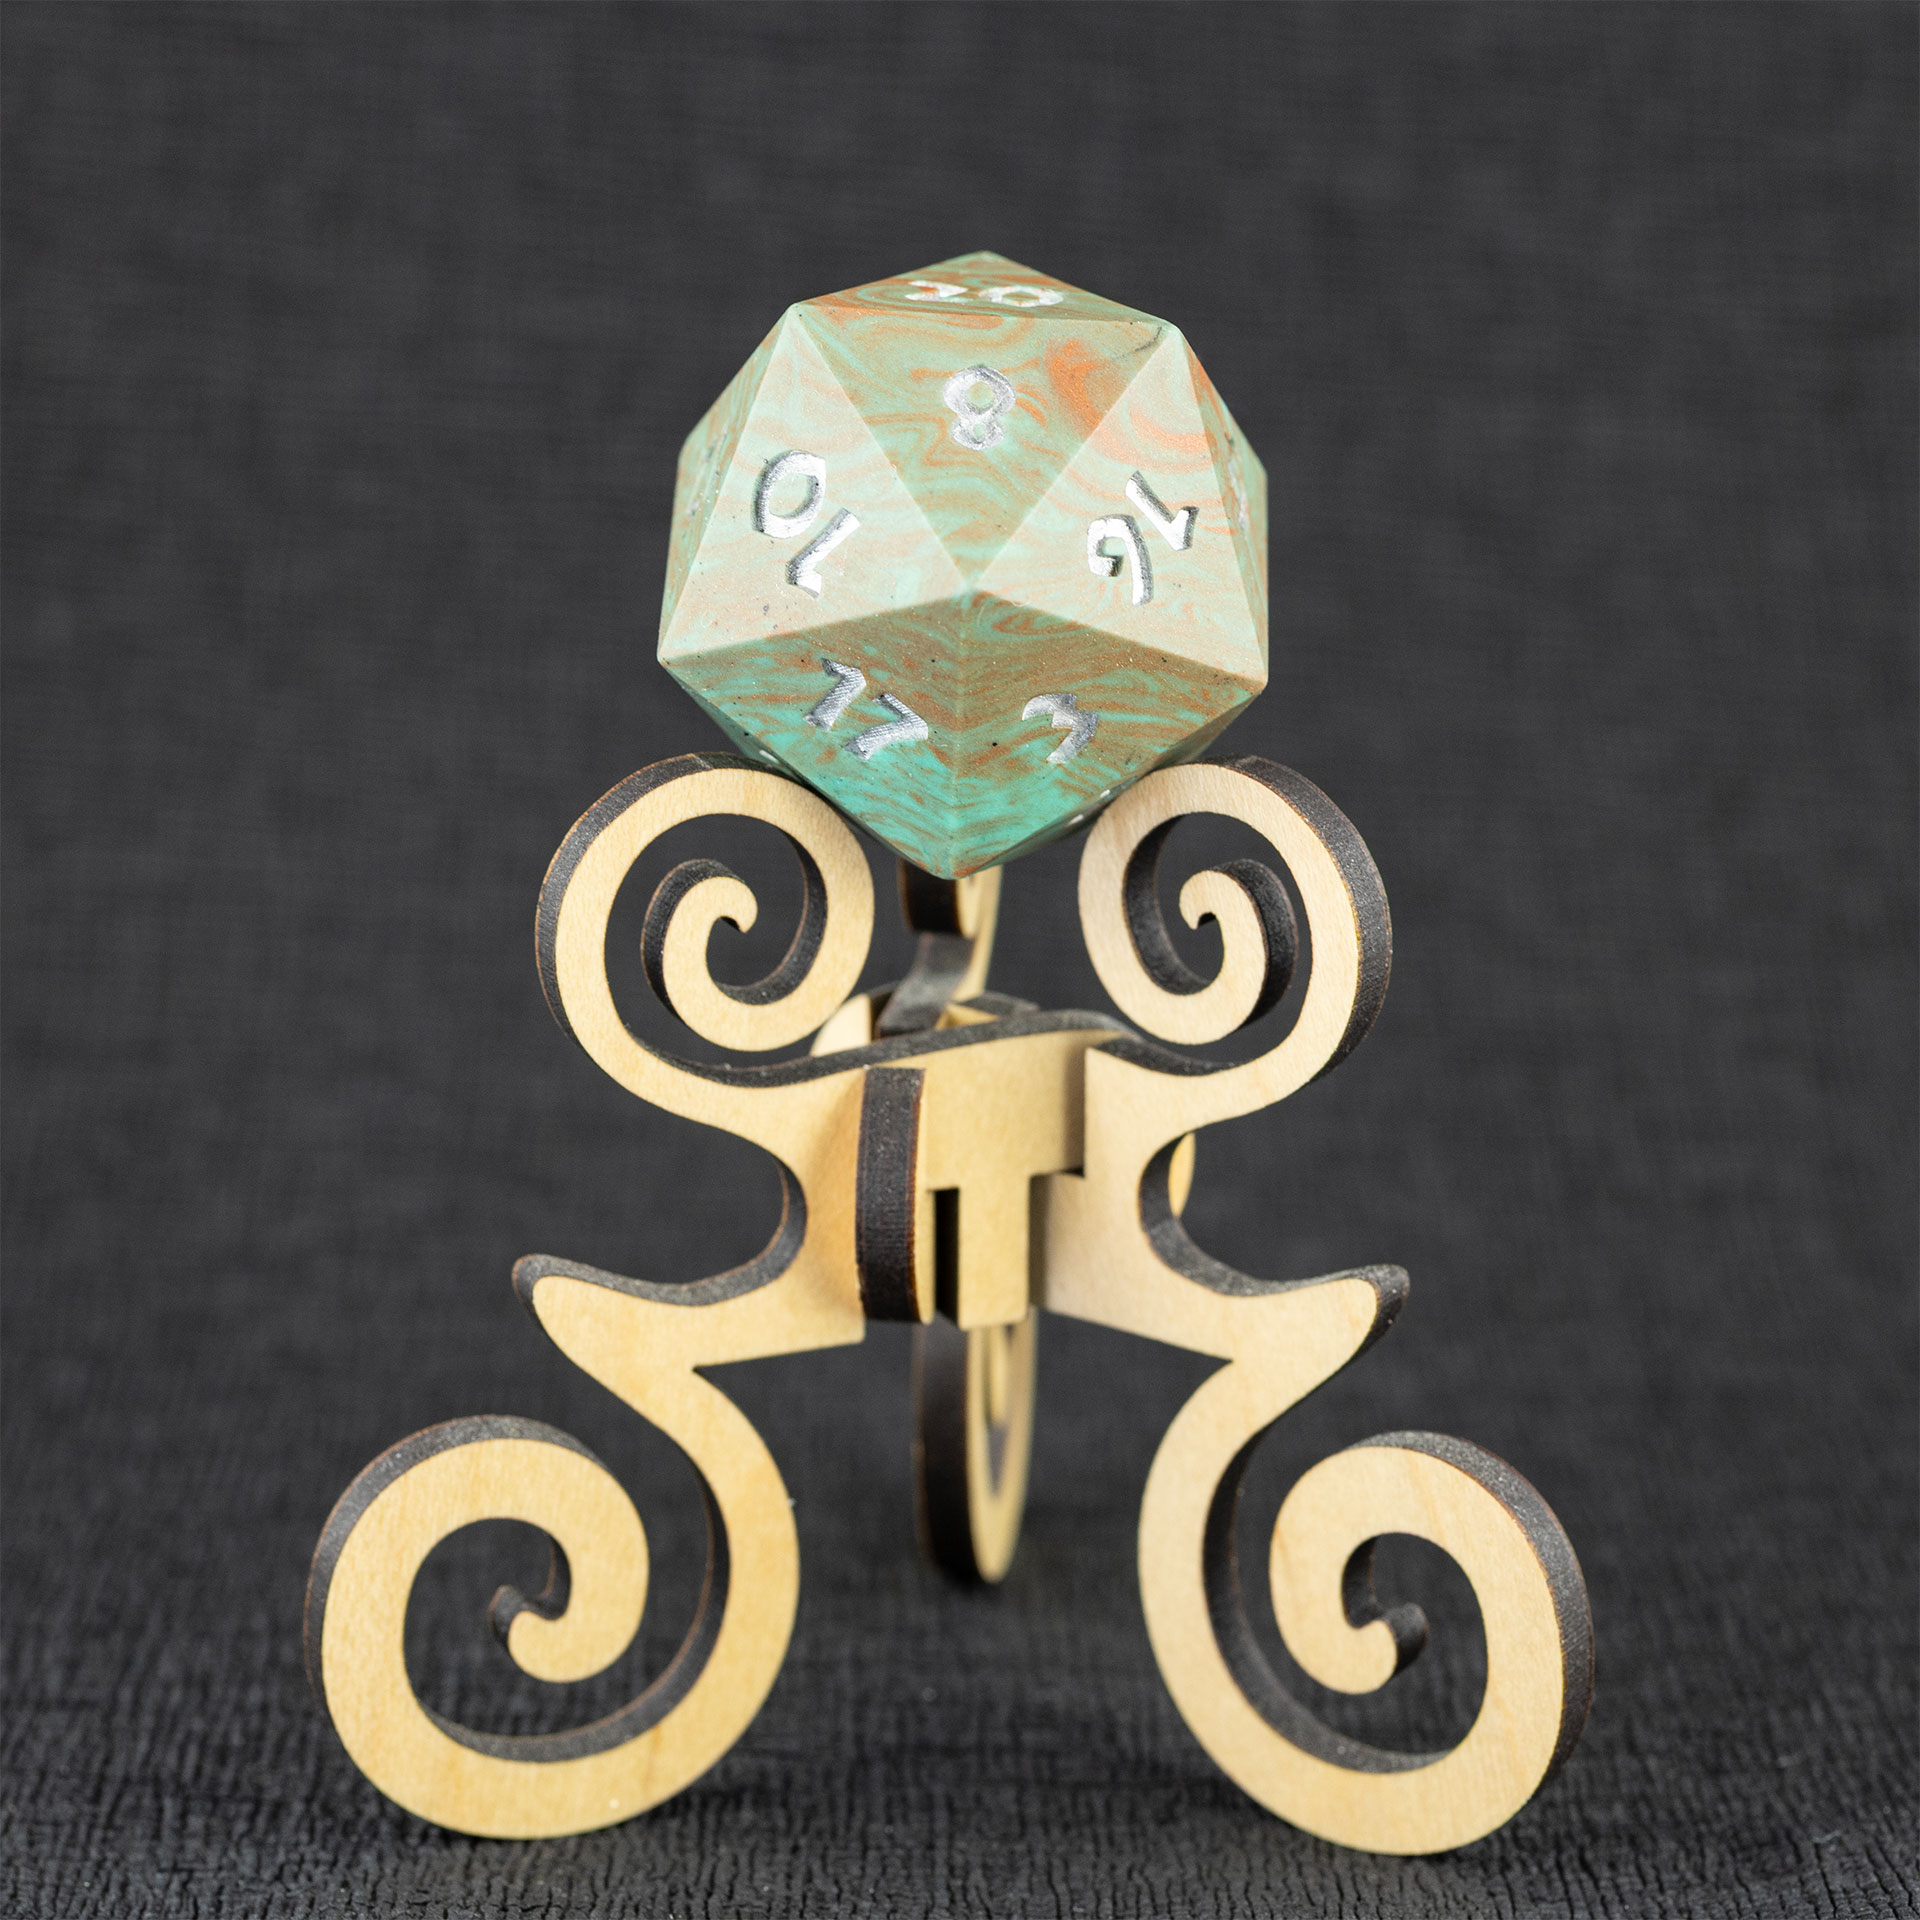
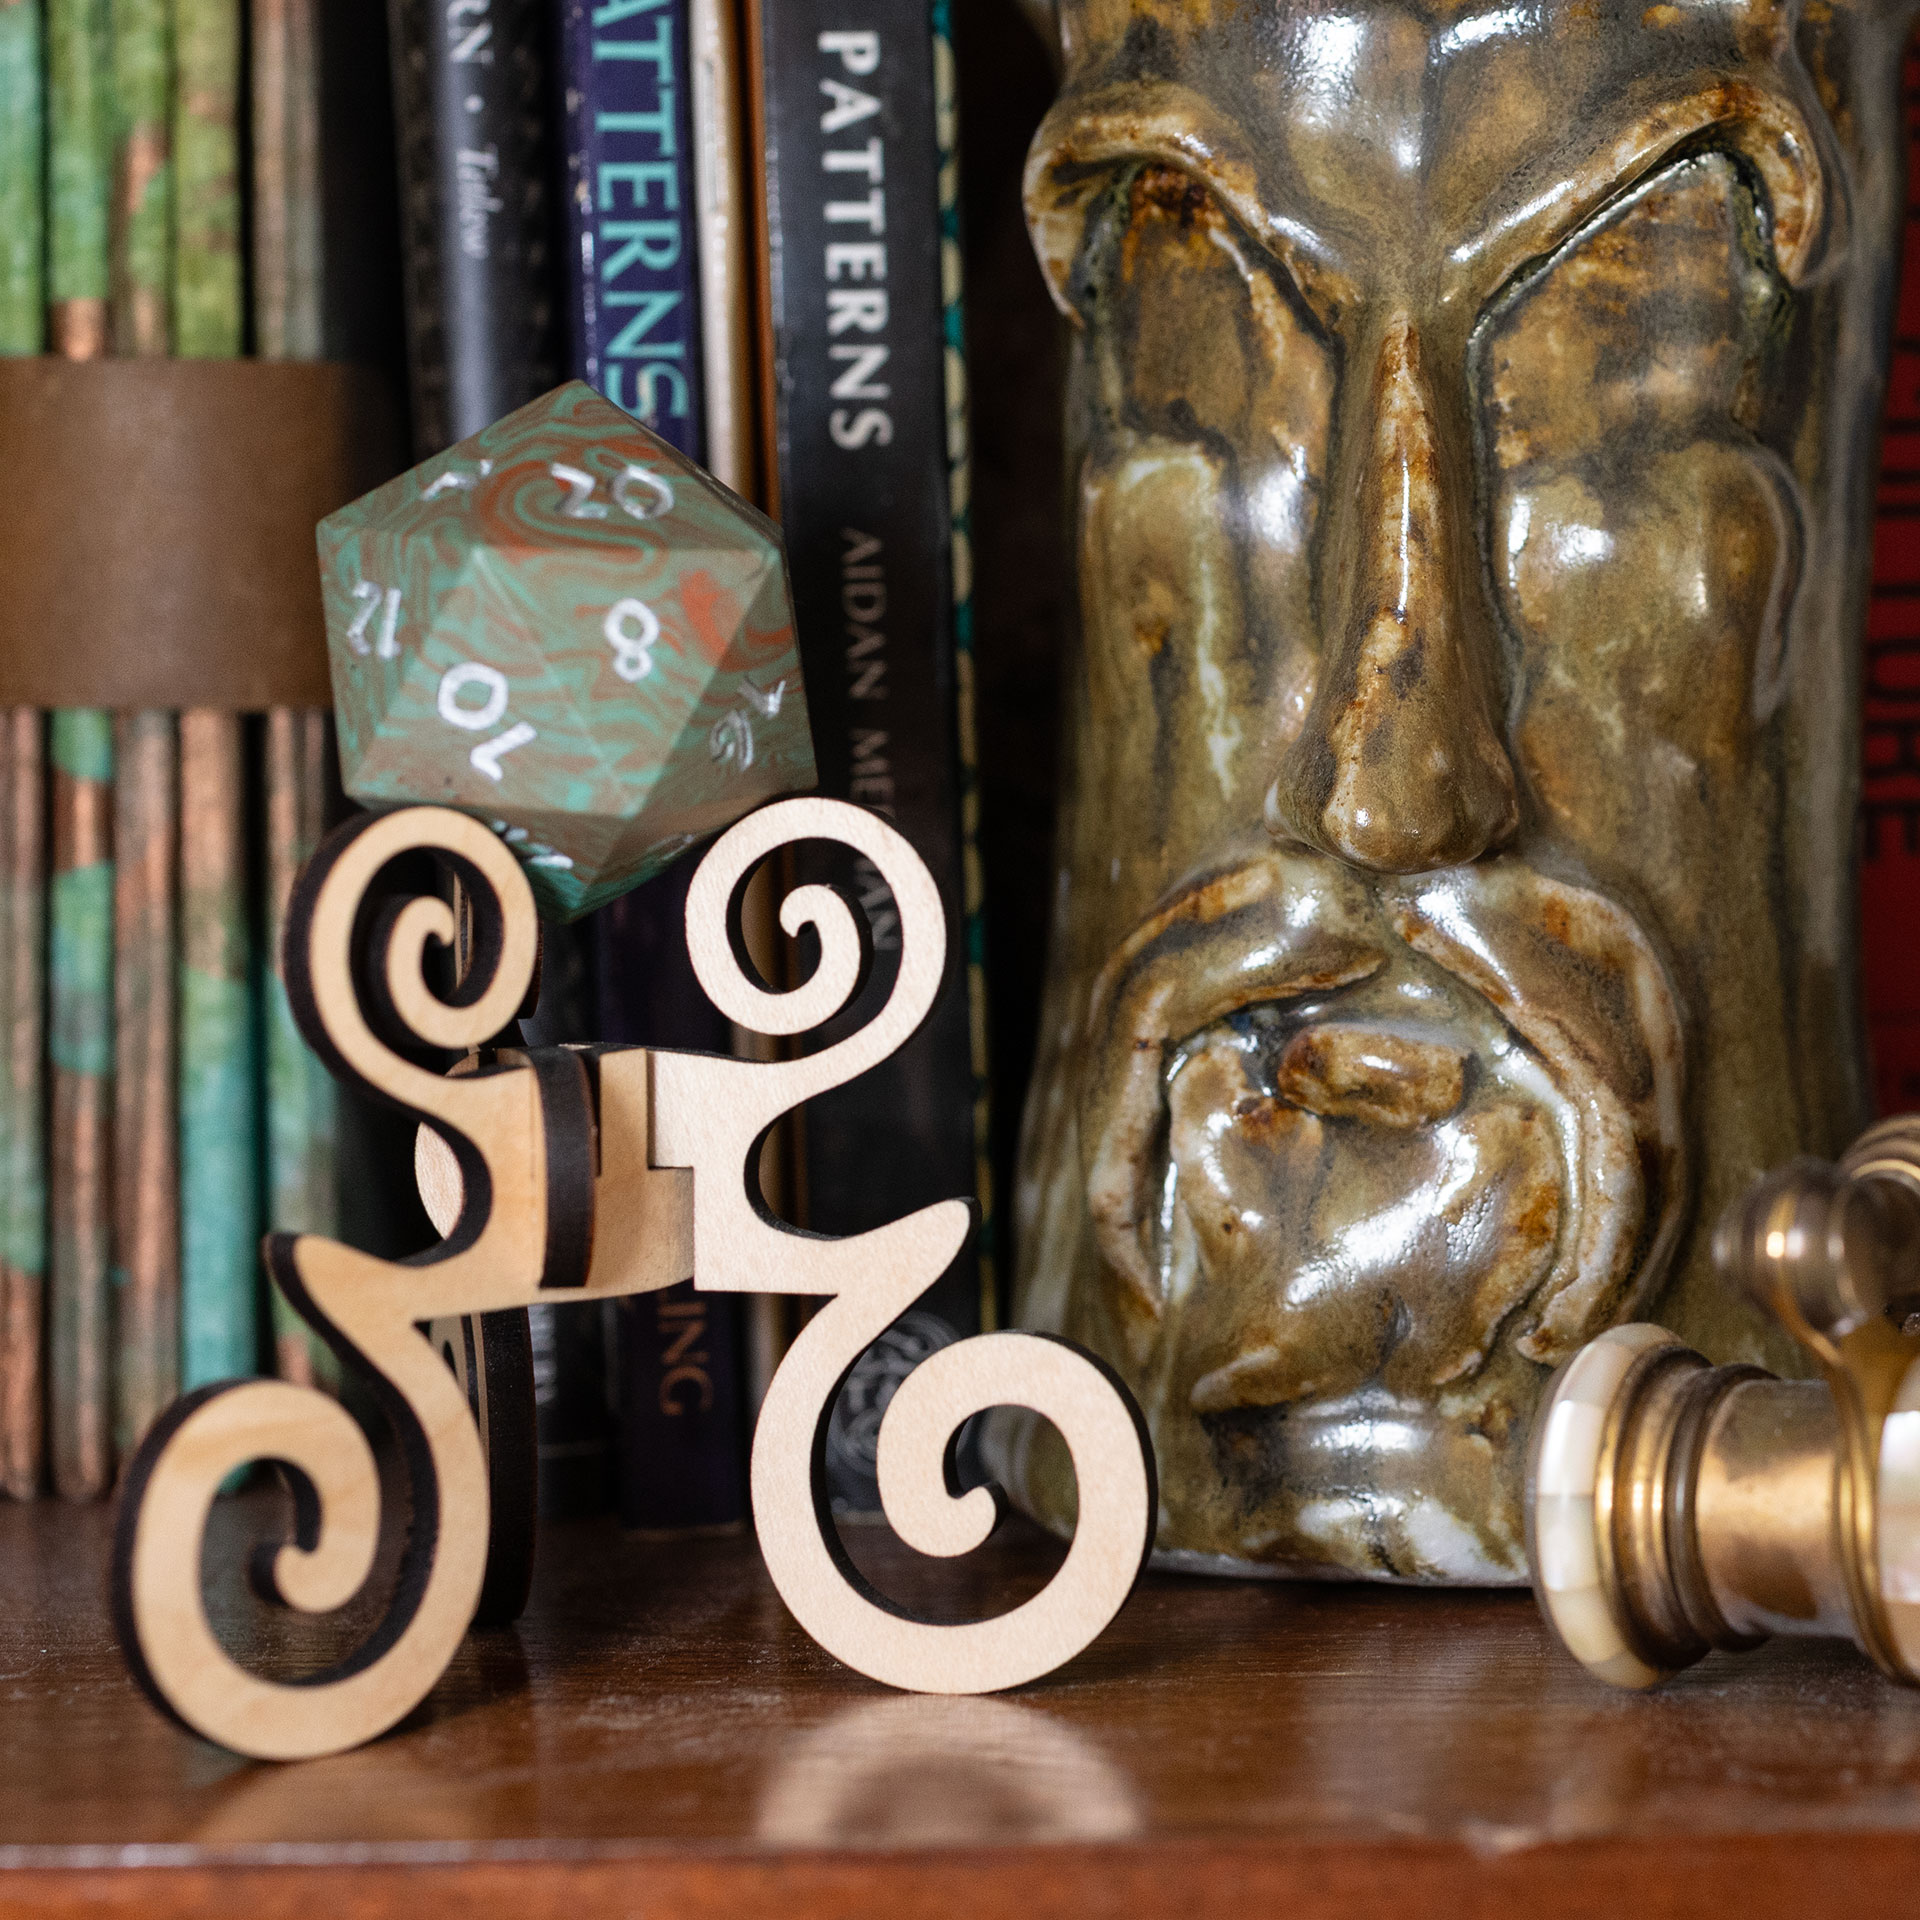
The Arc of History chonk is inspired by copper with a deep patina. I paired it with one of my maple reliquary stands.
This is the first time I am making any of my dice generally available, and I don’t know when that might happen again. If you are reading this before 1 August 2026, go grab these while you can at the auction site.
Ireball 42mm 20-Sided Die
Ireball 42mm 20-Sided Die
Ireball 42mm 20-Sided Die
Ireball 42mm 20-Sided Die
Ireball 42mm 20-Sided Die
Ireball 42mm 20-Sided Die
Ireball 42mm 20-Sided Die with objects for scale
Arc of History 42mm 20-Sided Die
Arc of History 42mm 20-Sided Die
Arc of History 42mm 20-Sided Die
Arc of History 42mm 20-Sided Die
Arc of History 42mm 20-Sided Die
Arc of History 42mm 20-Sided Die
Arc of History 42mm 20-Sided Die with objects for scale
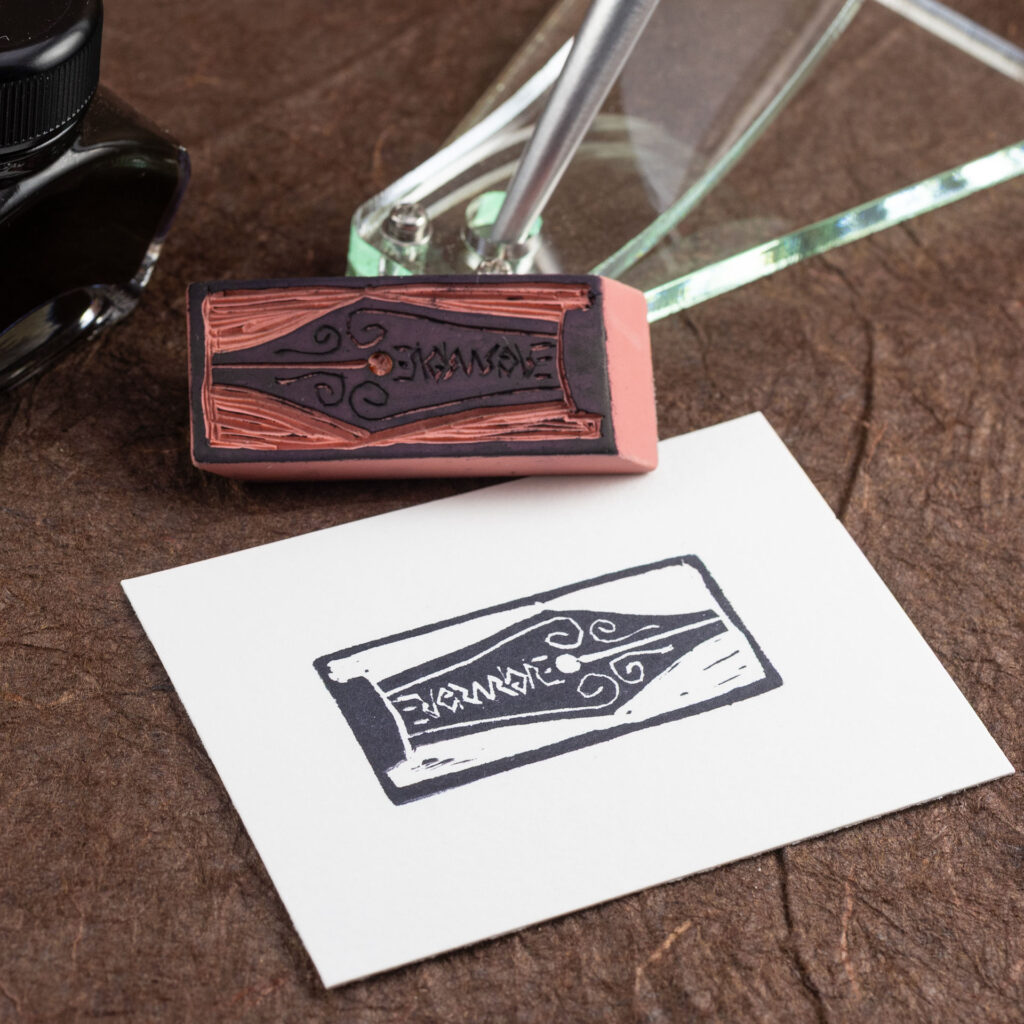
I started playing with fountain pens and ink (again, after a very, very long hiatus) last year. I imagined a fountain pen nib with some spirals and my Evermore ambigram, and turned it into a hand-carved eraser stamp.
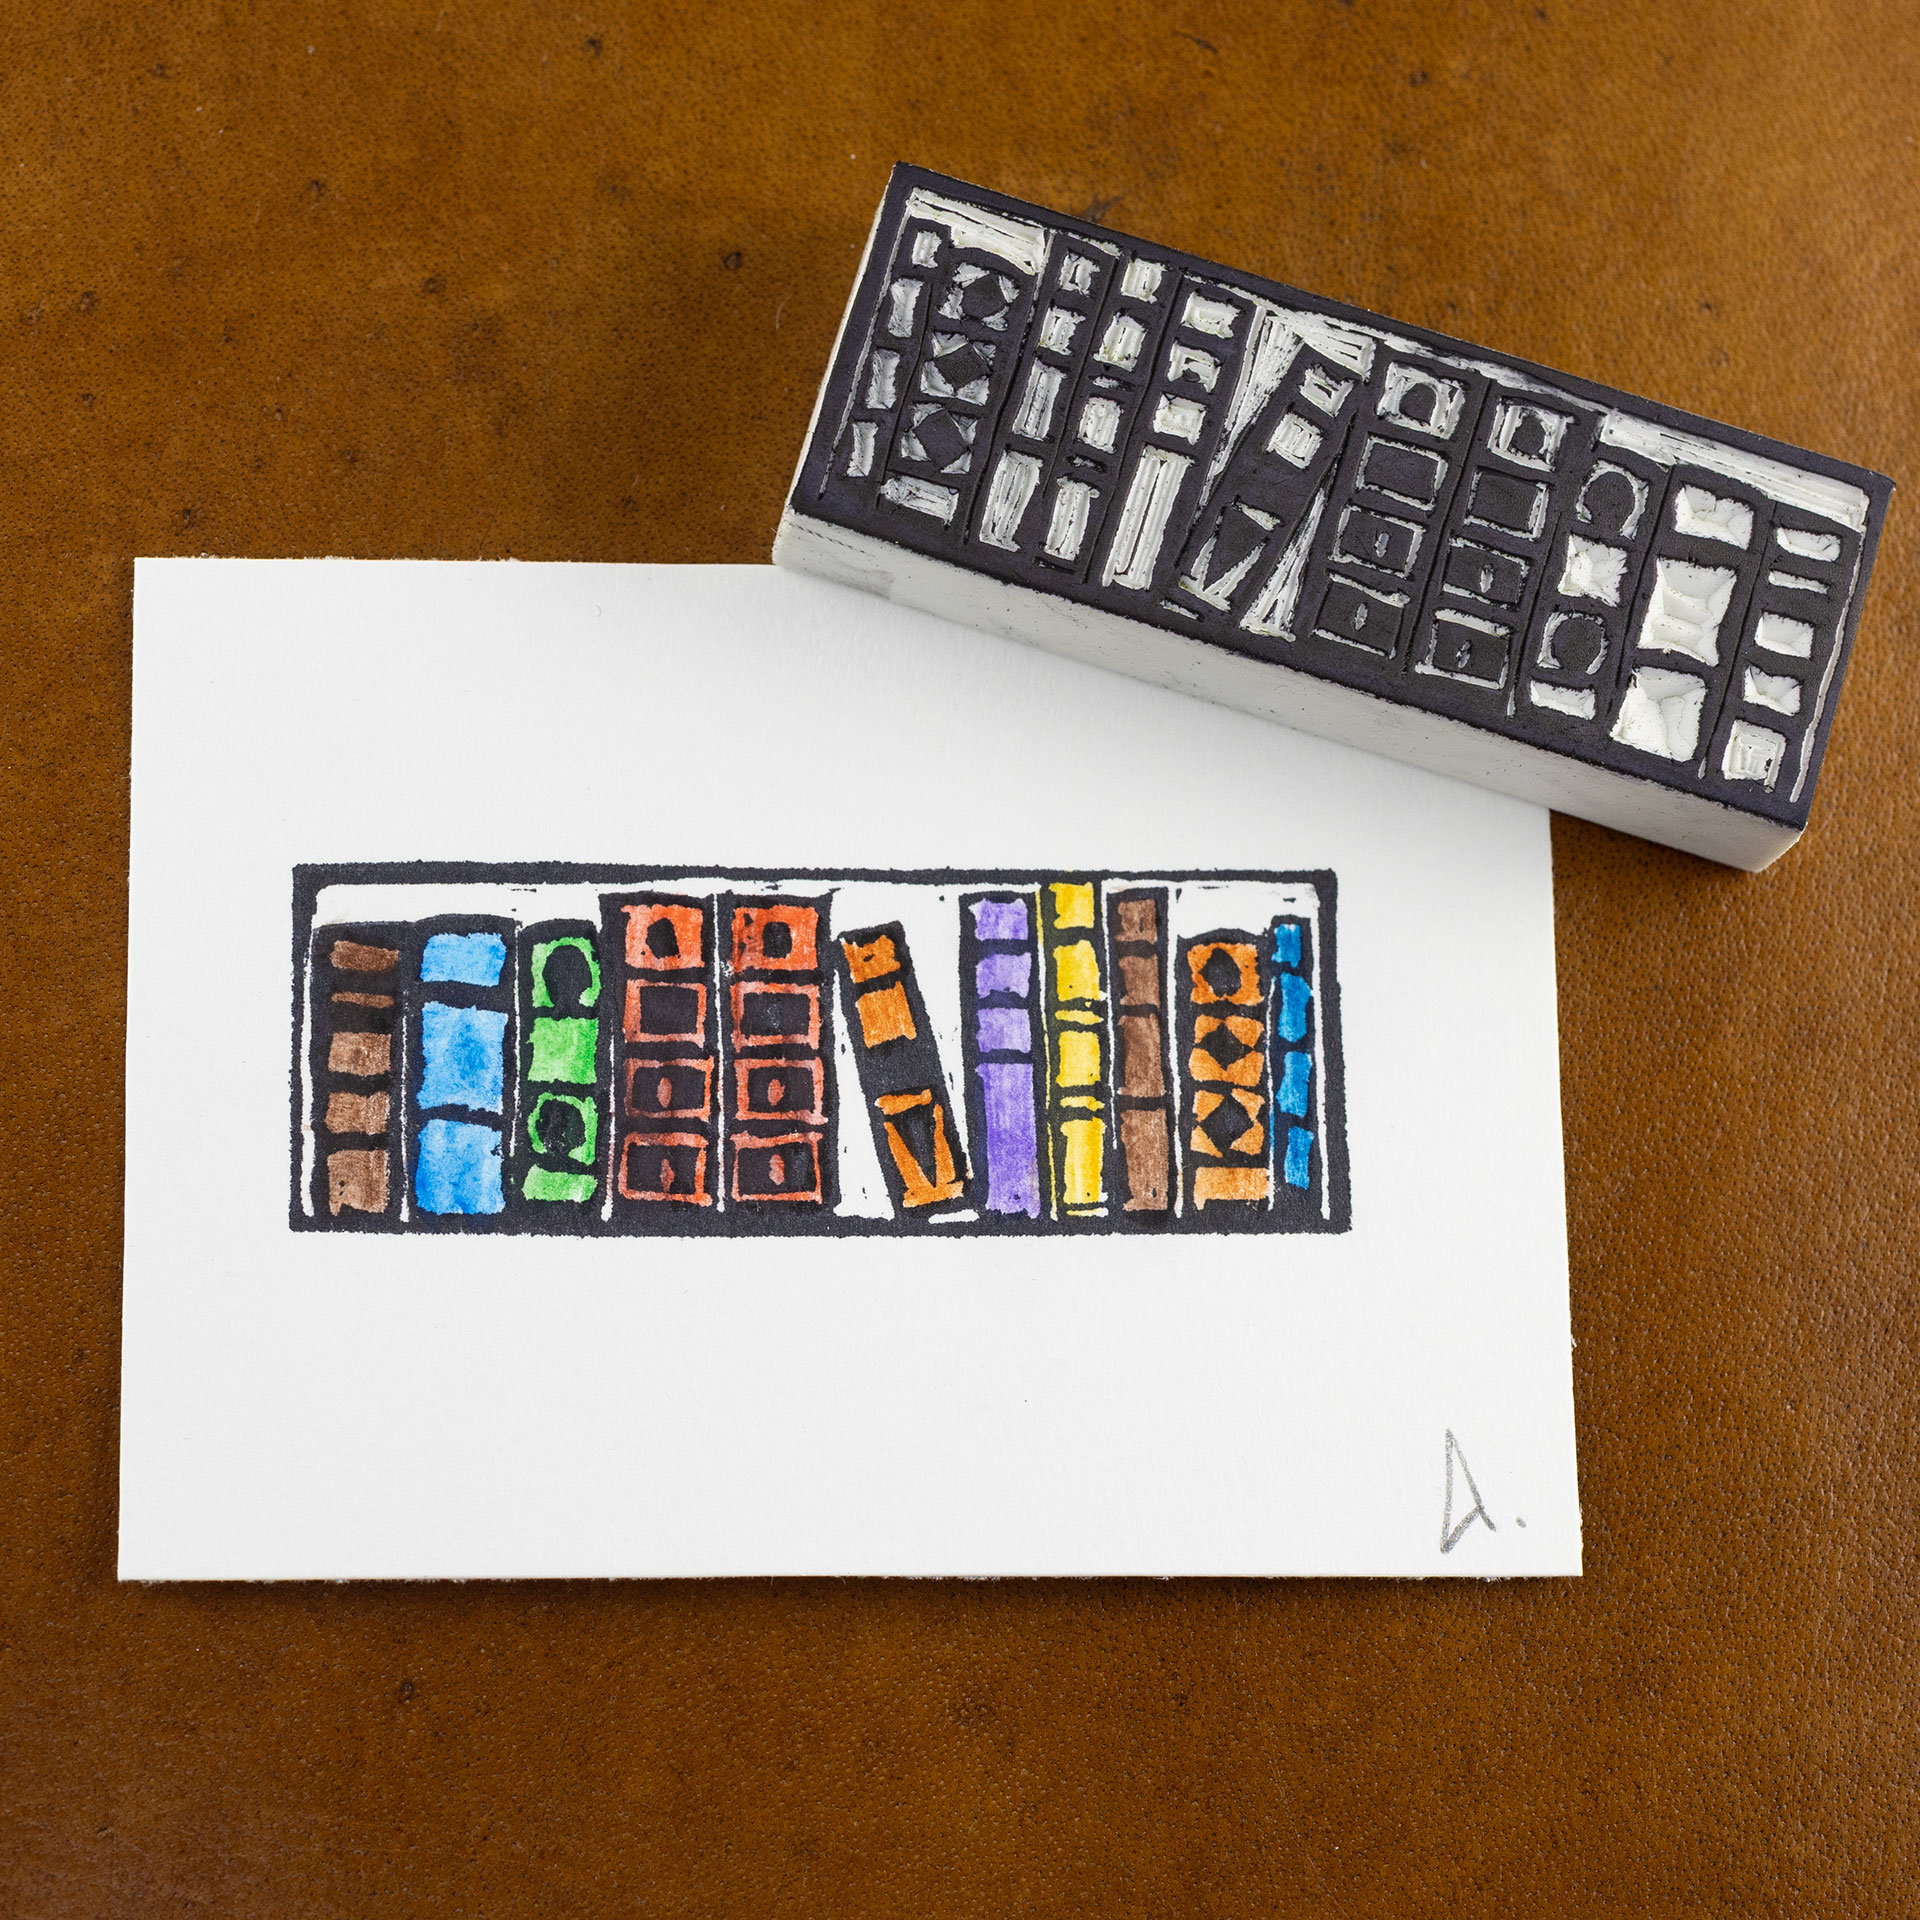
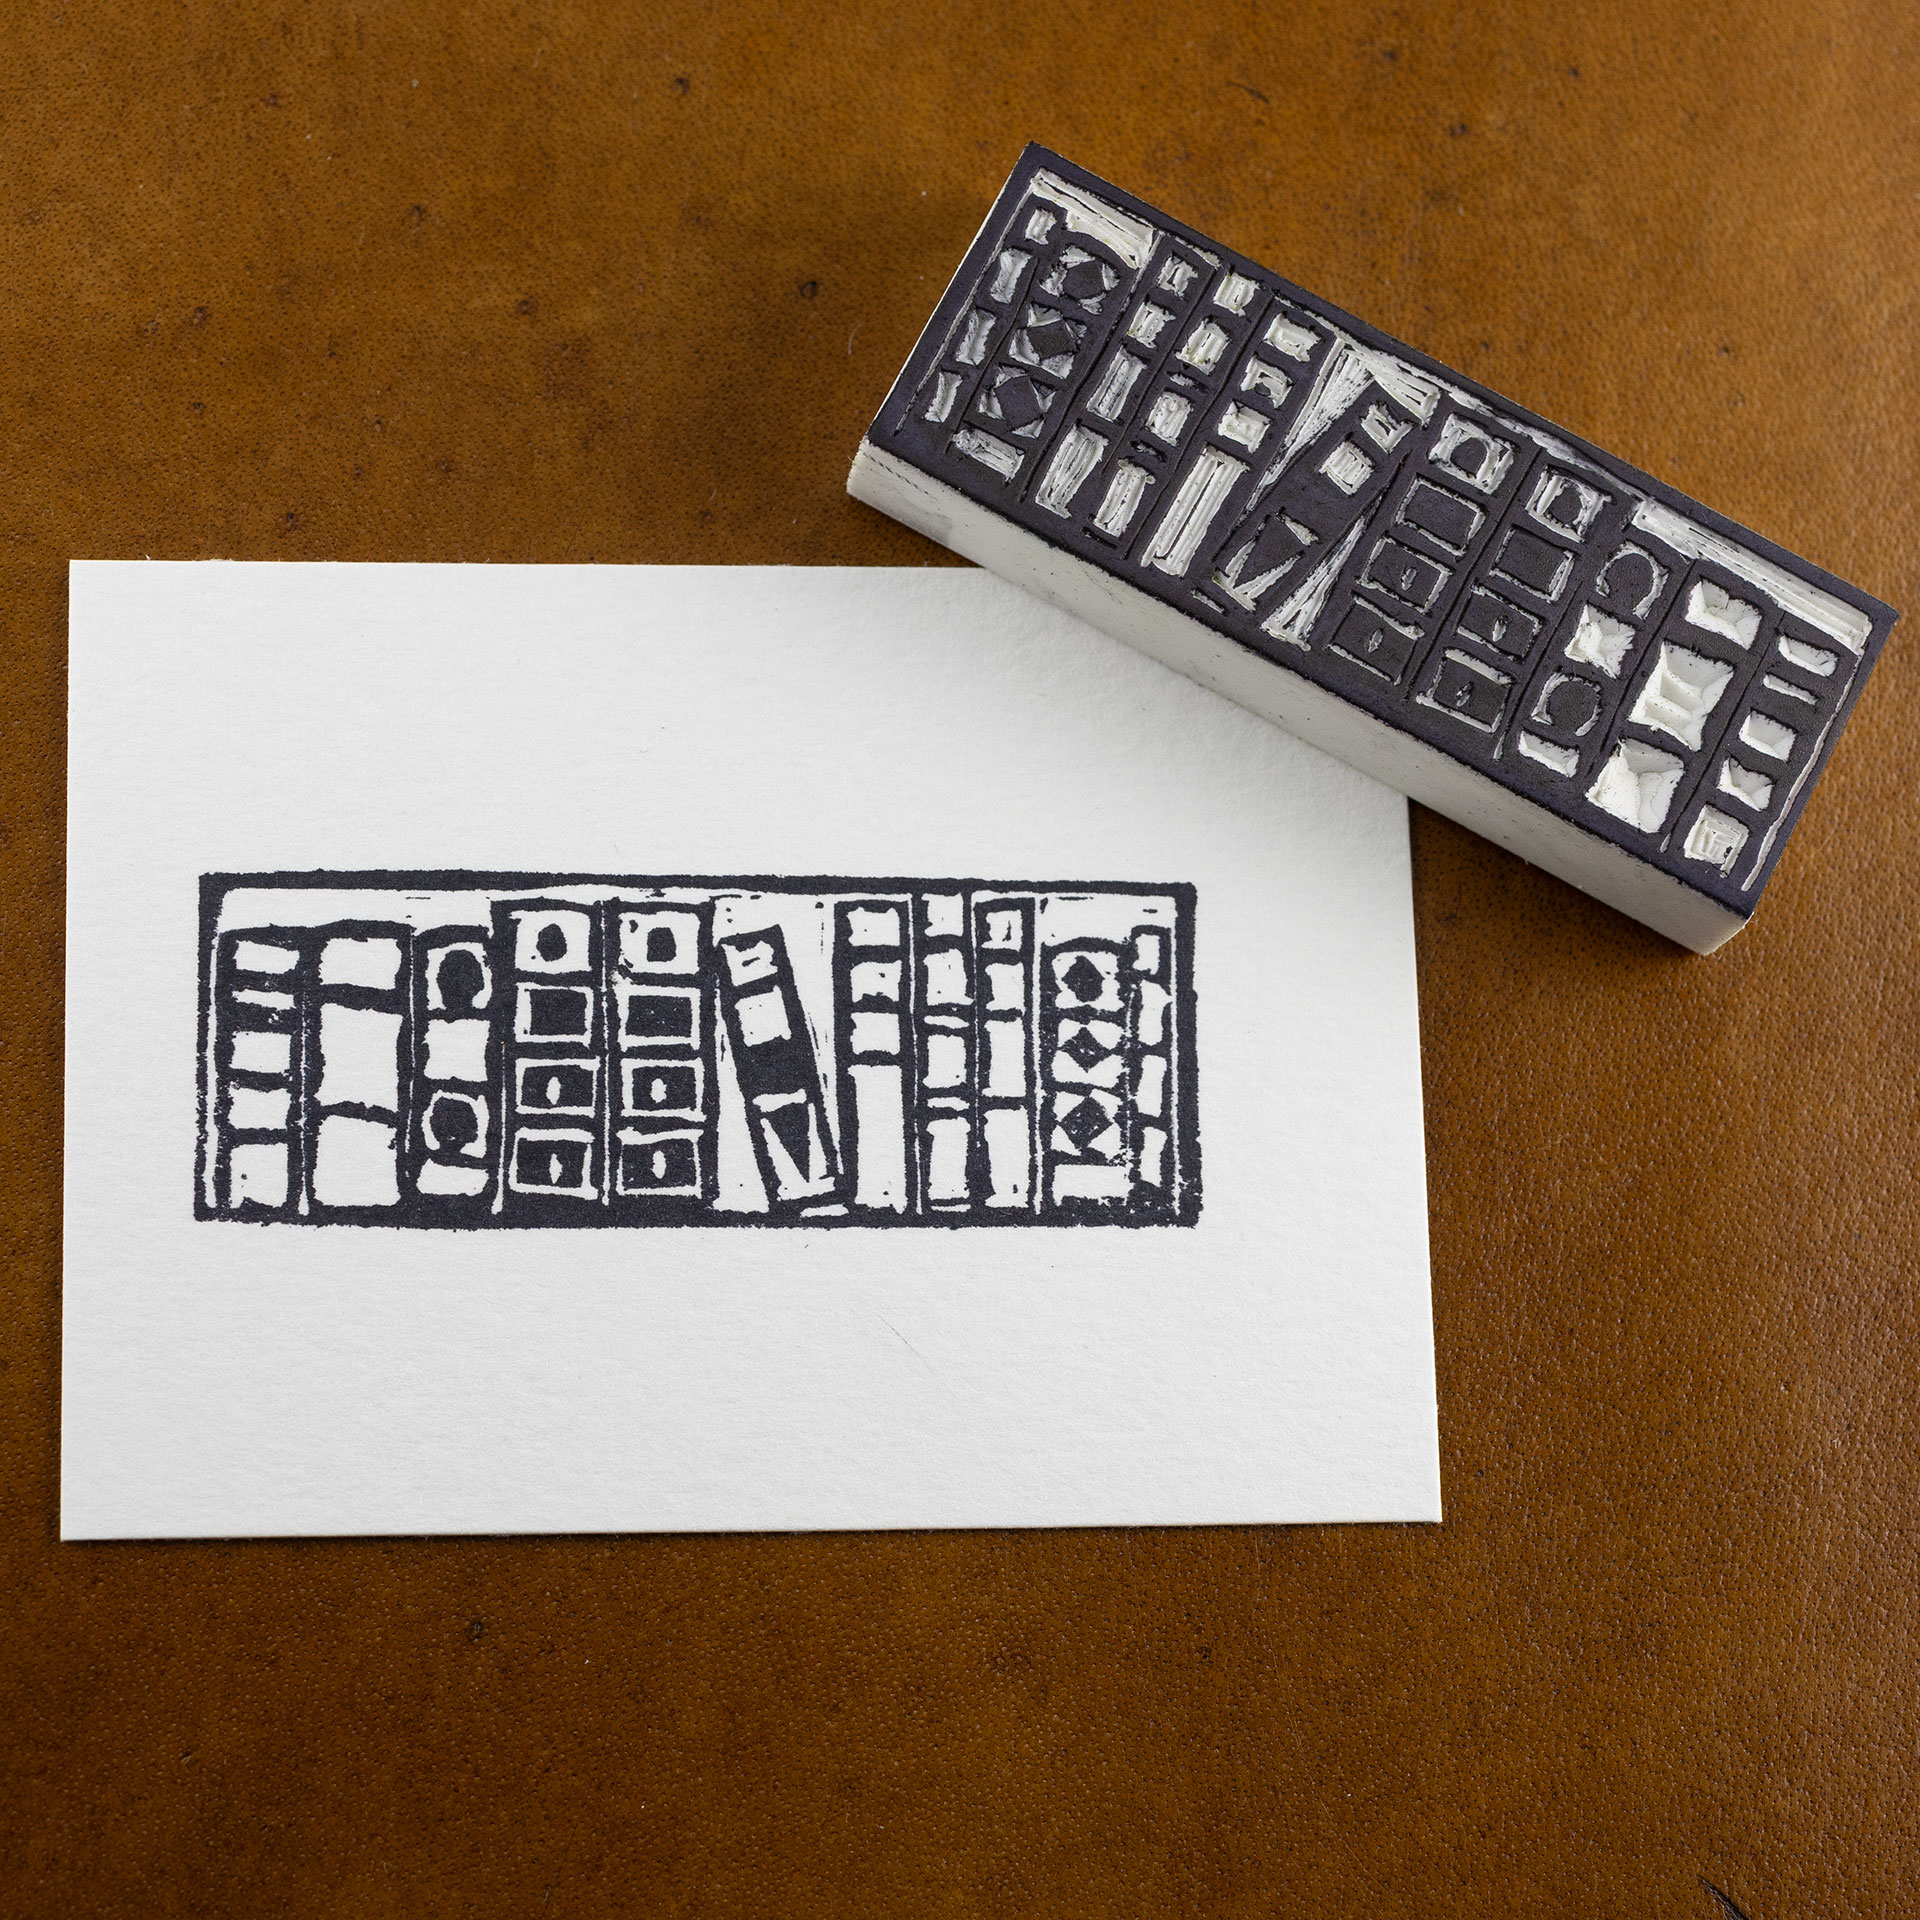
I carved this shelf full of books back in late May, but it seemed less exciting than some of the others I was doing around the same time. I made some more impressions on the Strathmore paper, and gave them the watercolor pencil treatment. I think the color punches it up a lot.
Hand-Carved Bookshelf Eraser Stamp with Watercolor Pencil
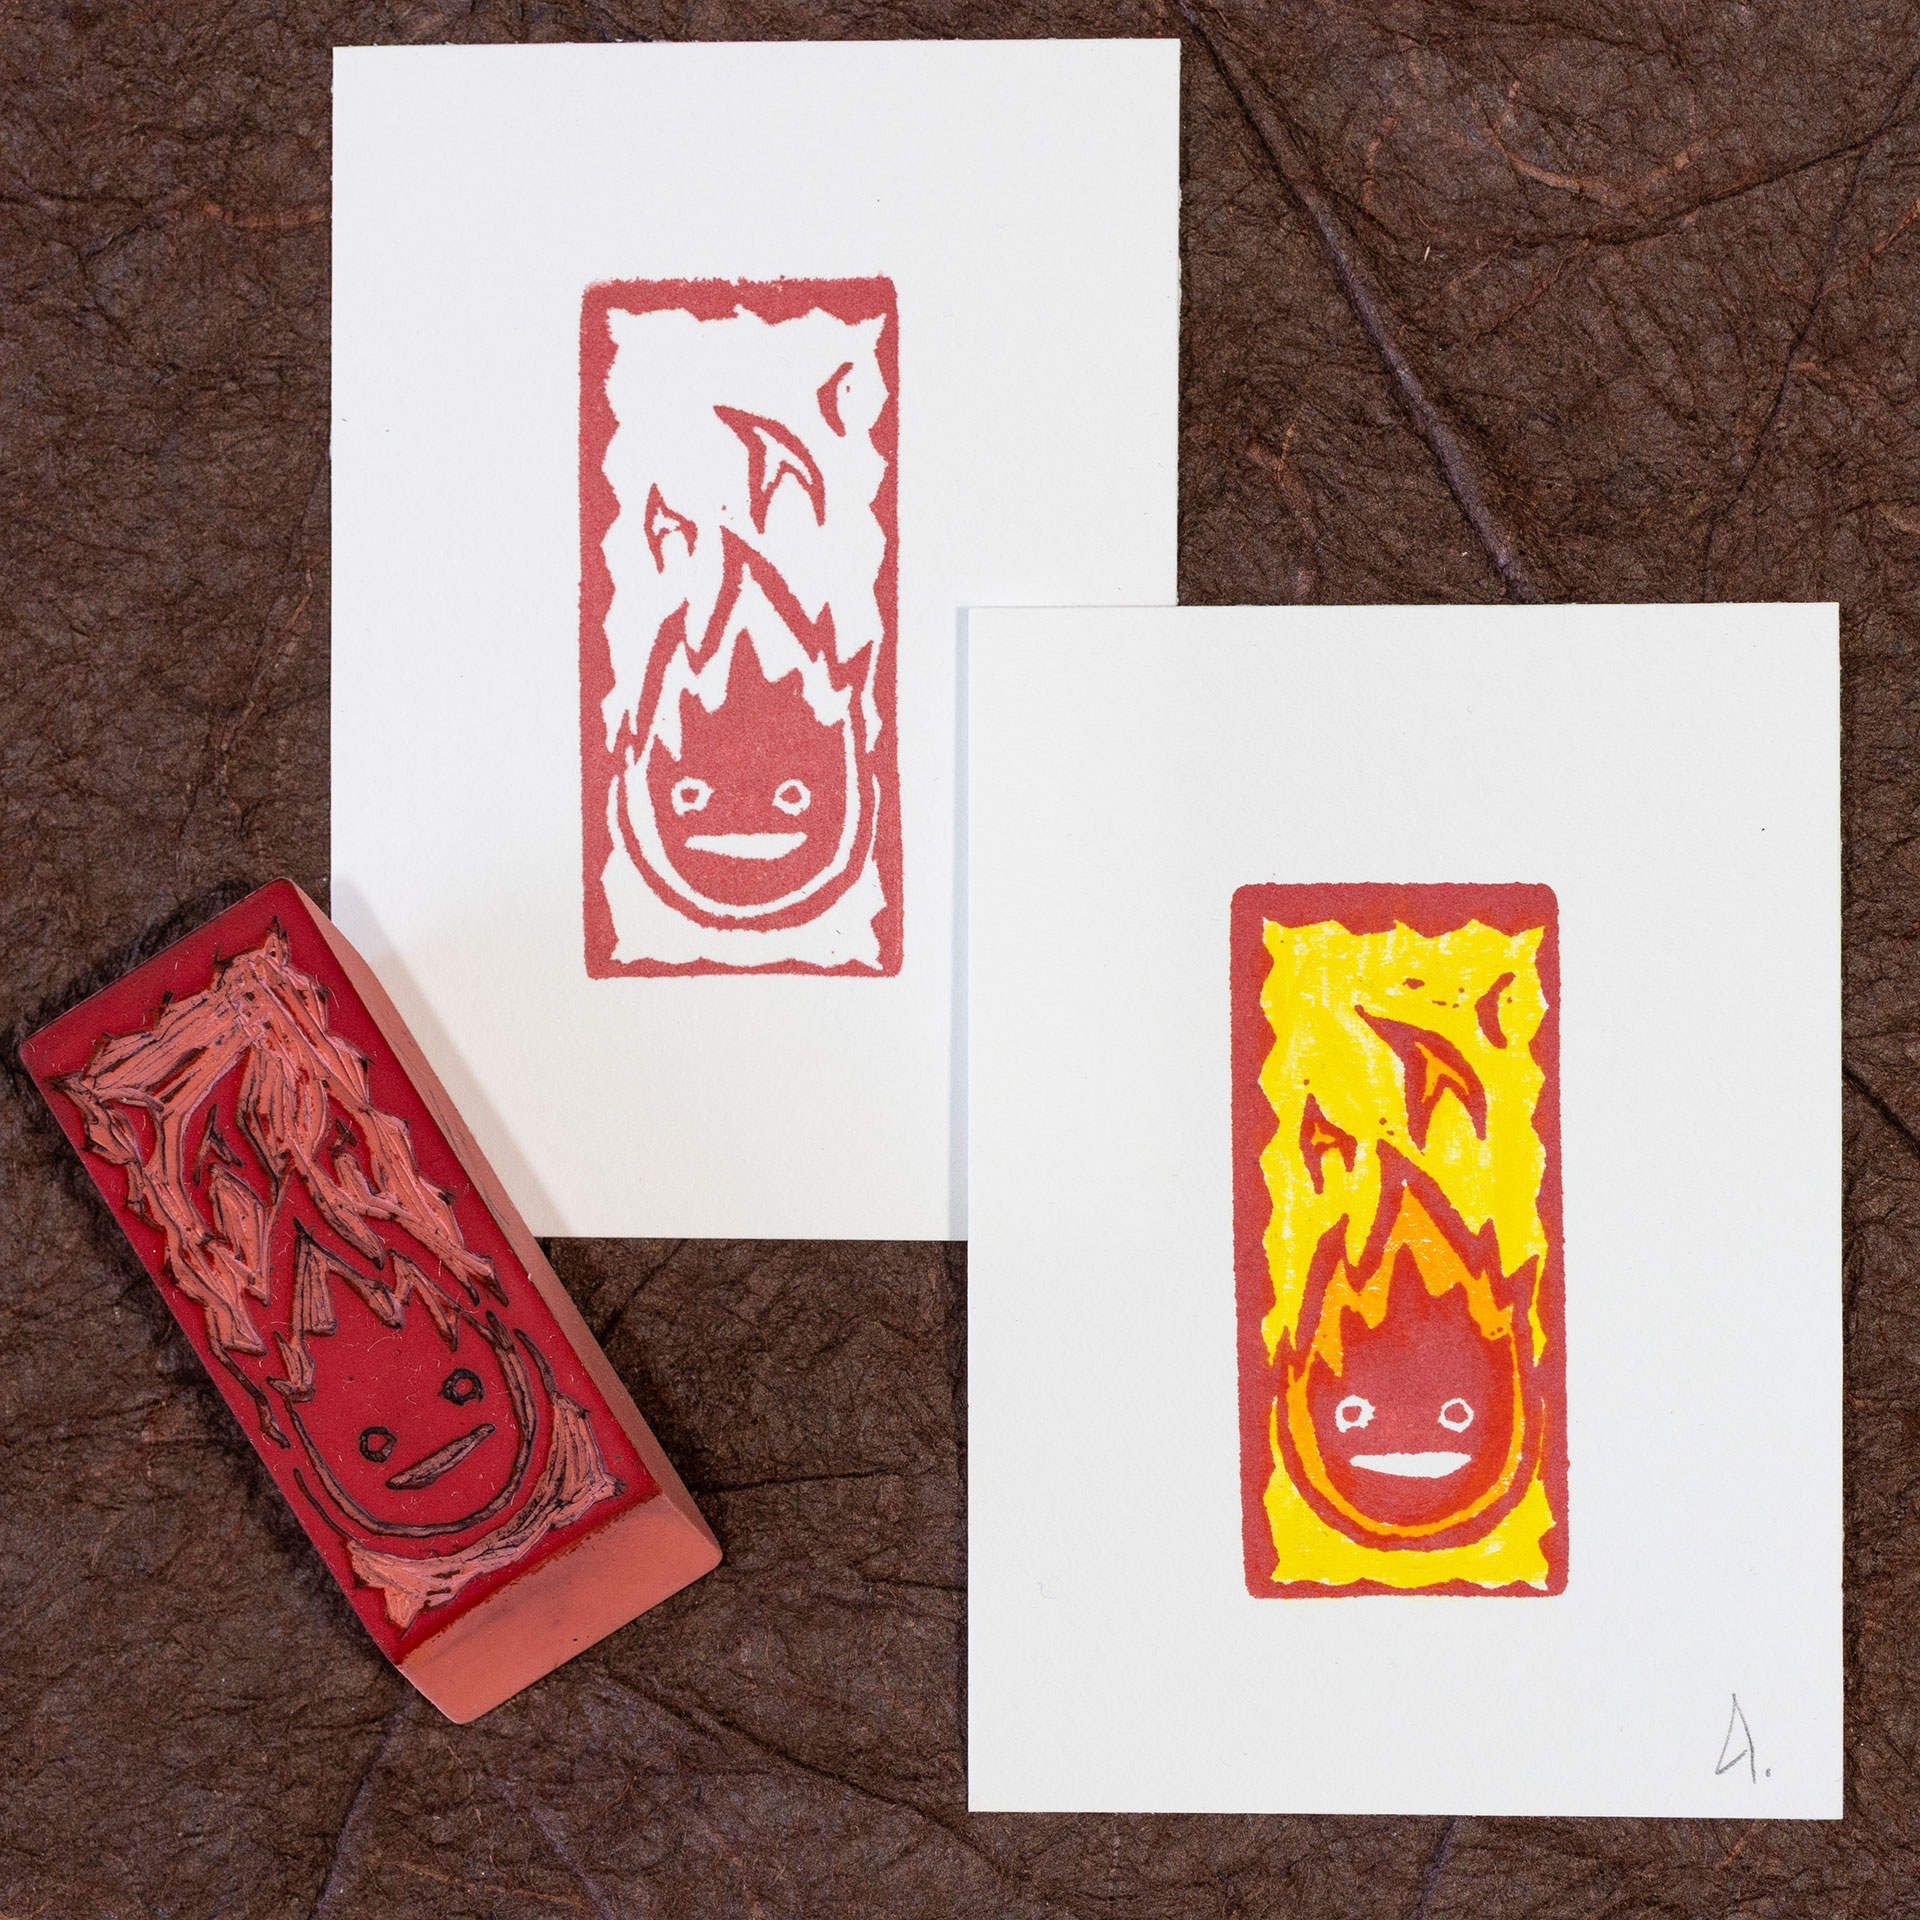
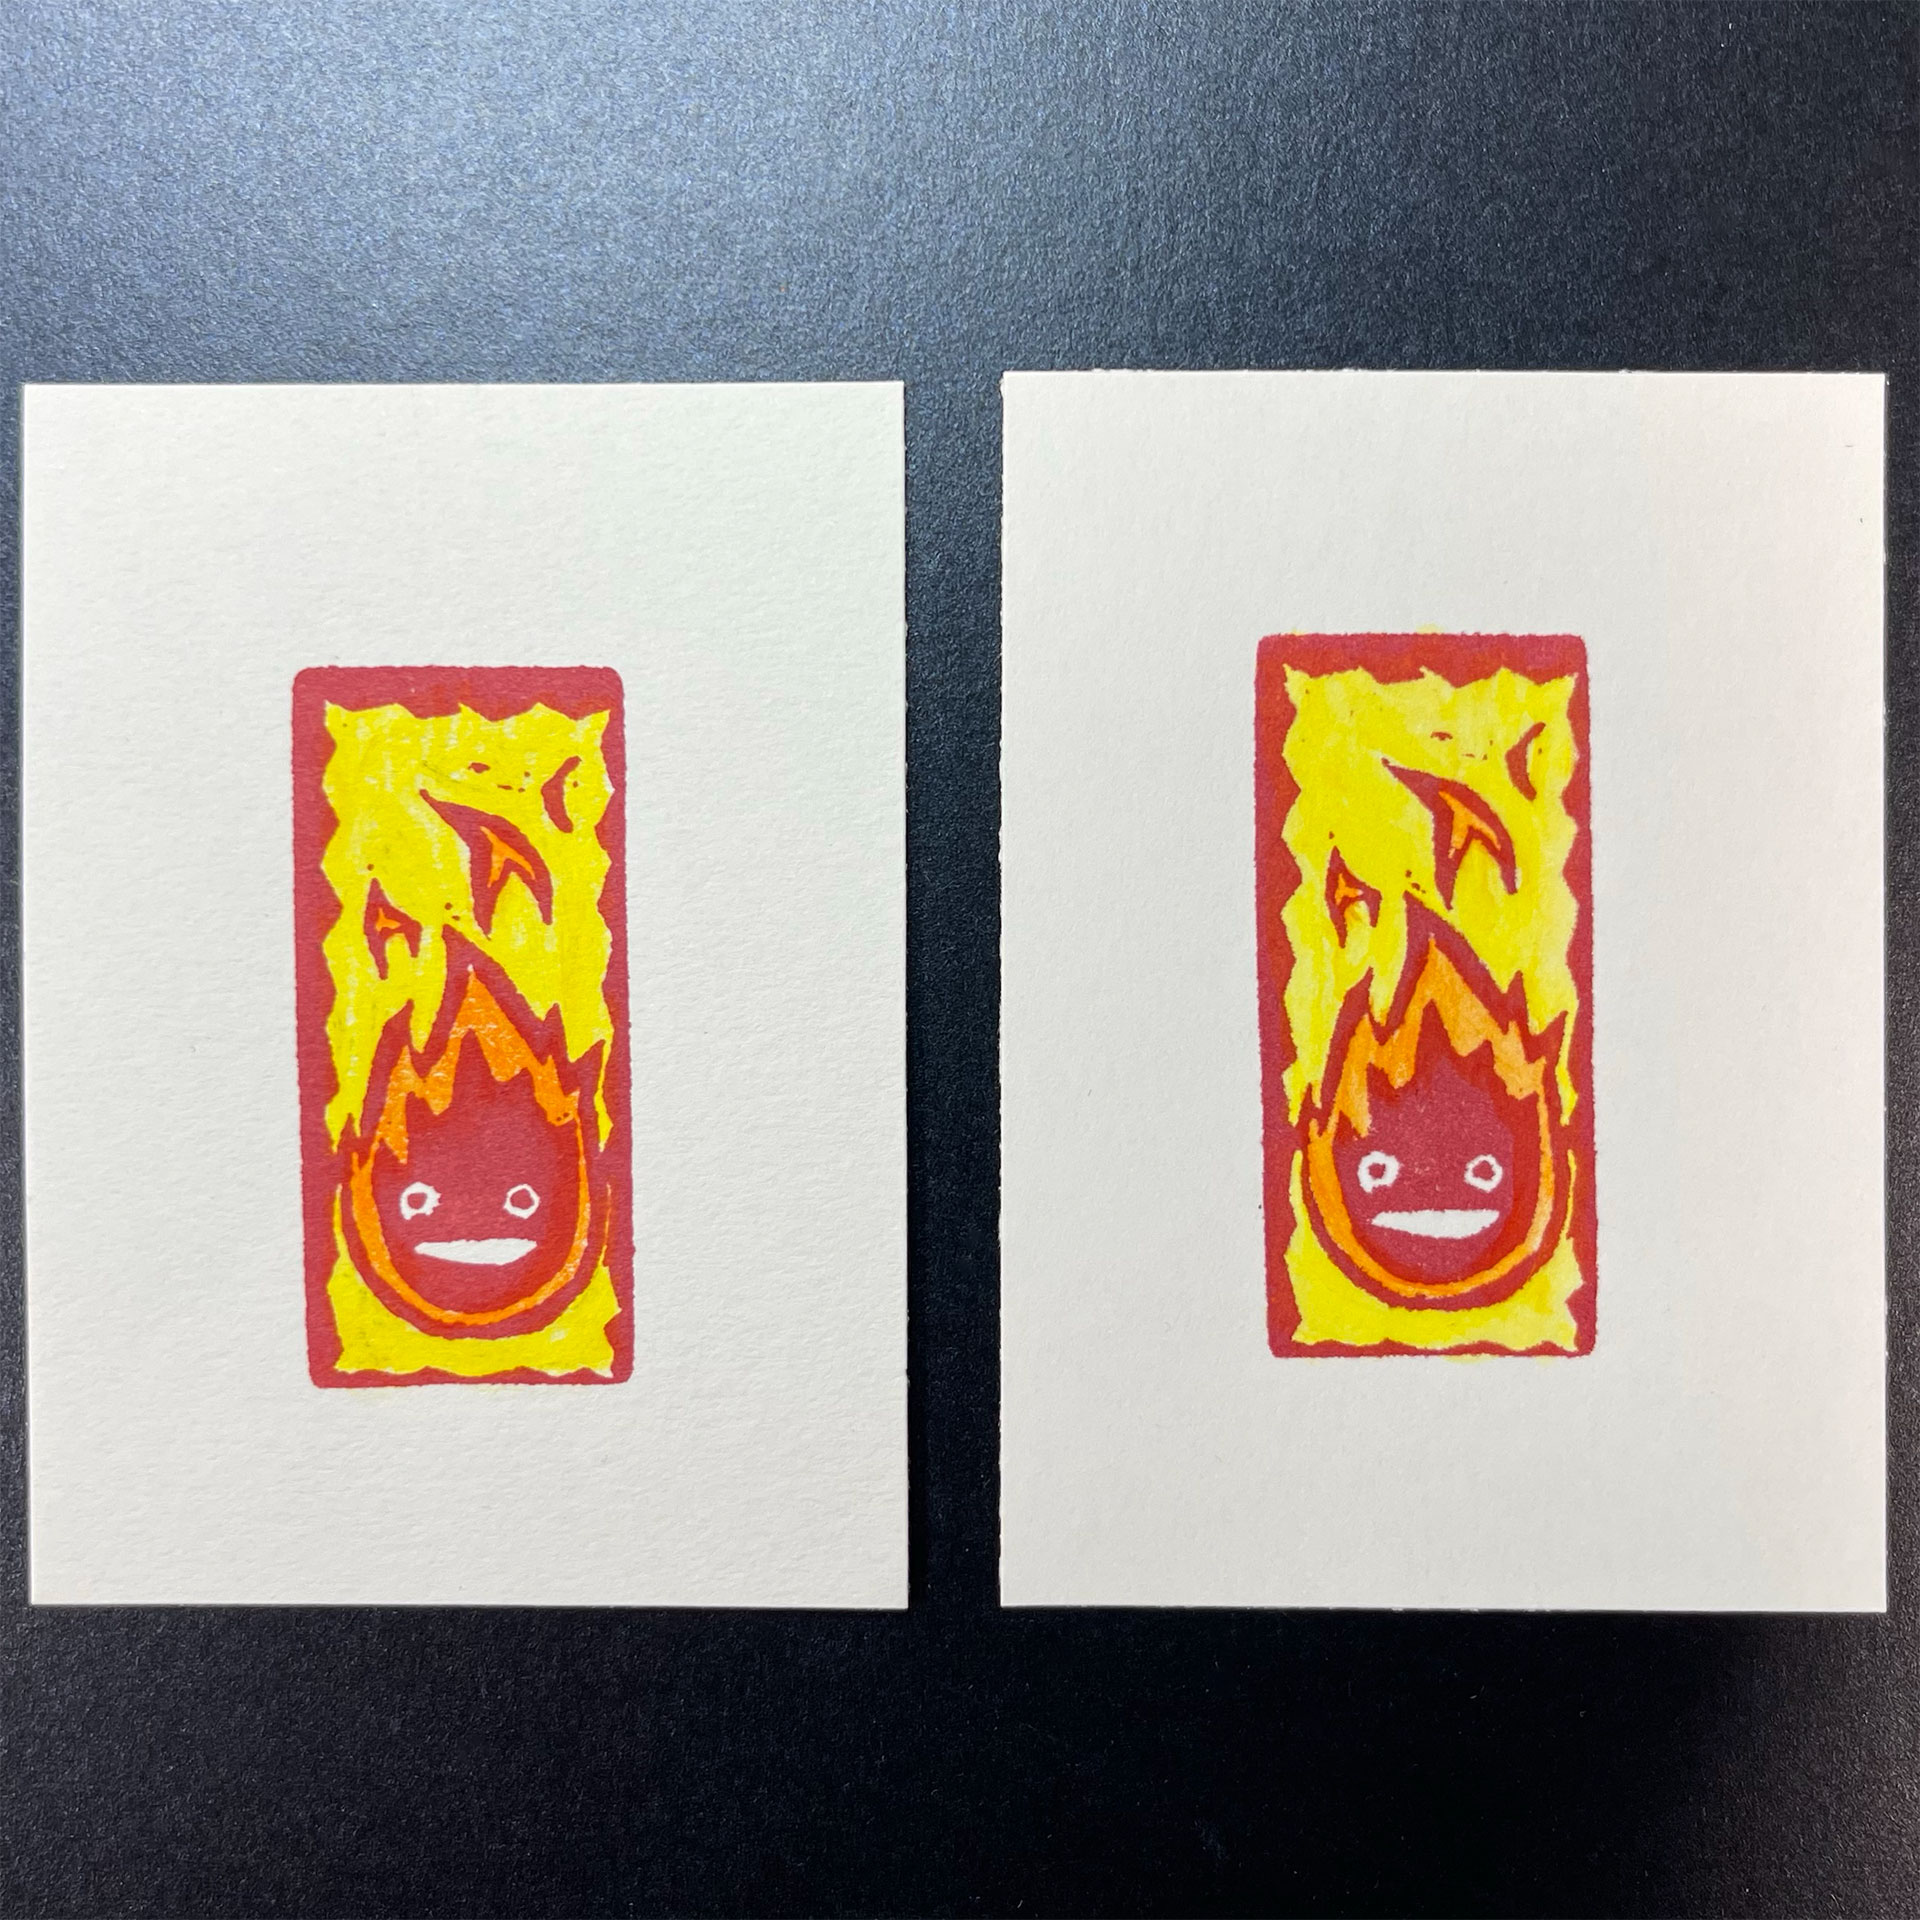
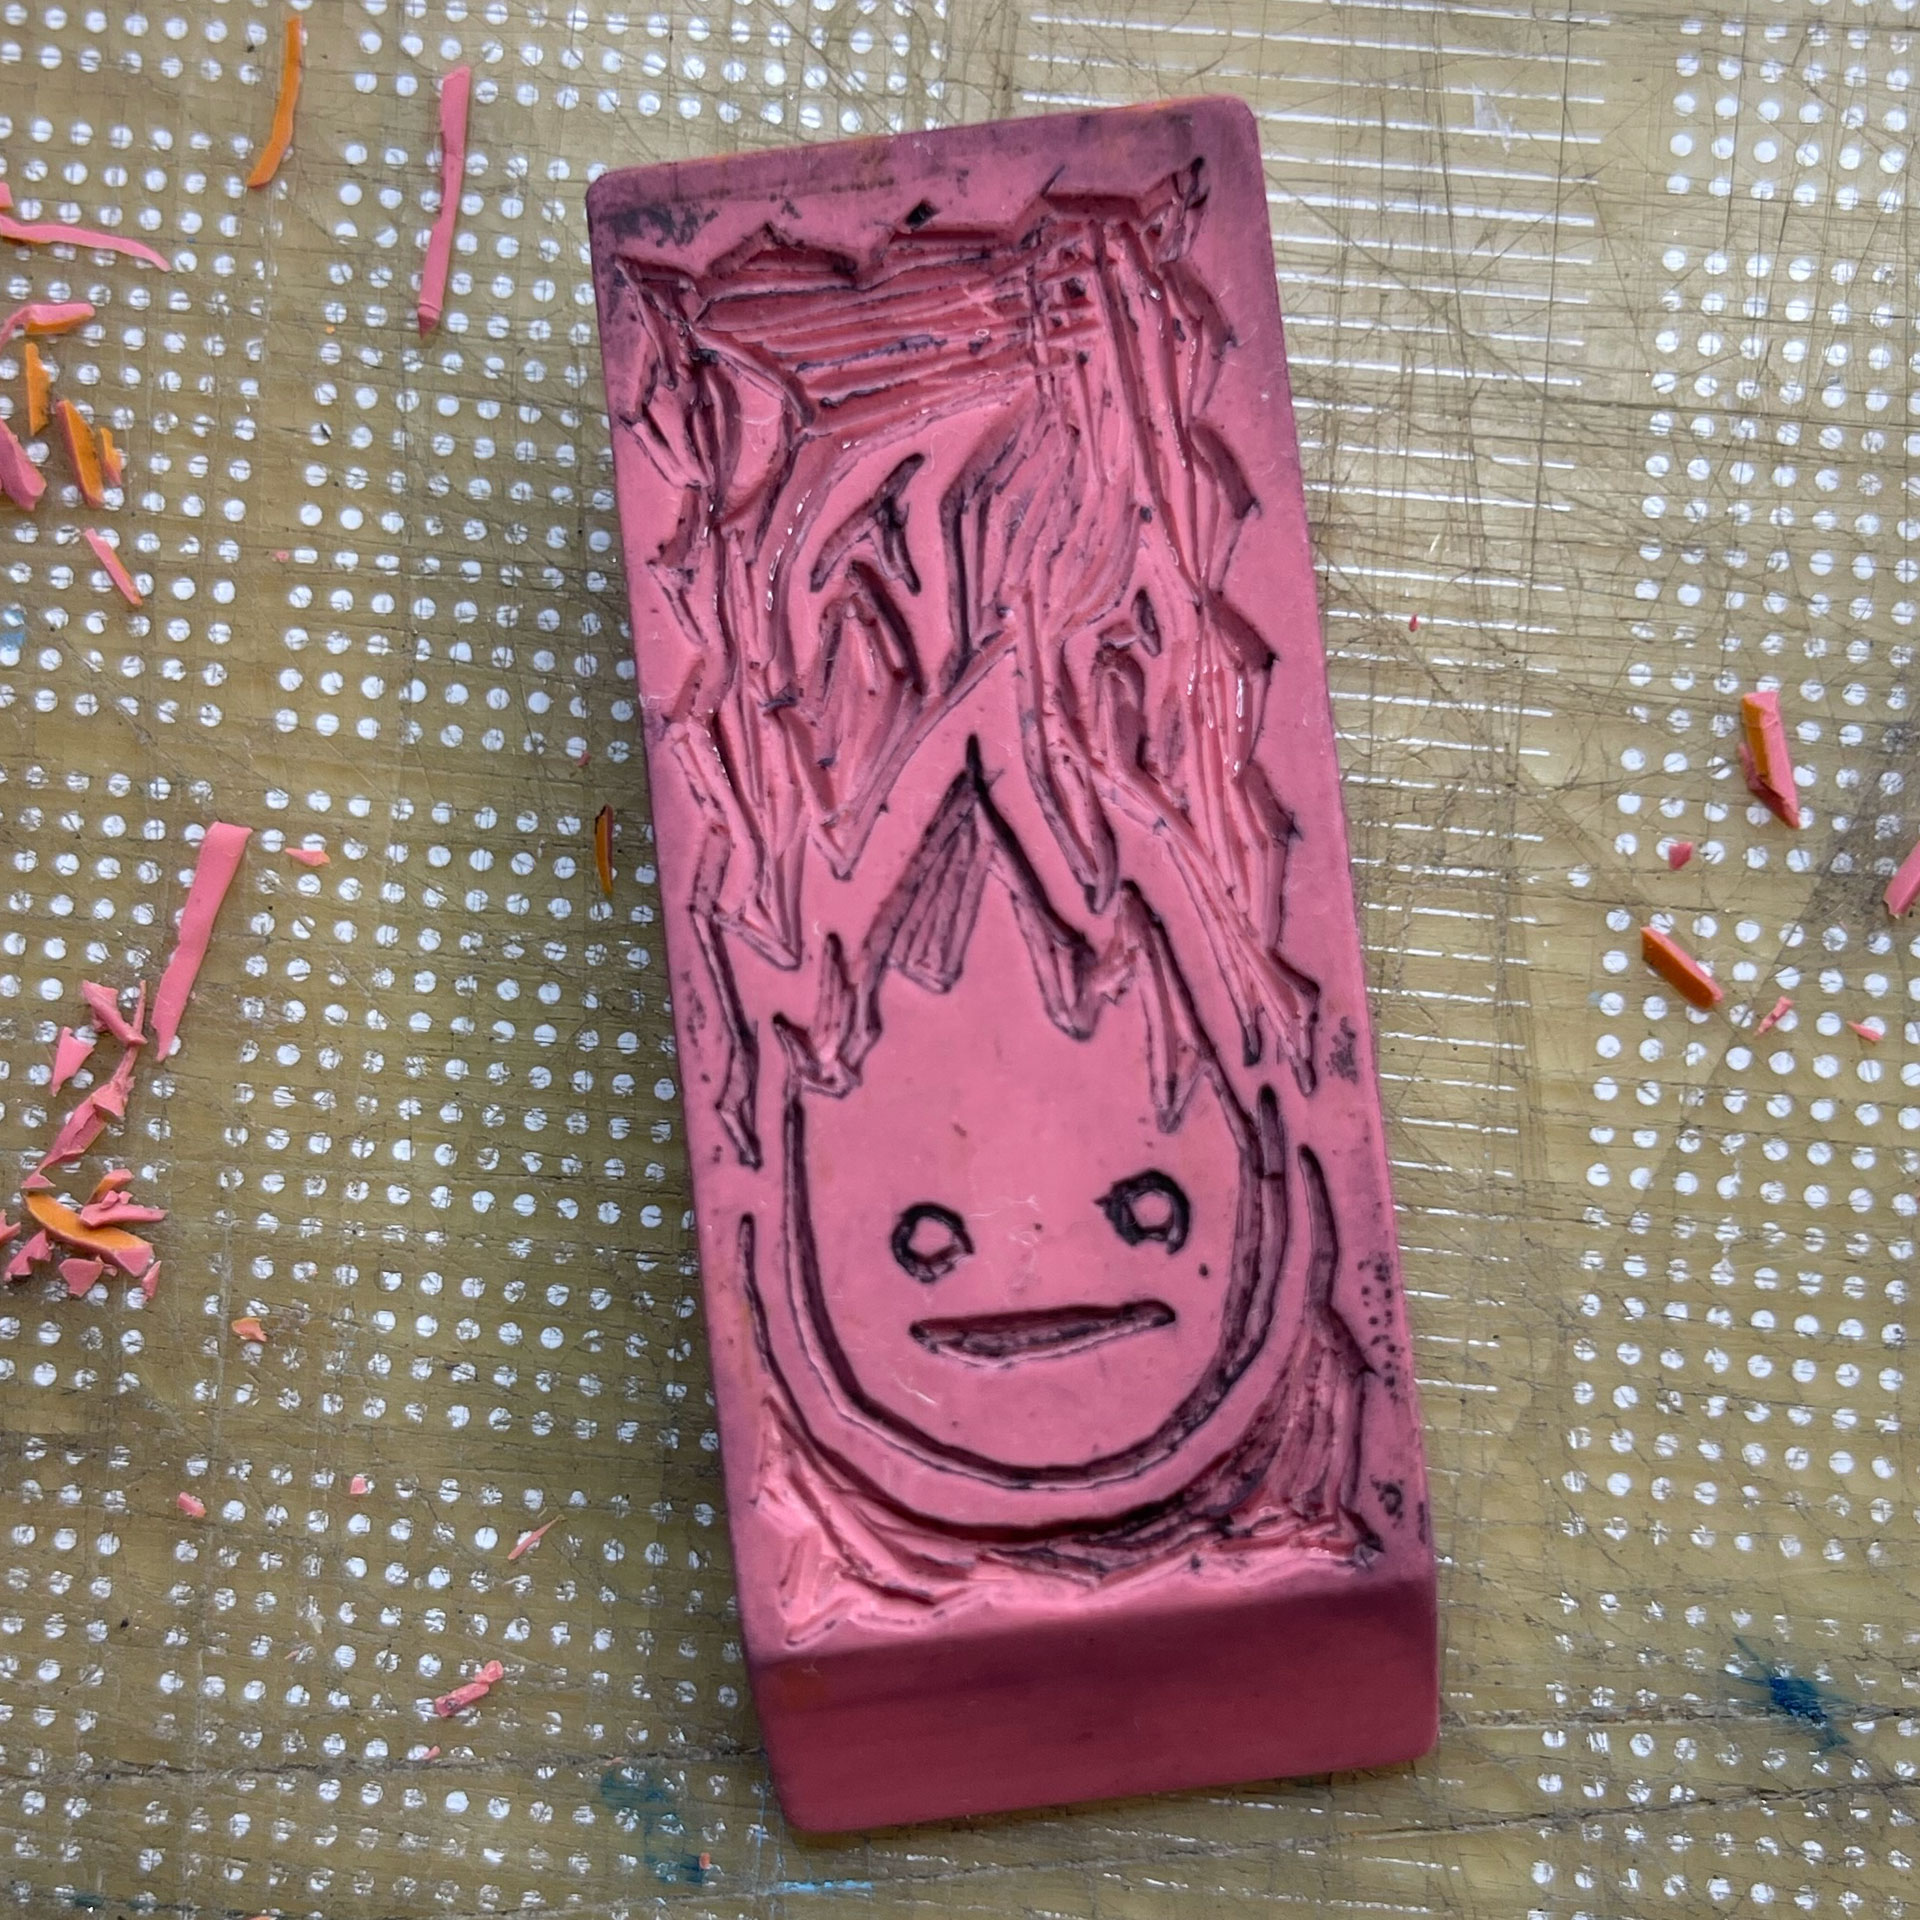
Here’s Calcifer from the Studio Ghibli classic Howl’s Moving Castle! I printed this eraser carving in red ink, and added some additional yellow and orange with watercolor pencils.
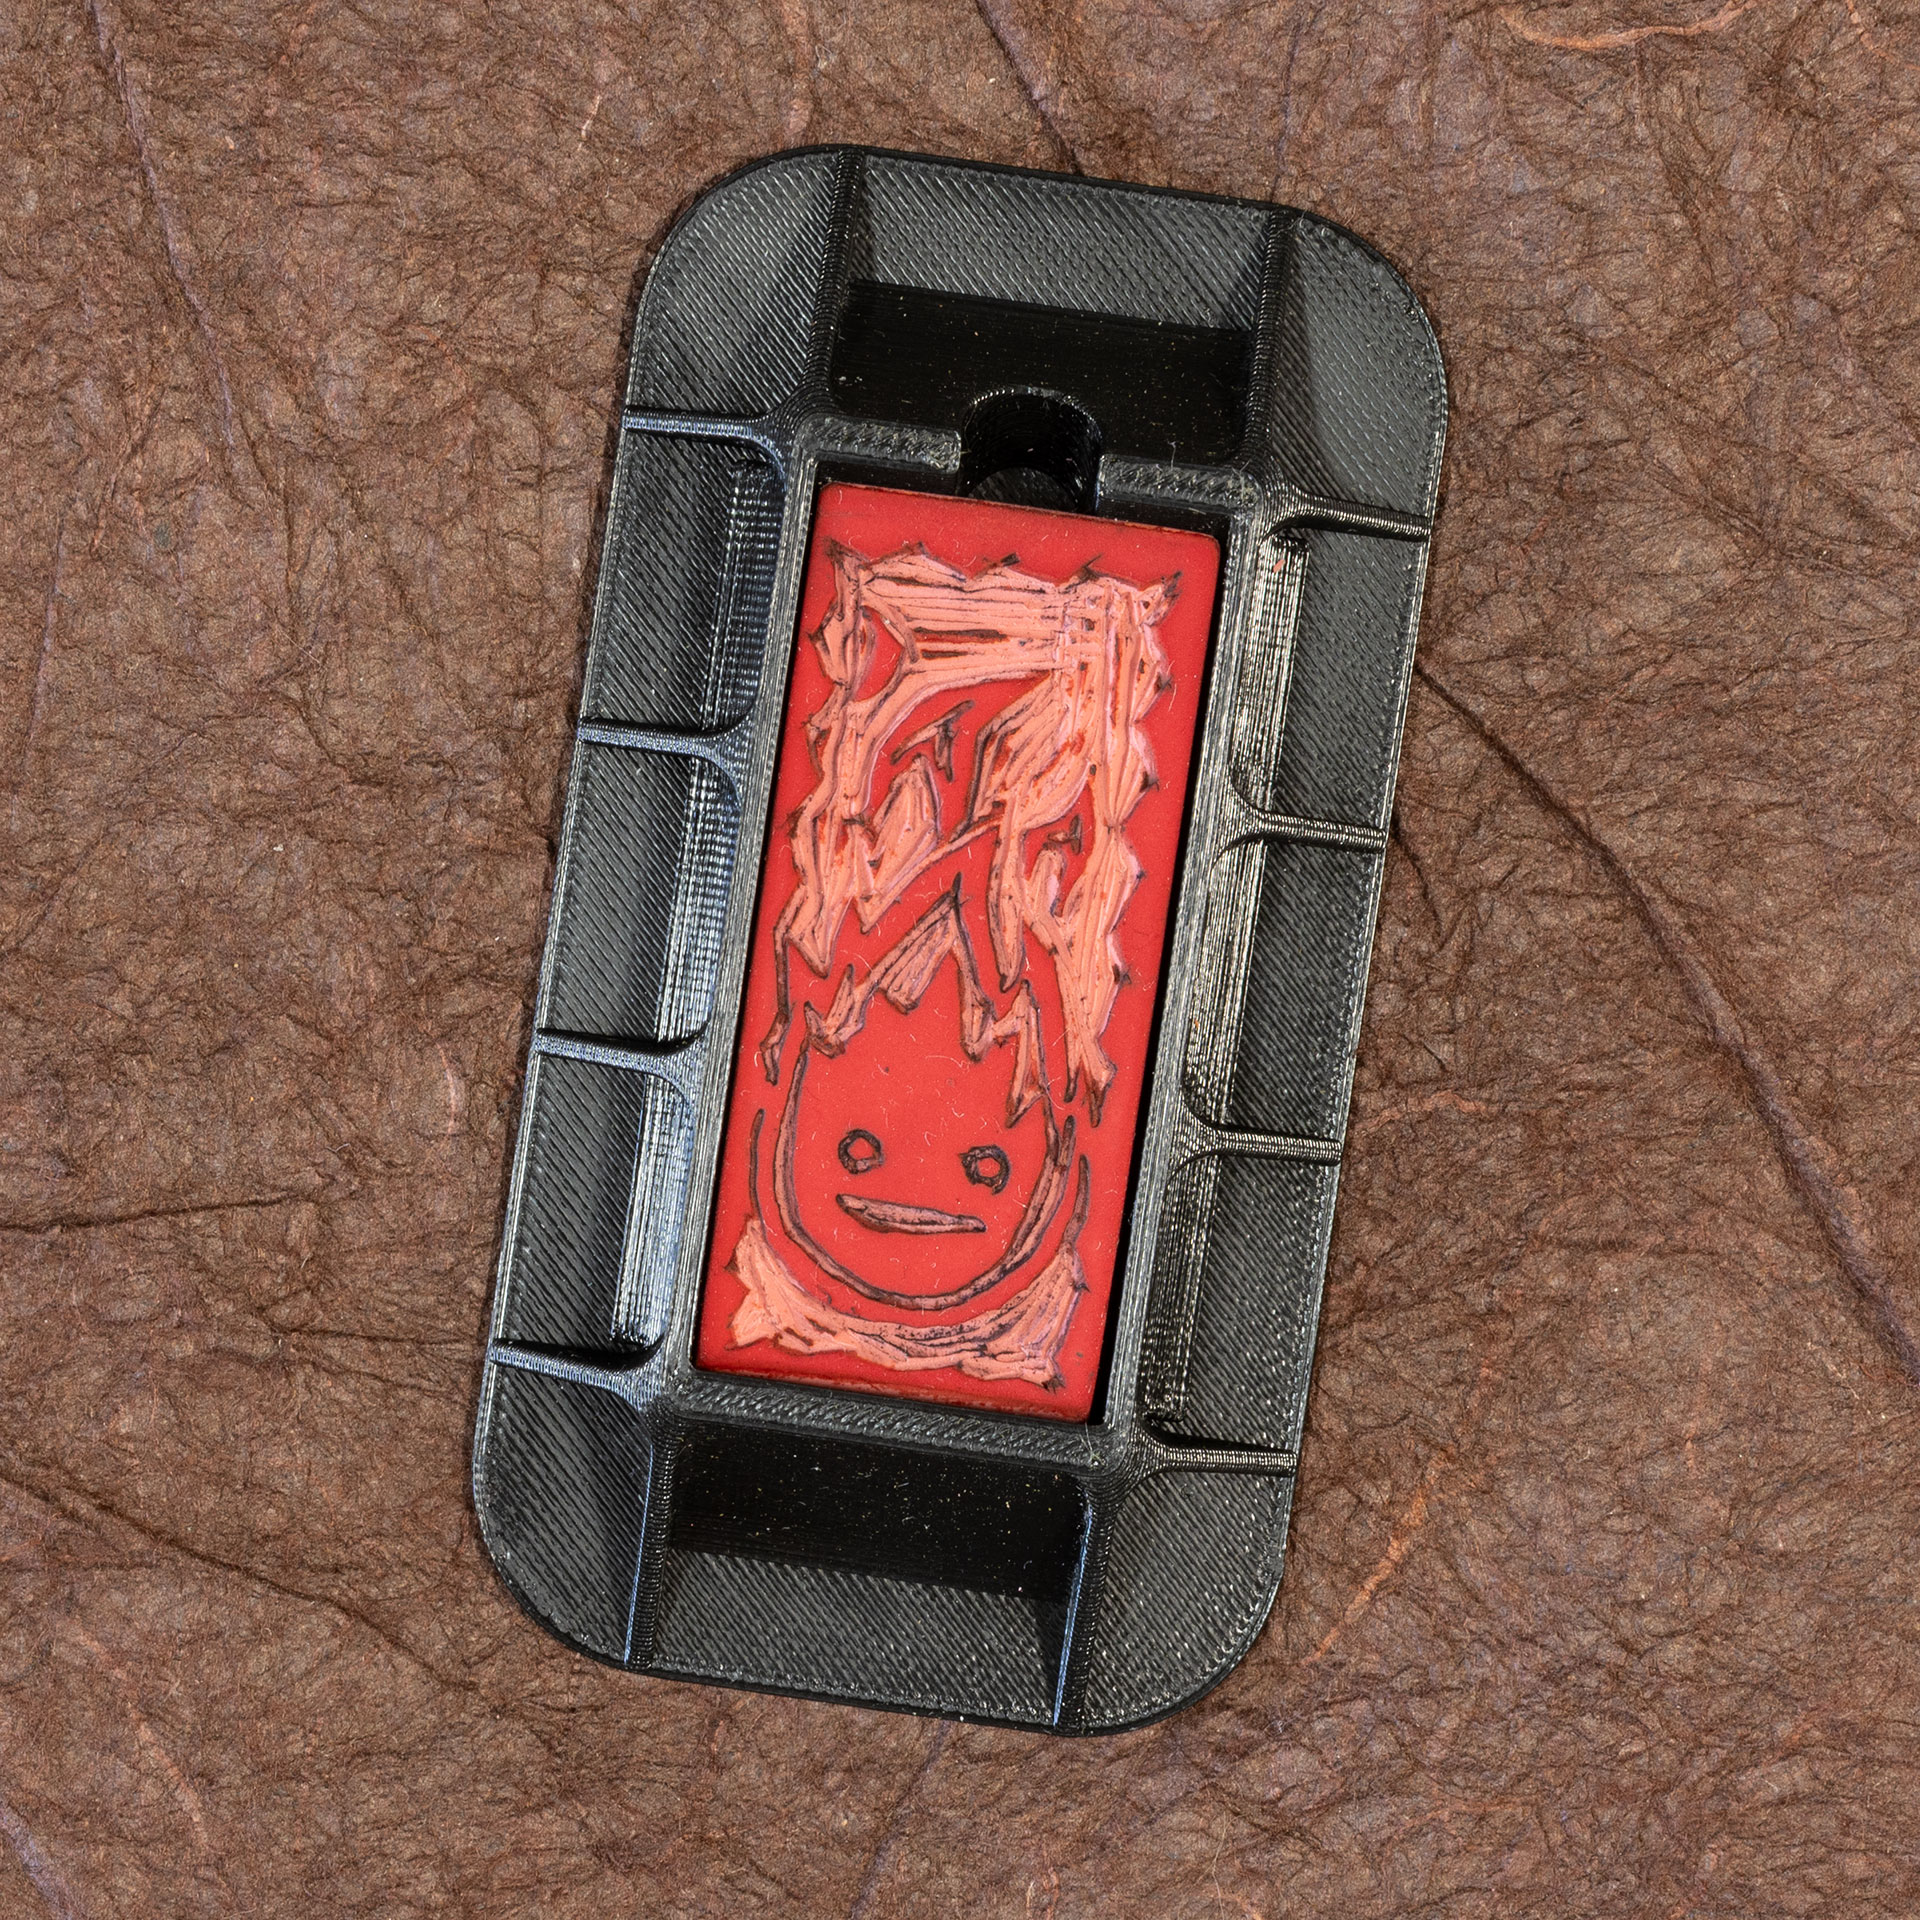
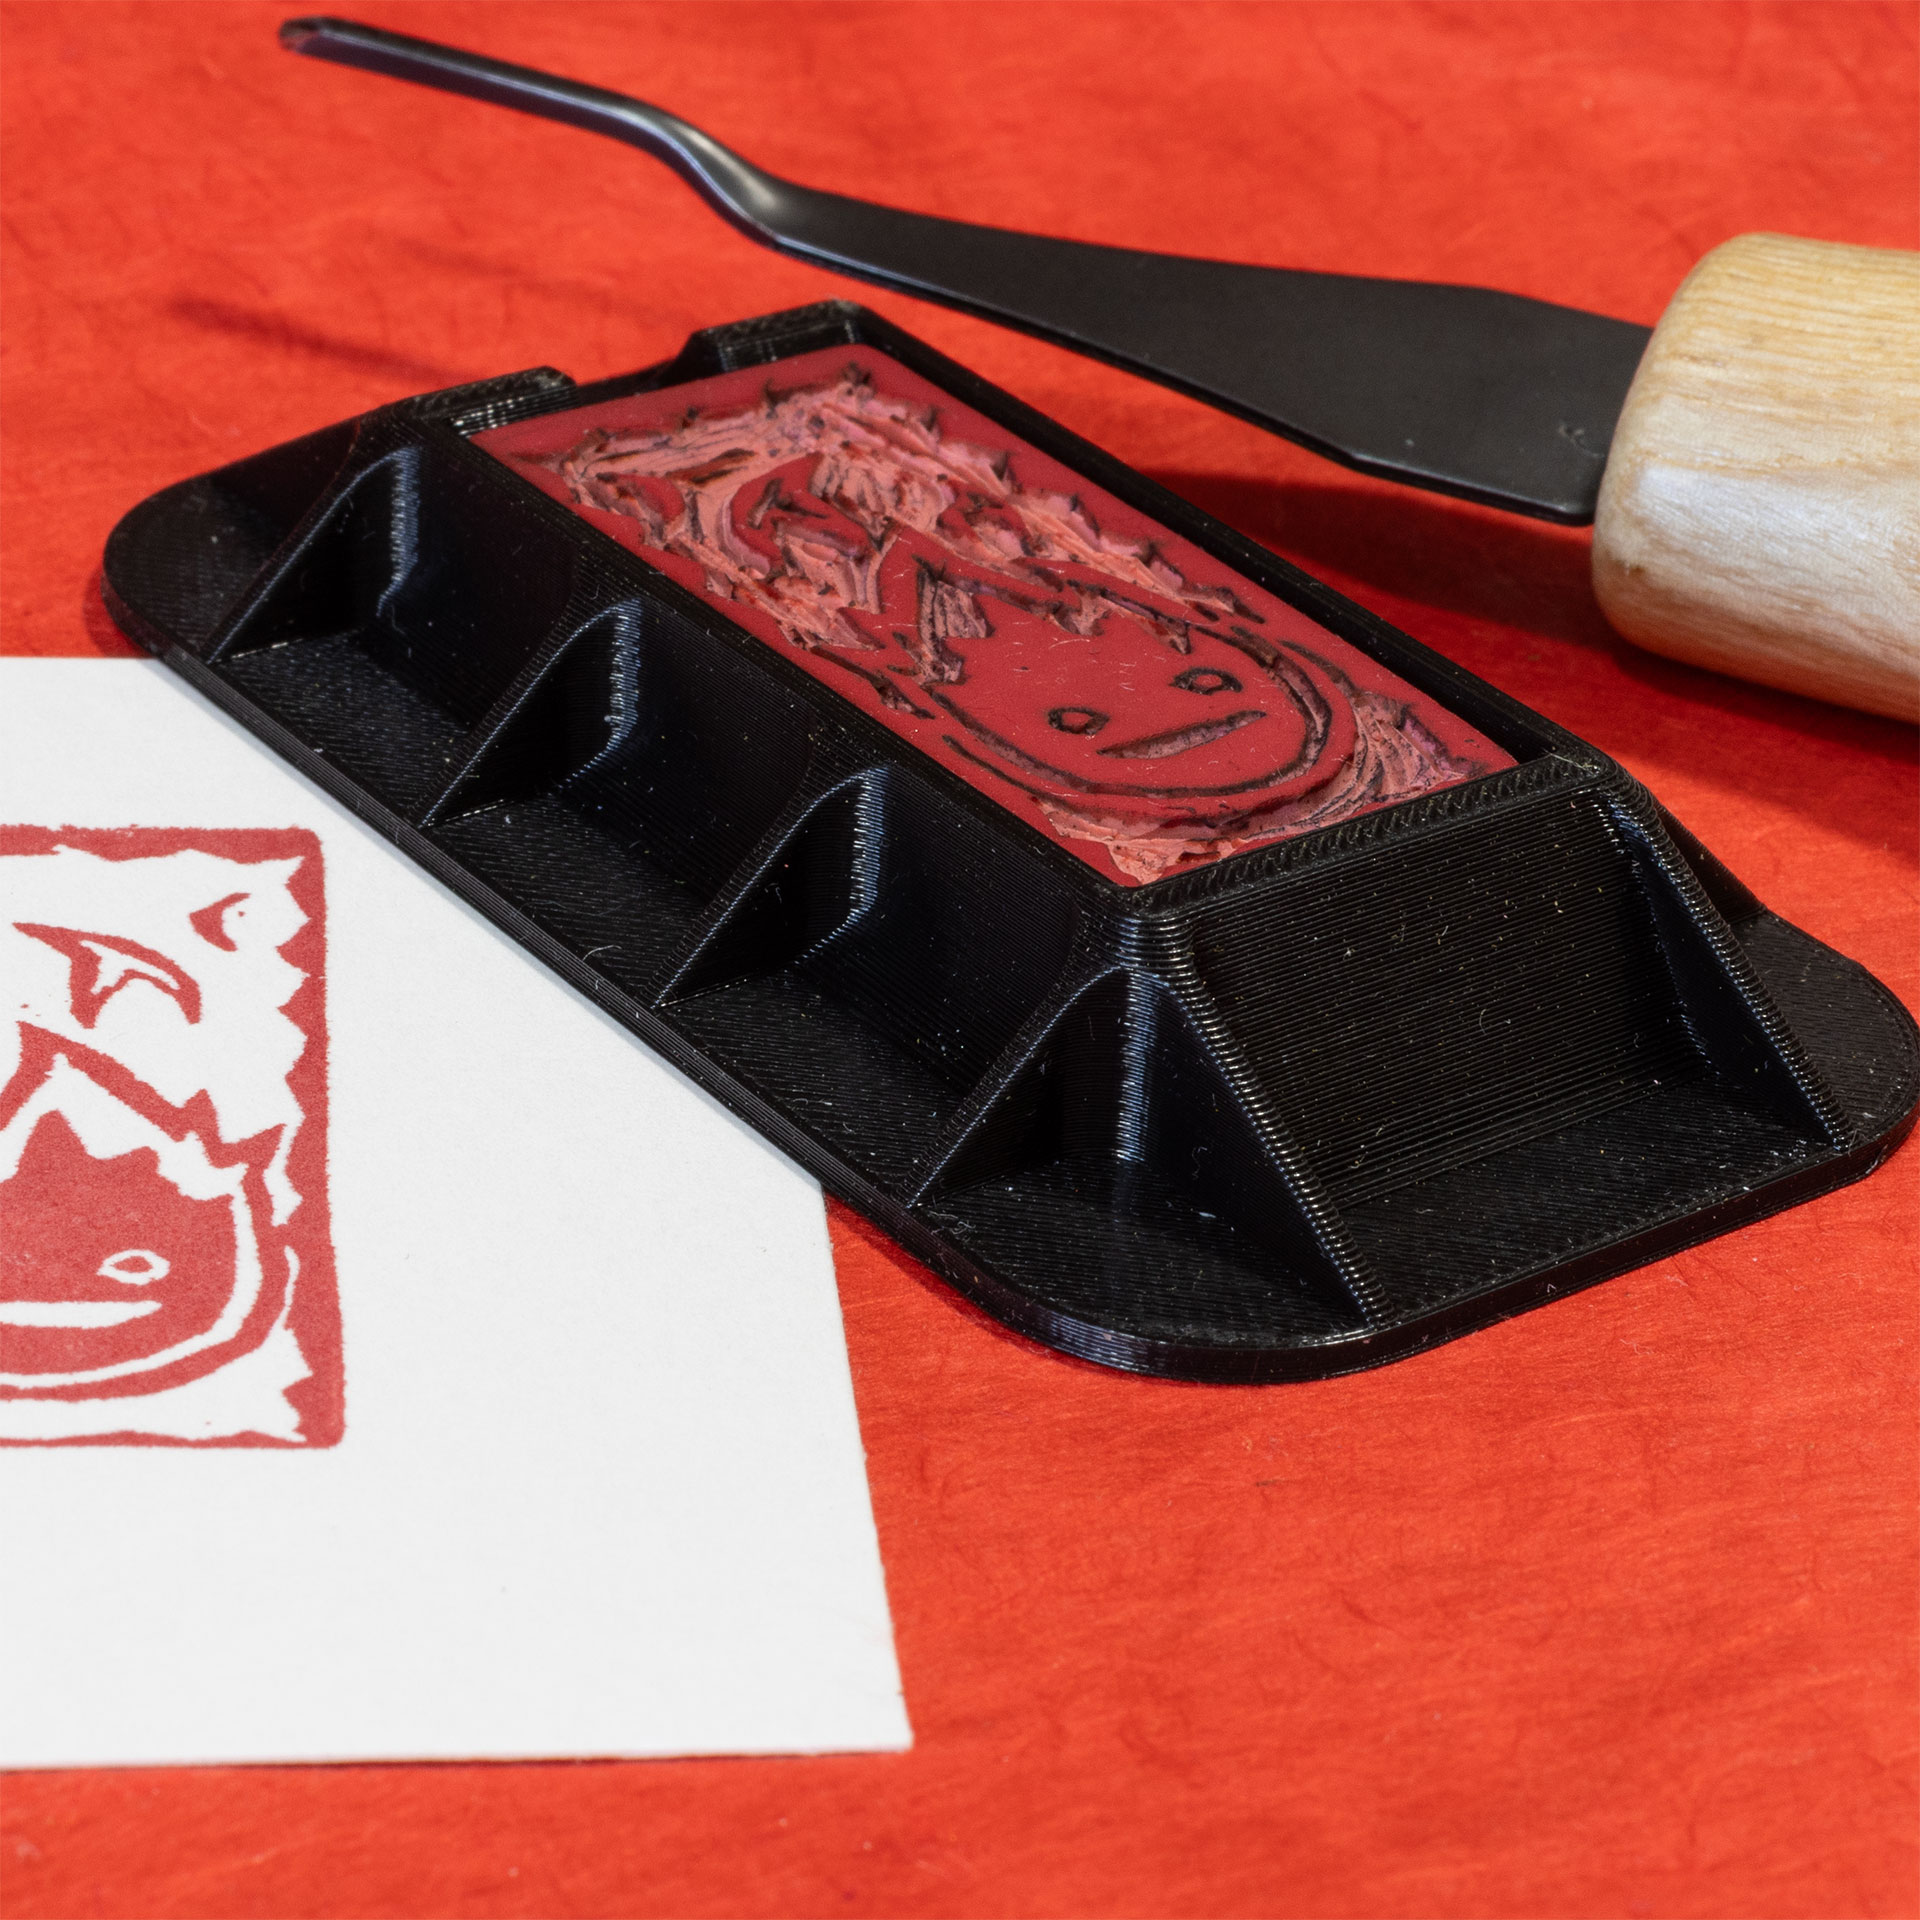
Makerblock designed and 3D printed a holder for carving erasers, and sent me one to try. This was my first go at using that. It works really well!
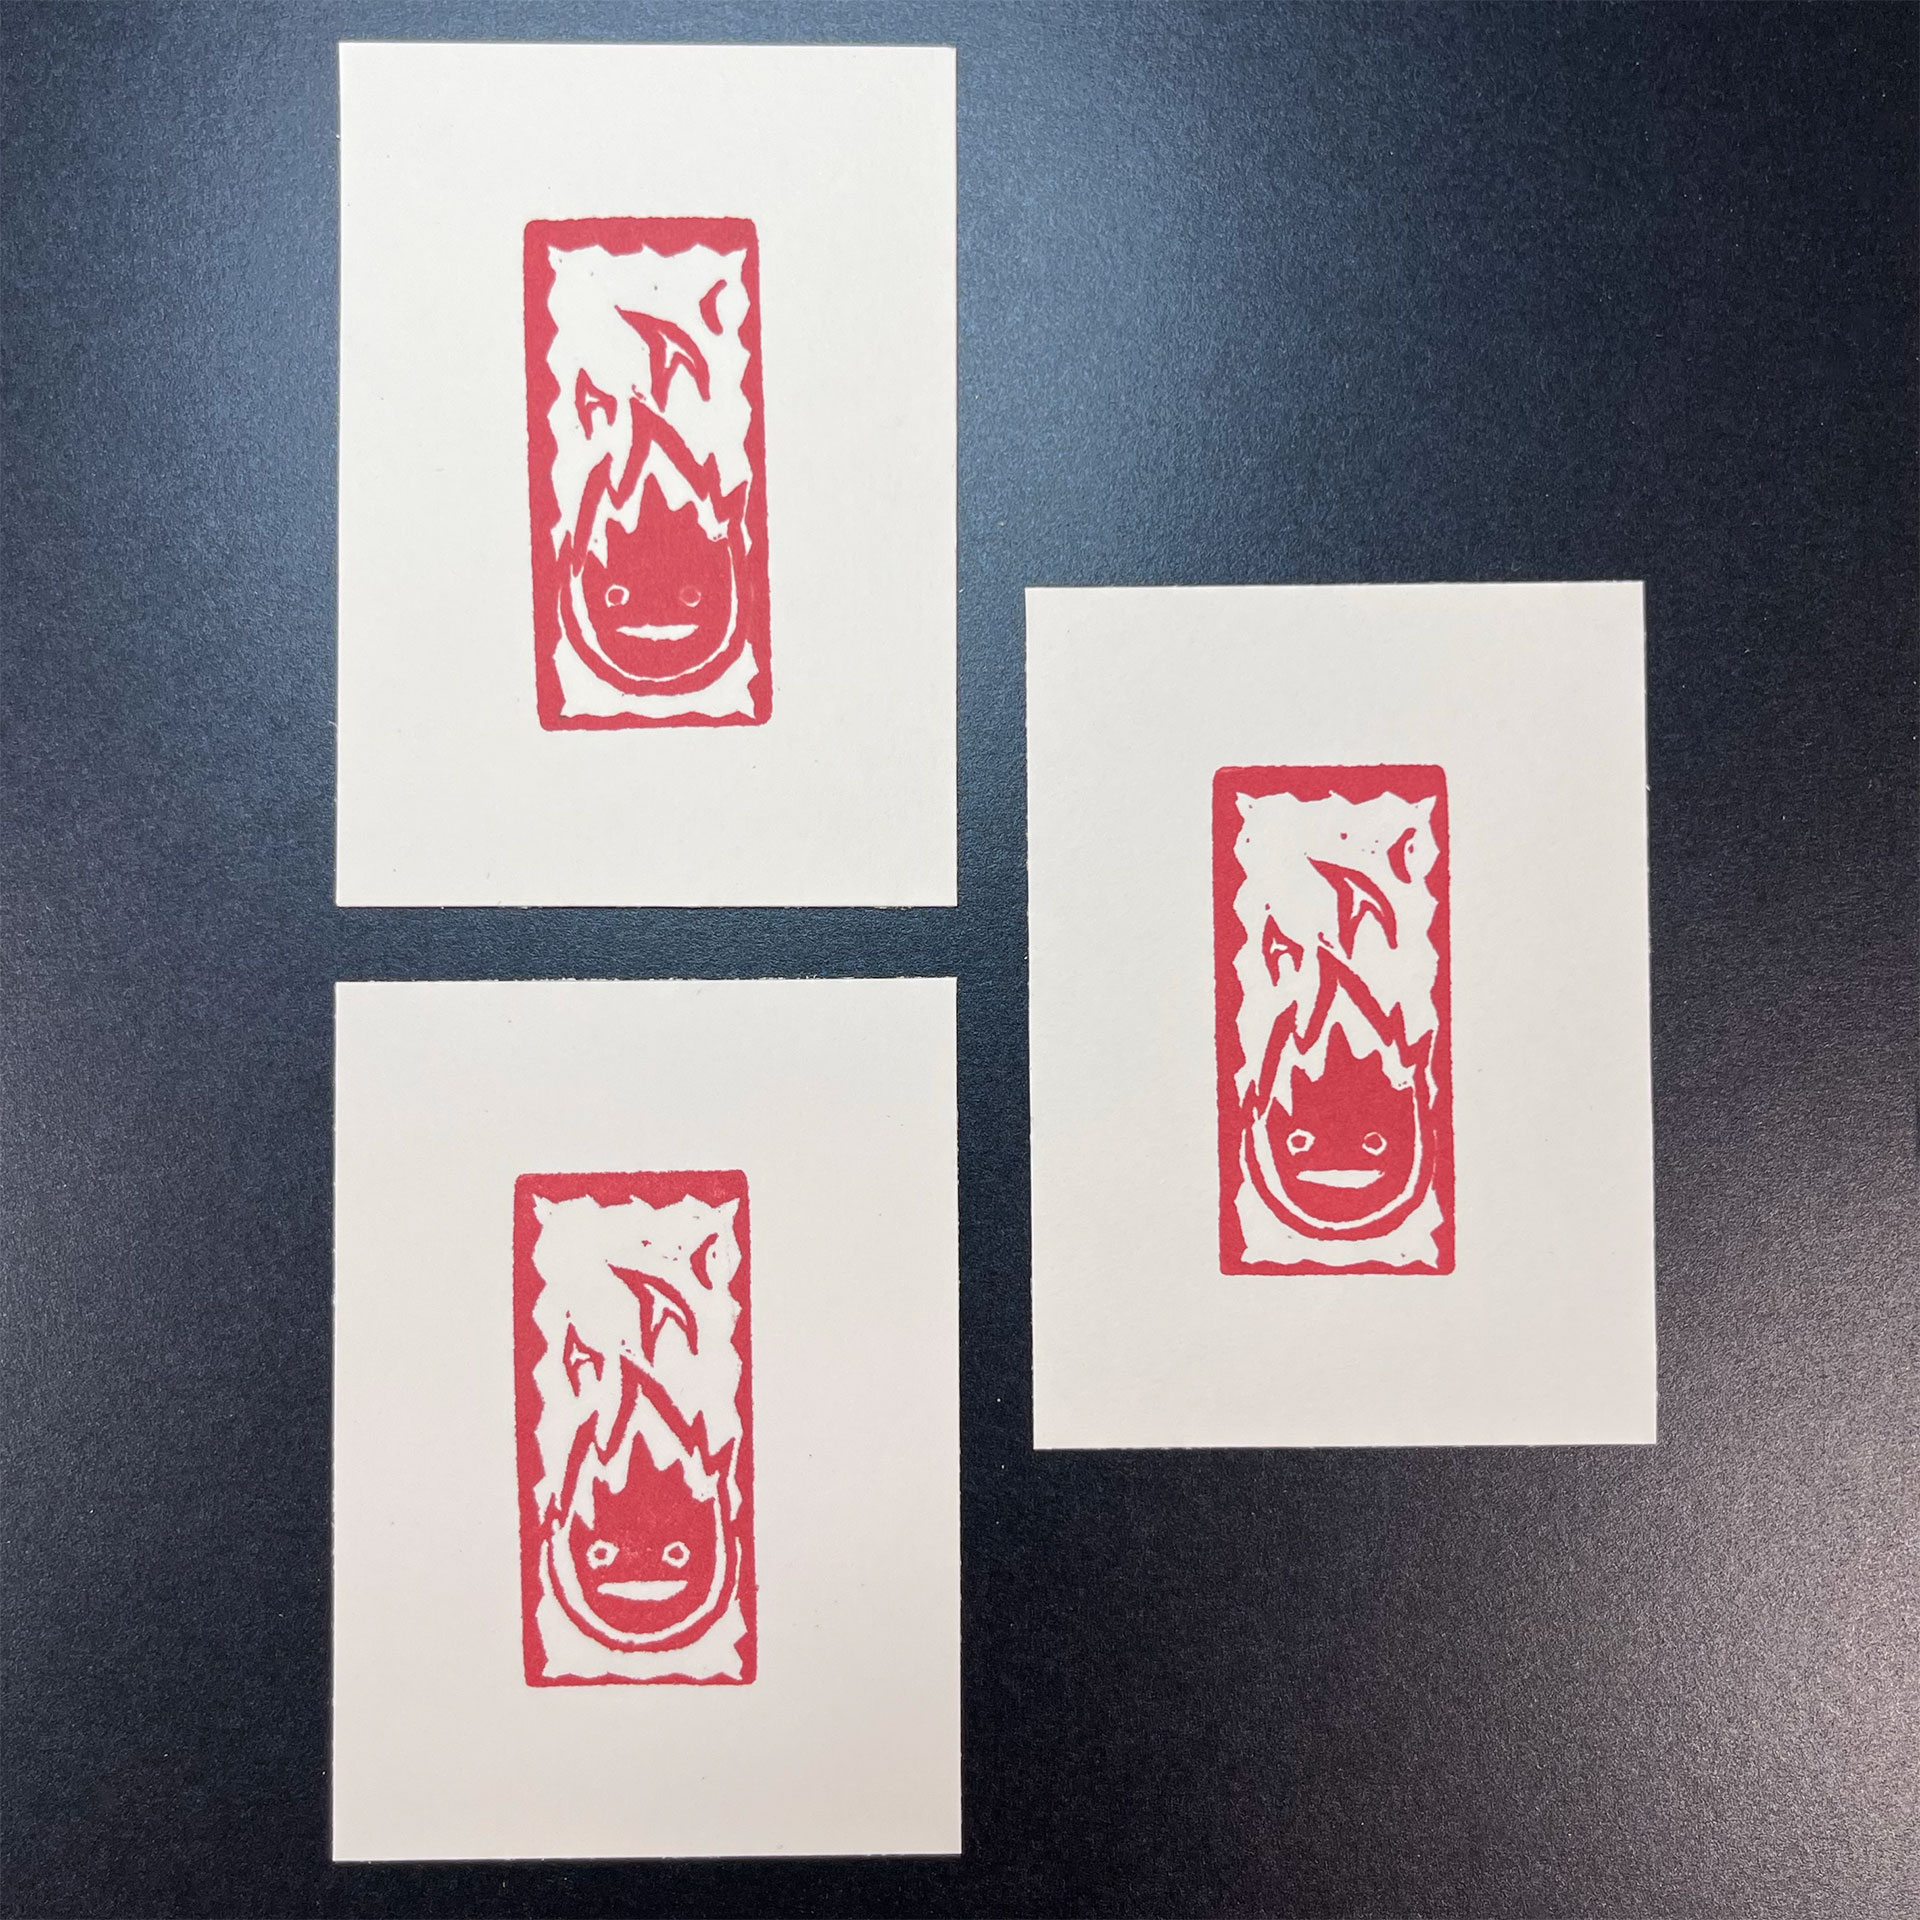
The Fabriano Unica printmaking paper I have been using for most of these eraser prints bled a lot with the red ink. I experimented with the Strathmore printmaking paper and some plain bristol. The impressions are sharpest on the bristol – unsurprising as the clay coat surface doesn’t let the ink sink in much at all. The watercolor pencils, however, need to soak in a little to get the best saturation and vibrancy. So, I went with the Strathmore paper for the final prints.
Calcifer Mixed-Media Print (eraser print embellished with watercolor pencil)
Calcifer Eraser Prints and Hand-Carved Eraser
Calcifer Eraser in MakerBlock’s Carving Holder
Calcifer Eraser in MakerBlock’s Carving Holder
Three prints showing how the red ink interacts with different types of paper. Clockwise from top-left and progressively crisper details: the Fabriano Unica paper, Strathmore printmaking paper, and Bristol.
Comparison of finished mixed-media Calcifer prints showing that the added watercolor pencils are a little more vibrant on the Strathmore paper (right) than the Bristol (left).
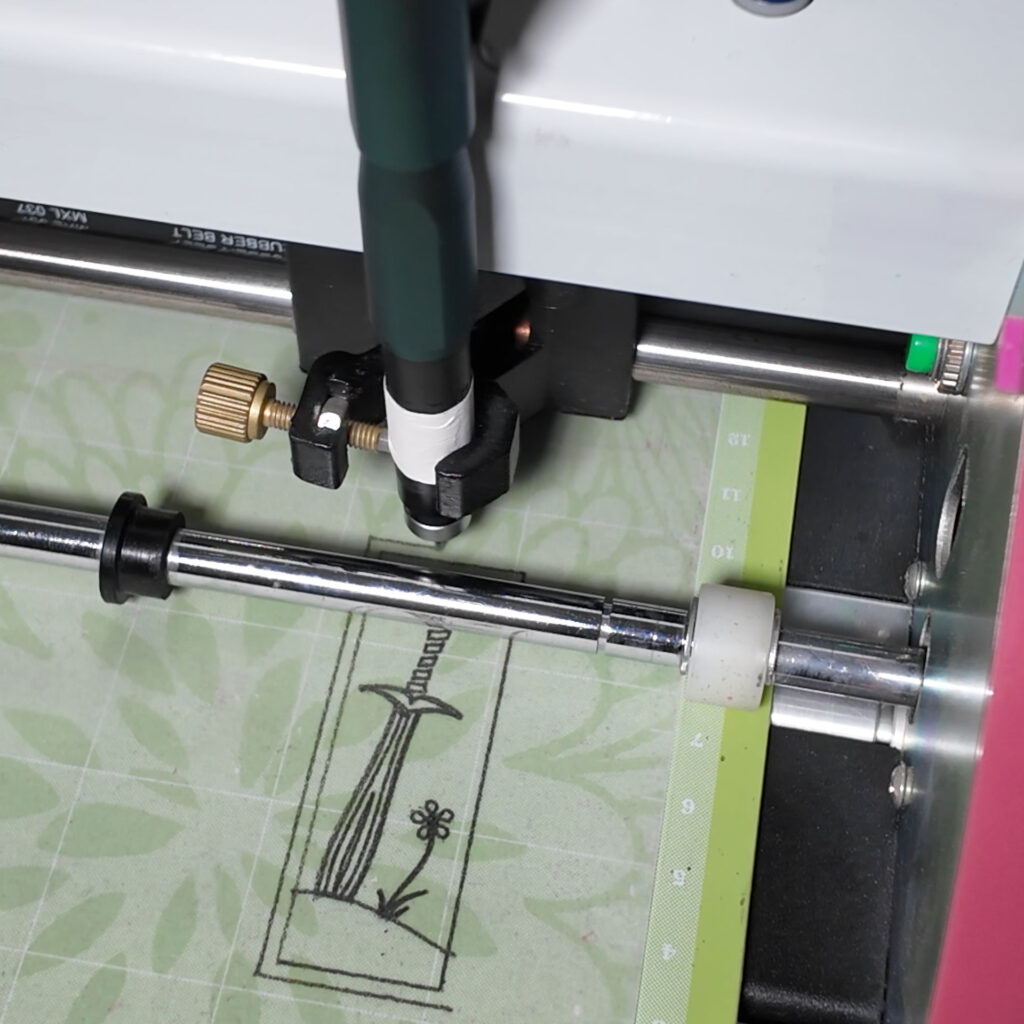
While talking about different ways to transfer designs to the substrate for lino (and eraser) carving, I had this kind of silly idea. One common way to transfer designs is to trace them in pencil, then rub the pencil drawing onto the carving surface. Because I don’t like the additional inaccuracy I add to the design when tracing, I mostly use other approaches. Since I am creating most of my art as vector images in Inkscape, I wondered if I could use a pencil in my Bosskut Gazelle plotting cutter to draw the design.
It worked with a pencil (a soft-lead Blackwing in this case), but the line width changes as the tip wears down. I was aware of a new mechanical pencil from Uniball in Japan called the Kuru Toga Dive that automatically advances the lead as it is used. They are kind of expensive, but this experiment was a great excuse to add one to my toolkit here. So, I got one (in purple, of course), along with some extra-soft 2B lead.
It worked great! This probably isn’t a practical approach for most people, unless one happens to have appropriate equipment on-hand already, and is creating vector images for their designs. Still, it was a fun experiment, and I won’t rule out actually using it in the future.