
- Posted on
- By Andrew C.
- In Other Projects
- Leave a comment
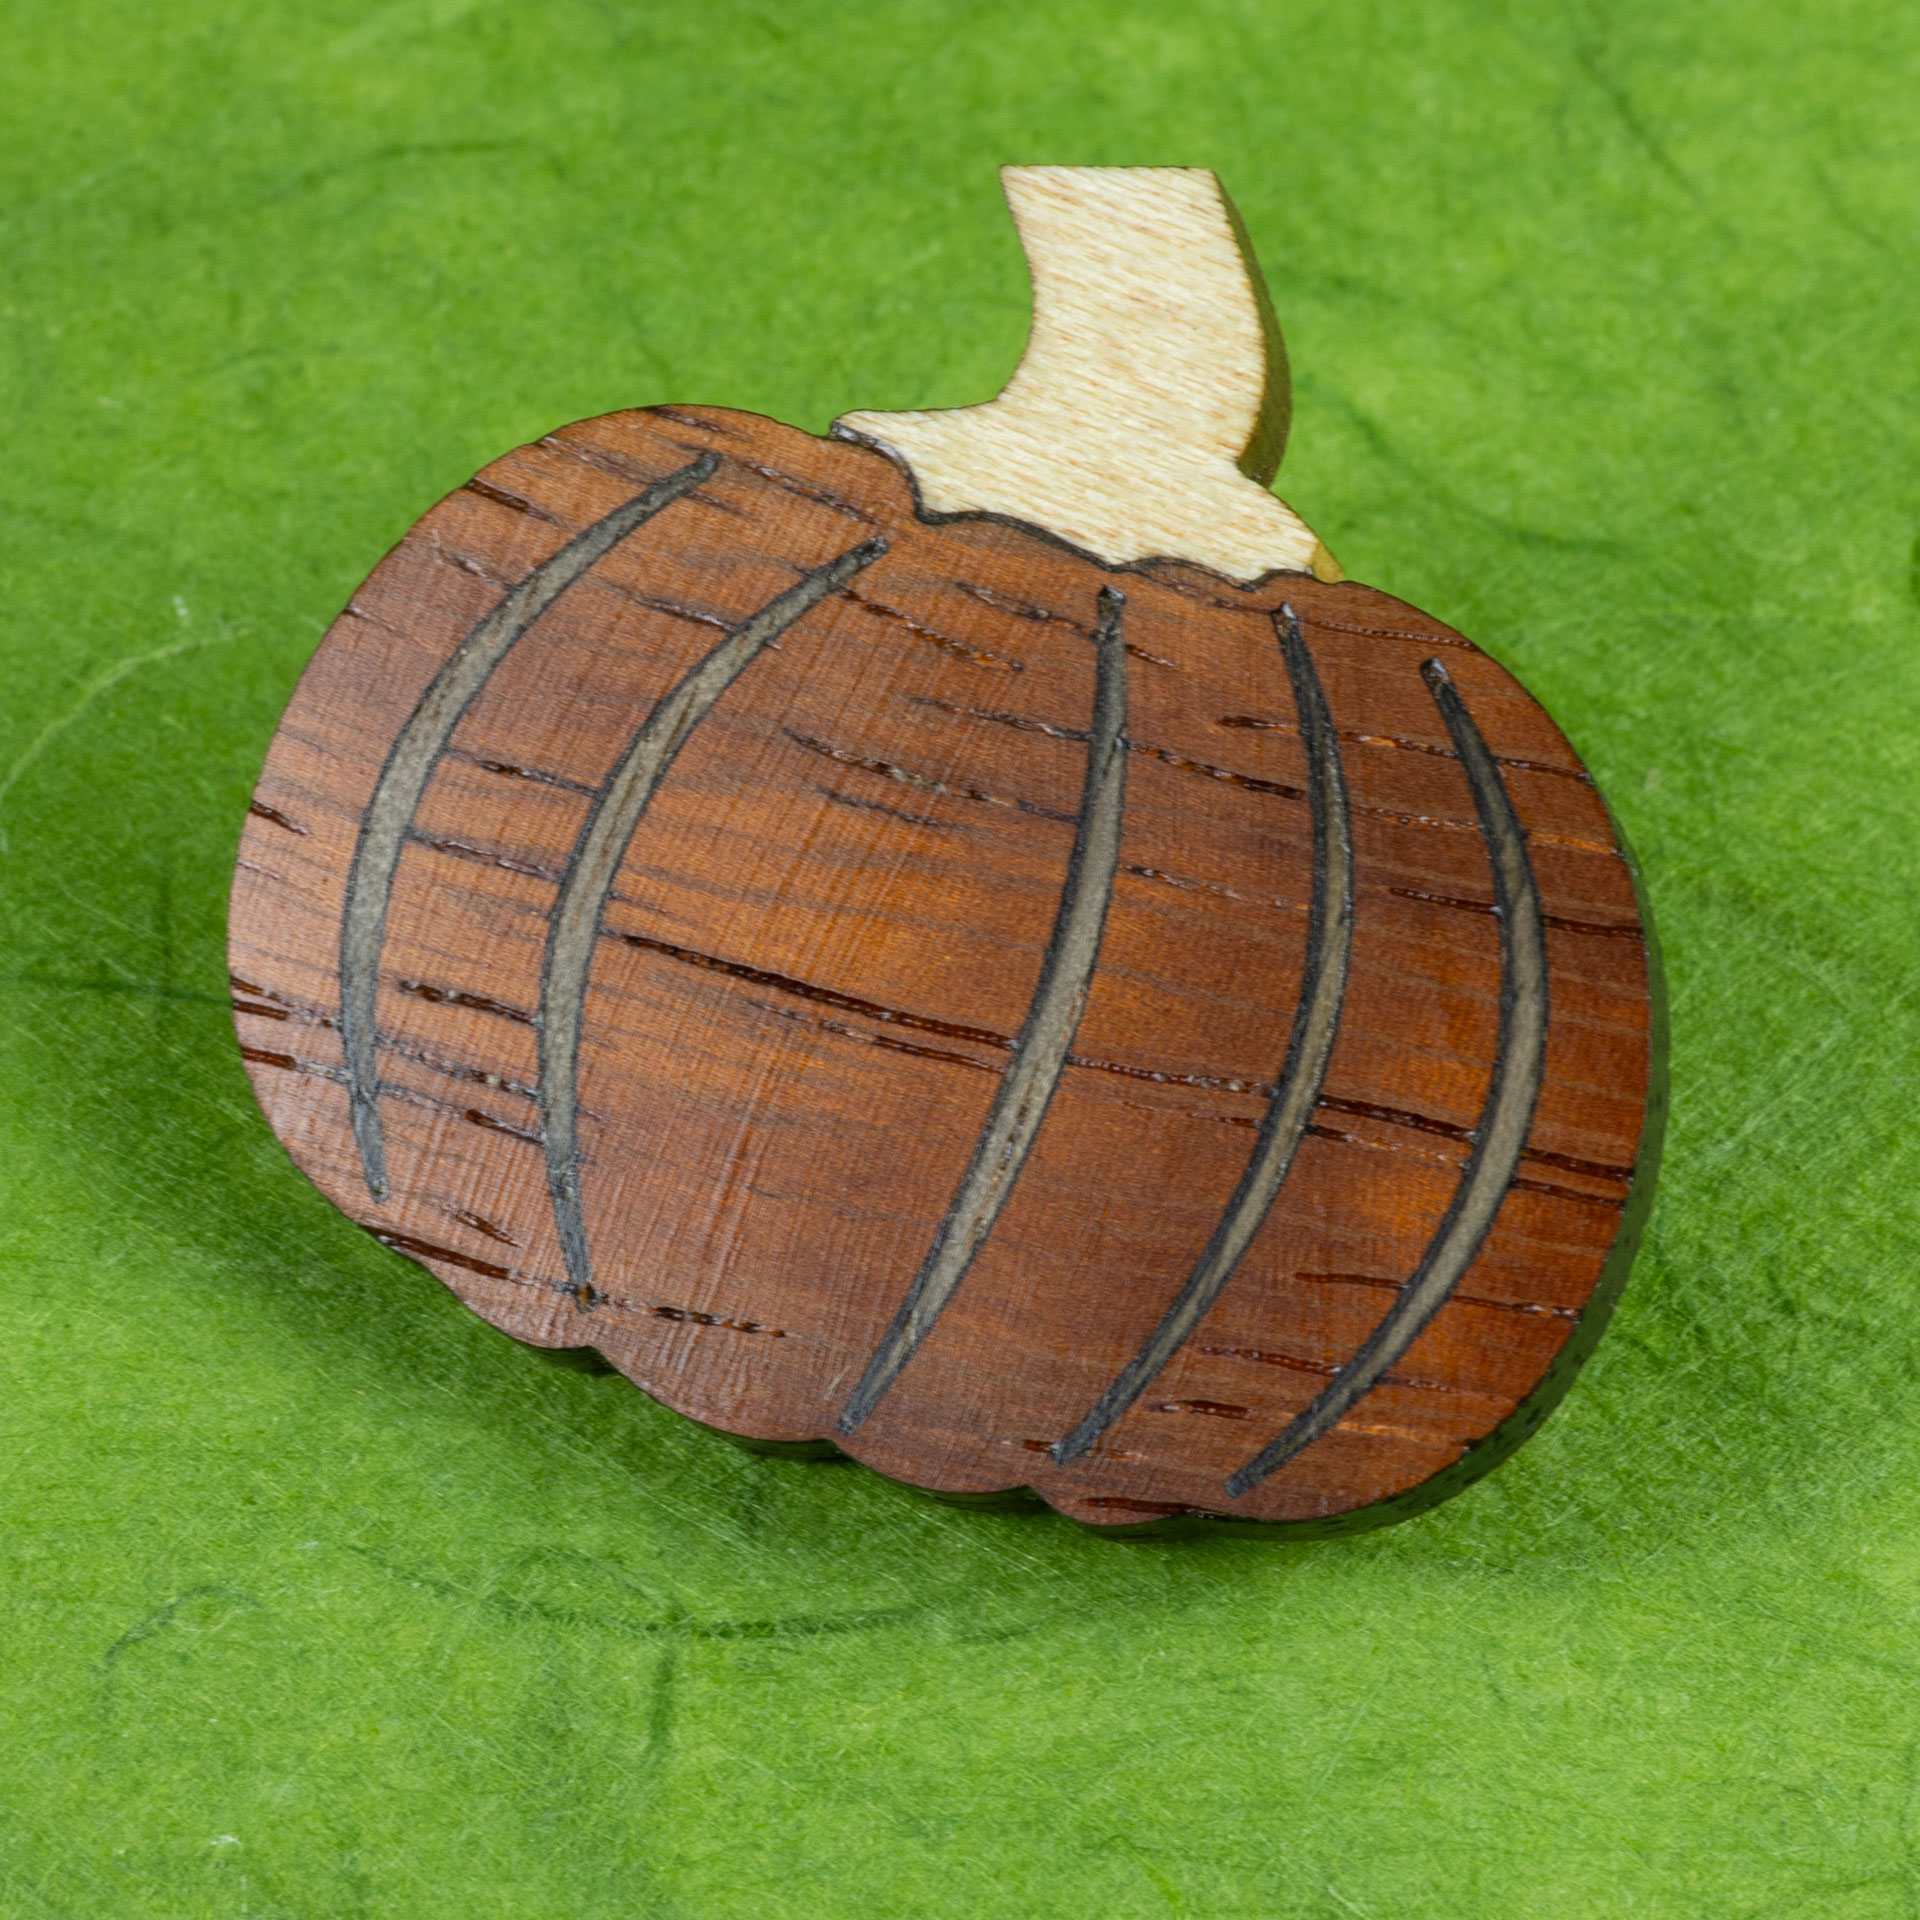
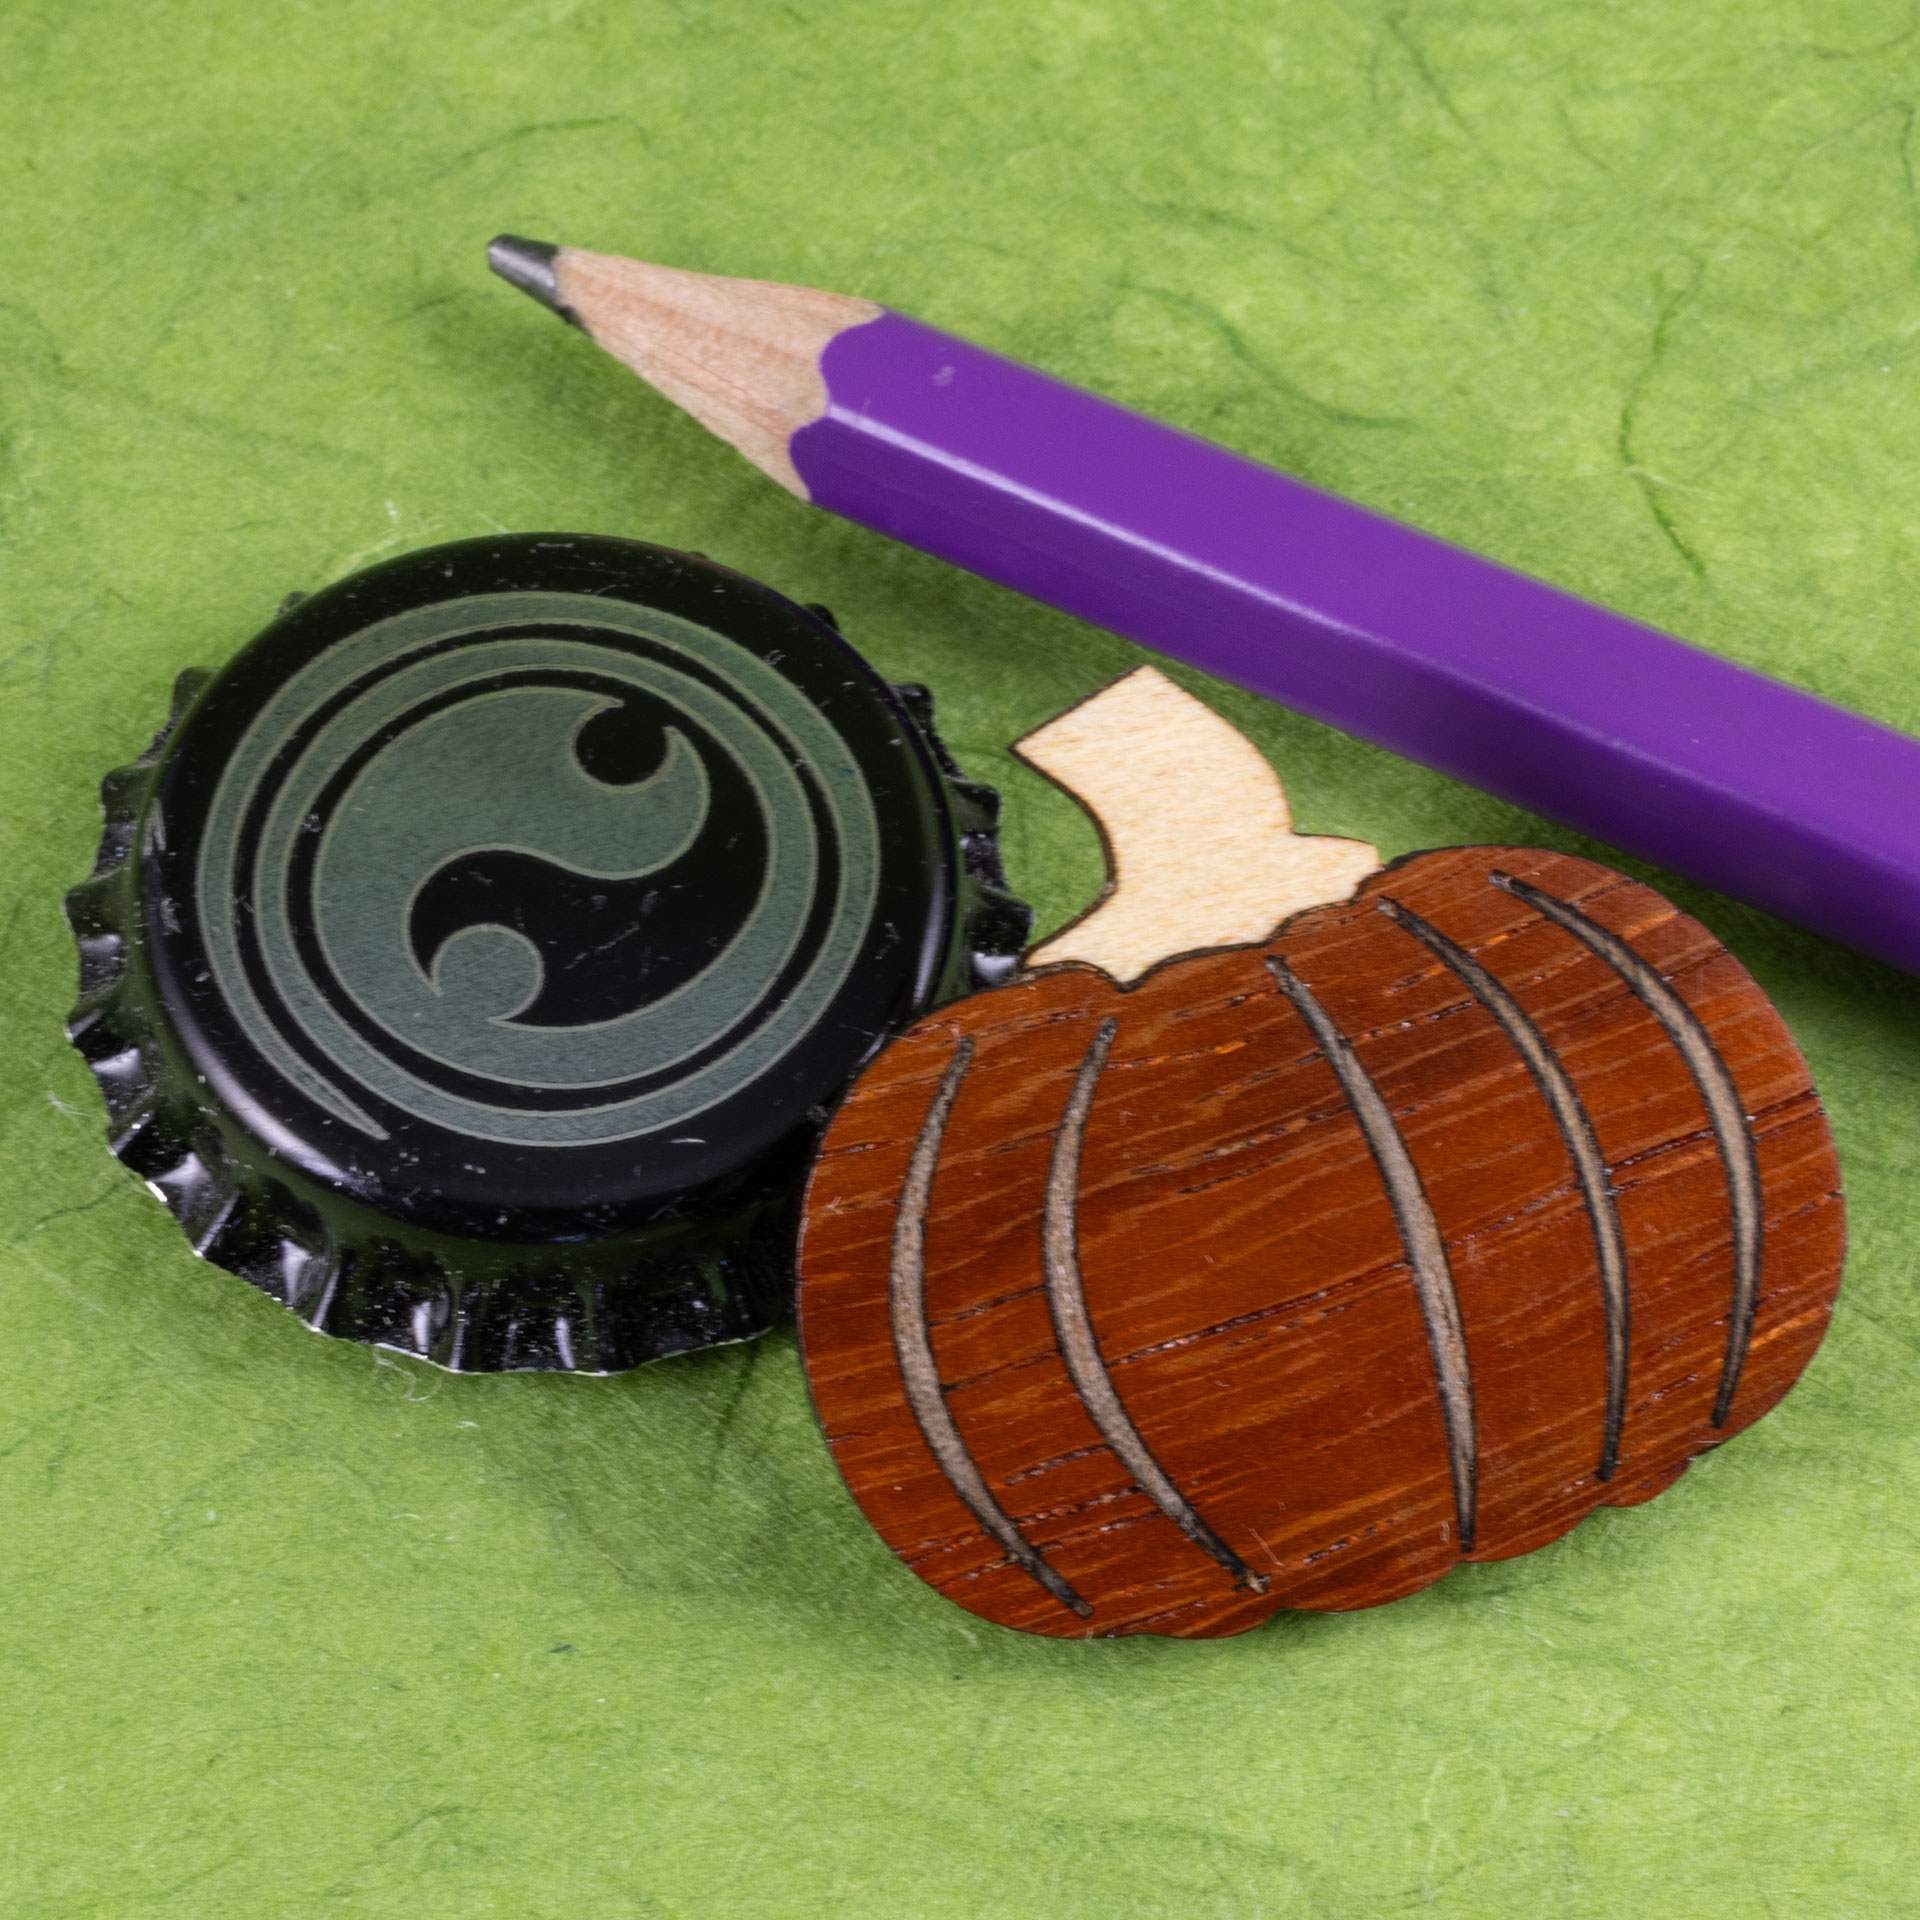
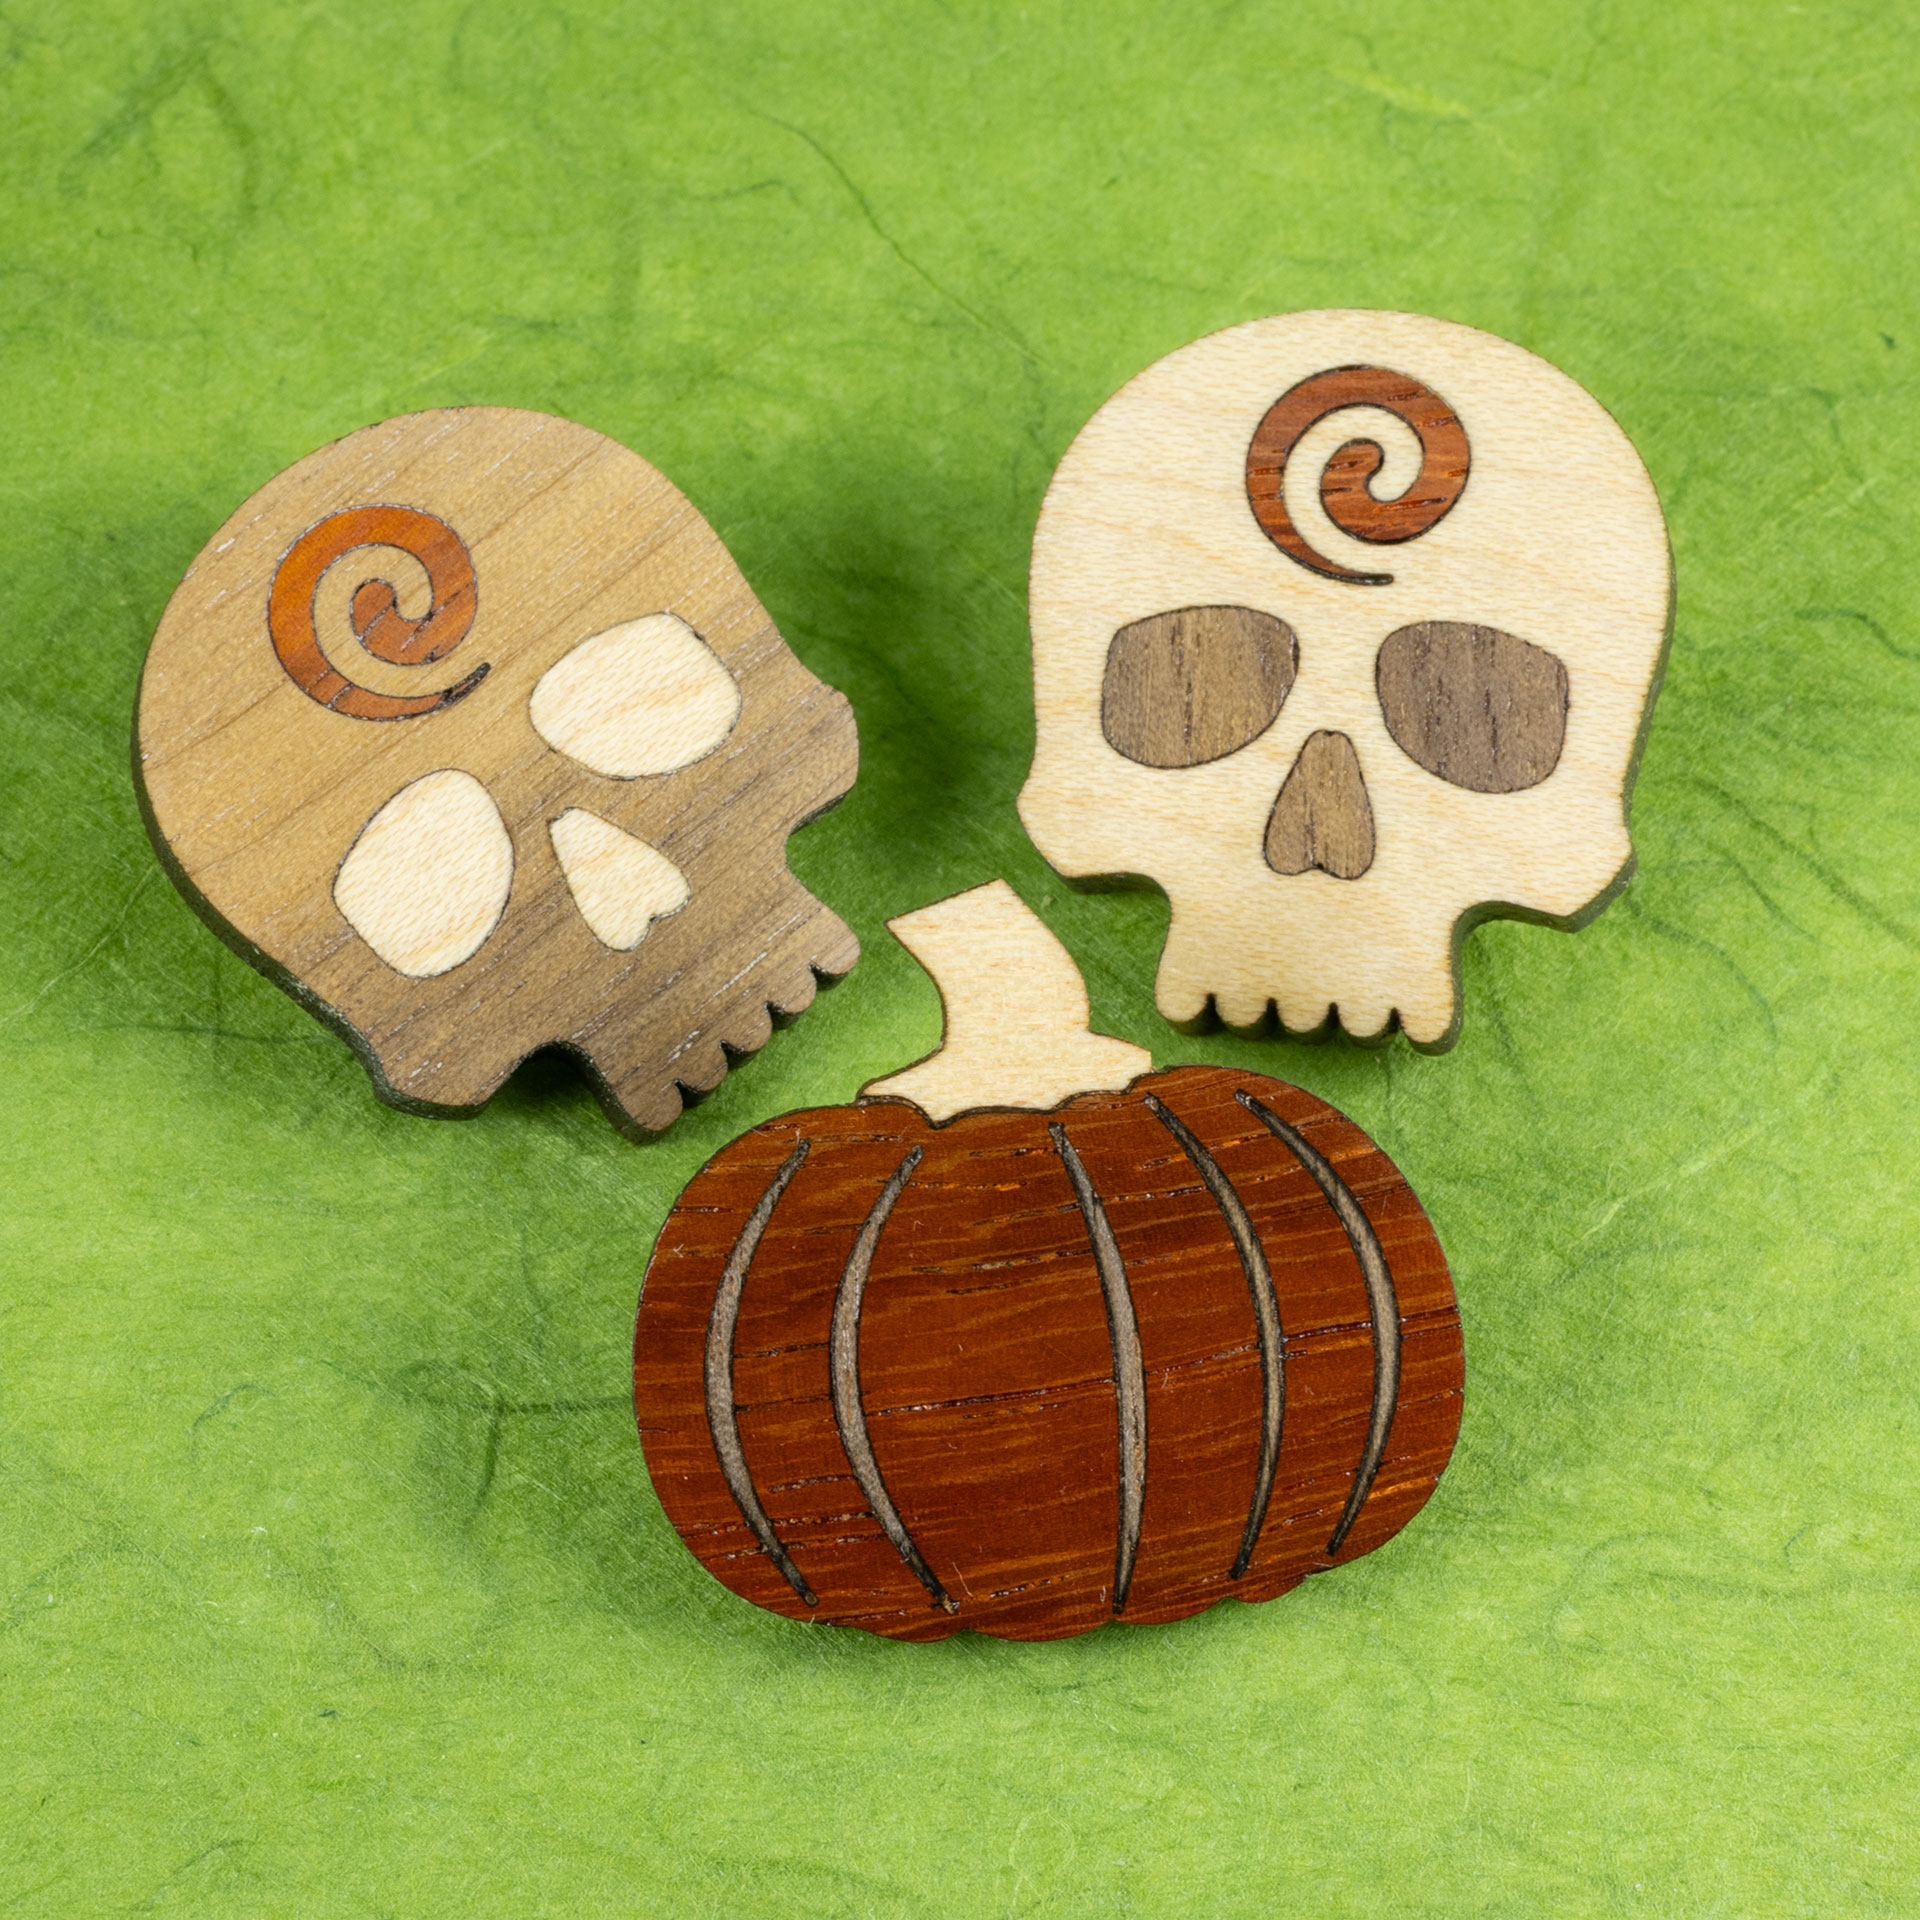
I have been wanting to try this technique for detailed wood inlay since seeing it demonstrated in a video Trotec posted last summer. I originally tried to make this pumpkin pin design last October with cut-through pieces like I have done for other wood inlay pins. The tiny walnut ribs just burned to charcoal, though. I thought of trying this new approach immediately, but had a lot of other stuff going on, and did not get to it until now.
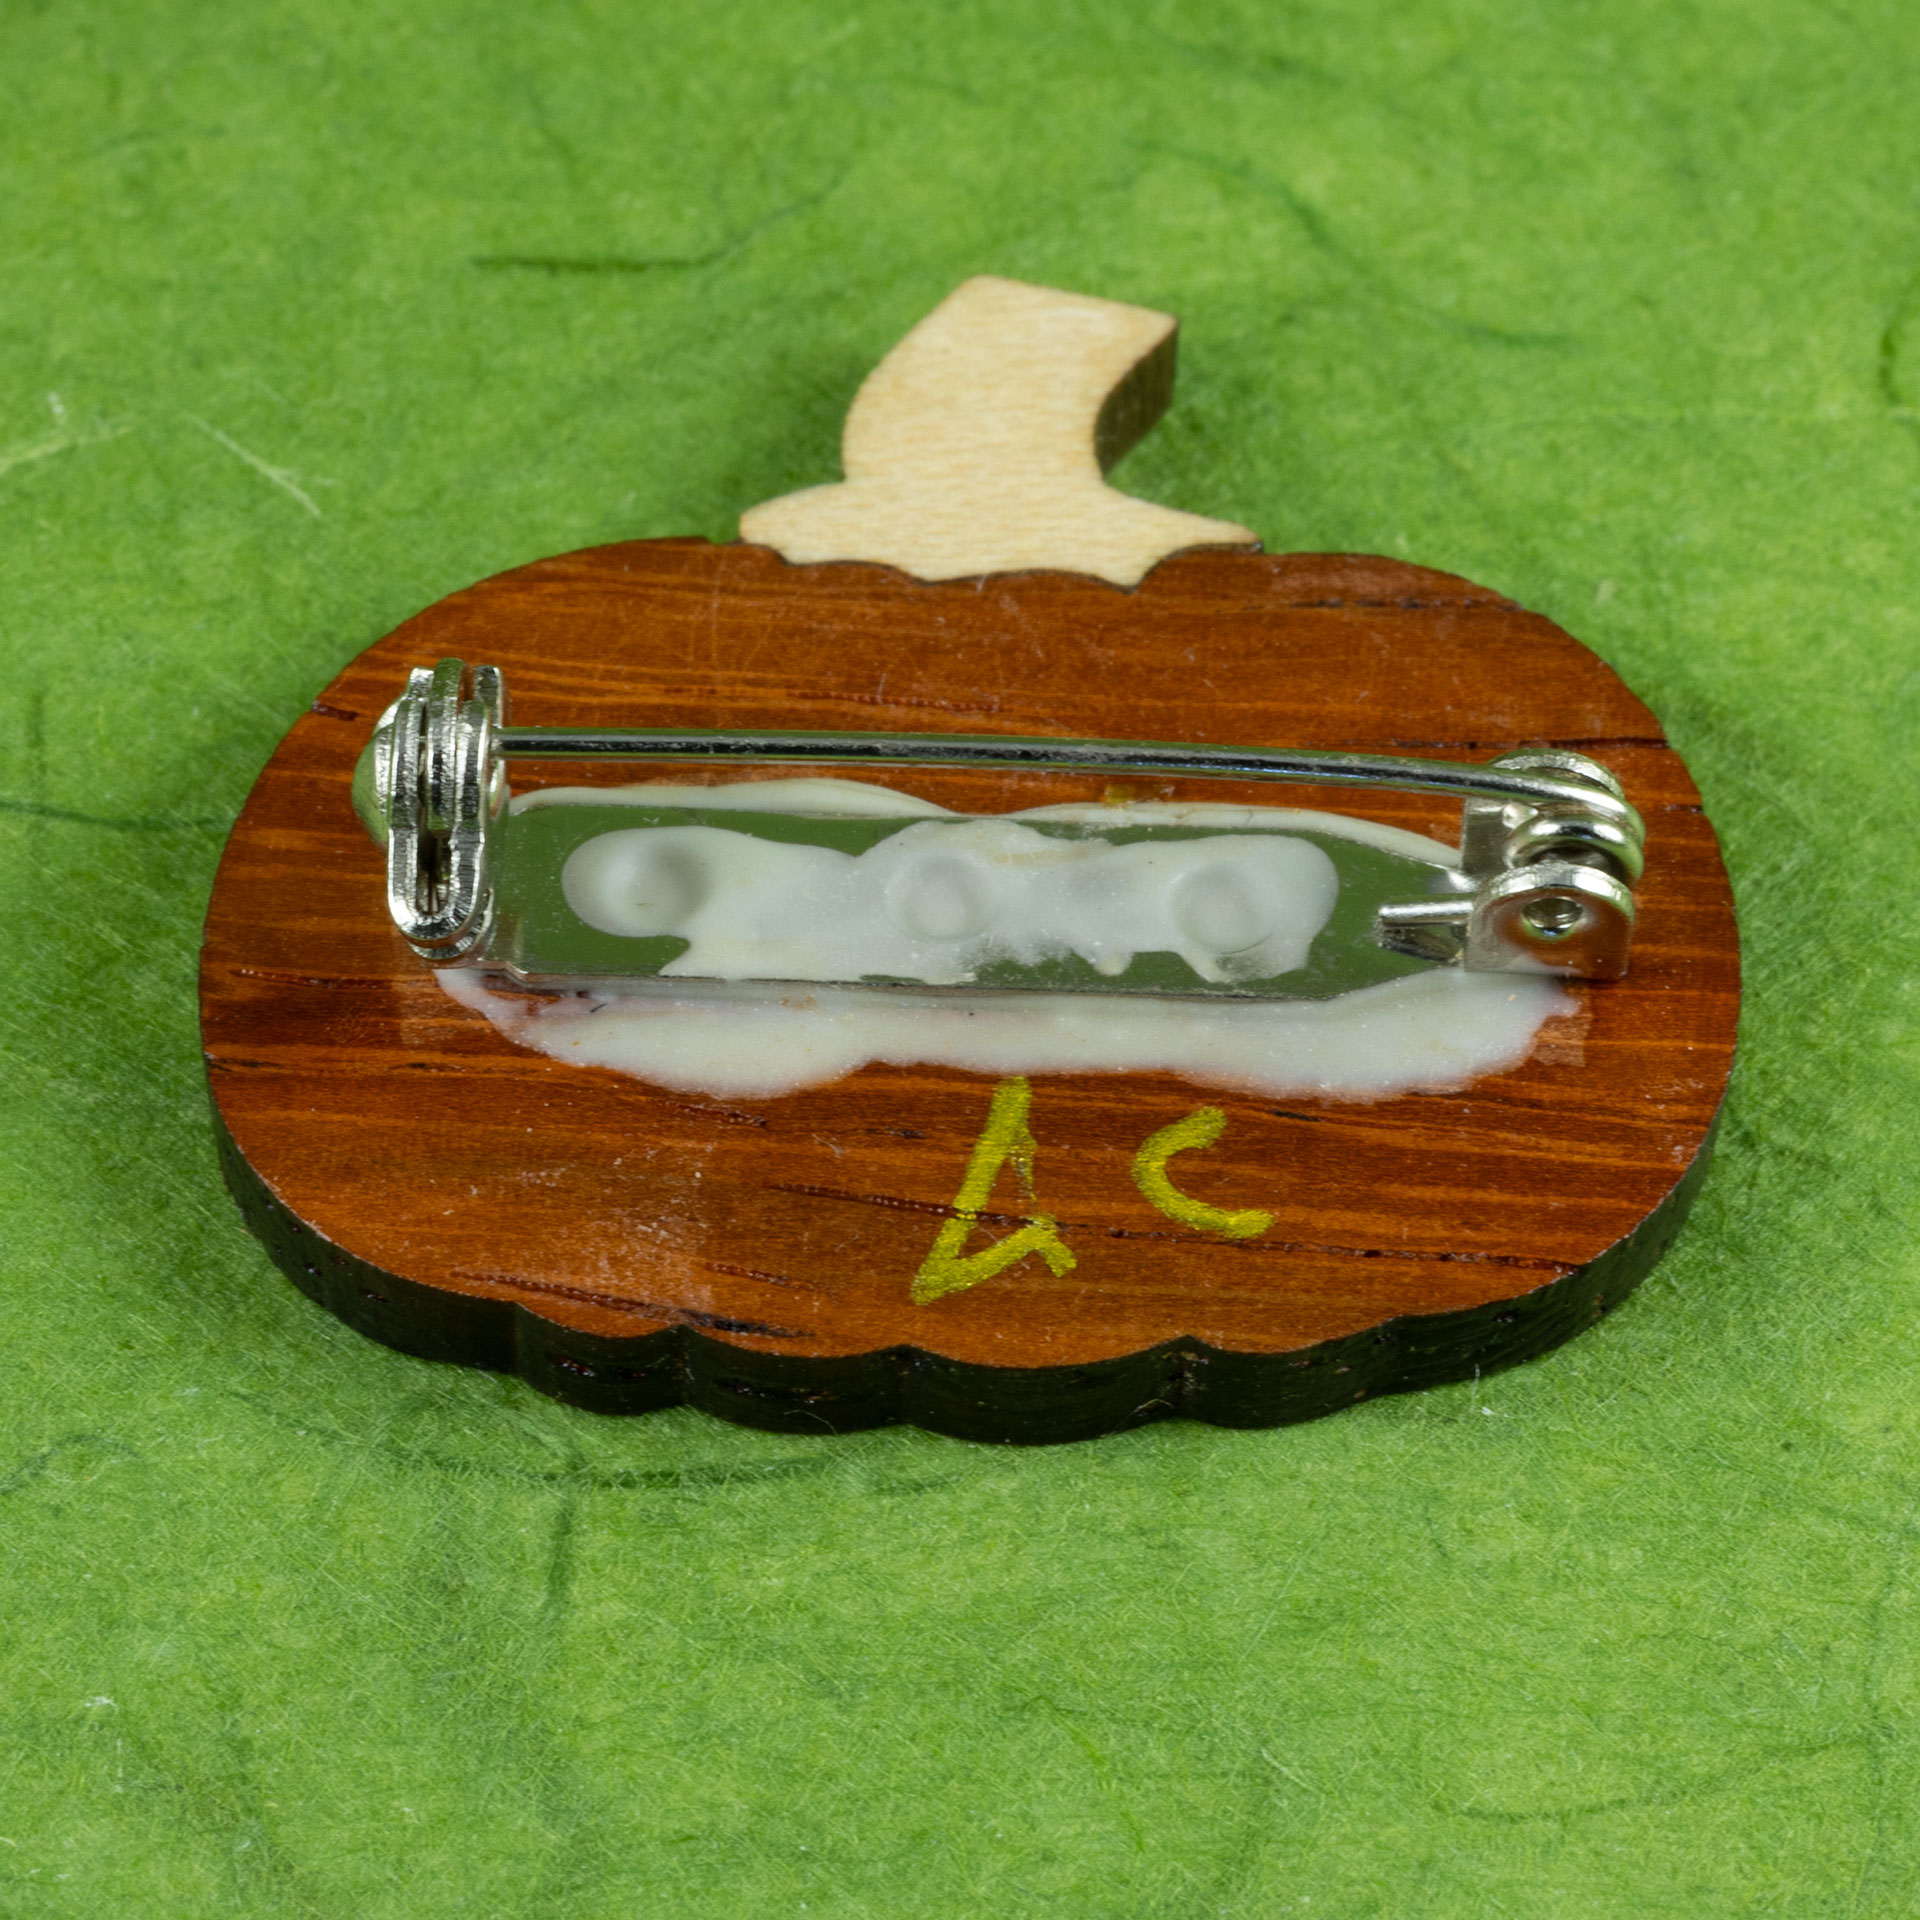
The base of these is 3mm thick padauk, picked for its orange tones. The ribs are walnut veneer, and the stem is white oak. Aluminum tape is applied to the veneer. A mirrored image of the inlay pieces is engraved all the way through the veneer to the tape (which the CO2 laser won’t touch) in multiple passes. That makes it possible to create small and delicate pieces without incinerating them. Slightly larger matching cavities are engraved into the base piece. The cavities are filled with wood glue, and the inlay pieces, still attached to the tape, are pressed in. That gets clamped flat until dry. Then, the tape is removed, the tape residue is taken off with isopropyl alcohol, and everything is sanded flat, and finished.
I made a 2.5-minute process video:


No comment yet, add your voice below!