flower press

The father of a friend of mine made her a really great flower press as a holiday present. She planted a whole bed of wildflowers in her front yard and, has turned them into some really great cards. I was inspired to make presses for some of my favorite youngsters and, came up with a design that I like a lot.

I produced this from a few sheets of Baltic birch plywood and a handful of hardware using the new laser cutter. The base is two sheets of ply, one 1/8” and one 1/4”, glued together with captive washers and small magnets to hold the bolts in place while turning it over. The hex heads on the bolts are held in place by cutouts to keep them from spinning while tightening the wing-nuts.

If you would like to make a flower press of your own, this post contains all the instructions and cutting files. Note that I am releasing this for personal, non-commercial use. Make one for yourself. Make one for a gift. If you want to make them to sell, you need to check with me first.

Ok! Let’s drop the BOM! (That’s “Bill Of Materials” …)

You will need:

Qty Description
4 3” x 1/4” hex head bolts
8 1 1/4” flat washers with 1/4” holes
4 1/4” wing-nuts (that fit the bolts …)
1 12” square sheets of 1/8” thick Baltic birch plywood
2 12” square sheet of 1/4” thick Baltic birch plywood
4 1/8” x 1/8” x 1/16” neodymium magnets
A few sheets of corrugated cardboard (e.g., shipping boxes)
A few sheets of plain paper (e.g., copier paper)

You will also need some CA and/or wood glue.

There are detailed assembly instructions in the video but, basically, you cut one of each piece (washer layer in 1/4″ ply, the other two in 1/8″), glue in the magnets, put the washers in the engraved pockets, glue the two layers of the base together, clamp and let dry. The bolts go through the holes with the heads in the hex pockets. The cardboard gets stacked alternating with the paper. The top piece goes onto the bolts and, the wing-nuts go on the bolts to hold everything snugly.

These files do not include my Snowflake Celtic knotwork mandala or the Evermore Studio logo. You can add your own art by centering it on the top layer (where the knotwork is in mine) and, on the hex layer (where the logo is on mine). You will need to flip the hex layer for engraving any artwork as the magnet pockets and art need to be on opposite sides. Self-jigging works great for that.

Use extra care while cutting the cardboard pieces. There have been several Glowforge-destroying fires reported in the forums and, cardboard is an optimum combustion material. When cutting cardboard, I standby with a spray bottle the whole time.

The paper is just cut into 7 1/2″ squares.  It was a lot more efficient to use a simple rotary cutter than to run individual sheets through the laser.

Machine Settings

Washer Layer pockets: 600 speed / Full power / 225 LPI / Vary Power

Washer Layer cuts: 125 speed / Full power

Hex Layer magnet pockets: 800 speed / Full power

Hex Layer cuts: 125 speed / Full power

Top Layer cuts: 125 speed / Full power

Engraves (when adding your own): 600 speed / 80 power / 225 LPI / Vary Power

Cardboard: 200 speed / 85 power

These settings are a for a Glowforge Basic.  Full power is different on the other models.  There can also be variation for a given batch of plywood or cardboard.  So, test to make sure your cuts worked before moving anything in the machine.

Pattern Files

Important: These files are for personal, non-commercial use only. If you want to produce these to sell or for other business use, please contact me to arrange for licensing terms.

Attribution-Creative Commons NonCommercial-ShareAlike

Right-click and “Save Link As”:

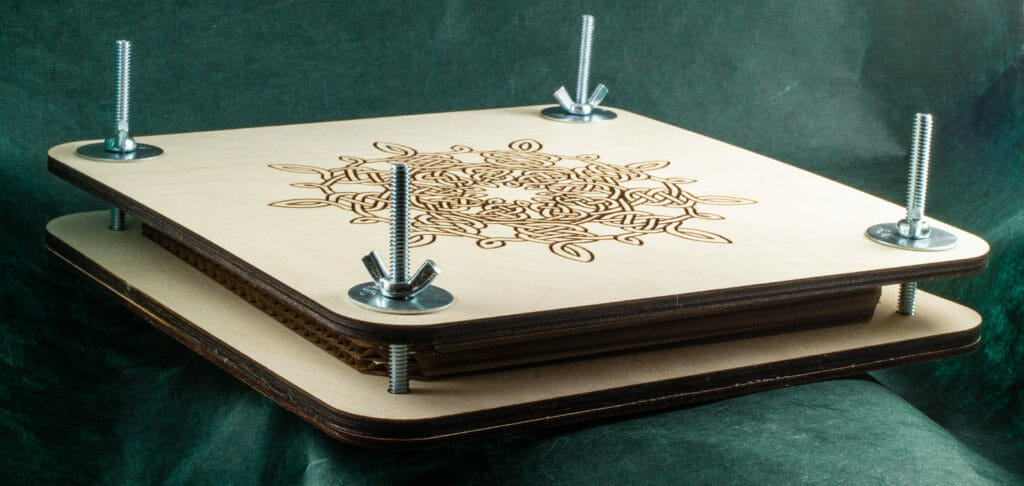
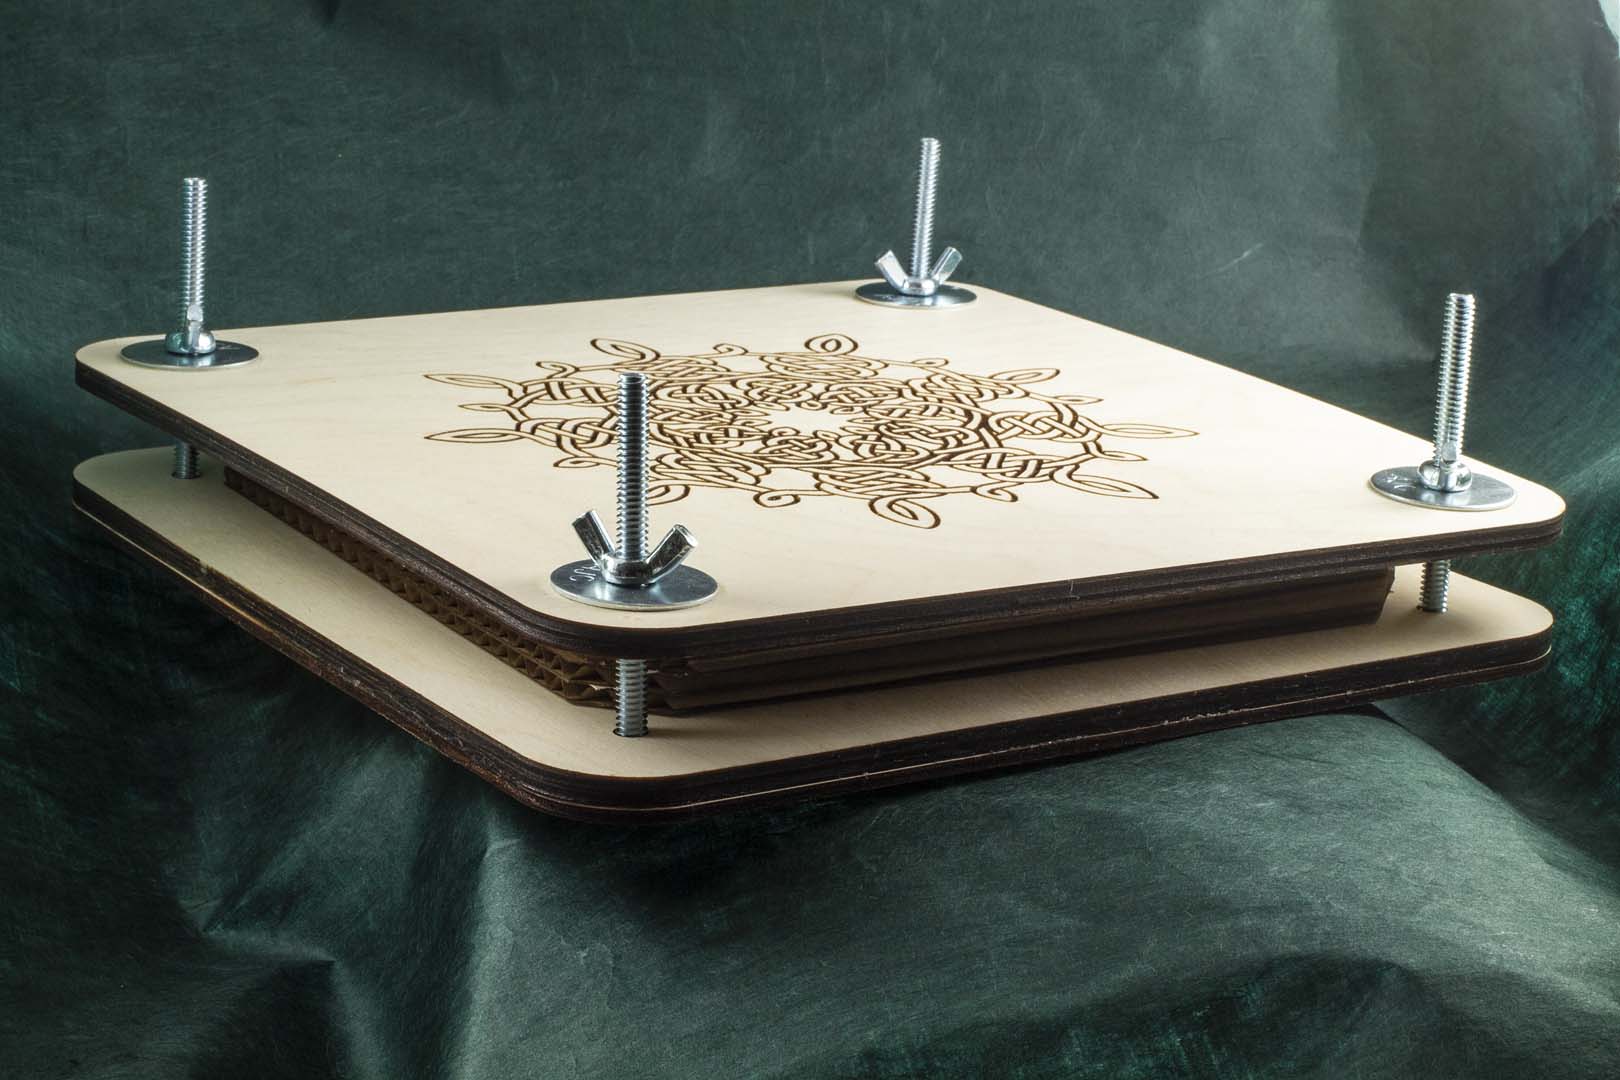
Flower Press Washer Layer SVG (cut 1 from 1/4″ ply)

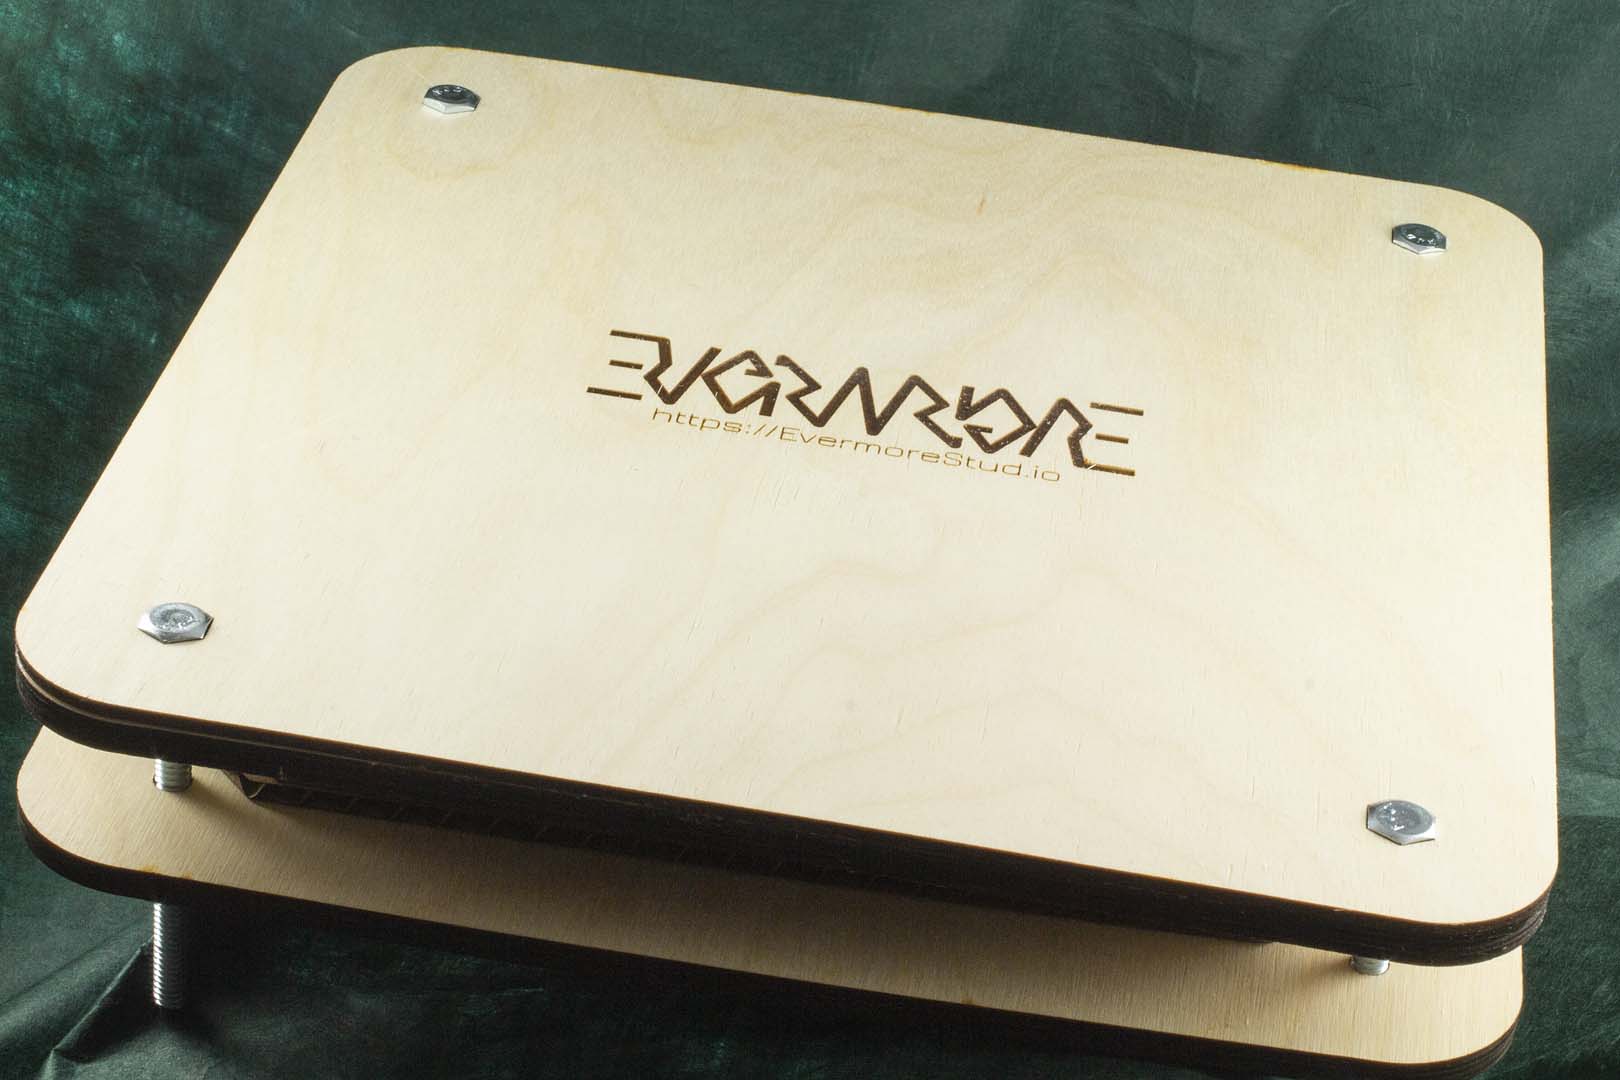
Flower Press Hex Layer SVG (cut 1 from 1/8″ ply)

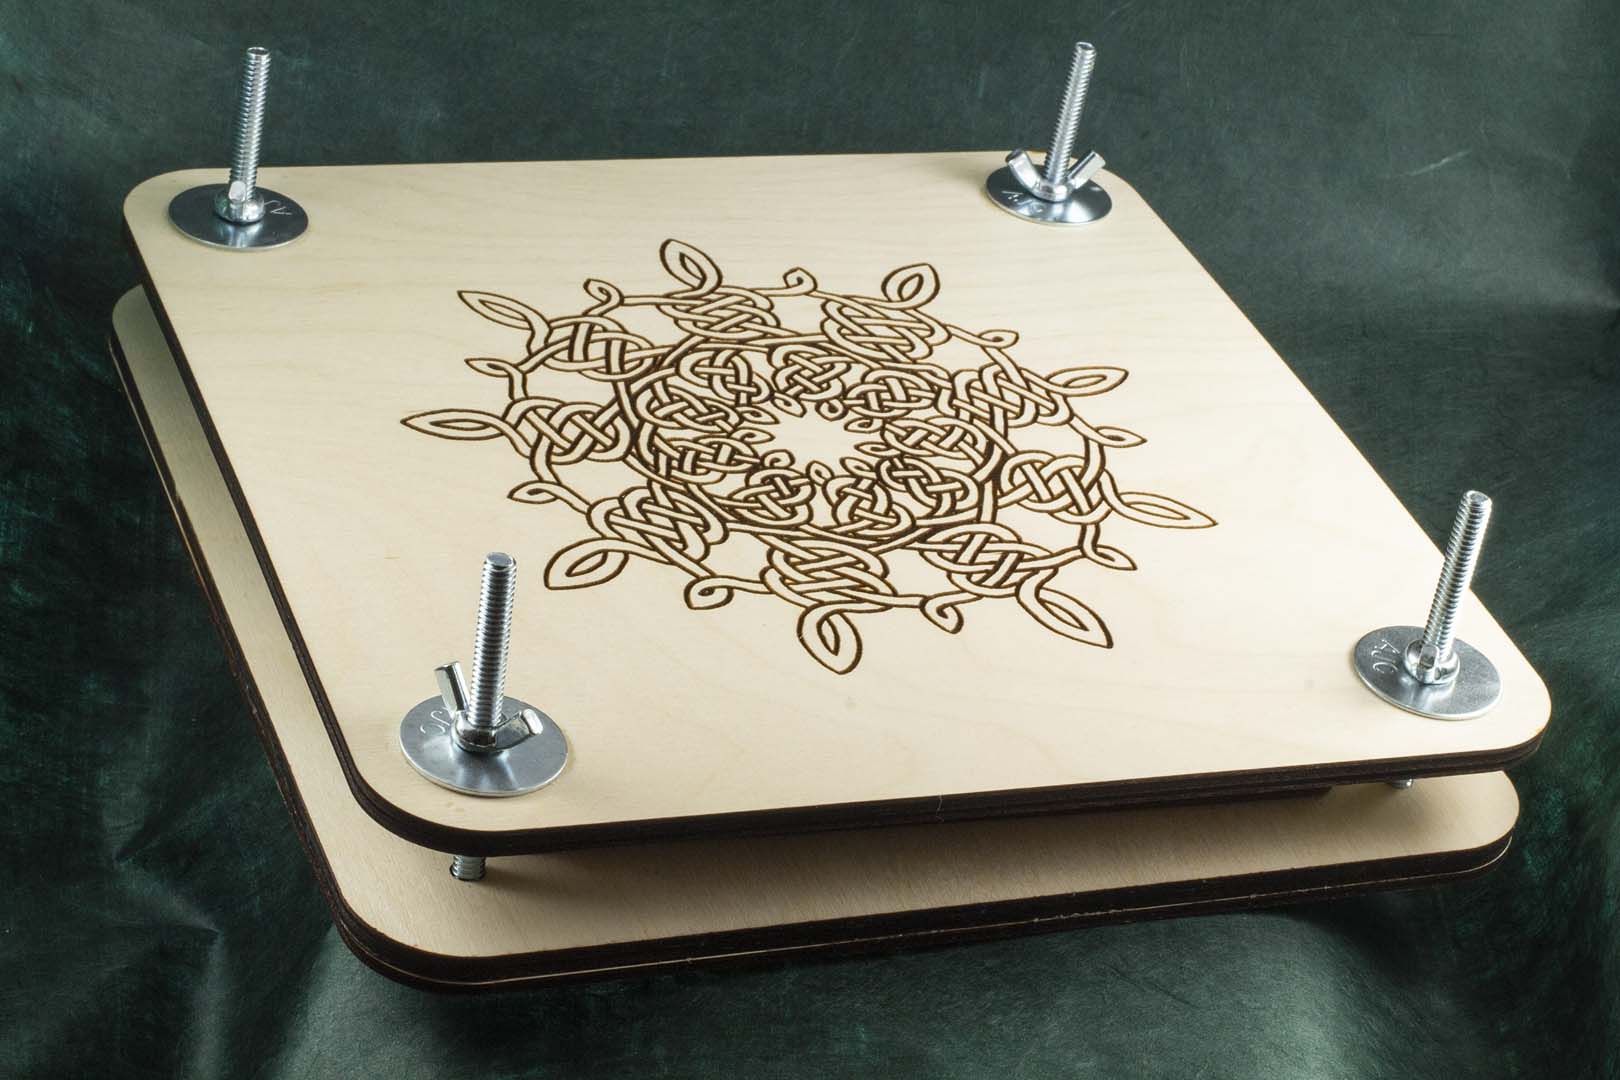
Flower Press Top Layer SVG (cut 1 from 1/4″ ply)

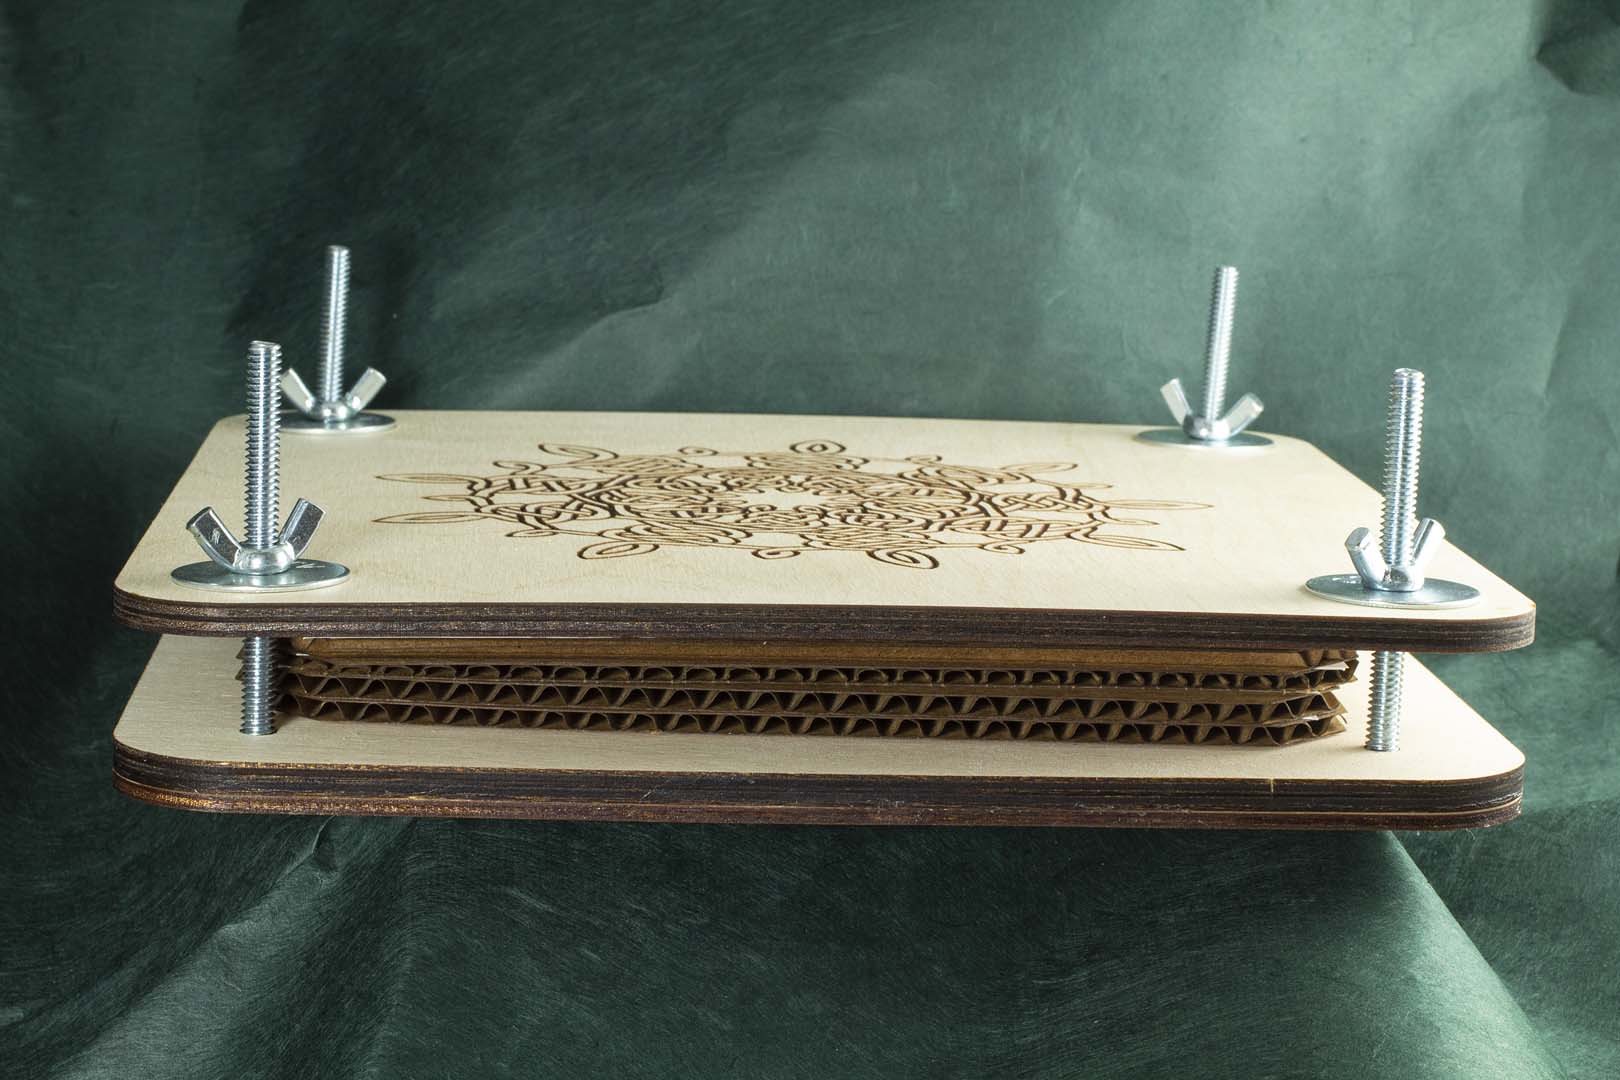
Flower Press Cardboard Inserts (cut 4-8 from corrugated cardboard)

Resources

Need a Glowforge? Using my referral link is an excellent way to help support projects like this and, encourage me to do more.  You can read more about my Glowforge in this post. Get one here:

Glowforge Laser Cutter

You are almost certainly better off getting your Baltic birch plywood from a local supplier, both for cost and for supporting your local community. The plywood I used in this case, though, did come from an Amazon supplier.  Here are the links:

1/8″ x 12″ x 12″ Baltic Birch

1/4″ x 12″ x 12″ Baltic Birch

Silicon Glue Spreading Tools

Non-Metallic Tweezers

Sanding Sponges

Magnets

Lil Chizler scraping tool

TransferRite Ultra 592U High Tack White Transfer Tape (which came from a site that is currently down)

Amazon referral links support a local arts organization.

If you have suggestions for how to improve this design, please leave them in the comments or, use the contact form to message me.

Recommended Posts

2 Comments

  1. I really can’t remember how I found this blog post but I had it bookmarked for over a year before I finally made it as a holiday gift for my sister. The software we use for our laser can’t import SVG files (boo, I know) so I used your plans and designed something pretty similar straight in the program. I ended up having to ditch the magnets because I just couldn’t find anything to bond them to the plywood, but the head of the hex bolts fit so snug in that I think it will be fine. Thanks for sharing the idea! Do you mind if I write a blog post for my work at a makerspace describing my experience making this on our equipment? Obviously linking back to this post!

    • Of course! I would love to read more about your project. I am glad the plans were useful as a reference.


Add a Comment

Your email address will not be published. Required fields are marked *